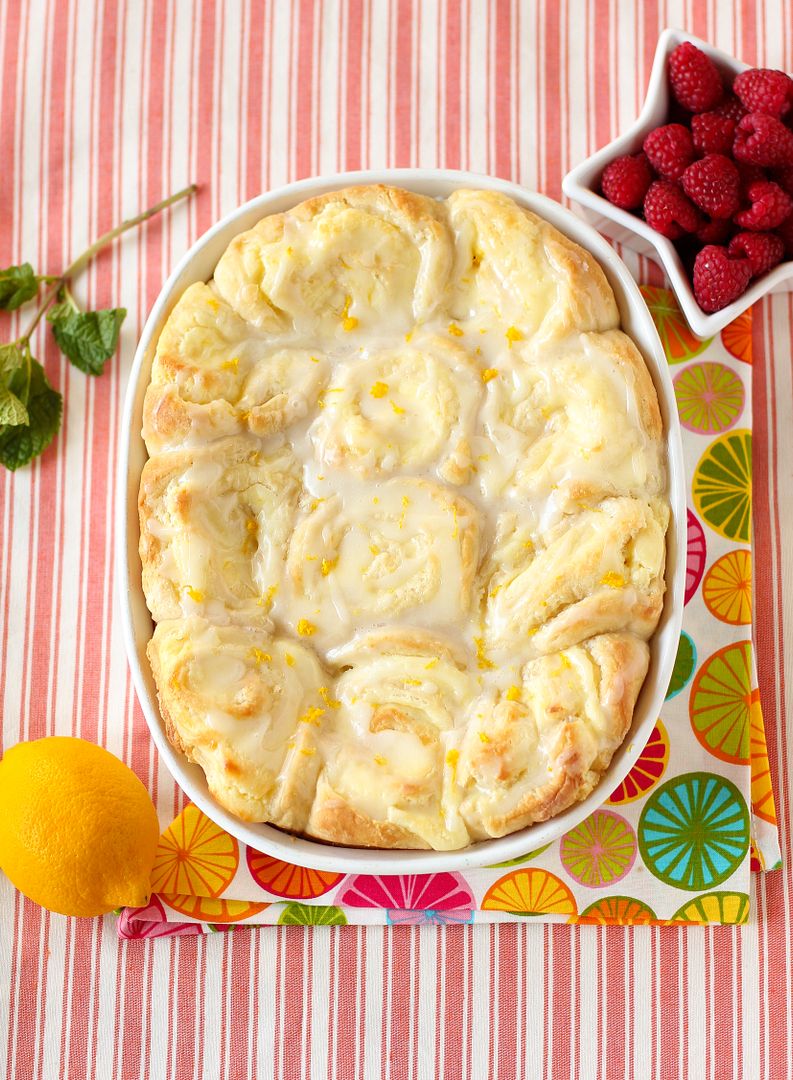
Lemon Cheesecake Morning Buns

Lemon Cheesecake Morning Buns

You know the saying, “Don’t dress for the job you have; dress for the job you want”? I like to adapt that statement for my own ridiculous purposes on occasion.
Lemon Cheesecake Morning Buns

The other day it was roughly 40 degrees outside, which is basically winter-in-Antarctica weather for me (some New Englander with a snowdrift the size of a Hummer outside their door is about to beat me up). Despite being pathologically repulsed by cold weather, I was too lazy to put on a coat. I ran out in a gauzy t-shirt and jeans to pick up some dinner.

When you make a wardrobe choice like this, you can’t curl up in a ball on the sidewalk, acknowledging defeat. You have to grit your teeth and pretend your choice was appropriate for some secret reason only you are aware of. I therefore ignored my goosebumps and impending hypothermia as I walked along the sidewalk to the restaurant, swinging my arms as if enjoying a gentle summer breeze. Upon noticing a guy in a t-shirt clearly doing the exact same thing, I gave him a nod. “We’re dressing for the weather we want, not the weather we have. It’s strategic!” I yelled toward him.

He responded, “Exactly. And it’s only 40 degrees. We’re not even cold, right?”

“NOPE, not one bit.”

Lemon Cheesecake Morning Buns

I also often bake for the weather I want, not the weather I have. Naomi at Bakers Royale just acknowledged she sometimes uses out-of-season produce, so I might as well make my confession, too, though I might get excommunicated from the blogosphere. I promise I do care about being green and supporting local business. But sometimes I also want raspberries. My lifestyle is admittedly imperfect.

Now that we’ve gotten that admission out of the way, I can tell you that I’m baking for spring.
Lemon Cheesecake Morning Buns

When it’s cold and rainy like it has been in Charlotte lately, my already sun-sheltered apartment windows let in an even more dreary landscape than usual. The courtyard of my apartment complex, where the grass has stubbornly refused to take root, becomes a muddy landslide. My morale slides right off into the stormdrain along with the river that forms in my parking lot.

On days like this, I need some lemon. And some bright summer berries. (And a sunlamp and some vitamin D and maybe a tropical vacation, but I digress.)

Lemon Cheesecake Morning Buns

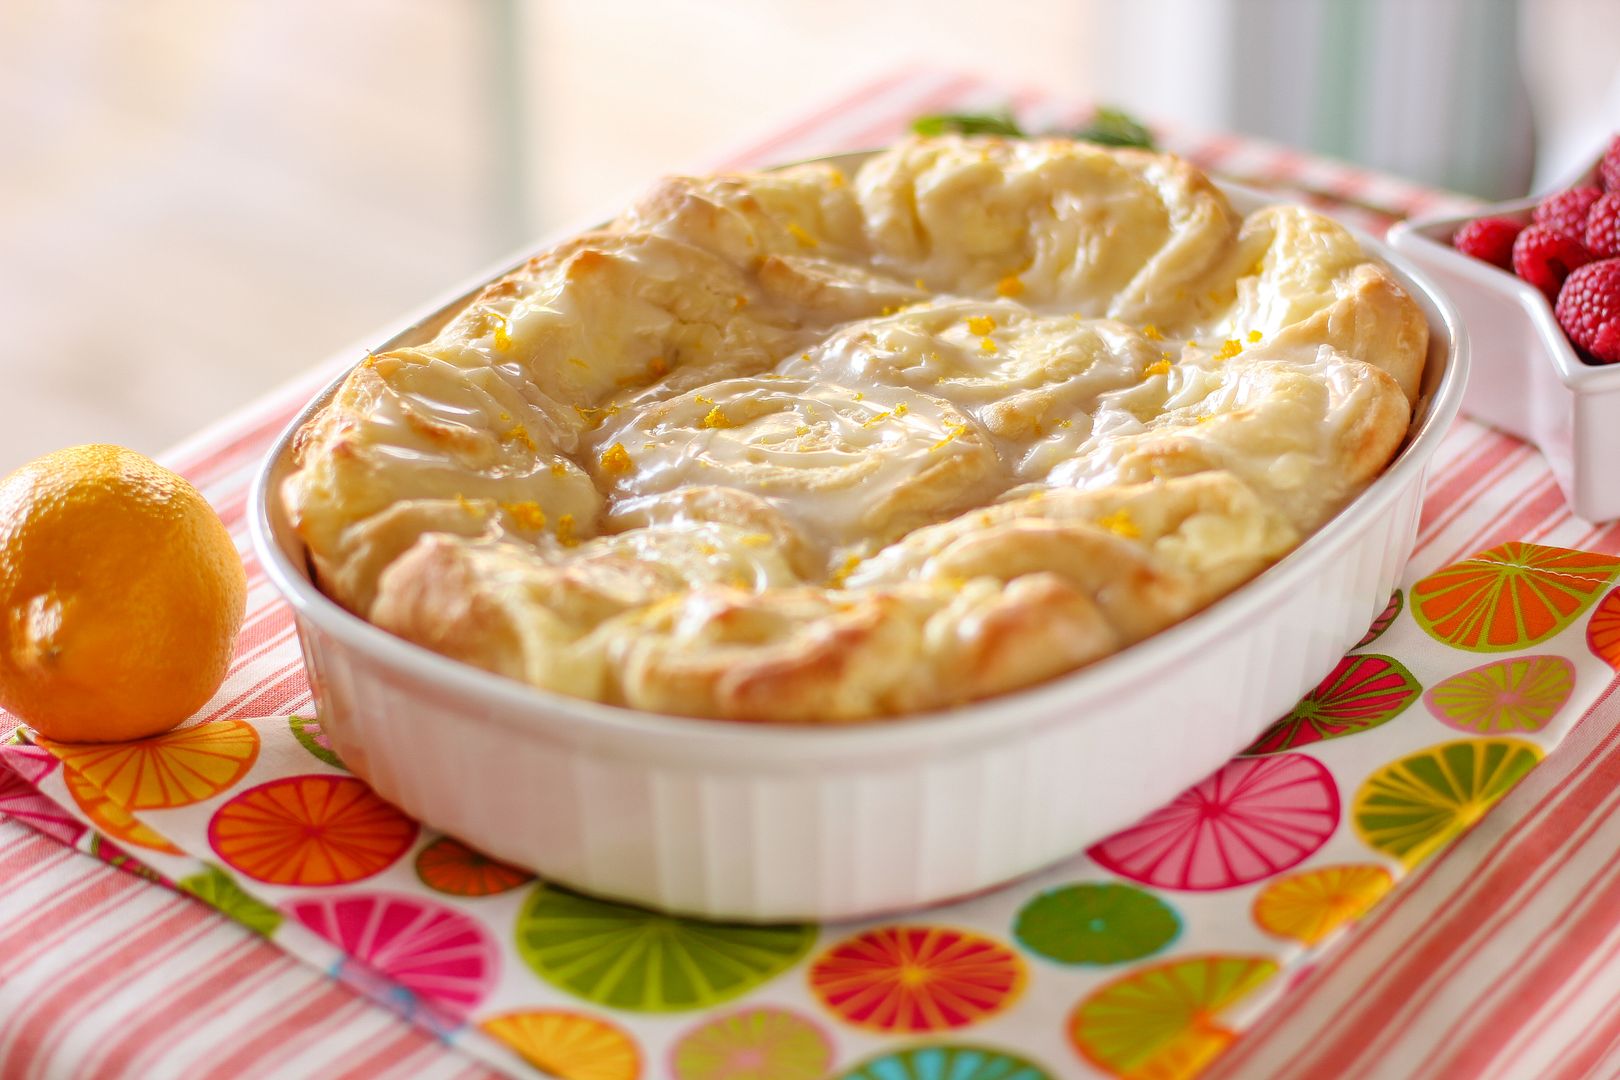
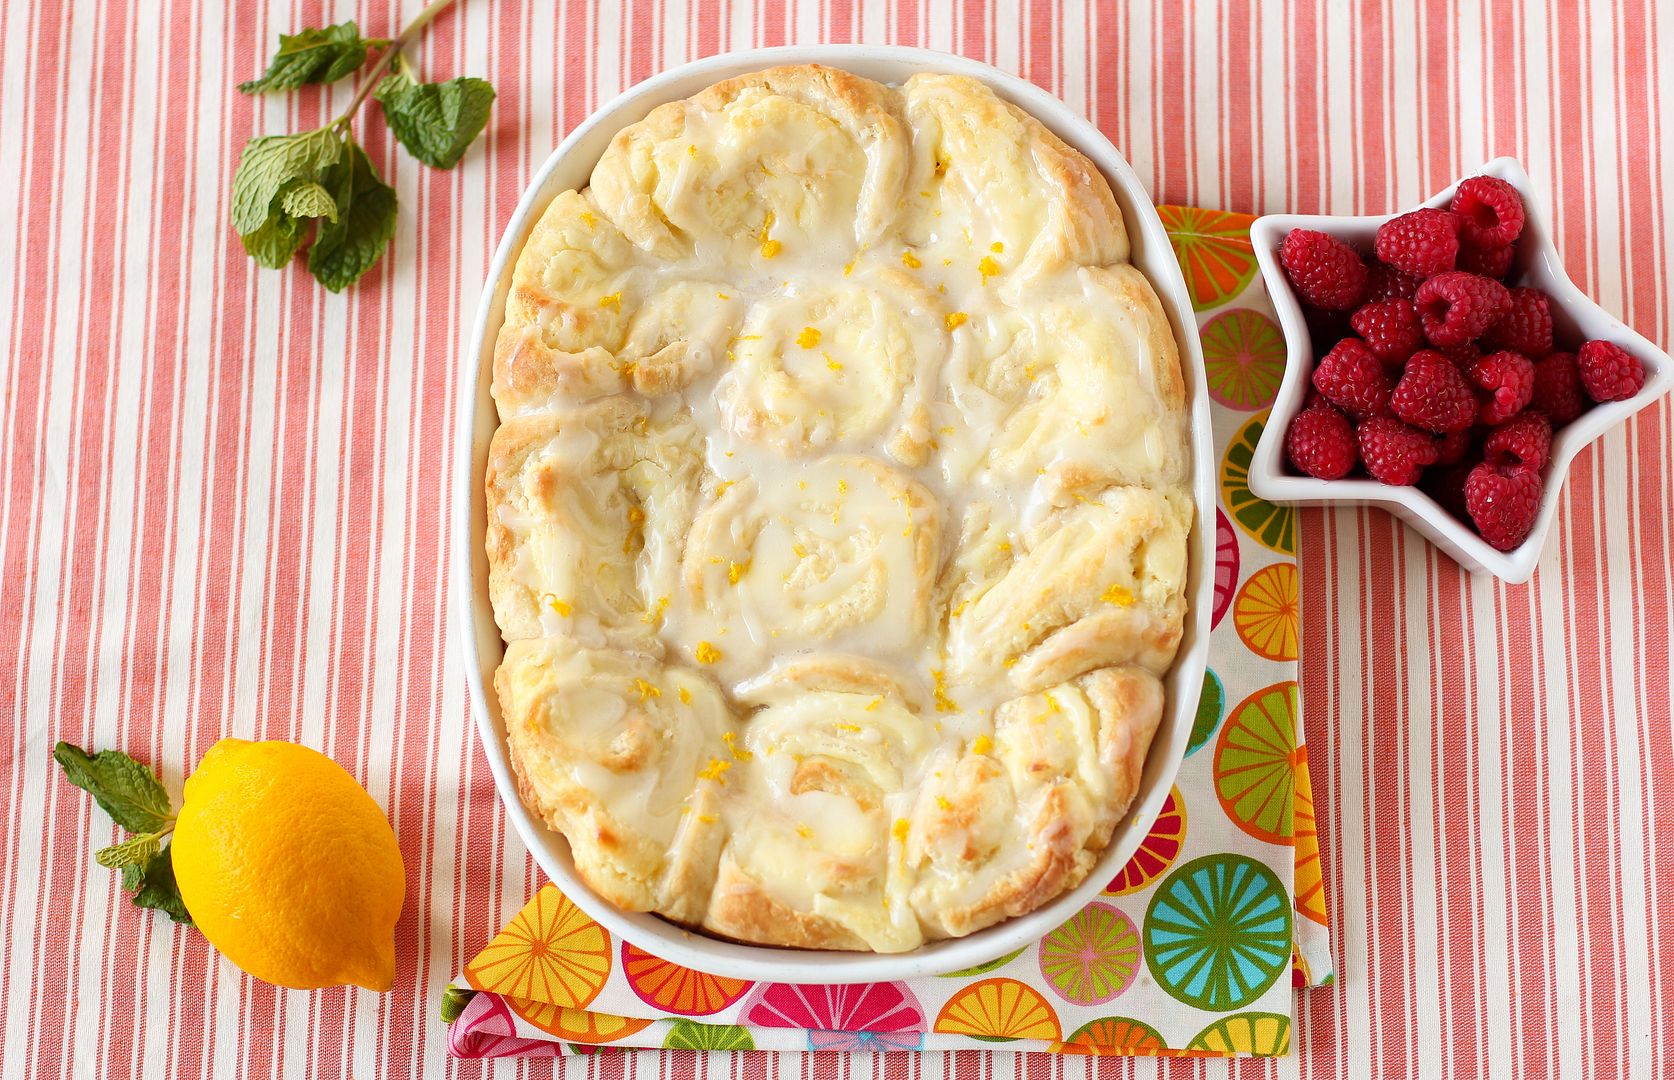
Since I first made Savory Sweet Potato & Chorizo Cinnamon Rolls and Buttery Coconut & Almond Morning Buns, I’ve been looking for new ways to use my favorite overnight yeast dough. I could’ve just made buttery lemon-glazed rolls, but I decided stuffing some tangy lemon cheesecake in my morning buns was a better idea. This yeast dough is a cinch to whip up and is so forgiving — and its second proof takes place overnight in the fridge. The resulting rolls are soft, buttery, and tangy. They almost have the texture of a flaky bread pudding. And needless to say, they’re delicious. I served them with some raspberries and a tall glass of cold milk. Enjoy!

One year ago: Thick Chocolate Cake with a Big Red (Velvet!) Heart
Two years ago: Heart-Shaped Palmiers and a Pesto Giveaway
Three years ago: Billion Cheese (Heart-shaped) Ravioli with Red Pepper Pancetta Sauce

5 from 1 reviews
Lemon Cheesecake Morning Buns
 
Prep time
Cook time
Total time
 
These Lemon Cheesecake Morning Buns could easily double as dessert. They are fluffy, gooey, tangy, buttery, and beyond delicious. I hope you’ll find a space for these rolls on your breakfast or brunch table. They definitely belong in the spotlight.
Serves: 24
Ingredients
Roll Ingredients:
  • 1 package (2 1/4 teaspoons) active dry yeast
  • 1/4 cup warm water (100-110 degrees F)
  • 2 tablespoons white vinegar
  • 2 cups milk minus 2 tablespoons, room temperature
  • 2/3 cup cold shortening
  • 3 tablespoons sugar
  • 1 teaspoon salt
  • 1 teaspoon baking soda
  • 1 teaspoon baking powder
  • 5 cups flour
  • 2 tablespoons butter, melted, for after baking
Filling Ingredients:
  • 2 (8-ounce) packages cream cheese, softened
  • zest of 1 lemon (reserve a little for topping)
  • 1/2 cup sugar
  • 2 tablespoons lemon juice
  • 1 egg, room temperature
  • 1 stick salted butter (or 1 stick unsalted butter and 1/4 teaspoon salt), melted
Glaze Ingredients:
  • 2 cups powdered sugar
  • 1 table lemon juice
  • 1/2 teaspoon vanilla extract
  • about 1/4 cup milk
  • extra lemon zest
Instructions
  1. Note on proofing: This yeast dough proofs for a couple of hours after you mix it up, and then the assembled rolls proof in the fridge overnight, so allow for this when planning to make this recipe. With most cinnamon rolls recipes you could switch this and proof in the fridge overnight and then assemble and proof on the countertop, but I opted to switch that method with these because I didn’t want the cream cheese filling sitting out too long.
  2. Note on yield: I don’t recommend halving yeast recipes; instead, if you don’t want 24 rolls at once, consider freezing some for later.
  3. Note on freezing: To freeze some of the unbaked rolls, just wrap them well before the second rise and freeze them. Once frozen, pop them out of the pan all together and store in the freezer, wrapped in plastic wrap and in a zip top bag or wrapped in foil. When you want to bake them, stick them back in a greased pan, thaw them in the fridge overnight, proof for the instructed amount of time, and bake like usual.
  4. Mix the warm water and yeast in a medium bowl and let the yeast foam for about 10 minutes. Put 2 tablespoons white vinegar in a measuring cup and then add milk up to the 2 cup line. Set this aside. In a separate large bowl (or the bowl of a mixer fitted with a dough hook), whisk together flour, sugar, salt, baking soda, and baking powder and cut the shortening into the mixture with two knives or a pastry cutter until the shortening looks like small peas. Stir yeast mixture and milk mixture into the dry ingredients and mix well, kneading just a few turns. Transfer the dough to a bowl lightly sprayed with cooking spray, cover tightly with plastic wrap, and proof in a warm, draft-free place (such as a closed, turned-off oven), for around 2 hours or until doubled in size.
  5. After proofing the dough, lightly spray two 9 x 13-inch baking dishes with cooking spray. Cream the softened cream cheese in a medium bowl until fluffy before adding lemon zest, sugar, lemon juice, and the egg. Mix together until well combined.
  6. Turn the dough out onto a floured surface and roll it into a large rectangle about 1/8-inch thick (I carefully cut the dough in half and worked with half at a time to make it more manageable; if you do this, just spread on half of the filling ingredients for each half you roll). Spread the melted butter over the surface of the rolled dough and then dollop the cream cheese mixture all across the surface, spreading gently to create an even layer. Gently roll the dough up into a spiral (I find using a bench scraper to encourage the dough to roll up during this process incredibly helpful) and cut it into 2-inch rolls, placing them close together in your prepared baking dishes (at this point, you could wrap and freeze the rolls for later if you wanted).
  7. Cover the rolls let them rise in the fridge overnight (they will have nearly doubled.) When you’re ready to bake, preheat the oven to 400 degrees F, letting the rolls rise on top of the preheating oven covered by a clean dish towel. Bake them for about 25-30 minutes or until lightly browned on top (don’t underbake or they’ll still be doughy in the center). Brush with 2 tablespoons melted butter and return to the oven for 1 more minute. Whisk together the glaze ingredients and drizzle the glaze over the warm rolls. Sprinkle with reserved zest and serve immediately.

 

Valentine’s Day Dessert Recipes from Willow Bird Baking

It’s that time again: Valentine’s Day. You either love it or you hate it, but you have to admit . . . at least it’s an excuse to eat dessert? Here are a few that will definitely score you brownie points with your sweetheart (or your own solitary tummy as you sit on the couch and watch reruns of 30 Rock, thank you very much.)

By the way, I’ve included a difficulty rating after each recipe so you can pick one perfect for your skill level and schedule. And how much you love your partner. JUST KIDDING, just kidding.

1. Gooey Butter Strawberry Shortcake (very easy)
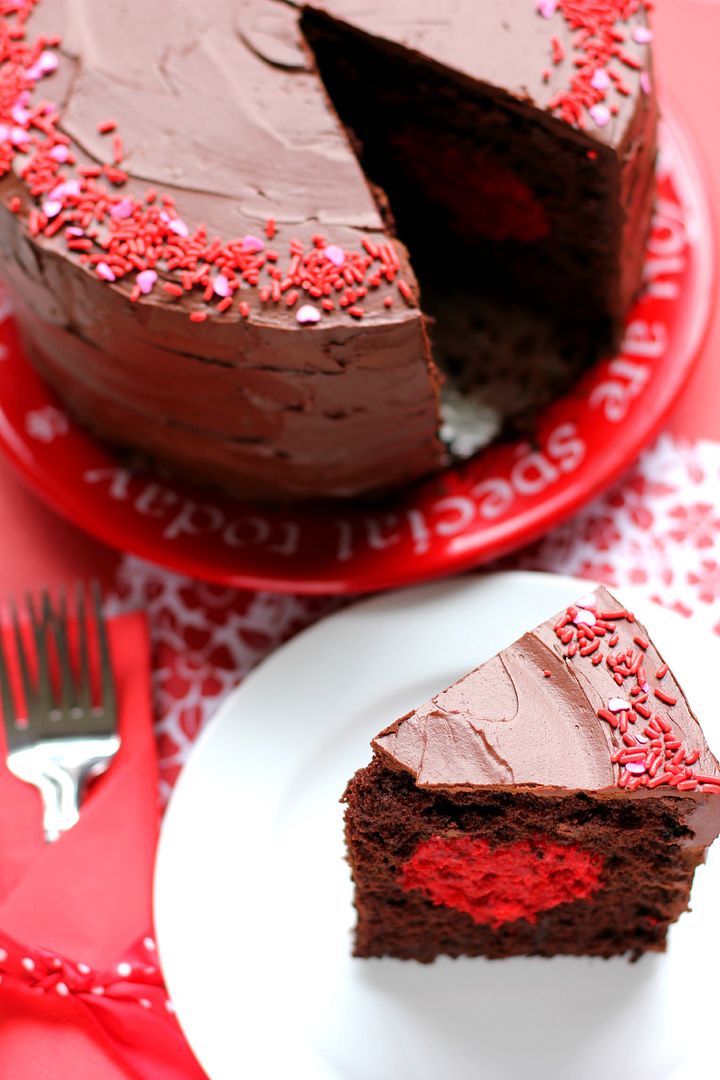
2. Thick Chocolate Cake with a Big Red (Velvet!) Heart (not hard, but probably easier as a 2-day process.)
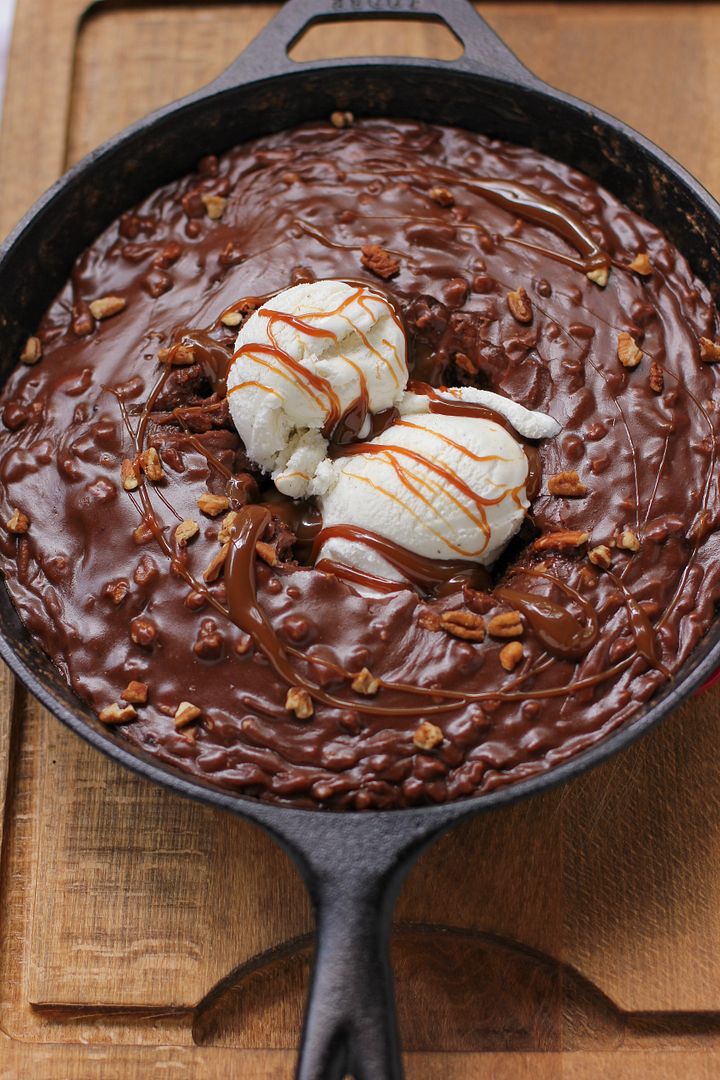
3. Gooey Chocolate Skillet Cake Ice Cream Sundae (very easy)
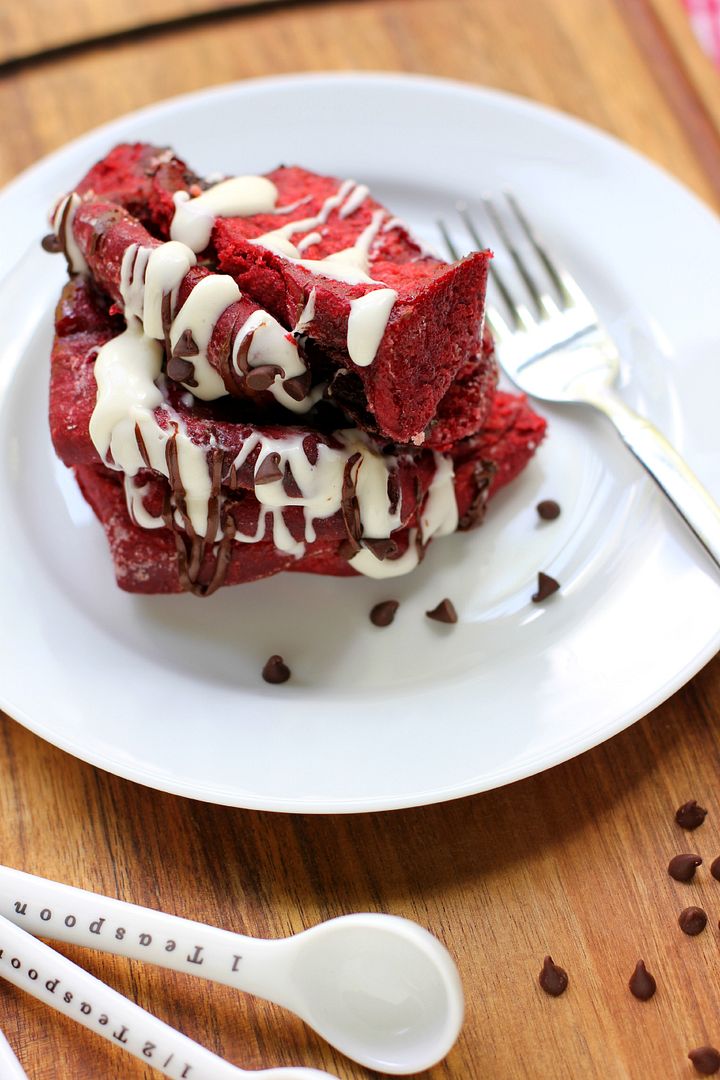
4. Chocolatey Red Velvet Pull-Apart Bread with Cream Cheese Glaze (includes rising time; a 2-day process)


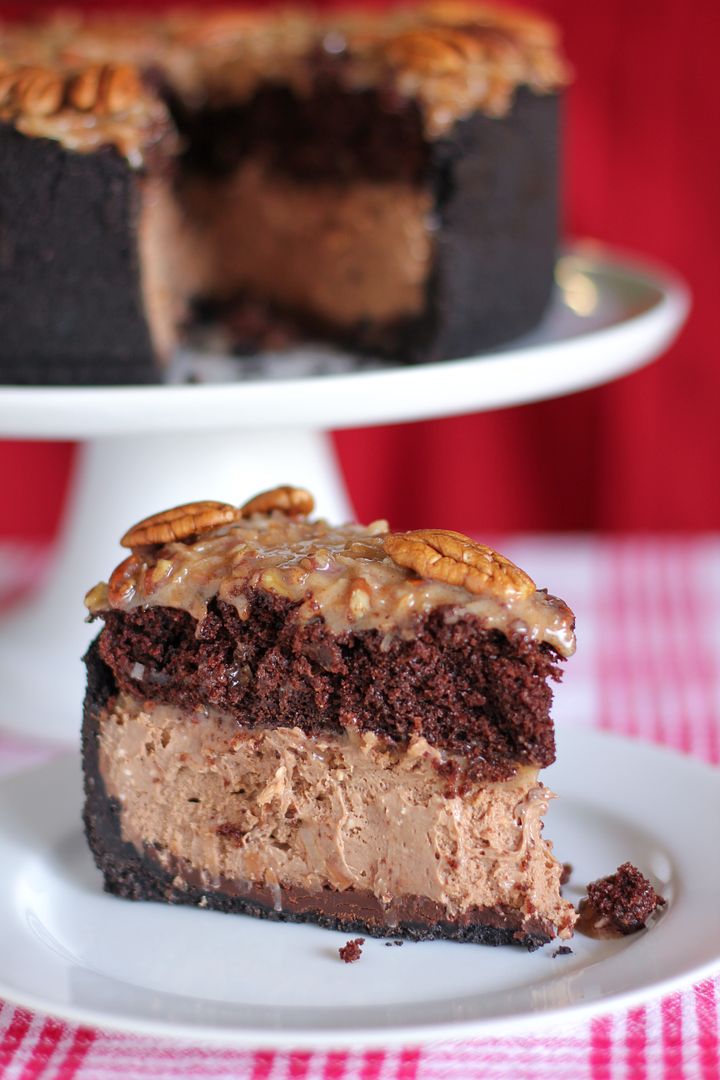
5. German Chocolate Cheesecake (not hard, but probably easier as a 2-day process.)
6. Red Velvet Cheesecake-Stuffed Cake Balls (advanced; easier as a multi-day process)
7. Heart-Shaped Palmiers (sweet or savory; very easy)
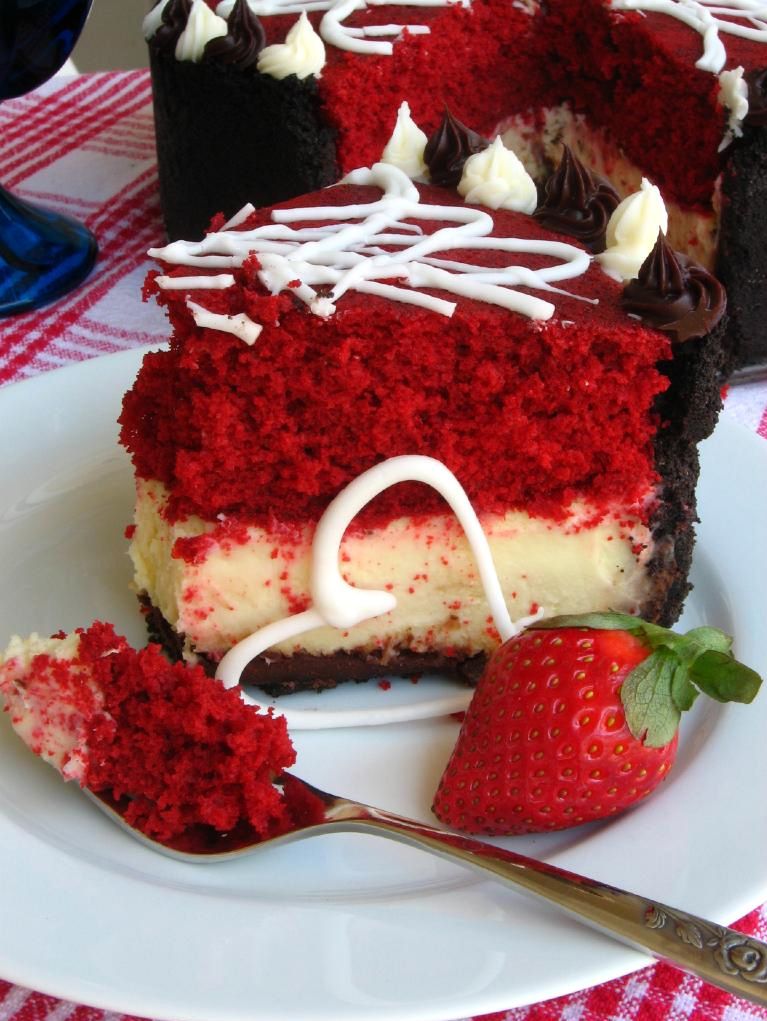
8. Red Velvet Cheesecake (not hard, but probably easier as a 2-day process.)


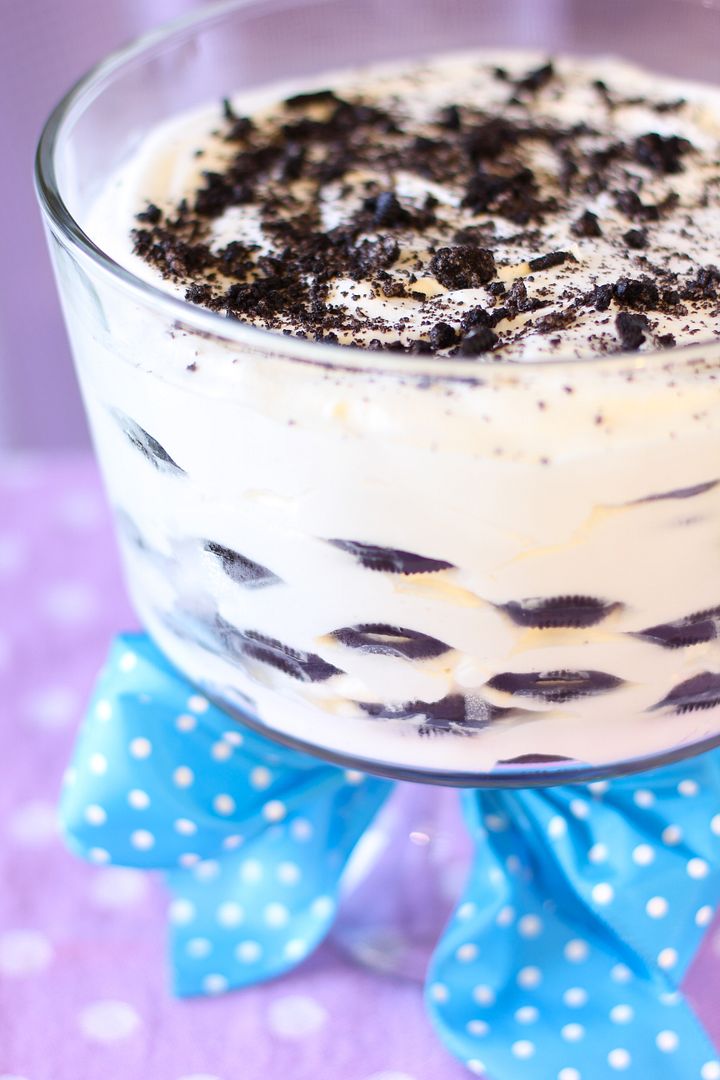
9. Boozy Icebox Cake (very easy)
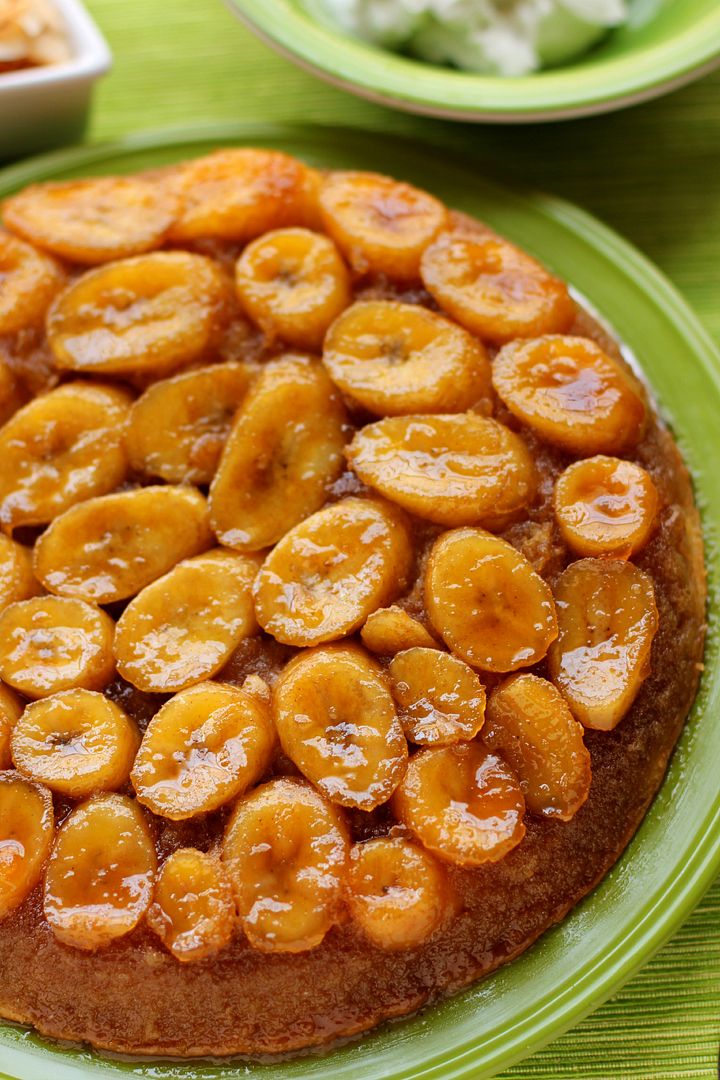
10. Caramelized Banana Upside-Down Coconut Cake & Coconut Whipped Cream (intermediate)
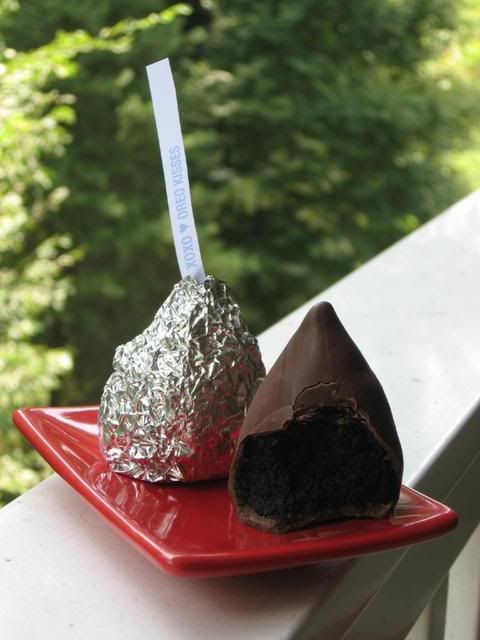
11. Red Velvet and Oreo Kisses (advanced; easier as a multi-day process)
12. Valentine’s Truffle Heart (advanced; easier as a multi-day process)


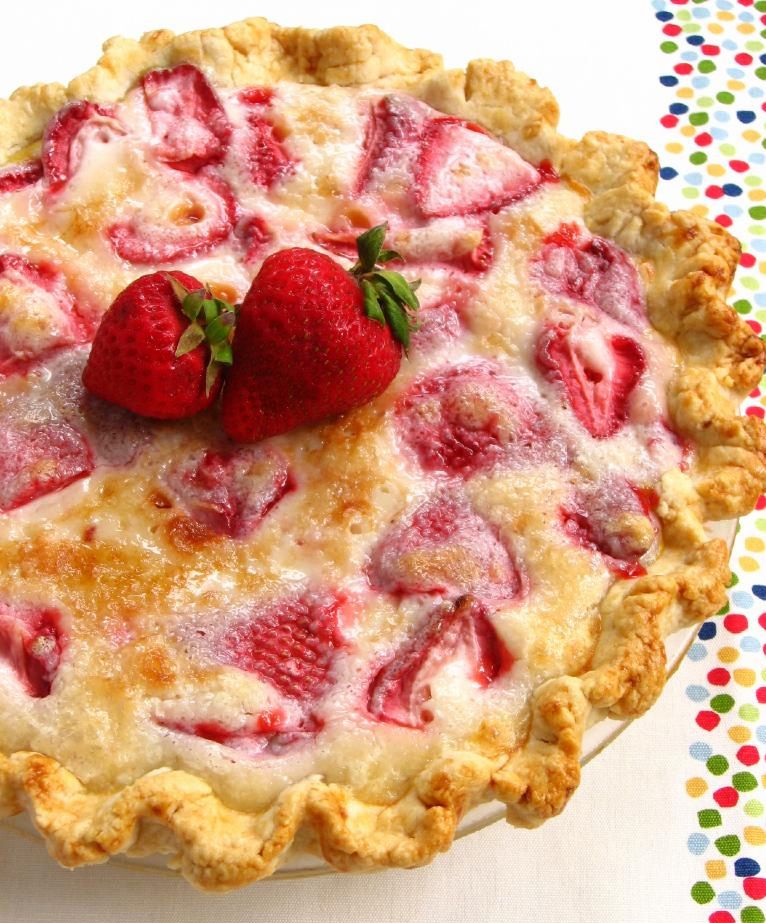
13. Strawberry Sour Cream Pie (very easy)
14. (Freshly Picked!) Strawberry Cream Pie (intermediate; multi-step process)
15. Homemade Hot Chocolate & Marshmallows (easy)
16. Red Berry Pie (intermediate)


…and four more for the coconut lover like me:

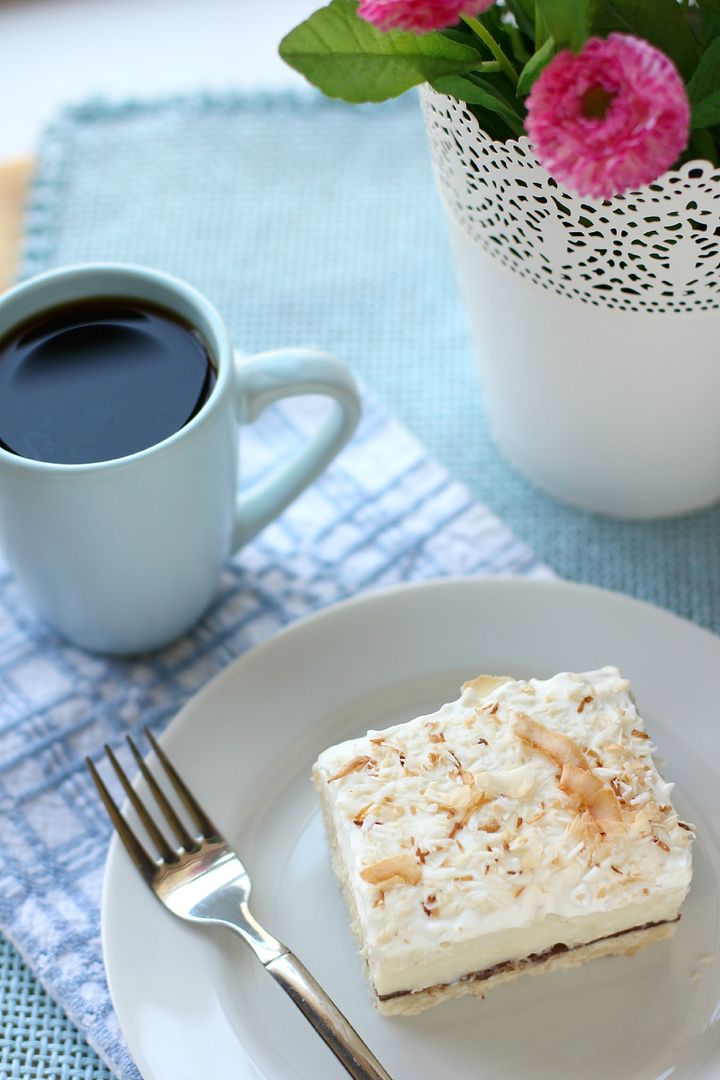
1. Chocolate & Coconut Cream Pie Bars (easy, but do require 30-minutes of stirring)
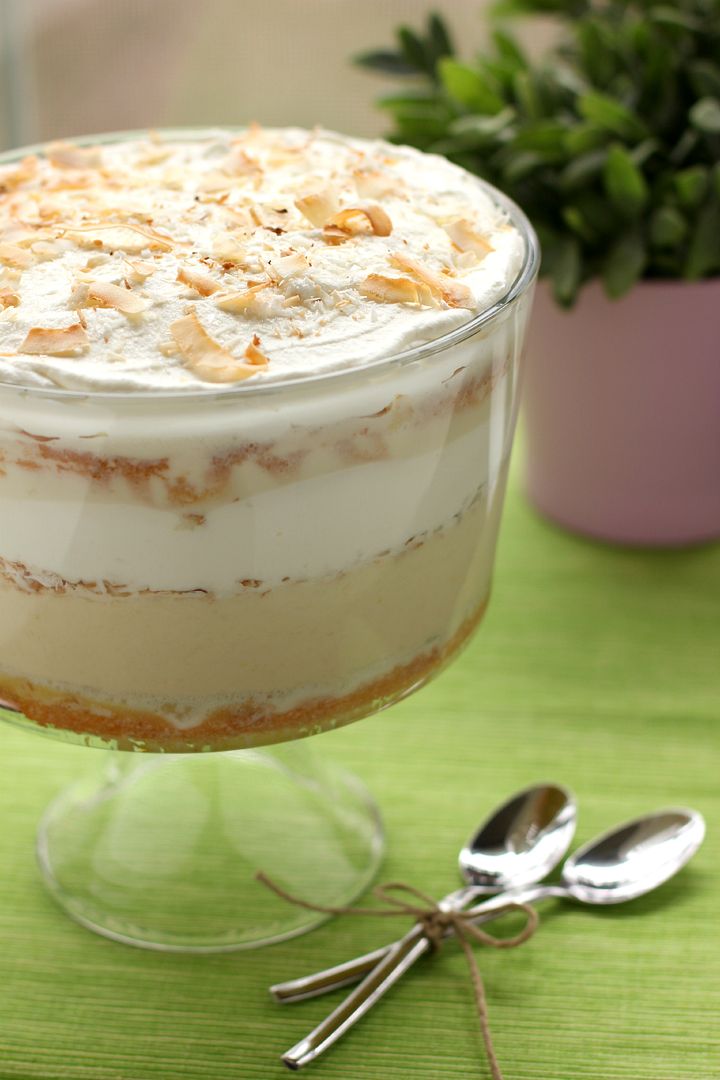
2. Tres Leches Coconut Cake Trifle (intermediate; easier as a multi-day process)
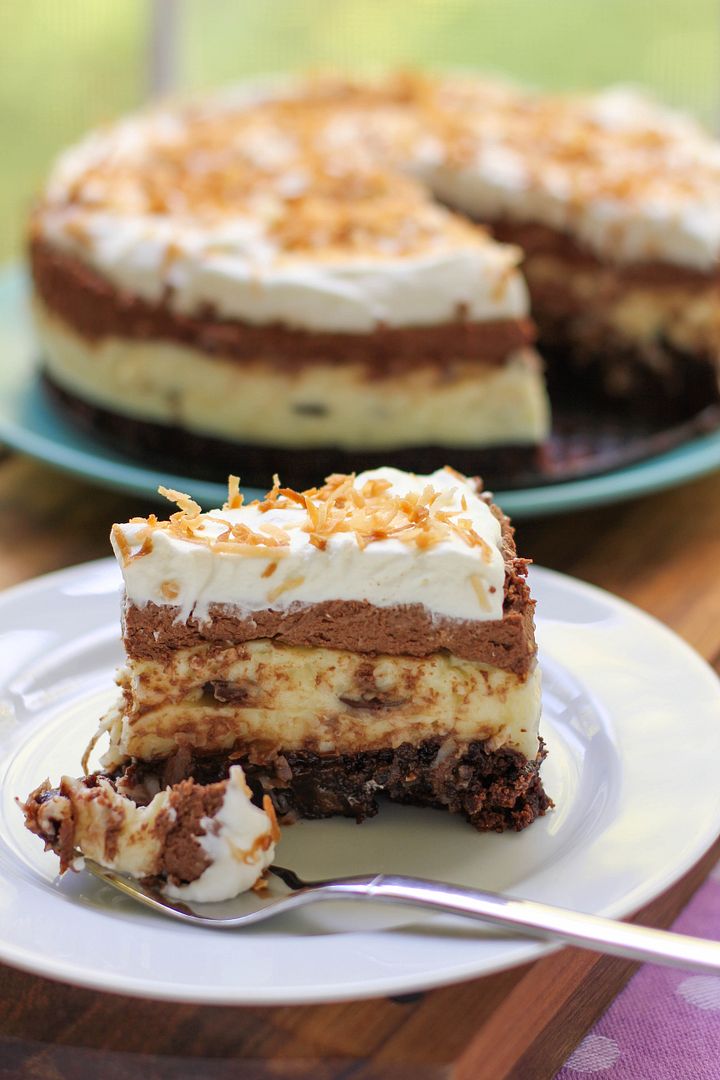
3. Brownie-Bottom Coconut Chocolate Cream Cake (very easy)
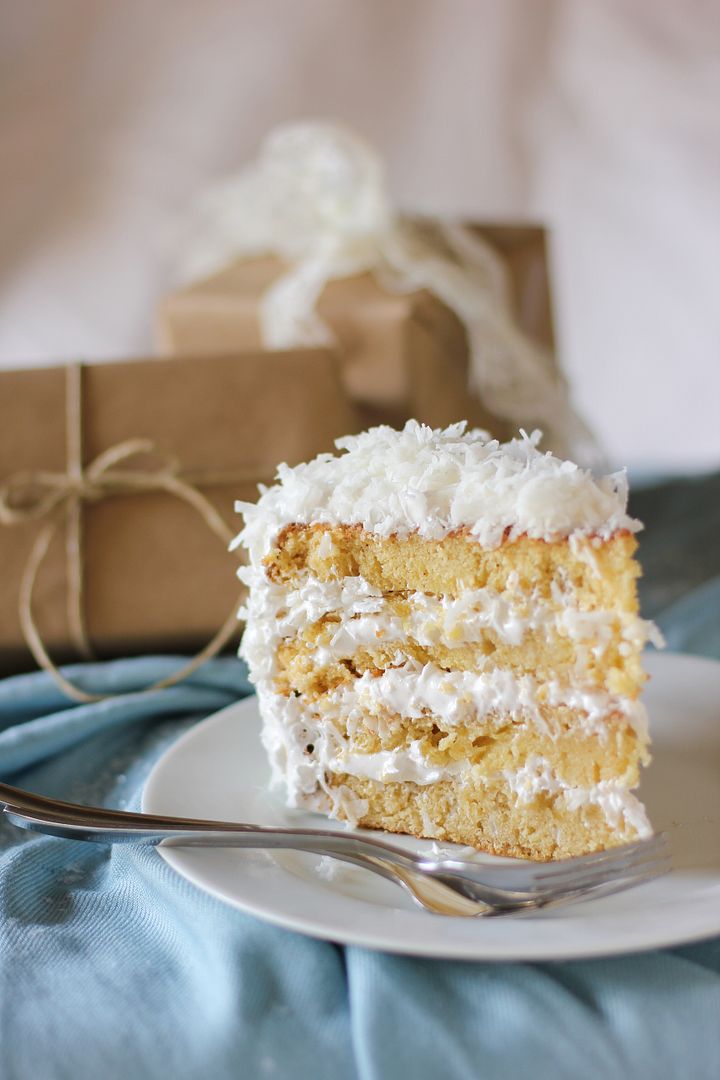
4. Moist Fluffy Coconut Cake (intermediate; easier as a multi-day process)


White Sheet Cake with Fluffy Whipped Icing

“I want to start a blog.”

Those 6 words take me right back to June of 2009, when I snapped a (dark, blurry) photo of some blueberry lemon cheesecake cupcakes with lemon frosting, waxed poetic about them, and hit “Publish” on my very first Willow Bird Baking post. When I hear those words now, part of me wheezes under the weight of the work I know awaits the speaker. Another part of me, though, feels excited about the fun they’re about to have.

Because that speaker will often go on to ask me for advice, I thought of doing a post to sum up my “You’re Starting a Blog!” tips and ideas. It sounds like such an easy task, but actually, I’ve been racking my brain to think of what’s most important to convey.

There’s all the easy advice you’ve heard before: start your blog on WordPress, write about things you care about, write at least one post per week, include photos, use natural light to take those photos, create a social media presence on various websites (Facebook, Twitter, Pinterest, Google+, Instagram) and interact with your friends and readers there to build community. But all of that advice has been given a million times over on a million other blogs. What can I add to this conversation?

If I say that my advice is to be authentic, I know you’re gonna groan. I know you’re going to secretly think of this article that makes fun of giving that advice. (Incidentally, I found that article frustrating in that it took a variegated, organic field and created, facetiously or not, divisions: an “in” and “out” crowd if you will. I think it serves us better to recognize that there are organic trends that ebb and flow and to not be judgy-judgy about other people doing their thang, even “all in fun,” but I digress.) But despite all the lip-service people give to being authentic, I think there’s more to be said about it. And I think I’m the one to say it.

So here goes: the most important piece of advice I can give you is to be authentic.

If you’re finished with your eye rolling (and they’re not stuck), let me elaborate.

1. Define YOU — your values, your goals, your style. To be true to yourself, you have to have a firm idea of yourself. When you blog, you run into ethical dilemmas all the time: whether or not to post about a certain product, whether or not to accept offers from certain companies, whether or not to participate in certain contests. You also run into opportunities to define who you are all the time: from deciding on the content of your posts to choosing the visual design and layout of your blog. Without a clear vision from the beginning, things can get muddy, contradictory, and forgettable to your readers. Or worse: ethical faux pas can be offensive or exploitative.

Awhile back, people made the connection that a blog was a brand you were creating. Your online persona and really your entire blog package was marketing your brand both to readers and companies that might want to work with you. I both hate and love that terminology. I hate it because it reduces this beautiful, passionate extension of my life to a sterile business and also, in my humble opinion, tempts bloggers to become profit-machines, contracting with businesses, pushing products, and viewing their blog primarily as a means of income. There’s nothing wrong with that — but those certainly aren’t the blogs I love to read and it’s certainly not the route I hope you choose with your blog. Call it a personal preference.

I also love that people have realized their blog is a brand, just like I’d love it if people realized they themselves were walking BRANDS: advertising with their words, actions, and values who they are and what they stand for. Realizing this breeds intentionality, and I am nothing if not intentional about things — maybe even to a fault.

So define yourself. Make a list of the values that are important to you. For me, some of my values include honoring God, analyzing and processing in writing the journey He’s sent me on, being adventurous in the kitchen, being honest, and being humble.

Make a list of your goals. Is your goal just to tell your stories? To build traffic and be heard? To create a community? To make money? (It’s possible to do, but make sure it’s not your main goal or you’ll produce another of those spammy blogs with tons of coupons offers, pinnable recipe roundups, and no real voice. Am I being judgy-judgy? I’ll stop.)

Make a list of the words that define you (and your blog) as a “brand.” For me, that includes words like comforting, home, sweet, simple, humble, laughter, realistic, welcoming, loving. And, okay, snarky. ‘Cause I can’t keep the snark at bay. I know; I’ve tried.

2. Be intentional. After you define yourself and your “brand,” make every choice to build that representation of “you” in your online space. Choose the colors that communicate you. Find the voice that communicates you. Take the photos that communicate you. Write about the content that communicates you. Accept the offers that communicate you (and politely decline the ones that don’t.) Interact with your community in a way that communicates you.

Being intentional also includes being deliberate about building that community. Reach out to others — starting with friends and family — to share what you’re doing in a genuine way. Don’t become a salesman and pitch it to them. Be yourself and share it with them. Make connections with other people doing the same thing and support them; you’ll find that they often want to support you, too.

Be intentional about the way you accomplish your goals. I’m betting you didn’t say your goal was to “get a ton of blog traffic no matter WHAT I have to do,” so don’t act like it. Don’t spam people, don’t annoy your Facebook and Twitter friends, don’t become what I call a “climber”: someone who only interacts with others for their personal gain. Don’t sacrifice quality of posts for quantity. Don’t resort to being churning out quick-and-popular posts like an SEO-obsessed robot.

Instead, revel in the fact that “networking” for you can really mean making awesome friends in the blogging community and enjoying relationships with your readers. “Dress for the job you want” by trying to make your work consistent and professional. Print up some business cards to give friends and people you meet. Know how to describe your blog in a sentence or two for folks who are interested. All of these things are positive, intentional steps to get the word out about the great stuff you’re doing without becoming a slave to “success.” Keep sight of your ideals. You can care about growing your readership (slow and steady) and getting your name out there while still honoring your values.

3. Be yourself, but be yourself in the unique ways. There are so many food bloggers. Don’t worry; I still want to read your blog, too! But I do want to know you and not just another Food Blogger (TM). I want to know about your crazy life as a dental hygienist by day, culinary student by night. I want to read about your horrifying experiences as a retail clerk at an unnamed superstore. I want to know about your puppy rescue and the heartwarming lengths you go to to save animals. I want to hear all about how your kid painted herself blue and ate only blue foods at daycare on what they dubbed Smurf Day. I want you to explain how being a Catholic-Jewish Elvis impersonator went for ya.

One thing people love to read on my blog (and I’m glad, because it’s what I love to write!) is stories about teaching. My students are so surprising and smart and hilarious — so those are the unique stories I have to tell. Think about what you have to say. What’s your story?

There’s a lot more I could say, but I really think whatever you do will be lovely as long as you define yourself and then are intentional about being yourself. Just to answer some of the questions you all left on Willow Bird Baking’s Facebook page, though, I got together with the awesome Kaitlin Flannery of Whisk Kid (you’ll love her blog — it’s wonderful!) and recorded a little Food Blogging 101 chat for you. Hope you enjoy!


* * *

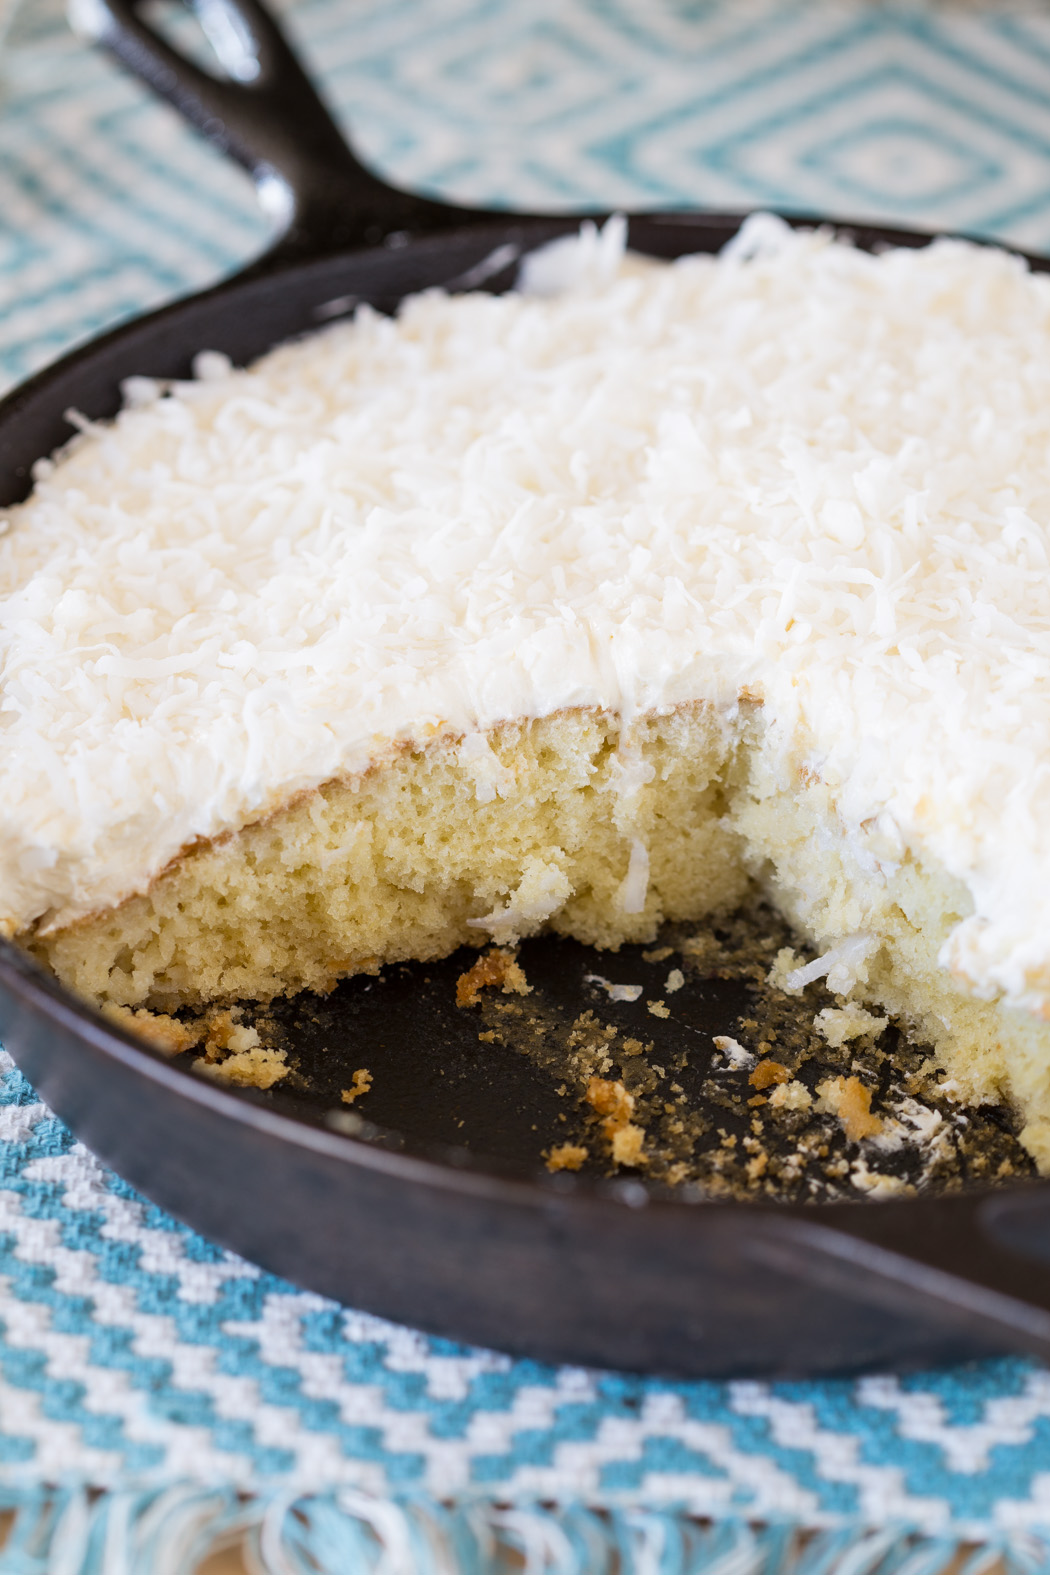
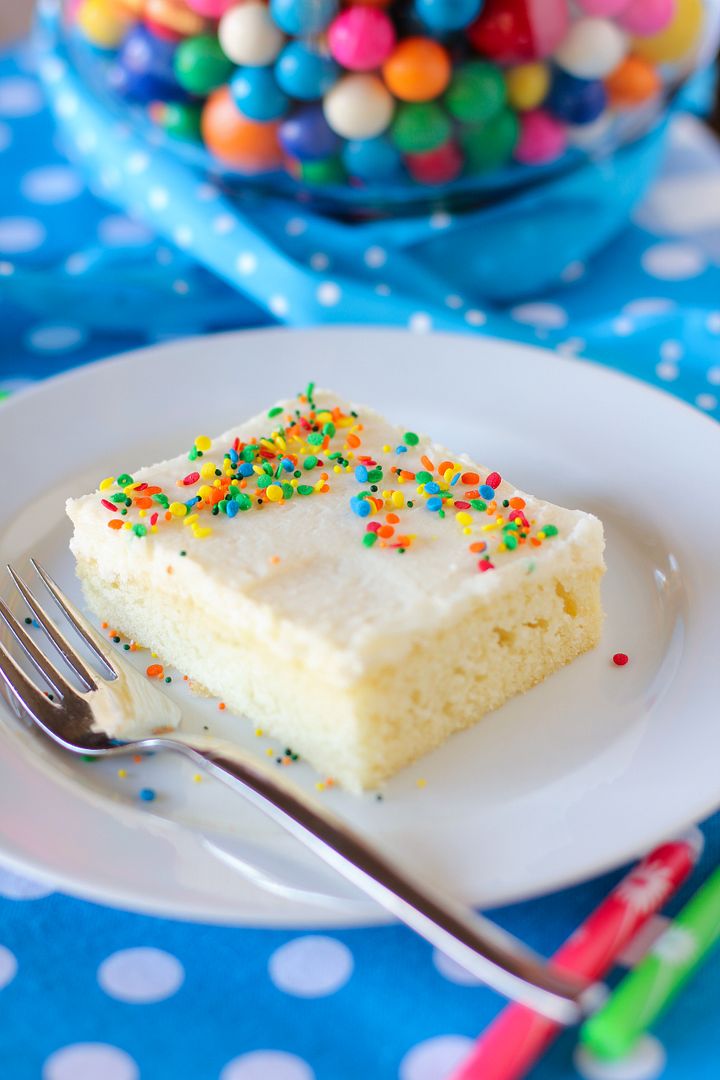
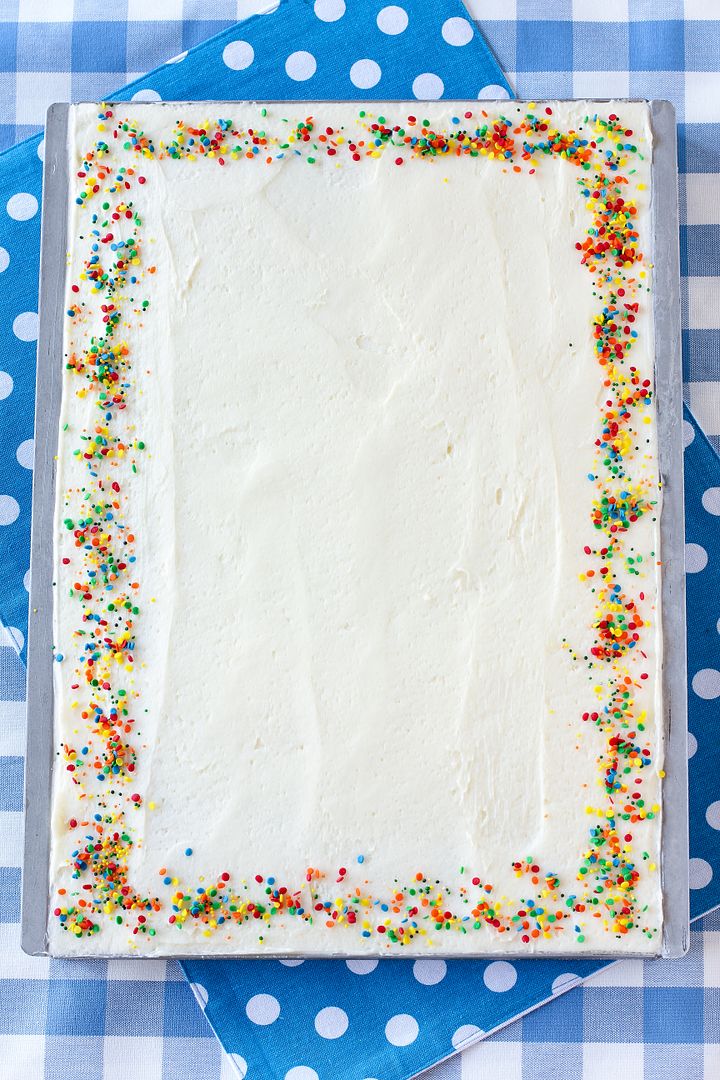
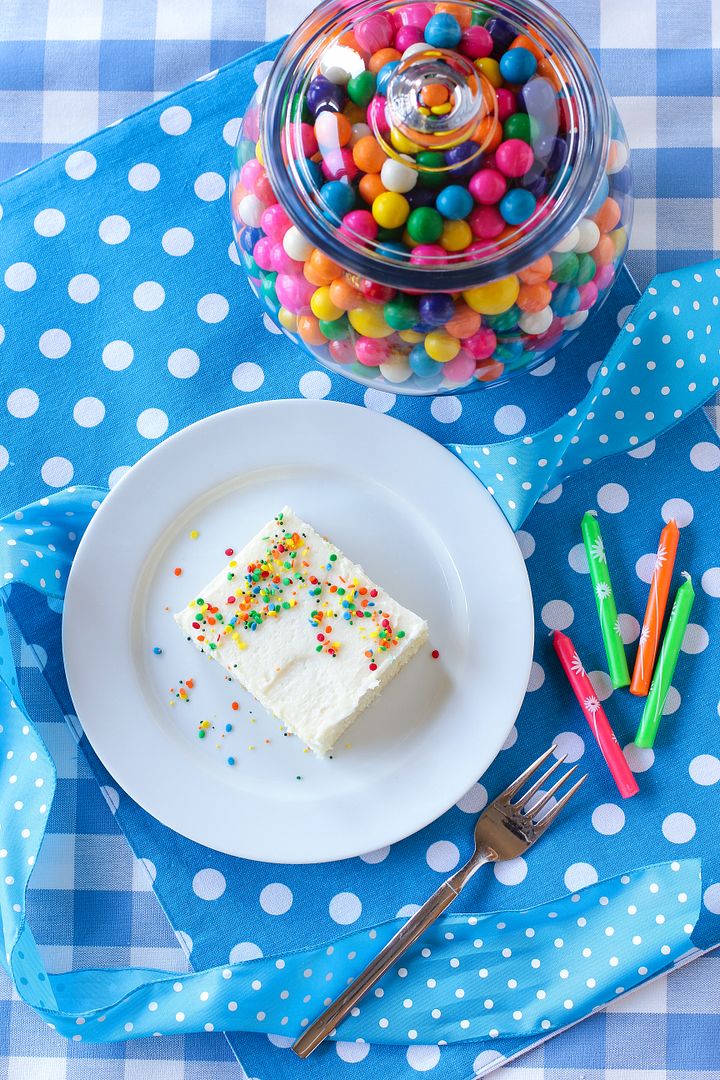
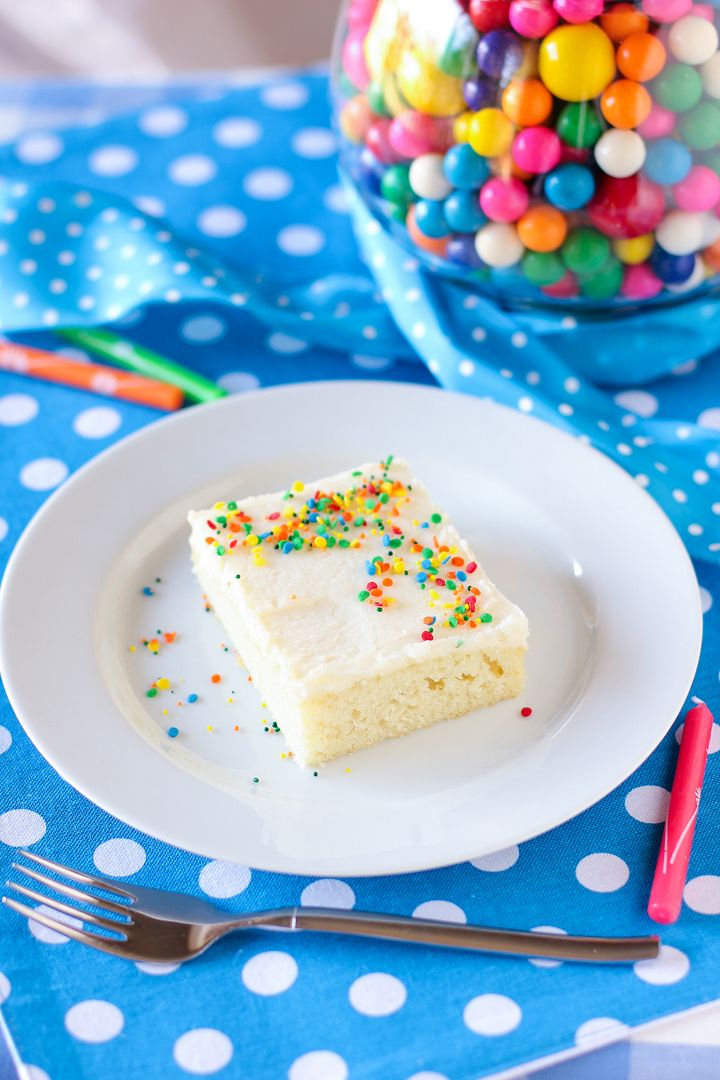
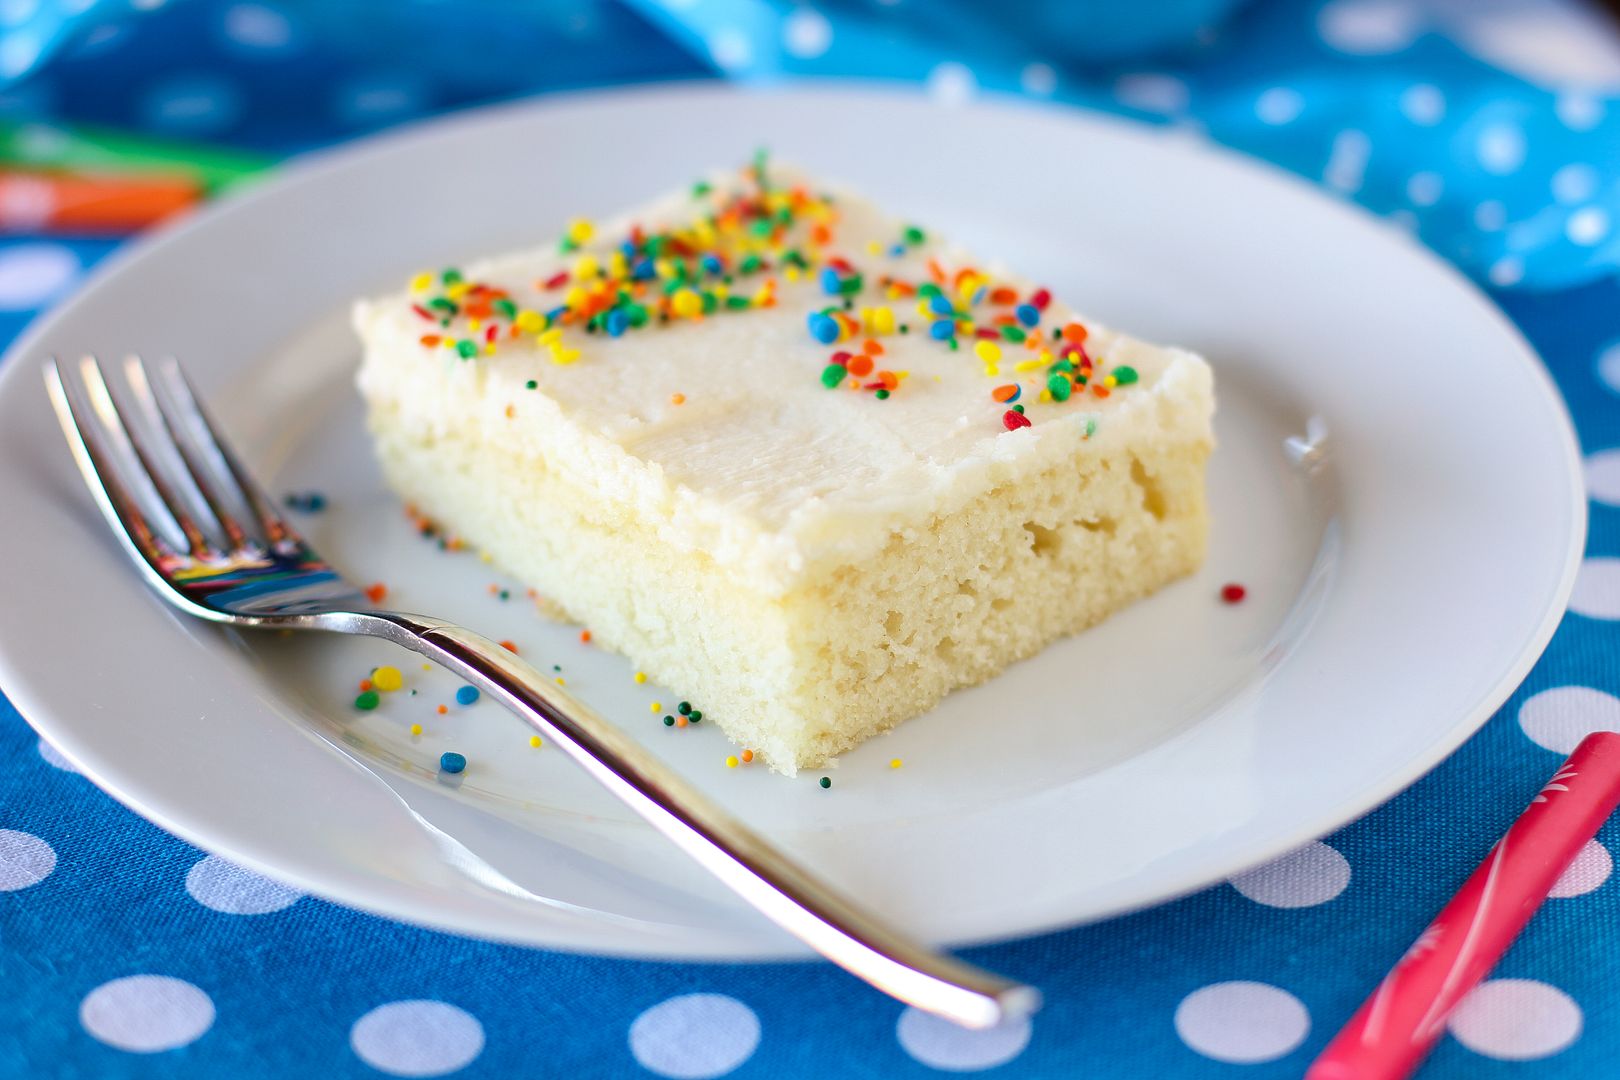
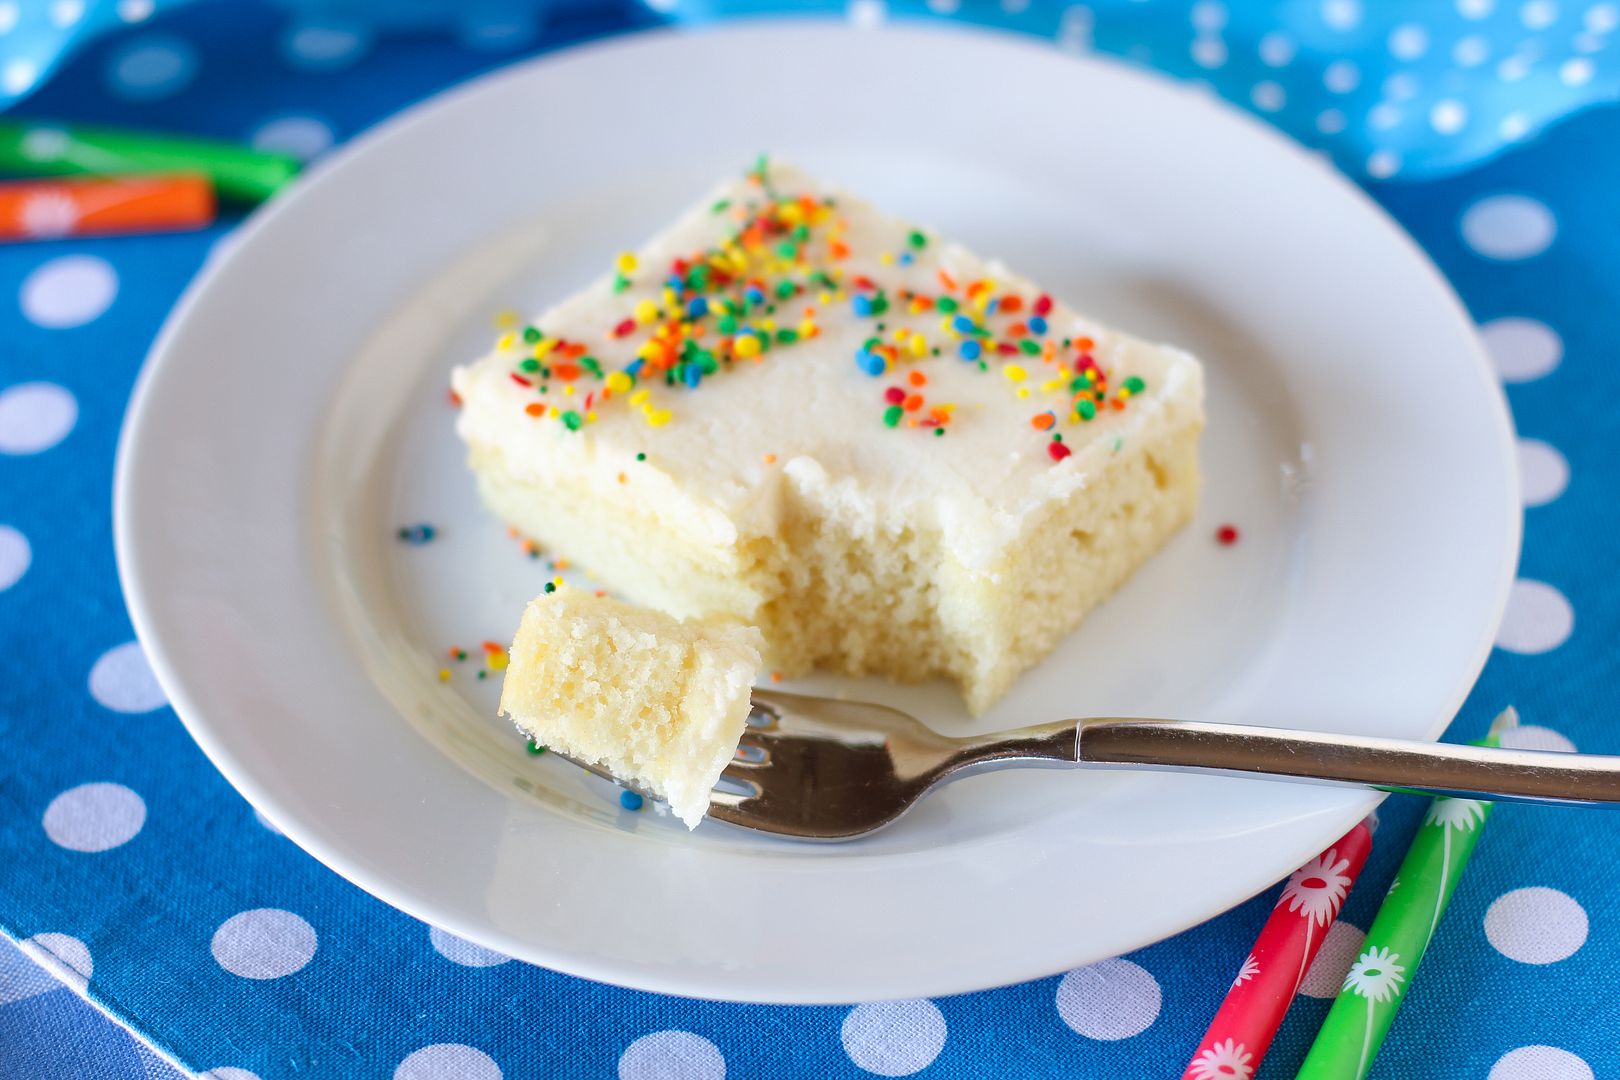
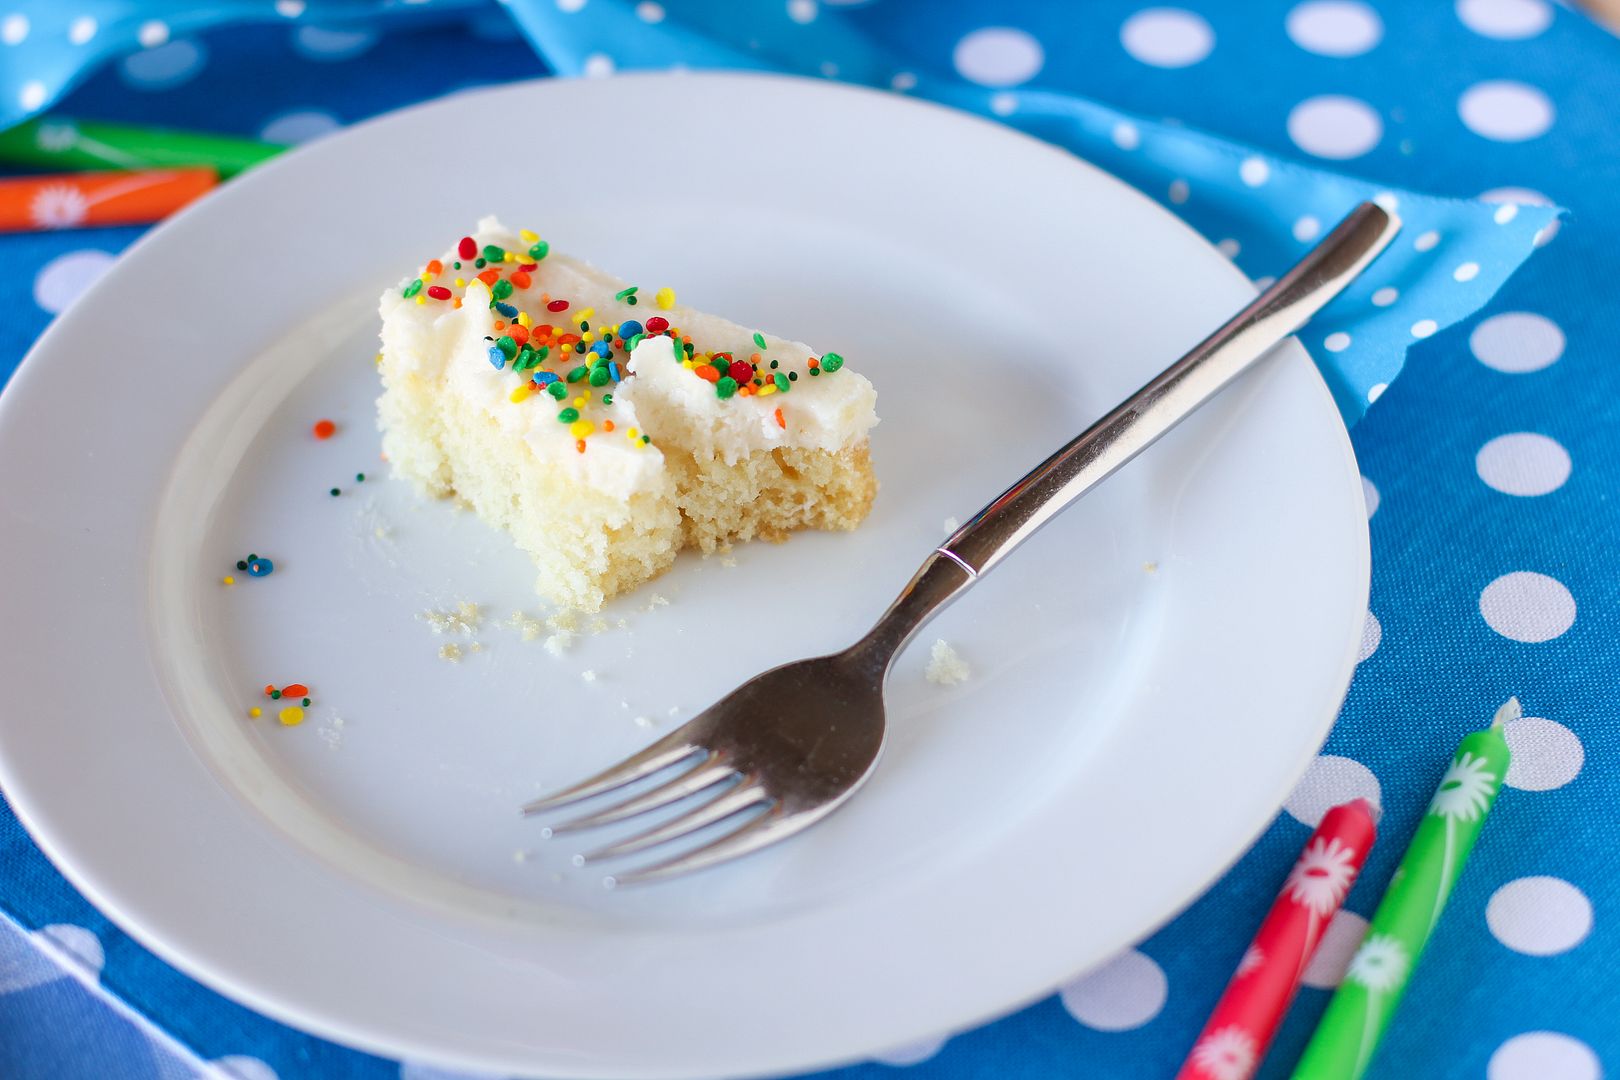
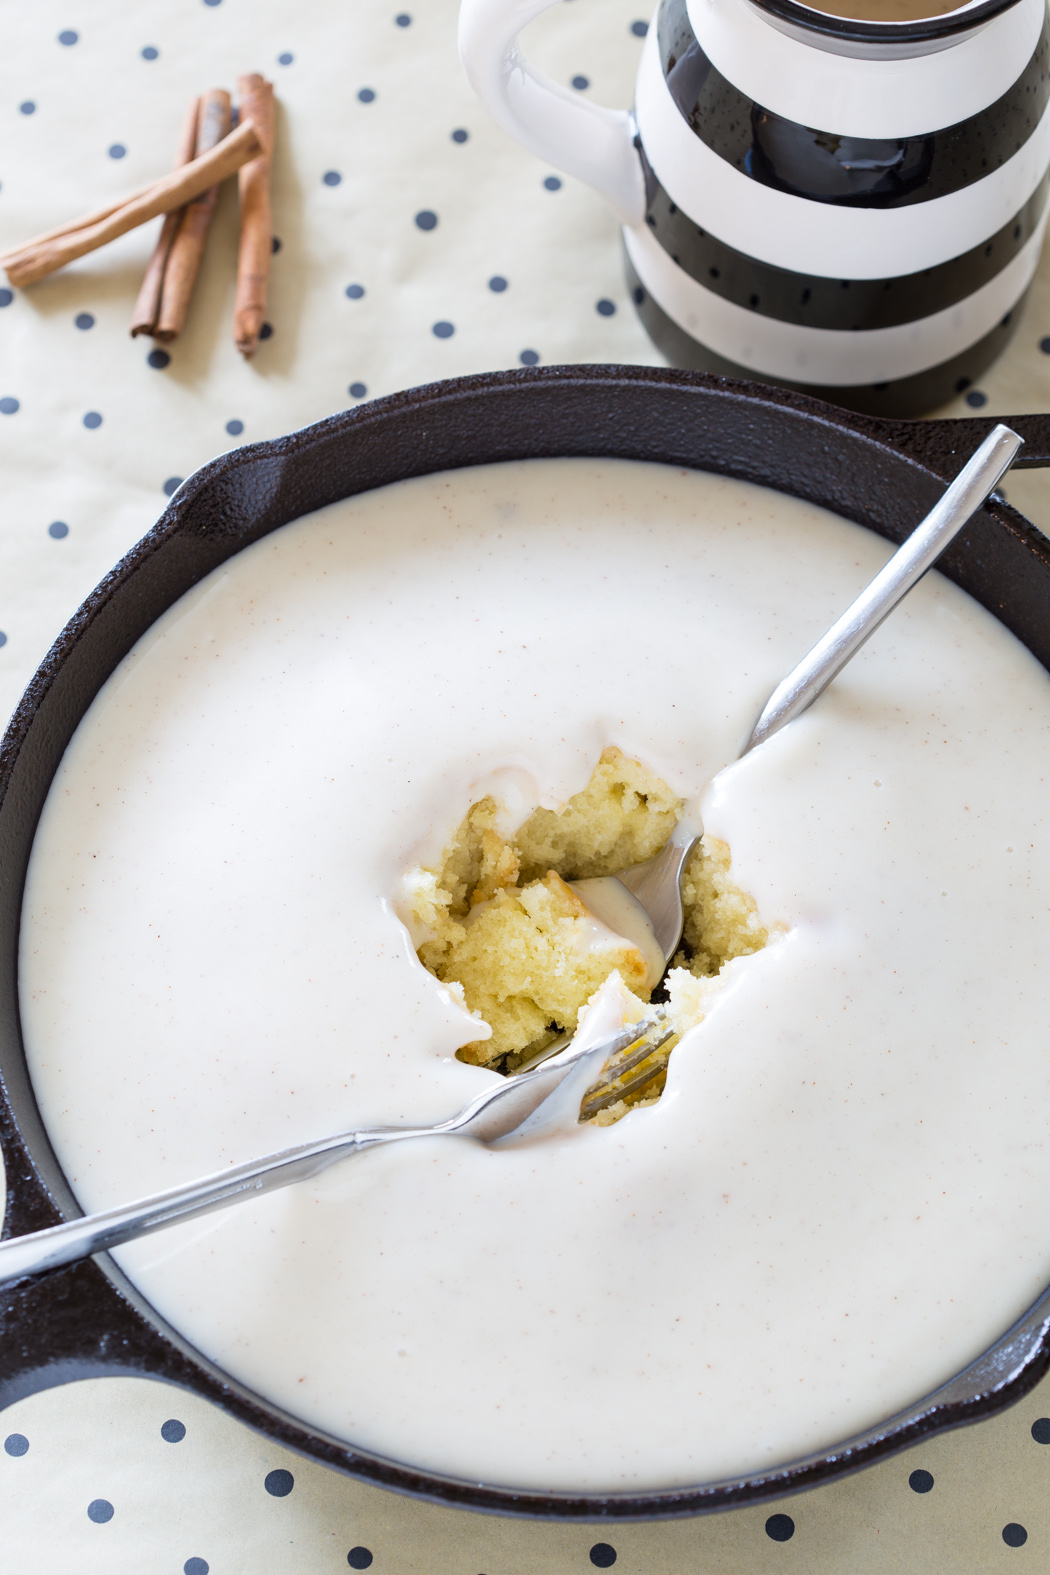
One thing I know you’ll enjoy is this white sheet cake. I’d been craving white sheet cake for awhile — one of those light, moist slabs o’ cake that you can pick up at Sam’s Club or Costco or Walmart slathered with white icing. And I don’t mean that crusty, heavy, dyed buttercream you scrape off, but the really light whipped icing. I don’t know what they put in that stuff, but it is all kinds of amazing! I’m always shocked that a store-bought cake can be that good.

After a little internet sleuthing, I made myself one of those satisfying white sheet cakes at home. This sheet cake is a white Texas sheet cake iced with a lovely whipped frosting I found on Cake Central. A hint of almond is what brings the entire recipe together and makes it taste bakery-quality. Since the cake is easy to throw together and comes out huge, it’s perfect for a birthday party! Or, you know, a Tuesday.

Do you have any blogging questions that didn’t get answered? Do you have some advice you’d add for new bloggers?

One year ago: Cheeseburger Bāozi (Steamed Cheeseburger Stuffed Buns)
Two years ago: Carrot Cake Sandwich Cookies with Honey Cardamom Cream Cheese
Three years ago: Ugly as Sin Coconut Cake

White Sheet Cake with Fluffy Whipped Icing


Recipe by: Adapted from recipes found at The Girl Who Ate Everything and Cake Central
Yield: 24 servings

This quick white sheet cake is light and moist with a hint of almond flavor and whipped icing on top. Let the cake sit out for 10-15 minutes before serving so the icing can get nice and soft.

Cake Ingredients:
1 cup butter
1 cup water
2 1/4 cups cake flour
2 cups white sugar
2 eggs, lightly beaten
1/2 cup sour cream
1/2 teaspoon almond extract
1/2 teaspoon vanilla extract
1 teaspoon baking soda
1 teaspoon salt

Frosting Ingredients:
1/2 cup salted butter, room temperature
1/2 cup vegetable shortening, room temperature
3 3/4 cup powdered sugar
1/4 teaspoon salt
1/2 teaspoon almond extract
1/2 teaspoon vanilla extract
3/4 cup heavy whipping cream
1 tablespoon meringue powder

Directions:
To make the cake: Preheat the oven to 375 degrees and grease (I use Wilton’s Cake Release) a 15 x 10 x 1″ baking sheet. In a medium saucepan over medium heat, bring the butter and water to a boil. In the meantime, in a separate large bowl, whisk together the cake flour and sugar before adding the eggs, sour cream, almond extract, vanilla extract, baking soda, and salt. Mix to combine. While mixing, slowly pour in the boiling butter and water mixture. Mix to combine completely. Your batter will be very runny. Pour the batter into the prepared baking sheet.

Bake at 375 degrees for 17-22 minutes or until a toothpick inserted in several places comes out with a few moist crumbs (don’t wait for the top to get golden brown, necessarily — mine stayed pale). Cool completely.
To make the frosting: Cream together the room temperature shortening and butter until fluffy. Cream in the powdered sugar. Add the salt, almond extract, vanilla extract, meringue powder, and whipping cream. Blend on low until just combined, and then beat on high until fluffy. Spread over cooled cake. Add sprinkles. Store in refrigerator, but let sit out for 10-15 minutes before serving so the icing can get nice and soft.

P.S. Here’s another great post on blogging you should read. And another.

Quick & Easy Sides: Roasted Carrots and Asparagus with Garlic-Lemon Aioli

Their faces shriveled up like little raisins, puckered with panic and surprise. Even though the 7th graders kept their angst non-verbal (ah, they’re growing up!), the mere mention of the deadline for their first research paper was obviously producing epic inward groaning.

That’s when we had to have our talk, and I’m about to have the same talk with you. The truth is, I need this advice as much as anyone reading this right now: you don’t have to stop being afraid, but stop letting that fear stop you.

I get why they’re scared. We’ve been building up this essay for months to try and ensure they won’t be That Kid. You know That Kid (maybe you were That Kid?): the one who doesn’t read the project sheet, does all his or her “research” by playing Crystal Gemz Stackathon on Facebook, and “writes” his or her whole paper the night before by copying and pasting it off of Wikipedia. No teacher wants to read That Kid’s research paper. So we instill a healthy dose of respect for the project.

The thing is, my students are already work-conscious. In fact, a few of them are perfectionists. For those kids, that healthy dose of respect quickly turns to anxiety. What if they don’t get the hang of the research paper? What if it’s too hard for them after all? What if they can’t think of what to say?

They lose sight of the truth: in terms of day-to-day work, this project is just like any other that we do. We start it together. We do mini-lessons about each relevant skill. We have workdays in class where I confer with them. They might have a 30- to 45-minute portion to do at home each night based on what we started in class. We adjust our schedule based on our class needs. They email with questions and I answer them. The truth is, this is just another 7th grade assignment. The only thing different is the impression of newness (“we’ve never done a research paper before”). The unknown creates fear.

Fear in itself is not bad. There’s no reason to try to extinguish rational fear. The fear of falling keeps us from getting too close to the edge of a cliff. The fear of hurting someone we love might remind us to watch our words and actions. The fear of failing a test might prompt us to study. Or actually do our homework and work on our research paper. Ahem.

For some of my students, though — those select few — the fear feels like more of a foreboding mountain to climb than the beginning of an inspirational adrenaline rush. They stand at the base with tangled rope and freezing hands, feeling alone and unprepared. The fear obscures all the work we’ve done to bring them to this point and all the footholds set out before them.

Have you been there? I’m there right now in some ways. God brought me to this moment for a reason, but which path do I choose now? How do I begin the big things I want to accomplish?

I’ll tell you (and myself) what I tell my students: don’t forget the big picture — check in with it now and then to make sure you’re on track — but start with baby steps. You can’t see how to get to the top of the mountain, but if you break it down into just what you have to do first, maybe that task will feel more manageable to you and you’ll sit down to untangle your ropes. After that, maybe you’ll focus on tying your knots. After that, maybe you’ll be ready to take one step up the slope.

Each step builds momentum. Each word written on your document is one piece placed in the puzzle of mastery. And in a few days, before you realize it, you’ll be standing on the summit — or, in their case, holding their first finished research paper in their hands.

* * *

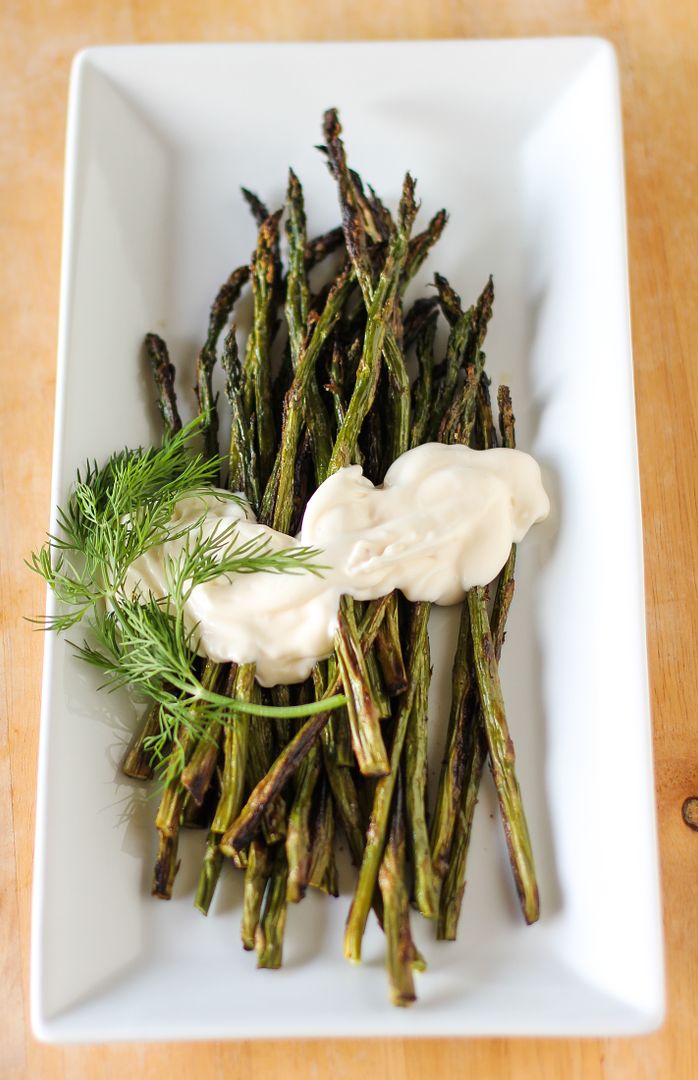
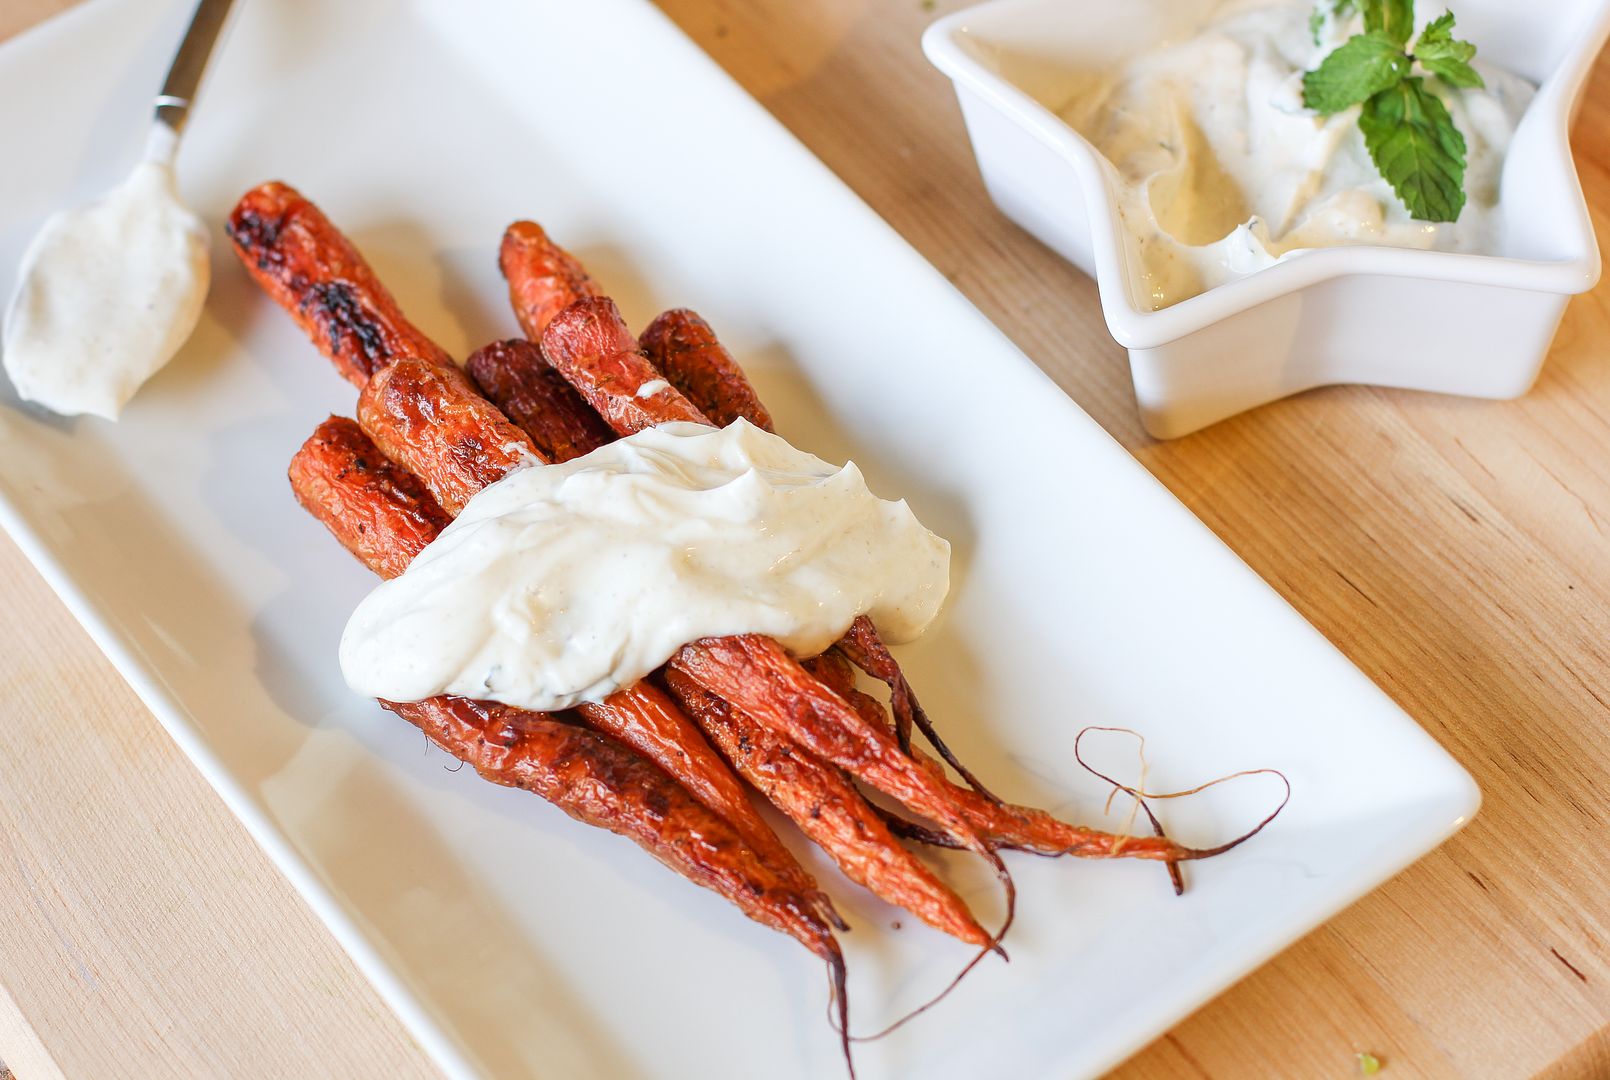
One of the many, many baby steps I’m taking in my life right now is to start cooking dinner more often. And I have discovered, like so many of you, that roasted veggies are about the best things ever. Toss ’em in some olive oil with kosher salt and freshly ground pepper (and depending on the day, maybe some chili flakes and/or lemon juice and/or other goodies) and bake ’em until their crispy. One of my new favorite ways to eat roasted veggies is dipping them into this easy, tasty Garlic-Lemon Aioli. I love it on everything, and it takes about 20 seconds to whip together while the veggies are in the oven. Enjoy!

What big project are you afraid to tackle? What baby step could you take today?

One year ago: Super Bowl Munchies from Willow Bird Baking
Two years ago: Three Delicious Ways to Celebrate World Nutella Day
Three years ago: Strawberry Walnut Ricotta Muffins

Roasted Asparagus


Recipe by: Willow Bird Baking
Yield:

This side dish can be whipped up in 20 minutes total, and it’s so delicious! Make sure your asparagus are not overlapping or touching too much as they bake, because you want them nice and crispy.

Ingredients:
1 bunch asparagus with dead ends trimmed off
1 1/2 tablespoons olive oil
kosher salt and freshly ground pepper to taste
3/4 cup mayonnaise (pick your favorite brand, but obviously, you should use Hellmann’s)
1 teaspoon minced garlic
1 tablespoon lemon juice

Directions:
Preheat oven to 400 degrees F. Toss trimmed asparagus with olive oil and spread out on two baking sheets. Sprinkle with salt and pepper. Cook for about 20 minutes, tossing once, or until roasted and crisp. Keep an eye on them, because asparagus with different thickness than the thin ones I used could take more/less time. Serve asparagus hot with garlic-lemon aioli for dipping.

Roasted Carrots


Recipe by: Willow Bird Baking
Yield: 2 servings

Roasting carrots brings out their gorgeous natural sweetness. Just like with asparagus and other veggies, make sure your carrots are not overlapping or touching too much as they bake, because you want them nice and crispy.

Ingredients:
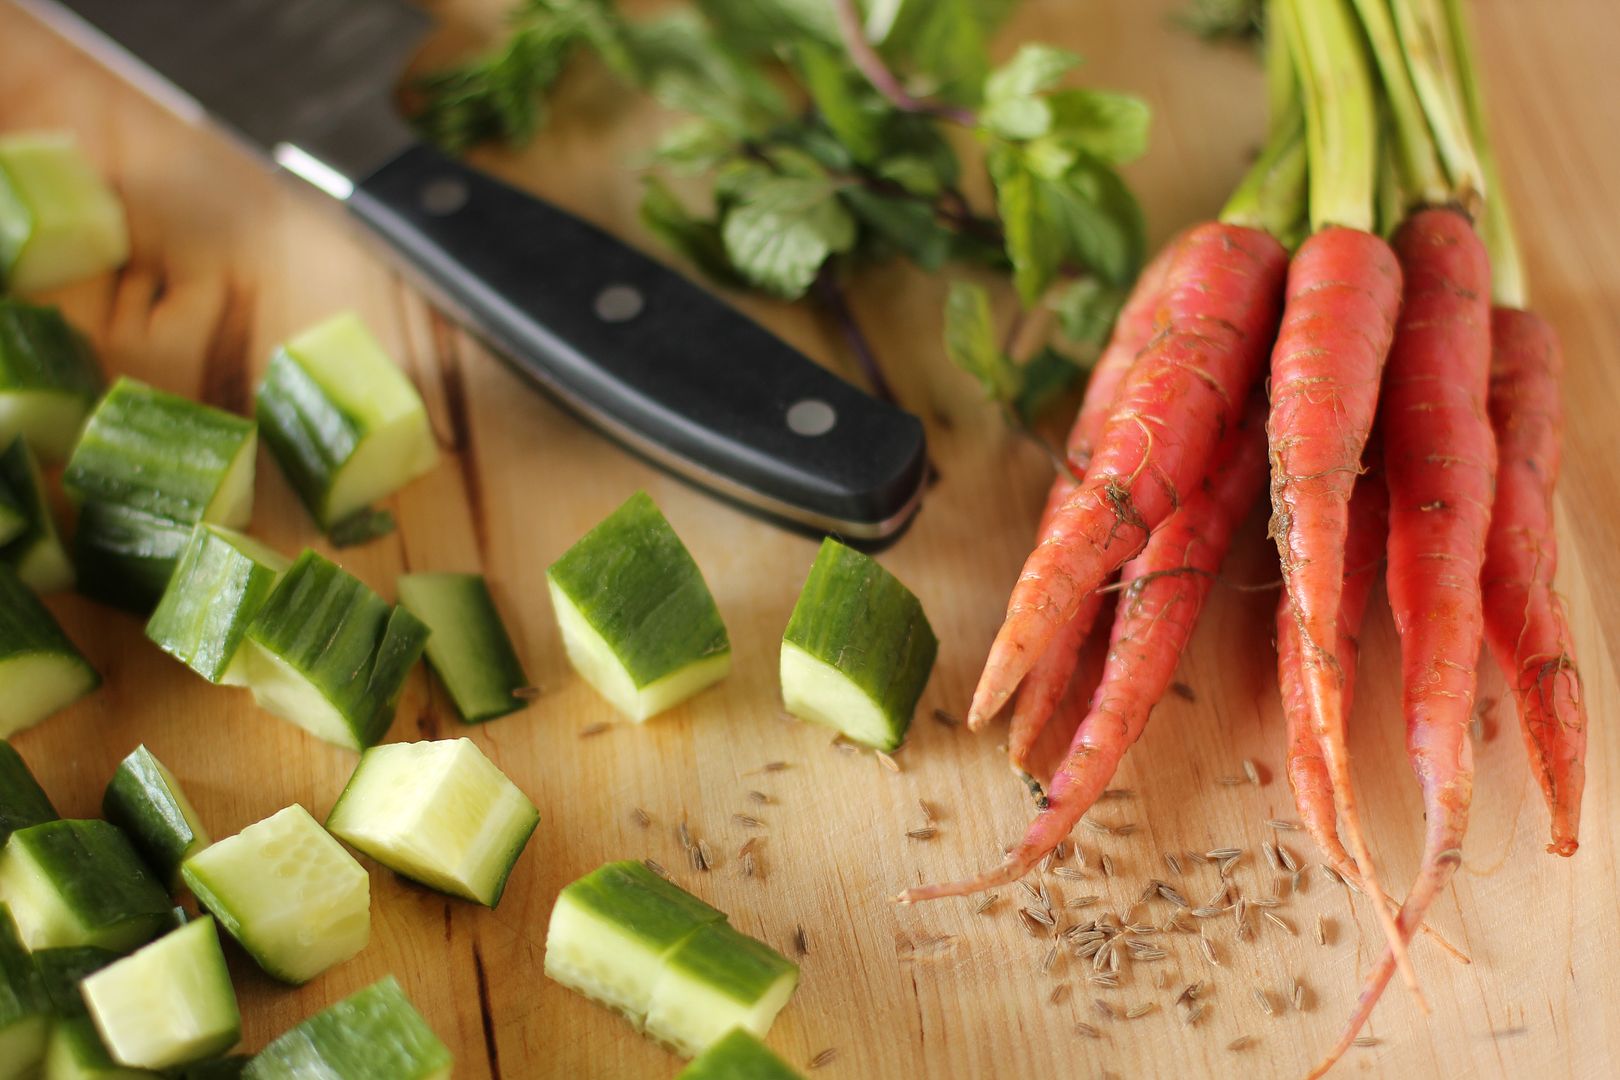
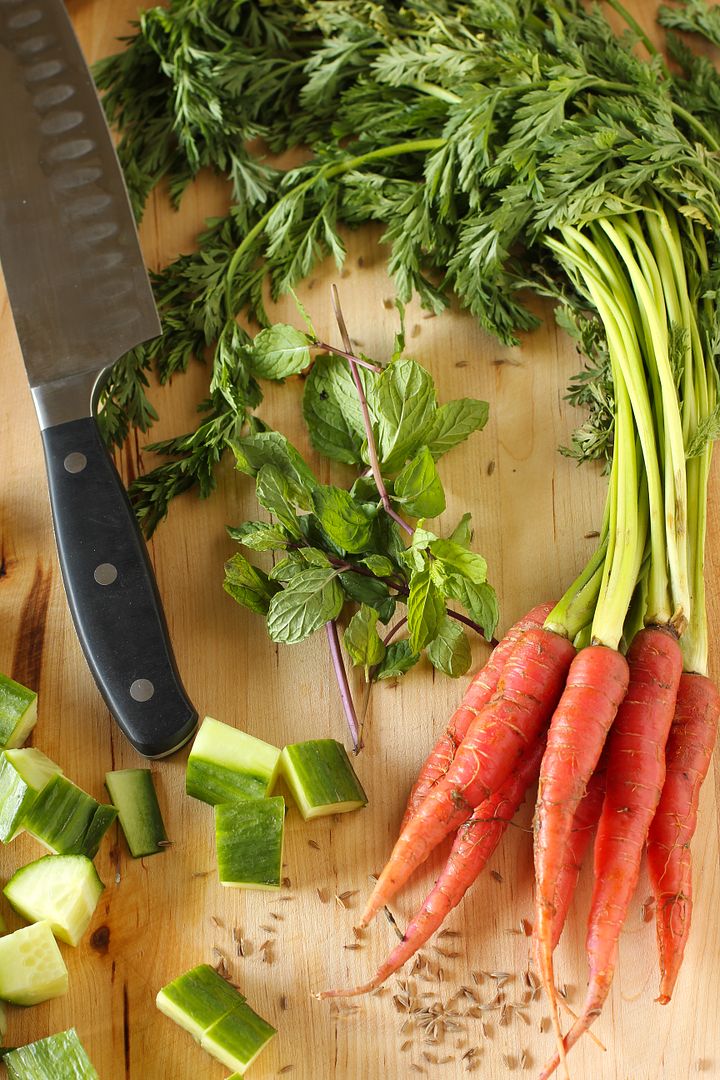
about a pound carrots with tops trimmed off (I don’t peel mine — just scrub them clean)
1 1/2 tablespoon olive oil
kosher salt and freshly ground pepper to taste

Directions:
Preheat oven to 400 degrees F. Toss trimmed carrots with olive oil and spread out on a baking sheets (try not to overlap the carrots or have them touching too much — you want ’em to get crispy!) Sprinkle with salt and pepper. Cook for about 30-35 minutes, tossing once, or until roasted and crisp. Keep an eye on them, because carrots with different thickness than the ones I used could take more/less time. Serve carrots hot with garlic-lemon aioli for dipping.

Garlic-Lemon Aioli


Recipe by: Adapted from Giada DiLaurentis
Yield: 3/4 cup aioli

I usually serve this aioli as a dip for sweet potato fries, but I’ve recently discovered it’s delicious with all vegetables. It’s livened up my roasted veggie nights considerably!

Ingredients:
3/4 cup mayonnaise (pick your favorite brand, but obviously, you should use Hellmann’s)
1 teaspoon minced garlic
1 tablespoon lemon juice

Directions:
Mix mayonnaise, garlic, and lemon juice in a small bowl. Refrigerate until ready to use. Feel free to garnish with any fresh herbs you like — basil or thyme would be nice. Serve with warm roasted asparagus, carrots, or sweet potato fries.

Spaghetti Squash Baked “Pasta” Boats

In my childhood spelling bees, we all stood in a little line and the teacher called out words that, had we confronted them on paper, would’ve appeared totally innocuous. When tossed at our blank 6th-grade stares like a verbal grenade, however, they might as well have been spoken in Swahili. I remember wanting so badly to win the bee at least one year; I was a great writer and speller, so it only made sense that I should win, right? Each bee, though, I would realize that oral competitions had a tricky logic all their own. Before long, I’d reach the inevitable moment where the letters I’d already said and the letters I still needed to say would combine in a sticky, confusing web in my brain.

One year “eclipse” was my downfall.

The next year, “monotonous.”

Now that I’m a teacher, I’ve noticed you can learn a lot about your students during a classroom spelling bee.

For instance, I learned that Chase is very conscientious.

On his turn, he got the word “obituary.” A funny look came over his face. “Ms. Ruble, is it okay if . . . well, while I’m spelling this word, I might spell a . . .,” he struggled to complete his thought. I realized where he was going and had to stifle a laugh.

“Just spell it however you think it’s spelled and it will be fine, Chase.”

He began, “O-b-i-t-c-h–“

Once he had finished and I had corrected his spelling, we had to pause the bee for a moment. We were all laughing uncontrollably, Chase included, and I was in no position to call the next word.

I also learned that Shreena is cursed. While students around her got words like “platoon” and “pantheon,” she ended up with “hors d’oeuvres” and “delinquency.” Aubrey shook her head and patted Shreena’s shoulder sympathetically.
I want you to know that I have never in my life spelled hors d’oeuvres correctly without looking it up, and I’m the language arts teacher and a food blogger and I took 5 and a half years of French.

I also learned that Will has flair.

When he messed up the first letter of a word, instead of just giving up, he gave it the most creative alternate spelling he could come up with. I think there was a Q, Z, and even a 3 in there.

I learned that none of my students — at least, none who received the word — can spell “deodorant.” I made sure to teach them how, just in case they would otherwise have trouble finding it in the grocery store. I might have also mentioned how middle school is the ideal time to begin wearing said product if they’ve not already done so. Just a quick side lesson for good measure.

Finally, I learned that my students rock (honestly, I already knew this.) Augury, fabulist, vernal, inimitable, salubrious, compendium, and nominative are just a few of the words they spelled correctly.

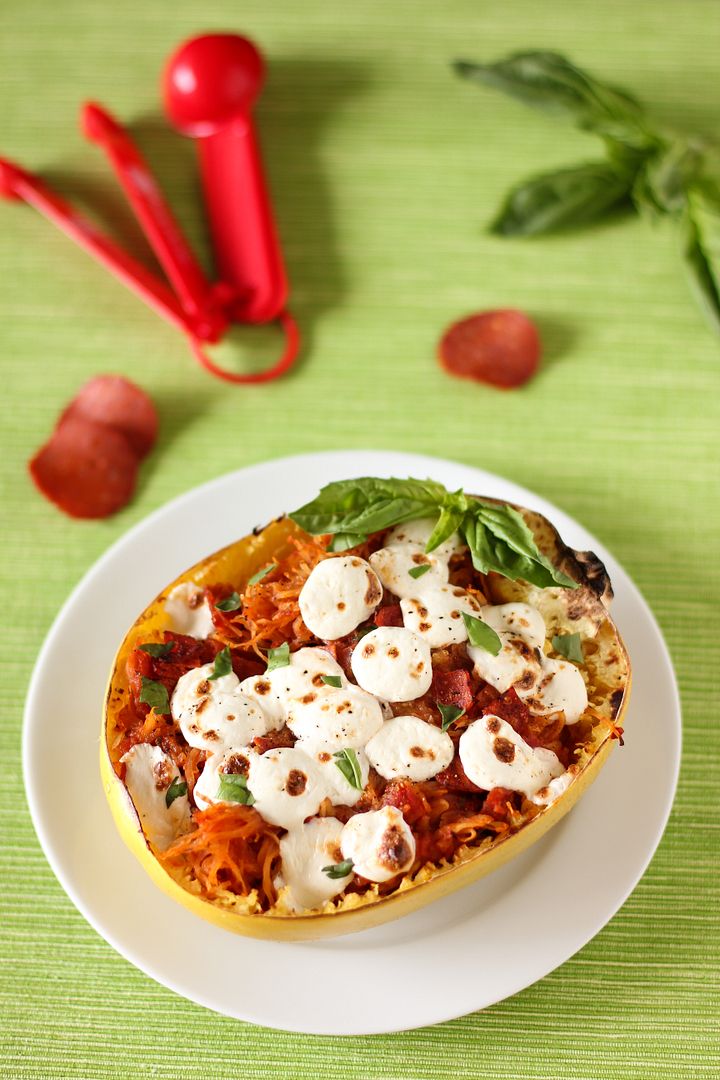
The spelling bee is fun for so many reasons — not least of all because it’s a simple “lesson plan” day for me. I have a simple dinner plan waiting for me tonight, too. I first saw these little squash boats on Skinnytaste, a blog I love, and couldn’t believe what a quick and healthy dinner fix they were. I tweaked mine with a little turkey pepperoni, and now I can’t stop whipping up this dish each night. I hope you love it too.

One year ago: Caramelized Banana Upside-Down Coconut Cake & Coconut Whipped Cream
Two years ago: Lemon Berry Crumble Breakup Bars
Three years ago: Pecan Maple Bacon Pancakes

Spaghetti Squash Baked “Pasta” Boats


Recipe by: Adapted from Skinnytaste
Yield: 2 servings

This baked “pasta” recipe is so quick and simple — it makes good use of the microwave and spaghetti squash to create a satisfying, comforting meal without the added calories and carbs from regular pasta. Each serving comes in around 470 calories, 45 grams net carbs (discounting the 12 grams fiber), and 24 grams of protein with a 2.5 pound squash (data from SparkPeople).

Ingredients:
1 medium/large spaghetti squash (mine was about 2.5 pounds)
30 slices turkey pepperoni, chopped (leave out for a vegetarian meal)
1 1/2 cup jarred vodka pasta sauce
3 tablespoons chopped fresh basil
about 1-2 ounces mozzarella cheese
1 teaspoon salt or to taste (less for a smaller squash)
pepper to taste

Directions:
Halve the squash and scrape out the seeds and fibers in the middle. Poke a few holes in each half. Microwave the squash, one half at a time, for 9-10 minutes each half.

Preheat the broiler. While microwaving the squash, place the chopped pepperoni, vodka sauce, basil (reserving a bit for topping), and salt and pepper in a medium bowl. When the squash is finished and has cooled for a couple of minutes, use two forks to scrape the squash flesh into the bowl (it will separate into spaghetti-like “noodles”), reserving the squash skins to serve as bowls. Mix the squash and sauce mixture well until all ingredients are distributed. Divide this mixture into your two squash bowls.

Top each squash half with mozzarella cheese and a little more freshly ground pepper. Broil for a few minutes until bubbly. Remove and top with the reserved fresh basil. Serve hot.

1 65 66 67 68 69 127