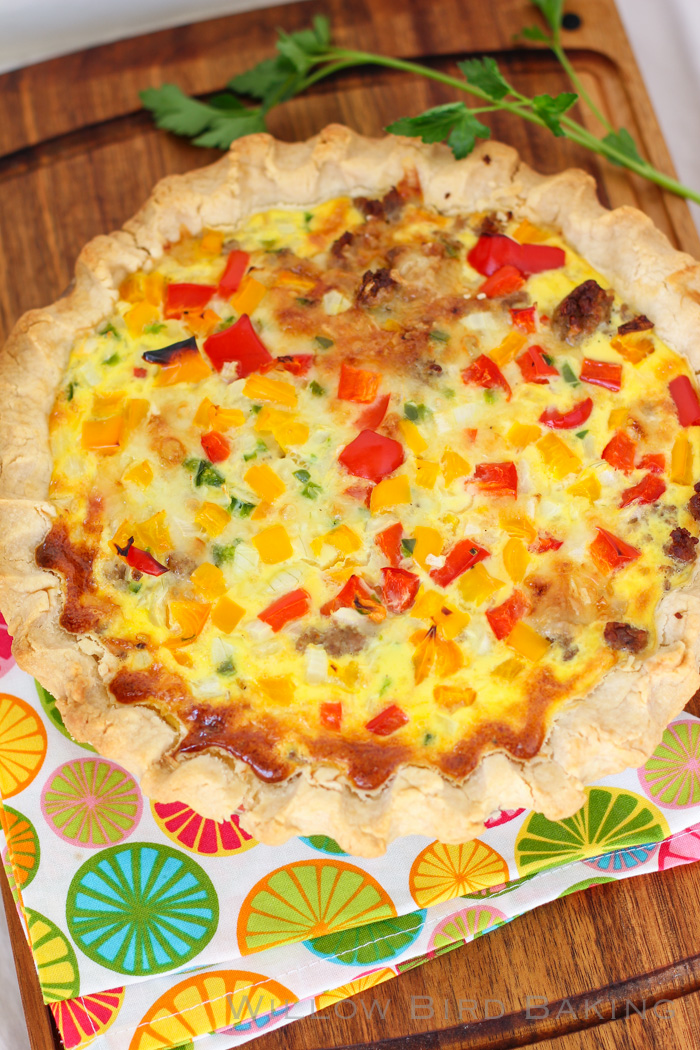
Sassy Sausage Breakfast Pie

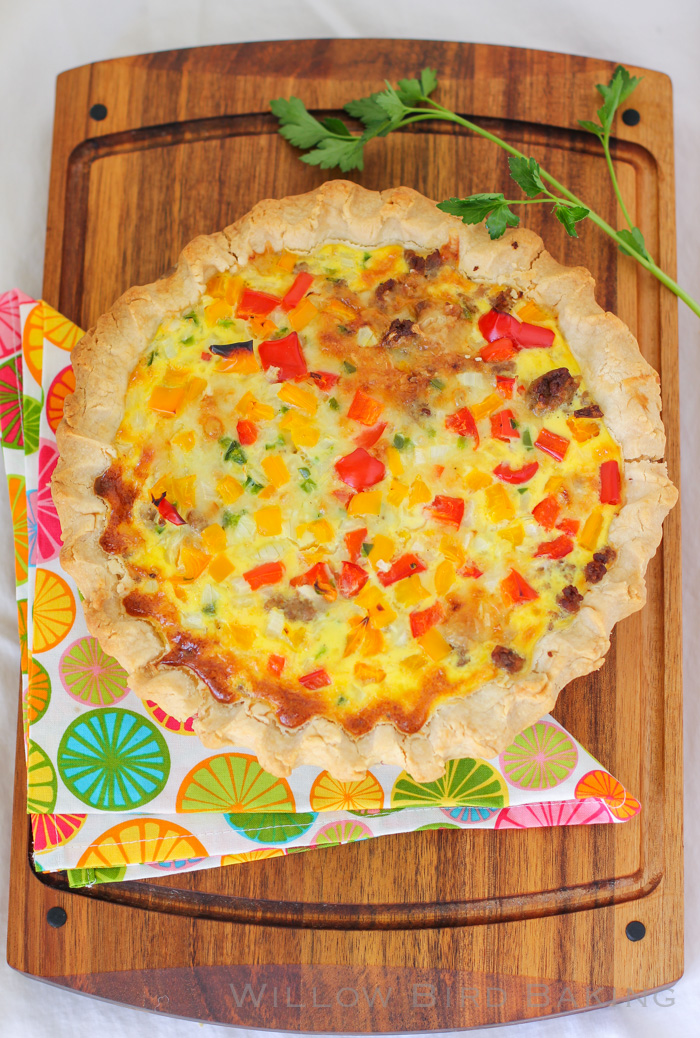
Sassy Sausage Breakfast Pie

Sassy Sausage Breakfast Pie


Recipe by: Adapted by Willow Bird Baking from my mother-in-law’s recipe
Yield: 8 servings

Oh my gosh, pie crust and sausage, y’all. This breakfast pie is the bee’s knees. Mike’s mom always makes it for Christmas breakfast and we dream of it all year long! I added a little jalapeño (which you can adjust to your taste) to give it a slight kick, but it won’t make your nose run or eyes water. I recommend serving this with a sweet side — maybe fruit and some coconut meringue dip, which I’m sharing on the blog later this week — and mimosas for a special Sunday brunch.

Ingredients:
9-inch pie shell, unbaked (homemade or store-bought)
1 pound breakfast sausage
1 1/2 cups grated Gruyère cheese (or other Swiss cheese)
4 eggs
1 cup half and half (or light cream)
1/4 cup chopped orange/yellow bell pepper
1/4 cup chopped red bell pepper
1/2 medium jalapeño, finely chopped (adjust to your heat preference — this gives a slight kick)
1/4 cup chopped onion
salt and pepper

Directions:
Preheat oven to 375 degrees F. Roll out the pie dough and place it in a pie plate, crimping the edges. Place this in the refrigerator while you prepare the filling.

Brown the sausage and drain on a paper towel lined plate. Mix the cheese and sausage and place into the pie shell. In a medium bowl, lightly beat the eggs and cream together. Mix in the peppers and onion. Salt and pepper the mixture. Pour it into the pie shell over the meat and cheese, adjusting to be sure all the ingredients are spread out. Bake for 40-45 minutes until set and golden. Cool on a rack for 10 minutes before slicing and serving. I love to serve the pie with Frank’s Hot Sauce, which complements the flavor perfectly!

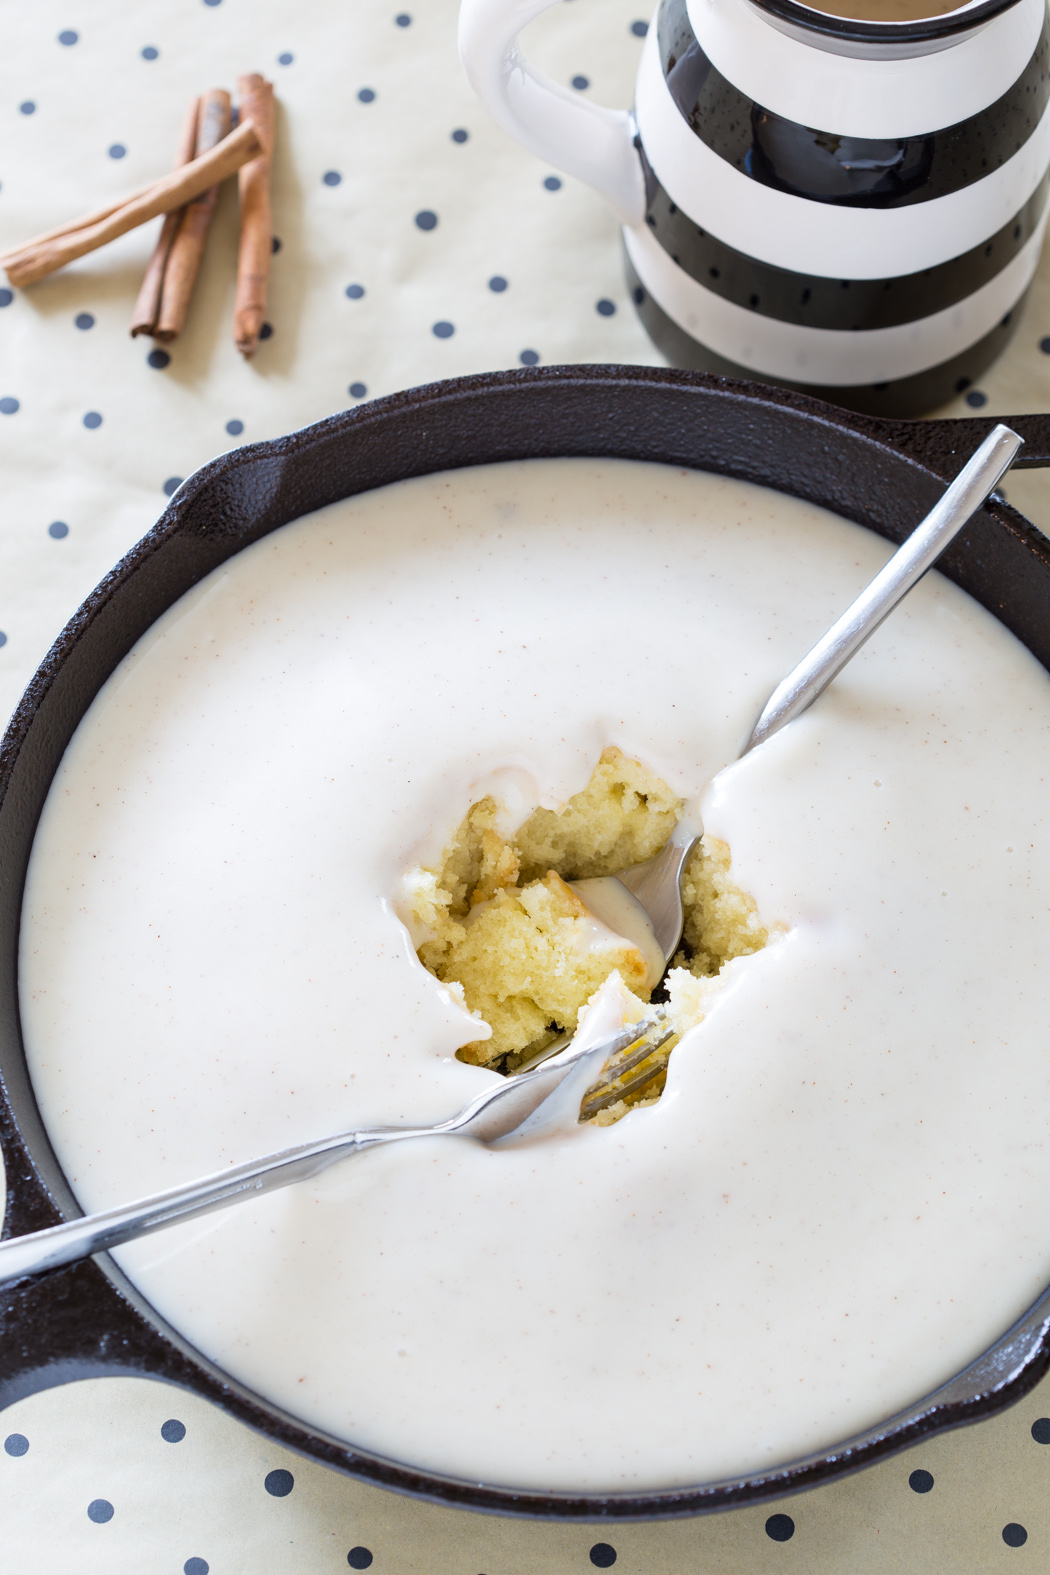
Coconut Pudding Spoon Cake

Coconut Pudding Spoon Cake
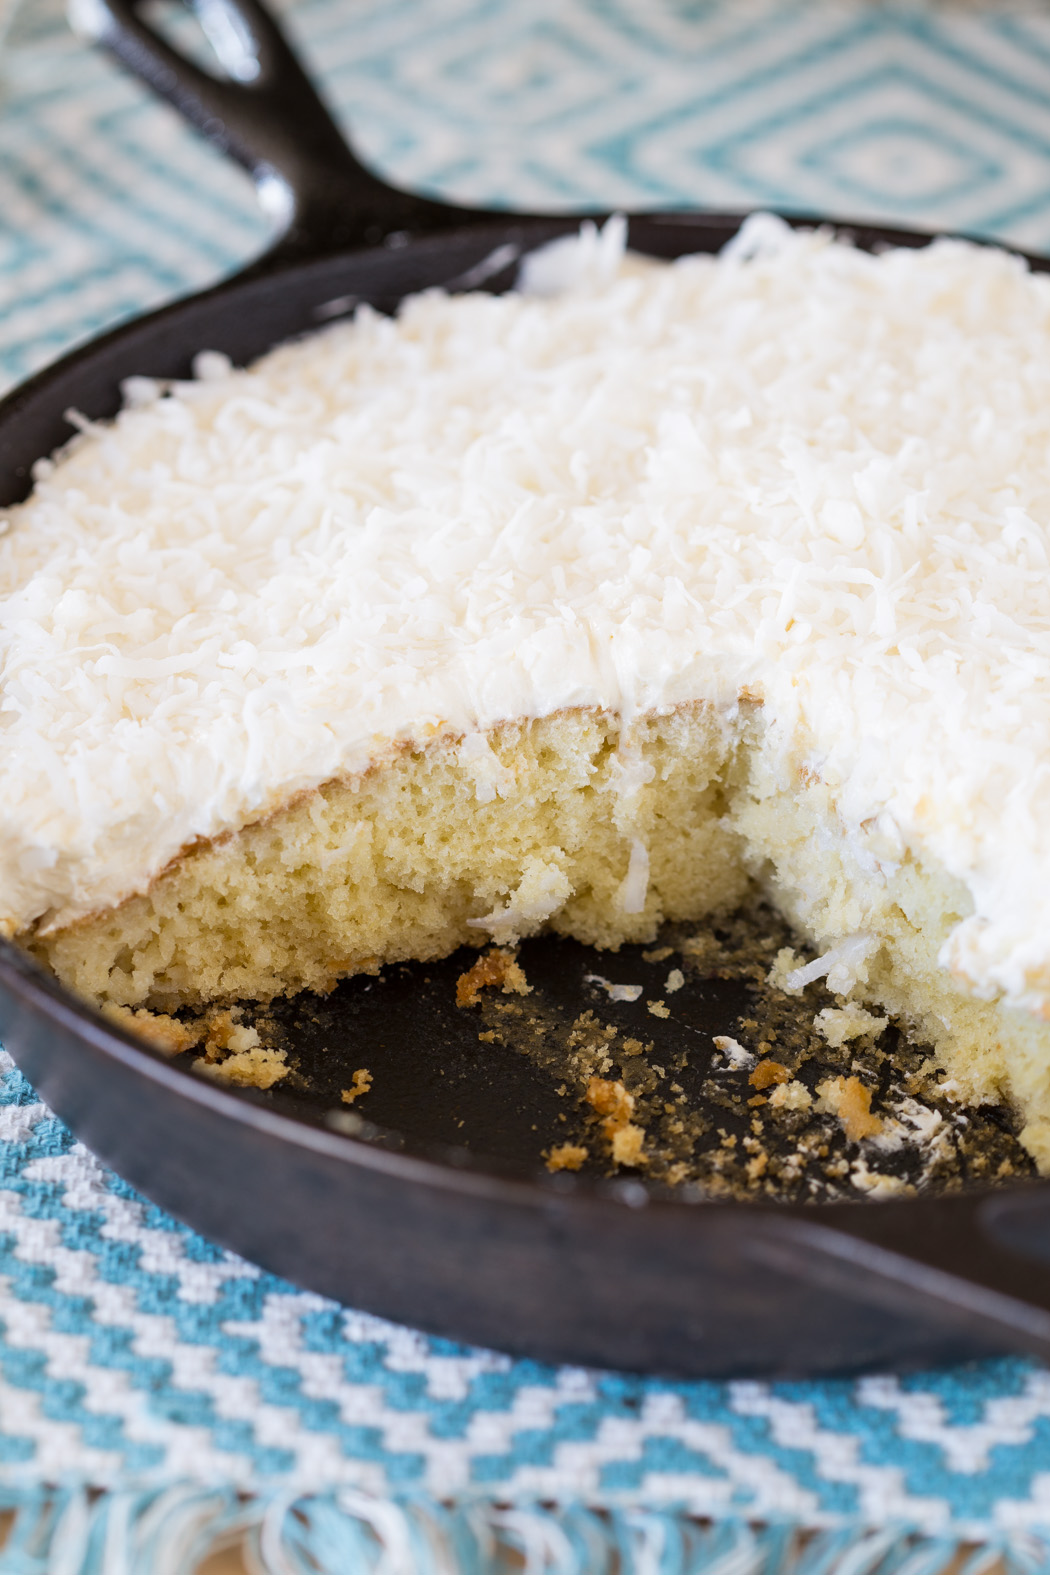
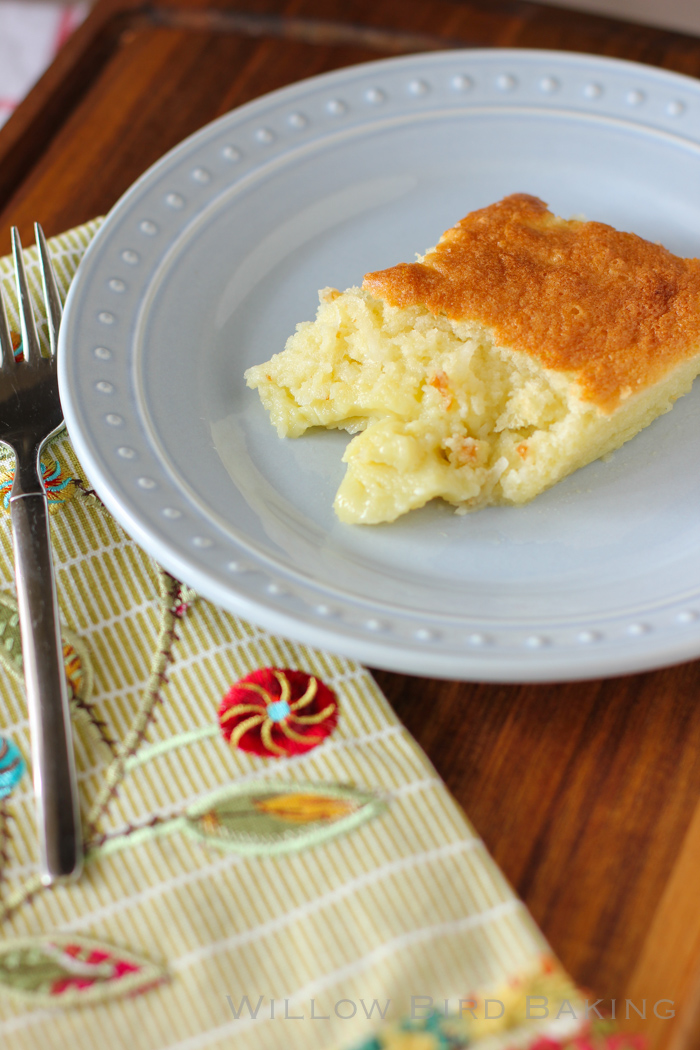
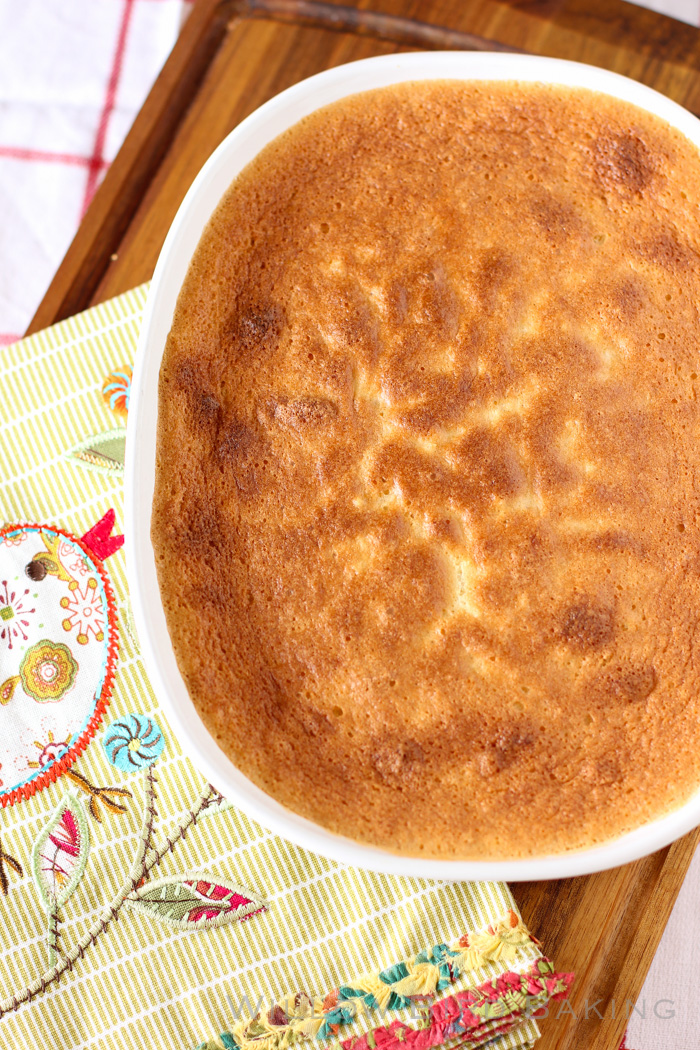
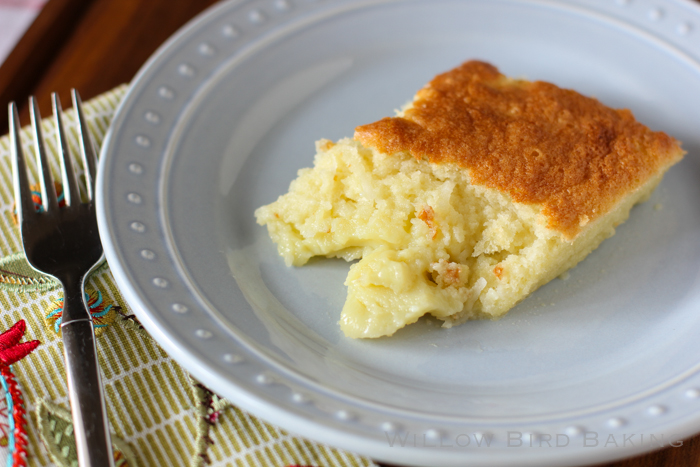
Coconut Pudding Spoon Cake: Hard to Photograph, So Easy to Eat

Coconut Pudding Spoon Cake


Recipe by: Adapted from Baked Lemon Pudding Cake
Yield: 4-6 servings

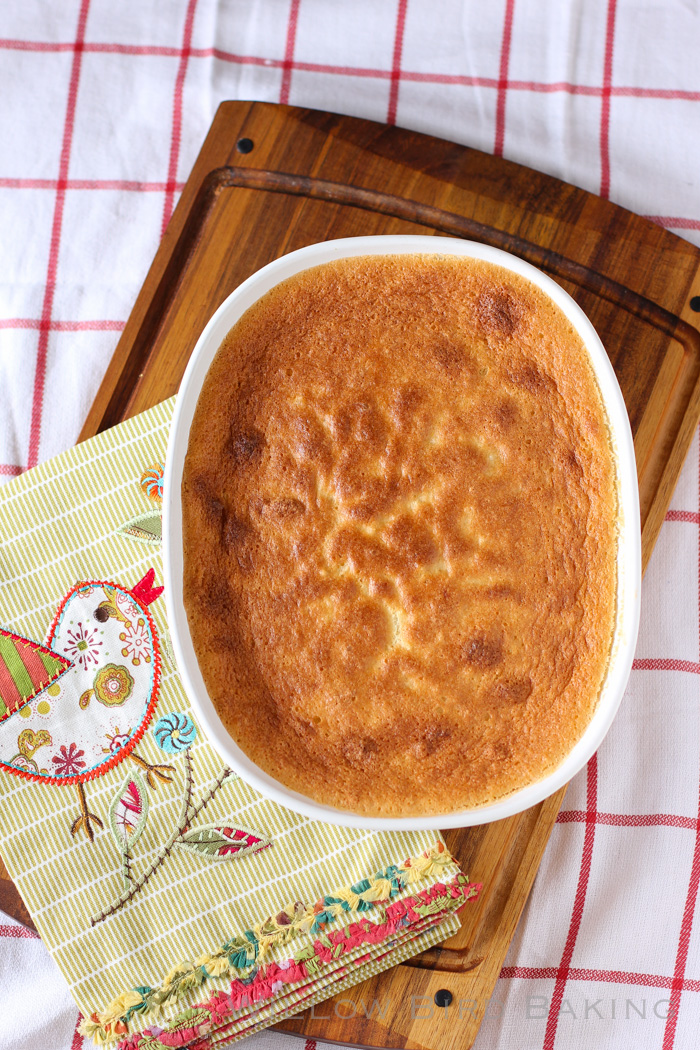
This cloudlike Coconut Pudding Spoon Cake takes just around 15 minutes to whip up and get in the oven, but it’s so warm, satisfying, and moist. The texture alone is enough to knock you right off your feet. Enjoy!
Ingredients:
4 eggs, separated
1 cup sugar, divided
1/2 cup (1 stick) butter, softened
1/2 teaspoon coconut extract
1/4 teaspoon vanilla extract
5 tablespoons and 1 teaspoon all-purpose flour
1/8 teaspoon salt
1 1/4 cup coconut milk (the unsweetened kind you buy in cans)
1/2 cup shredded coconut

Directions:
Preheat the oven to 350 degrees F. Put some water in a saucepan on to boil; you’ll use this for the water bath later. In the bowl of a stand mixer, whip 4 egg whites on medium speed until foamy and then slowly add 1/4 cup of sugar. Turn mixer to high and whip the egg whites to stiff, glossy peaks.

In a separate large bowl, cream together the butter and remaining sugar for 2-3 minutes until pale, fluffy yellow. Mix in the egg yolks and extracts until just combined, scraping down the sides as needed. Mix in the flour and salt until just combined. Mix in the coconut milk until just combined.

Stir in about 1/3 of the egg white mixture into the butter mixture to lighten it up. Then add the rest of the egg white mixture and the shredded coconut, folding them in gently until there are no streaks in the mixture. Pour the mixture into a shallow, ungreased 2-quart baking dish (mine is the oval seen above and is actually about 1.9 quarts.) Place the filled dish in a larger 9×13-inch baking dish on your oven rack and carefully pour boiling water up to about 1/2-inch deep around it to form a water bath. Bake for 45-55 minutes or until set and golden brown. Carefully remove from the oven and serve warm.

The BEST Valentine’s Day Recipes from Willow Bird Baking

The BEST Valentine's Day Recipes from Willow Bird Baking
Thanks, Foodie, for sponsoring this post showcasing the BEST Valentine’s Day Recipes from Willow Bird Baking.

Valentine’s Day is one of my favorite food holidays. Everything’s so CUTE and CHOCOLATE and CUTE and PINK. Since it’s my fave, I go all out on heart day recipes. See the caption under each recipe for a description and difficulty level.

Red Velvet CHEESECAKE-STUFFED Cake Balls
Red Velvet Cheesecake-Stuffed Cake Balls

That’s right. They’re STUFFED WITH CHEESECAKE. This was one of the best ideas I’ve ever had. You should pretend it was yours. Difficulty level: Intermediate.


Gooey Chocolate Coconut Cream Skillet Cake

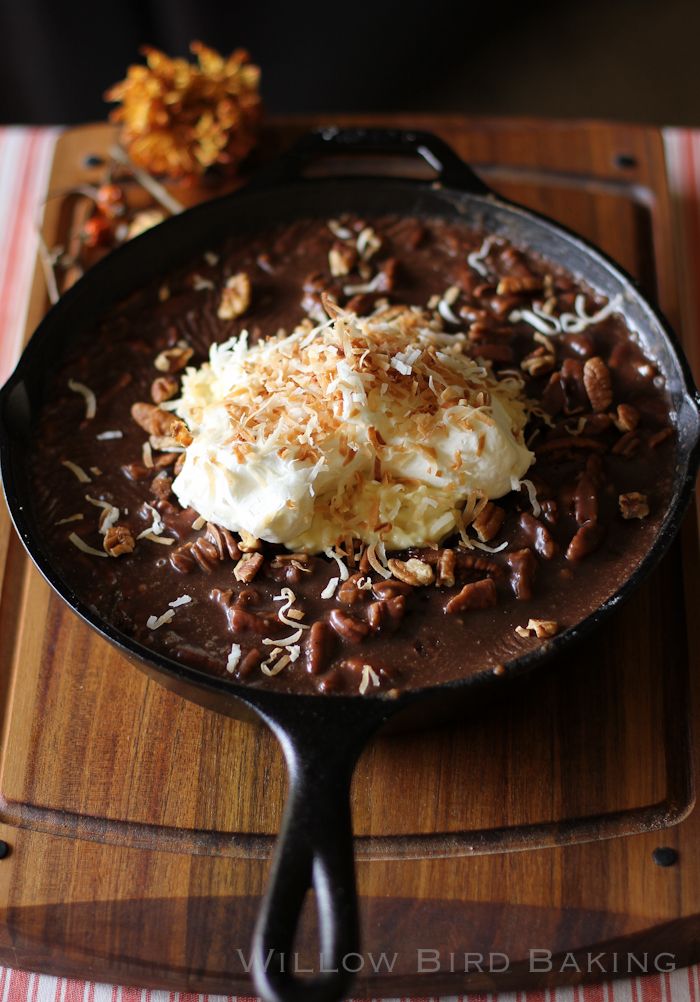
Not all of the best Valentine’s desserts are red. This is a romantic favorite, eaten straight from the skillet! Difficulty Level: Easy.


Gooey Turtle Brownie Sticky Buns

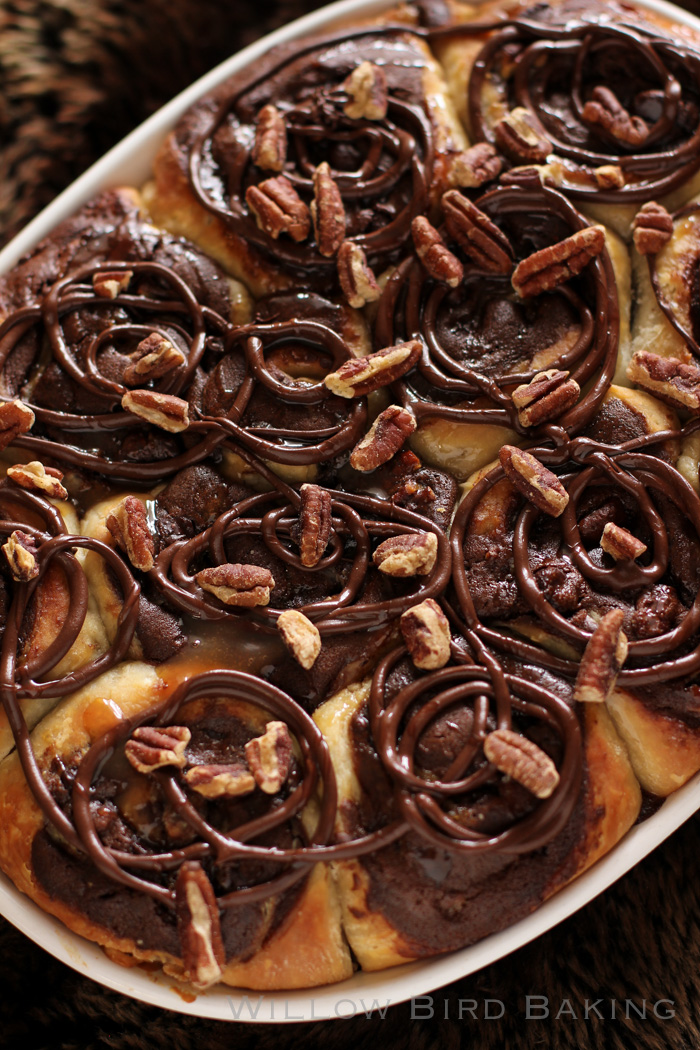
Brownies + sticky Buns = Love. Difficulty Level: Intermediate.


Raspberry Cheesecake Morning Buns

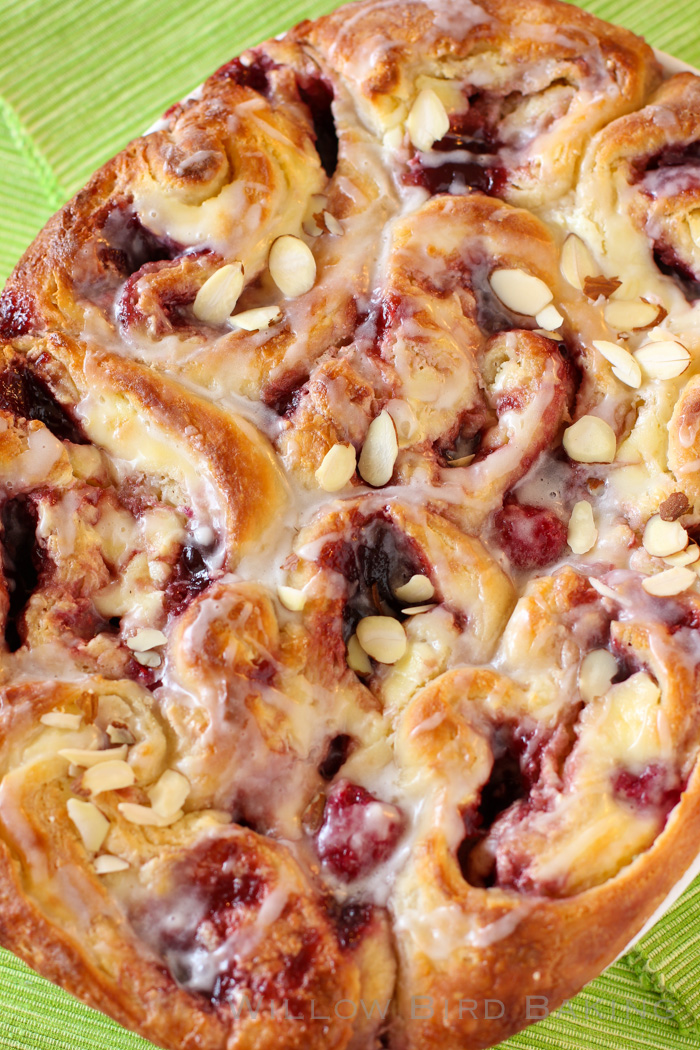
Incredibly indulgent Raspberry Cheesecake buns that are perfect for breakfast or dessert! Difficulty Level: Intermediate.


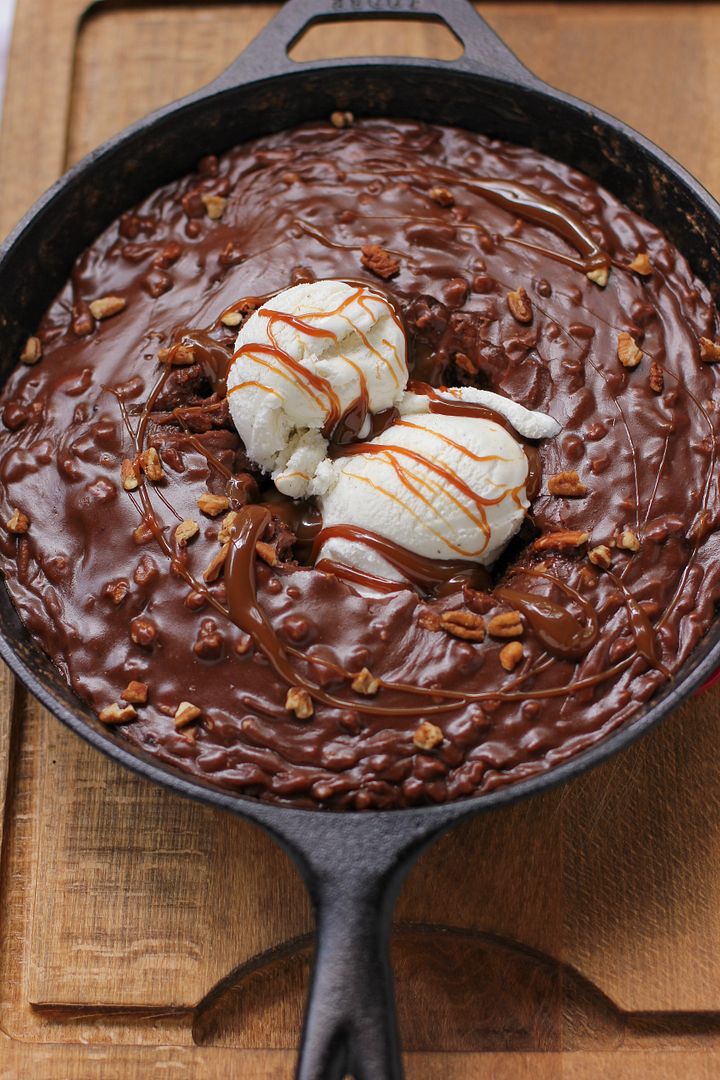
Gooey Chocolate Skillet Cake Ice Cream Sundae

Another incredible, chocolate skillet dessert that’s quick and simple to make. Difficulty Level: Easy.


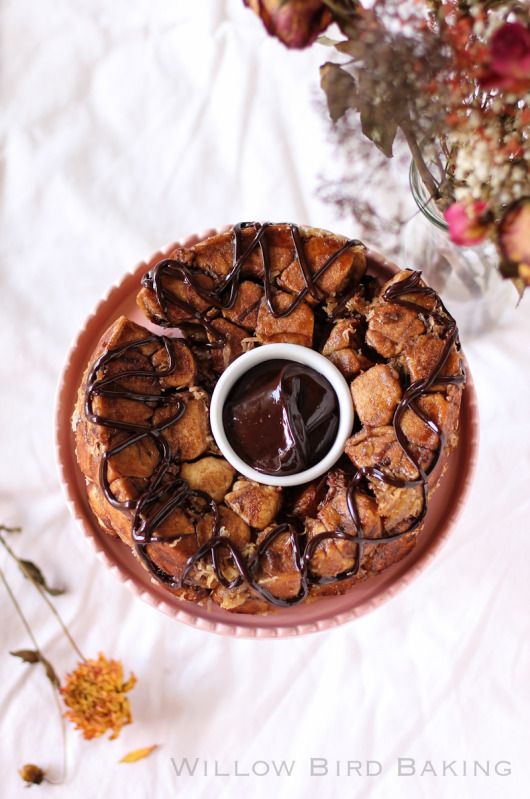
Samoa Monkey Bread with Ganache Dipping Sauce

So romantic. Trust me. Difficulty Level: Easy.


Sparkling Raspberry Lemonade

A sweet, puckery way to brighten your sweetheart’s day! Difficulty Level: Easy.


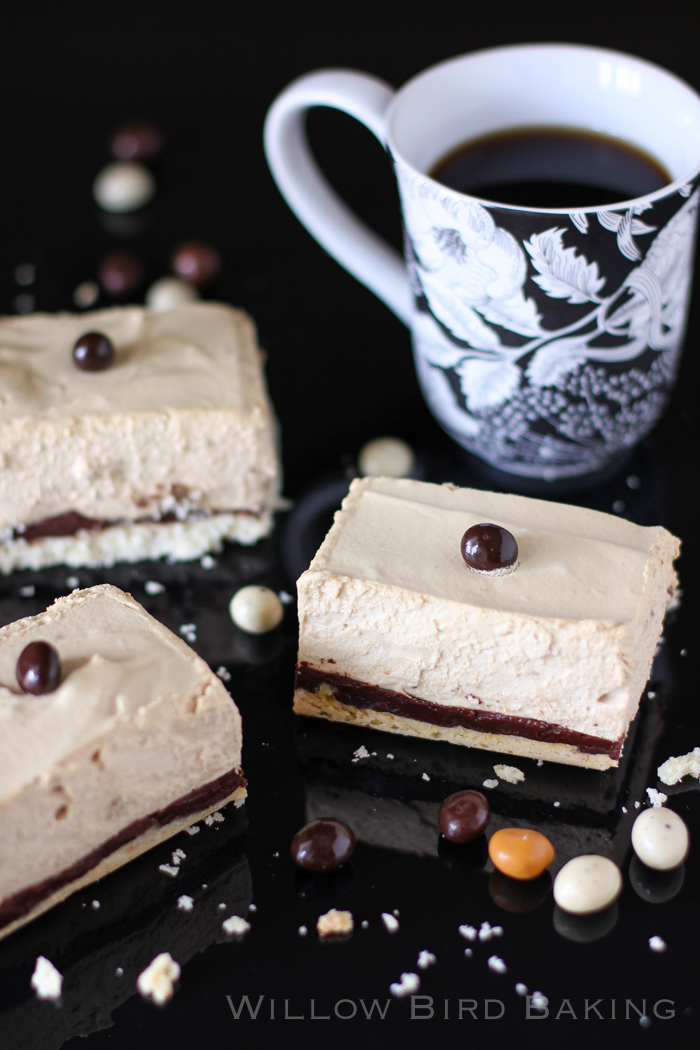
Spiked Mocha Mousse Bars

A little sassy, a little sultry, a lot delicious. Difficulty Level: Easy.


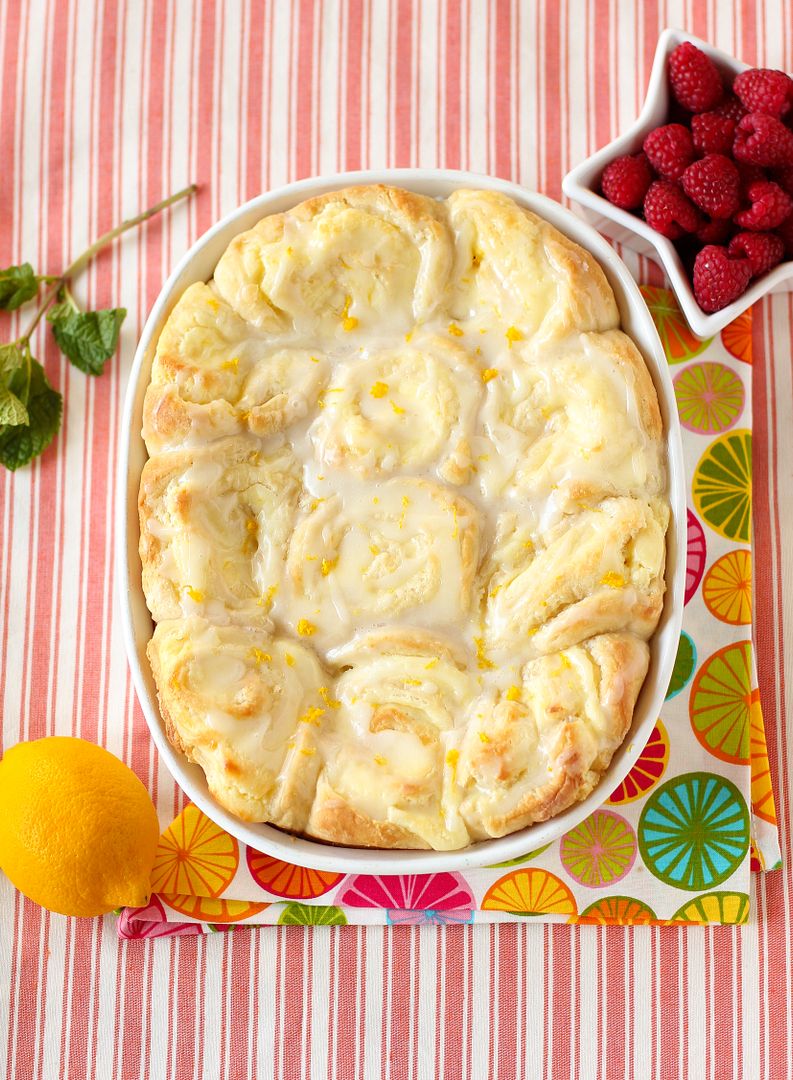
Lemon Cheesecake Morning Buns

The absolute 100% perfect Valentine’s breakfast. Like, don’t even wake me up if these aren’t sittin’ in the kitchen. Difficulty Level: Intermediate.


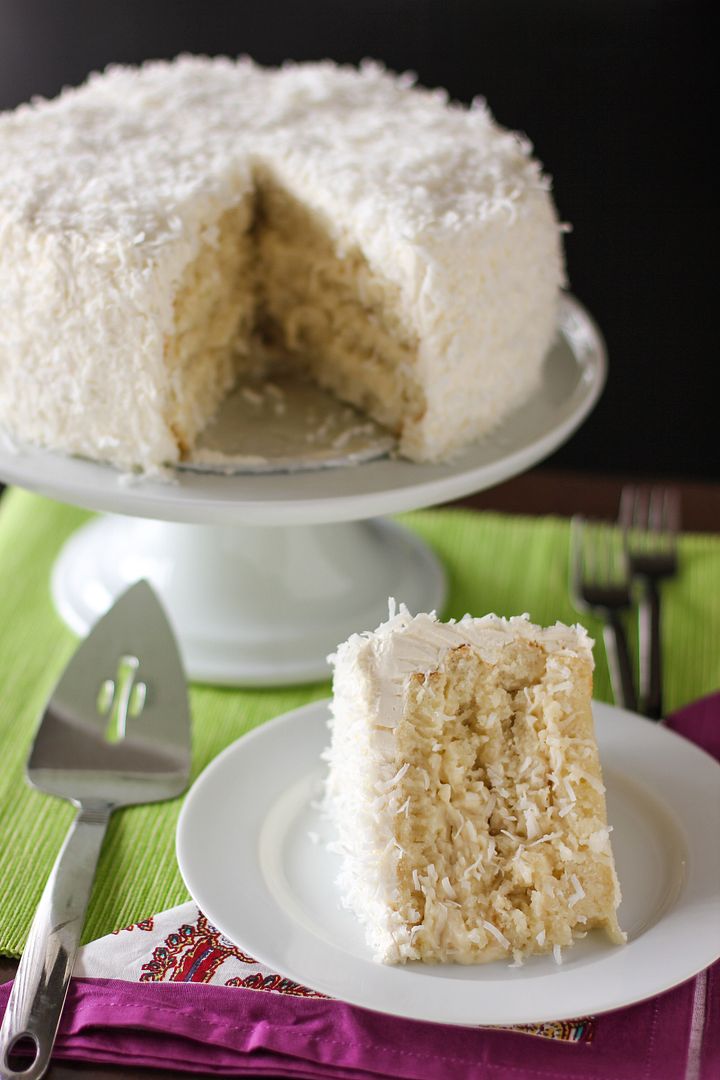
The Ultimate Moist, Fluffy, Ridiculous Coconut Cake

Coconut is for lovers. Difficulty Level: Intermediate.


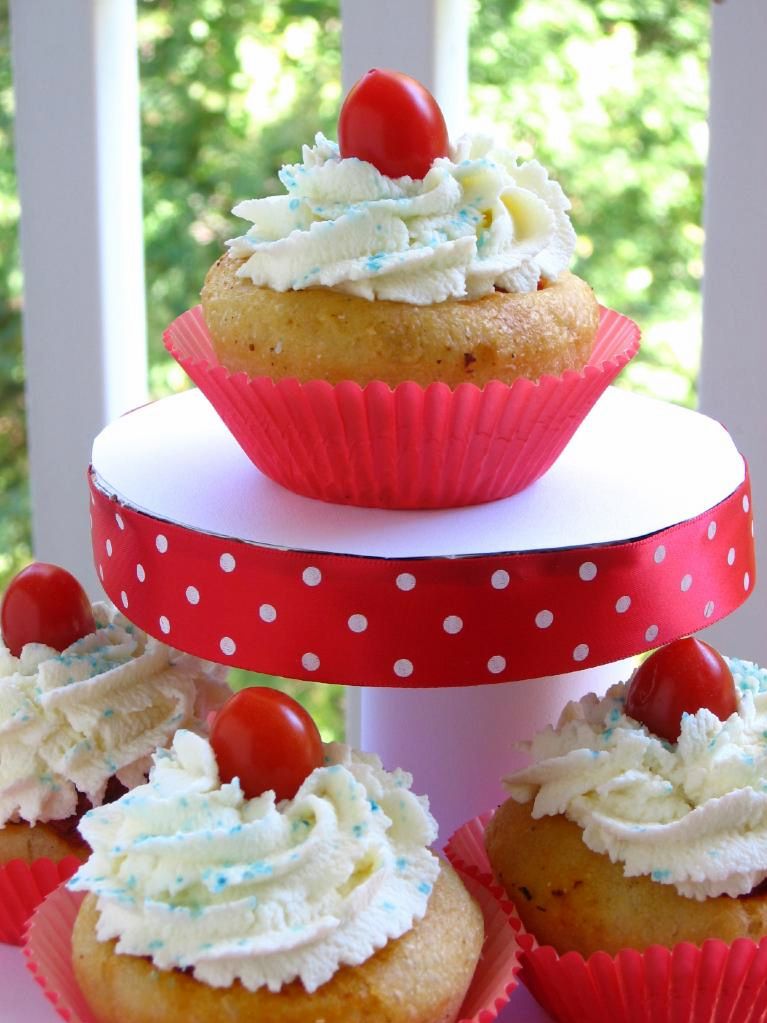
Deep Dish Pizza Cupfakes

A fun dinner idea for your Valentine. It’ll look like you skipped right to dessert! Difficulty Level: Intermediate.


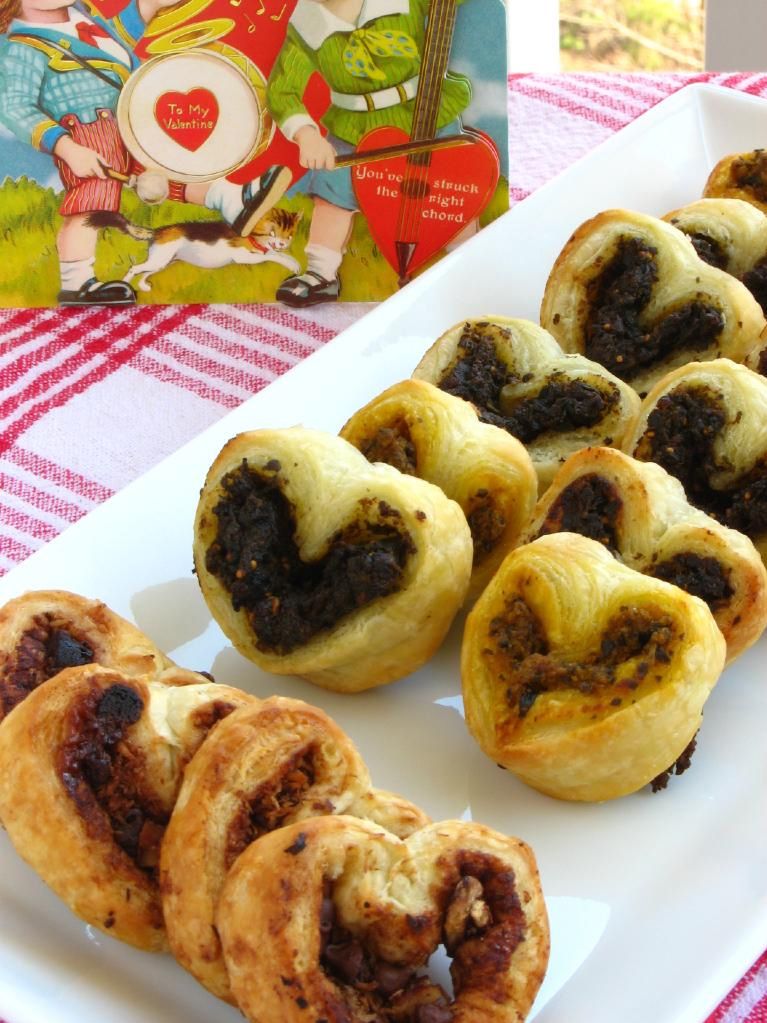
Heart-Shaped Palmiers

Another lovely savory treat for Valentine’s Day. Difficulty Level: Easy.


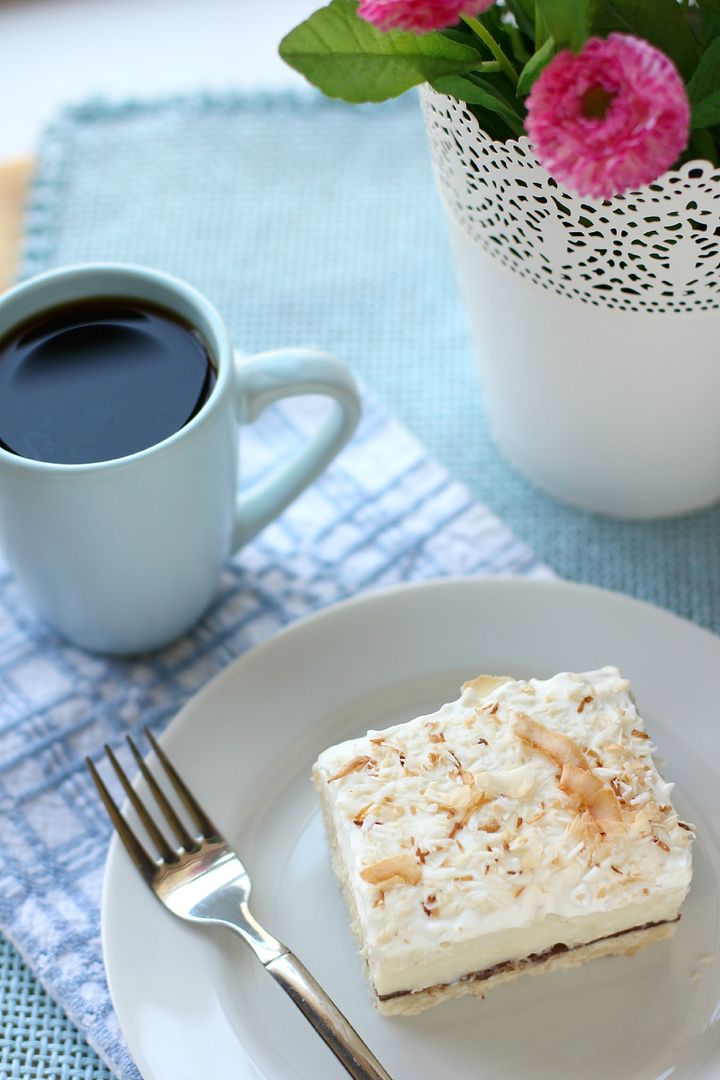
Chocolate & Coconut Cream Pie Bars

I would marry someone immediately if they made me these. And I weren’t already married or whatever. Difficulty level: Easy. (NOT ME, THE BARS.)


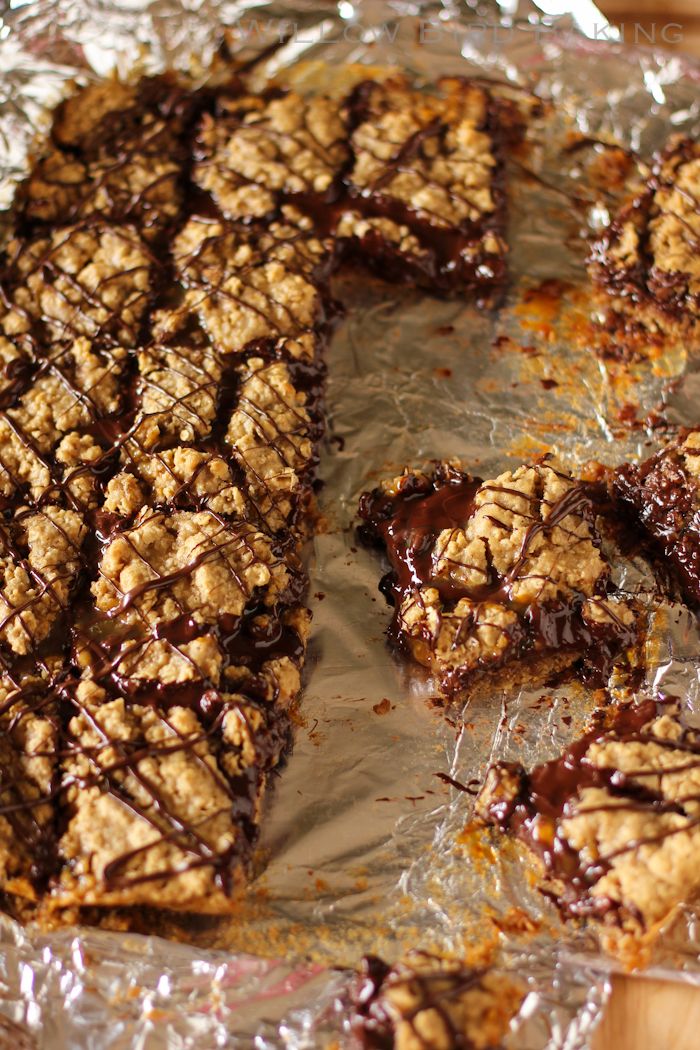
Gooey Carmelitas
Gooey Carmelitas

I don’t know if you should make these, actually. Your girlfriend might love them more than you. Difficulty level: Easy.


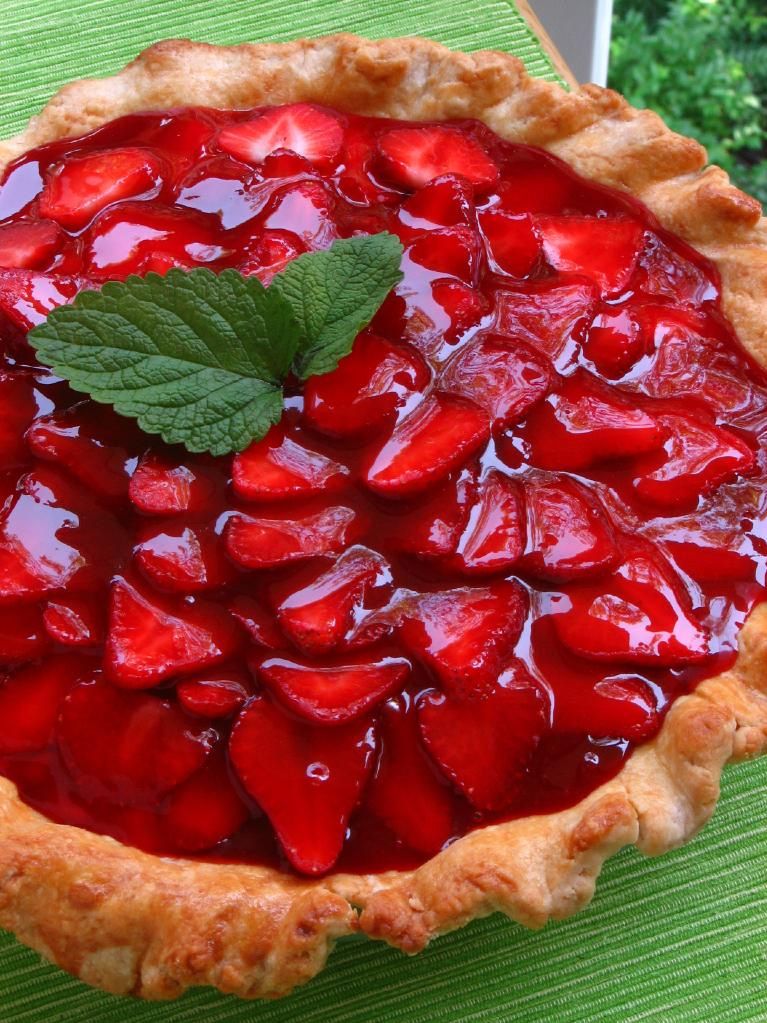
(Freshly Picked!) Strawberry Cream Pie

A stunning and indulgent pie. Difficulty level: Intermediate.


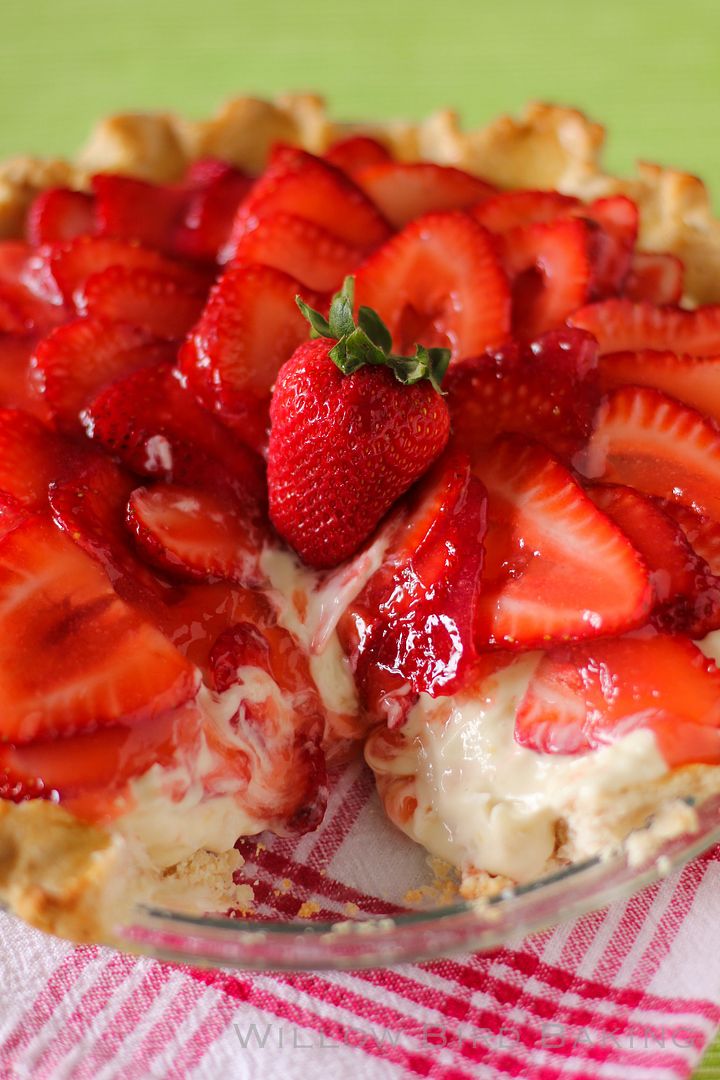
Strawberry Coconut Cream Pie

Mike likes this version with coconut cream even better. It’s nuts. Well, really it’s strawberries. Whatever. Difficulty level: Intermediate.


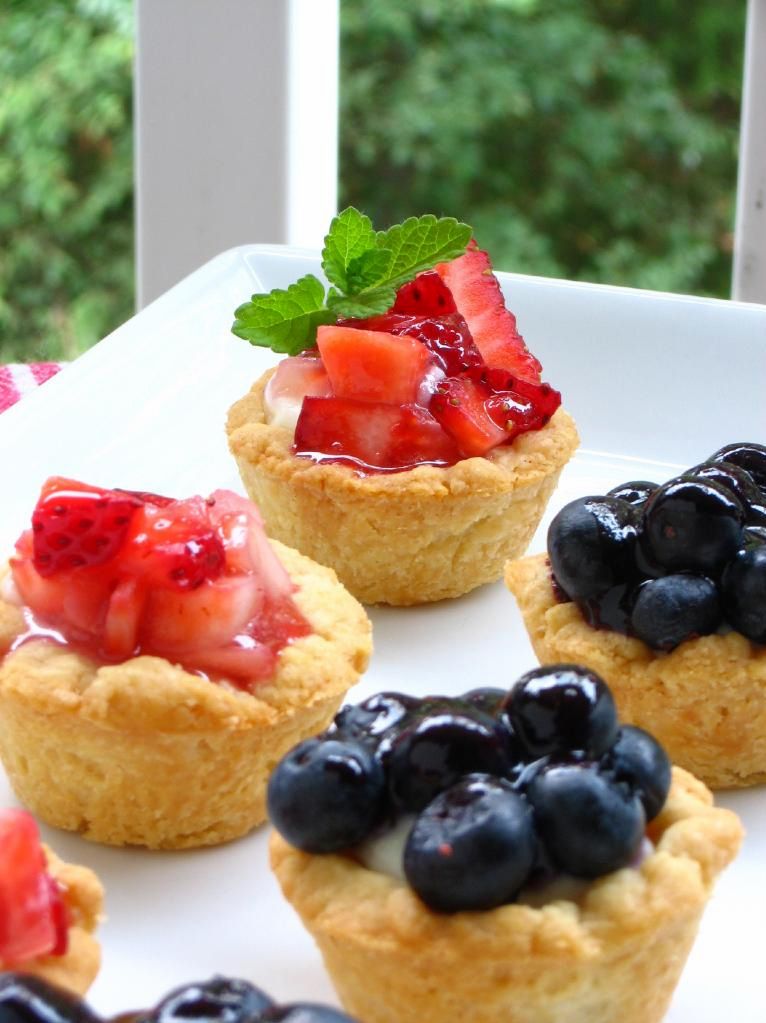
Itsy Bitsy Berry Cream Pies

Teensy, adorable mini pies! Difficulty level: Intermediate.


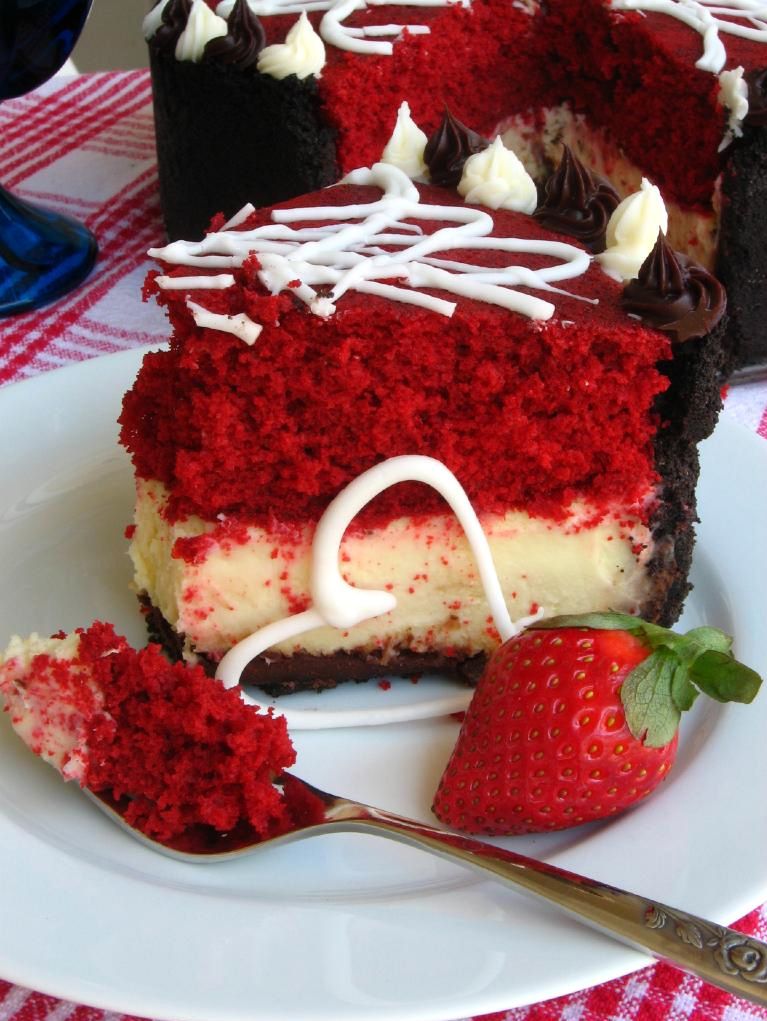
Red Velvet Cheesecake

This recipe is easy if you make it over a few days. It’s got some serious curb appeal! Difficulty Level: Intermediate.


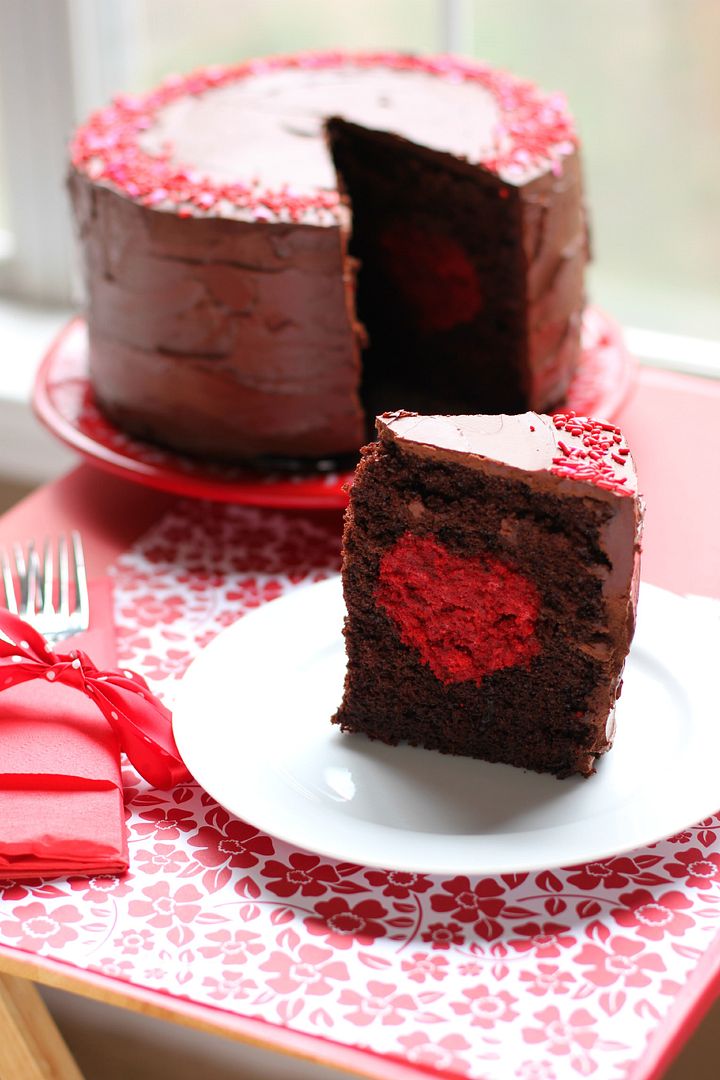
Thick Chocolate Cake with a Big Red (Velvet!) Heart

LOOK AT THE HEART. Difficulty level: Easy with the right cake pan!


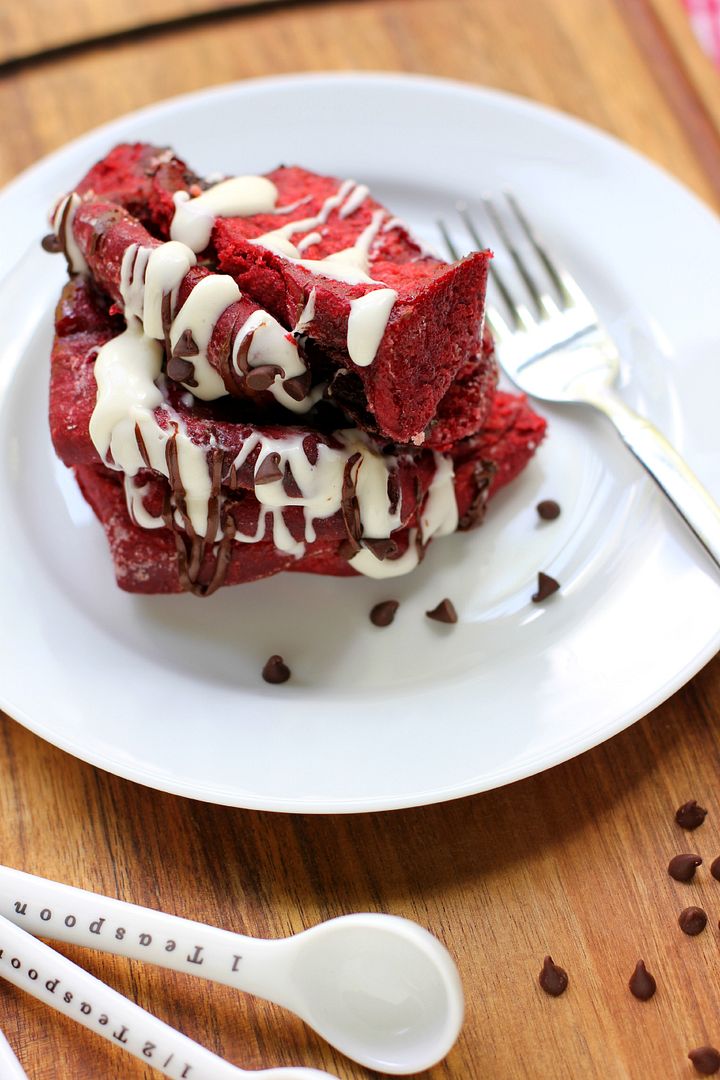
Chocolatey Red Velvet Pull-Apart Bread with Cream Cheese Glaze

Another idea I’m unabashedly proud of. Difficulty level: Intermediate.


Gooey Butter Strawberry Shortcake

This is one of my favorite desserts everrrr and so easy to make! And so pretty! Difficulty Level: Easy.


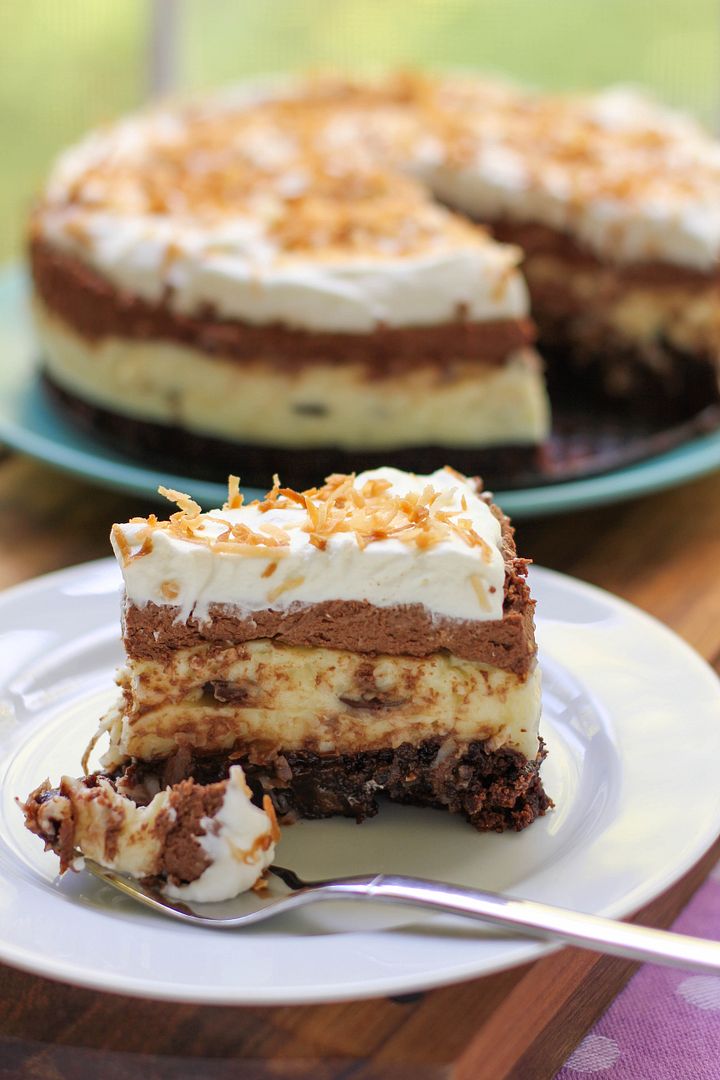
Brownie-Bottom Coconut Chocolate Cream Cake

This dessert seems fussy, but it’s incredibly easy and everyone loves it! Difficulty Level: Easy.


Want some amazing Valentine’s Day recipes from other blogs around the interwebz? I have you covered there, too. Here are some I collected:

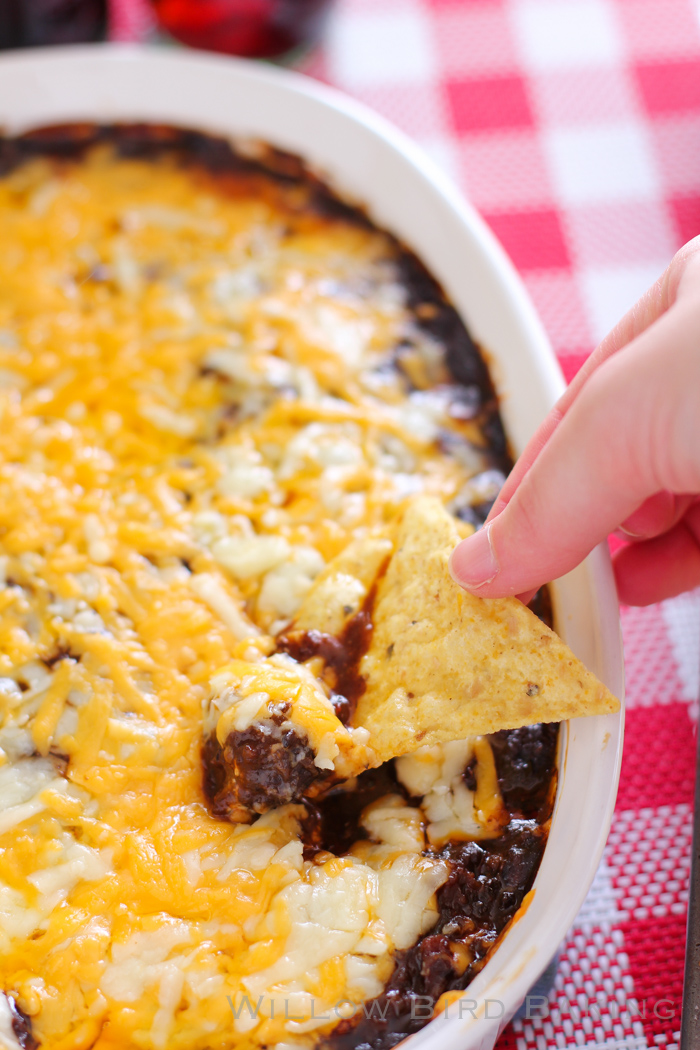
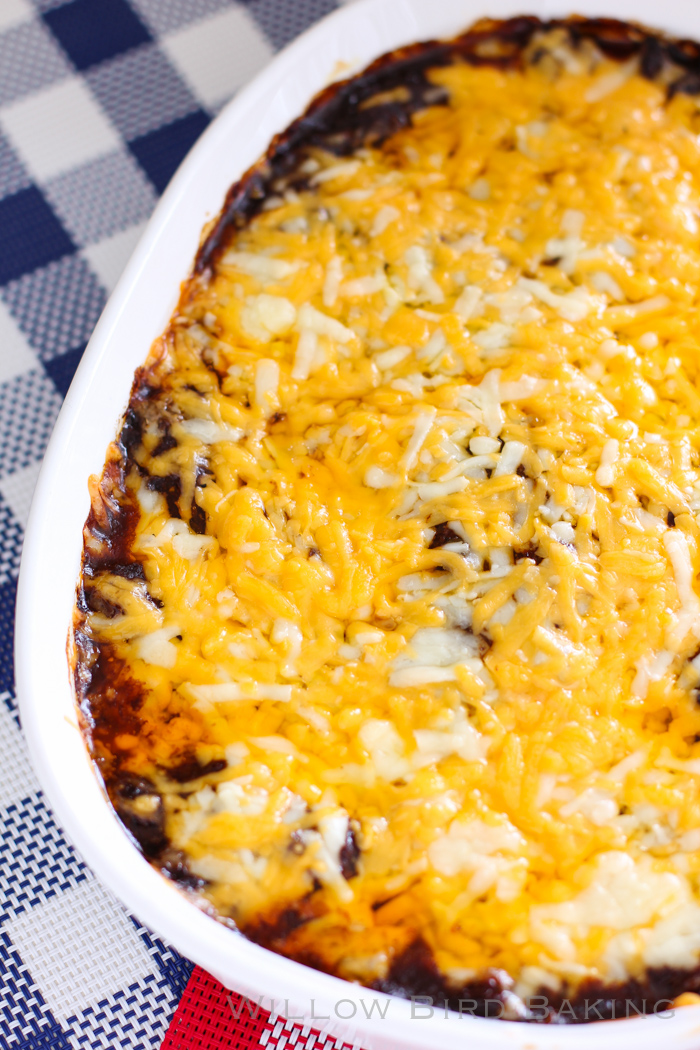
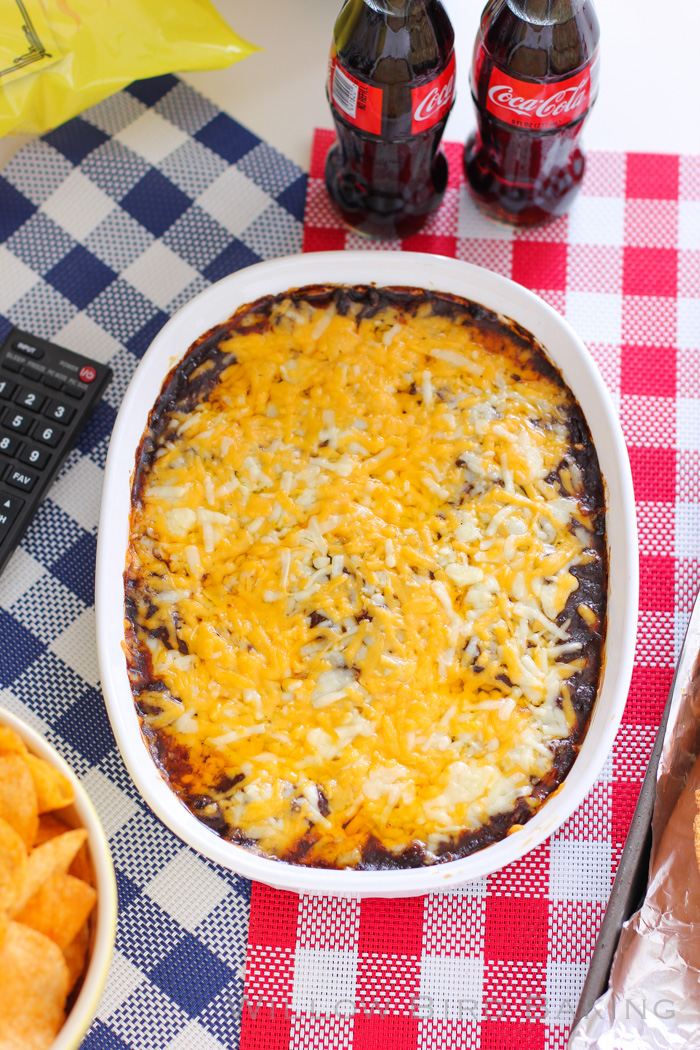
Insane Chili Cheese Dip (with an emergency quick adaptation!)

Insane Chili Cheese Dip

Insane Chili Cheese Dip


Recipe by: Willow Bird Baking, with chili recipe adapted from Cooks’ Illustrated, as found on Brown Eyed Baker
Yield: serves 4-6 people

If you want a quick (and still delicious) version of this dip, use a can or two of Hormel Chili without beans in place of homemade chili. But if you have the time, it’s so worth it to make this incredible homemade chili. It’s the best I’ve ever had, hands down. It looks complicated, but it’s actually a cinch to prepare and can be made a few days ahead and refrigerated until you’re ready to assemble and bake your dip. The recipe below makes about twice the amount of chili you need, but I make the whole batch because I know I’ll want to freeze some for other uses.

Chili Paste Ingredients:
6 dried ancho chiles (about 7/8 ounces), stems and seeds removed, and flesh torn into 1-inch pieces
2-4 dried árbol chiles, stems removed, pods split, seeds removed*
3 tablespoons cornmeal
2 teaspoons dried oregano
2 teaspoons ground cumin
2 teaspoons cocoa powder
2 1/2 cups chicken broth, divided

Chili Ingredients:
Table salt
2 medium onions, cut into ¾-inch pieces (about 1 cup)
3 jalapeño peppers, stems and seeds removed, cut into ½-inch pieces
2 tablespoons plus 1 tablespoon vegetable oil, divided
4 garlic cloves, minced
1 (14.5-ounce) can diced tomatoes, drained
2 teaspoons light molasses
1 pound chorizo, with casings removed
3 strips of bacon
1 (12-ounce) bottle beer (I’ve used Red Stripe and Guinness before and both have come out perfectly)**
1 tablespoon flour

Other Dip Ingredients:
2 (8-ounce) packages cream cheese
2 cups sharp cheddar cheese
green onions for garnish (optional)
tortilla chips for serving

Directions:
NOTES: *Make sure to wear gloves when working with chiles and avoid touching your eyeballs (or other people’s eyeballs. But why would you be doing that? Weirdo.) You can substitute 1/2 cup chili powder and 1/4 to 1/2 teaspoon cayenne pepper if you don’t want to use the dried chiles, but I highly, highly recommend you give it a try. It’s so easy, and very gratifying.

**If you don’t cook drink alcohol, you should know that according to this chart, only about 5-10% of alcohol will remain in the entire dish by the time you’re done. The beer is very important to the flavor and I don’t recommend skipping it.

Make the chili: Preheat the oven to 300 degrees F. Begin to prepare the chili paste by toasting ancho chiles in a skillet over medium-high heat, stirring frequently, until they’re fragrant (4 to 6 minutes). Reduce the heat if they start to smoke. Place the chiles into the bowl of a food processor and let them cool. Leave the skillet unwashed for future use.

Add the árbol chiles, cornmeal, oregano, cumin, cocoa, and 1/2 teaspoon salt to the food processor with the ancho chiles and pulverize for about 2 minutes, or until finely ground. Then, with the food processor still running, slowly add 1/2 cup of chicken broth until a smooth paste forms (about 45 seconds). Use a spatula to scrape the sides of the bowl as needed. Transfer the paste to a bowl and set aside.

Put the onions in the food processor and pulse them until they’re chopped (about 4 pulses). Add the jalapeños and pulse until the mixture reaches the consistency of a chunky salsa, about 4 more pulses, scraping the bowl if needed.

In your stock pot or Dutch oven, heat 1 tablespoon of vegetable oil over medium-high heat. Add the onion mixture and cook, stirring occasionally, until the veggies are softened and the moisture has cooked off, about 7 to 9 minutes. Then add the garlic and saute until it’s fragrant, just about 1 minute. Add the chili paste, tomatoes, and molasses and stir to combine thoroughly. Add the remaining 2 cups of chicken broth and bring the whole mixture to a boil before reducing the heat to simmer.

Meanwhile, cook the bacon over medium-high heat in your skillet to your desired crispiness. Remove it to drain on a paper towel lined plate. In the same skillet, cook the chorizo until browned through (add 1 1/2 teaspoons of vegetable oil if needed to supplement the bacon grease). Use a slotted spoon to transfer the chorizo and bacon to the Dutch oven. Discard any liquid in the skillet (but don’t rub off the stuck-on bits!) and return to the heat. Add the bottle of beer to the skillet, scraping the bottom of the pan with a wooden spoon to loosen any browned bits, and bring it to a simmer. Pour the lager into the Dutch oven. Stir to combine and return the mixture to a simmer.

Cover the pot and transfer it to the oven. Cook until the meat is fully tender and the flavors have melded, 1 1/2 to 2 hours. About an hour into cooking, ladle some of the hot chili liquid into a small bowl and whisk the flour into it until smooth. Add this to back to the chili pot and stir together. Continue cooking.

When the chili is finished, let it stand, uncovered, for about 10 minutes. Stir the chili well and season to taste with salt. (Afterwards, you can store it in a tupperware in the refrigerator if you’re not using it right away.)

Assemble and bake the dip: Preheat oven to 350 degrees F. Spread the cream cheese evenly over the bottom of a baking dish (I use a 2-quart oval one). Pour 2 heaping cups of the chili over the cream cheese and top with grated sharp cheddar. Bake the dip until the cheese is melted and the dip is bubbly, around 20 minutes. Top with chopped green onions and serve immediately with tortilla chips.

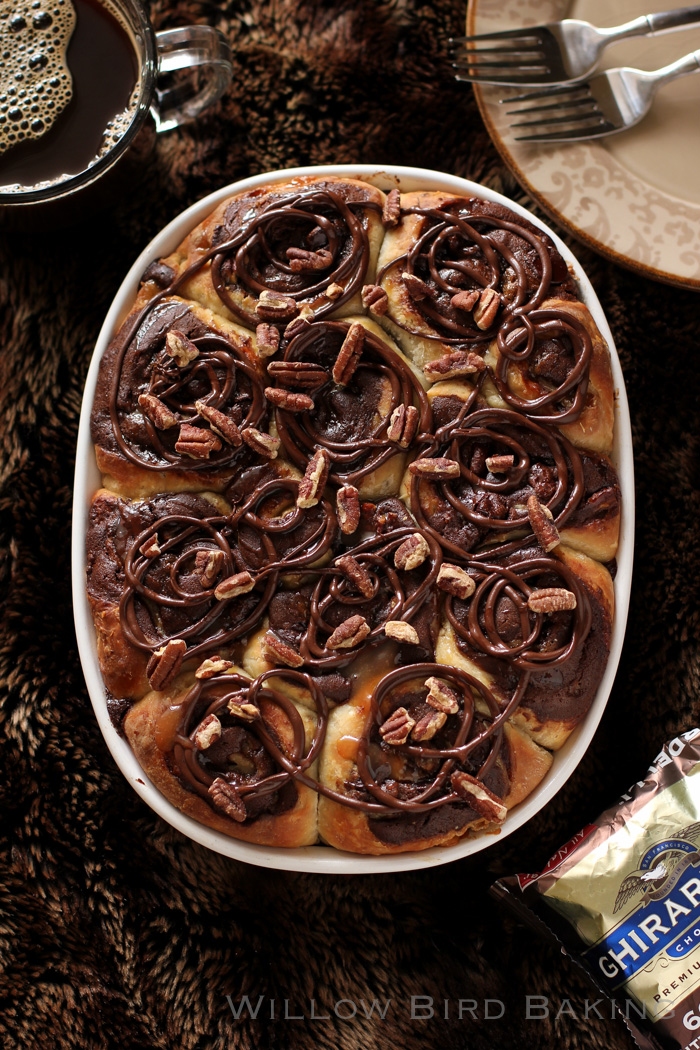
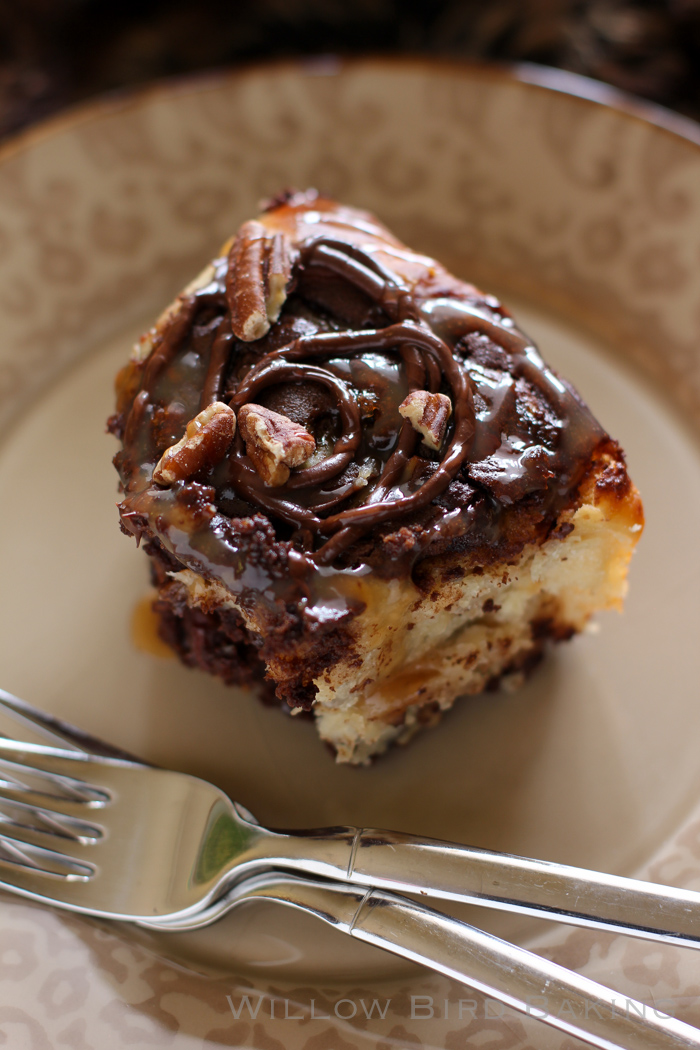
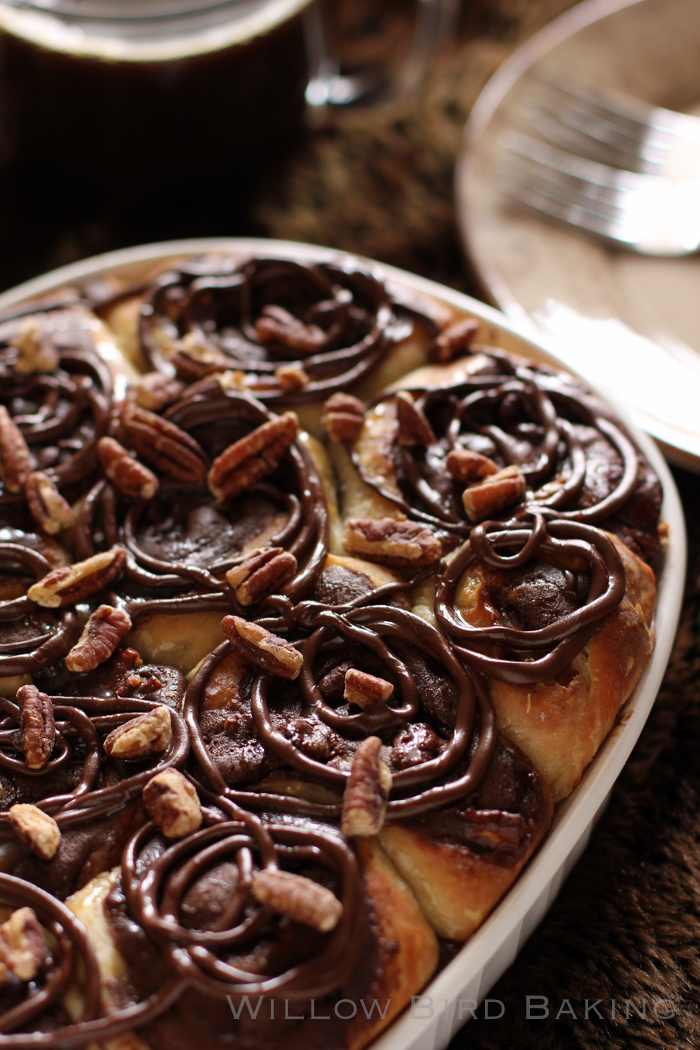
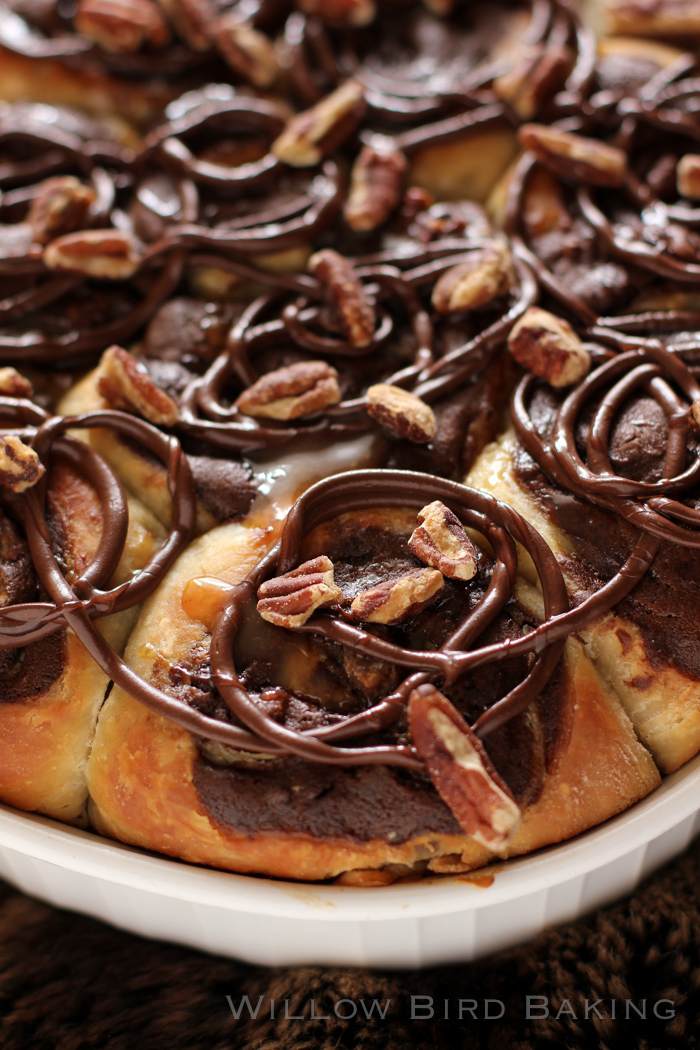
Gooey Turtle Brownie Sticky Buns

Gooey Turtle Brownie Sticky Buns

Gooey Turtle Brownie Sticky Buns


Recipe by: Willow Bird Baking with filling adapted from these brownies
Yield: 12 buns plus dough for more

This recipe makes twice as much yeast dough as you need (I don’t recommend halving yeast recipes). Roll and fill half of the yeast dough to make these buns and then use the other half to make another kind! Need inspiration? Try these or these or these or these or these or these! Alternatively, you could use the extra dough to make a second batch of these buns and freeze it for later. To freeze some of the unbaked rolls, just wrap them well before the second rise and freeze them. Once frozen, pop them out of the pan all together and store in the freezer, wrapped in plastic wrap and in a zip top bag or wrapped in foil. When you want to bake them, stick them back in a greased pan, thaw them in the fridge overnight, proof for the instructed amount of time, and bake like usual.

Bun Ingredients:
1/4 cup warm water (100-110 degrees F)
1 package (2 1/4 teaspoons) active dry yeast
2 tablespoons white vinegar
2 cups milk minus 2 tablespoons, room temperature
5 cups flour
3 tablespoons sugar
1 teaspoon salt
1 teaspoon baking soda
1 teaspoon baking powder
2/3 cup cold shortening (I use butter flavored Crisco)
2 tablespoons butter, melted, for after baking

Half-Batch Filling Ingredients:
(or try your own favorite brownie batter scaled for a 9 x 13-inch pan, provided it’s a pretty thick batter)
1 cup butter, melted
1 cup unsweetened cocoa
1 1/2 cups sugar
4 eggs
1 1/2 teaspoon vanilla
1 cup flour
1/2 teaspoon salt
bittersweet chocolate chips
caramel sauce
1 cup toasted pecans*

Glaze Ingredients:
melted chocolate chips
caramel sauce
toasted pecans

Directions:
*To toast pecans: spread pecans on a baking sheet and bake at 350 degrees F for around 6-7 minutes, tossing occasionally, until fragrant. Chop while still warm.

Mix the warm water and yeast in a medium bowl and let the yeast foam for about 10 minutes. Put 2 tablespoons white vinegar in a measuring cup and then add milk up to the 2 cup line. Set this aside. In a separate large bowl (or the bowl of a mixer fitted with a dough hook), whisk together flour, sugar, salt, baking soda, and baking powder and cut the shortening into the mixture with two knives or a pastry cutter until the shortening looks like small peas. Stir yeast mixture and milk mixture into the dry ingredients and mix well, kneading just a few turns. Transfer the dough to a bowl lightly sprayed with cooking spray, cover tightly with plastic wrap, and store in refrigerator overnight.

The next morning, in a medium bowl, mix melted butter and cocoa powder until cocoa is dissolved. Mix in the sugar and then mix in the eggs, one at a time, mixing after each until just combined. Stir in the vanilla, flour, and salt, mixing until just combined (don’t over mix). Set the batter aside while you roll out your dough. Don’t stick it in the fridge like I did, because it hardens. Oops.

Preheat the oven to 400 degrees F and lightly spray a baking dish (I use an oval dish that’s smaller than a 9 x 13-inch, but just use whatever will fit about 12 buns close together) with cooking spray. Turn half of the chilled dough out onto a floured surface and roll it into a large rectangle about 1/8-inch thick. Spread the brownie batter gently and evenly all over the dough and sprinkle on chocolate chips and toasted pecans. Drizzle on caramel sauce. Gently roll the dough up into a spiral and cut it into rolls, placing them close together in your prepared baking dish (at this point, you could wrap and freeze the rolls for later if you wanted).

Cover the rolls with a clean dish cloth and let them rise in a warm spot (I set them on my oven’s heat vent) until they’ve nearly doubled, about 2 hours. Bake them for about 15-20 minutes or until browned on top (if you take them out at just lightly golden brown, they may still be doughy in the center). Brush with 2 tablespoons melted butter and return to the oven for 1 more minute. Drizzle rolls with chocolate and caramel sauce. Sprinkle on toasted pecans. Serve immediately.

1 51 52 53 54 55 127