
You know those commercials where a thin, statuesque model takes a bite of chocolate and all her troubles melt away (usually dramatized by a fancy silk sheet blowing through the scene)? Let’s briefly ignore the physical ironies and textiles, because I have great news: that kind of trouble-melting food does exist! It’s a Nanaimo Bar! Who knew?
The folks in Nanaimo probably did. Nanaimo (pronounced nuh-NYE-moh) is a beautiful town on Vancouver Island famous for a very sweet treat. Local folklore says that around 35 years ago, a woman from Nanaimo entered her bars into a competition, naming them after the city. They were a sensation, and the Nanaimo Bar was born.
The January 2010 Daring Bakers’ challenge was hosted by Lauren of Celiac Teen. Lauren chose Gluten-Free Graham Wafers and Nanaimo Bars as the challenge for the month. The sources she based her recipe on are 101 Cookbooks and http://www.nanaimo.ca.
I love Lauren — her blog is full of delicious recipes and lovely photos. If you haven’t already checked out Celiac Teen, you should — especially if you’re looking for gluten-free goodness!
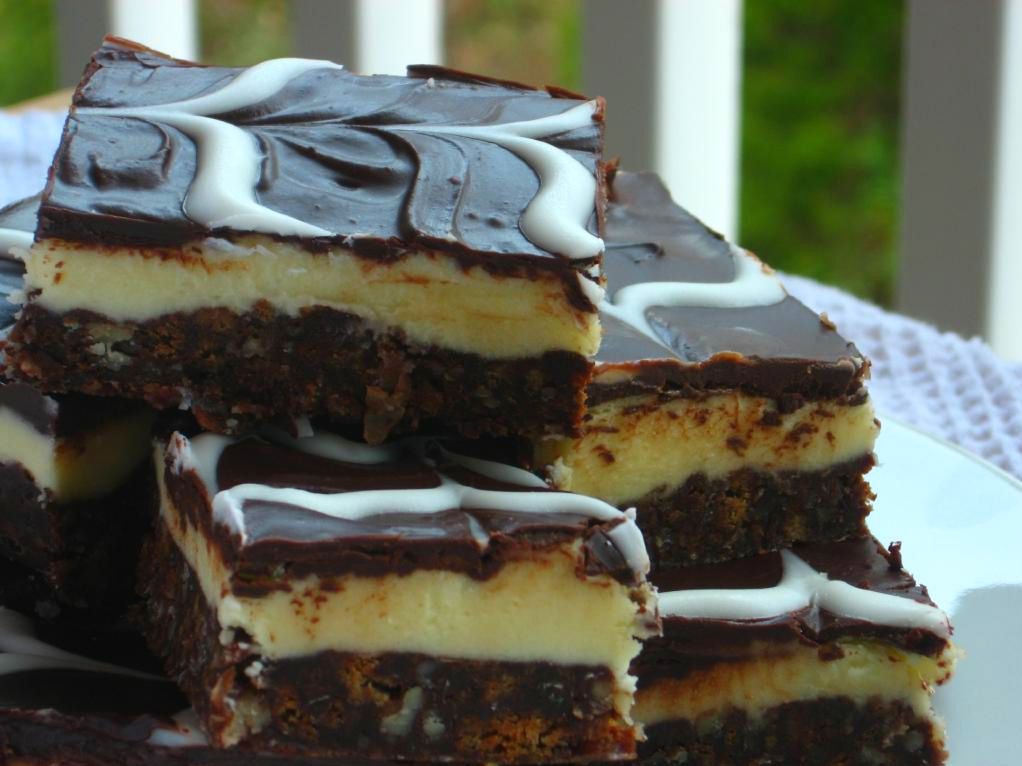
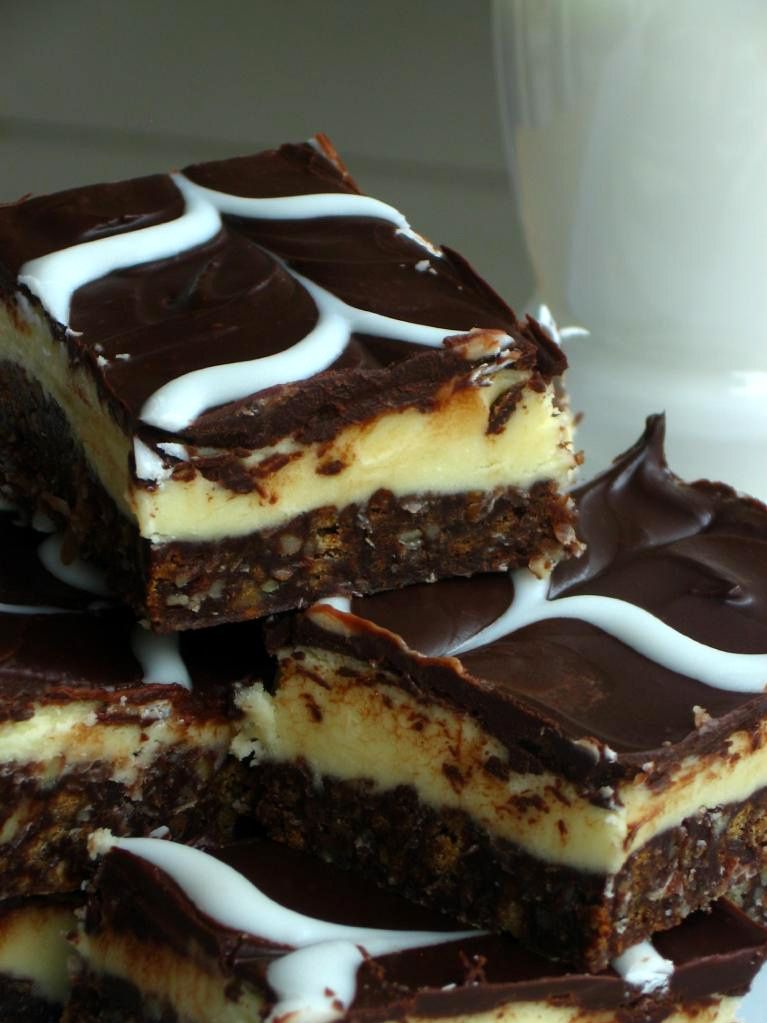
Nanaimo Bars sound to me like the result of one of those urges (do you ever get these? I do.) to combine as many amazing-tasting things as possible into one dish, and then eat yourself silly. They have a thick, indulgent bottom layer of chocolate-bound pecans, coconut, and crushed graham crackers.
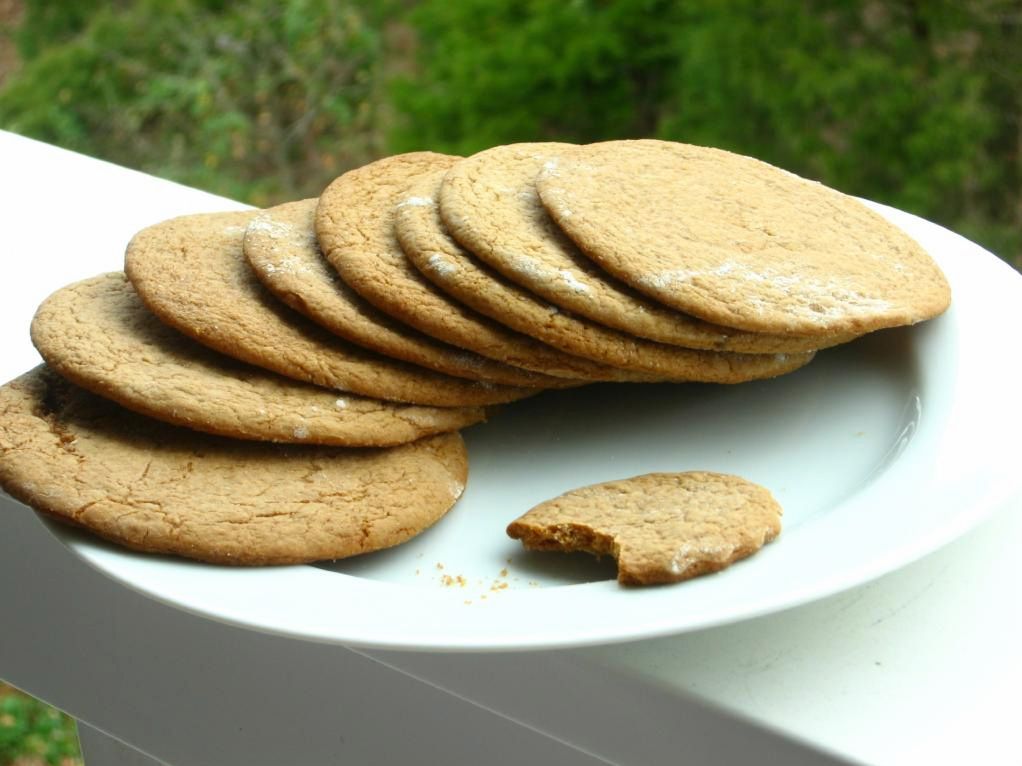
Not just any graham crackers, mind you! We’re daring bakers after all, so we have to add a little oomph. They were homemade graham crackers in this case — yeah, that’s how we roll! No, literally . . . I was rolling, rolling, rolling out dough into the night to bake up my stack of golden crackers. The crisp, fresh, mild crackers were worth the effort, though, and I can’t wait to use the leftovers to make s’mores this weekend! Lauren provides a recipe below for gluten-free graham crackers, which I would’ve loved to make, but I settled for the wheat version this time around due to flour costs. If you’re in a hurry, use some store-bought graham crackers in your Nanaimo Bars. The result will be just as delicious.
The other two layers of a Nanaimo Bar are similarly heavenly. A middle layer of rich vanilla custard balances the chocolate overload, and a thin layer of hardened chocolate on top completes the bar. Each bite has a little crunch, a little cream, and a LOT of sweet, rich, chocolatey goodness.
Graham Crackers
Recipe by: 101 Cookbooks and GF adaptations by Celiac Teen
Yields: varies depending on size of crackers (~10 large)
Ingredients:
2 ½ cups plus 2 tablespoons all-purpose wheat flour, or wheat pastry flour*
1 cup dark brown sugar, lightly packed
1 teaspoon baking soda
3/4 teaspoon kosher salt
7 tablespoons unsalted butter (cut into 1-inch cubes and frozen)
1/3 cup honey (mild-flavored, such as clover)
5 tablespoons whole milk
2 tablespoons pure vanilla extractDirections:
1. In the bowl of a food processor fitted with a steel blade, combine the flour, brown sugar, baking soda, and salt. Pulse on low to incorporate. Add the butter and pulse on and off, until the mixture is the consistency of a coarse meal. If making by hand, combine aforementioned dry ingredients with a whisk, then cut in butter until you have a coarse meal. No chunks of butter should be visible.
2. In a small bowl or liquid measuring cup, whisk together the honey, milk and vanilla. Add to the flour mixture until the dough barely comes together. It will be very soft and sticky.
3. Turn the dough onto a well-floured surface and pat the dough into a rectangle about 1 inch thick. Wrap in plastic and chill until firm, about 2 hours, or overnight.
4. Divide the dough in half and return one half to the refrigerator. Sift an even layer of sweet rice flour onto the work surface and roll the dough into a long rectangle, about 1/8 inch thick. The dough will be quite sticky, so flour as necessary. Cut into 4 by 4 inch squares. Gather the scraps together and set aside. Place wafers on one or two parchment-lined baking sheets. Chill until firm, about 30 to 45 minutes. Repeat with the second batch of dough.
5. Adjust the rack to the upper and lower positions and preheat oven to 350 degrees Fahrenheit (180 degrees Celsius).
6. Gather the scraps together into a ball, chill until firm, and reroll. Dust the surface with more sweet rice flour and roll out the dough to get a couple more wafers.
7. Prick the wafers with toothpick or fork, not all the way through, in two or more rows.
8. Bake for 10-12 minutes, until browned and slightly firm to the touch, rotating sheets halfway through to ensure even baking. Might take less, and the starting location of each sheet may determine its required time. The ones that started on the bottom browned faster.
9. When cooled completely, place enough wafers in food processor to make 1 ¼ cups of crumbs. Another way to do this is to place in a large ziplock bag, force all air out and smash with a rolling pin until wafers are crumbs.*For gluten-free graham crackers, substitute the following flours for the all-purpose flour (and beware that no cross-contamination occurs):
1 cup sweet rice flour (also known as glutinous rice flour; plus more for dusting)
3/4 cup tapioca starch/flour
1/2 cup sorghum flourBaking time will increase to around 25 minutes with these adjustments.
Nanaimo Bars
Recipe by: City of Nanaimo
Yields: About 13-14 bars depending on size
Bottom Layer Ingredients:
1/2 cup unsalted butter
1/4 cup granulated sugar
5 tablespoons unsweetened cocoa
1 large egg, beaten
1 1/4 cups graham cracker crumbs (see recipe above)
1/2 cup almonds (finely chopped) *I used pecans here.
1 cup coconut (shredded, sweetened or unsweetened)
Middle Layer Ingredients:
1/2 cup unsalted butter
2 tablespoons and 2 teaspoons heavy cream
2 tablespoons vanilla custard powder or vanilla pudding mix
2 cups icing or confectioners’ sugar
Top Layer Ingredients:
4 ounces semi-sweet chocolate
2 tablespoons unsalted butter
Directions:
1. For bottom layer: Melt unsalted butter, sugar and cocoa in top of a double boiler. Add egg and stir to cook and thicken. Remove from heat. Stir in crumbs, nuts and coconut. Press firmly into an ungreased 8 by 8 inch pan.
2. For middle layer: Cream butter, cream, custard powder, and icing sugar together well. Beat until light in colour. Spread over bottom layer.
3. For top layer: Melt chocolate and unsalted butter over low heat. Cool. Once cool, pour over middle layer and chill.
A few tips from Willow Bird Baking: Line your pan with parchment paper (not wax, which may melt onto the warm bottom layer) for a quick and easy removal. As opposed to trying to scoop bars out of the pan (we all know how that goes), you’ll be able to pull them out and cut them neatly on a cutting board.Use white chocolate or white candy melt to create a marbling effect. Pipe on thin stripes and, while still wet, drag a clean toothpick through the stripes in different directions. Wipe toothpick between each “drag.”

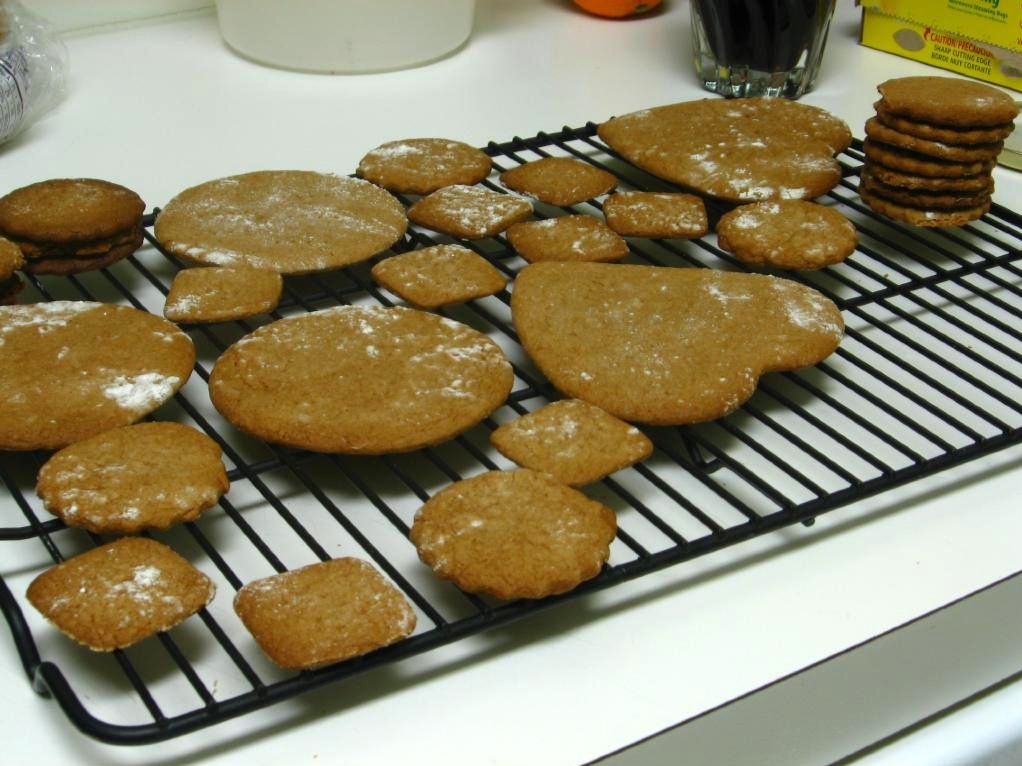
Preparing graham crackers.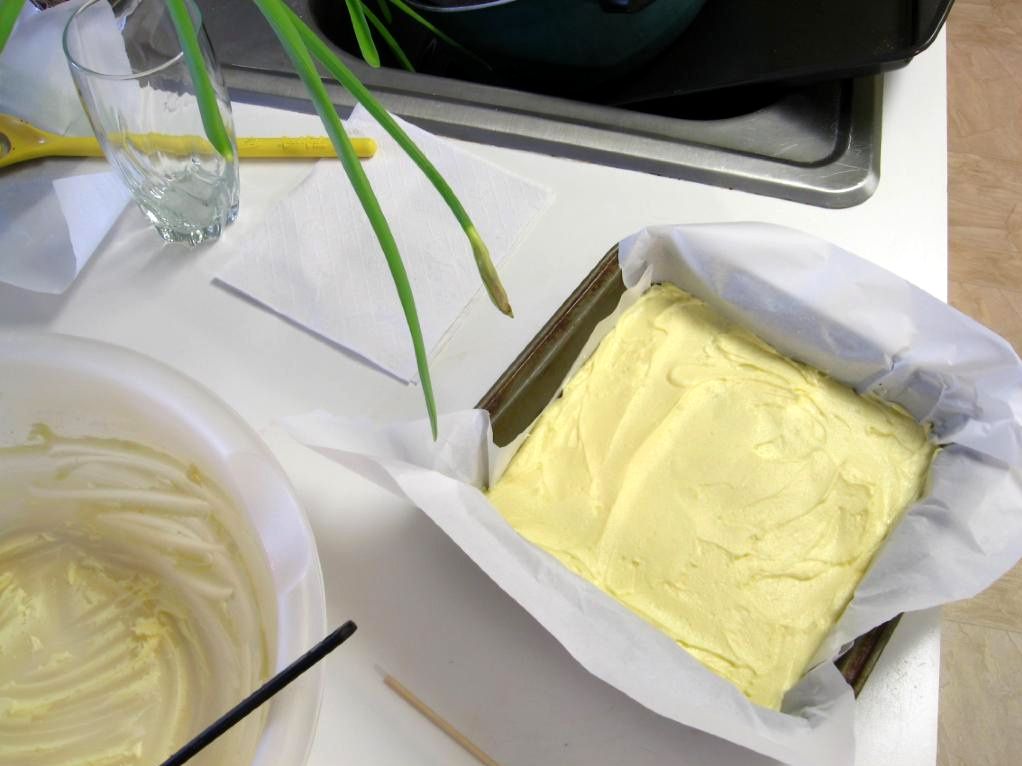
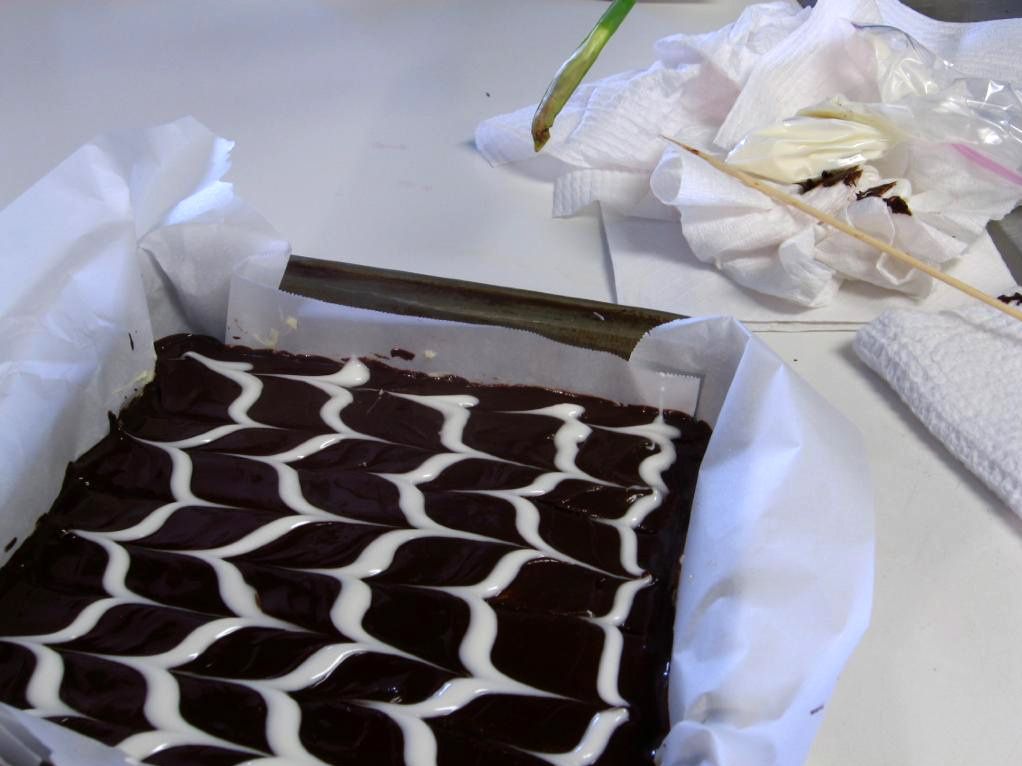
Assembling Nanaimo Bars and marbling the top layer.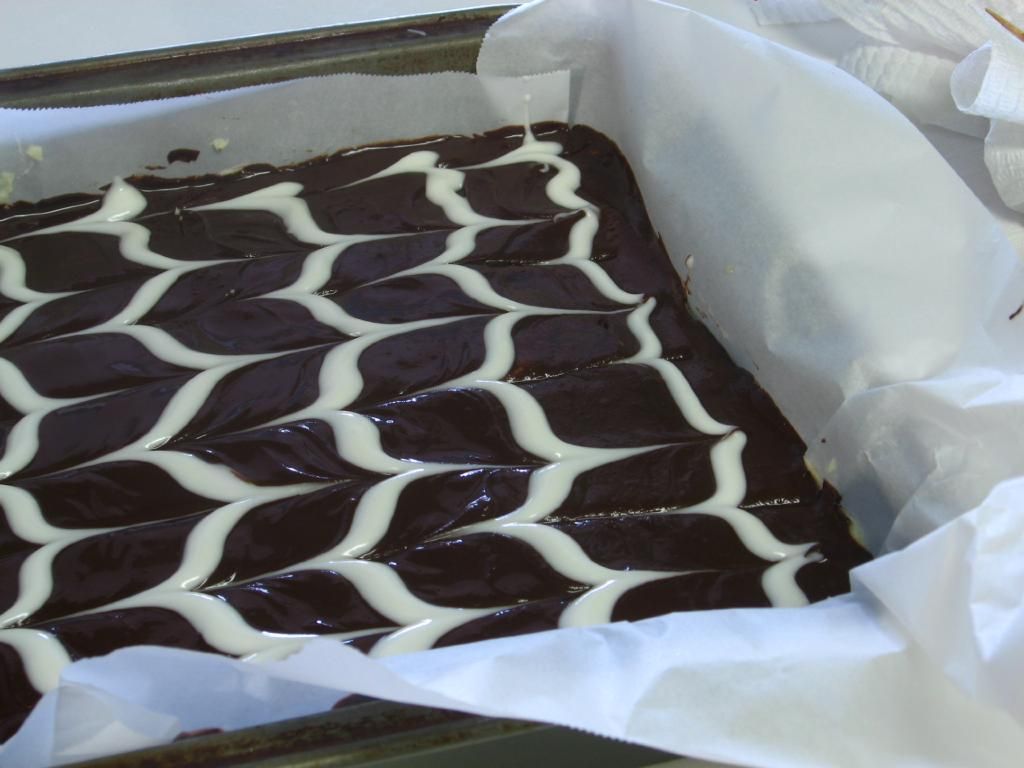
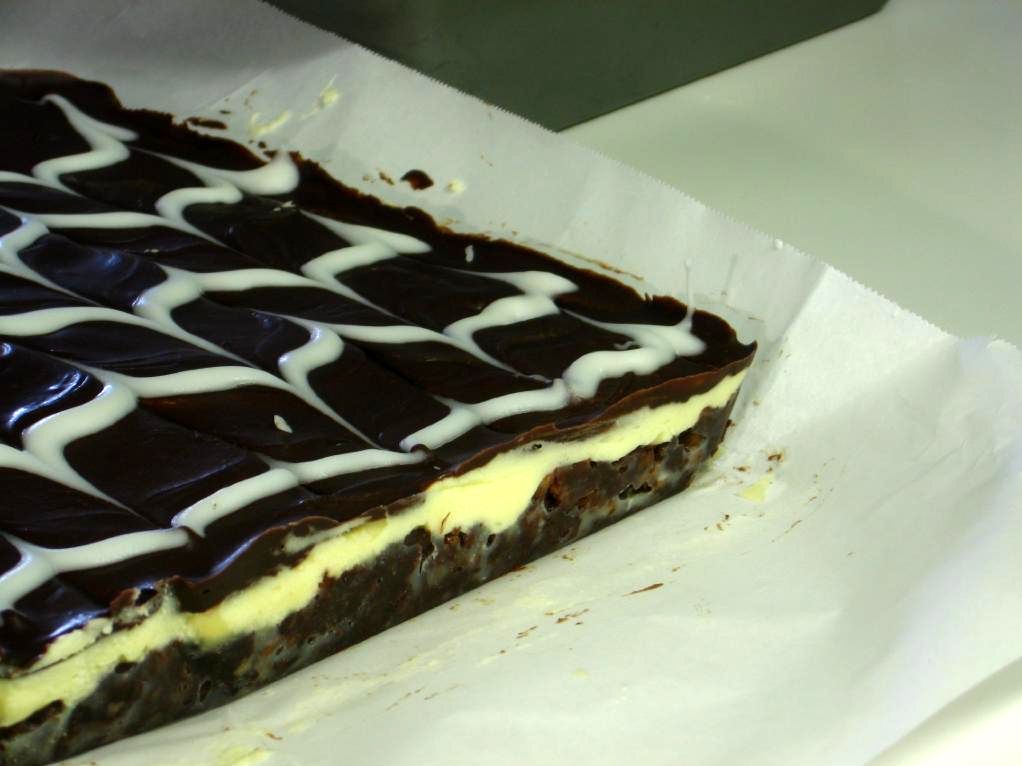
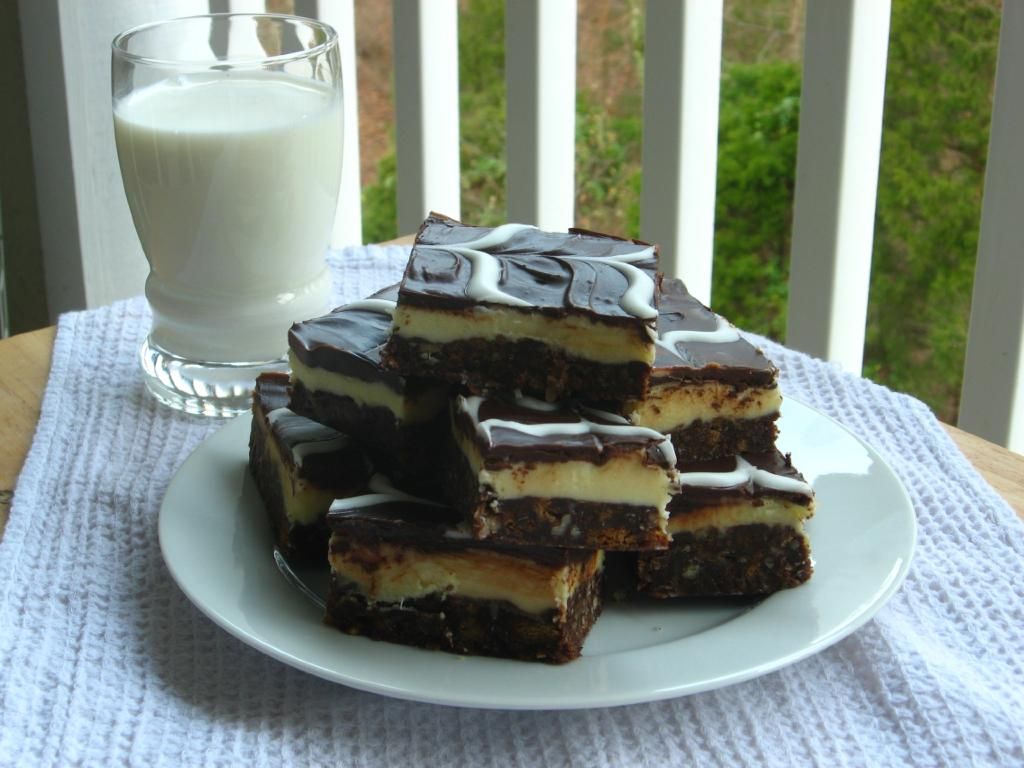
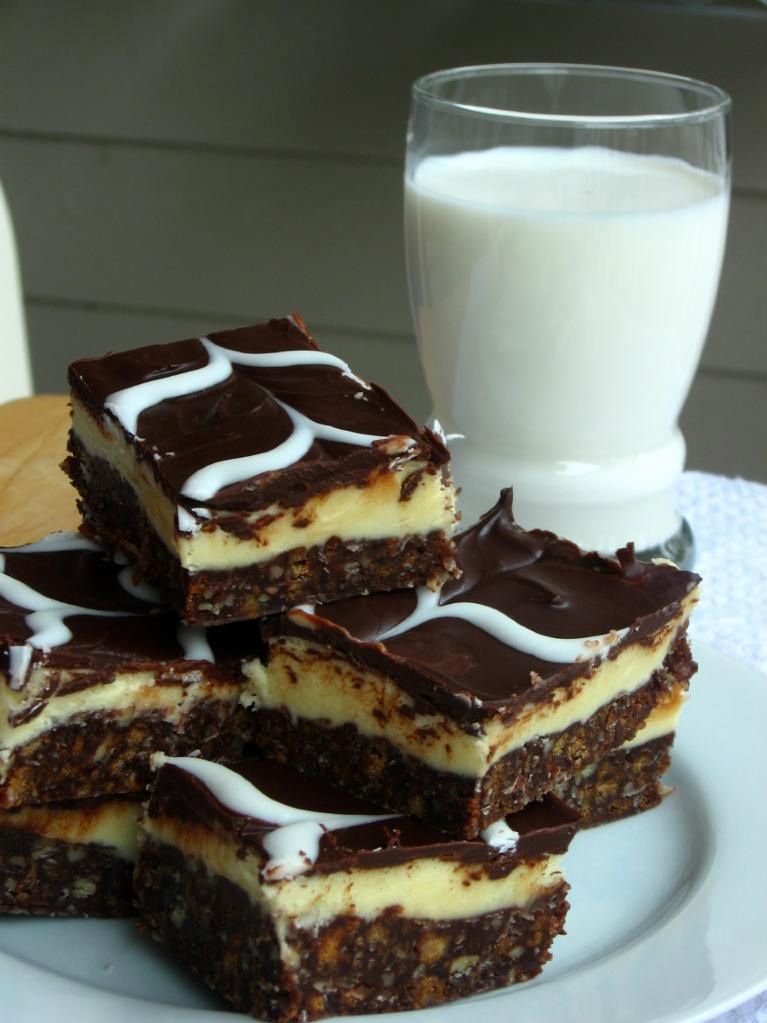
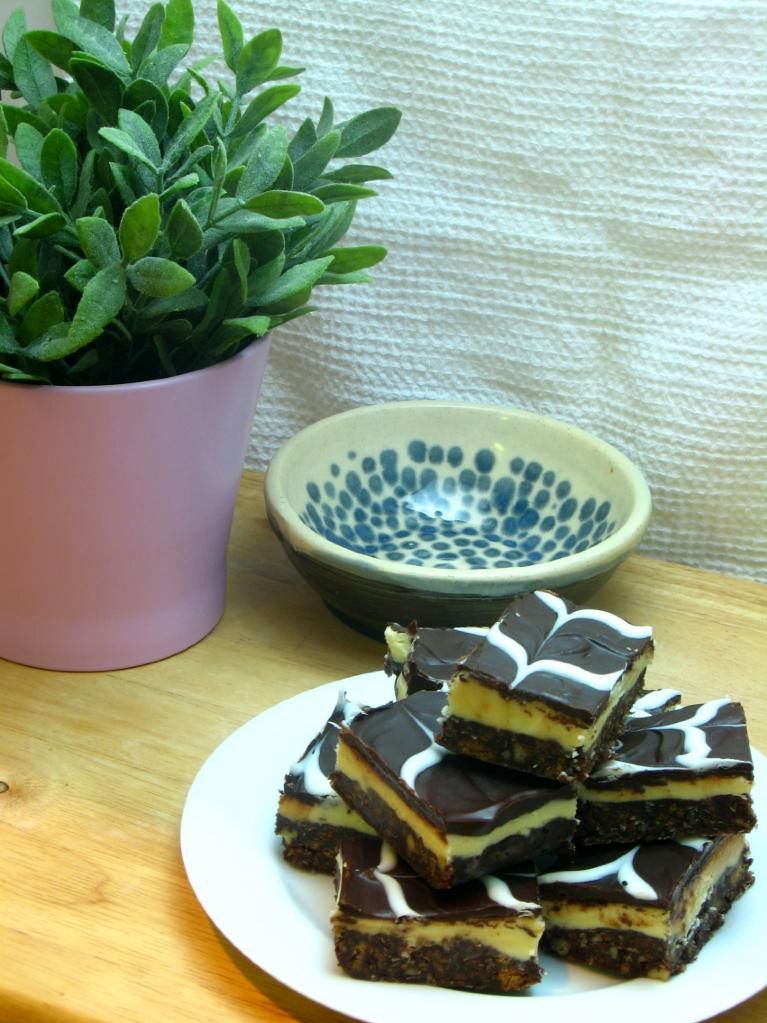
Top marbled, and then Nanimo Bars all chilled and ready to eat!
Enjoy!
Check out the Daring Bakers Blogroll to see other fantastic Nanaimo Bars!
Anula
January 27, 2010 at 7:05 am (16 years ago)Love your nanaimo! You always take pics on the balcony etc. – I’m just wondering: did you ever had a bird eating one of your creations…? I’m sure he would enjoy them! 🙂
Cheers from rainy Ireland! Anula.
Angela
January 27, 2010 at 7:44 am (16 years ago)Oh, they look so delicious… and pretty! I think I could happily eat a whole plateful of those! xxx
Barbara
January 27, 2010 at 7:45 am (16 years ago)Such pretty little bars! I have the urge to eat one right now! Great job on this challenge.
Ash
January 27, 2010 at 11:48 am (16 years ago)I was shying away from making these, because of the very reason they are soo irresistible. These little babies are one of the upmost fav’s.. considering it combines all things I love.
It’s rough, cause I see them every time I go into a bakery or supermarket here.
Yours turned amazingly!
Megan
January 27, 2010 at 1:43 pm (16 years ago)You were so smart to use parchment paper. I almost followed my instincts and did the same, but then I decided to go with the recipe and just use an ungreased pan… they were quite difficult to get out! Your bars look beautiful. I love the marbled tops. And your graham cracker shapes are so cute!
Jenni
January 27, 2010 at 9:20 pm (16 years ago)Beautiful job!!
Heather Peskin
January 27, 2010 at 9:54 pm (16 years ago)Beautiful bars and crackers! Your work is superb.
Marcellina
January 27, 2010 at 10:41 pm (16 years ago)Yes, these really are trouble-melting bars! I love the way you describle them! The feathering effect looks fab!
Sarah
January 28, 2010 at 12:00 am (16 years ago)You did a lovely job with the challenge! I love the white piping that you did on the top (and that you explained that piping/toothpicks were involved in creating that look; I had no idea).
ap269
January 28, 2010 at 8:14 am (16 years ago)Wow, these look wonderful!
Lauren
January 28, 2010 at 11:45 am (16 years ago)I love your marbled top! You did a fantastic job on my challenge Julie =D. I’m so glad you enjoyed the Nanaimo bars!
tikitonic
January 28, 2010 at 5:53 pm (16 years ago)WANT!! Love the white chocolate decor!!! They are beautiful!
Lorraine @NotQuiteNigella
January 28, 2010 at 8:54 pm (16 years ago)You always do such a great job Julie! I love the feathering detail and great suggestion of having these with milk! 😀
Jill @ Jillicious Discoveries
January 29, 2010 at 12:47 am (16 years ago)Your Nanaimo Bars are FANTASTIC!! I love how you decorated the top layer–so professional looking! Also that picture with the bars and the milk is AWESOME!! 🙂
Mom
January 29, 2010 at 7:29 am (16 years ago)These were fantastic, Julie! You have to bring them to the next family thing!:-)
Wait until Sarah sees that bowl sitting by them…. lol
Arlette
January 29, 2010 at 10:13 am (16 years ago)what a gorgeous looking bars .
I bet the Nanaimo Lady will be very proud of you.
Great job on the challenge… awesome photos as well.
Natalie
January 29, 2010 at 12:59 pm (16 years ago)Gorgeous job! I love your feathering across the top of the bars. It makes for a very elegant presetation of the Nanaimos.
Natalie @ Gluten A Go Go
Beth
January 30, 2010 at 9:05 pm (16 years ago)I love the easy design you did on top – really elevates the look of the bar. If I had a nice, sunny balcony, I would take all of my pics on it too! Nothing beats natural light.
Sue
January 31, 2010 at 2:31 am (16 years ago)I love the marbled top of your bars-beautiful! Milk is the PERFECT thing to accompany these rich bars!
Helene
May 18, 2012 at 2:53 am (14 years ago)I sooooo want to make these but 2 cups of sugar for the custard layer is too much for my diet. Any chance with agave nectar or less sugar maybe? Otherwise these look wonderful. Thank you!
Julie @ Willow Bird Baking
May 18, 2012 at 2:56 am (14 years ago)Hi Helene! It’s powdered sugar rather than regular sugar, so it does have fewer calories. Unfortunately, it is necessary for the texture of the custard layer (same reason you use powdered sugar in fluffy frostings, etc.) These are sadly probably not the best choice for a low-sugar diet; they’re more a treat for a splurge.
Genevieve
November 3, 2012 at 1:38 pm (14 years ago)These were incredible, I made them with caramel instead of the custard layer (I was short on time as I was sending them in the post to my sister for her birthday), the base is so good! Will definitely try them with the custard layer in the future too. Link below if you would like to see. Thanks for another brilliant recipe! x
http://www.genevievekitchen.blogspot.co.uk/2012/11/birthday-baking.html
Julie @ Willow Bird Baking
November 3, 2012 at 4:25 pm (14 years ago)Aw, what a wonderful sister you are! I love your adaptation, and the bars came out so pretty! Thank you for sharing!
Christine
April 24, 2013 at 8:47 am (13 years ago)I got it in My head to make Nanaimo bars for My stepson the other day (Nanaimo is My hometown, He would appreciate the novelty, not to mention the Utter Delicious-ness of the dessert!) I’ve never actually made them before but am Very excited to try out Your recipe over the weekend. Thank You!