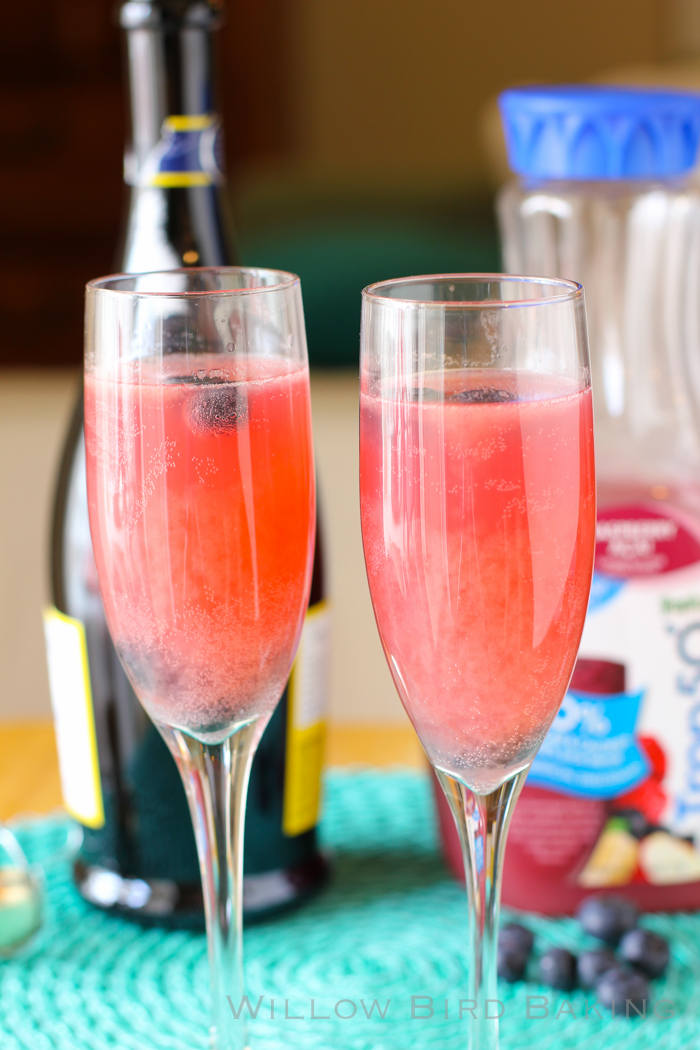
Raspberry Açaí Prosecco Cocktail

Thanks, Trop50, for sponsoring this post.

Today was one of those days. Not a bad day by any means. In fact, it was my favorite kind of day: A SUPER BUSY DAY.

It was the kind of day where you teach every period except lunch. The kind of day where you and 5 students work like lightning to wrap your new literary magazine and get it off to the printers. The kind of day where your entire creative writing workshop — the class that has renamed itself Feisty Narwhals for the remainder of the year — stretches to finish their elaborate homages to Jonathan Swift’s poem, “The Lady’s Dressing Room.” The kind of day where you have a practice debate, field trip planning, and a conference all on the schedule. The kind of day where you make a Raspberry Açaí Prosecco Cocktail when you get home just because.

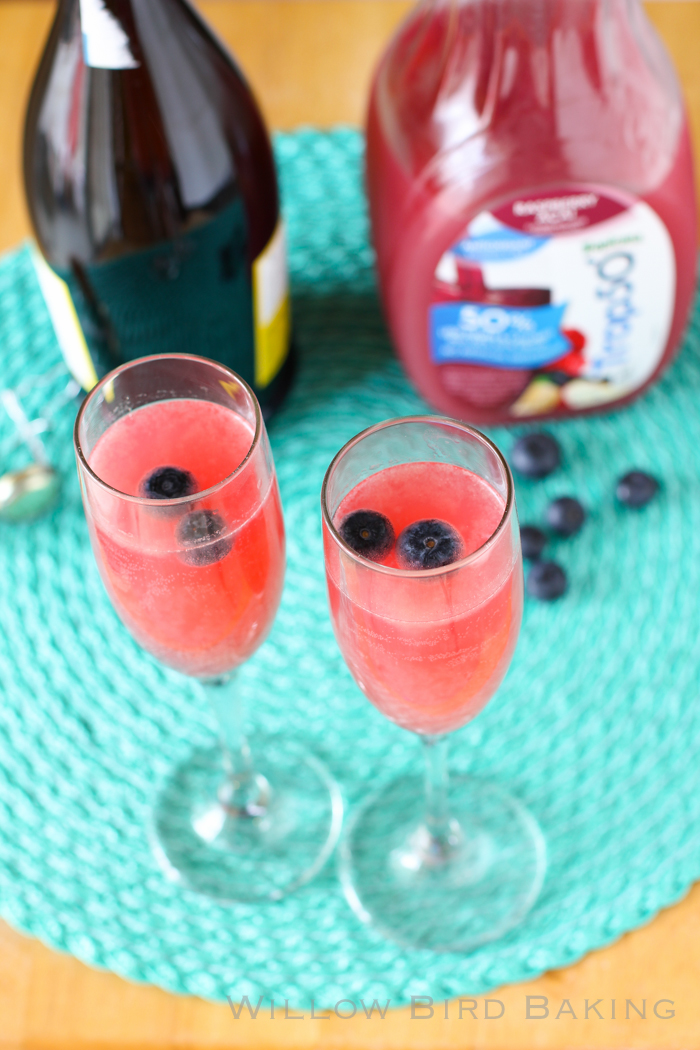
Raspberry Açaí Prosecco Cocktail

Raspberry Açaí Prosecco Cocktail


Recipe by: Willow Bird Baking
Yield: varies

I love a good fruity cocktail. I recently threw this Prosecco cocktail together and drank it with dinner — no special occasion needed! It’s just slightly sweet, but not overpowering.

Ingredients:
1 part chilled Trop50 Raspberry Açaí juice
1 part chilled Prosecco
berries

Directions:
Pour the juice into a pitcher. Add the Prosecco (If you pour the Prosecco into the juice and not the other way around, there’s no need to mix, so you preserve bubbliness.) Drop a few berries into each glass, pour the cocktail over them, and serve.

Disclosure: Compensation was provided by Trop50 via Glam Media. The opinions are all mine, though, and are not indicative of the opinions or positions of Trop50.

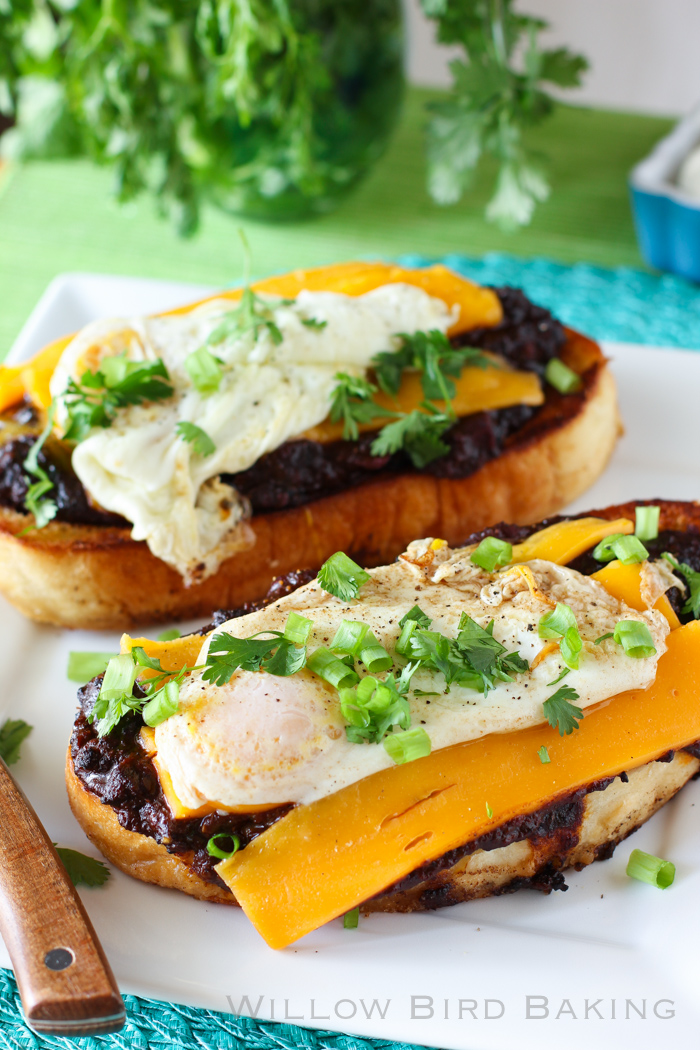
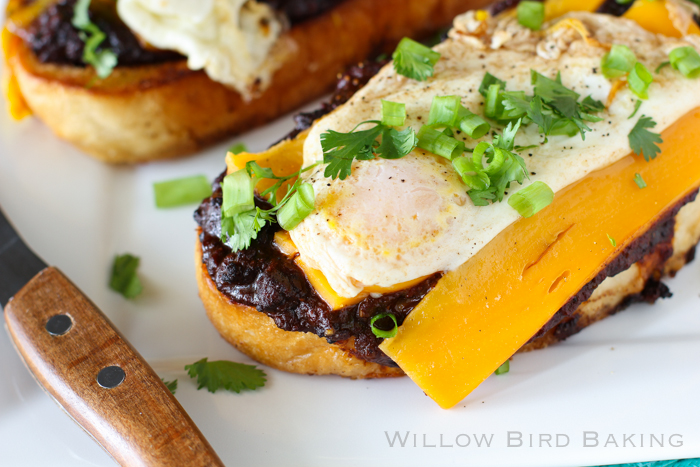
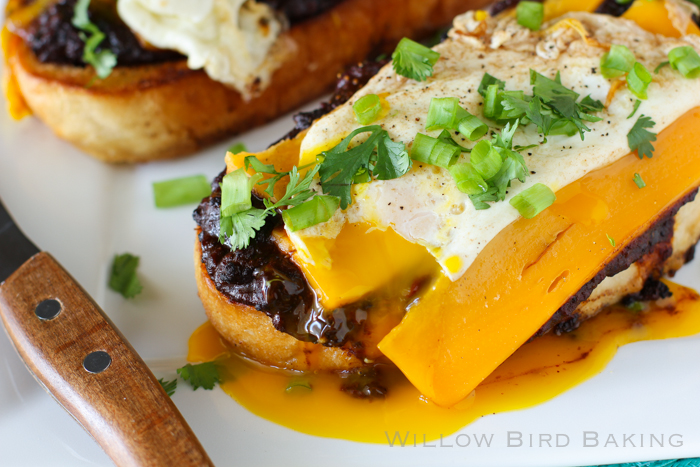
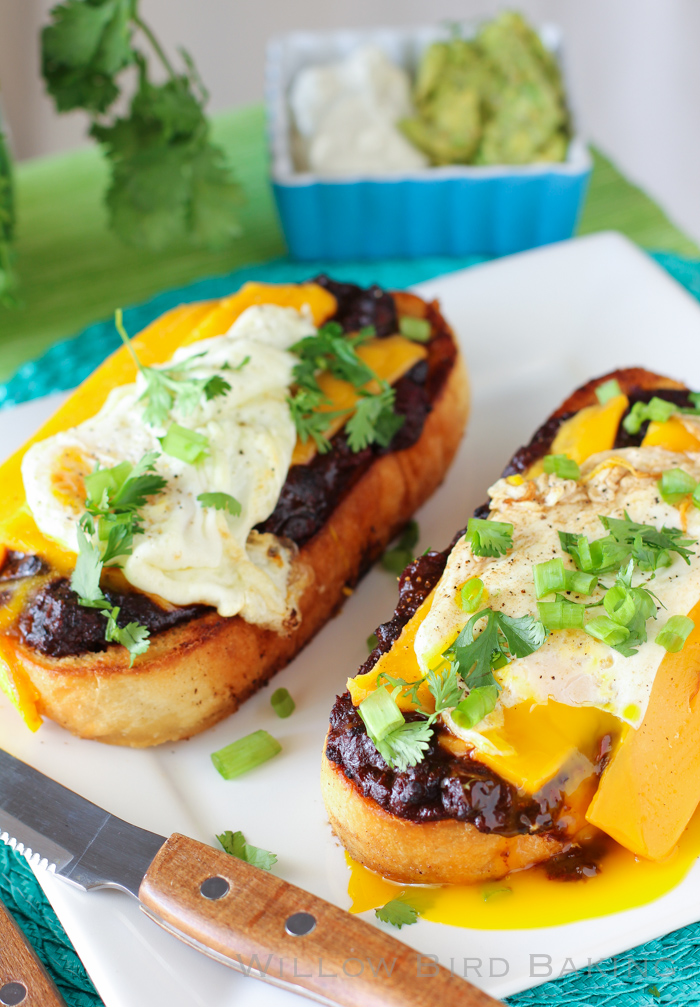
Open Faced Chili Grilled Cheese with a Runny Egg (The Perfect Grilled Cheese)

The Perfect Grilled Cheese
Open Faced Chili Grilled Cheese with a Runny Egg (The Perfect Grilled Cheese)

Open Faced Chili Grilled Cheese with a Runny Egg (The Perfect Grilled Cheese)


Recipe by: Willow Bird Baking, with chili recipe adapted from Cooks’ Illustrated, as found on Brown Eyed Baker. Sandwich inspired by BS’ in the Kitchen.
Yield: 4 servings

This meal was insaaane. Turns out, the perfect grilled cheese requires the perfect homemade chili. You can use any leftover chili for this sandwich, but it’s so worth it to make the chili linked below; it’s the best I’ve ever had, hands down. It looks complicated, but it’s actually a cinch to prepare and can be made a few days ahead and refrigerated until you’re ready to assemble your sandwiches. The recipe below makes about three times the amount of chili you need, but I make the whole batch because I know I’ll want to freeze some for other uses.

Ingredients:
1 tablespoon mayonnaise
lots of butter (around 1/2 cup), softened to room temperature, plus more butter for cooking
2 slices of a sourdough bread boule (about 1 inch thick and 8 inches long)
about 3 cups homemade chili from this recipe
sharp cheddar cheese, sliced thin
2 eggs
salt and pepper
2 green onions, chopped
cilantro, chopped
optional serving suggestions: guacamole, sour cream, avocados, salsa

Directions:
Preheat broiler. Mix softened butter and mayonnaise in a small bowl and spread a good layer on both sides of each slice of bread.

Heat a heavy, oven-safe skillet over medium heat. Toast one side of the bread in the hot skillet until golden. Flip the bread and pile on the chili. Top with cheese strips and place the skillet immediately under the broiler to melt for 2-3 minutes, watching closely. Pull the skillet out of the oven when the cheese is melty and remove the sandwiches to a plate.

Melt another tablespoon of butter in the skillet over medium heat and break two eggs into it. Cook the eggs just until you can flip them, cooking them only slightly on the other side. Remove the over-easy eggs to the tops of the waiting sandwiches and top with salt, pepper, cilantro, and green onions. Serve with sour cream, guacamole, and salsa if desired.

8 Cinco de Mayo Recipes from Willow Bird Baking


Thanks, Foodie, for sponsoring this post, 8 Cinco de Mayo Recipes from Willow Bird Baking!

Mexican and Tex-Mex food is my all-time favorite. I love Thai, Indian, Japanese, Greek, French, Cuban — I could eat my way through just about every country — but Mexican is the cuisine I always crave. Want to celebrate Cinco de Mayo this year with a Tex-Mex feast? Above are some of my favorite recipes from around the webz, and below are 8 of my own Tex-Mex creations! Enjoy!

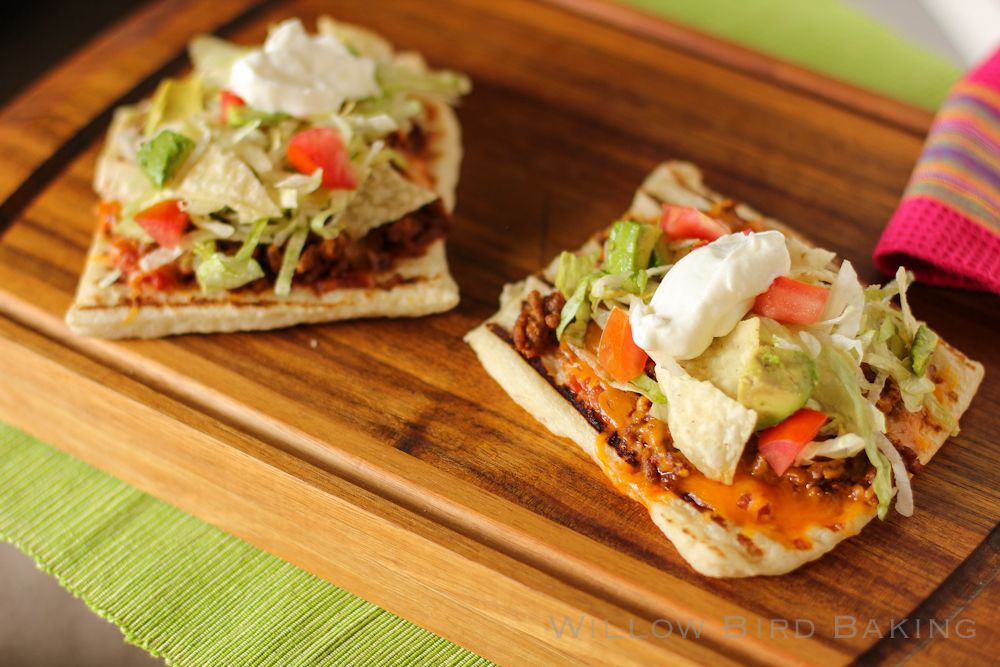
Easy Taco Grilled Mini Pizzas

This is the quick and easy way to get Tex-Mex deliciousness on your table. Difficulty level: Easy.


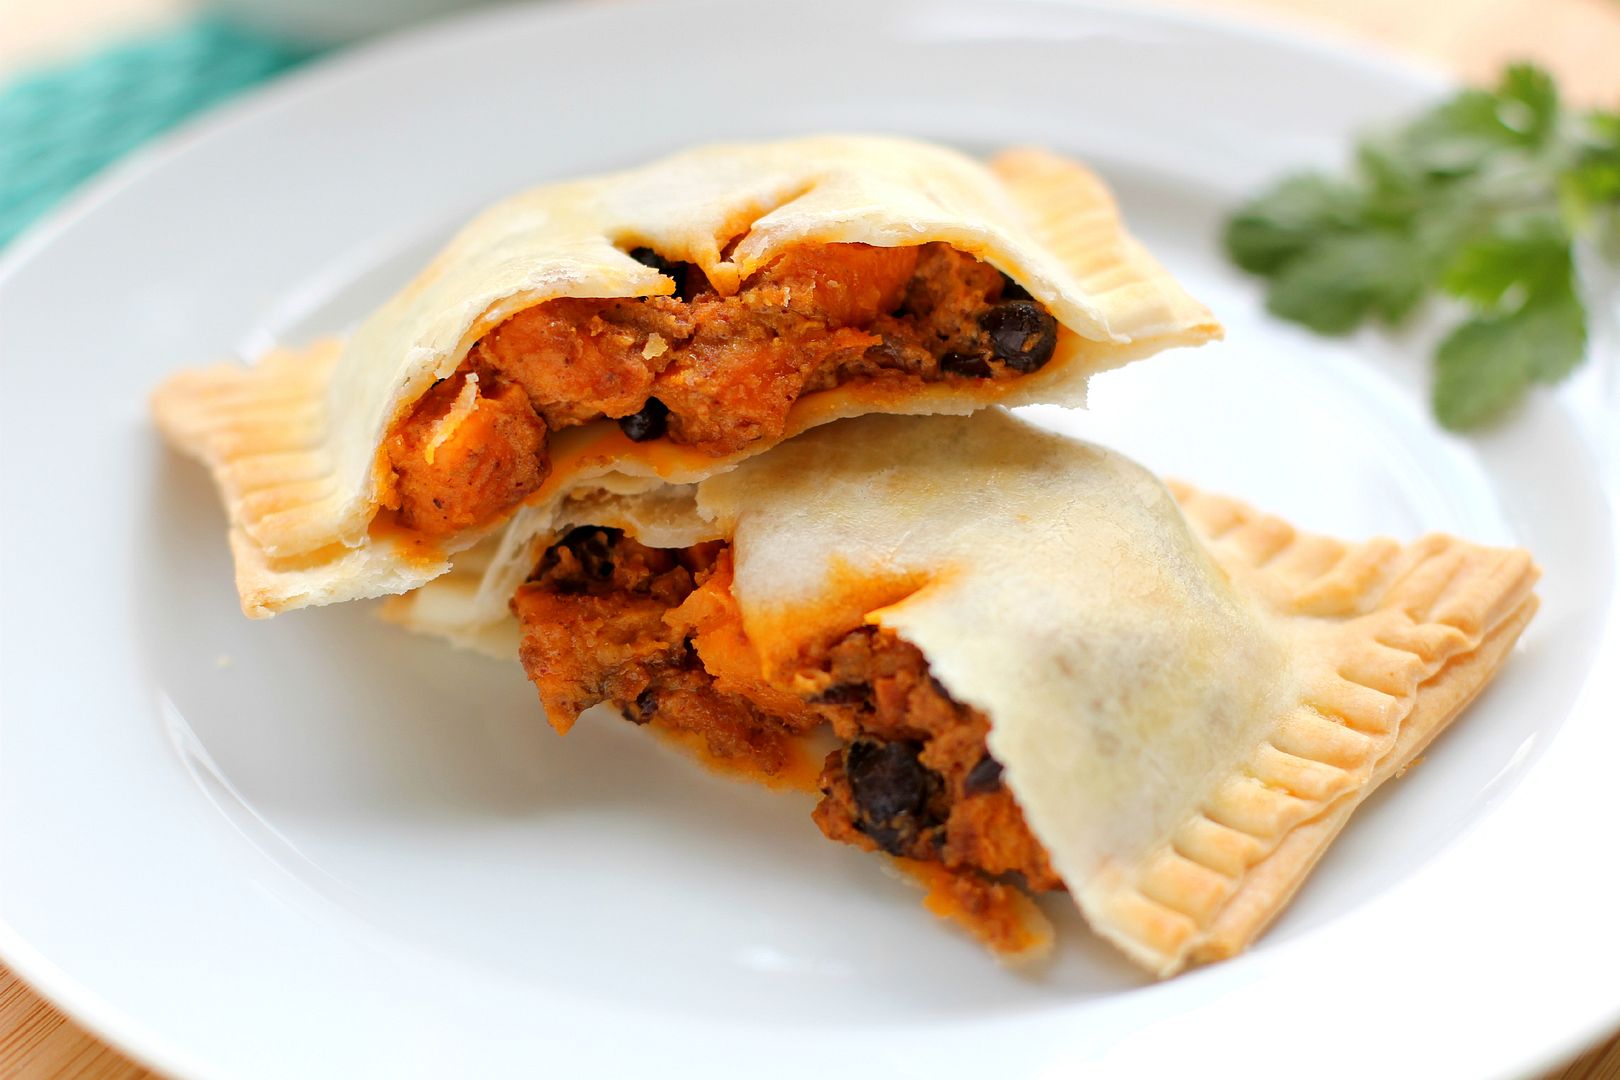
Sweet Tater & Chorizo Hand Tarts

Tender pie pastry with a delicious sweet potato and chorizo filling! Difficulty level: Intermediate (includes a quick and easy adaptation using ready-made crescent rolls!)


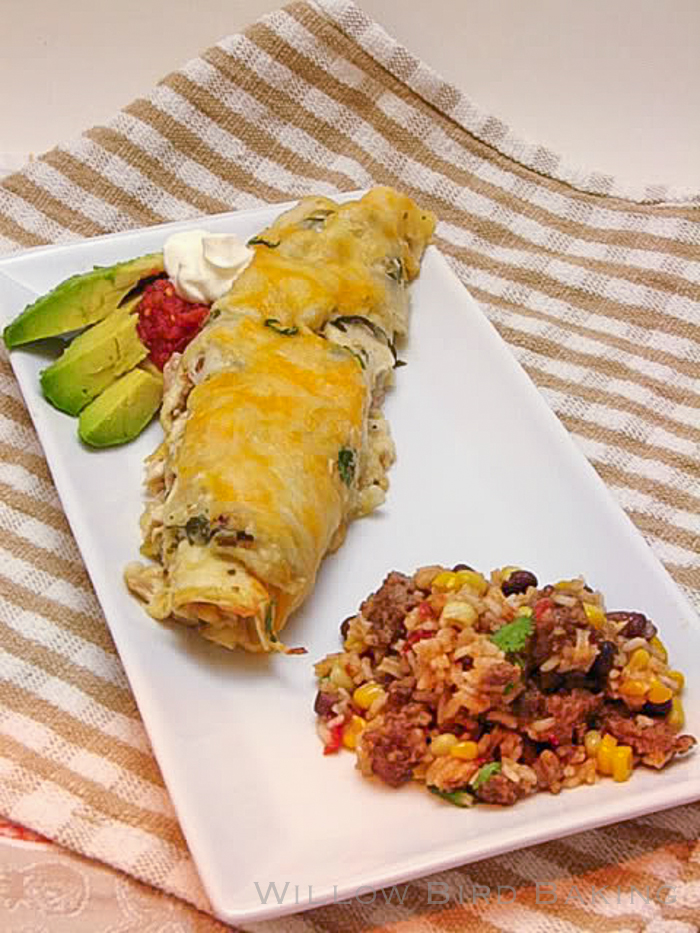
Creamy Chicken and Green Chile Enchiladas

I made this recipe a LONG time ago before I took very good photos, but trust me: these things are so good! A ready-made rotisserie chicken makes this a quick and easy choice. Difficulty level: Easy.


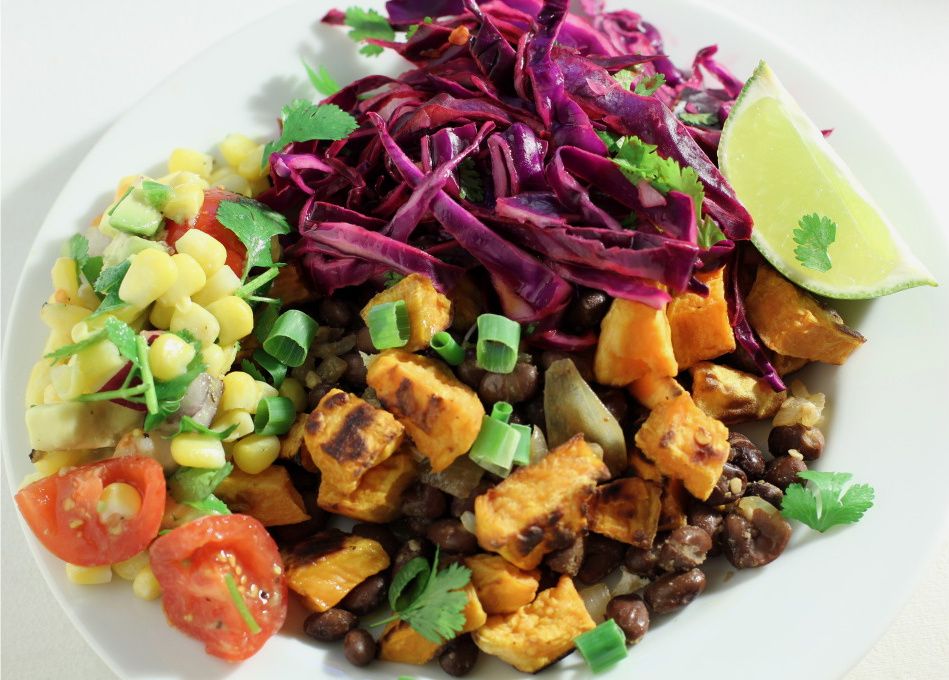
Naked Vegan Tacos with Corn Relish and Cilantro-Lime Slaw

Bright, healthy, and so delicious! Difficulty level: Easy.


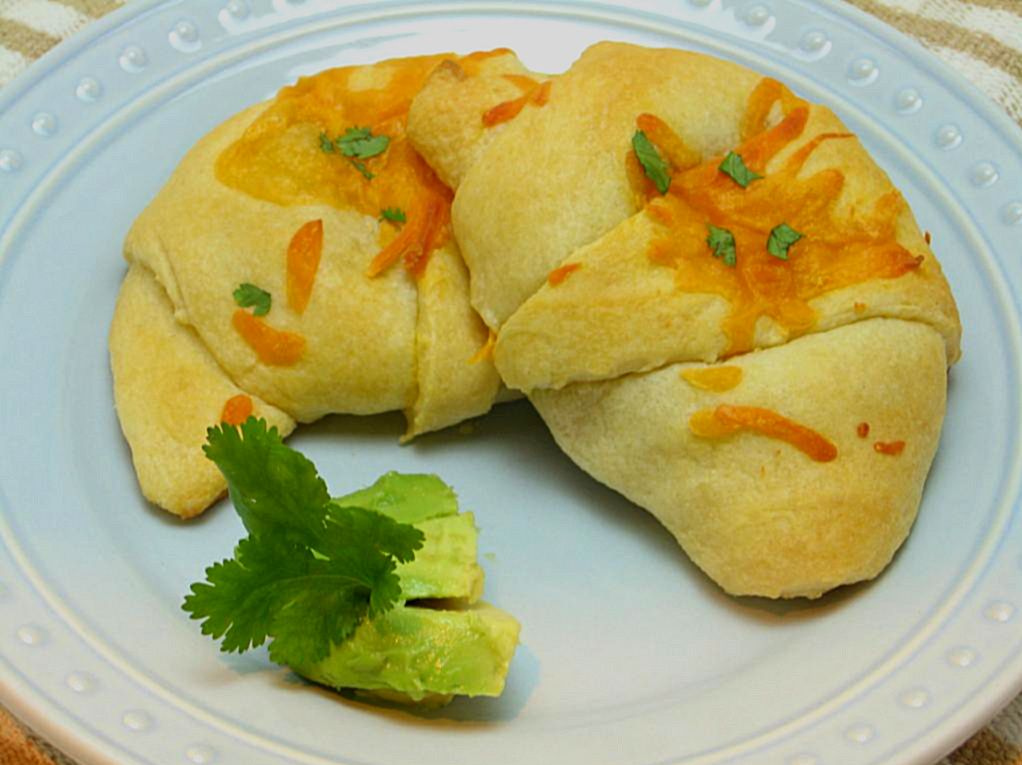
Taco Stuffed Crescent Rolls

Again, don’t let the old photo fool you. This is one of the BEST recipes on Willow Bird Baking! So quick, easy, and incredibly delicious! Difficulty level: Easy.


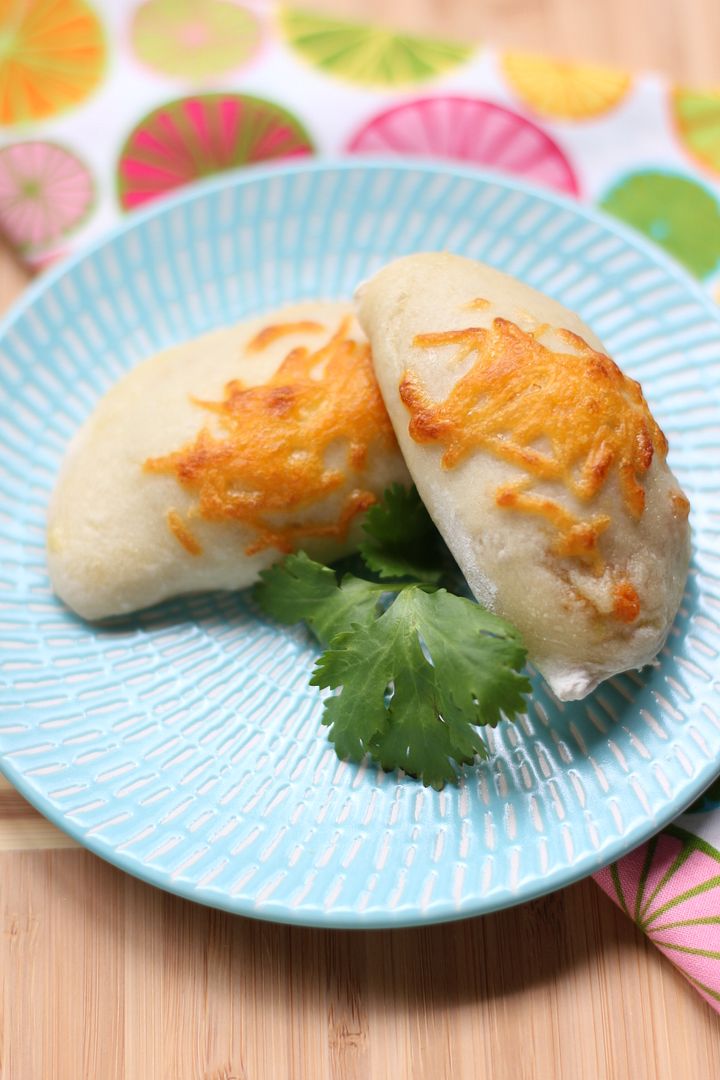
Cheap and Simple Taco Pockets

Want some taco pockets, but don’t want to use ready made dough? Here’s an all-homemade version! Difficulty level: Intermediate.


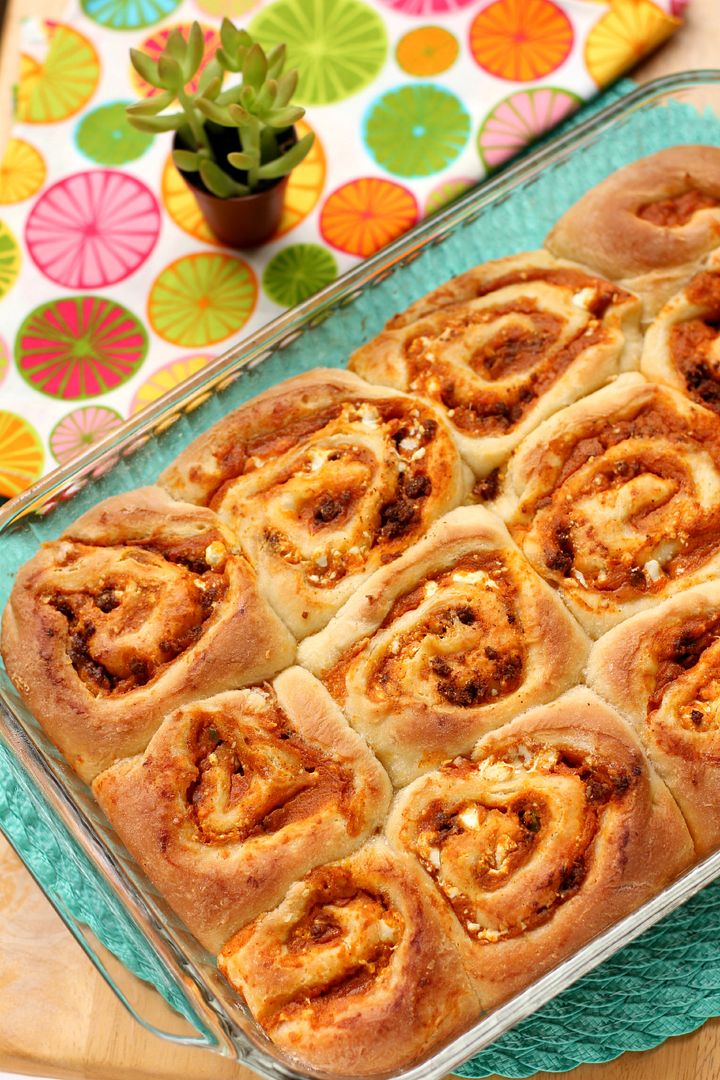
Savory Sweet Potato & Chorizo “Cinnamon Rolls”
Savory Sweet Potato & Chorizo 'Cinnamon Rolls'

These savory cinnamon rolls are so delectable with dinner! Difficulty level: Intermediate.


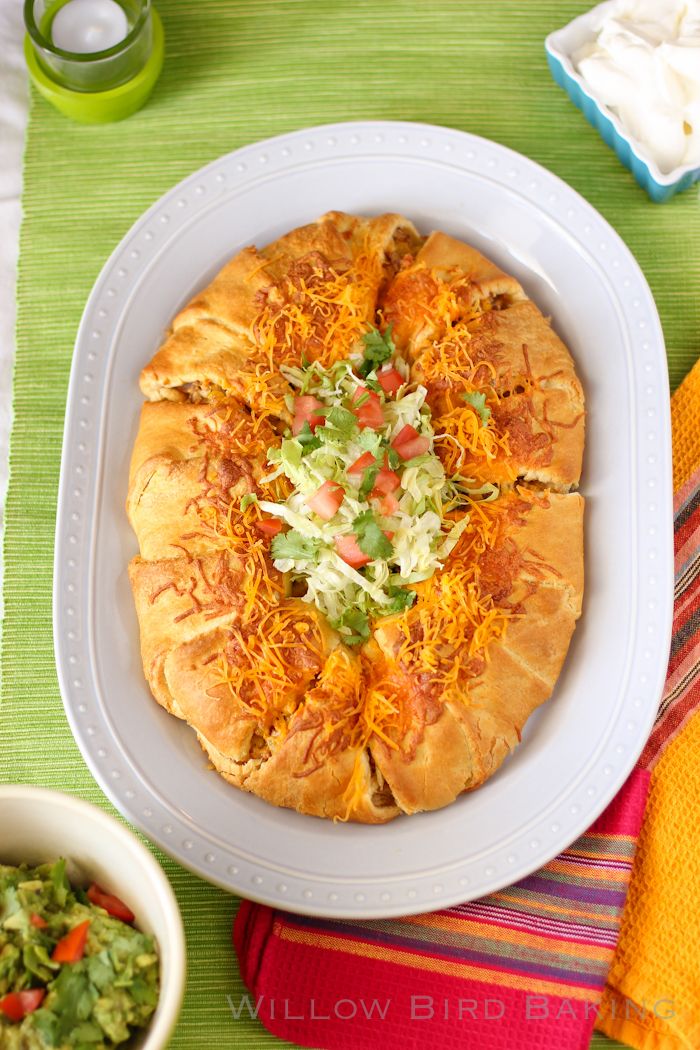
Sausage & Corn Chile Con Queso Taco Ring

My all-time favorite Willow Bird Baking Tex-Mex recipe! The filling in this baby is INSANE. The ring itself also looks impressive but is so easy to make! Difficulty level: Easy


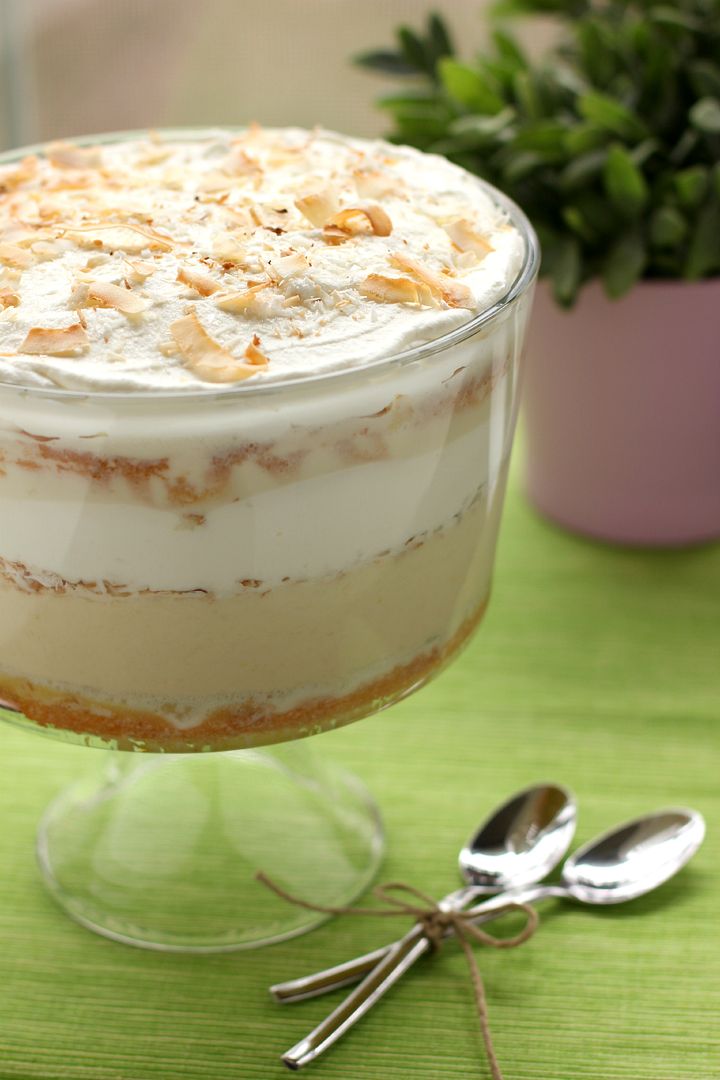
Tres Leches Coconut Cake Trifle

Don’t forget dessert! If you love coconut cake and tres leches cake, you’re gonna want to throw yourself face first into this. Difficulty level: Intermediate.


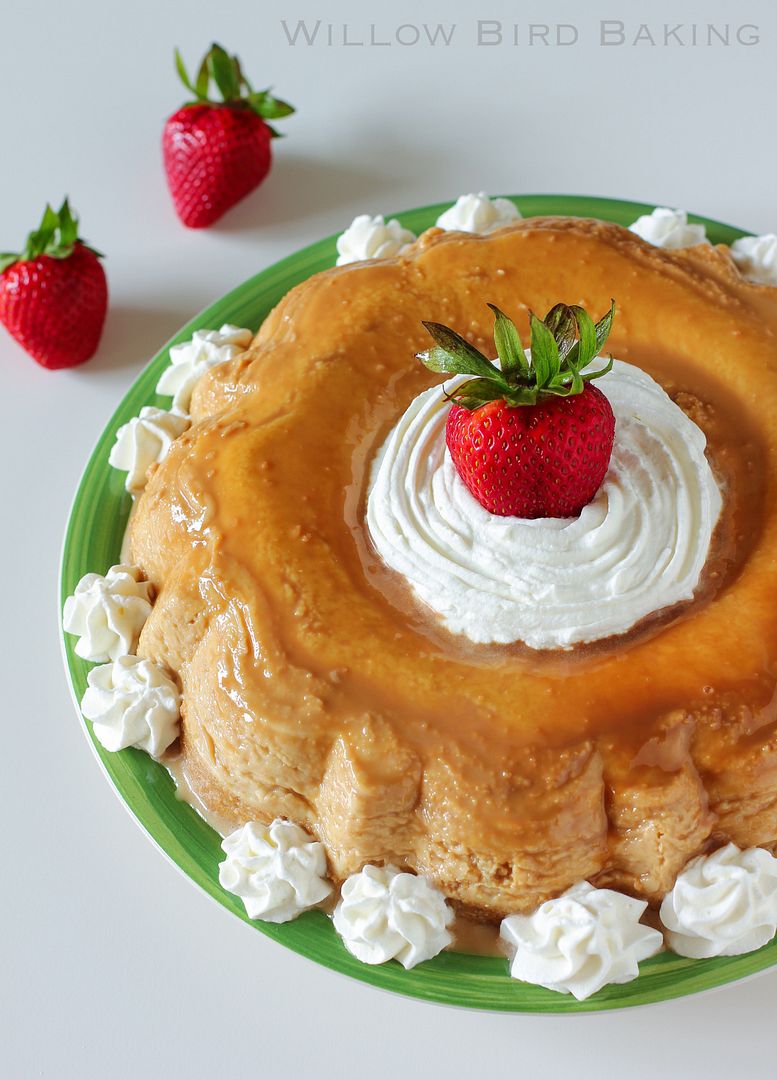
Flan Tres Leches Cake

Can’t decide between flan and tres leches cake? I got ya covered! Difficulty level: Intermediate.


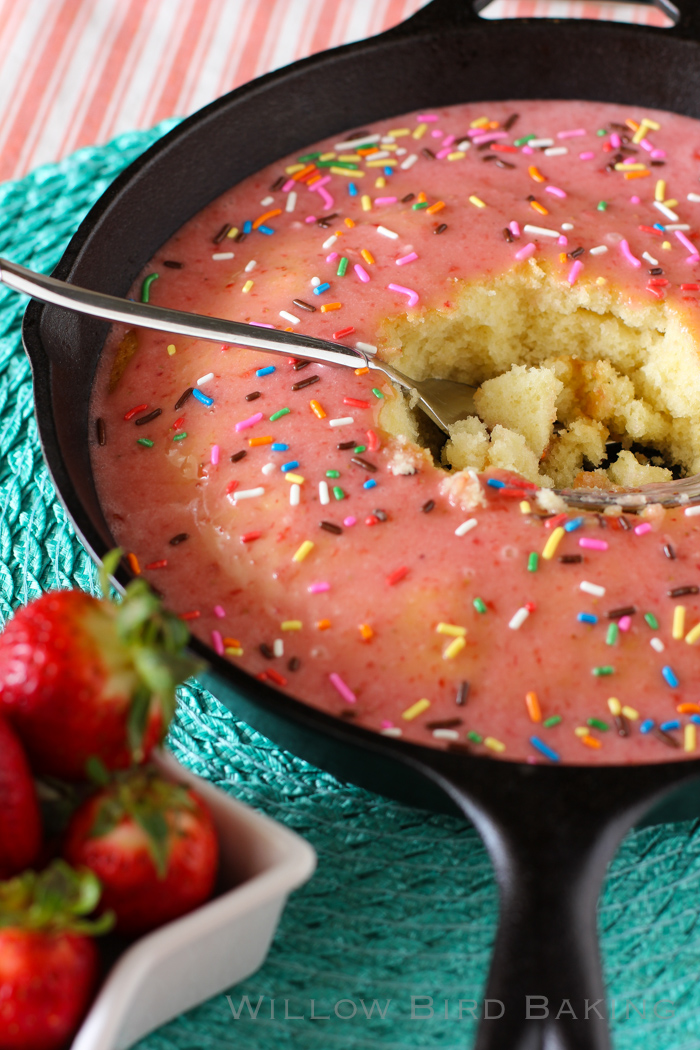
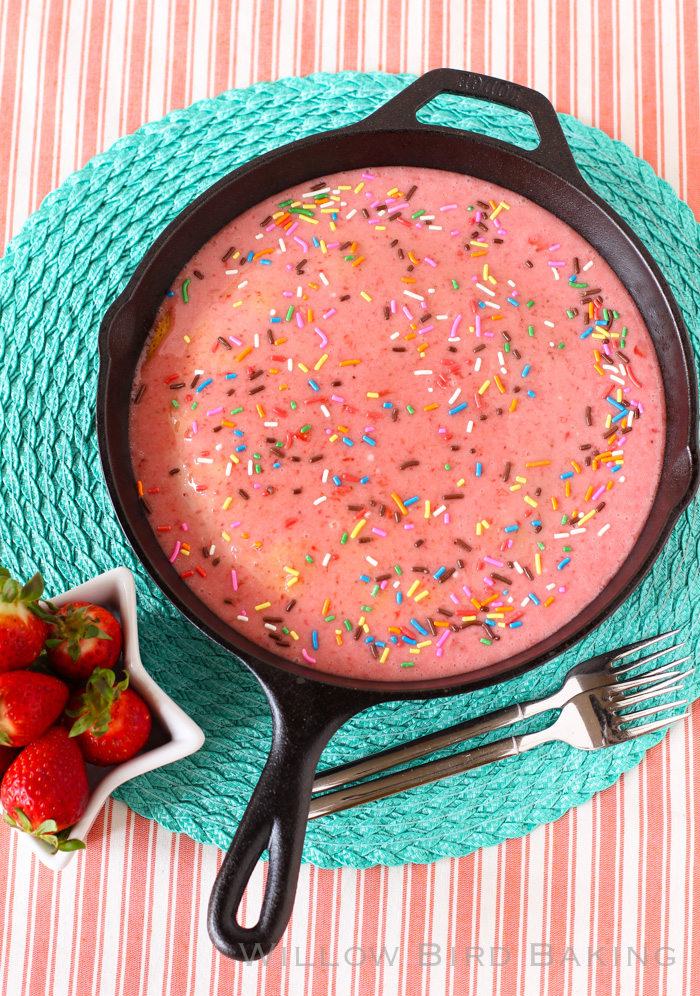
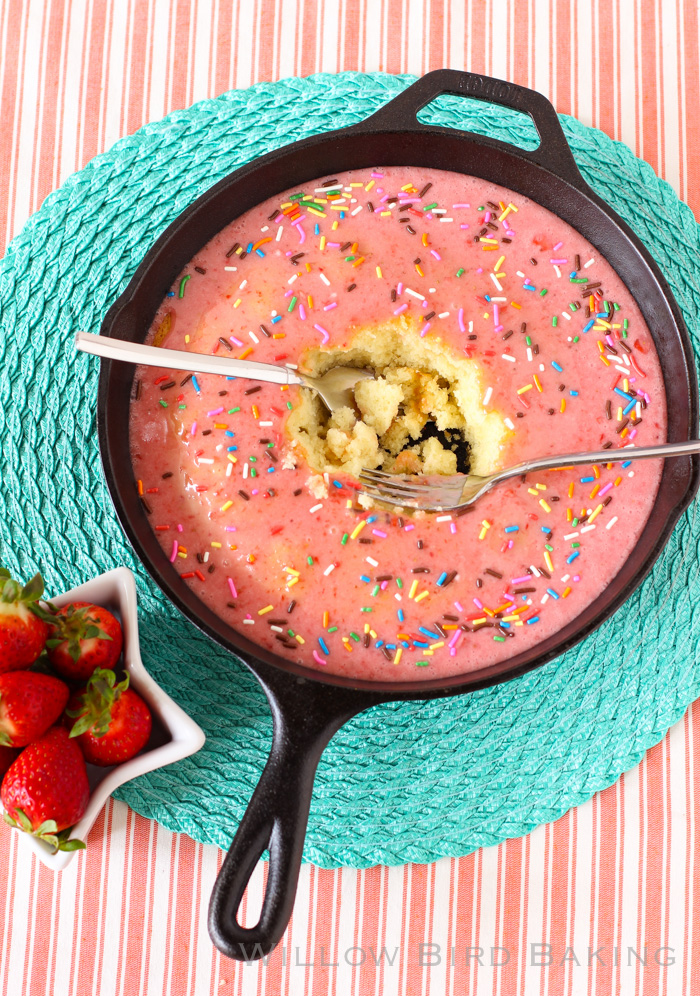
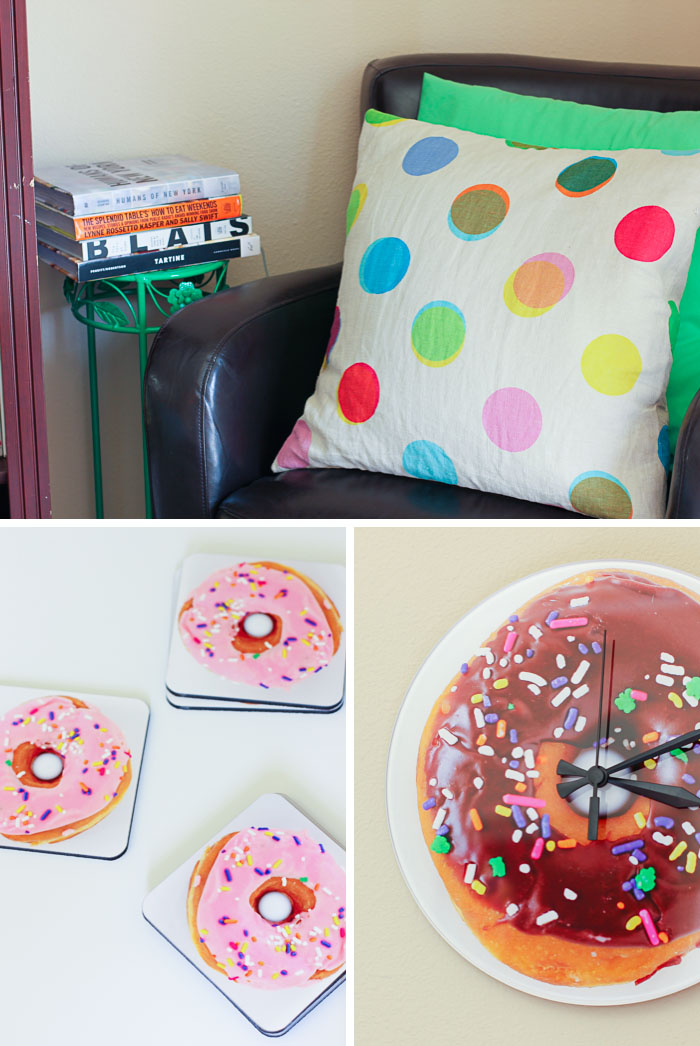
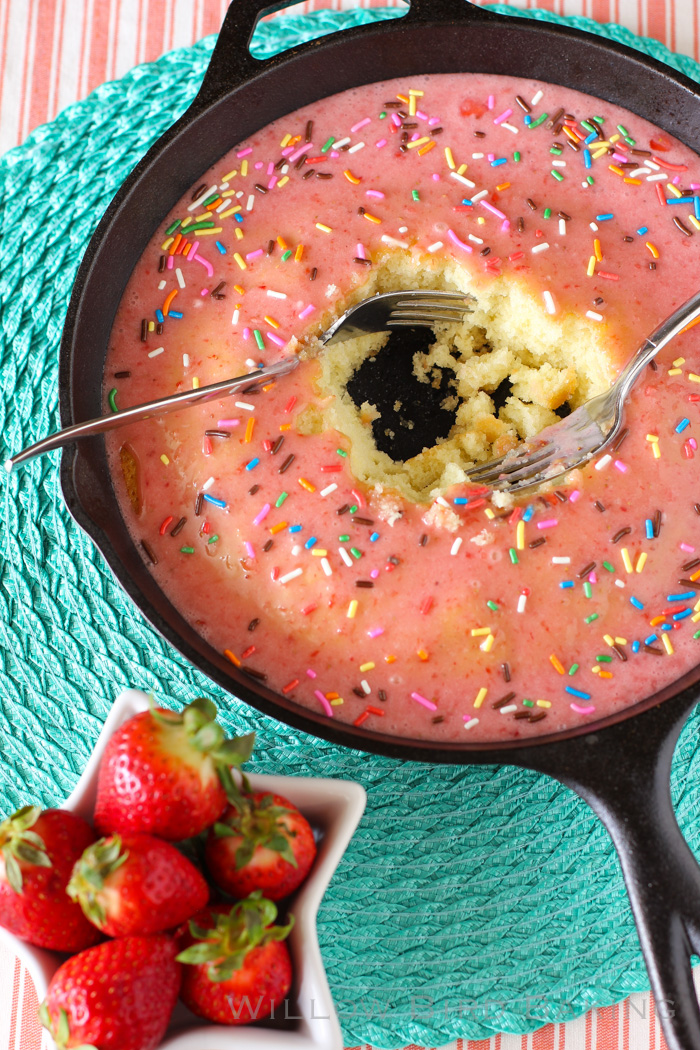
Strawberry Doughnut Cake (and a creative giveaway!)

Strawberry Doughnut Cake

Strawberry Doughnut Cake


Recipe by: Willow Bird Baking with strawberry glaze adapted from Sally’s Baking Addiction
Yield: 8-10 servings

You’re going to be shocked by how delicious this super cute and super quick cake is. SHOCKED, I tell you!

Cake Ingredients:
1/2 cup (1 stick) butter
1/2 cup water
1 cup plus 2 tablespoons cake flour
1 cup white sugar
1 egg, lightly beaten
1/4 cup sour cream
1/4 teaspoon almond extract
1/4 teaspoon vanilla extract
1/2 teaspoon baking soda
1/2 teaspoon salt

Glaze Ingredients:
5-6 strawberries, chopped
1 tablespoon strawberry jam
1 tablespoon milk
2 cups powdered sugar
1/8 teaspoon vanilla extract
sprinkles (optional)

Directions:
To make the cake: Preheat the oven to 375 degrees. In a medium saucepan over medium heat, bring the butter and water to a boil. In the meantime, in a separate large bowl, whisk together the cake flour and sugar before adding the eggs, sour cream, almond extract, vanilla extract, baking soda, and salt. Mix to combine. While mixing, slowly pour in the boiling butter and water mixture. Mix to combine completely. Your batter will be very runny. Pour the batter into a 10-inch cast iron skillet (alternatively, I think this would work fine in a 8-inch square baking pan lined with parchment paper.)

Bake at 375 degrees for 15-18 minutes or until a toothpick inserted in several places comes out with a few moist crumbs (don’t wait for the top to get golden brown, necessarily — mine stayed pale). Cast iron skillet cook times can be variable, so check early and often. Cool completely.

To make the glaze: Put chopped strawberries and jam into a food processor or blender to puree. Pour into a medium bowl and mix in milk and vanilla extract. Gradually whisk in powdered sugar. Pour glaze over the cake to cover (I used most but not all of it) and top with sprinkles.

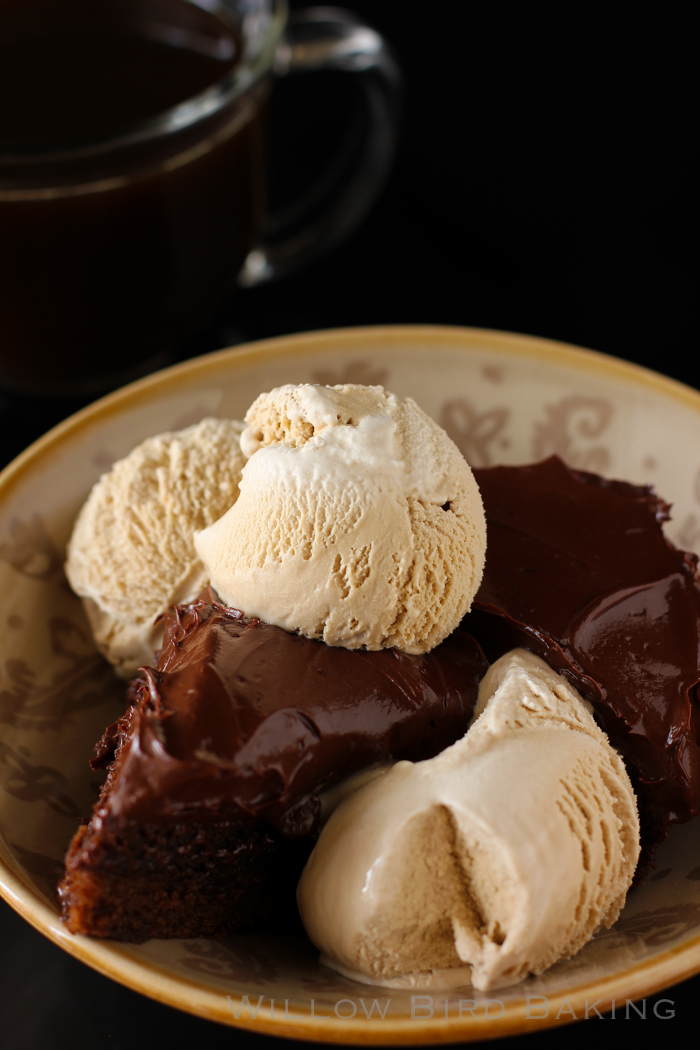
Intense Chocolate Mocha Cake

Intense Chocolate Mocha Cake

Intense Chocolate Mocha Cake


Recipe by: Willow Bird Baking, with frosting adapted from Martha Stewart
Yield: 9 servings

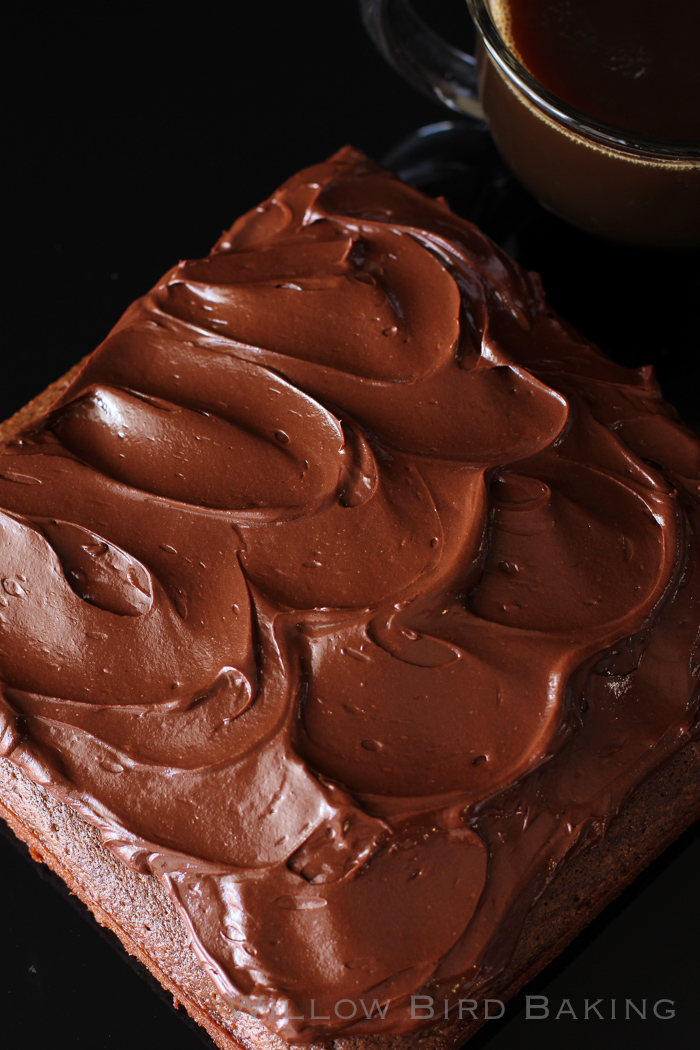
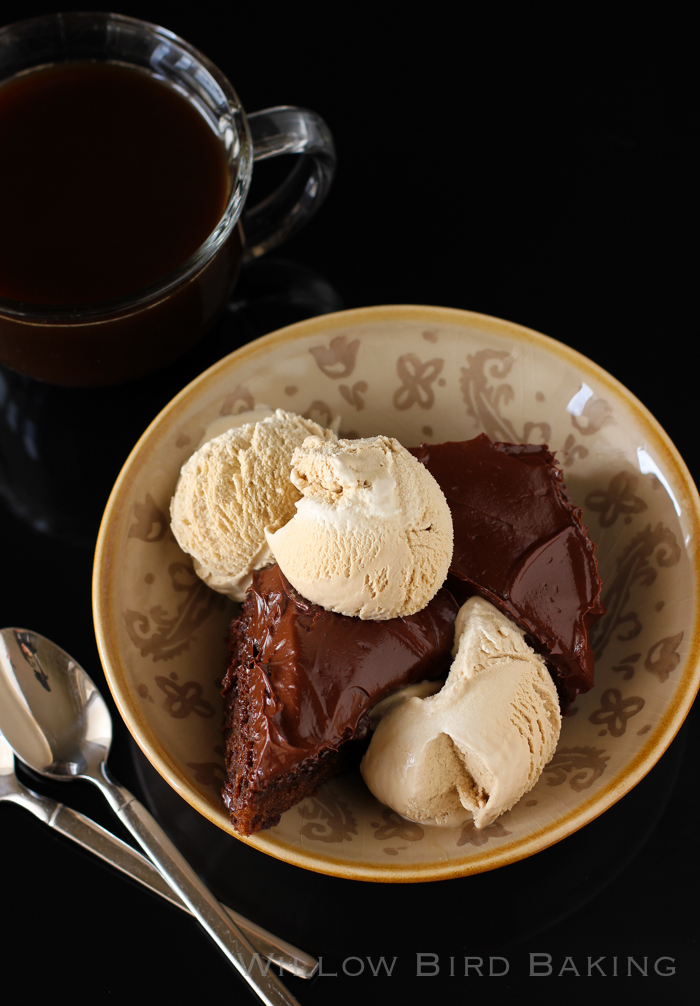
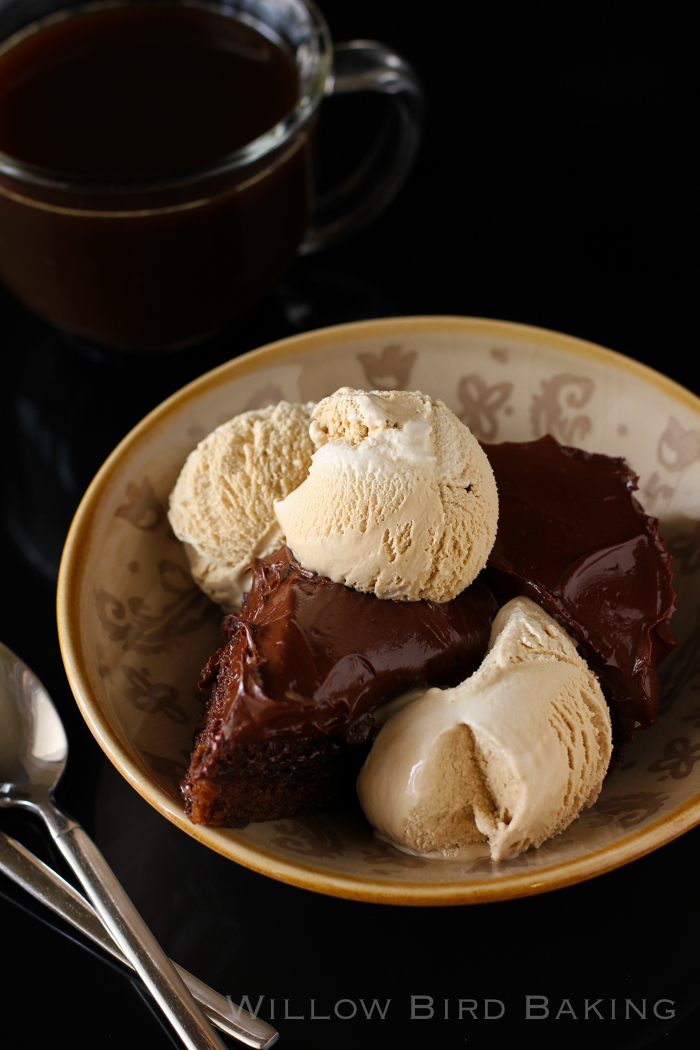
This easy snack cake packs an intense mocha punch! The espresso powder deepens the already fantastic chocolate flavor of the cake and smooth-as-silk frosting. Be sure to pour a tall glass of milk with this cake (or maybe a nice cup of coffee?)

Cake Ingredients:
1 cup flour
1/2 teaspoon baking soda
1 cup sugar
1/8 teaspoon salt
1/4 cup (1/2 stick) butter
1/4 cup vegetable oil
2 tablespoons cocoa powder
1/2 cup water
1 tablespoon espresso powder
1/4 cup buttermilk
1 egg
1/2 teaspoon vanilla
2/3 cup bittersweet chocolate chips

Frosting Ingredients:
7 tablespoons cocoa powder
1 1/2 teaspoon espresso powder
7 tablespoons warm water
1 stick unsalted butter, room temperature
1/4 cup powdered sugar
1/8 teaspoon salt
8 ounces semisweet chocolate chips, melted and cooled
coffee ice cream (for serving)

Directions:
Make the cake: Preheat the oven to 350 degrees F. Spray an 8-inch square baking pan with Baker’s Joy® nonstick cooking spray. Place a square of parchment in the bottom and spray this with Baker’s Joy® as well.

In a large bowl, whisk flour, baking soda, sugar, and salt together and set aside. In a medium saucepan, bring the butter, vegetable oil, cocoa powder, espresso powder, and water to a boil, whisking to mix. After it boils, whisk it into the dry ingredients until combined. Whisk in the buttermilk, egg, and vanilla. Fold in chocolate chips. Pour the batter into your prepared pan and bake at 350 degrees F for 18-22 minutes or until a toothpick comes out with just a few moist crumbs (a clean toothpick means a dry cake, so be sure to pull it out before then!) Let the cake cool for about 20 minutes before cooling the rest of the way in the fridge. When your cake is completely cool, invert it onto a square plate or platter.

Make the frosting: In a small bowl, whisk together the cocoa, espresso powder, and warm water. In a separate bowl, beat together butter, powdered sugar, and a pinch of salt until pale and fluffy. Gradually beat in the melted, cooled chocolate and the cocoa mixture. Let this sit for exactly 30 minutes (no really, exactly 30!) before you use it to obtain the perfect spreadability. Pile the frosting on the top of the cake and smooth it out to an even, thick layer. Cut into slices and serve with coffee ice cream.

1 48 49 50 51 52 127