chocolate

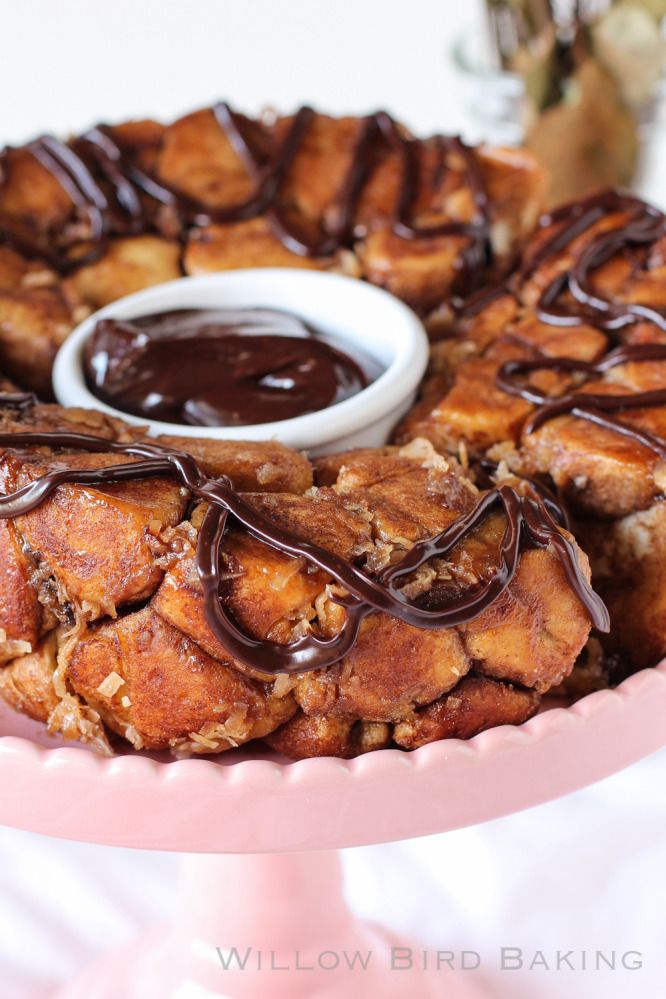
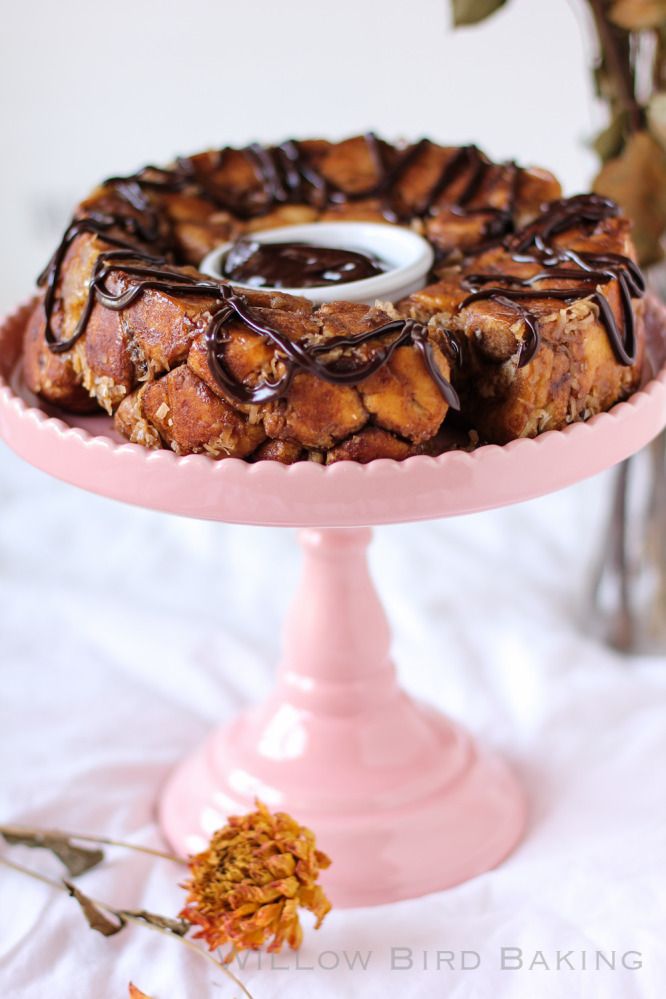
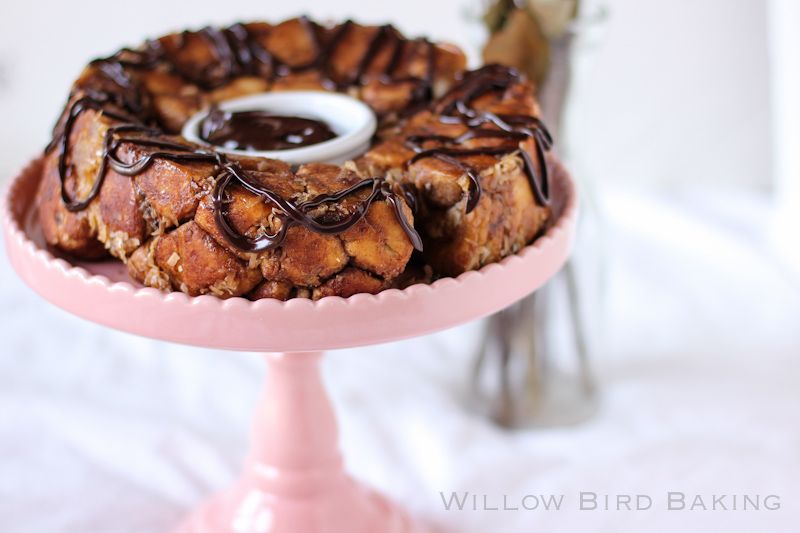
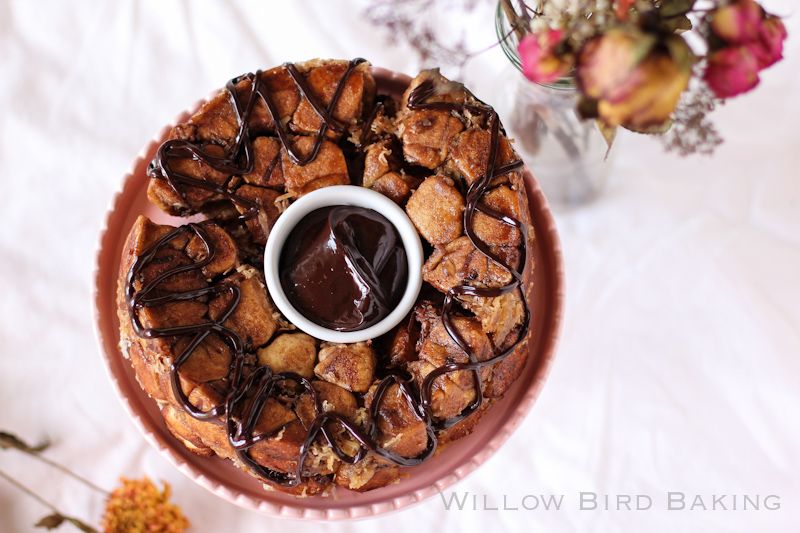
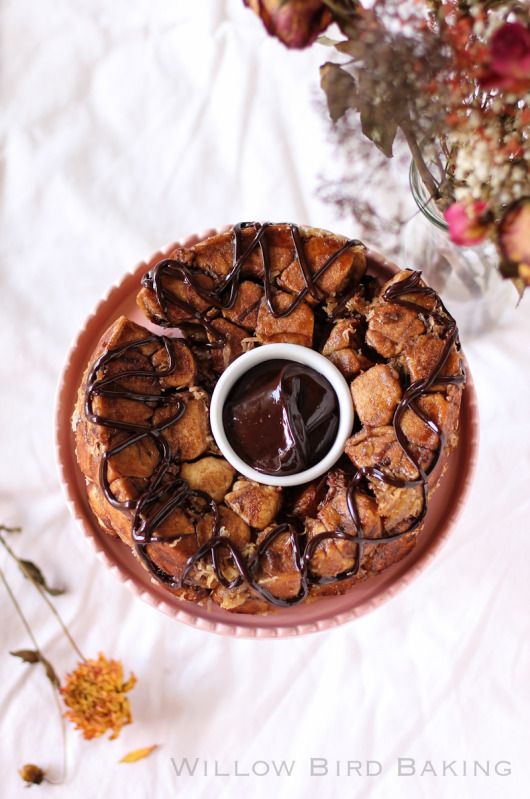
Samoa Monkey Bread with Ganache Dipping Sauce

Samoa Monkey Bread with Ganache Dipping Sauce


Recipe by: Willow Bird Baking, heavily adapted from Pillsbury
Yield: 12 servings

Samoa Girl Scout cookies are good. Monkey Bread is good. Samoa Monkey Bread is INSANE. You have to make this one! It’s a little fiddly filling each dough ball with chocolate, but so worth it.

Ingredients:
4 (7.5-ounce) tubes of refrigerated biscuits
3/4 cup sugar
2 teaspoons cinnamon
2 tablespoons cocoa powder
1/2 cup butter, melted
1 teaspoon coconut extract
3/4 cup packed brown sugar
1 1/2 cup shredded coconut
3/4 bag of Hershey’s Baking Melts* for stuffing
1 cup chocolate chips (I prefer Ghirardelli 60% cacao chips for this ganache)
1/2 cup heavy cream
*Karly turned me on to these and they’re perfect for this application, but you can use chocolate chips or even chocolate kisses if you need to.

Directions:
Preheat the oven to 350 degrees F and grease a 12-cup tube or bundt pan. Toss sugar, cinnamon, cocoa powder, and 1/2 cup coconut in a gallon-size plastic zip bag to mix. Cut each refrigerator biscuit in half and place a baking melt on it. Pinch the dough around the baking melt to close completely. Put the dough balls into the prepared bag and toss gently to coat. Then place the coated dough balls into the greased tube pan. Once you get a full layer of dough balls in the pan, sprinkle on about 1/2 cup of shredded coconut flakes. Keep layering dough balls and coconut until the dough balls are all in the pan. Sprinkle a little more coconut over the top.

Mix melted butter, coconut extract, and brown sugar carefully and pour over the dough balls. Bake for about 45 minutes or until well browned (so the middle won’t be doughy). Remove the pan from the oven and cool for 5 minutes before (carefully — the hot butter might splash) inverting it onto a plate.

While it cools slightly, put the chocolate chips in a medium bowl. Heat the heavy cream in the microwave for about 1 minute — long enough to make it hot, but not enough for it to boil. Pour it over the chocolate chips and let it sit for 2 minutes. Then whisk in small circles to form ganache. Drizzle a little over the top of your monkey bread before pouring the rest into a bowl. Serve the ganache with the warm monkey bread for dipping.

The Best of Willow Bird Baking: Chocolate and Coconut Recipes

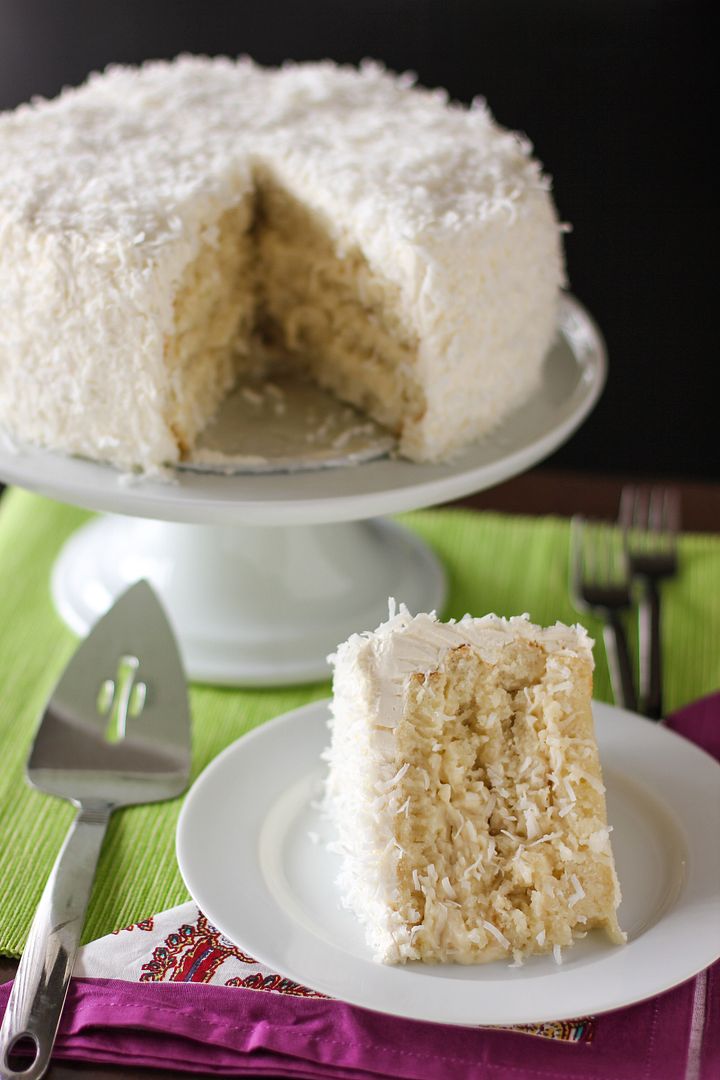
I’ve been on a coconut kick again lately, in case you didn’t see that huge hunk o’ cake down there. Today I got a hankering to compile all the Willow Bird Baking coconut recipes and then realized I wanted to do the same for chocolate recipes. And for recipes with both coconut and chocolate. So why not compile all the goodness together in one big roundup post? If you love coconut or chocolate or both together, this post is dedicated to you! And this is the perfect time to unveil a new little Willow Bird feature: you can now hover over any photo to pin that photo to Pinterest. Happy baking — and pinning!

CHOCOLATE RECIPES

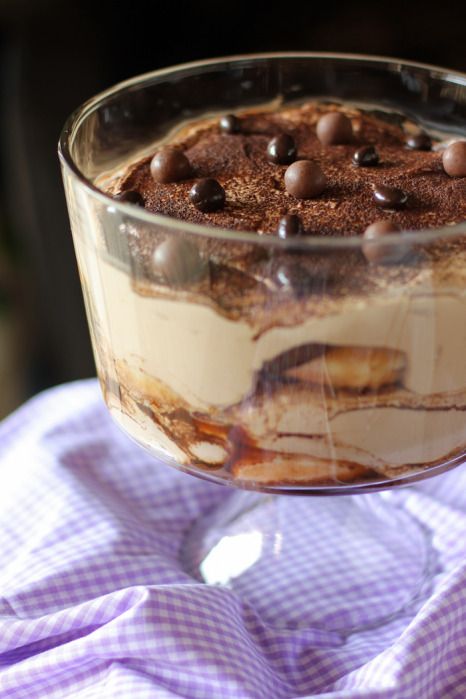
1. Bailey’s Hazelnut Chocolate Tiramisu
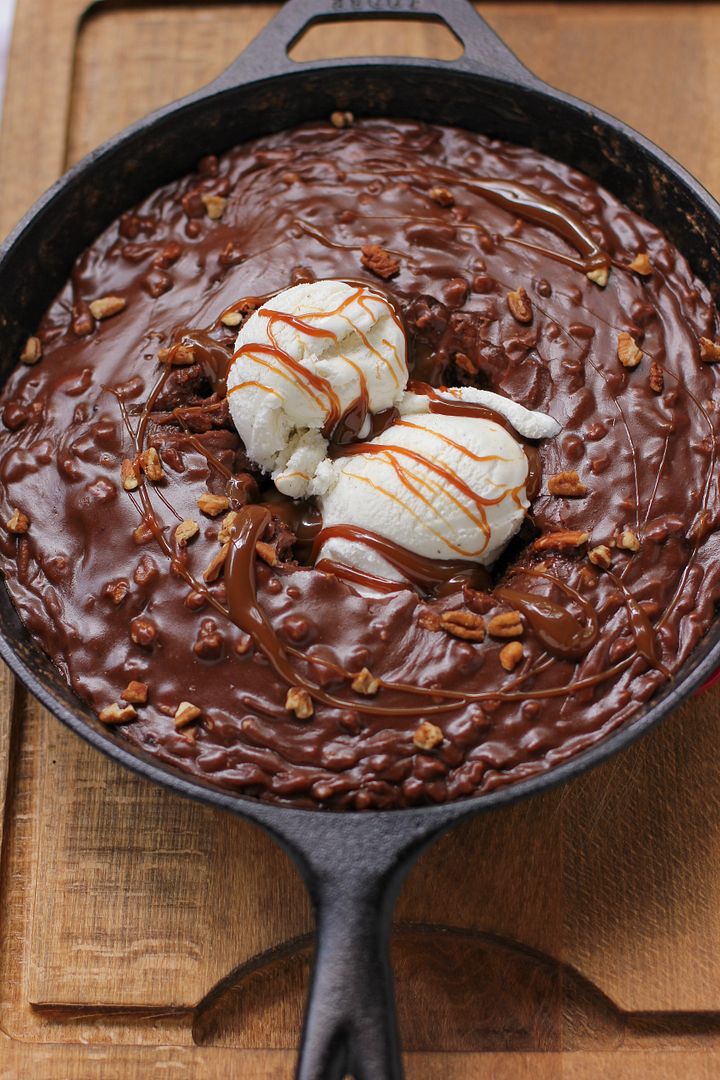
2. Gooey Chocolate Skillet Cake Ice Cream Sundae
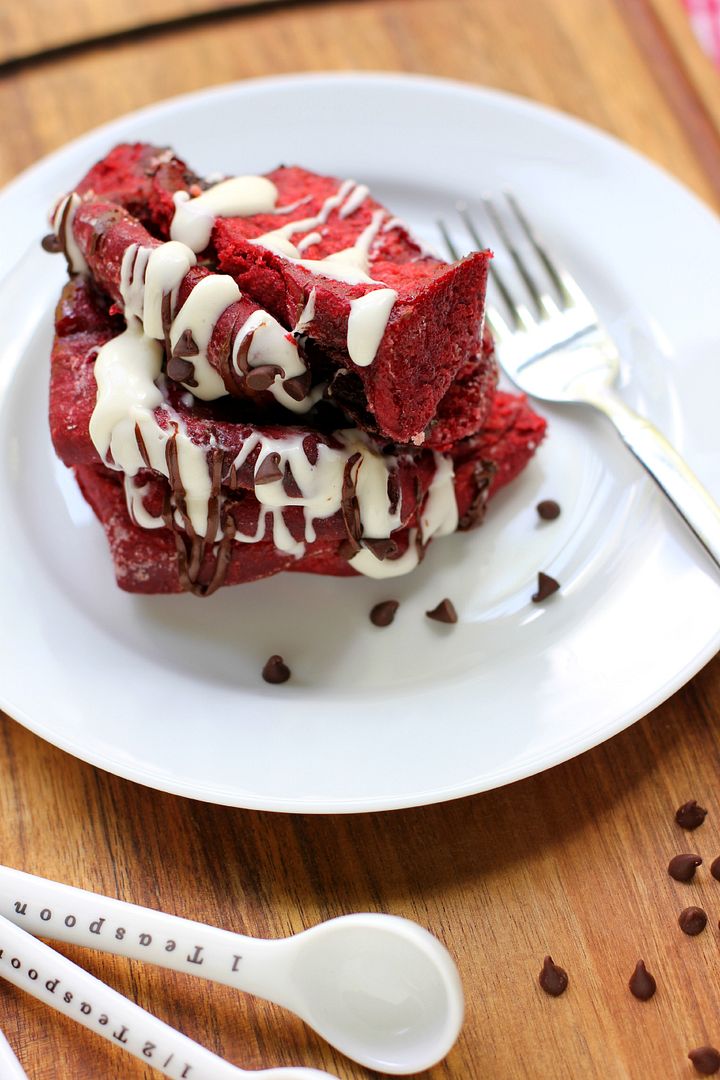
3. Chocolatey Red Velvet Pull-Apart Bread with Cream Cheese Glaze
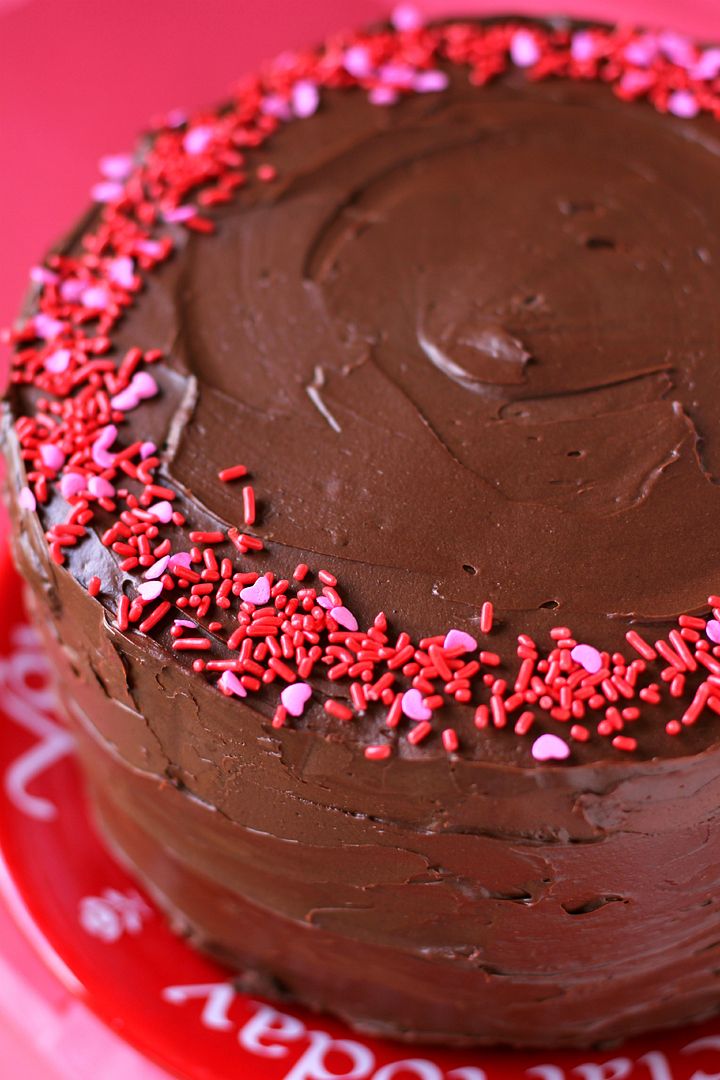
4. Thick Chocolate Cake with a Big Red (Velvet!) Heart


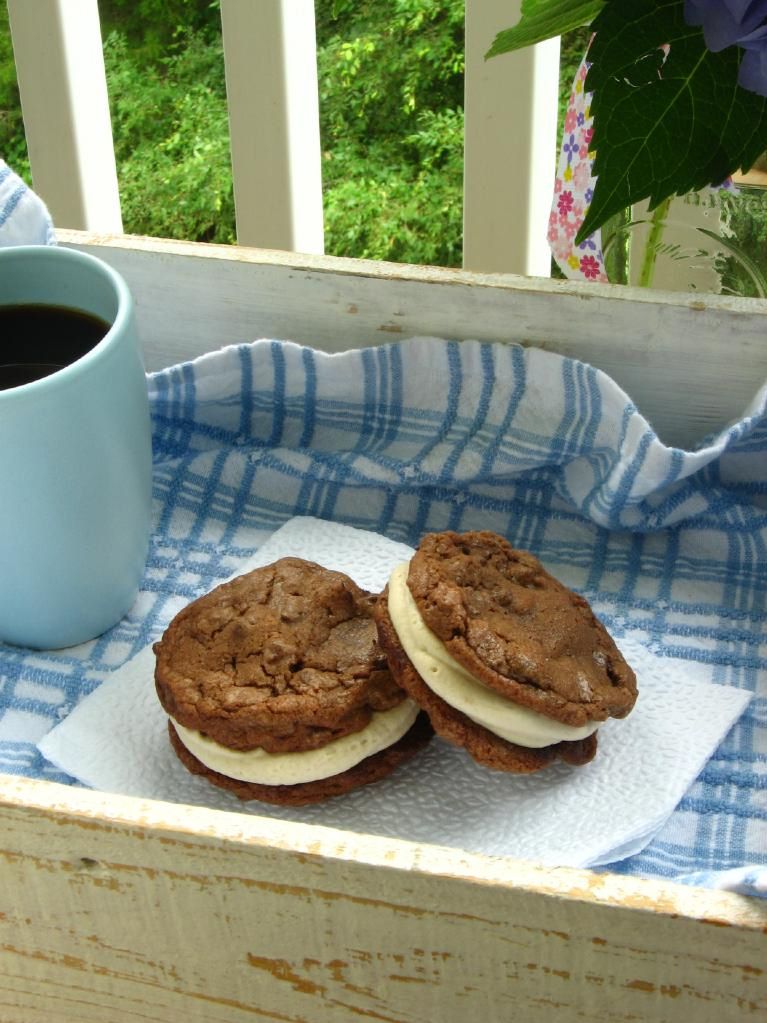
5. Coffee Mousse Filled Double Chocolate Chunk Cookie Sandwiches
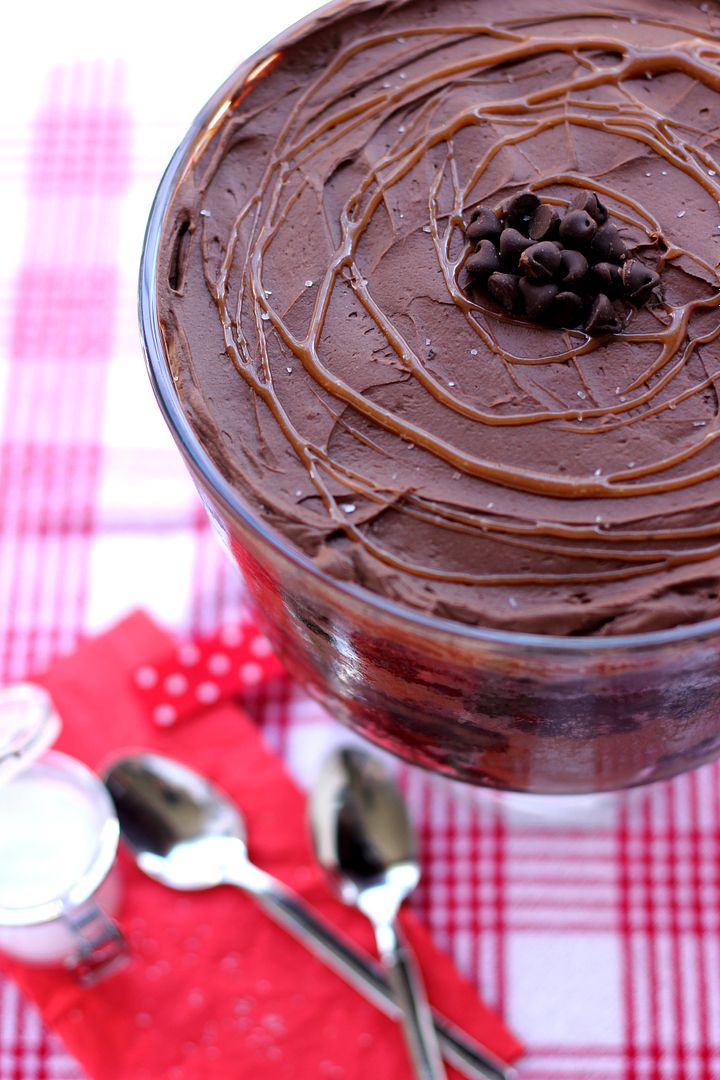
6. Salted Caramel Chocolate Trifle
7. Dark Chocolate Pumpkin Truffles
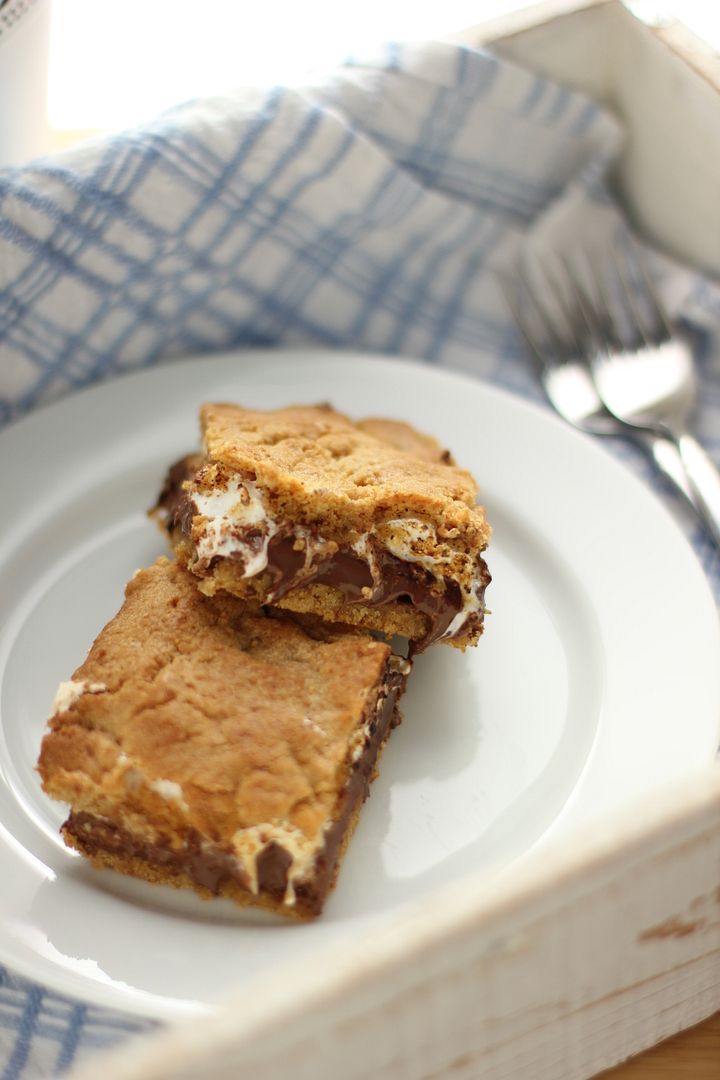
8. Gooey S’mores Bars


9. Fauxstess Cupcakes
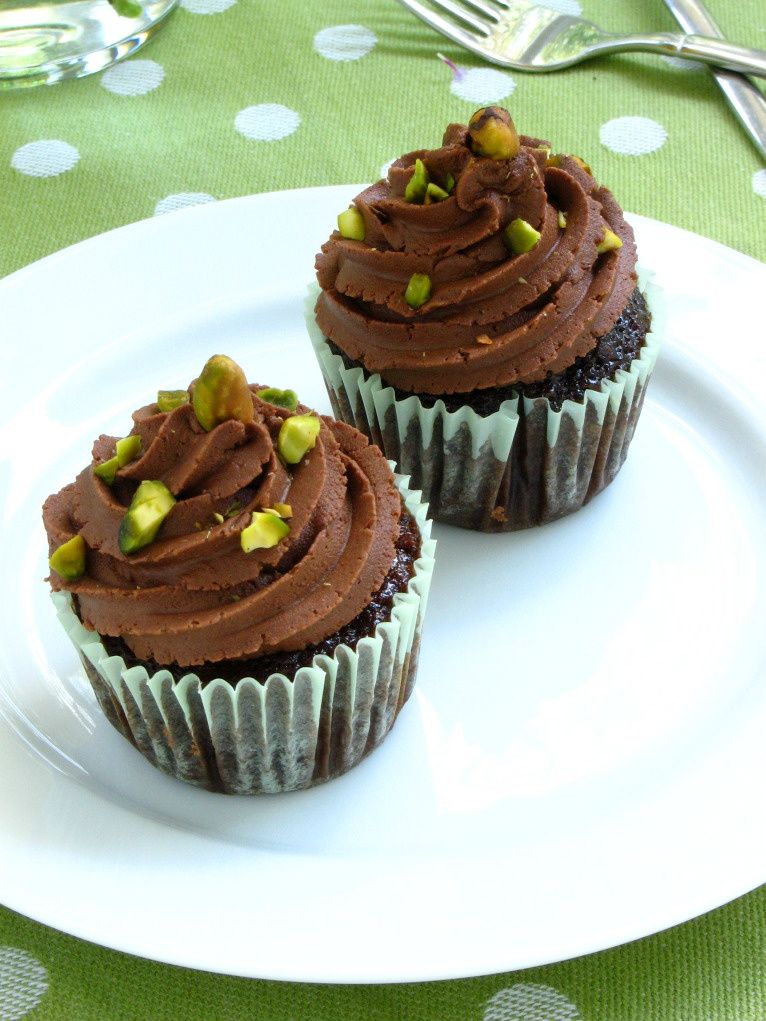
10. Chocolate Pistachio Cream Cupcakes
11. Trashy Krispy Kreme Doughnut & Coffee Tiramisu
12. Coffee Mousse Filled Doughnuts


13. Chocolate Peanut Butter Bliss Cheesecake
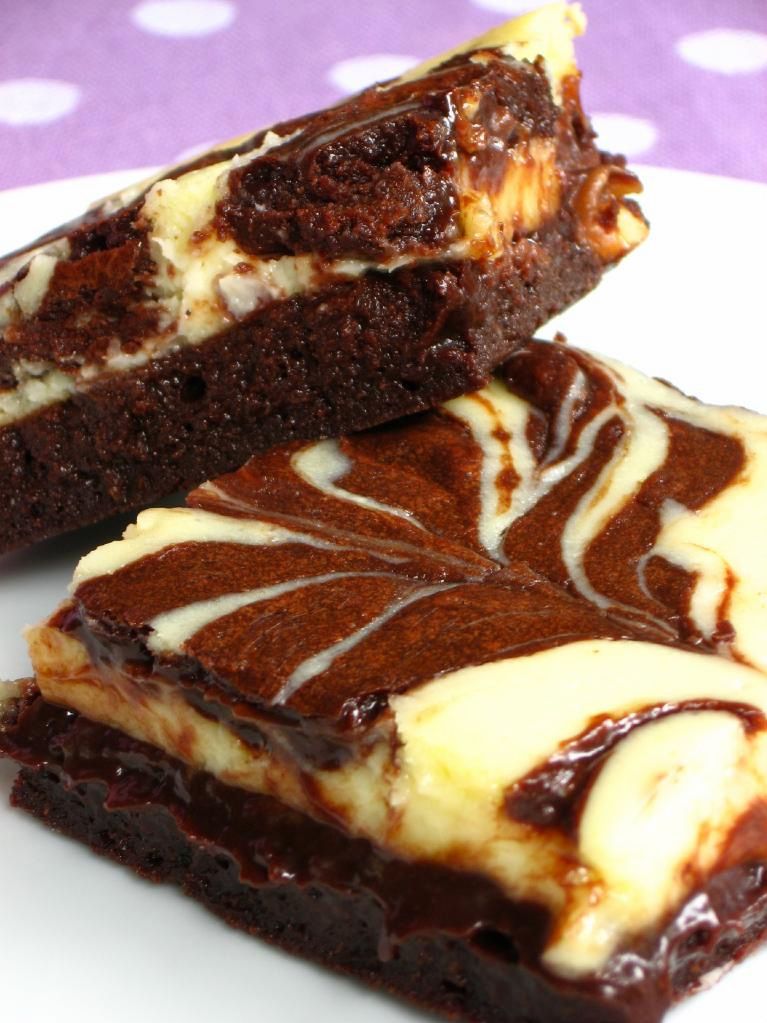
14. Bittersweet Marbled Chocolate Cheesecake Brownies
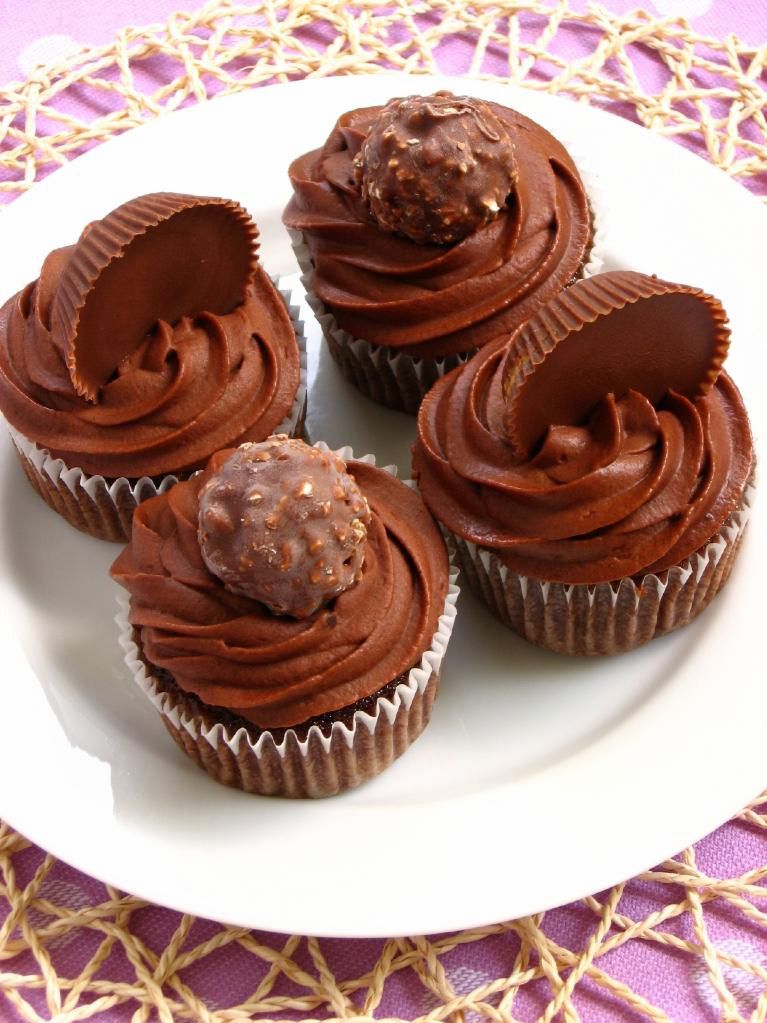
15. Wacky Candy Cupcakes: Ferrero Rocher and Reese’s Cup
16. Black and White Croquembouche


17. Coffee Cookie Dough Fudge Cheesecake
18. Chocolate Tart with Pretzels
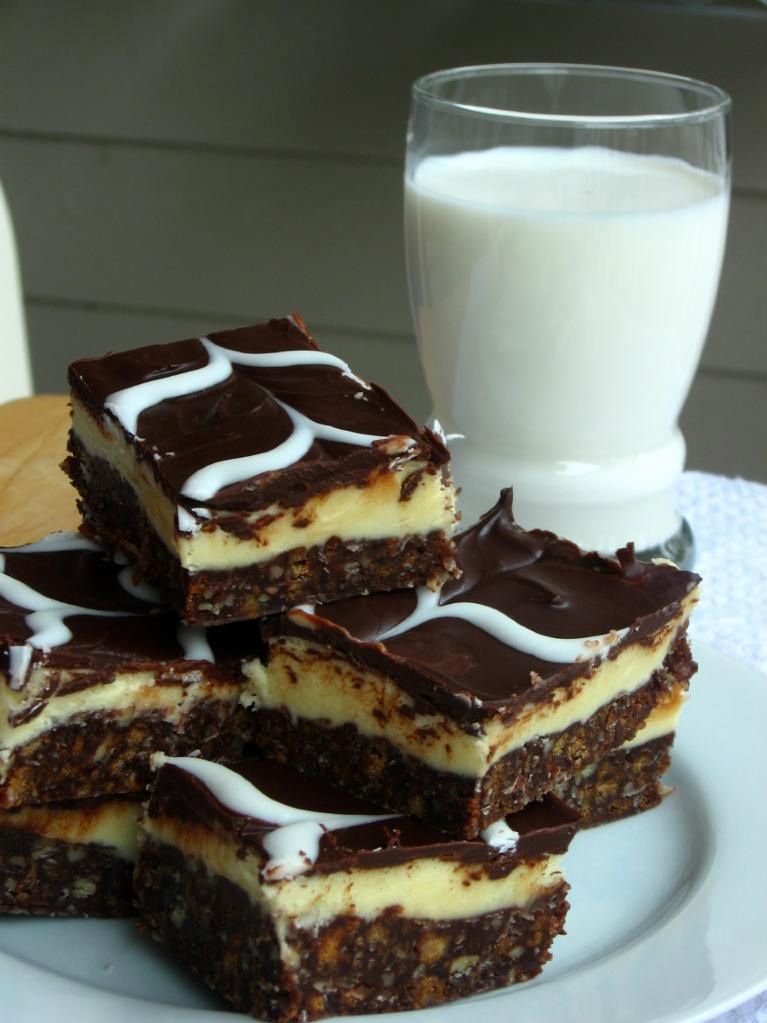
19. Nanaimo Bars
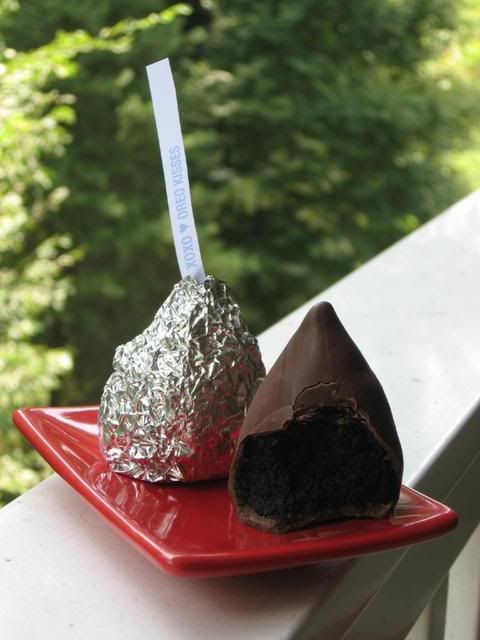
20. Red Velvet and Oreo Kisses


COCONUT RECIPES

1. The Ultimate Moist, Fluffy, Ridiculous Coconut Cake
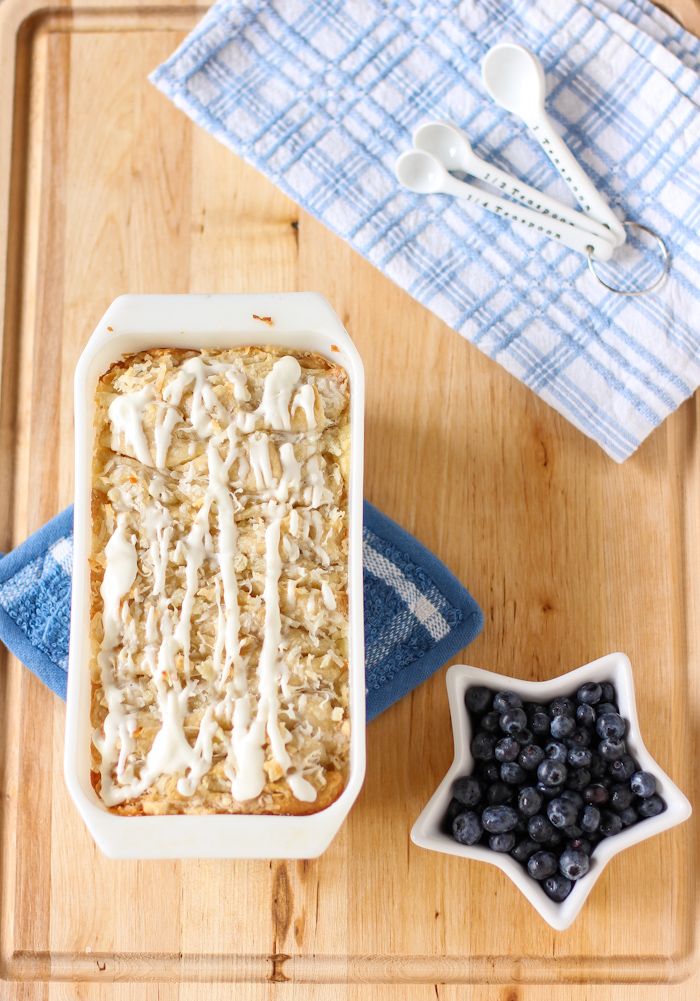
2. Buttery Coconut Almond Pull-Apart Bread (with Heavenly Coconut Cream Glaze)
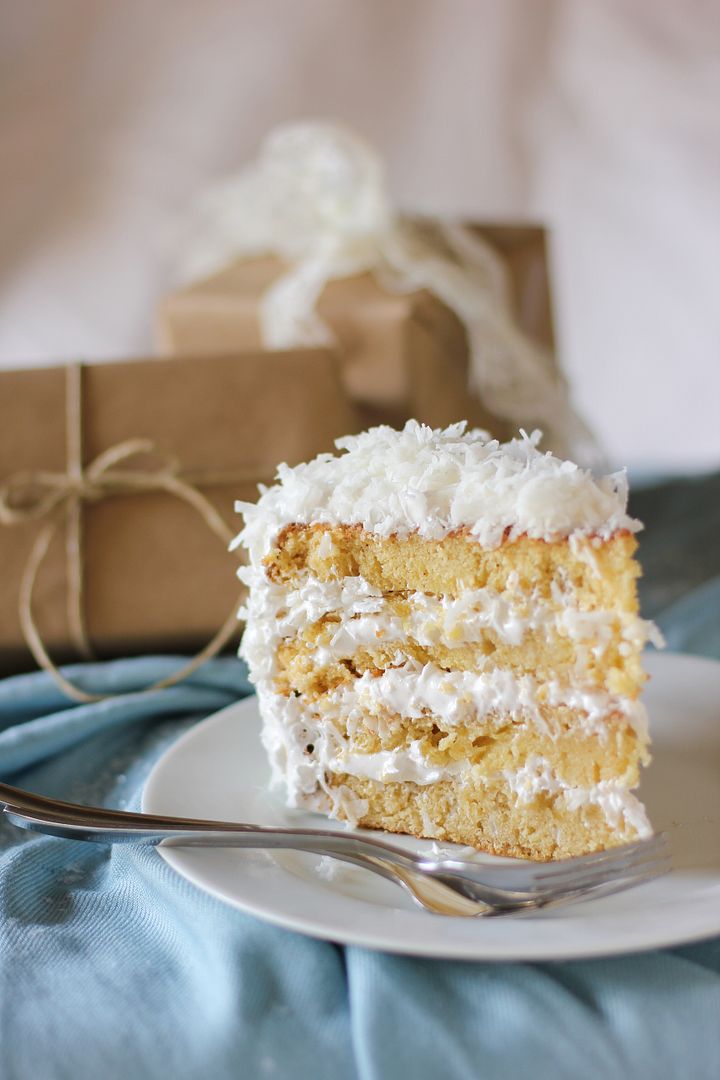
3. Moist Fluffy Coconut Cake
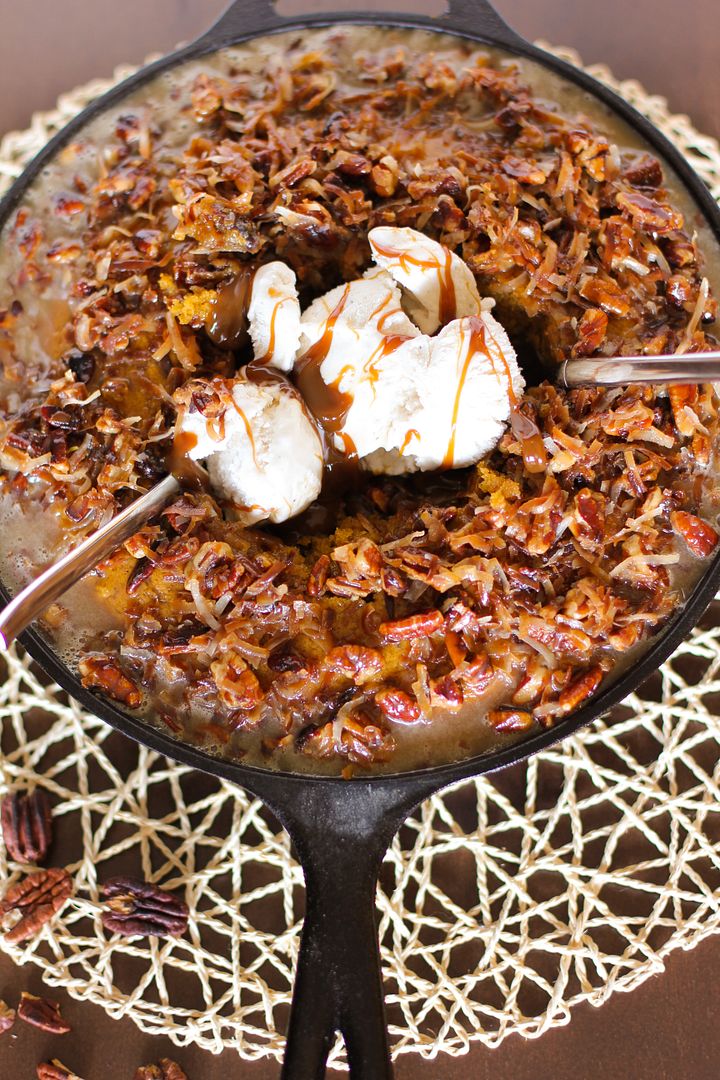
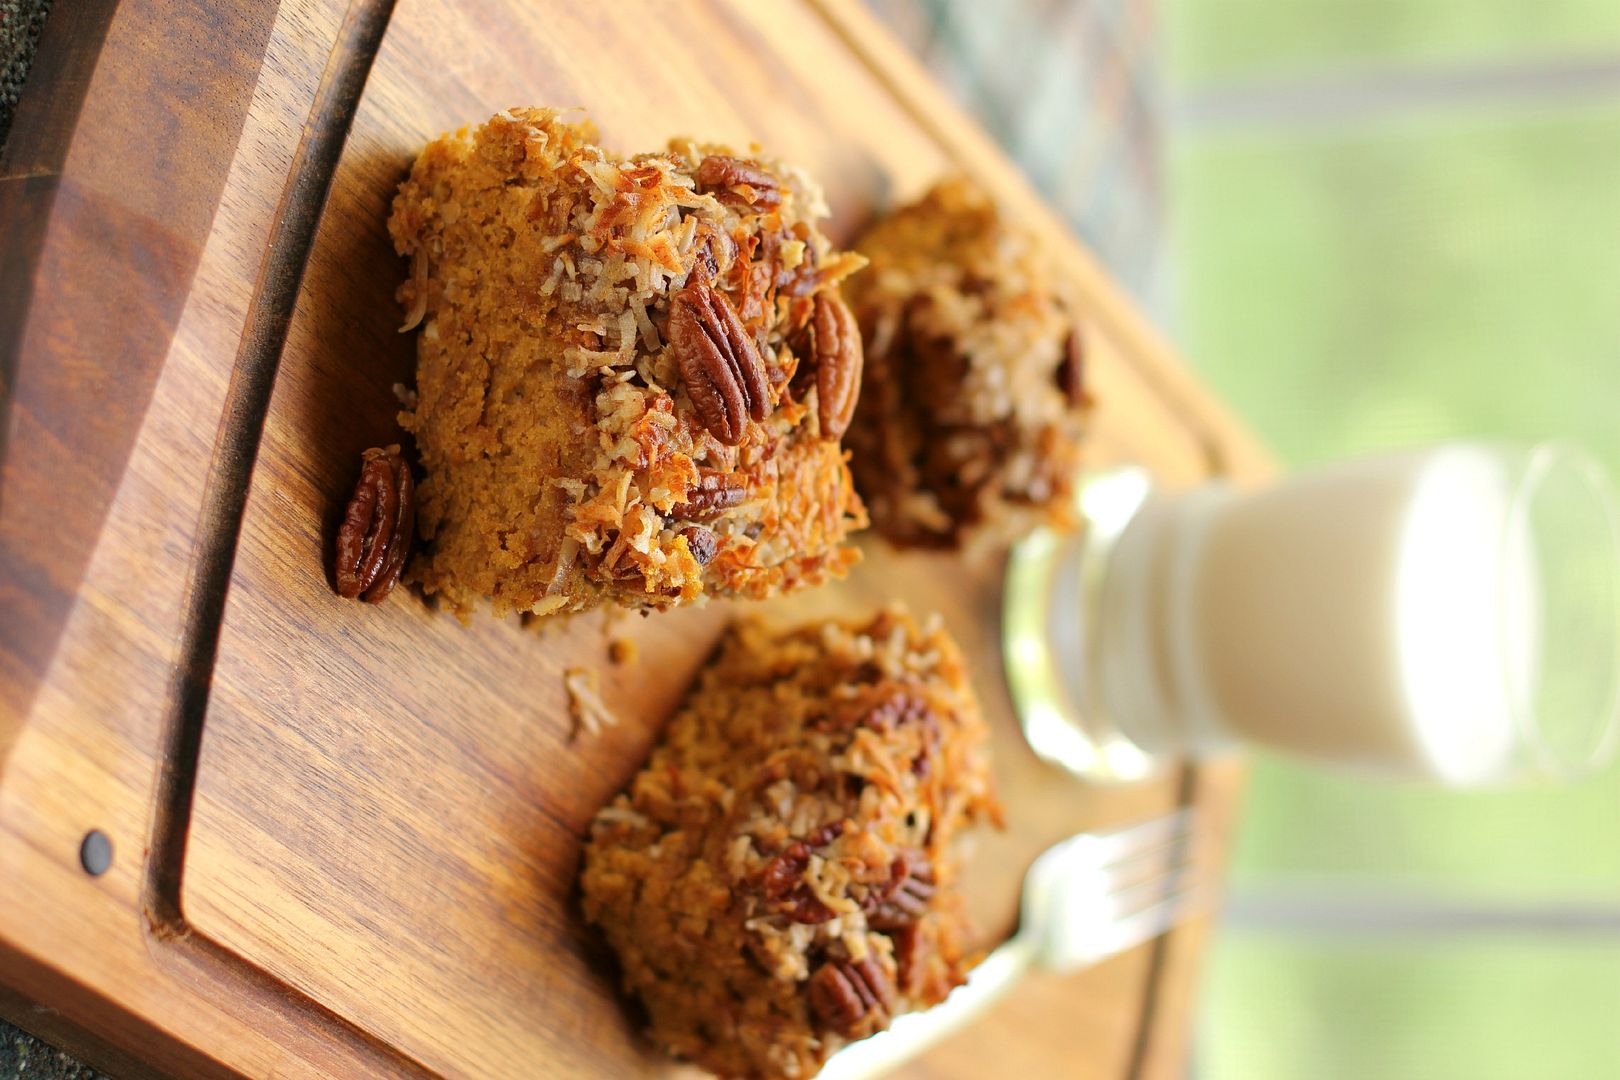
4. Gooey “German” Pumpkin Skillet Cake


6. Vanilla Custard Soaked Pumpkin Poke Cake
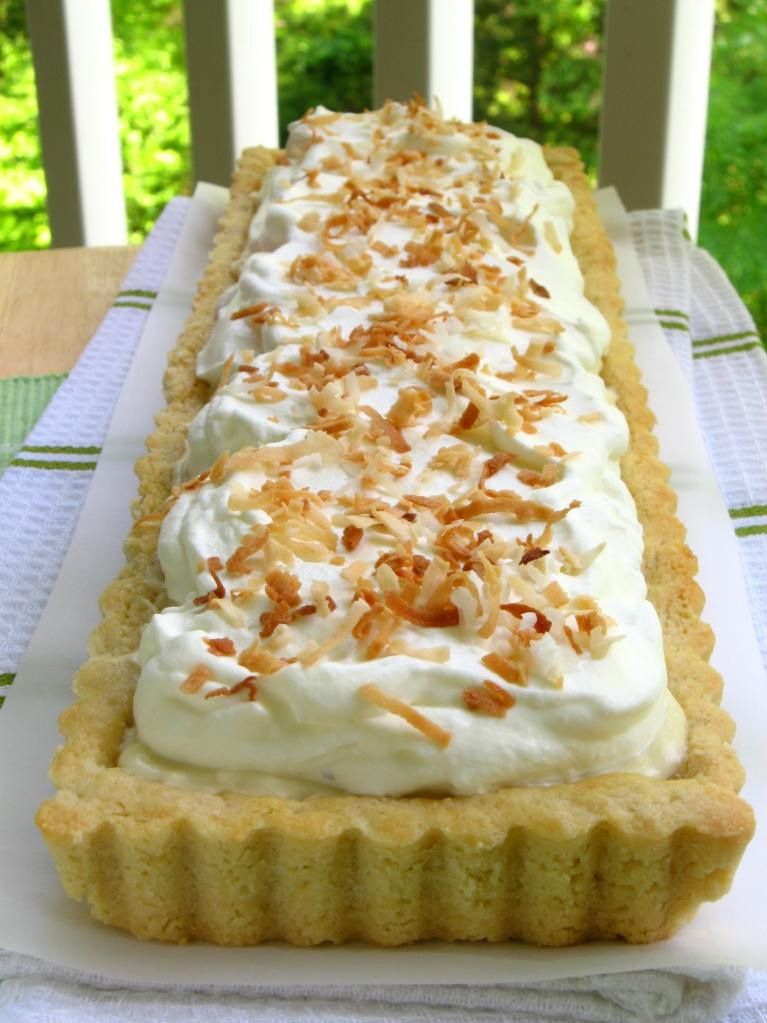
7. Coconut Cream Tart
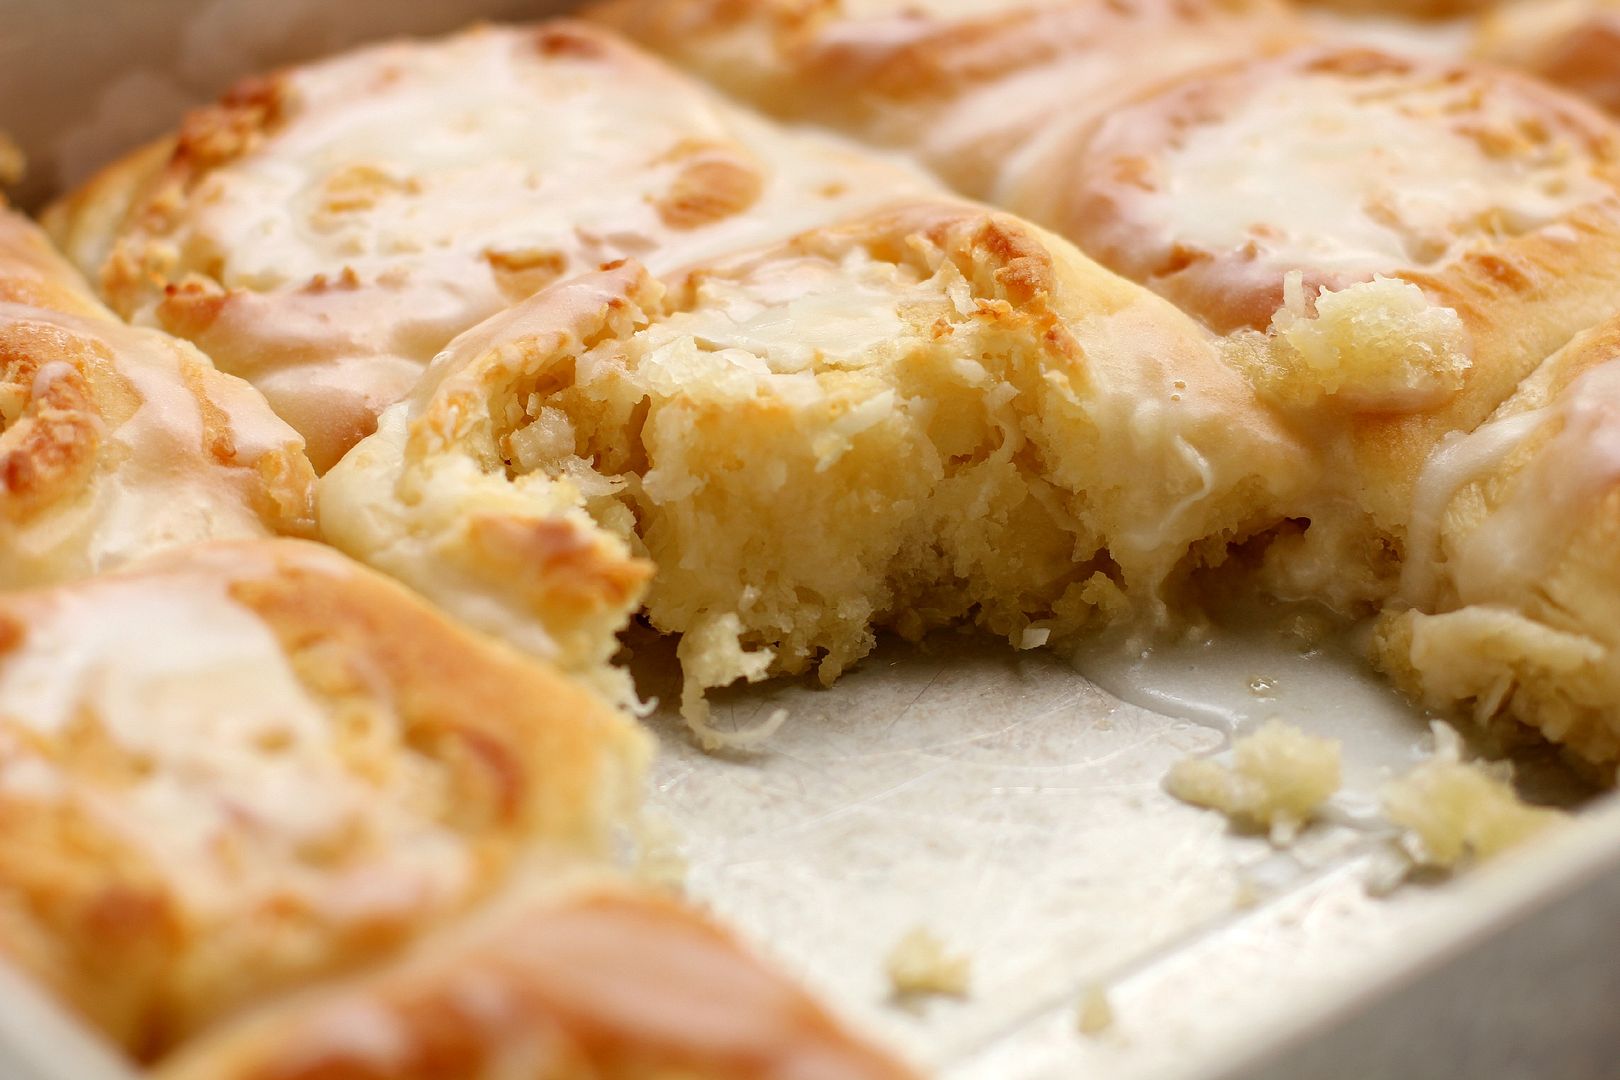
8. Buttery Coconut & Almond Morning Buns


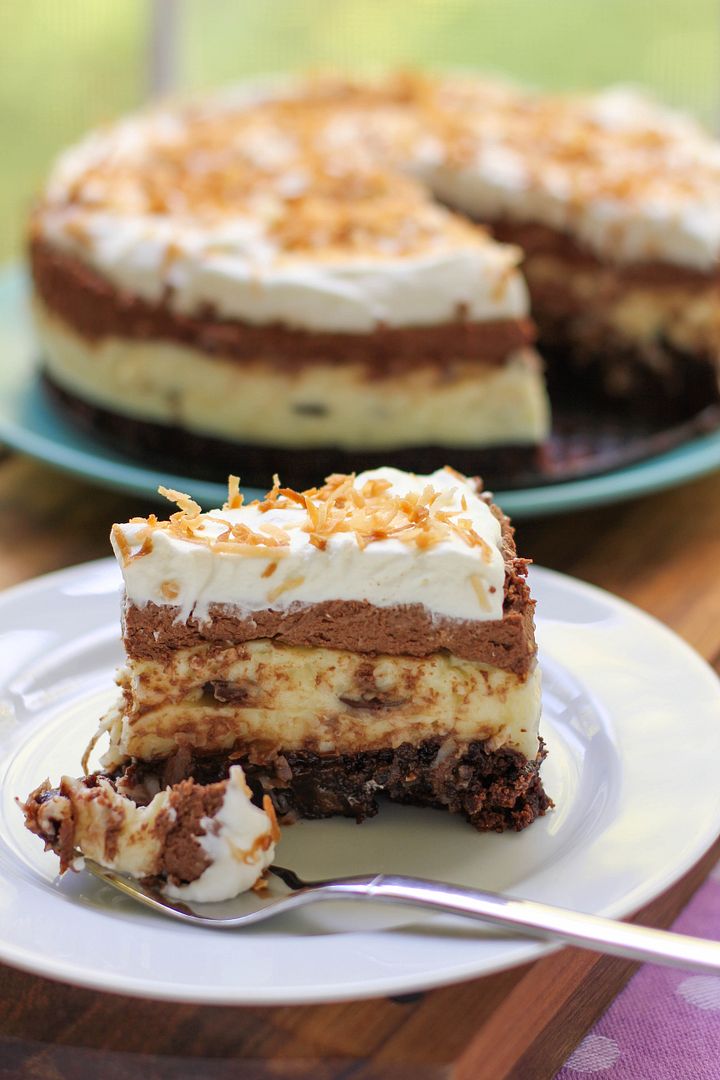
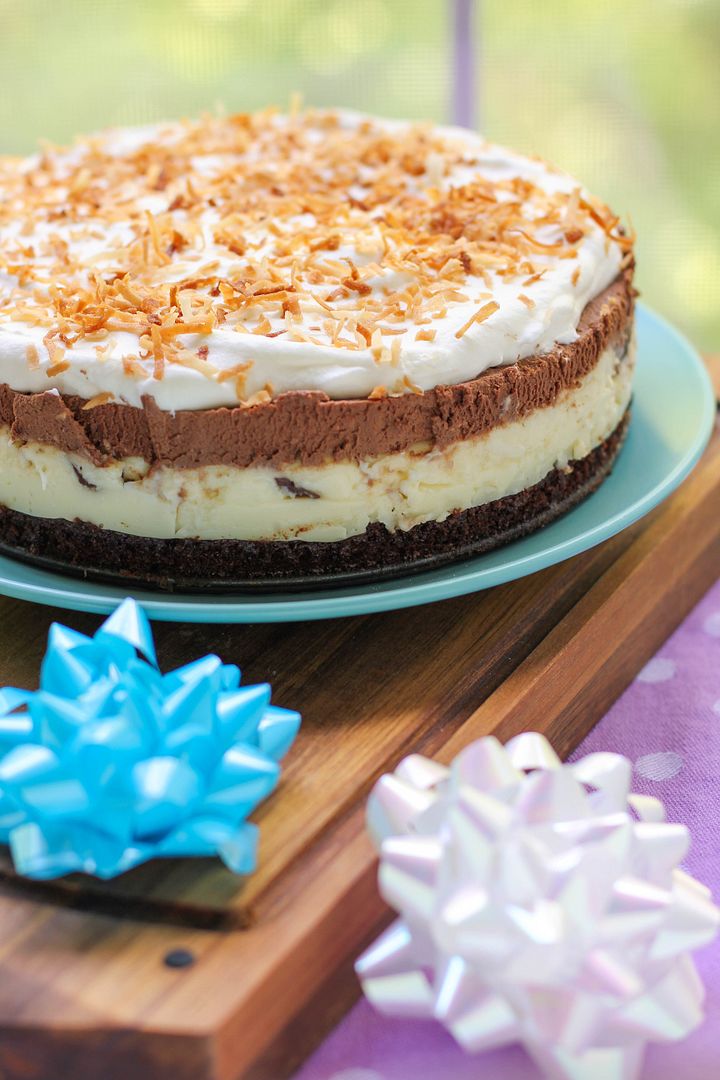
9. Brownie-Bottom Coconut Chocolate Cream Cake
10. Banana Coconut Cream Cupcakes
11. Pumpkin Oat Snack Cake with Broiled Coconut Icing
12. Nanaimo Bars


13. Banana Coconut Cream Cakes
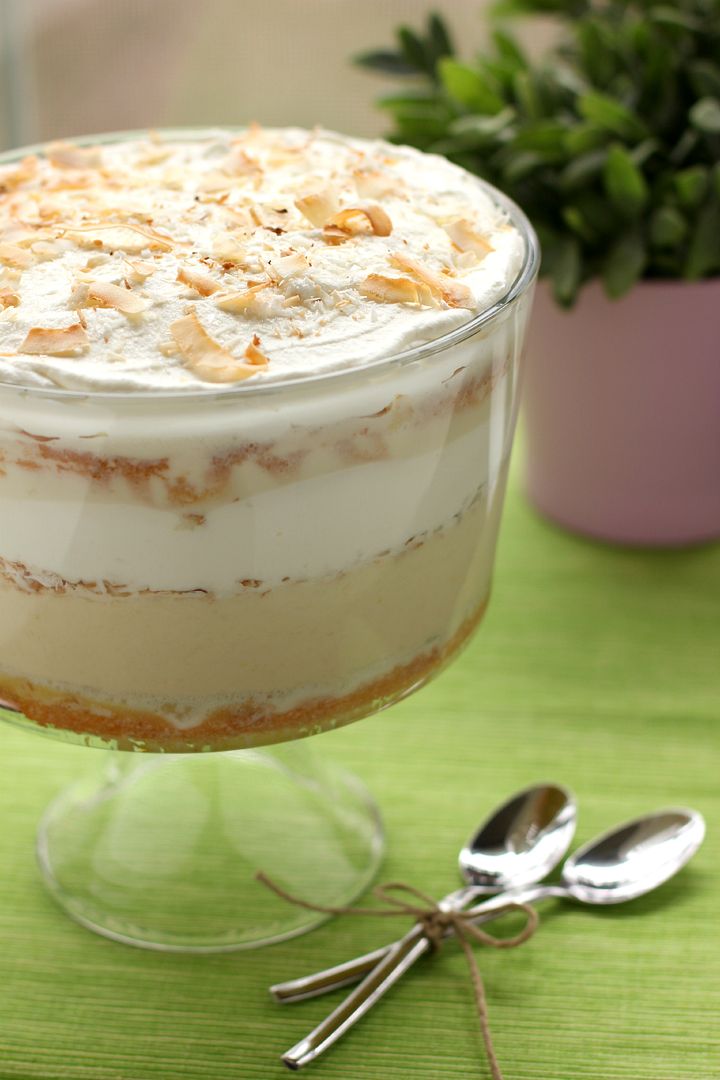
14. Tres Leches Coconut Cake Trifle
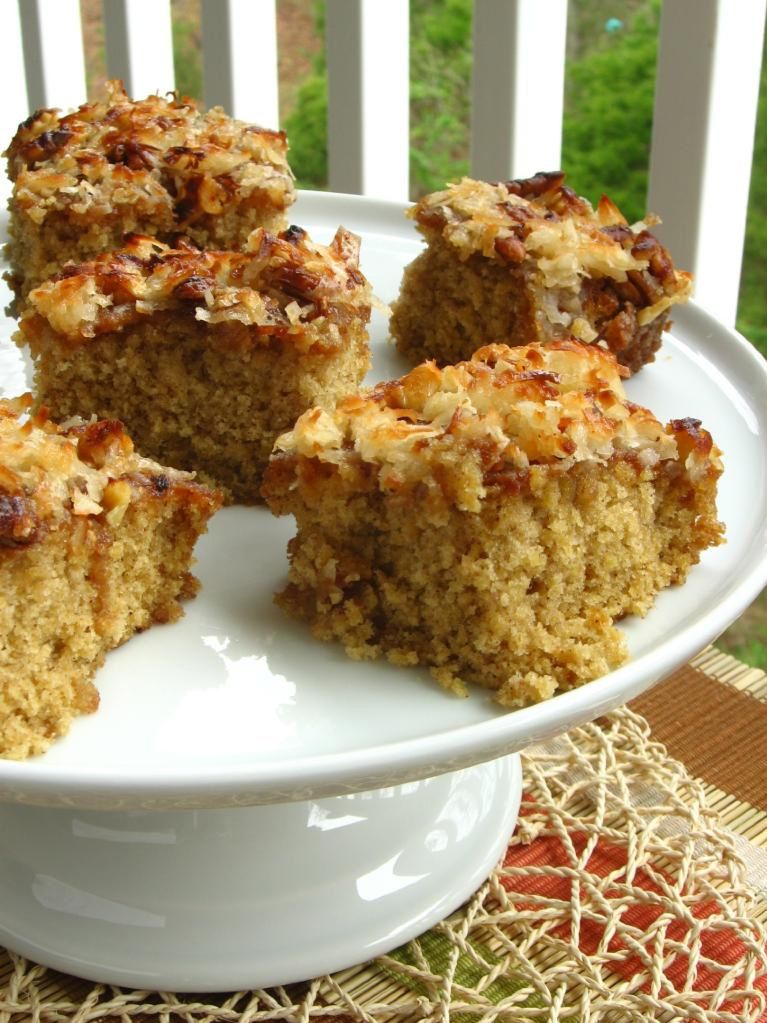
15. Oatmeal Cake with Broiled Coconut Icing
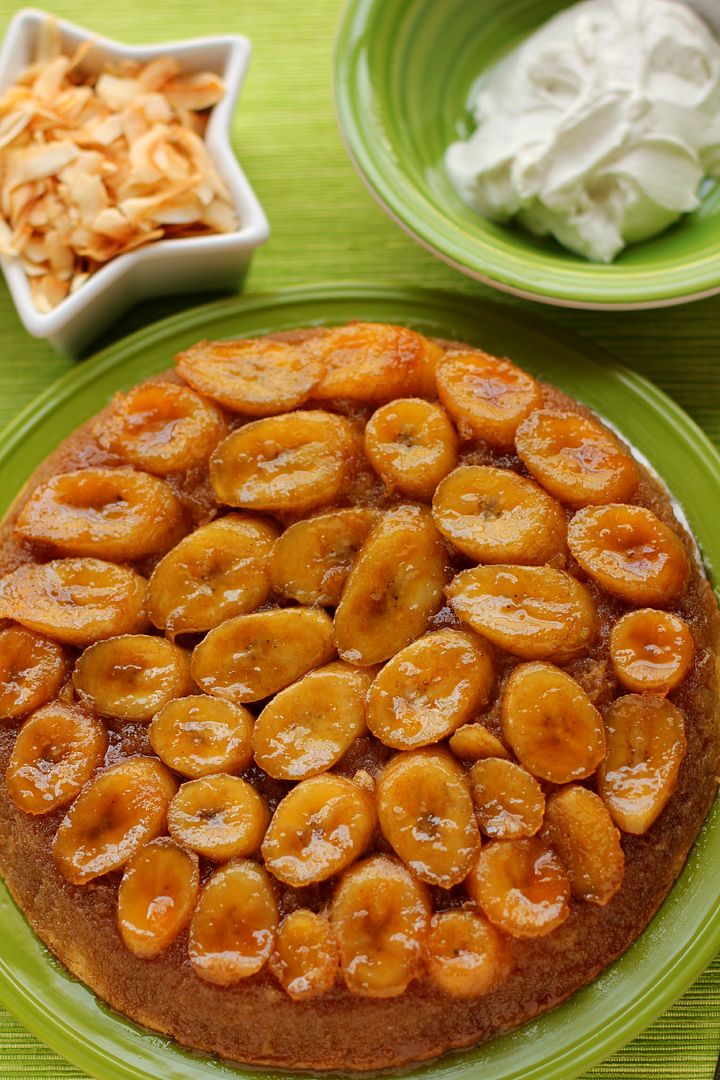
16. Caramelized Banana Upside-Down Coconut Cake & Coconut Whipped Cream


CHOCOLATE AND COCONUT RECIPES

1. Bailey’s Hazelnut Chocolate Tiramisu
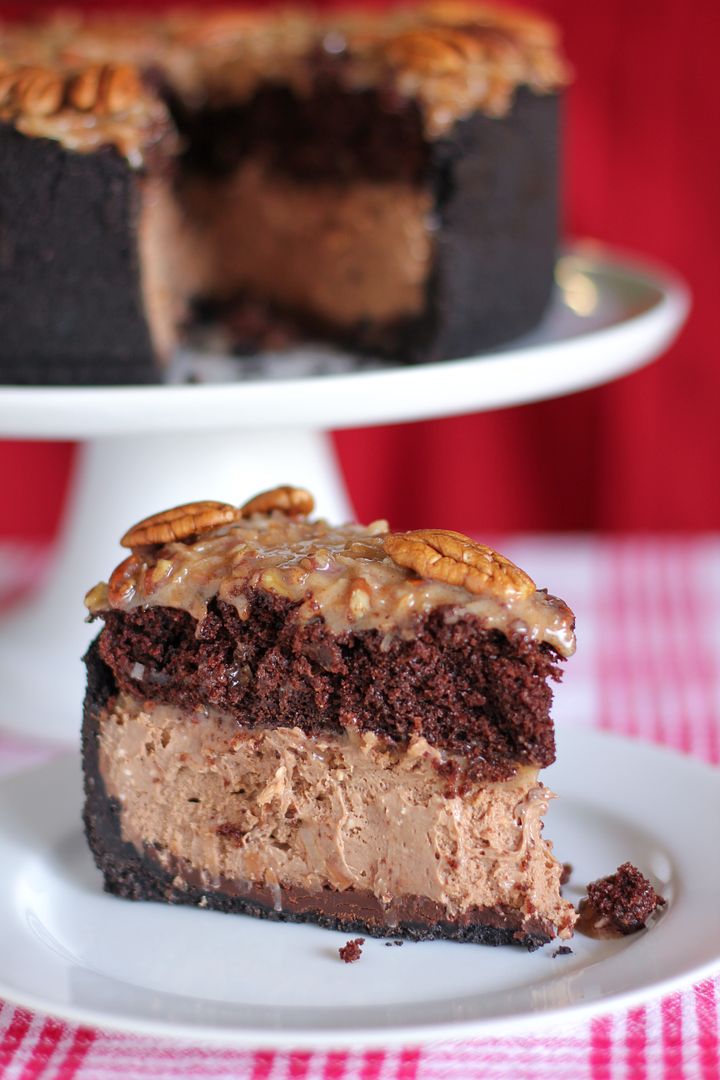
2. German Chocolate Cheesecake
3. Brownie-Bottom Coconut Chocolate Cream Cake
4. Chocolate & Coconut Cream Pie Bars


Trashy Krispy Kreme Doughnut & Coffee Tiramisu

It was one of those long, hazy summer days of childhood: the ones with so much potential that nevertheless usually devolve into dangling oneself, dead-doornail-bored, from a creaky swingset. Not for me, though. I was holed up in my treehouse next to my immaculate play-kitchen, planning my brilliant invention.

For my genius plan, I would need dozens of new, clean foam meat trays. The ones dad threw in the trash while making chili would never do: I may have been an eccentric crackpot inventor, but I wasn’t heedless to the risk of e.coli.

On the next trip to the grocery store I timidly asked the man at the meat counter for trays “for a project” — thankfully he didn’t ask many questions — and left the store with a pile of pink foam boards.

To this day, I wonder why there was very little parental intervention at this point. Perhaps they assumed my “project” was some sort of harmless collage? A make-believe grocery store? A school assignment?

It was a hang glider. I was building a hang glider out of styrofoam meat trays. To jump off of buildings.

A HANG GLIDER, Y’ALL. Adult-me shakes her head in disbelief at 10-year-old-me, and is thankful to be alive.

It all started when I was playing with a foam meat tray I’d found. I know that it makes no sense for a child to be playing with a foam tray. I do not understand why this occurred. Maybe it’s the same reason babies eschew perfectly good toys to play with keys, or cats ignore billion dollar scratchy posts to play with bags.

Anyway, I noticed that it floated across the air with lovely aerodynamics. I imagined being tiny enough to float along with it. I imagined the tray itself being gigantic enough to hold my real weight. It occurred to me that while one foam tray wouldn’t hold me, dozens of foam trays might. Could I attach them together somehow to form a giant foam flying apparatus? Thus my ponderings became a mission.

You know those kids who want to tie hundreds of helium balloons together and fly, à la Up? I was basically the slightly-more-trashy, meat-tray version of those kids.

In some ways, I am now the slightly-more-trashy, meat-tray version of a creative adult. Did I just say that? Yes.

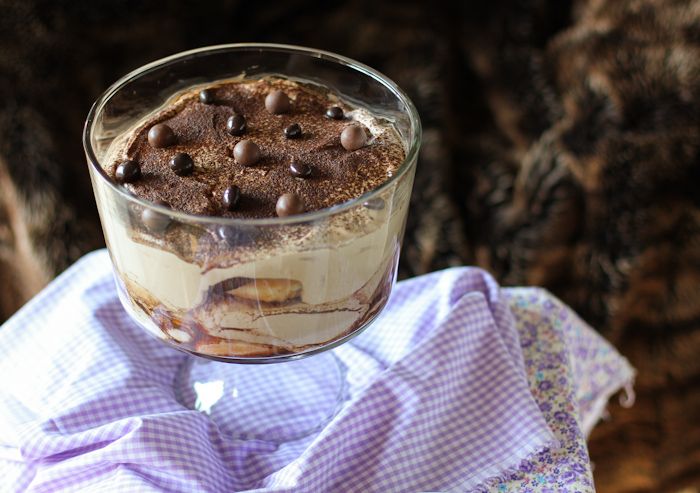
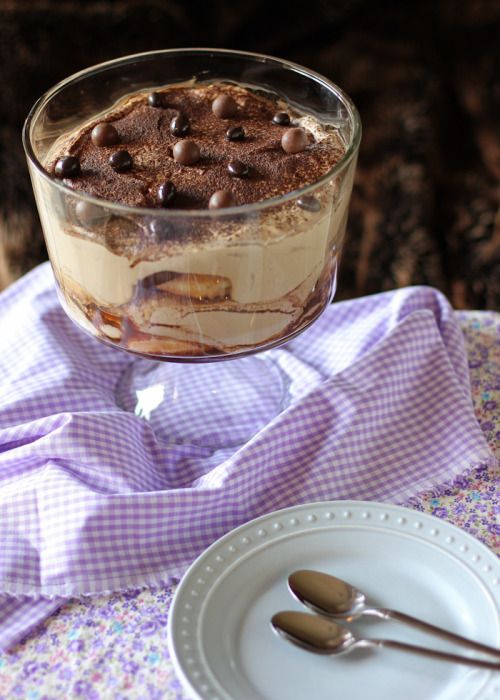
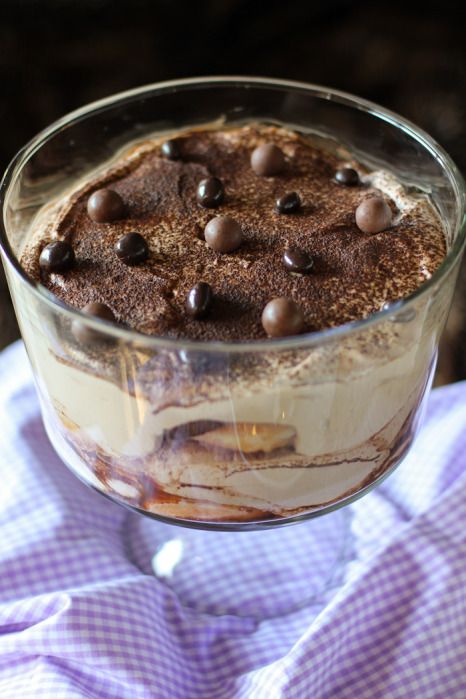
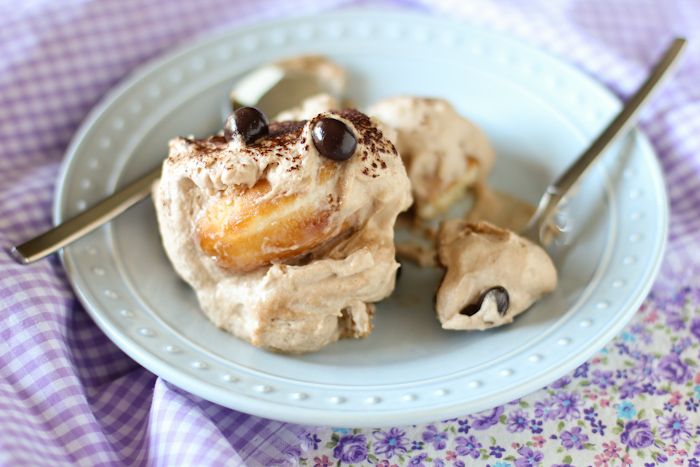
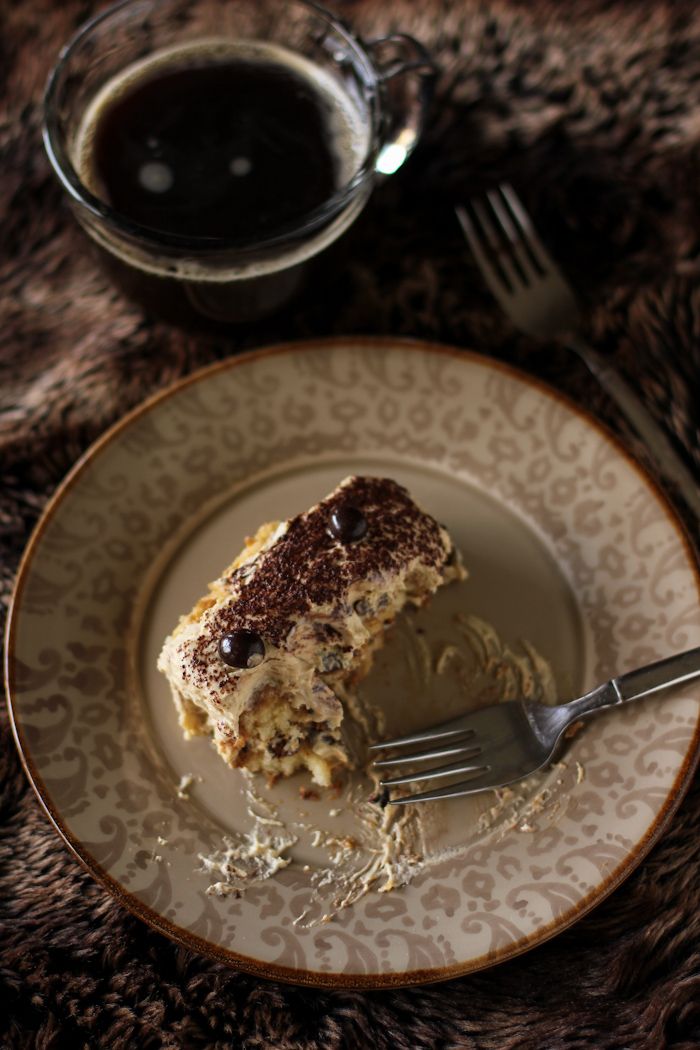
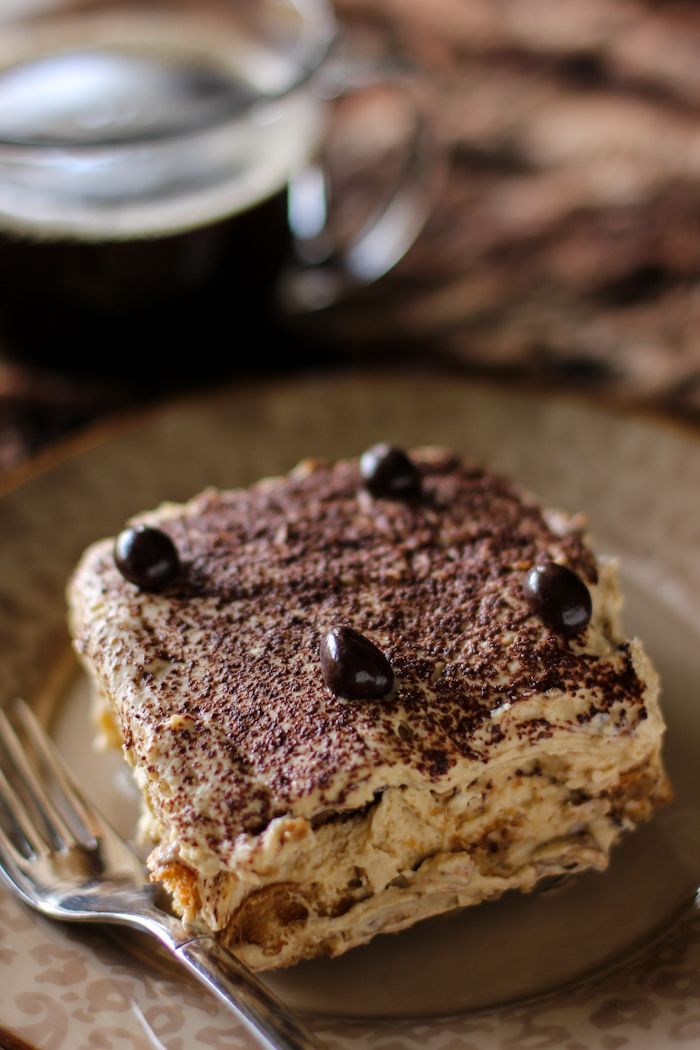
No matter how ill-advised an idea might be, if it excites me and I believe in it, I’ll go for it. This tiramisu, as you might have guessed, is an example of just that impulse. But hear me out: lots of people love doughnuts and coffee, right? This is basically that: sweet, glazed Krispy Kreme doughnuts with a fluffy coffee-flavored mousse and the zing of some rum for good measure. It’s rich, indulgent, and not too sweet — and a lot of fun to make.

Oh, and were you wondering how my hang glider worked out? Don’t worry. Apart from having wild and delusional schemes as a child, I also had quite the attention deficit. After stapling roughly 20 pink foam trays together, I got bored and threw the whole mess in the garbage. All’s well that ends with no broken bones?

What’s your favorite trashy indulgence? Discuss here or on my Facebook thread about the same topic.

One year ago: Hasselback Sweet Potatoes with Orange Rosemary Butter & Goat Cheese
Two years ago: Mini Apple Pies with Cheddar Crusts
Three years ago: Red Berry Pie

Trashy Krispy Kreme Doughnut & Coffee Tiramisu


Recipe by: Willow Bird Baking, based on this recipe
Yield: about 8 servings

If you love coffee and doughnuts, you’re going to love this “trashed up” tiramisu! This tiramisu does include raw eggs, and therefore probably should not be consumed by the elderly, folks with compromised immune systems, pregnant women, or young kids. Feel free to use pasteurized eggs, also, to minimize the risk.

Ingredients:
3 eggs, separated
7 tablespoons powdered sugar and 1 tablespoon powdered sugar, divided
1/4 cup chocolate malt powder (like Ovaltine)
1/2 cup espresso or strong coffee, divided
5 tablespoons and 2 tablespoons rum, divided (I might do Bailey’s next time; I’m not a huge rum fan)
1 pound Bel Gioso Tiramisu mascarpone cheese*
1 teaspoon vanilla extract
1 dozen Krispy Kreme doughnuts
cocoa powder mixed with chocolate malt powder for dusting
dark chocolate covered espresso beans and malted chocolate candies for garnish, optional
*I accidentally used Bel Gioso’s Tiramisu mascarpone instead of regular, so it already had a bit of coffee and sugar in it — you can use it, too, or add a tiny bit more coffee and sugar to your mixture.

Directions:
In a large bowl, beat 3 egg yolks, 7 tablespoons powdered sugar, 1/4 cup chocolate malt powder, 1 tablespoon espresso, and 5 tablespoons rum for a couple of minutes. Add the mascarpone cheese and vanilla extract and beat until well combined and fluffy, about 5 minutes.

In a separate (very clean) bowl, preferably with a stand mixer to spare your arm muscles, whisk 3 egg whites until foamy. Add 1 tablespoon powdered sugar and whip to stiff peaks. Stir about 1/3 of the egg white mixture into the egg yolk mixture to lighten it; then fold the rest of it in gently. Taste for flavor and add powdered sugar or vanilla if more is needed. Though you don’t want to be cloying, of course, you do want it to be sweet enough to counteract the bitterness of the espresso/rum mixture you’ll be dipping the doughnuts in.

Pour the rest of the espresso and rum into a flat dish. Dip one side of each doughnut in this mixture for just 5 seconds (so it doesn’t get soggy) before layering them, soaked side up, in a deep serving dish. Repeat, lining the entire bottom of the dish with doughnuts. Dollop about 1/3 to 1/2 (depending on how many layers you think you’ll be able to get in your dish) of the mascarpone mixture (called zabaglione) over the top and use an offset spatula to spread it into an even layer. Dust this with a mixture of cocoa powder and chocolate malt powder. Repeat layering dipped doughnuts, zabaglione, and a dusting of cocoa powder, ending with a layer of the zabaglione dusted with cocoa powder.

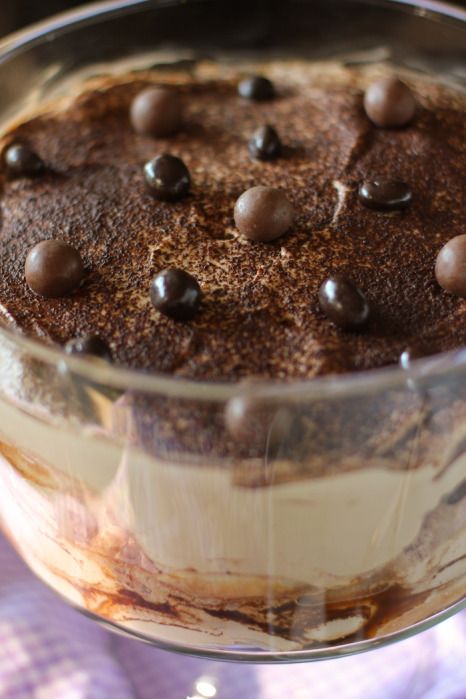
Chill at least one hour before serving. Dot with dark chocolate covered espresso beans and malted chocolate candies and serve. Eat within 36 hours or so, or things start to get soupy.

Bailey’s Hazelnut Chocolate Tiramisu (and Photographing FOOD)

First off, let me just say that if I were a red-headed stepchild, I’d be annoyed with the world for making me into a symbol of awkwardness and ostracism. Red-headed stepchildren deserve love, too! They will hopefully forgive me when I say that photography has always been my red-headed stepchild.

In the food blogging world, there are definitely triple-threats — bloggers who are wonderful writers, chefs, and photographers — but they’re few and far between. More often, bloggers are fantastic in one of two of these arenas and are dragging the third along as best they can. Personally, I’m unabashedly a writer first, a baker second, and a somewhat reluctant photographer eighty-fifth.

It just doesn’t come naturally for me. I would never have thought to smash my food before photographing it. I would never have thought to take dark-and-moody photographs when everyone else was still going ga-ga over light-and-airy. I wouldn’t have realized how pretty light-and-airy could be to begin with!

Perhaps precisely because photography doesn’t come naturally to me, though, nothing thrills me like having taken a photo I’m proud of. To that end, I’ve done a lot of wrangling: timing my baking just right for nice daylight, struggling with huge light-bouncing foam boards, setting up tripods, climbing chairs and contorting myself into odd angles, and buying way too many oddling dishes and napkins at fancy stores where I could never afford a full set. The result has been worth it — slowly my photos have vastly improved:


photos from 2009 (left) and 2012

The camera I used did change from 2009 to 2012, though, so maybe you need a comparison of my early photo skills and later skills with the same point-and-shoot camera:


photos from 2009 (left) and 2011 (with same camera — hopefully you can still see a big difference!)

So. I can’t say I agree with those folks who say the camera you use doesn’t matter, because in terms of quality and resolution of your photos, it does. But I definitely think the skills you have matter a whole lot more — and even with a fantastic camera, unless you know a few basics, you won’t be taking great photos.

On my (somewhat frustrating) journey to better my photos, I did a lot of googling, a lot of reading, a lot of experimenting, and a lot of failing. I want to make it a whole lot easier for you. Well, actually, my amazing friend — and fantastic photographer — Taylor Mathis wants to. He created Photographing FOOD, a magazine packed with practical tips for how to make your food photos look as awesome as his.

…and his are definitely awesome — like these two from the first issue!

When Taylor showed me the magazine, I knew I wanted to pass it along to you. I hardly ever do sponsored posts because I just don’t find that many products compelling or unique (I mean, who cares what kind of molasses you use or what brand your mixing bowl is?), but if you love photography, this magazine is well worth the five bucks it costs per issue. So far there are issues on Window Lighting, Color & Camera, and Shooting at Night. I’ve seen all of them, and I kind of can’t believe he’s letting them go for so cheap — they’re filled with information and beautiful photos. In Issue 2 he even does a full comparison of 4 different camera types: camera phones, disposable cameras, point-and-shoots, and DSLRs.

I wish I’d had Photographing FOOD when I started working on my photos. As it is, I’m eager to learn more from it now. I wonder if he has any tips on how to keep a new cat out of your photographs?

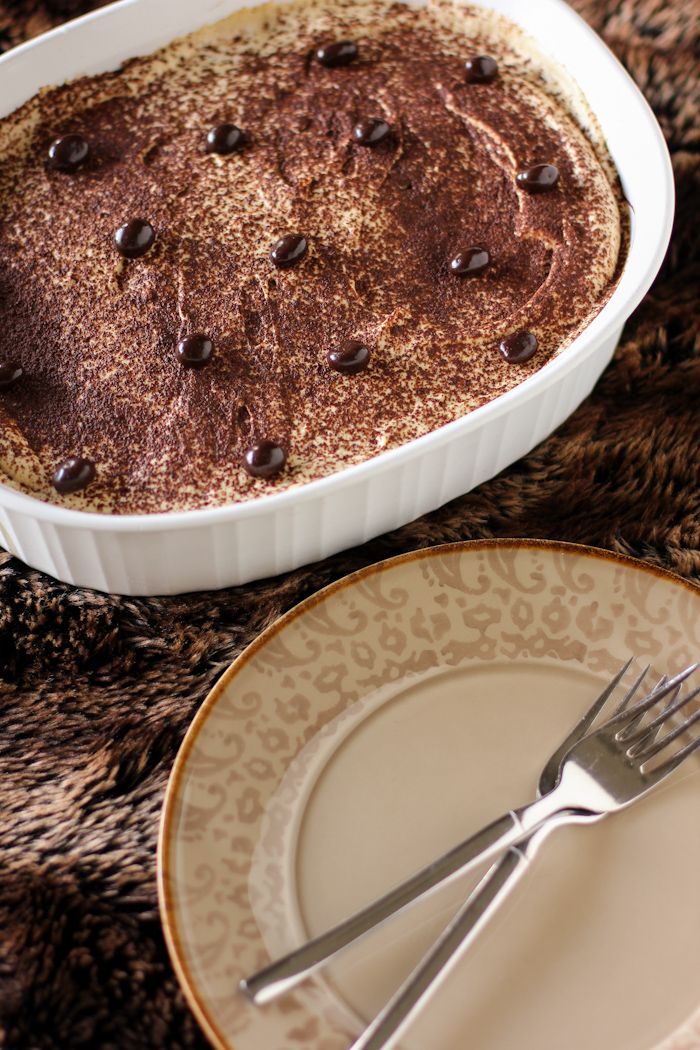
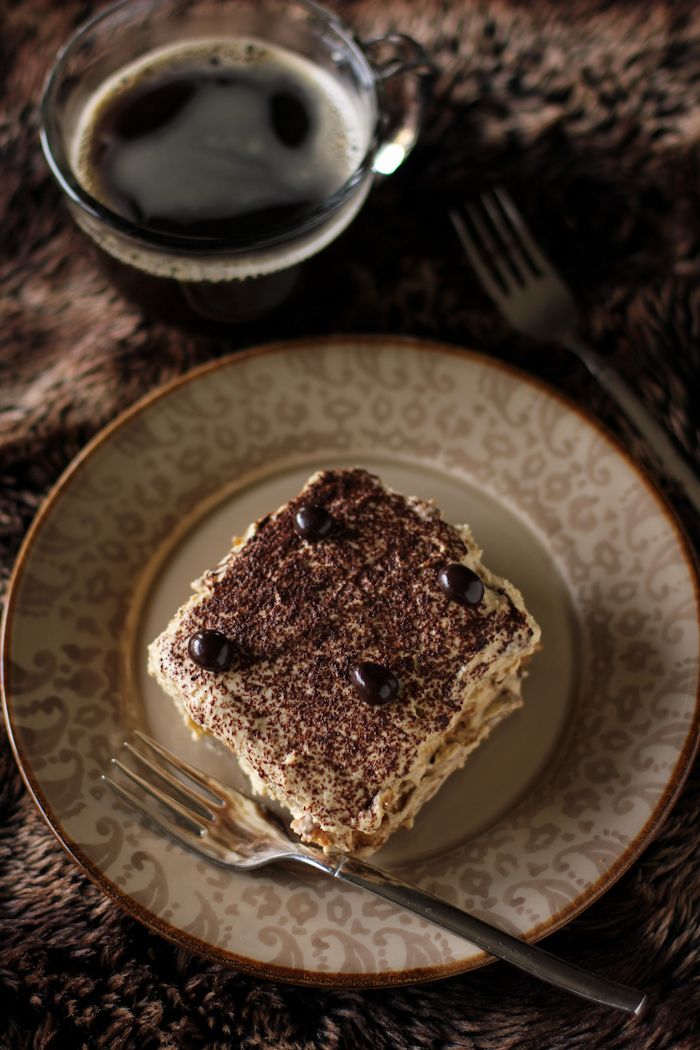
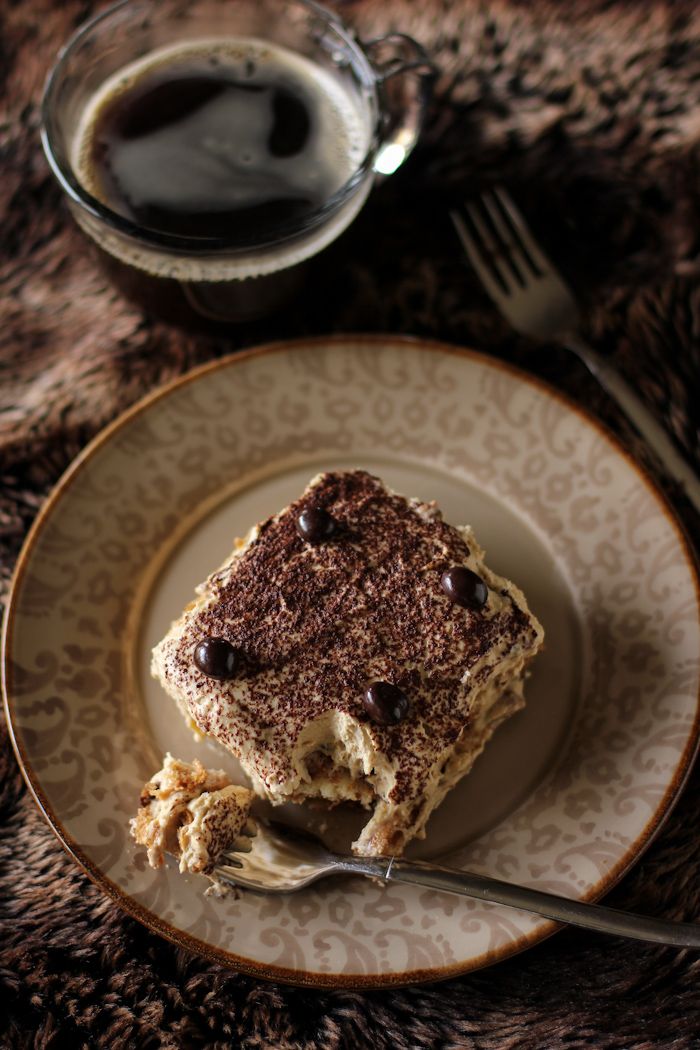
Actually, Buckle was great with this tiramisu — mostly because I kept it high off the ground! This version of the beloved Italian dessert is traditional in that it uses raw eggs, coffee, alcohol, ladyfingers, and mascarpone. I put a twist on it, though, by using Bailey’s Hazelnut Liqueur instead of the typical Marsala wine, and adding in some chocolate between the layers. The result was fantastic (and perfect for St. Patrick’s Day.) I might have finished off the last forkfuls of it for breakfast this morning, straight out of the serving dish.

Do you enjoy photography?

One year ago: Tres Leches Coconut Cake Trifle
Two years ago: Bright, Fun Blackberry Trifle
Three years ago: Vegan Pumpkin Nut Bread

Bailey’s Hazelnut Chocolate Tiramisu


Recipe by: Willow Bird Baking, based on this recipe
Yield: about 8 servings

Tiramisu is a brilliant and moody concoction where soaked cookies serve as a vessel for strong coffee, alcohol, and chocolate. The result is a buzzy, boozy, rich dessert — made even more exciting here by substituting Bailey’s Hazelnut Liqueur for the traditional Marsala wine. This would be a perfect dessert for St. Patrick’s Day! This tiramisu does include raw eggs, and therefore probably should not be consumed by the elderly, folks with compromised immune systems, pregnant women, or young kids. Feel free to use pasteurized eggs, also, to minimize the risk.

Ingredients:
3 eggs, separated
6 tablespoons powdered sugar and 1 teaspoon powdered sugar, divided
1/2 cup espresso or strong coffee, divided
6 tablespoons and 4 tablespoons Bailey’s Hazelnut Liqueur, divided
1 pound Bel Gioso Tiramisu mascarpone cheese*
1 teaspoon vanilla extract
1 (7-ounce) package Ladyfingers
1/2 cup Ghirardelli 60% cacao chocolate chips, melted and cooled
cocoa powder for dusting
dark chocolate covered espresso beans for garnish, optional
*I accidentally used Bel Gioso’s Tiramisu mascarpone instead of regular, so it already had a bit of coffee and sugar in it — you can use it, too, or add a tiny bit more coffee and sugar to your mixture.

Directions:
In a large bowl, beat 3 egg yolks, 6 tablespoons powdered sugar, 1 tablespoon espresso, 6 tablespoons Bailey’s Hazelnut Liqueur for a couple of minutes until well combined and thickened. Add the mascarpone cheese and vanilla extract and beat until well combined and fluffy, about 5 minutes.

In a separate (very clean) bowl, preferably with a stand mixer to spare your arm muscles, whisk 3 egg whites until foamy. Add 1 teaspoon powdered sugar and whip to stiff peaks. Stir about 1/3 of the egg white mixture into the egg yolk mixture to lighten it; then fold the rest of it in gently. Taste for flavor.

Pour the rest of the espresso and Bailey’s into a flat dish. Dip one side of each Ladyfinger in this mixture for just 5 seconds (so it doesn’t get soggy) before layering them, soaked side up, in a deep serving dish. Repeat, lining the entire bottom of the dish with the cookies. Drizzle cooled melted chocolate all over the cookies. Dollop about 1/3 to 1/2 (depending on how many layers you think you’ll be able to get in your dish) of the mascarpone mixture (called zabaglione) over the top and use an offset spatula to spread it into an even layer. Dust this with cocoa powder. Repeat layering dipped cookies, melted chocolate, zabaglione, and a dusting of cocoa powder, ending with a layer of the zabaglione dusted with cocoa powder (I got 2 full layers of cookie/chocolate/zabaglione/cocoa powder before my cookies ran out, but it depends on the size of your serving dish.)

Chill at least one hour before serving. Dot with dark chocolate covered espresso beans and serve. Eat within 36 hours or so, or things start to get soupy.
Disclaimer: This is, as I mentioned, a sponsored post. I received compensation for reviewing the magazine and sharing it with you as well as three free issues. However, as you already know, I never share a thing with you that I don’t love, and I always give my honest opinion. Hope you enjoy it, too!

Boozy Icebox Cake

My students teach me life lessons every day.

That’s something teachers are supposed to say in order to earn their Good Teacher Badge, but for me it’s also true. For example, this past Thursday I found myself in a complicated situation on the internet (oh, the internet), and handling it live with my students’ input proved to be one of the most educational experiences I think we’ve had all year. It all started with a negative book review . . .

At the beginning of 7th grade, my students read a young adult mystery novel set in Japan. It’s not my favorite book in terms of writing or character development, but it serves my purpose each year: to introduce them to Japan in an engaging and accessible way, and to serve as a backdrop and vehicle, respectively, for our more in-depth studies of haiku and essay organization in class. Essentially, I have my reasons for keeping it in the curriculum, but I don’t personally love it.

On my personal account on a popular book review site, I said as much. The site is designed to allow you to share book reviews and ratings with friends, so I felt perfectly comfortable giving my honest and blunt opinion. It was around four years ago when I reviewed the novel, saying, in short, that the simplicity of the book annoyed me.

Imagine my surprise when the author of the book himself — I’ll call him Snarky McSnarkerson — responded to my review. He was defensive and implied that the reason I didn’t like his book was because, basically, I’m a stuffy old teacher who’s not in touch with what kids actually like. This was funny to me, since part of what draws me to middle school language arts is my adoration of young adult literature.

I responded with a touch of sarcasm. It was not the most angelic response, but also not inappropriate. In class, I mentioned the exchange to my students and expressed my surprise over the whole affair. It didn’t occur to me that they might search for the review online, but a few of them found it and also responded to Snarky McSnarkerson. I was proud of how they were supportive of me but also classy and mature in their responses, not resorting to rudeness or immature name-calling. Indeed, they were quite a bit more mature than Snarky McSnarkerson himself! I thanked them but also asked that they no longer fuel the discussion.

A few years passed. Then, this past Thursday, I received another response from McSnarkerson out of the blue.

In his new response, he not only insulted me (saying that maybe someday my students would get a “real teacher”), but also my students (pointing out the grammatical errors in their posts). I was livid. I responded curtly to McSnarkerson himself and posted about the situation on Facebook (where it was promptly shared by a prominent author). In disbelief, I told my current students about the situation, being careful this time to ask them not to contribute to the online exchange. They were all outraged to hear of McSnarkerson’s rudeness and his unfair implications, just like I had been.

I knew this was a ripe teaching moment about how to navigate the internet, and how in the real world, we can vote with our wallets (I’d already told McSnarkerson I wouldn’t be using his book anymore). But I didn’t expect for my students to be quite the wonderful teachers they turned out to be!

We chatted about the inevitable urge to gang up on someone with friends online, and how we must remember that to do so would be cruel. We talked about the difference between responding to be nasty and responding with a thoughtful point. We remembered examples of when people had been unkind to others in groups — like the comments on Rebecca Black’s music video, “Friday,” and how they must have made her feel.

While we were discussing the uncertainty involved in handling an online disagreement effectively, my unfailingly positive and practical student, Lauren, raised her hand. She humbly offered the class, “I learned that if you stop responding to someone and fueling a situation, it usually goes away.” I think her comment literally stopped me in my tracks. What a novel idea. Wasn’t I supposed to be the one saying the wise, mature stuff? I laughed.

“That’s a great point, Lauren. So maybe I shouldn’t have responded to McSnarkerson at all? Or maybe I shouldn’t have responded to his newest comment? And, oh. Maybe I shouldn’t have mentioned it on Facebook?” The whole class paused with me. We all shifted and grinned uneasily. A new discussion had begun: Could Ms. Ruble have navigated the internet in a more effective way?

In true language arts style, we journaled about it. I told them to imagine that they’d left a negative review of Harry Potter and J.K. Rowling had just sent them a nasty comment (we all agreed this scenario was ridiculous — who doesn’t love Harry Potter and Rowling? — but for the sake of journaling, they used their imagination.) They had to first write their initial impulse, and then think of at least two better strategies they could use to handle it productively.

I was so proud of their suggestions. They proposed:

-Write out the response you’d initially want to post, but then ball it up and throw it away instead.
-Write a response, but instead of posting it, send it to someone you trust to edit it.
-Write a response, but instead of immediately posting it, wait 24 hours and then revise it to make sure it’s productive and kind.
-Don’t respond at all.
-No matter what you do, don’t share the situation with others to gang up or gossip, because it creates a bigger problem.

I love when real-life situations come about that they can learn from. I love it even more when they can learn from someone else’s mistakes instead of their own — even if those mistakes are mine! My initial goal in posting my frustrations and a link to the exchange on Facebook was to bring to public light the author’s unkind actions. If I had it to do over again, though, I might handle it in a different way (this is the reason I’m not naming the author or linking to the exchange in this post). Maybe I’d use one of the effective ways my students proposed. And instead of public shaming, I can “voice” my feelings about McSnarkerson by not buying his products.

I appreciate these kids more each and every day.

* * *

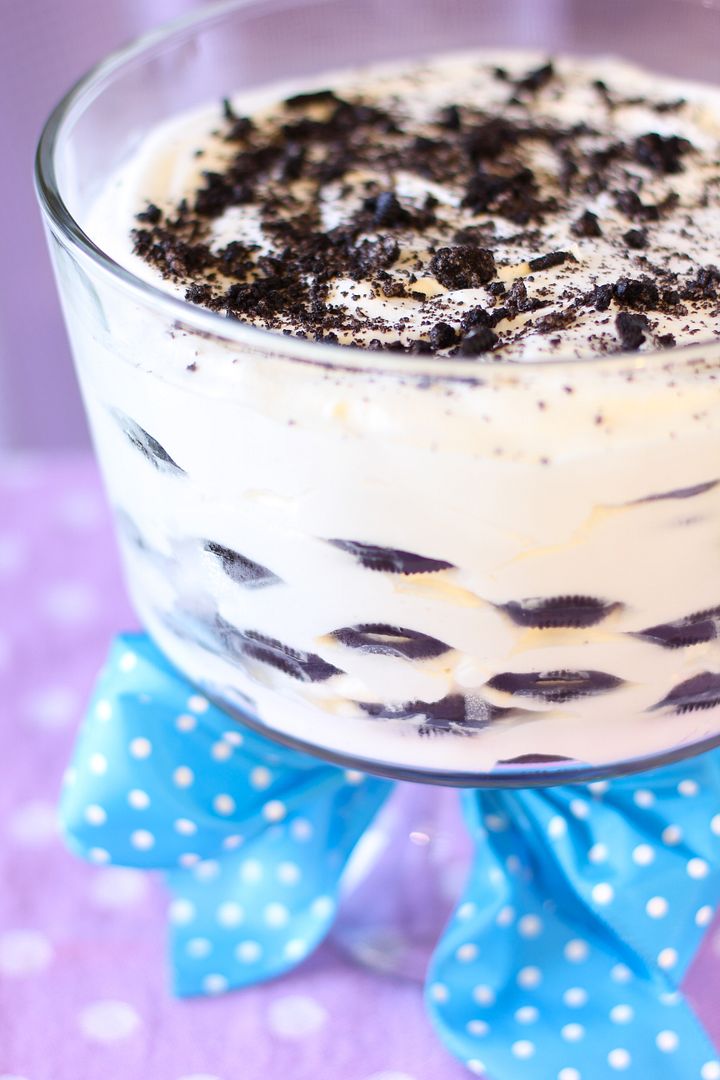
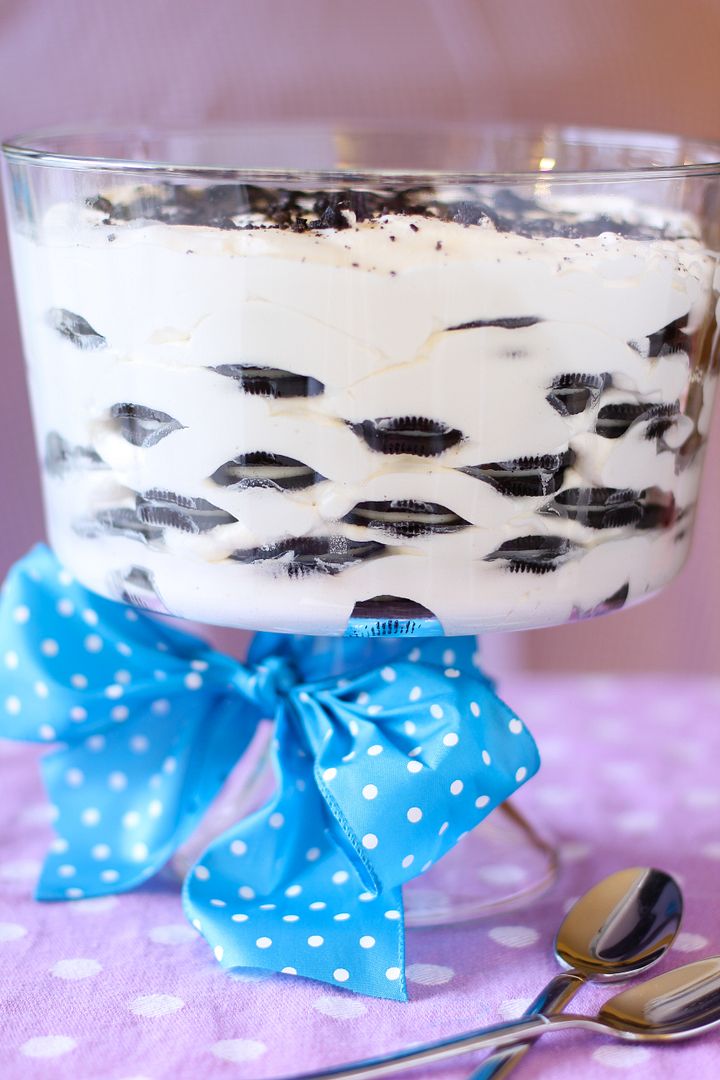
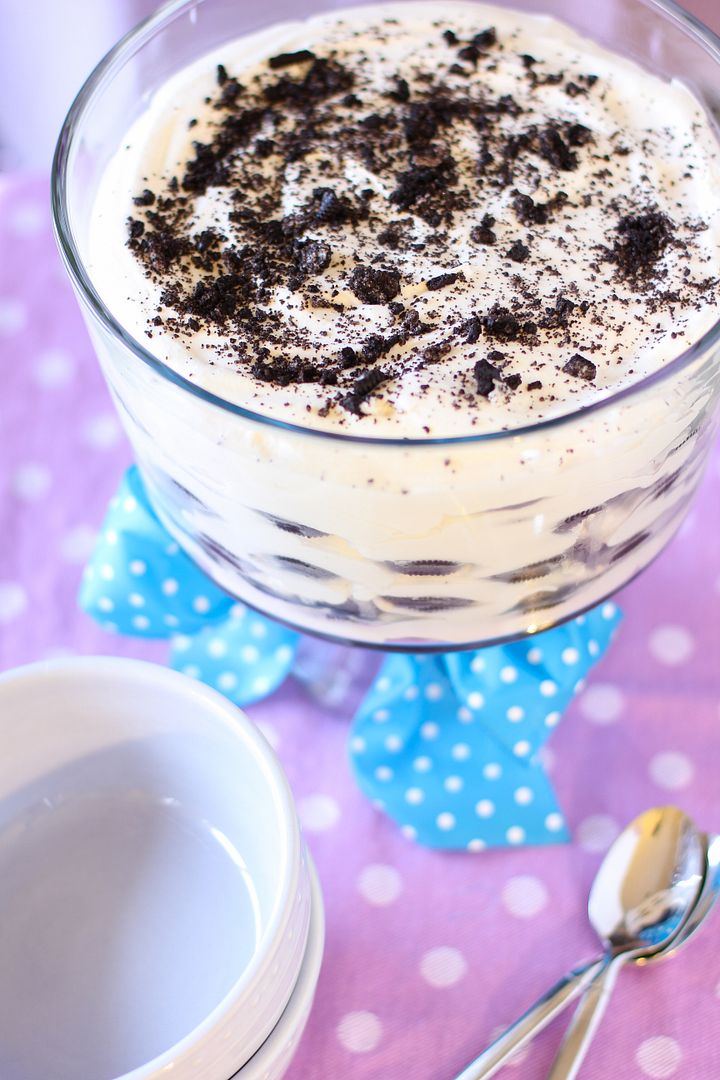
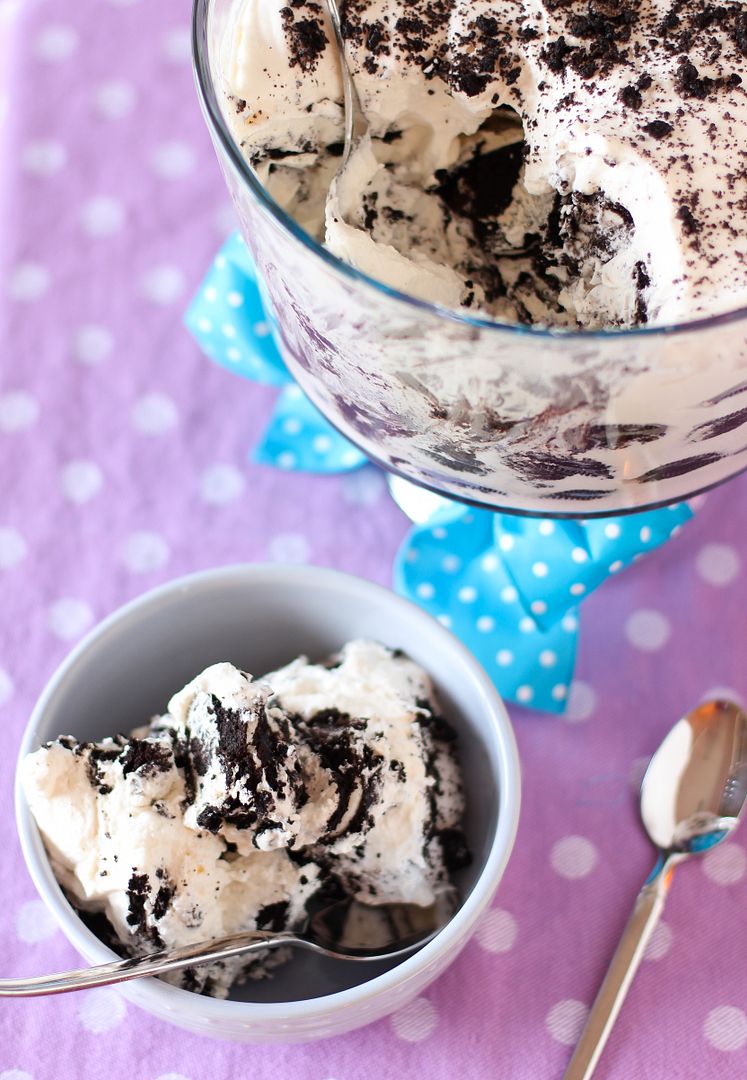
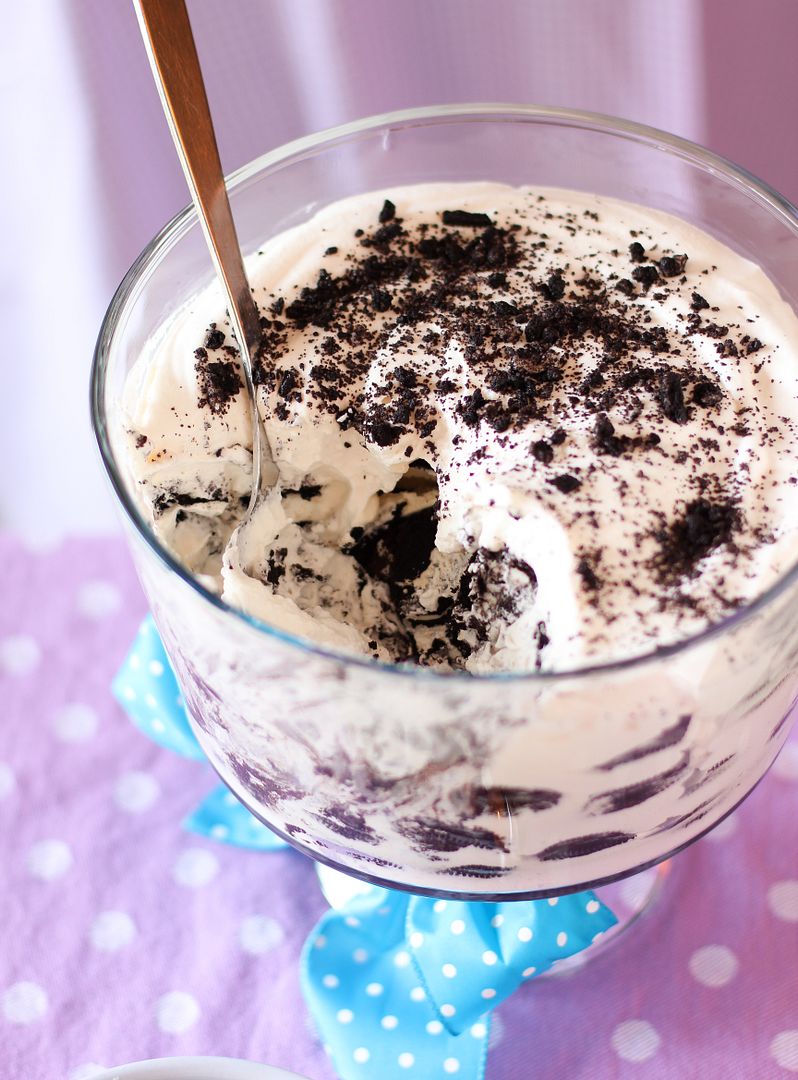
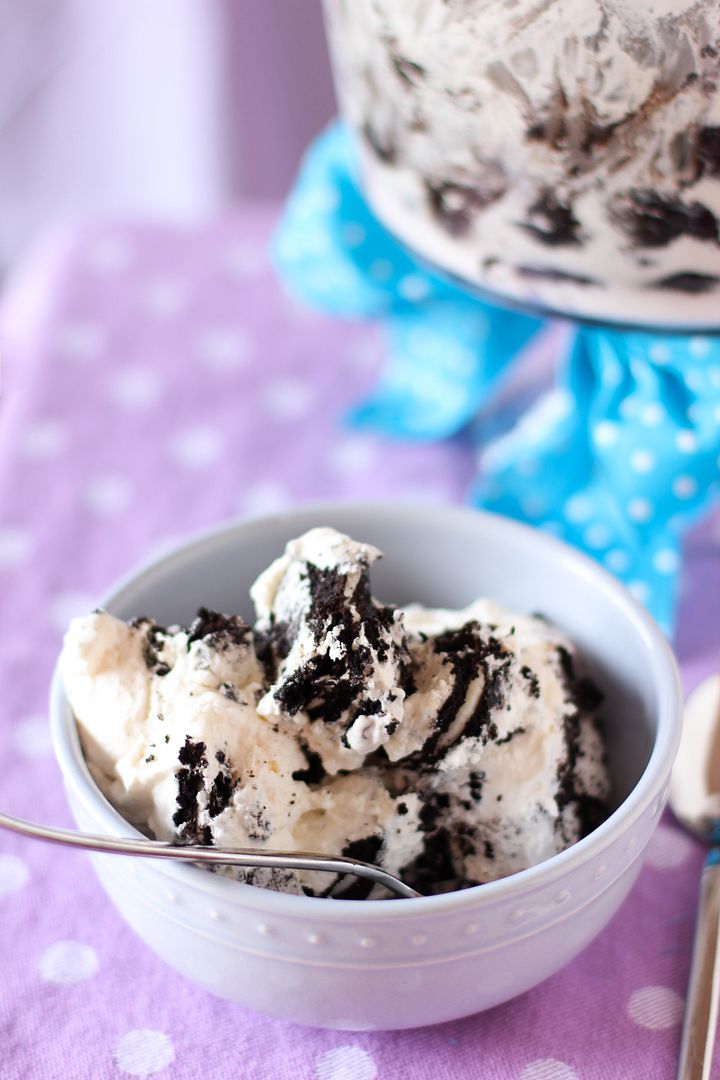
After all that tension, I needed to whip up an easy dessert this weekend, and there is nothing easier than an icebox cake. Icebox cakes layer wafer or sandwich cookies with billowy whipped cream and then chill it to form a delicious, velvety, cake-like dessert. I decided to spike my cream with some almond liqueur for a tasty zing, and now I can’t stop eating this thing. I love that something that takes 5 minutes to prepare can end up so pretty and tasty. Enjoy!

How do you effectively handle disagreements online, where it’s so much easier to be unkind or act rashly?

One year ago: Healthy Roasted Tomato and Onion Bread Soup
Two years ago: Willow Bird Baking’s Best of 2010
Three years ago: Pumpkin Cheesecake Bread Pudding

Boozy Icebox Cake


Recipe by: Adapted from Smitten Kitchen, originally adapted from The Magnolia Bakery Cookbook
Yield: 6-8 servings

Icebox Cake is so easy, fast, and delicious. It’s probably the dessert with the biggest bang for your buck. This version is made with oreo cookies and a bunch of whipped cream — and Amaretto for a zing! The cream softens the oreos as they chill overnight into a velvety, cake-like dessert.

Ingredients:
3 cups heavy cream
1/4 cup almond liqueur (like Amaretto) (optional)
3 tablespoons sugar
2 teaspoons vanilla extract
2 packages chocolate sandwich cookies (like Oreos)*
*You might want an extra package on hand in case your trifle dish is larger.

Directions:
Fit a mixer with a whisk attachment and whisk the heavy cream, almond liqueur (if using), sugar, and vanilla extract together in a large chilled bowl until it forms soft peaks. In a trifle dish, arrange a single layer of oreo cookies (for my dish, I used between 8-11 cookies per layer, since the sides flare outward) in a circle, with a cookie or two in the middle. Carefully spread about a 1/2 cup of whipped cream over this first layer. Repeat layering cookies and whipped cream, ending with a layer of whipped cream on top. Crumble a last cookie over the top. Cover and refrigerate overnight before serving.

1 6 7 8 9 10 22