candy

Chocolate Peanut Butter Cups (Low-Carb, Gluten-Free)

Chocolate Peanut Butter Cups (Low-Carb, Gluten-Free)

Valentine’s Day Dessert Recipes from Willow Bird Baking

It’s that time again: Valentine’s Day. You either love it or you hate it, but you have to admit . . . at least it’s an excuse to eat dessert? Here are a few that will definitely score you brownie points with your sweetheart (or your own solitary tummy as you sit on the couch and watch reruns of 30 Rock, thank you very much.)

By the way, I’ve included a difficulty rating after each recipe so you can pick one perfect for your skill level and schedule. And how much you love your partner. JUST KIDDING, just kidding.

1. Gooey Butter Strawberry Shortcake (very easy)
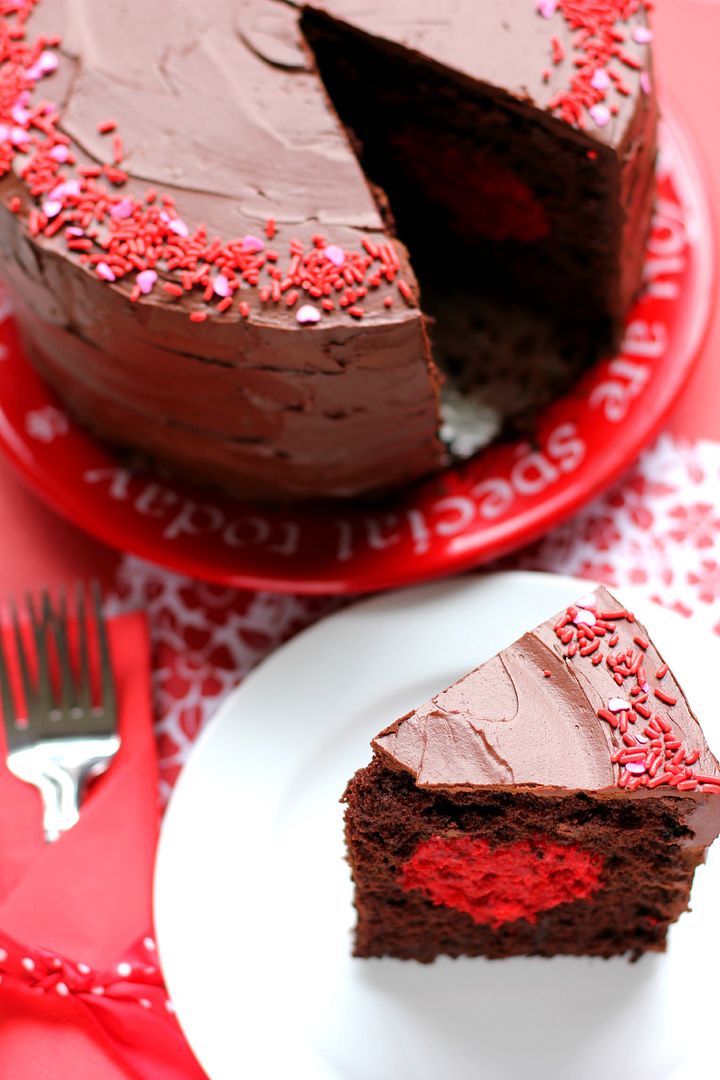
2. Thick Chocolate Cake with a Big Red (Velvet!) Heart (not hard, but probably easier as a 2-day process.)
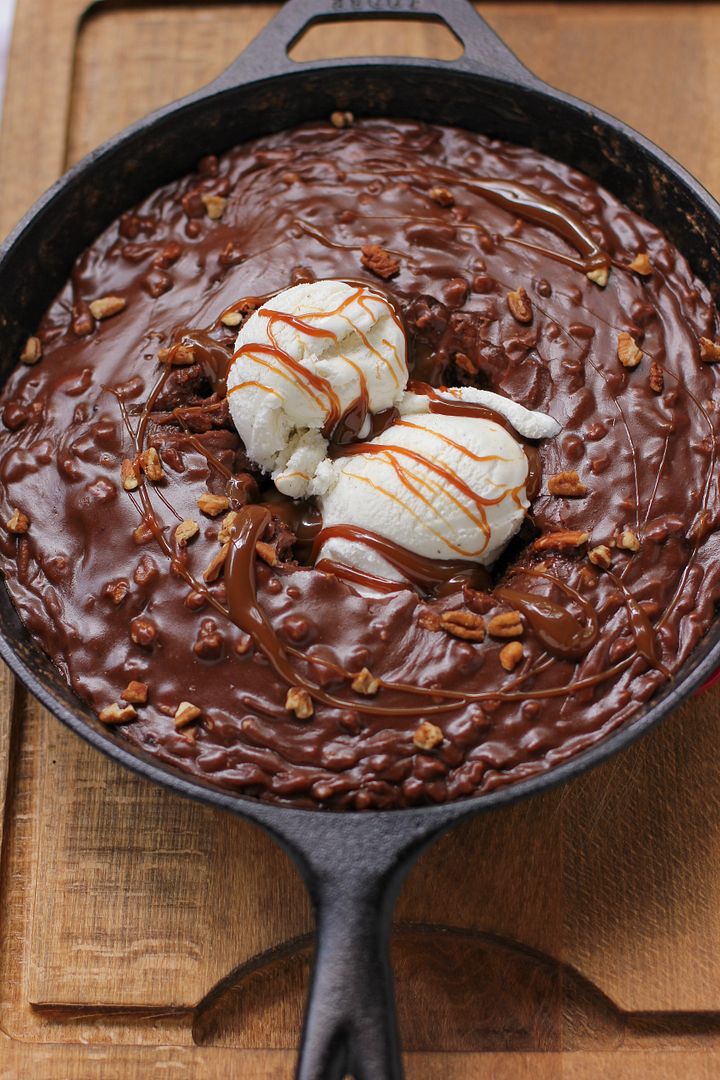
3. Gooey Chocolate Skillet Cake Ice Cream Sundae (very easy)
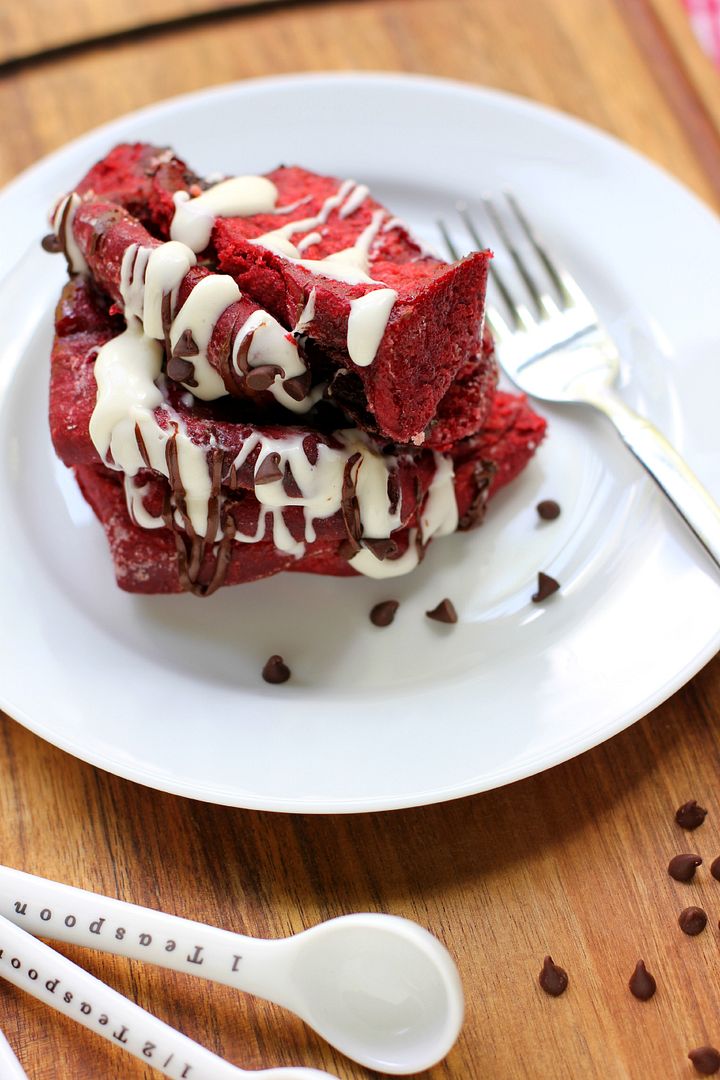
4. Chocolatey Red Velvet Pull-Apart Bread with Cream Cheese Glaze (includes rising time; a 2-day process)


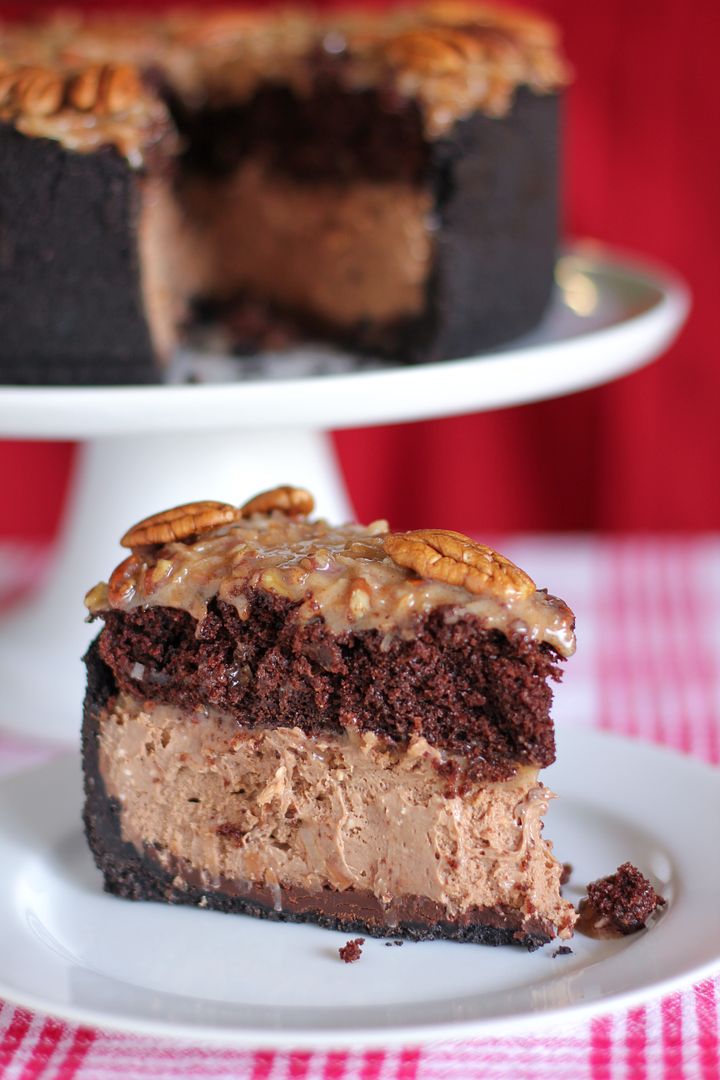
5. German Chocolate Cheesecake (not hard, but probably easier as a 2-day process.)
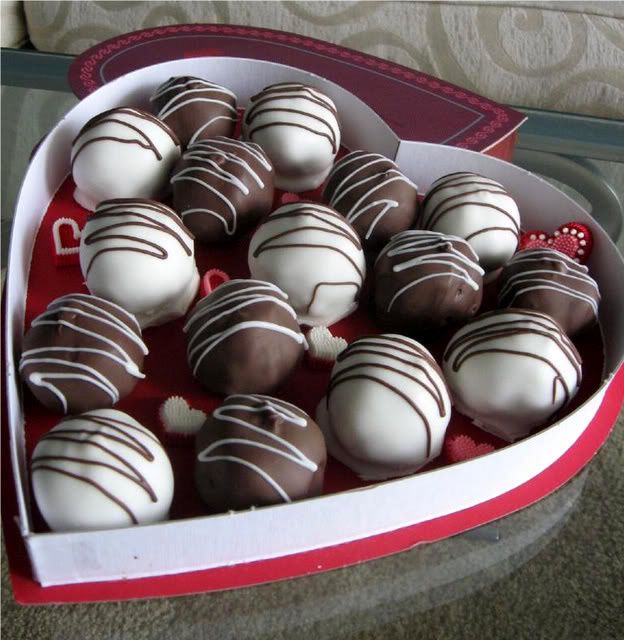
6. Red Velvet Cheesecake-Stuffed Cake Balls (advanced; easier as a multi-day process)
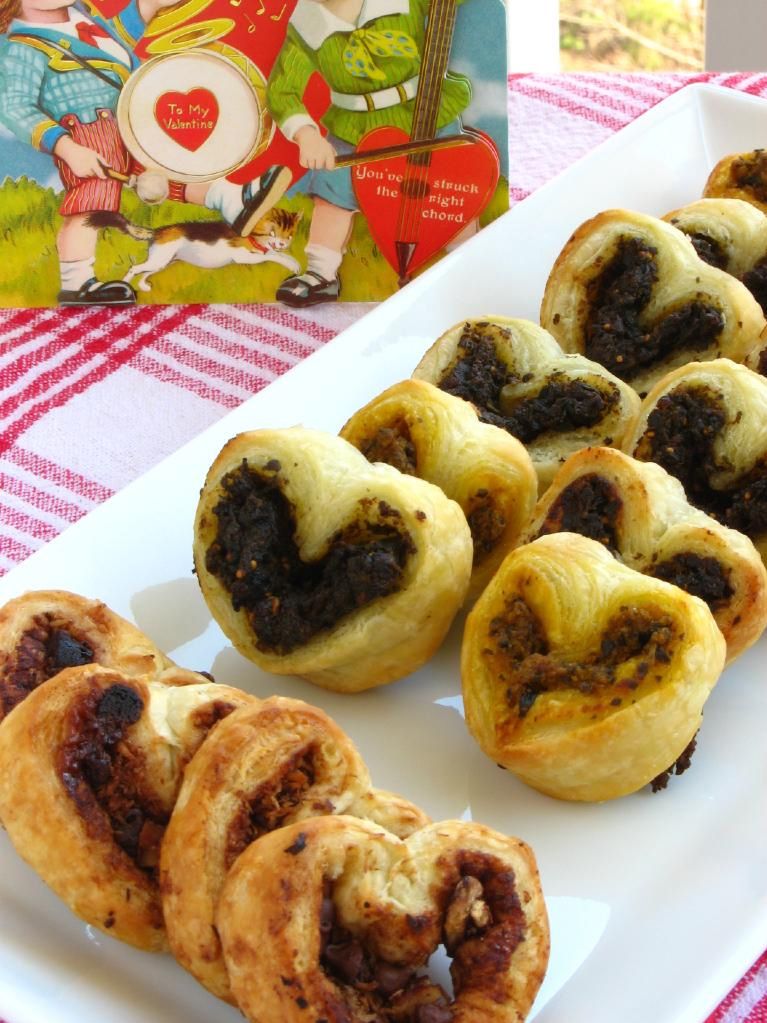
7. Heart-Shaped Palmiers (sweet or savory; very easy)
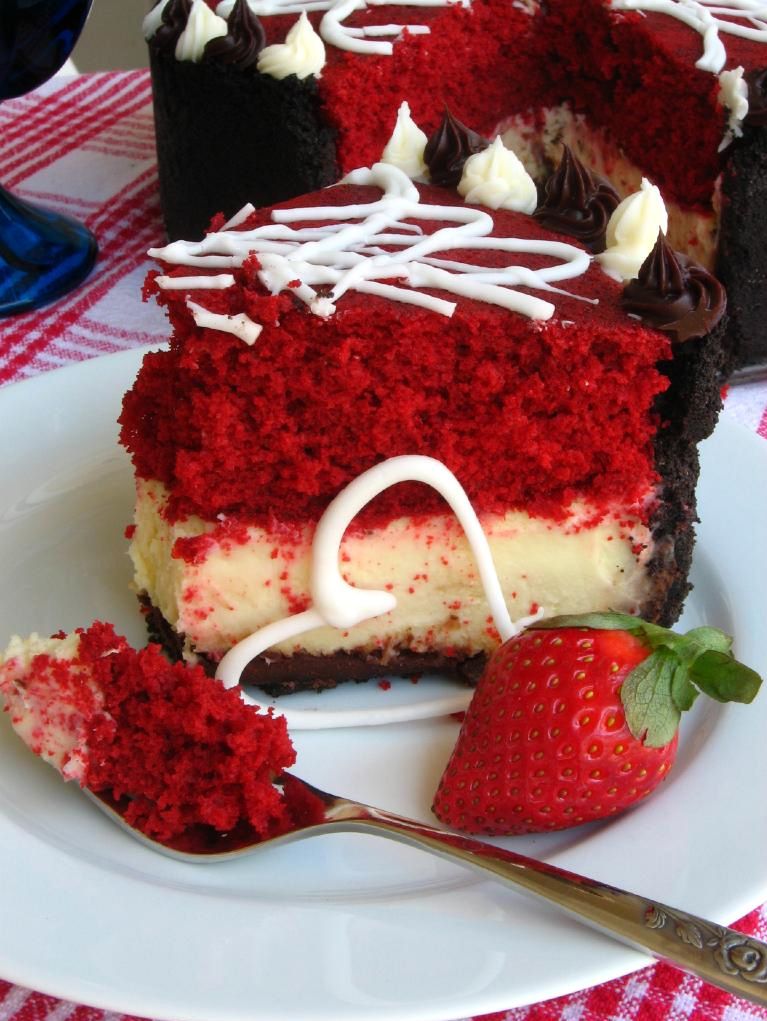
8. Red Velvet Cheesecake (not hard, but probably easier as a 2-day process.)


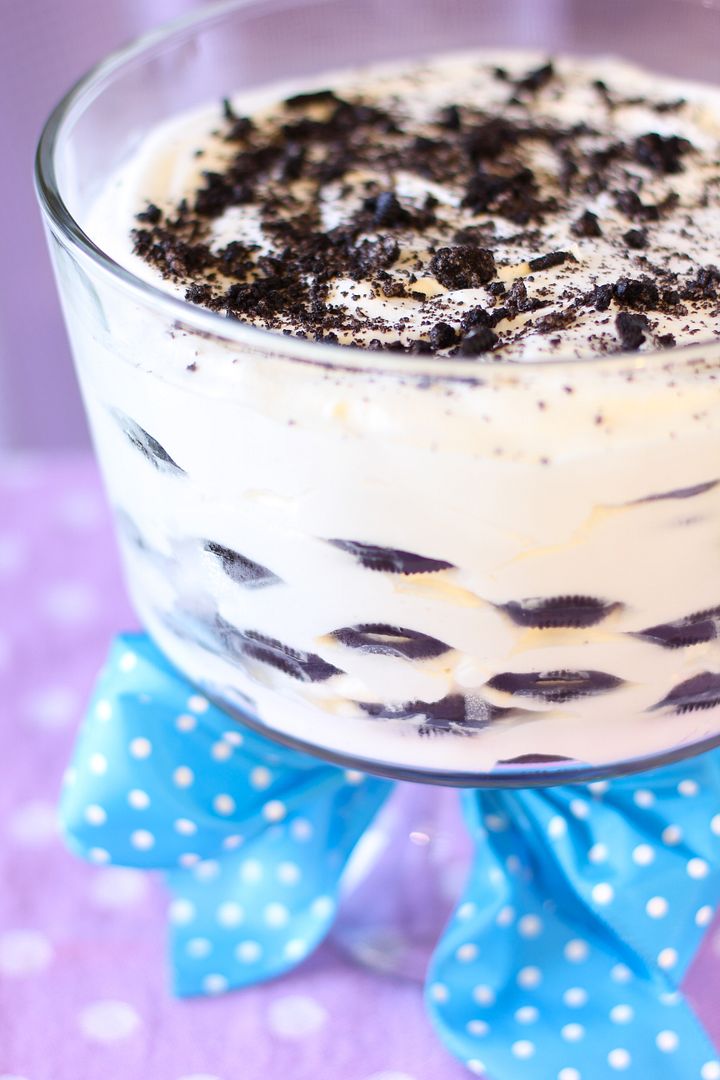
9. Boozy Icebox Cake (very easy)
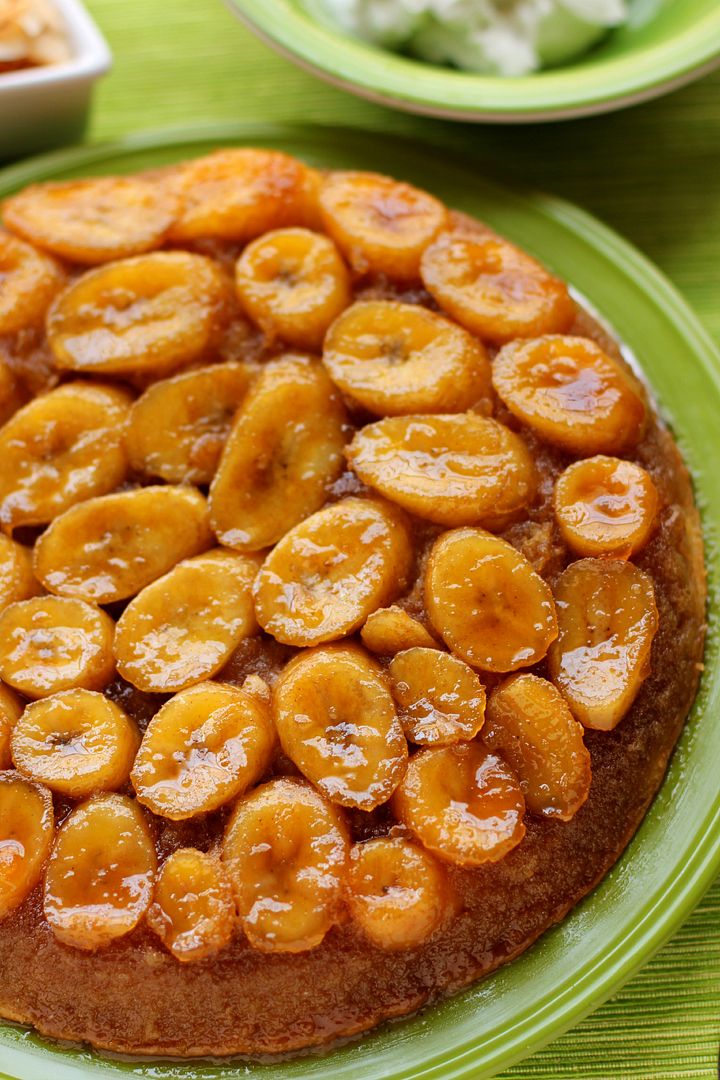
10. Caramelized Banana Upside-Down Coconut Cake & Coconut Whipped Cream (intermediate)
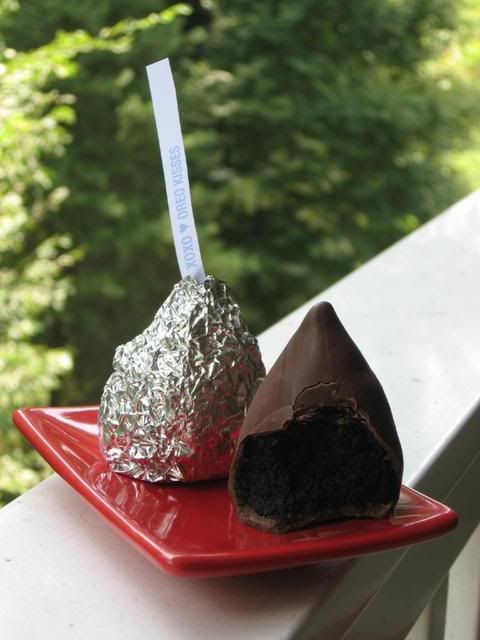
11. Red Velvet and Oreo Kisses (advanced; easier as a multi-day process)
12. Valentine’s Truffle Heart (advanced; easier as a multi-day process)


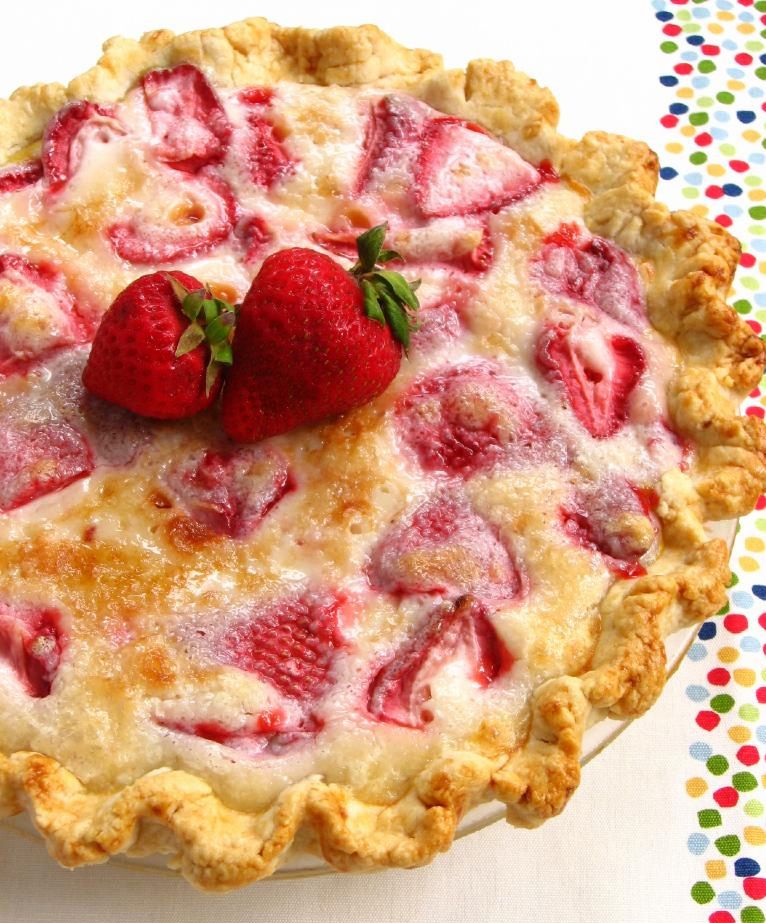
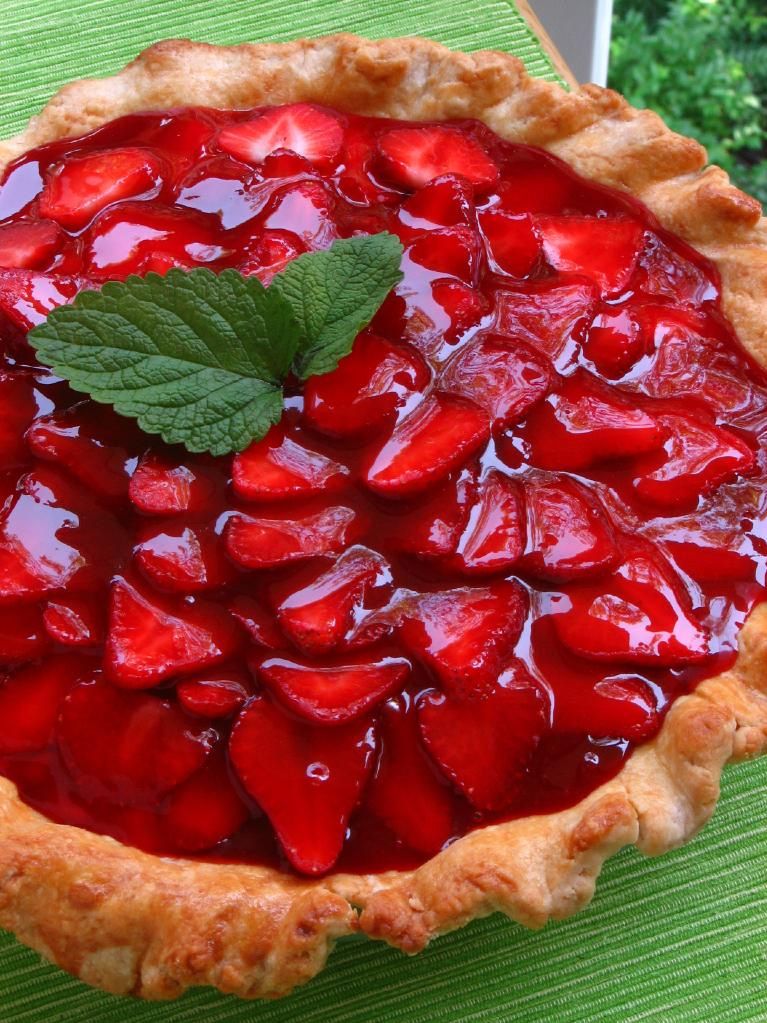
13. Strawberry Sour Cream Pie (very easy)
14. (Freshly Picked!) Strawberry Cream Pie (intermediate; multi-step process)
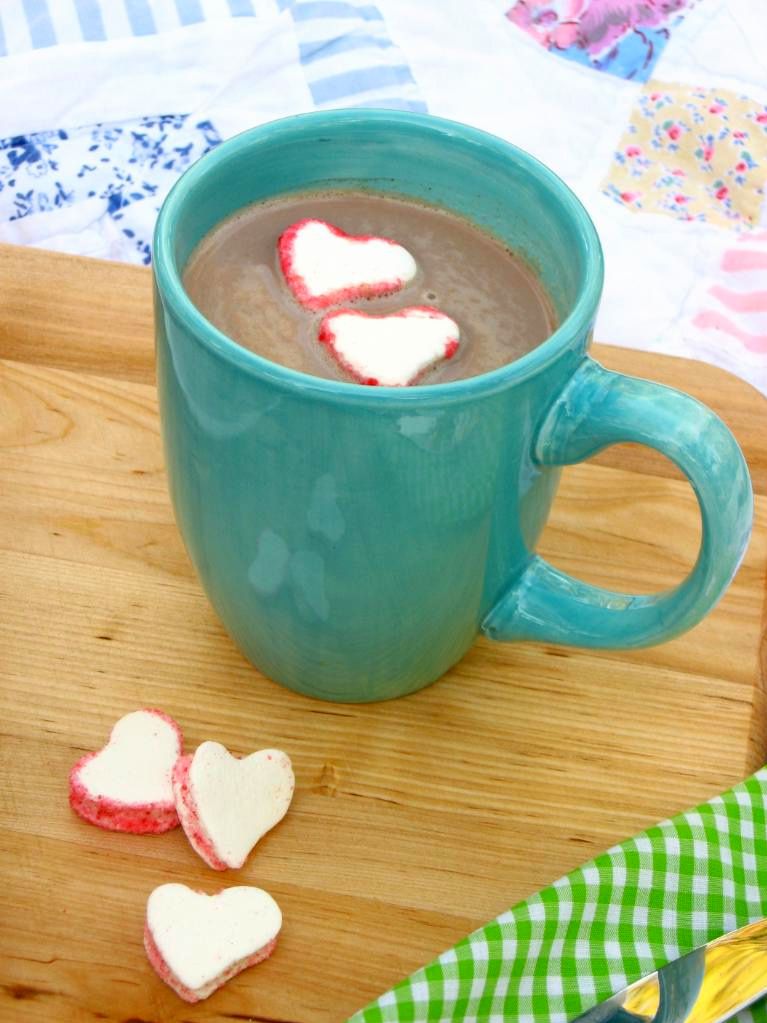
15. Homemade Hot Chocolate & Marshmallows (easy)
16. Red Berry Pie (intermediate)


…and four more for the coconut lover like me:

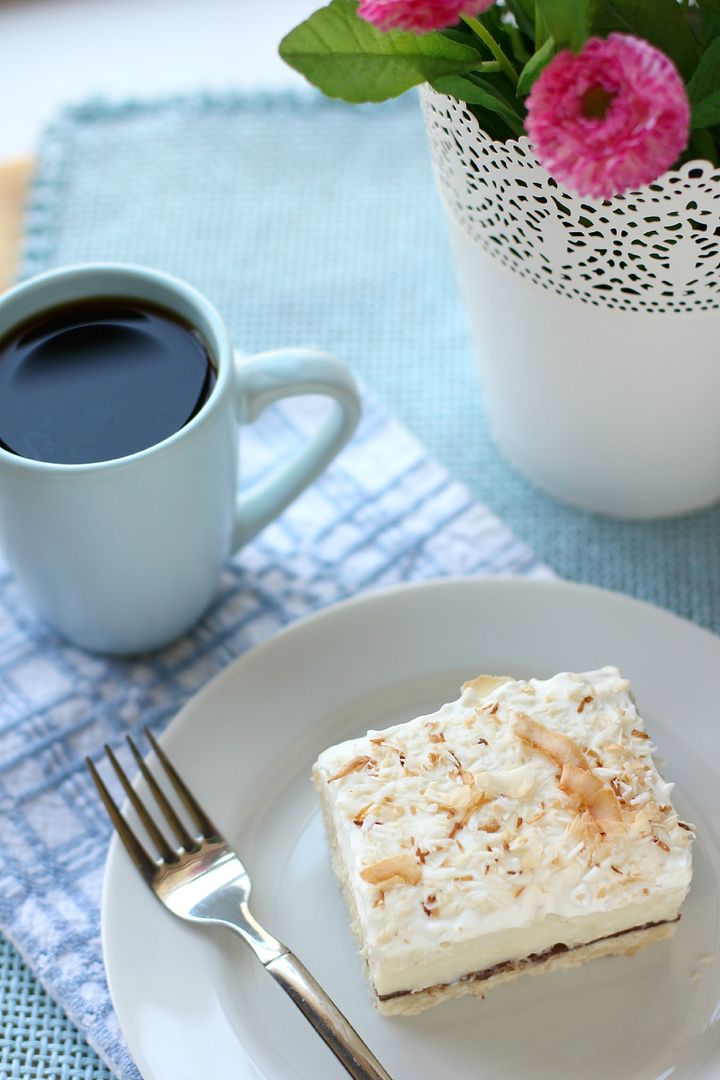
1. Chocolate & Coconut Cream Pie Bars (easy, but do require 30-minutes of stirring)
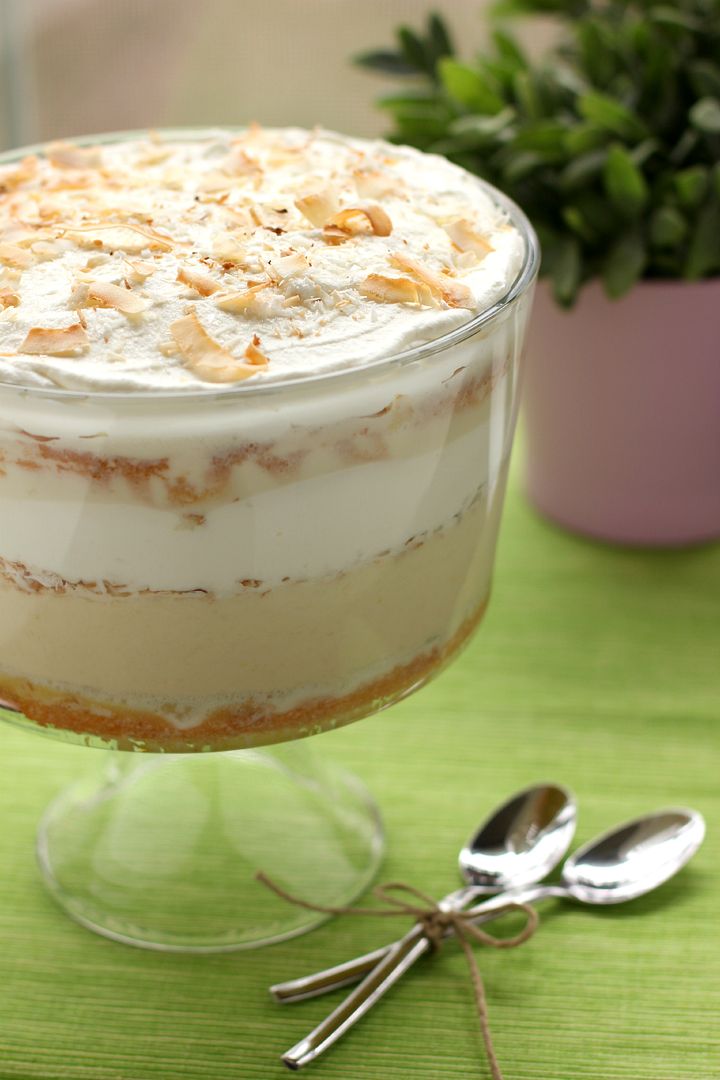
2. Tres Leches Coconut Cake Trifle (intermediate; easier as a multi-day process)
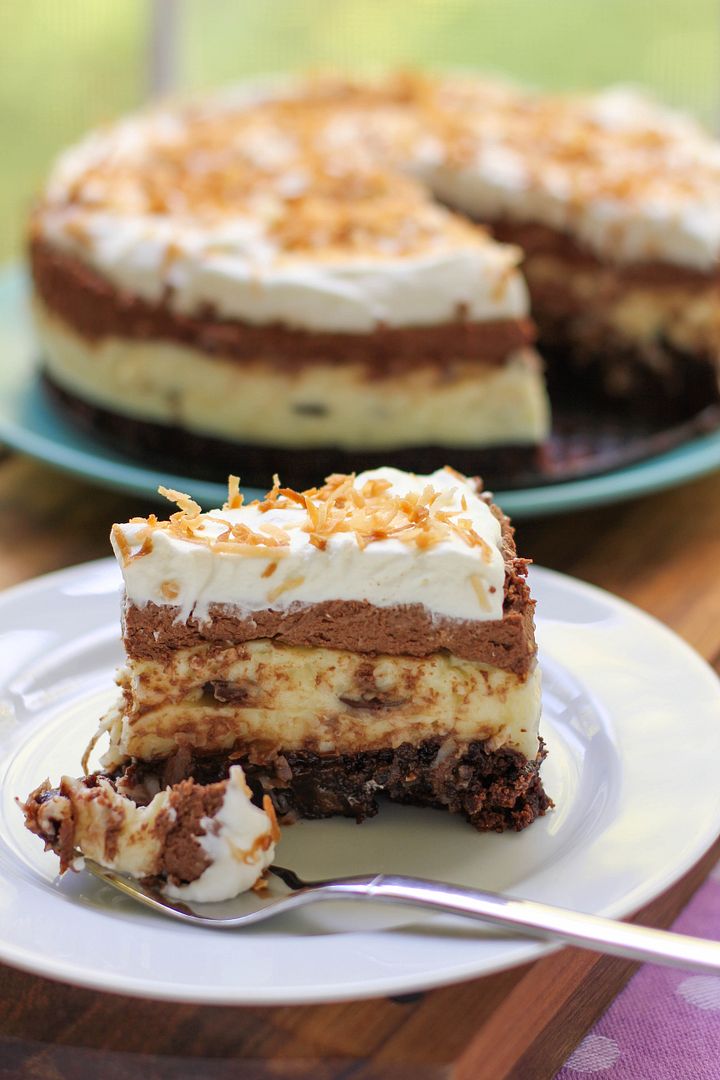
3. Brownie-Bottom Coconut Chocolate Cream Cake (very easy)
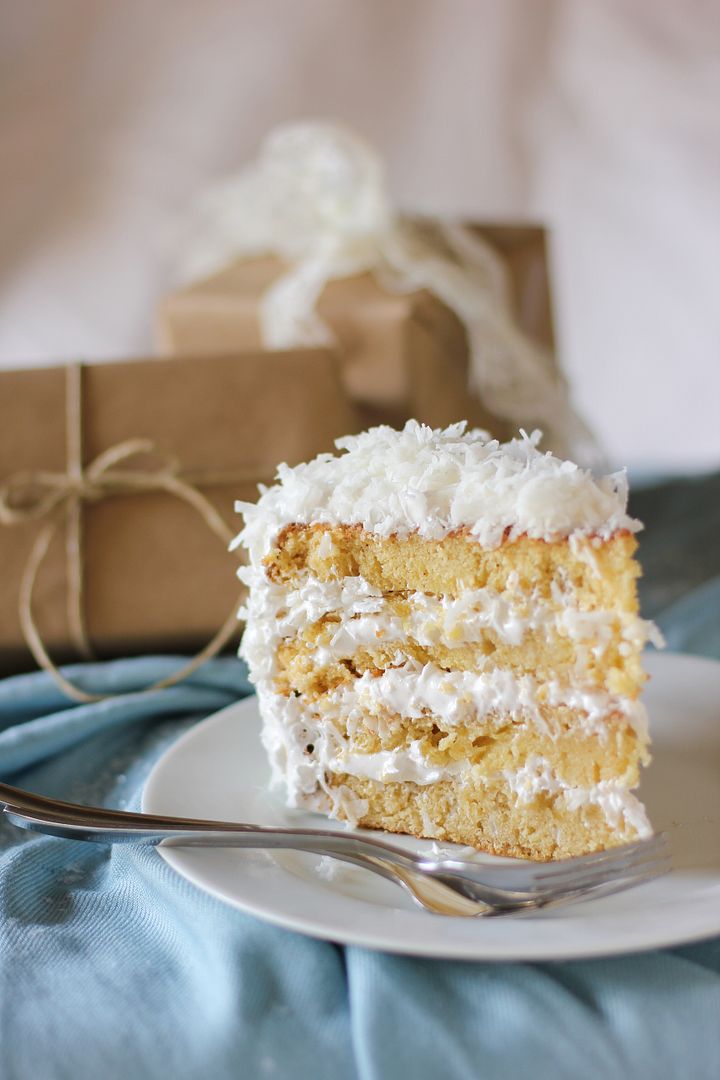
4. Moist Fluffy Coconut Cake (intermediate; easier as a multi-day process)


Dark Chocolate Pumpkin Truffles

Despite the fact that I’ve been inexplicably bought and paid for by the Son of God Himself, I feel guilty all the time. Call it a complex.

adorable napkins courtesy of sweet Erin

Sometimes it’s Byrd’s fault. She does this thing when I’m leaving for work every morning — do your dogs do this? — where she ramps up her cute factor by 200%. Suddenly she seems fluffier and snugglier. She’ll kiss my ankles and roll over for belly rubs. She’ll look up at me with eyes that I could swear weren’t that adorable yesterday.

It’s as if she’s saying, “You’re not gonna LEAVE me, are you mom? You couldn’t possibly leave your innocent wittle baby puppy, could you?”

But every morning, I break her heart by telling her goodbye and shutting her up in my bedroom. Then I walk out to my car feeling like a heel.

Other times it’s my own fault that I feel guilty. I’ll have a mile-long list of things I need to accomplish, but I’ll allow myself 5 or 10 minutes to check Facebook. And, you know, I have to check Pinterest. And what if something important happened in the world? I’ll read CNN online for just a minute or two. And what if something important happened to Reese Witherspoon? I’ll hop over to People.com for a bit. Of course I need to check my site traffic. And gosh, it’s been forever since I’ve checked Facebook . . .

Suddenly it’s 1 o’clock in the morning and my to-do list suddenly looks a lot like an accusation staring up at me from my notepad.

Last night my guilt was even more justified. I always feed my turtle, Squirt, in a plastic storage container on the kitchen counter. I usually keep an eye on him so he doesn’t climb out and get hurt, but yesterday I was just so preoccupied. I had piles of 7th grade essays, 6th grade quizzes, and 6th grade projects to grade. Modern Family was playing in the background. Byrd was playing in the floor. My head was lost in a cloud of thesis statements and Gloria’s Colombian accent.

Suddenly, I heard a thump. I walked into the kitchen and found Squirt not in his feeding tank on the counter where I left him, but standing in the middle of the kitchen floor, looking around thoughtfully.

He had fallen off the counter.


quick, think of something happy. like pumpkin truffles.

MY BABY FELL OFF THE COUNTER BECAUSE I WAS TOO BUSY TO WATCH HIM CLOSELY. After bursting into tears, repeatedly checking all of his little turtle limbs for injuries, hugging him (much to his dismay), and investigating the scene of the accident, I sat in floor, awash in a sea of guilt. I promised myself I’d be a better mother. I thanked God profusely that he’d fallen on the carpet and not the linoleum. I called Mike and confessed my negligence.

Meanwhile, Squirt swam around in his tank and chomped at carrots, pleased as a plum to be back in the water and apparently none the worse for the wear.

The truth is, guilt is useful insofar as it leads us to make a change. The discomfort I felt after Squirt’s fall has convicted me to never leave him unsupervised again. For some people, discomfort about the way they’re living is what leads them to submit to Christ and be changed. It’s a good thing.

But beyond that, guilt is a disease. Once you’ve made a change, lingering guilt serves no purpose but to cripple you. It’s a lying voice telling you that you’re unworthy, incapable. Don’t believe it.

Today as Squirt basks under his sun lamp, I’m going to ignore the deceitful voice of guilt. I’m going to believe that I’m the best mommy for that reptile. I’m going to give myself a blank slate. And I might even try to cut down on the Facebook…

…after I post another status update about pumpkin truffles.

Since we’re on the topic of guilt, here are some truffles for you to eat way too many of — and to forgive yourself for later!

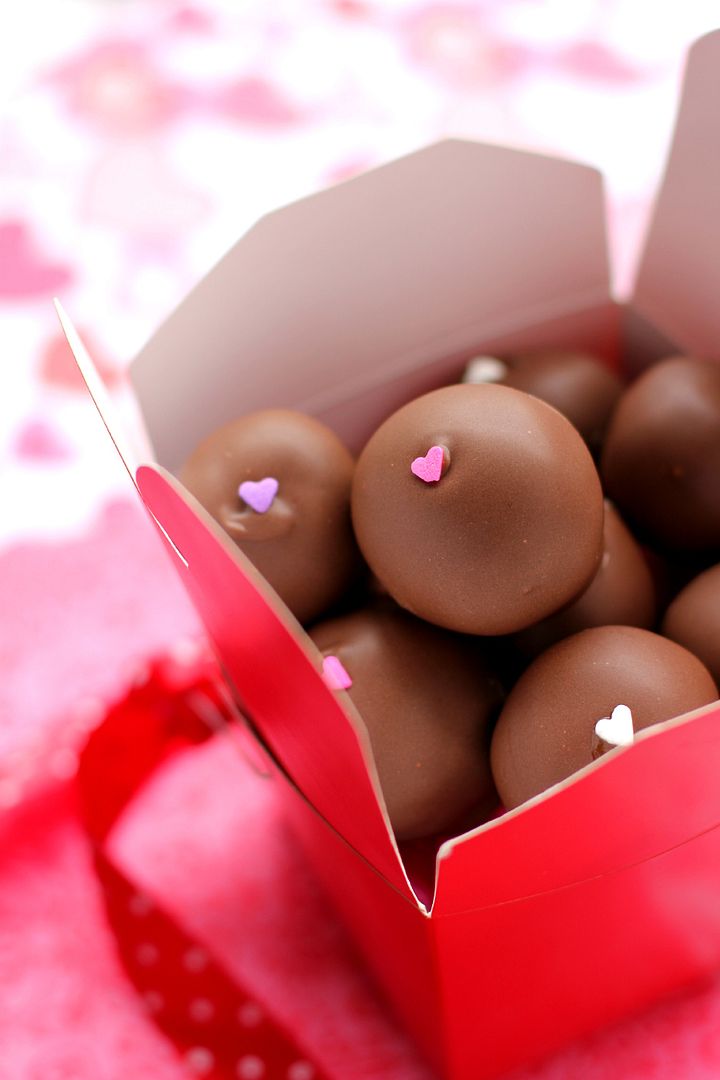
They’re worth it. In this super simple recipe, rich pumpkin cheesecake middles are coated in indulgent dark chocolate. The resulting truffles are adorable and totally poppable. Give yourself a break and make some dessert.

What kinds of things do you feel guilty about sometimes?

Chocolate Pumpkin Truffles


Recipe by: Adapted from Whole Foods
Yields: About 30 truffles

A creamy pumpkin mixture spiced up with gingersnap and graham cracker crumbs is rolled into a ball and coated with rich dark chocolate. These delectable truffles would make a lovely autumn gift since they’re so cute and poppable, but don’t feel guilty saving them all for yourself!

Ingredients:
2 cups dark chocolate chips (see note below recipe)
1/2 cup white chocolate chips
1/4 cup pumpkin puree
3/8 cups finely ground gingersnaps
3/8 cup graham cracker crumbs
1 tablespoon powdered sugar
1/8 teaspoon ground cinnamon
Pinch of orange zest (I used a dash of orange extract)
2 ounces cream cheese, softened
pretzel sticks (optional, for pops)
sprinkles or extra cookie crumbs (optional, for decoration)

Directions:
Make the pumpkin middles: In a large bowl, melt the 1/2 cup of white chocolate chips according to instructions on package (usually in the microwave on half power in about 30 second intervals, stirring between each). When the white chocolate is melted, let it cool down for a bit before adding the gingersnap crumbs, pumpkin, graham cracker crumbs, sugar, extract or zest, cinnamon, salt and cream cheese. Beat this mixture until it’s completely smooth. Cover it and refrigerate it for about 2 hours until it’s firm enough to roll into balls.

Roll ’em: Roll the pumpkin mixture into balls and place them on a wax-paper lined baking sheet. Refrigerate them for another hour to let them firm up. When you’re ready to make your truffles, melt your dark chocolate according to the instructions on package (usually in the microwave on half power in about 30 second intervals, stirring between each).

Insert the pretzel sticks: (Obviously skip this step if you’re making truffles and not pops!) Take a few pumpkin balls out of the fridge at a time. Poke the end of pretzel sticks into the melted chocolate and stick one in the center of each pumpkin ball, placing them back in the fridge to set. Repeat with all of the pumpkin balls.

Dip ’em: Take out a few pumpkin pops at at time (if you just inserted pretzel sticks, use the ones that have been chilling the longest) and carefully dip the balls into the melted chocolate while holding the pretzel, using a spoon to help you coat them. Gently bounce and turn the pop (while supporting the whole pretzel stick) to let the excess drain off. Sprinkle on some sprinkles, graham cracker crumbs, or gingersnap crumbs if desired, and then stick the pop into a foam block in the fridge to dry. Alternatively, if you’re making truffles instead of pops, use two forks to dip the pumpkin ball into the chocolate and pass it between the forks to drain the excess. Roll it carefully onto a sheet of wax paper in the fridge to dry. Chill the pops about an hour, until they’re completely dry and set.

NOTE ON COATING CAKE POPS OR TRUFFLES: When it comes to coating cake pops or truffles, there are several options. My favorite coating is usually Candiquik or candy melts, because they have a lovely texture when melted, dry quickly, and don't melt if they sit out of the fridge. In this recipe, though, I chose to use plain dark chocolate to coat my truffles. Though it takes longer to dry and can get melty in your hands even once it's set, I wanted the taste of rich dark chocolate to contrast with the pumpkin. My chocolate of choice is always Ghirardelli 60% cacao chips — they are seriously delectable.

OTHER TIPS:
– If you need to thin your chocolate or candy melts, stir in a scant spoonful of shortening until it’s melted. Add more as needed until desired consistency is reached.
– Don’t ever put water or water-based substances in chocolate or candy melts, or they’ll seize and become unusable.
– Keep your bowl of melted chocolate or candy melts inside of a larger bowl filled halfway with hot water. The heat from the water will keep your chocolate liquid while you’re dipping all of your truffles, so that you won’t have to keep reheating.
– See this video for a visual of how to dip cake pops and truffles.

If you liked this post, please:
Subscribe to Willow Bird Baking
Follow Willow Bird Baking on Twitter
Follow Willow Bird Baking on Facebook
Give this post a thumbs up on StumbleUpon


ShareOther ways to share this post with friends!
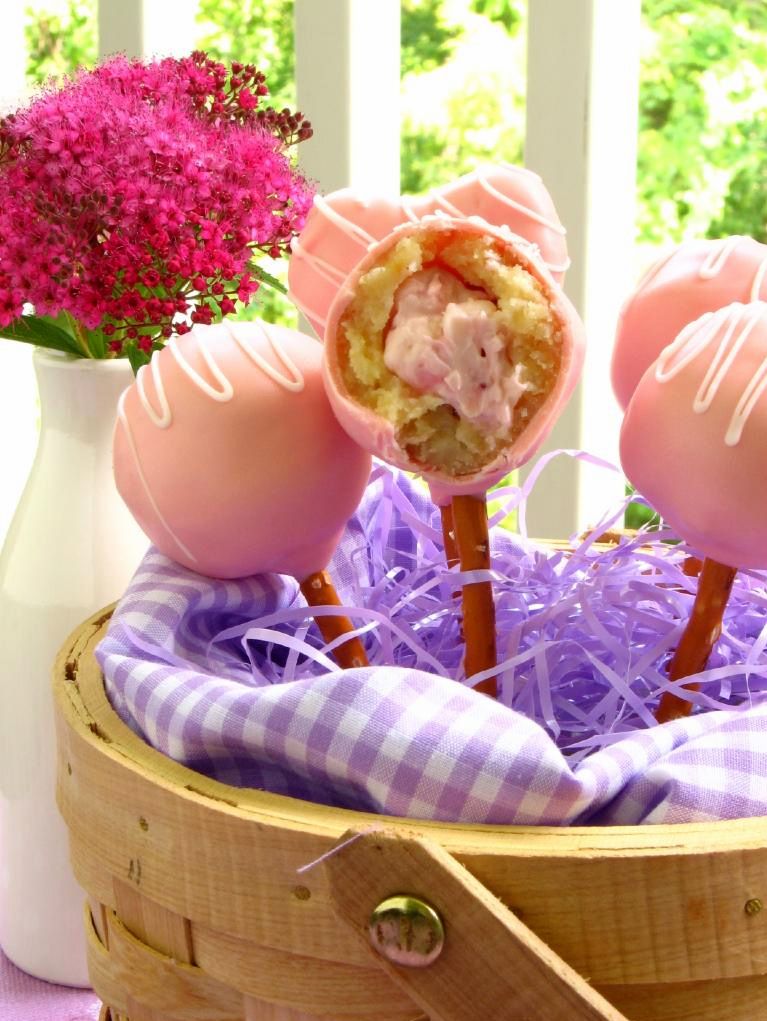
Strawberry Cheesecake Stuffed Amaretto Cake Pops (on Pretzel Sticks!)

Dear Rebecca Black,

For the record, I think you’re adorable and I want you to be in my 7th grade class. We talked about you a little bit when we were all having fun fun fun fun with your song, and about how mean some folks on the interwebz can be.

My students realized that you were their age (just 13!), and we all felt like if it’d been one of them taking the brunt of jokes and criticism, we’d be sad. So we want you to know that we’re sorry about the meanies, and we hope you’re enjoying all the good-spirited parodies of your song as much as we are.

Oh, but my 7th grade students told me about the “censored” parody of your song — don’t enjoy that one. Don’t even watch it. Cover your ears, young lady! I’ll redirect you to the Sunday school parody instead.

Anyway, your song has brightened up lots of my weekends! Sometimes I blast it at the beginning of class on Fridays and it never fails to produce smiles. And yeah, we break it down — everyone needs a 5 minute dance party now and then.

And you know what? I get it, girl. You so excited about Friday that you’re dropping verbs and everything else, and I want you to know that I understand.

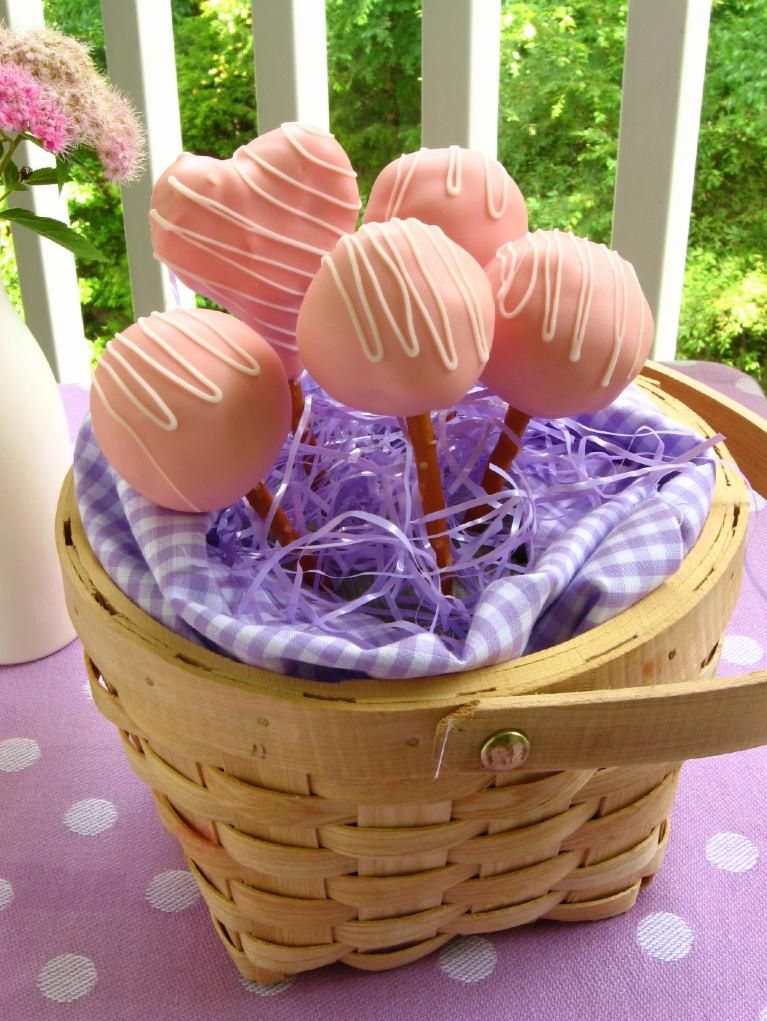
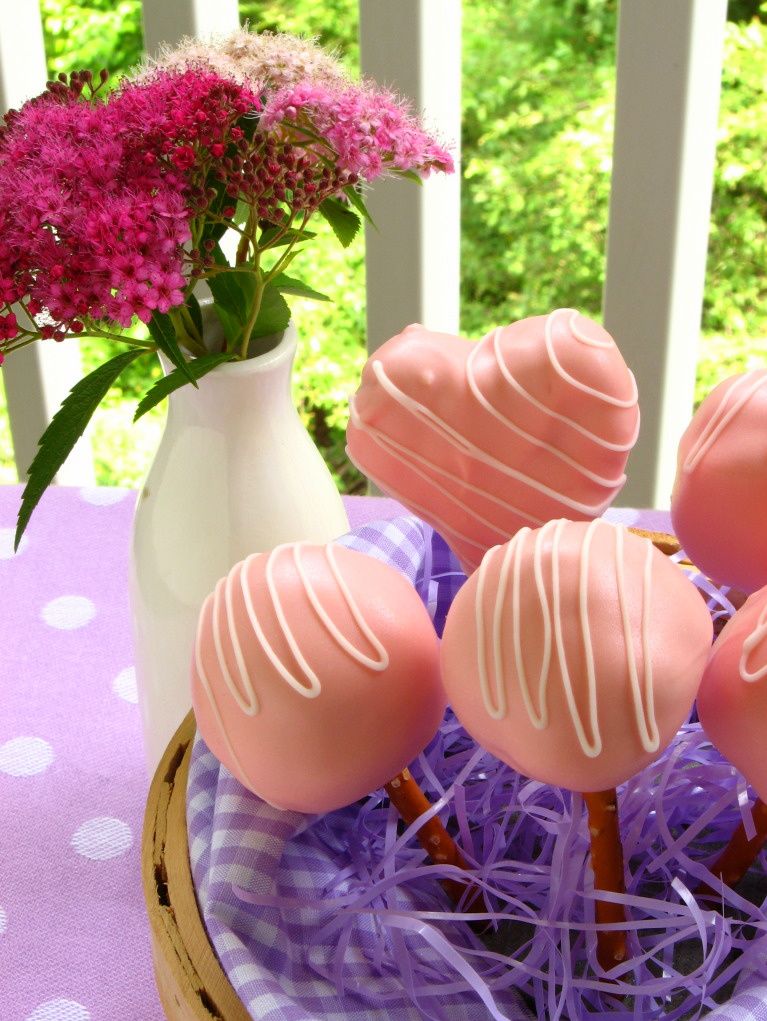
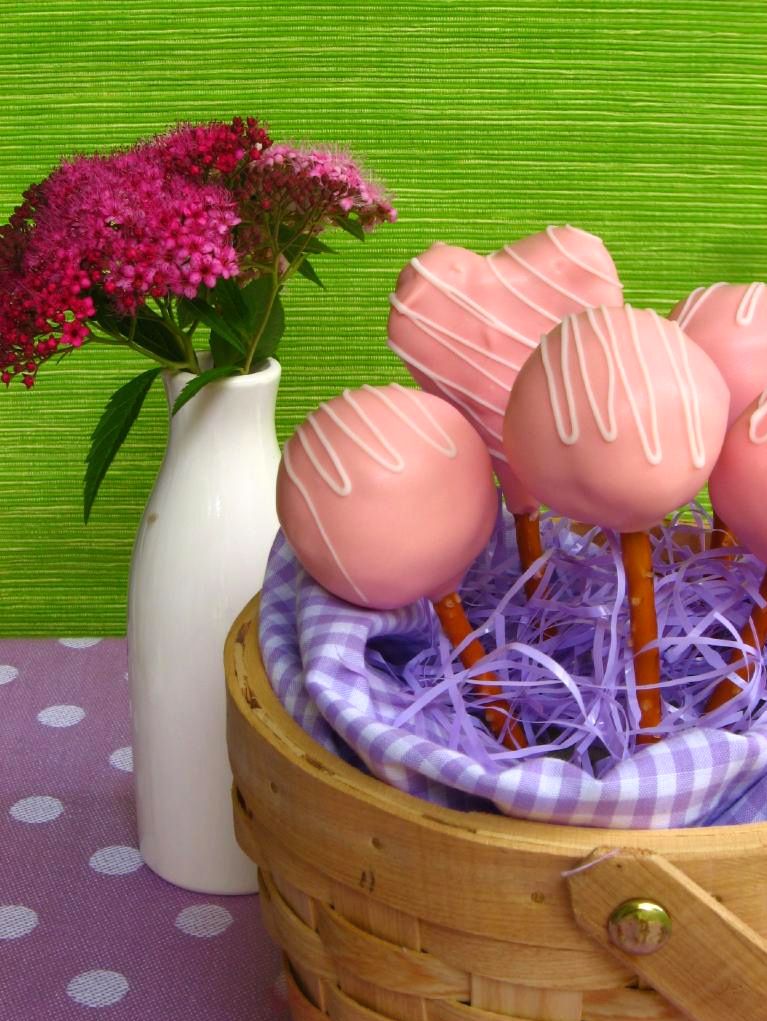
In fact, I’m a little obsessed with your song right now. It just describes so perfectly how I feel about so many things. I’m going out to eat? I-I-I so excited! It’s only 4 weeks until summer vacation? I-I-I so excited! I’m making flippin’ Strawberry Cheesecake Stuffed Amaretto Cake Pops on flippin’ pretzel sticks?! I SO EXCITED!

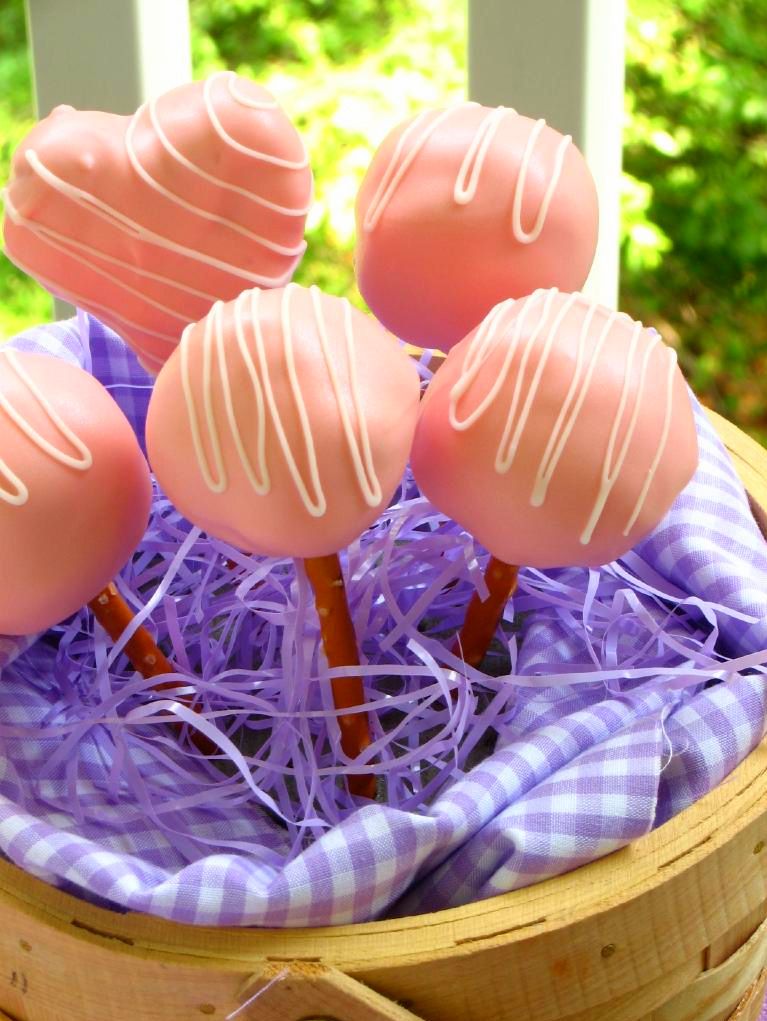
These cake pops started as a bright spark of inspiration from CakeSpy: pops on a pretzel stick! Using an edible, salty vehicle for a sweet treat struck me as absolutely bee’s-knees brilliant. I had to try it immediately.

Then there was this other idea I’d been toying with, too: mixing up no-bake cheesecake filling, freezing it into little pearls, and hiding the pearls in the center of each cake ball. A cheesecake-stuffed cake ball on a pretzel stick? It couldn’t get any better — unless you used an amaretto-spiked version of the best pound cake in the world for your cake!

This cake pop endeavor turned out so easy and so fantastic. I made a video tutorial (located at the bottom of this post) so that you can follow along with the steps as you make them; it’ll show you how to pipe your cheesecake centers, form the cake balls around them, insert the pretzel sticks, and dip and decorate the pops.

But the cake pop tutorial isn’t the only video I made.

What can I say, Rebecca? These cake pops just made me wanna sing! So here’s my tone-deaf tribute to plucky middle schoolers, cake pops, and YOU. Thanks for the fun!

P.S. I have a newfound respect for you after trying to sing this song a billion times and realizing I was basically the worst singer on the planet.

Strawberry Cheesecake Stuffed Amaretto Cake Pops (on Pretzel Sticks!)


Recipe by: Willow Bird Baking
Yields: about 40 cake pops
Print this Recipe

Cream Cheese Pound Cake Ingredients:
3/4 cups butter, softened
4 ounces cream cheese, softened
1.5 cups sugar
3 large eggs
3/4 tsp vanilla
1/4 cup amaretto
1.5 cups flour
pinch salt

Strawberry “Cheesecake” Ingredients:
1 8-oz. package cream cheese, softened
2 tablespoons sugar
1/2 cup diced strawberries

Cream Cheese Frosting Ingredients:
4 oz. cream cheese, softened
1/4 cup (1/2 stick) of butter, softened
1/4 teaspoon vanilla extract
1 cup confectioners’ sugar, sifted

Other Ingredients:
2 pounds candy melts (I chose light pink)
about 40 pretzel sticks (I used Snyder’s because they were longer and sturdier than others)
white chocolate or candy melts for drizzling

Directions:
*NOTE: See the cake pop video tutorial below to see many of these steps being completed!

Make the pound cake: Preheat oven to 300 degrees F. Butter and flour a loaf pan. Beat butter and cream cheese at medium speed of an electric mixer 2 minutes or until creamy. Gradually add sugar and beat 5-7 minutes until light and fluffy. Add eggs, one at a time and beat only until yellow disappears. Stir in vanilla and amaretto.

Combine flour and salt and add to creamed mixture beating on low speed of electric mixture just until blended after each addition. Fill a 2-cup ovenproof dish with water and place in oven with cake (keeps it moist!). Bake at 300 degrees for about 1 hour and 20 minutes, or until a knife inserted into the middle comes out clean (check in several areas of the cake to be sure it’s completely done). You may need to cover cake with foil the last 20-30 minutes of baking if it looks like it’s getting too brown on top. Let cool on wire rack for 10 minutes then remove from the pan by inverting it into a bowl. Once cool enough to handle, crumble the cake in the bowl, removing any hard outer crust portions. Let cool completely.

Make the strawberry cheesecake middles: While the cake is baking, mix all the cheesecake ingredients together well. Fill a gallon sized plastic zip bag with the mixture and cut off the corner (big enough so that the diced strawberries won’t get stuck). Pipe the cheesecake mixture into small swirls on a silicone mat or wax paper (see video tutorial below to see this step). Freeze these until firm.

Make frosting: Mix all frosting ingredients together on medium-high speed until combined. When cake is cooled and crumbled, mix frosting into it until you reach a dough-like consistency. I used most of my frosting but not quite all of it.

Make cake balls: Once your cake mixture is ready and your cheesecake middles are frozen firm, you’re ready to assemble your cake balls! Take a frozen cheesecake middle and pack some cake around it. Roll it into a ball and place it on a silicone mat or wax paper. Continue until all cake balls are rolled. Chill these in the refrigerator overnight. I don’t freeze mine like some sites suggest, because I find chilling them in the fridge instead reduces cracking after I dip them.

Mount and dip cake balls: After cake balls have chilled overnight, melt your candy melts according to the package directions. I keep my bowl of candy melts situated in a bigger bowl of hot water to keep them warm and fluid, but be careful no water gets into the melts! To mount each cake ball, take a pretzel stick and dip the end in candy melts. Gently but firmly push the end of the pretzel stick into the cake ball. Put these back on their silicone mat or wax paper to chill. Repeat until all cake balls are mounted and chill for about 30 minutes.

After chilling, you’re ready to dip! Dip each cake ball into the candy melts, using a spoon to help coat them. After dipping, hold your cake ball over the bowl and gently bounce to drain the excess off. Turn the pop as you drain. When well-drained, gently place the pop in a foam block to continue drying. I placed mine in the fridge to reduce drying time.

Decorate dried pops: Once your pops are dry, melt some white chocolate according to package directions. Let it cool slightly before spooning it into a small plastic zip bag with the tiniest bit of the corner cut off. With the pops standing in their foam block, quickly and confidently pipe a zigzag design over each one. Let these dry. Serve immediately or store in an airtight container in the refrigerator.

VARIATIONS:
-You can leave the cheesecake middles out of this recipe and roll the cake into a solid ball if you want traditional cake pops.
-You can use any flavor of cake (or even a cake mix) for your cake, but this one is absolutely the best I’ve ever had!
-You can leave the strawberries out of your no-bake cheesecake mixture or even add in other berries, chocolate, etc., to produce different flavors of cheesecake in the center.
-You can use lollipop sticks instead of pretzel sticks, or leave the sticks out altogether and make regular cake balls instead of cake pops.
-You can decorate with sprinkles instead of zigzags.

And just for my lovely Willow Bird Bakers, here’s a tutorial for how to make cheesecake stuffed cake pops. This video would also be useful for making regular cake pops. WBB is all about inspiring kitchen confidence in home cooks by encouraging them to tackle challenges — so if you’ve never made cake pops before, this is your double-triple-dog dare! Get in the kitchen and try it out! Don’t forget to snap some photos of your finished product for us to see!

If you liked this post, please:
Subscribe to Willow Bird Baking
Follow Willow Bird Baking on Twitter
Follow Willow Bird Baking on Facebook
Give this post a thumbs up on StumbleUpon


ShareOther ways to share this post with friends!

Chocolate Birds’ Nest Cupcake Toppers

Popping in to let you know that my guest post (and recipe for Chocolate Birds’ Nest Cupcake Toppers) is up on Maranda’s lovely blog, Jolts & Jollies! These springy no-bake cookies make the perfect cupcake decorations. Hope you’ll hop over and see how simple they are!

Also, keep your eyes peeled (what does that even mean? ew.) for a new recipe I’m posting tomorrow. It’s gonna do some serious sock-knocking.

If you liked this post, please:
Subscribe to Willow Bird Baking
Follow Willow Bird Baking on Twitter
Follow Willow Bird Baking on Facebook
Give this post a thumbs up on StumbleUpon


ShareOther ways to share this post with friends!

1 2 3 4