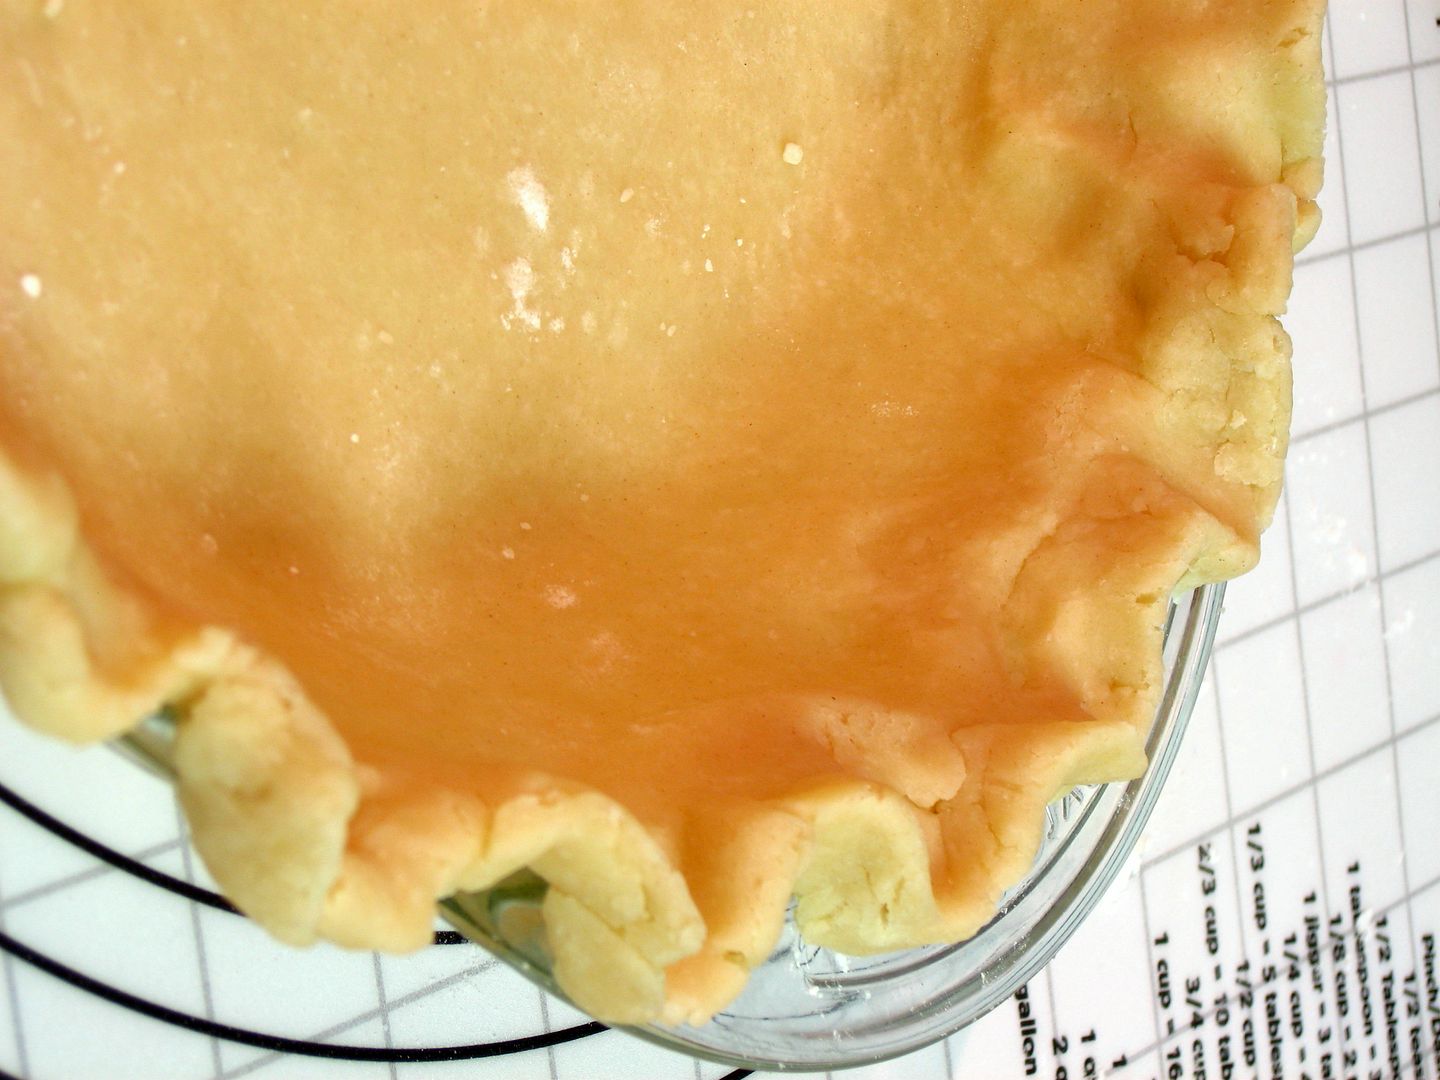
crust

Valentine’s Day Dessert Recipes from Willow Bird Baking

It’s that time again: Valentine’s Day. You either love it or you hate it, but you have to admit . . . at least it’s an excuse to eat dessert? Here are a few that will definitely score you brownie points with your sweetheart (or your own solitary tummy as you sit on the couch and watch reruns of 30 Rock, thank you very much.)

By the way, I’ve included a difficulty rating after each recipe so you can pick one perfect for your skill level and schedule. And how much you love your partner. JUST KIDDING, just kidding.

1. Gooey Butter Strawberry Shortcake (very easy)
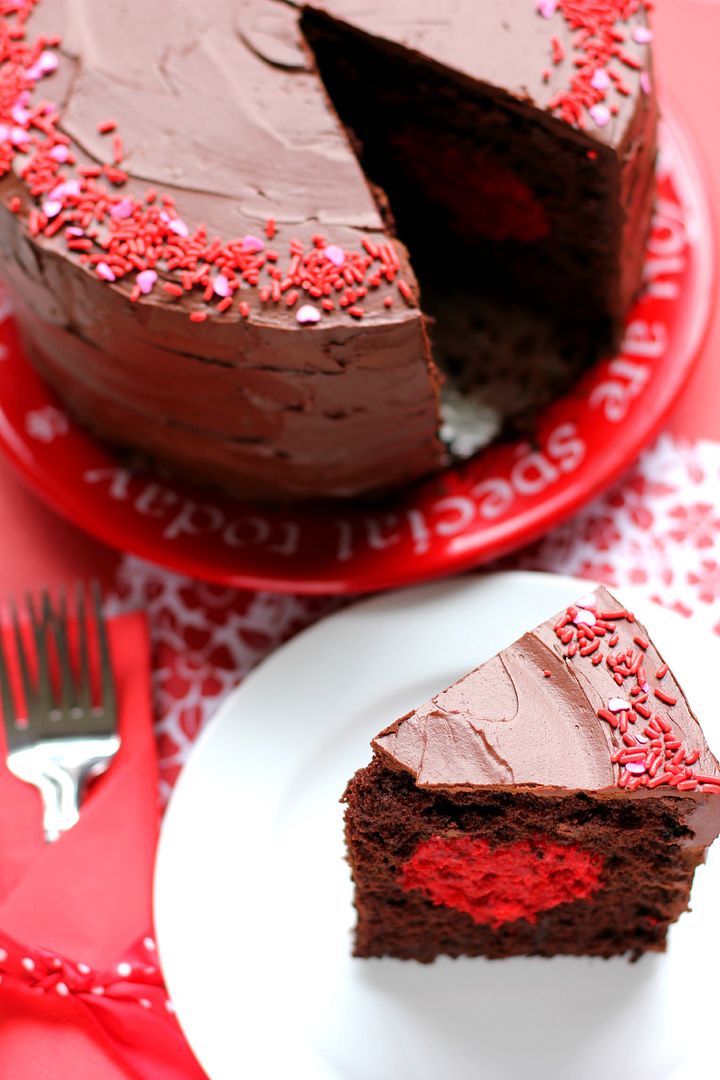
2. Thick Chocolate Cake with a Big Red (Velvet!) Heart (not hard, but probably easier as a 2-day process.)
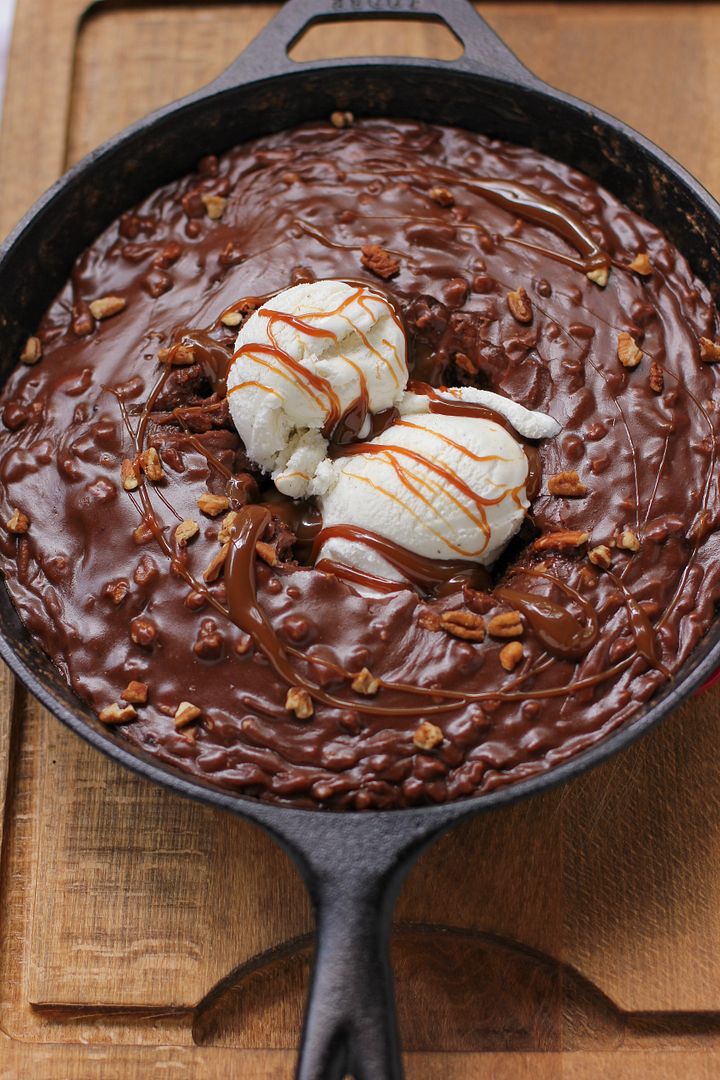
3. Gooey Chocolate Skillet Cake Ice Cream Sundae (very easy)
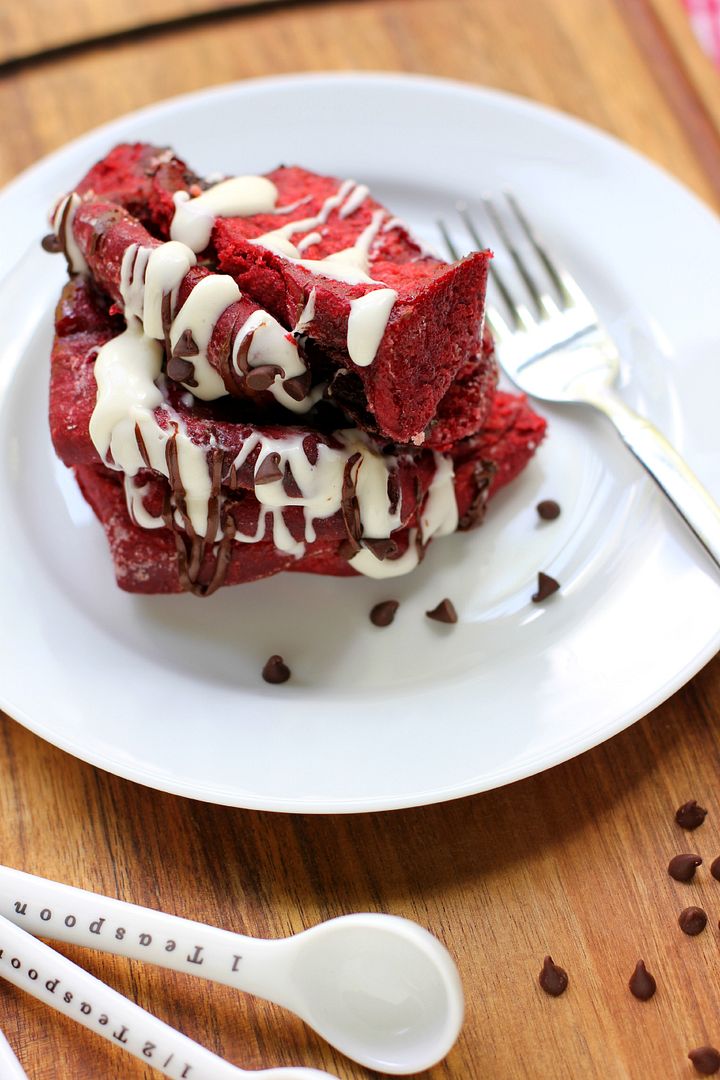
4. Chocolatey Red Velvet Pull-Apart Bread with Cream Cheese Glaze (includes rising time; a 2-day process)


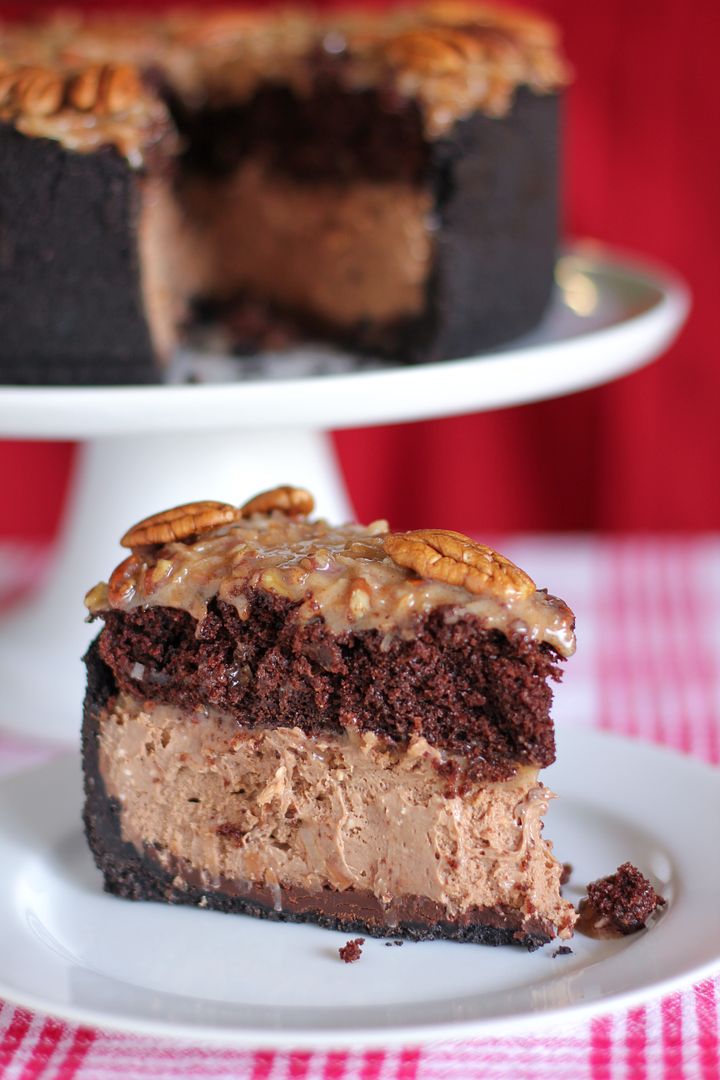
5. German Chocolate Cheesecake (not hard, but probably easier as a 2-day process.)
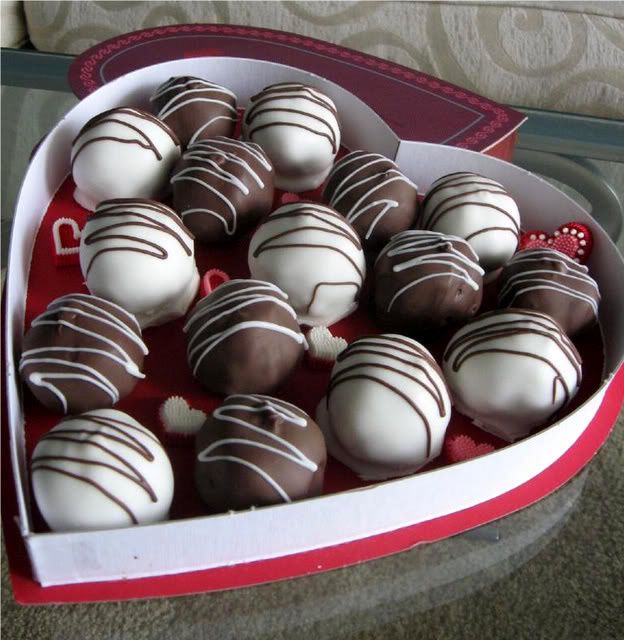
6. Red Velvet Cheesecake-Stuffed Cake Balls (advanced; easier as a multi-day process)
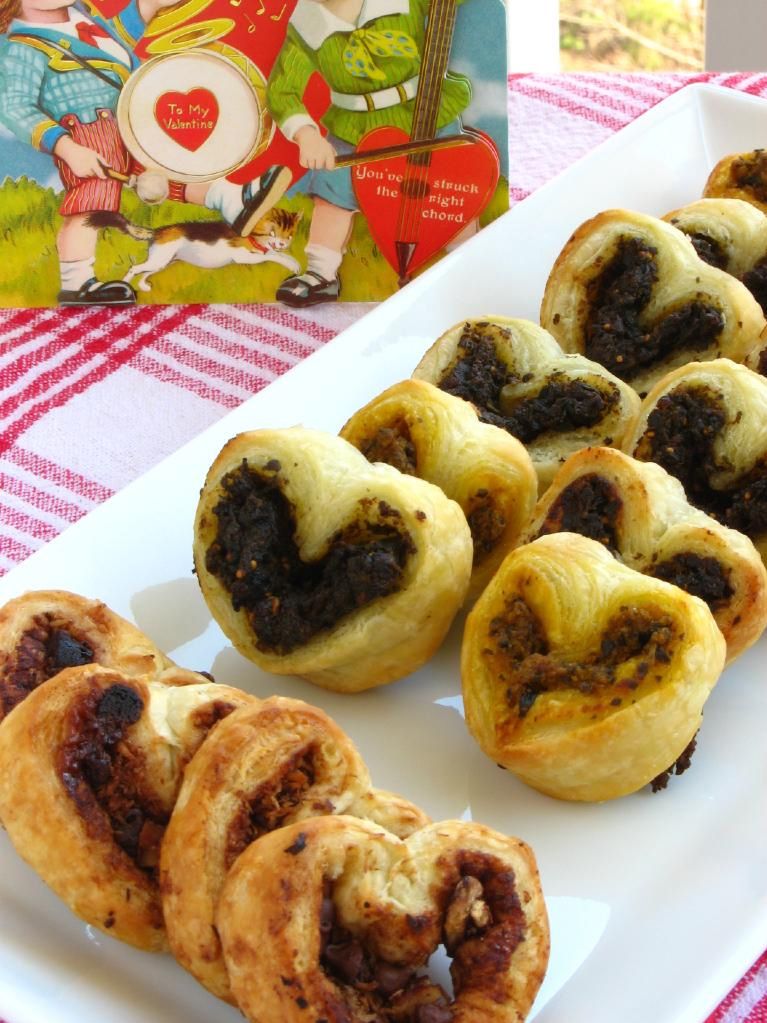
7. Heart-Shaped Palmiers (sweet or savory; very easy)
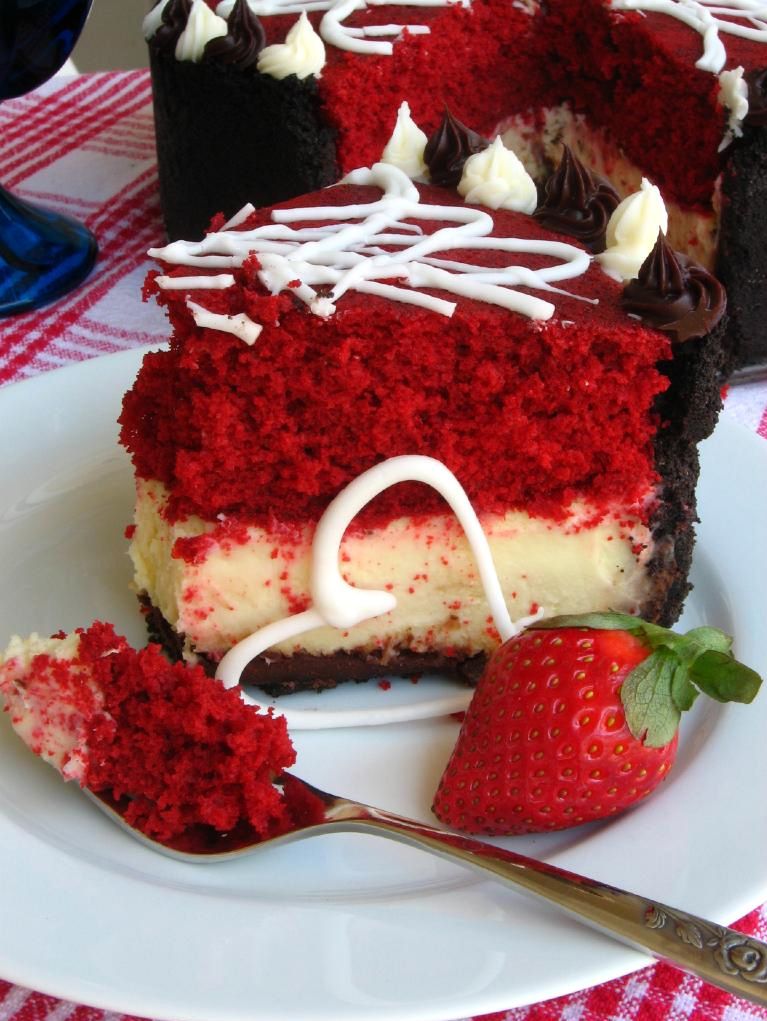
8. Red Velvet Cheesecake (not hard, but probably easier as a 2-day process.)


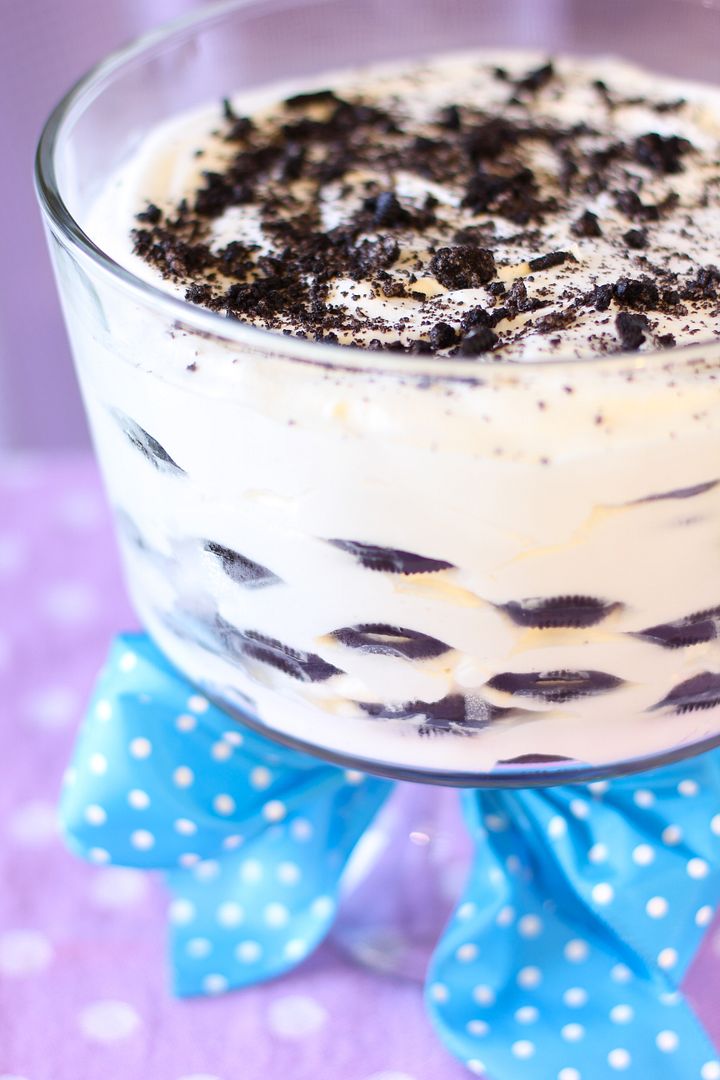
9. Boozy Icebox Cake (very easy)
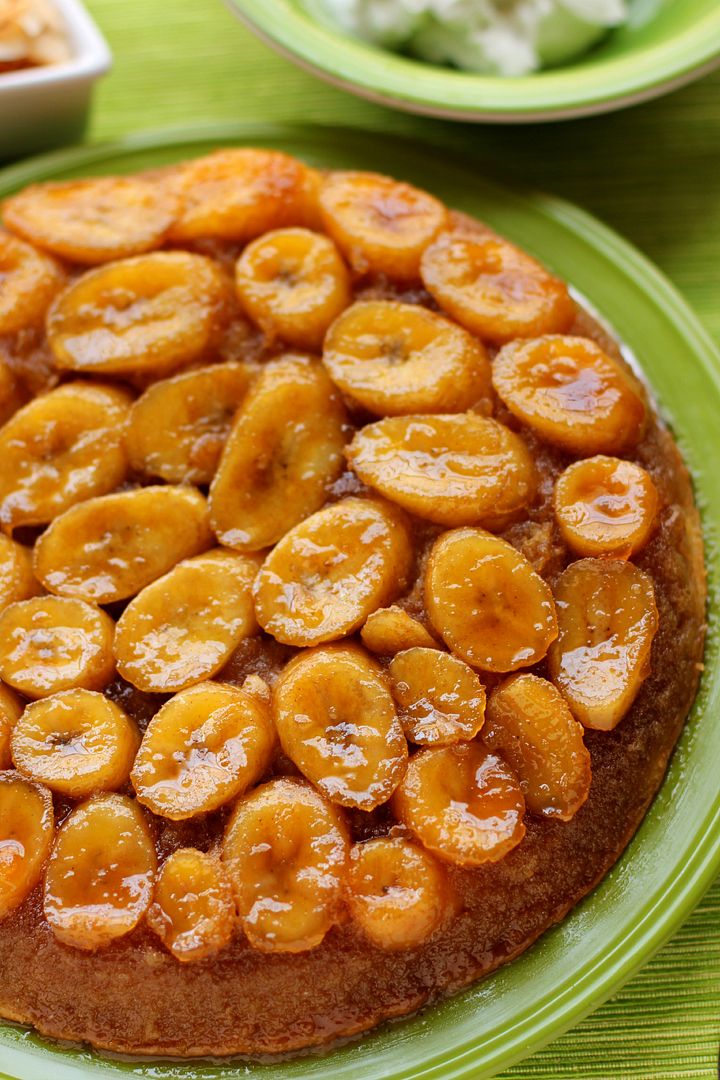
10. Caramelized Banana Upside-Down Coconut Cake & Coconut Whipped Cream (intermediate)
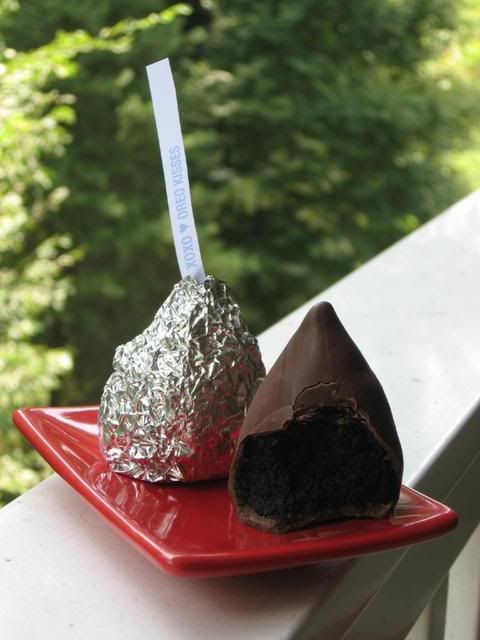
11. Red Velvet and Oreo Kisses (advanced; easier as a multi-day process)
12. Valentine’s Truffle Heart (advanced; easier as a multi-day process)


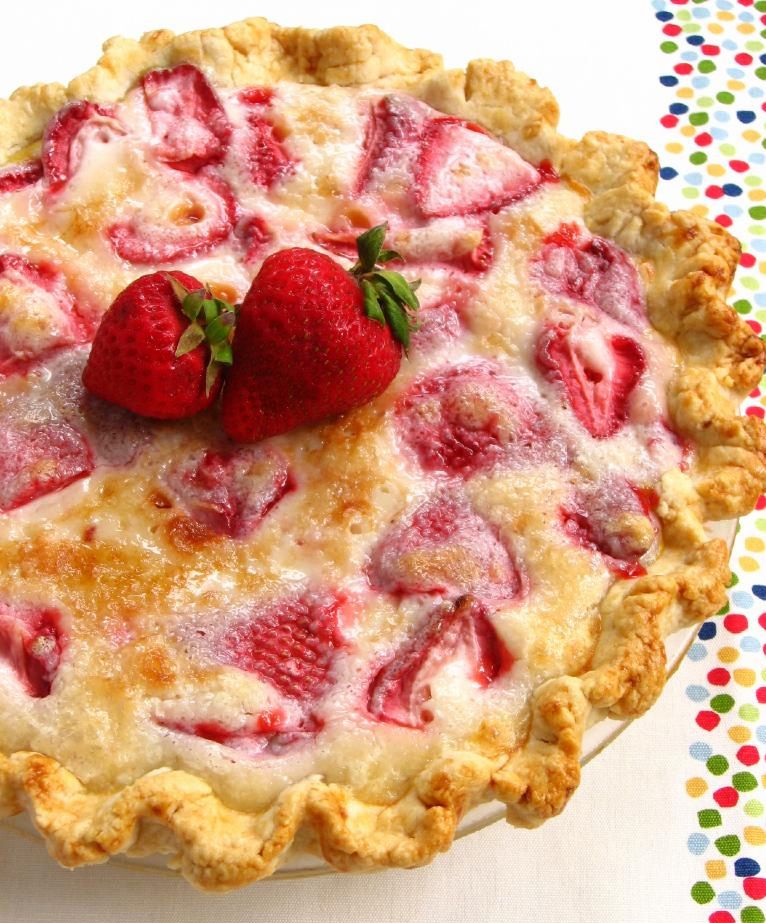
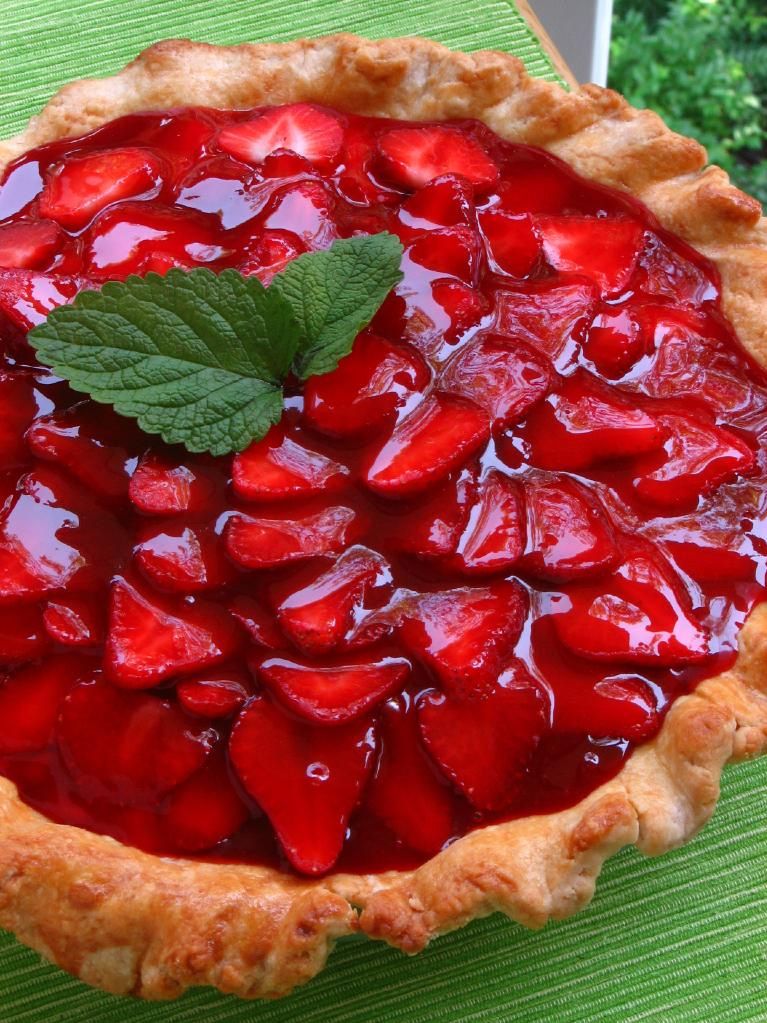
13. Strawberry Sour Cream Pie (very easy)
14. (Freshly Picked!) Strawberry Cream Pie (intermediate; multi-step process)
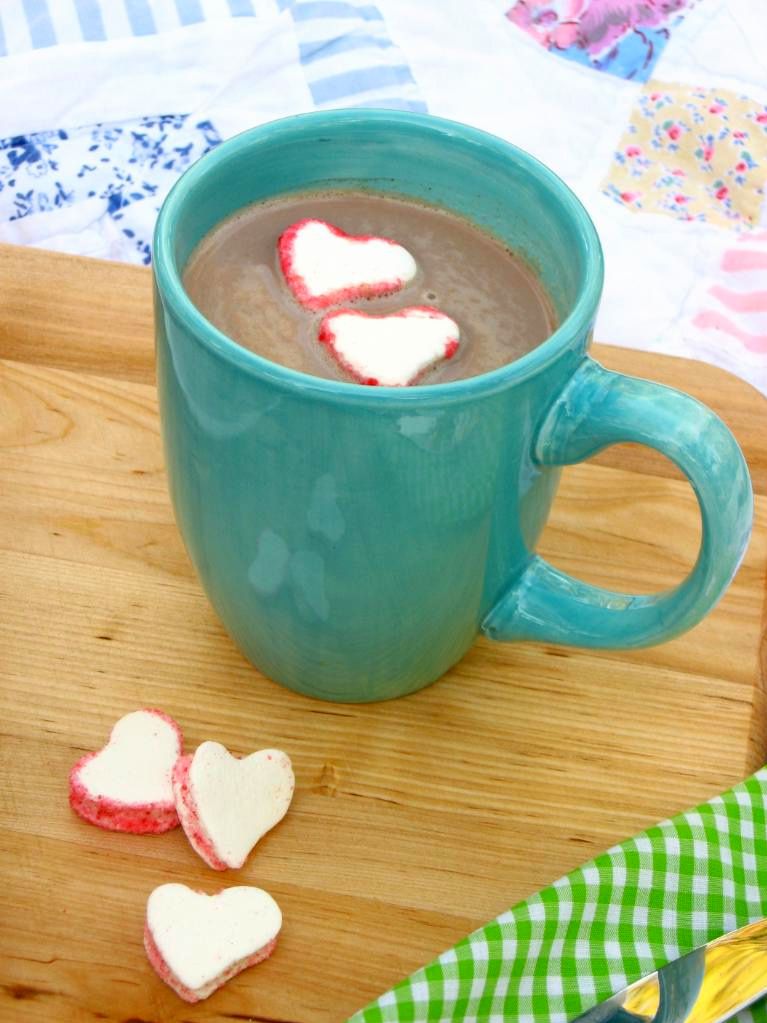
15. Homemade Hot Chocolate & Marshmallows (easy)
16. Red Berry Pie (intermediate)


…and four more for the coconut lover like me:

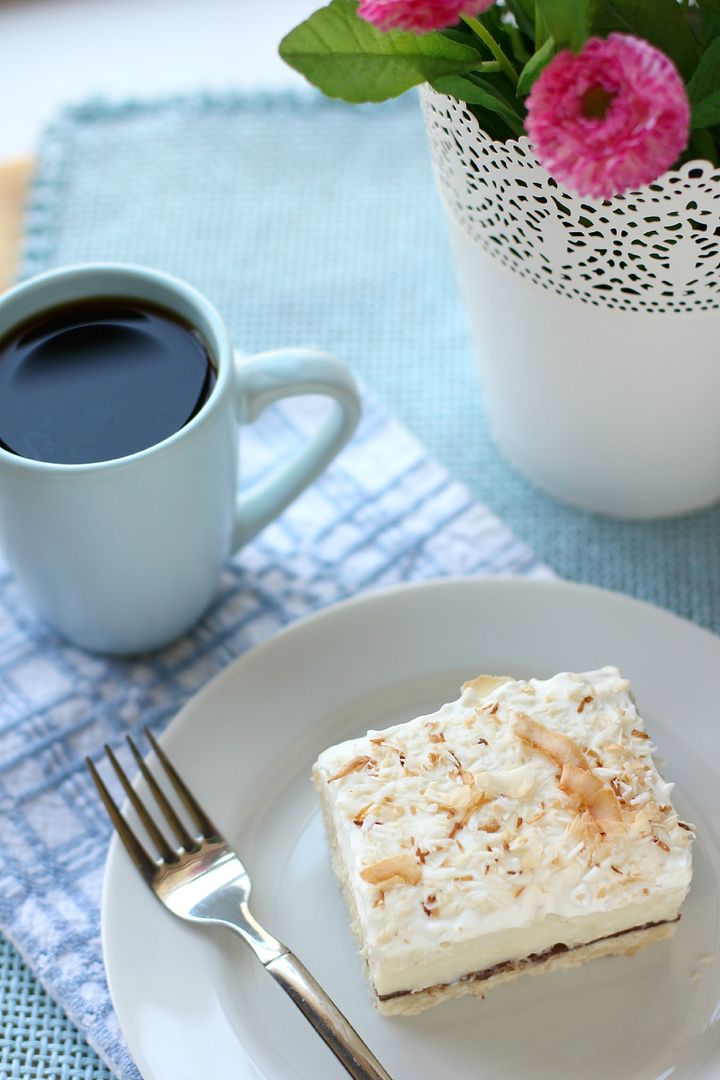
1. Chocolate & Coconut Cream Pie Bars (easy, but do require 30-minutes of stirring)
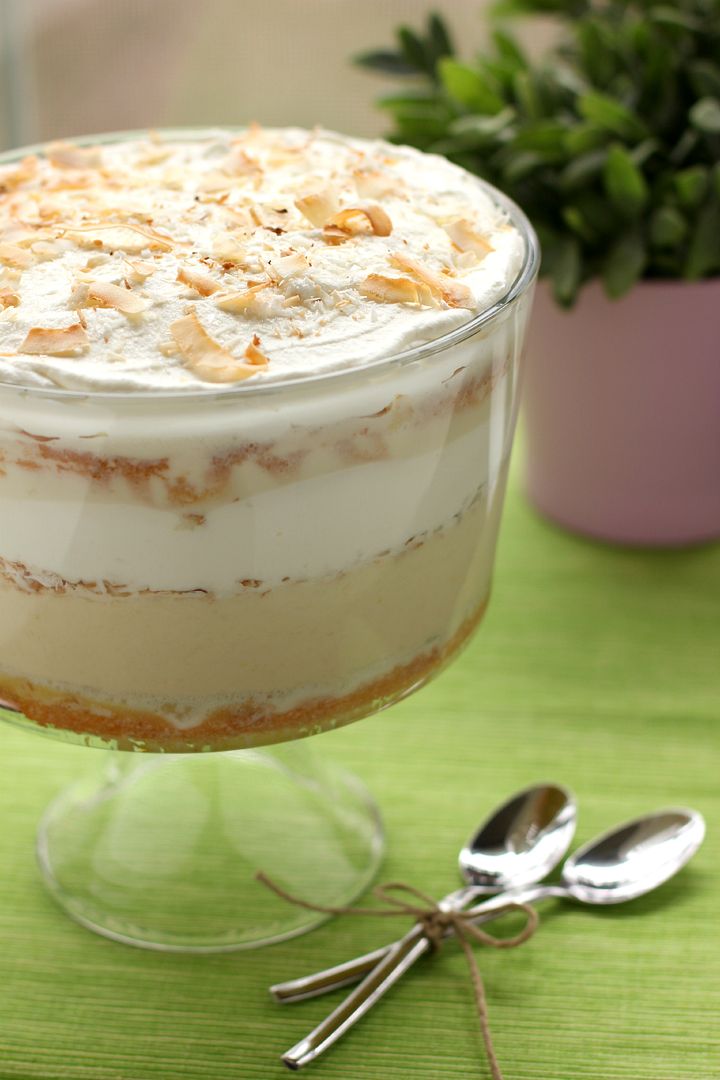
2. Tres Leches Coconut Cake Trifle (intermediate; easier as a multi-day process)
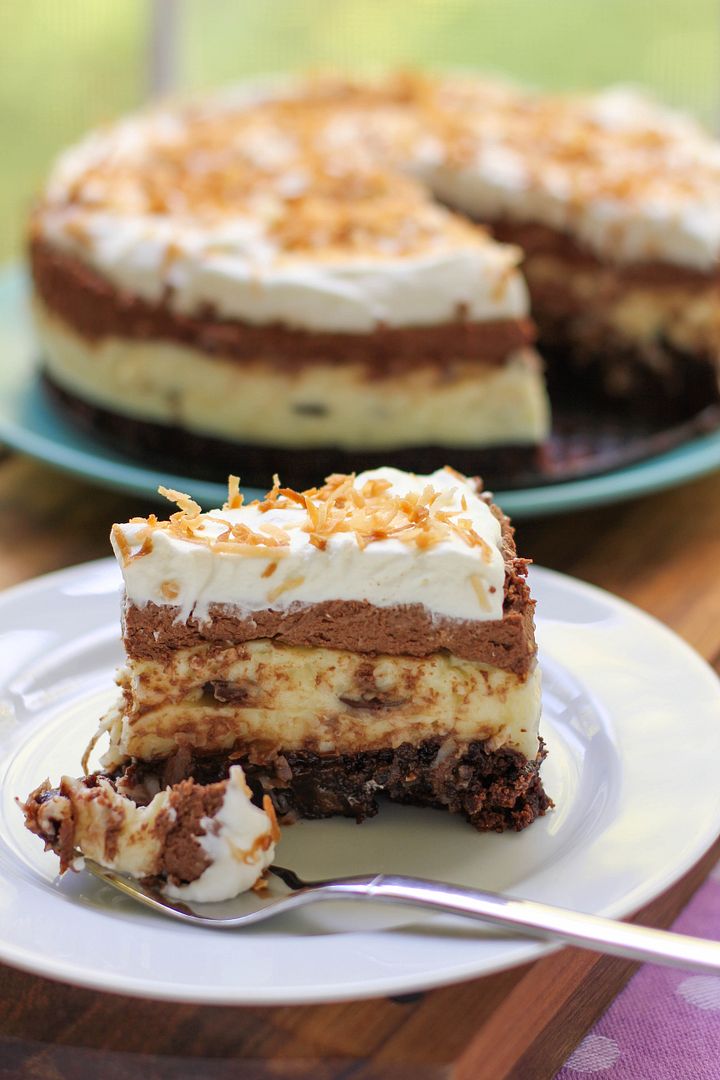
3. Brownie-Bottom Coconut Chocolate Cream Cake (very easy)
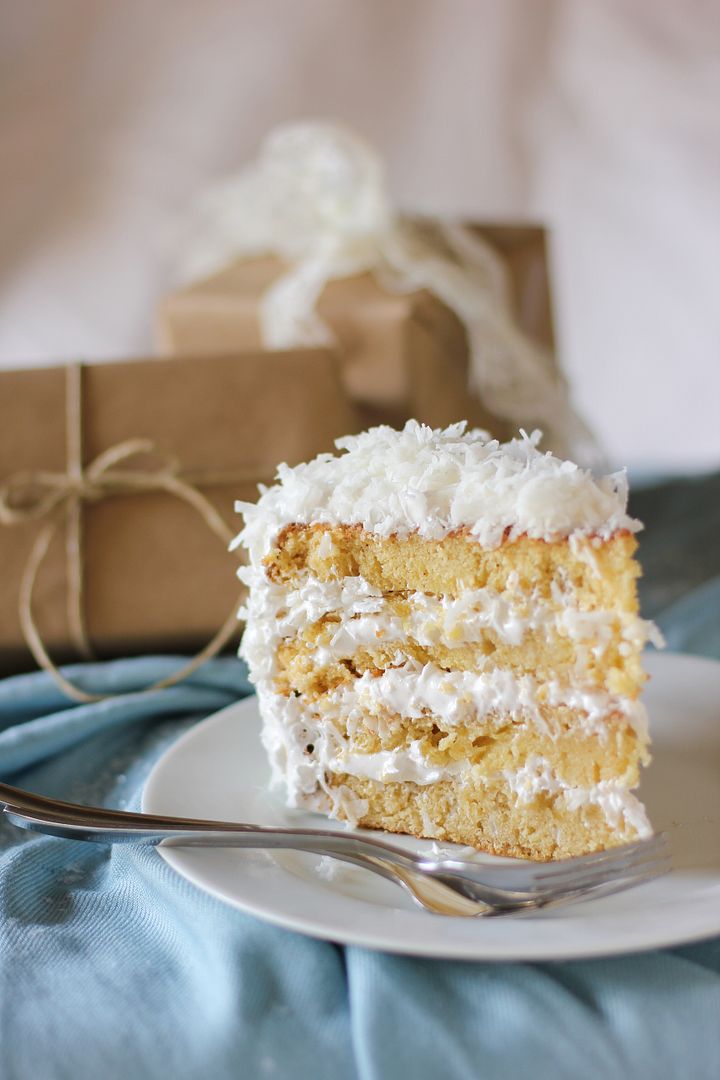
4. Moist Fluffy Coconut Cake (intermediate; easier as a multi-day process)


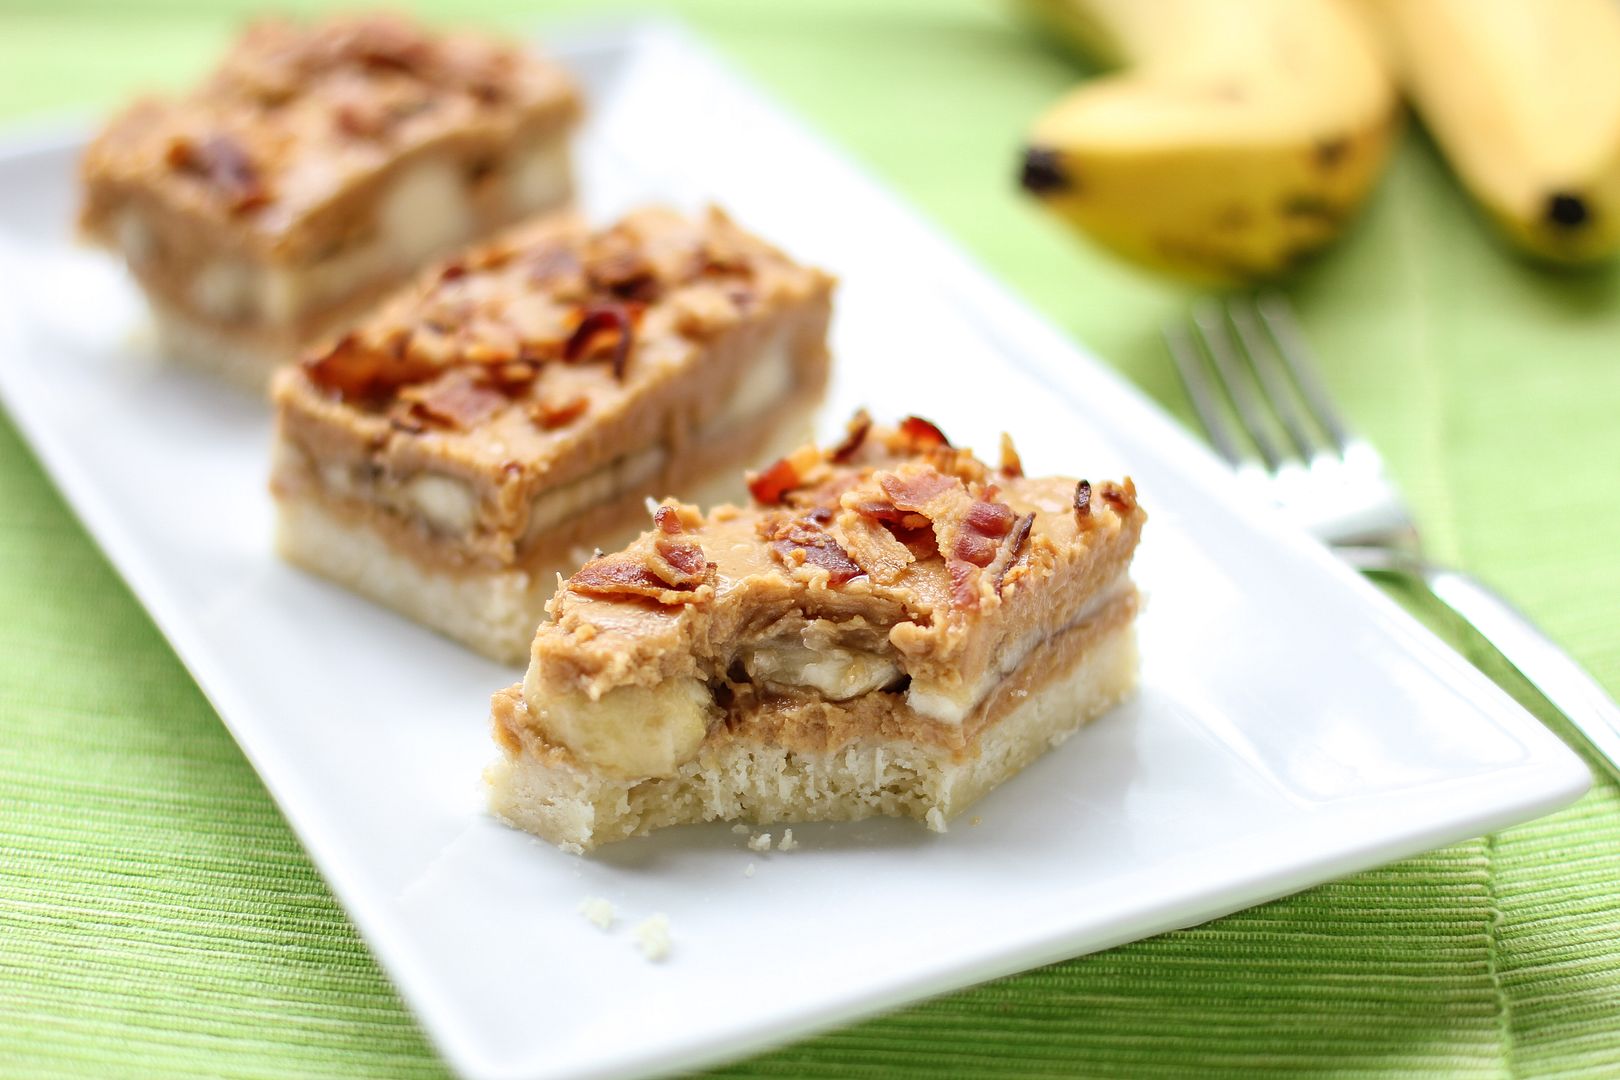
Elvis Presley Bars (Peanut Butter Banana Bacon Bars – with a vegetarian variation!)

When I posted the invitation on my Facebook wall, I was pretty sure no one was going to respond (except to heckle me.) Imagine my surprise when a couple of my friends — one from Sunday school and one from high school — responded that they’d come. That meant it was really happening.

When Saturday evening came, I drove across town, listening to the radio to distract myself from what I was about to do. It was only when I stepped out of my car and surveyed the busy roller skating rink in front of me that visions of ambulances flashed through my head. Was I really about to go roller skating for the first time in 20 years?

My doubts resurfaced a few moments later when I carefully stood up in my skates for the first time. I thought that the four-wheeled skates would provide more, uh, balance than that. They didn’t come with, like, knee pads or anything? Maybe some bubble wrap?

I looked at my friends and attempted a confident smile. It must’ve been about as wobbly as I was, though, because they both looked worried. To lighten the mood, I mentioned that I was actually considering trying to join the roller derby someday. They laughed a little too much at that. Hm. Bad sign.

Nevertheless, we made slow, shaky progress over to the opening in the rink — which, I noted bitterly, only had a wall around about a quarter of it. At this point I was pretty certain the night was going to end in one or more broken limbs. My left arm ached as if to remind me the Roller Skating Incident in third grade, which left me with a sling for a few months and residual pain well into my adulthood. I stepped gingerly onto the slick floor and pushed clear of the doorway, wondering what I’d gotten myself into.

Turns out my friend Meredith is a total roller skating rockstar. My friend Steven was slower but still relatively surefooted. Next to them, I felt like a roller skating walrus with a coordination problem. They were ruthlessly encouraging, though, assuring me I was doing well despite my tendency to flail-and-scream every 30 seconds or so.

I did huff and puff. And I did hug the wall more than my friends. And I did take several breaks. And my quads did start burning because I’m in roughly the same physical shape as an old lady with a video gaming addiction.

But I want you to know that I did not fall even once! I want you to know that I upgraded to fancy inline skates! I want you to know that Meredith assured me (sincerely!) that I was doing tons better by the end of the night! And most importantly, I want you to know that the only thing louder than the rockin’ roller rink soundtrack and the gaggles of middle school girls was the sound of our laughter — because we had so much fun.

Roller skating was a blast from the past. Meredith, Steven, and I have already decided to make a monthly date out of it. Who knows, maybe after a few months practice, the roller derby will recruit me. No? Okay, maybe not.

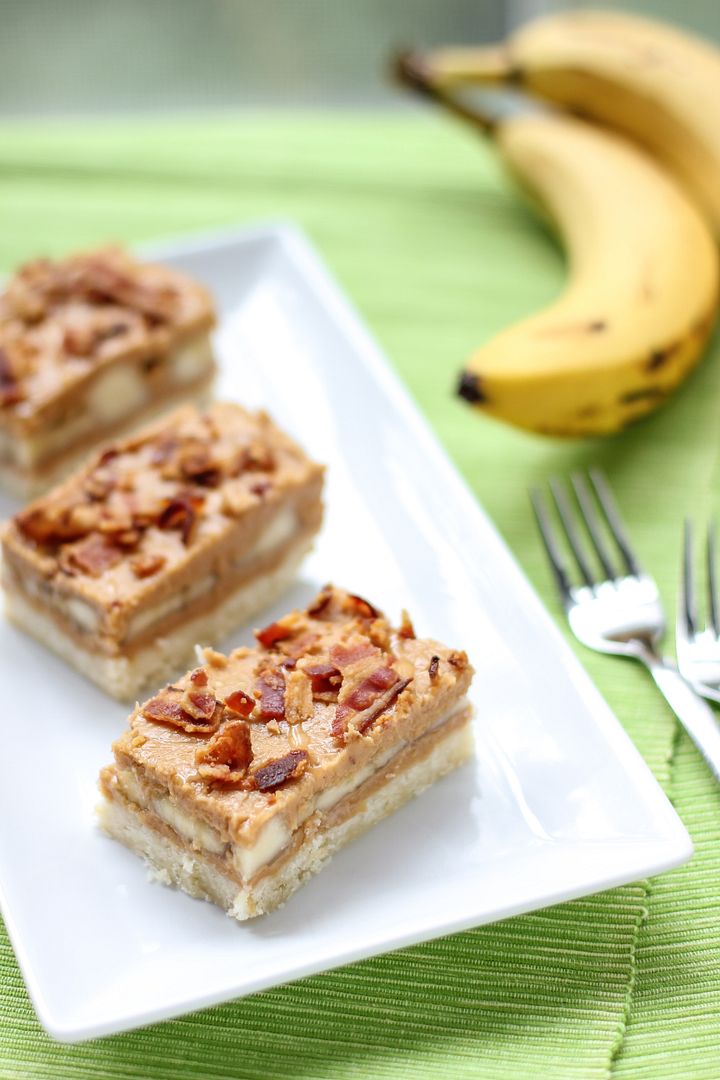
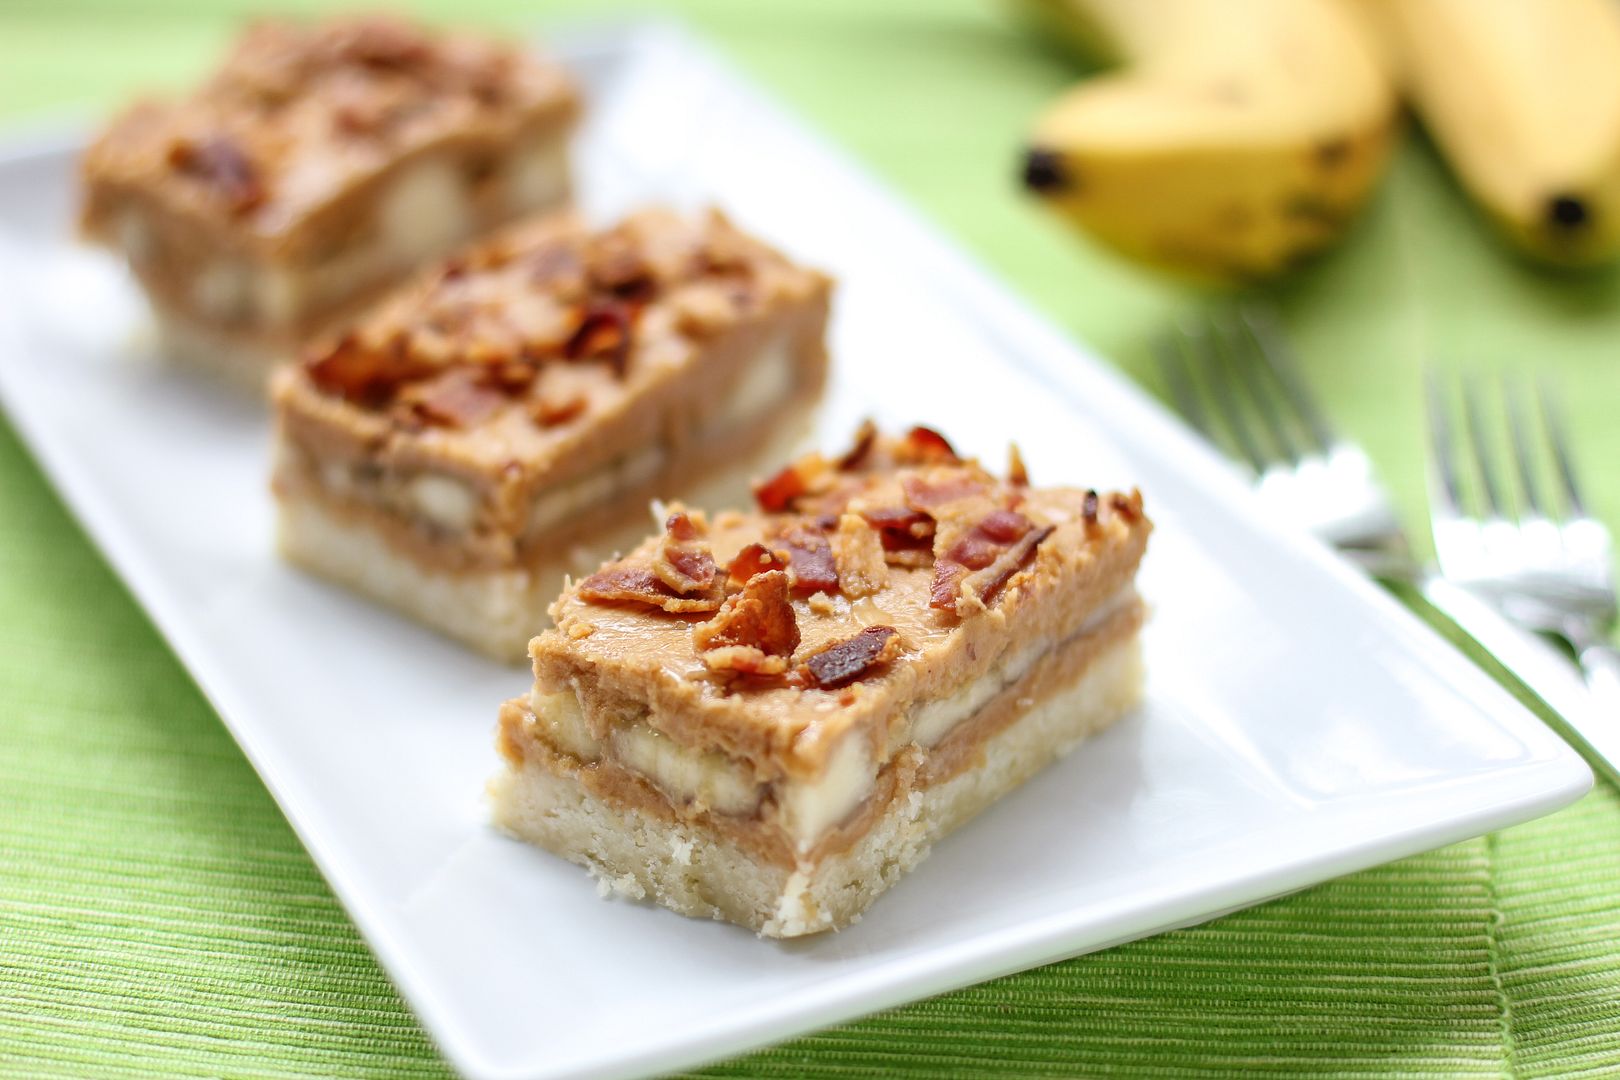
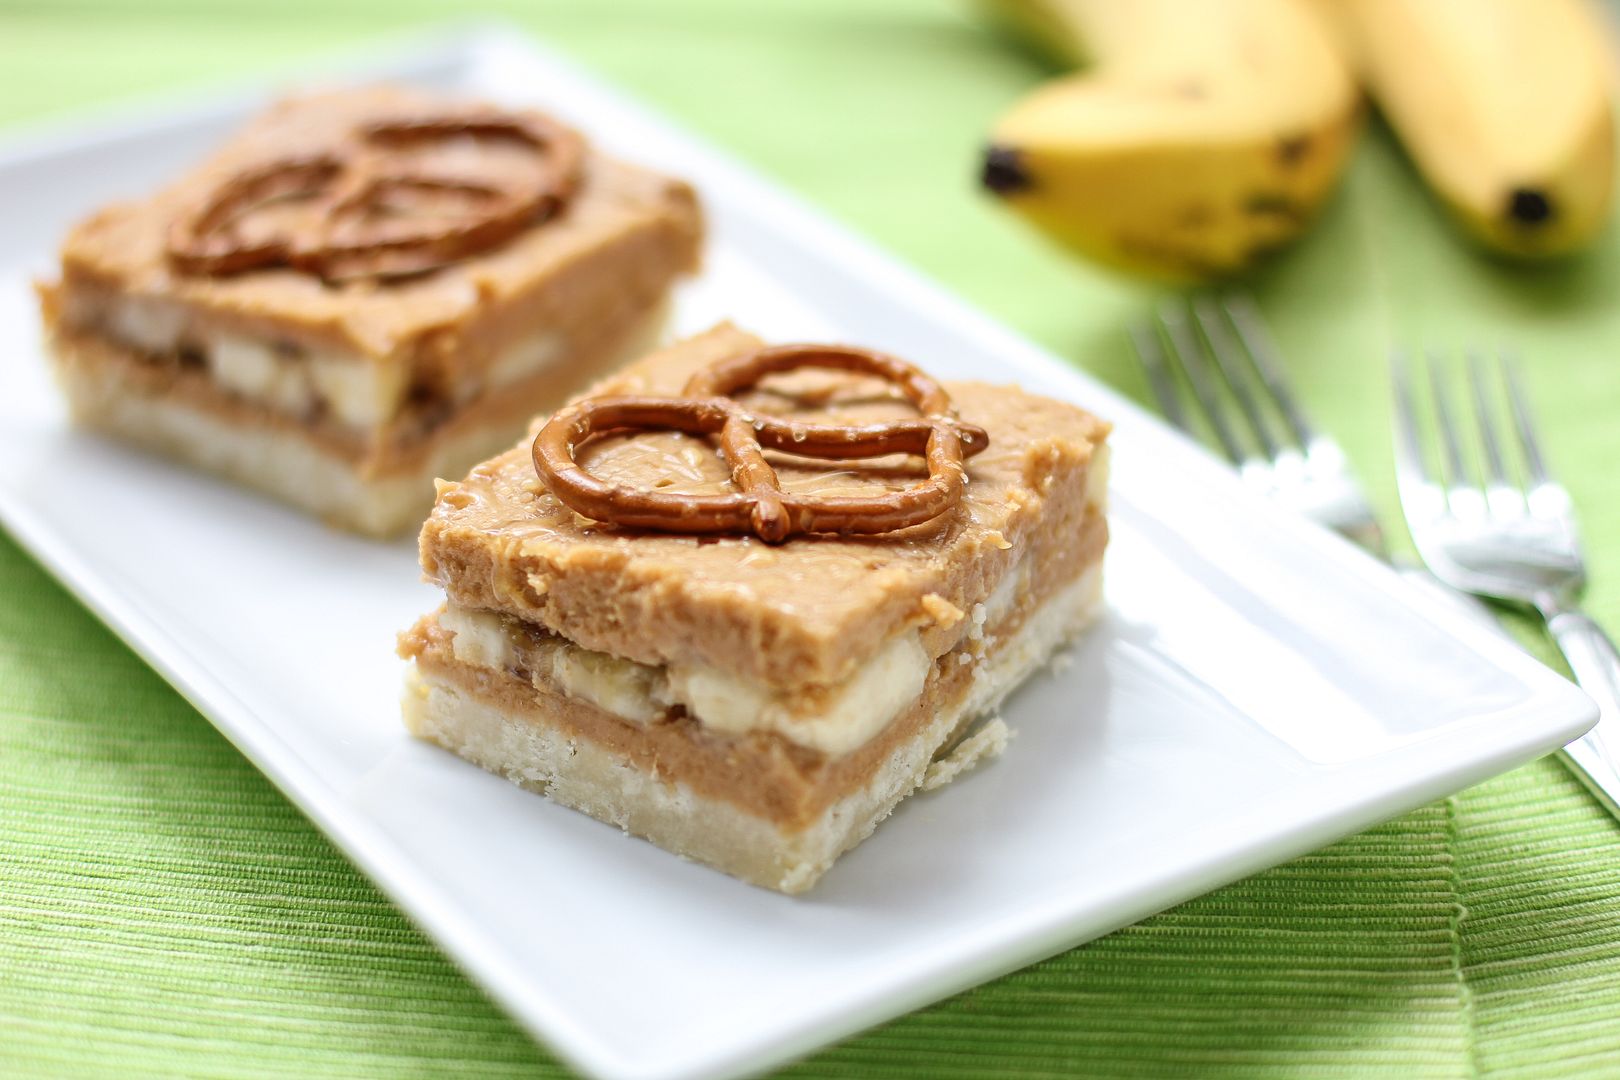
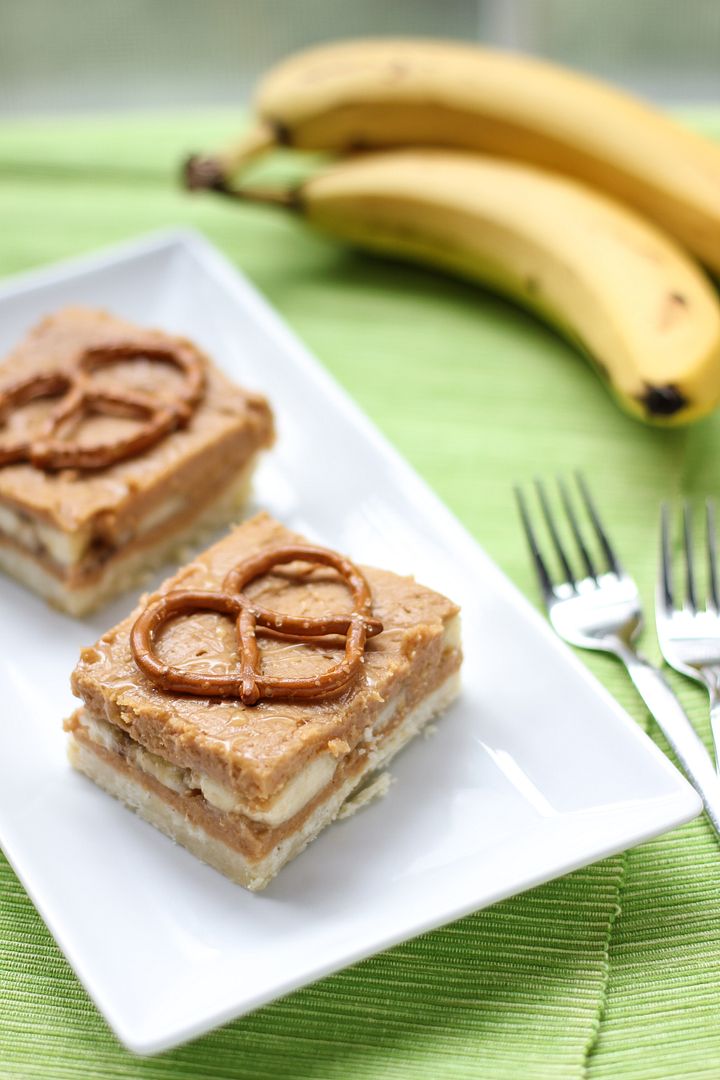
Another blast from the past that I enjoyed recently (one that you might actually want to join me for!) are these Elvis Presley Bars. They’re based on Elvis’s favorite sandwich: Peanut Butter, Banana, and Bacon. Anything with bananas and peanut butter has that elementary-school-lunch nostalgia that I love, but adding bacon for a salty twist makes these bars extra delicious. Don’t worry if you’re a vegetarian; big crunchy pretzels can be used as your salty component. Either way, I think Mr. Presley would be proud.

One year ago: Fig, Prosciutto, and Arugula Pizza
Two years ago: Chocolate Mousse Pie
Three years ago: Mallow Cookies

Elvis Presley Bars (Peanut Butter Banana Bacon Bars)


Recipe by: Willow Bird Baking, with peanut butter filling adapted from Fine Cooking
Yield: about 15 bars

These Peanut Butter, Banana, and Bacon Bars are a delicious combination of salty and sweet. Pretzels can be used to replace the bacon for a vegetarian substitute. Since the recipe makes a big pan of bars, they’re perfect for taking to a potluck or for pleasing a crowd.

Shortbread Crust Ingredients:
2 cups all-purpose flour
1/2 cup powdered sugar
1 cup cold butter, cut into small pieces
1/2 teaspoon salt

Peanut Butter Filling Ingredients:
2 cups creamy peanut butter (use an emulsified kind like JIF, not natural peanut butter)
12 tablespoons unsalted butter, at room temperature
2 1/2 cups powdered sugar
2 teaspoons pure vanilla extract
4 tablespoons hot water
3-4 bananas
honey for drizzling
5-6 strips bacon OR large pretzels for topping

Directions:
Preheat the oven to 350 degrees F and line a 9 x 13-inch baking dish with a foil sling with the ends overhanging the pan to facilitate the removal of the bars later on.

Pulse the flour, powdered sugar, and salt together in a food processor to combine. Add the cold butter chunks and pulse about 10-12 times until you have the texture of coarse sand (you can also use a pastry cutter or two knives to accomplish this if you don’t have a food processor). Pour this mixture into the prepared dish and use a spatula or the bottom of a glass to press it down into an even layer. Bake it for about 15 minutes or until it’s lightly browned. Let it cool completely.

In a medium bowl or in the bowl of a stand mixer, beat together the peanut butter and butter until smooth and fluffy, about 1 minute. Add the vanilla extract, 2 tablespoons of hot water, and half the powdered sugar to the mixture and beat until combined and fluffy. Add the rest of the powdered sugar and another 2 tablespoons of hot water. Once combined, beat for an extra minute until the mixture is smooth and thick like frosting.

Use a spoon to glob half the peanut butter mixture onto the cooled shortbread crust, and then use an offset spatula to gently spread it into a roughly even layer (don’t worry if it’s not perfect.) Lay banana slices across the entire surface. Glob the rest of the peanut butter mixture all across the top. Again, use your offset spatula to gently spread the peanut butter mixture over all the banana slices (you want the banana slices to be covered because bananas oxidize and turn brownish, so the bars are prettier if you can’t see them. It’s hard to get them all covered, but just be patient and keep working the peanut butter around, cleaning off your spatula now and then.) Chill the bars for at least 3 hours.

While the bars are chilling, preheat the to 400 degrees F and cover a baking sheet with aluminum foil. Lay out the strips of bacon on the baking sheet and bake for 17-20 minutes or until crisp. Let bacon drain and completely cool on a paper towel covered plate.

When the bars are chilled, lightly drizzle the surface with honey (they’re already very sweet, so don’t be heavy-handed), and crumble bacon pieces over the surface (or top with pretzels as desired). Gently use the sling to pull the bars out and cut them on a cutting board. Serve them within a day or two (before the bananas get too brown), storing them in an airtight container in the fridge if needed.

If you liked this post, please:
Subscribe to Willow Bird Baking
Follow Willow Bird Baking on Twitter
Follow Willow Bird Baking on Facebook

Lemon Raspberry Squares

I know I said that sometimes you need to settle in and let the hard times wash over you like waves. And that’s true. You need to do this the most when you’ve been running like a hamster in a wheel, trying by virtue of your own power to get somewhere.

Other times, though — those times when you’re exhausted and overwrought — it’s okay to build a boat.

Not a canoe. I’m talkin’ a big, sturdy boat. And it’s okay to get in that boat and put on some headphones. And a blindfold. It’s okay to sing at the top of your lungs, to willfully drown out the sight, sound, and persistent pressure of the waves until you forget they exist altogether. We both know that someday you have to get out and face the ocean. But it doesn’t have to be today.
I recently asked you on Facebook to help me build a boat and distract myself from the waves. We shared funny stories on a hard day, and oh dear, you are a witty bunch! I thought I’d share my own funny story in more detail here, in case you need a distraction today. I present to you The Tale of The Wayward Underwear.

(Did I just lose my sponsors? Oh well. Anyway…)

Back in college, I had a sweet apartment above my professor’s garage (hi, Dr. Peroni). It didn’t have a full kitchen, but I hadn’t really started baking yet anyway. I made chili in my electric skillet, hot dogs in my microwave, and that was all I needed. That and The Fresh Prince of Bel-Air on television. And my blue couch from Goodwill, which had no back legs and thus reclined. Awesome.

The washer and dryer downstairs was icing on the cake. I did laundry about once a week, but was usually too busy to bother putting the clean clothes away. Instead, I grabbed things straight from the dryer and threw them on before class.

One day I was late to my American Lit class and I did just that. I absentmindedly tugged on a pair of jeans and a t-shirt before hopping on my bike and pedaling furiously to my class. I made it in time, slid into my seat, and adroitly navigated the discussion of a text I hadn’t actually had time to read (ah, college). Everything seemed fine . . . until I began the ride back to my apartment.
About halfway there, I noticed something lying in the middle of the sidewalk. As I approached the object, it started to look familiar. Too familiar. Unacceptably familiar. I stopped a few feet away and stared at it, aghast.

There, lying in the middle of the sidewalk of one of the busiest streets in Davidson, was a pair of my underwear.
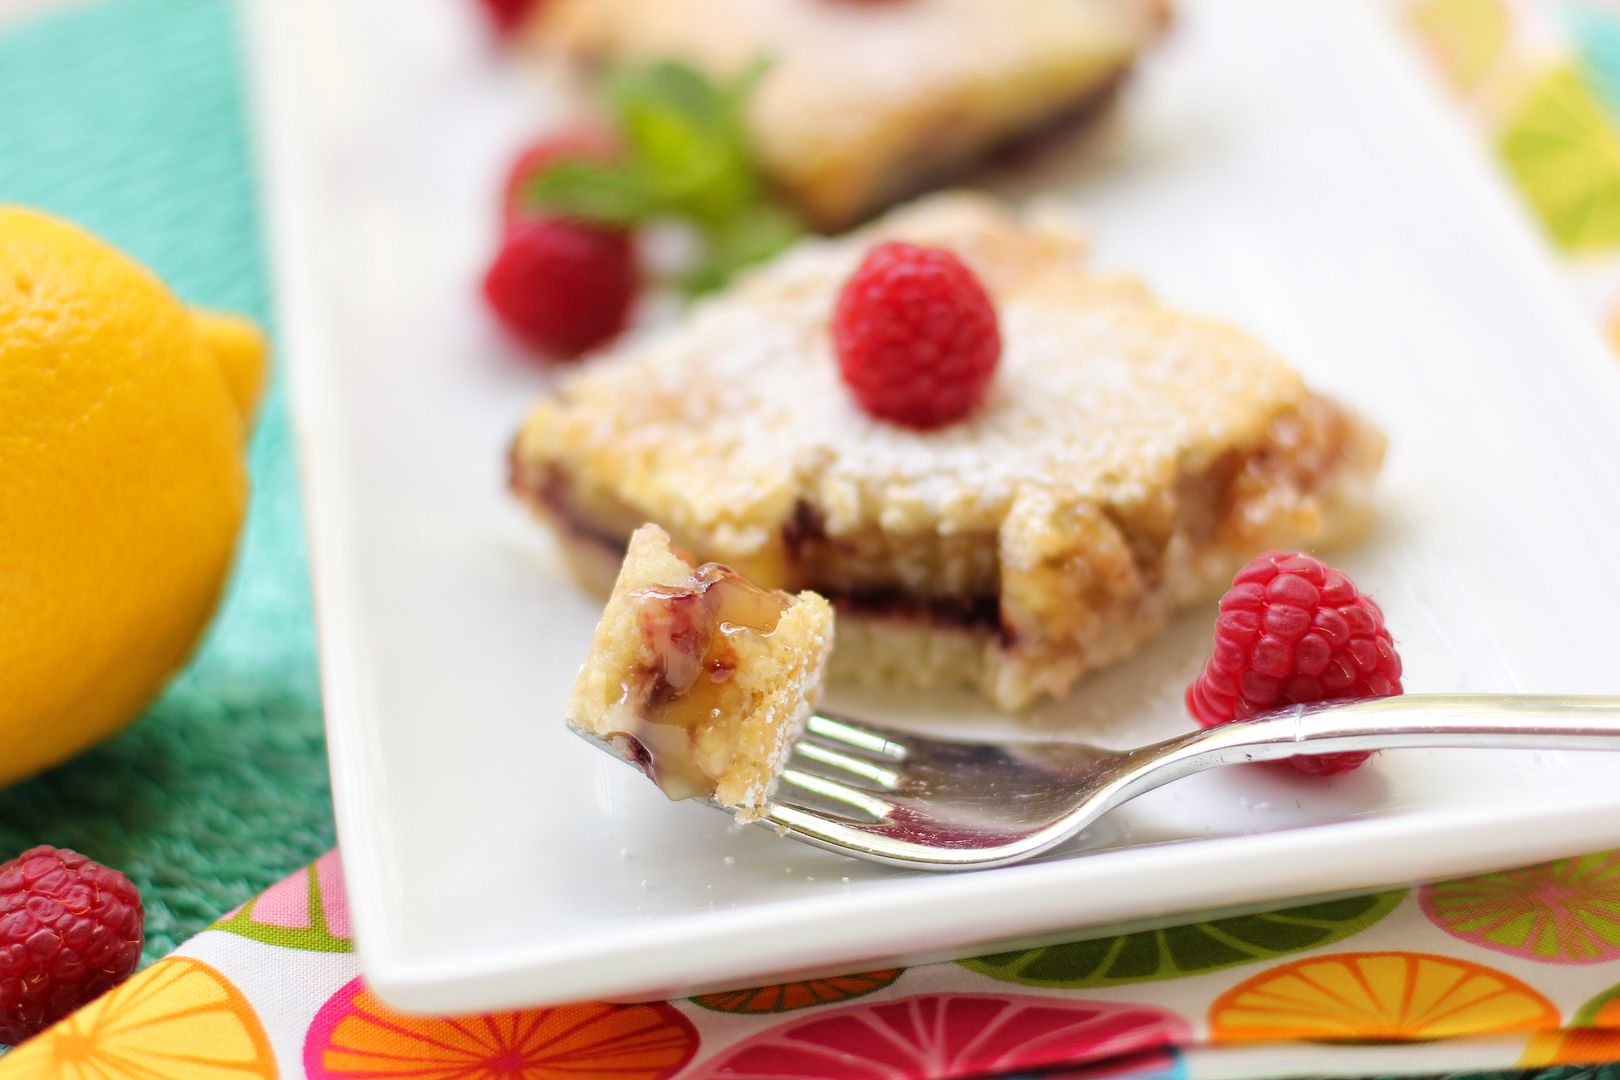

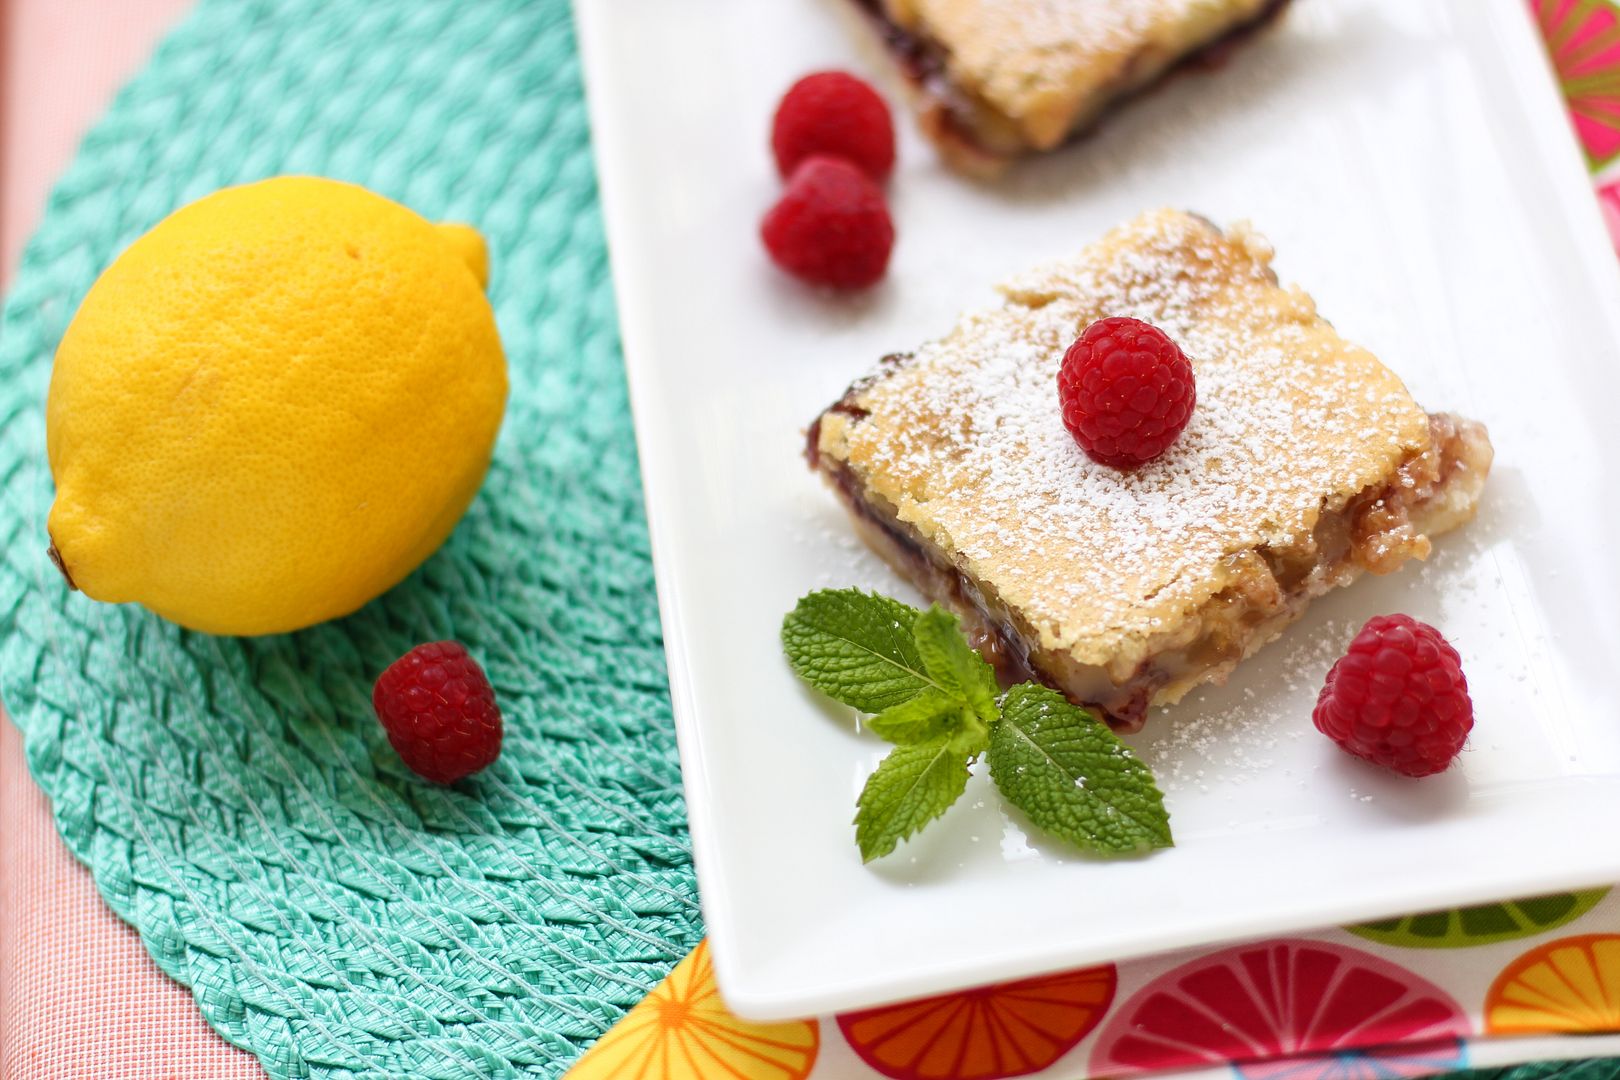
I know it’s traumatic. Just try to think of lemon raspberry squares.

My brain could not process the visual information it was receiving. Instead, it was cycling through myriad half-formed thoughts: Wha–? How in the world–?

I finally pieced together that my underwear must have been clinging to my jeans when I grabbed them out of the dryer. The fact that they fell off in the middle of the sidewalk was bad enough, but it was nothing compared to the realization that they might not have fallen off — that I might’ve worn them straight into class!

Just to make sure you have a clear picture in your brain, these were not my nice, normal underwear. They were my cute underwear, with little purple trim all over them. And they were lying about 100 feet from a college campus. This situation had no doubt been conjuring up images of drunken debauchery in passersby’s minds for the past hour while I’d sat in class, blissfully unaware.

And if there’s anything I was not, it was drunken, debauched, or scandalous in any way. I was as straight-laced as a new sneaker.
Standing there, staring at this pair of underwear on the sidewalk for way too long to seem inconspicuous, I tried to get a handle on my racing thoughts. However improbable, the idea that someone could link this undergarment to me and misunderstand how it arrived on the sidewalk made me flush with embarrassment.

Also, what was I supposed to do about this situation? I began to debate: could I possibly pick them up? They were some of my favorite underwear, after all. But if anyone saw me picking up a pair of underwear off the flippin’ street and taking them home, what would they think? Could I possibly leave them there? And let more people see them? And who would eventually have to pick them up?! I almost died.

After several minutes of standing with my mouth agape, I finally got myself together and rode home — without my wayward underwear. They were gone the next day and I don’t ever, ever want to know where they went or how they got there.

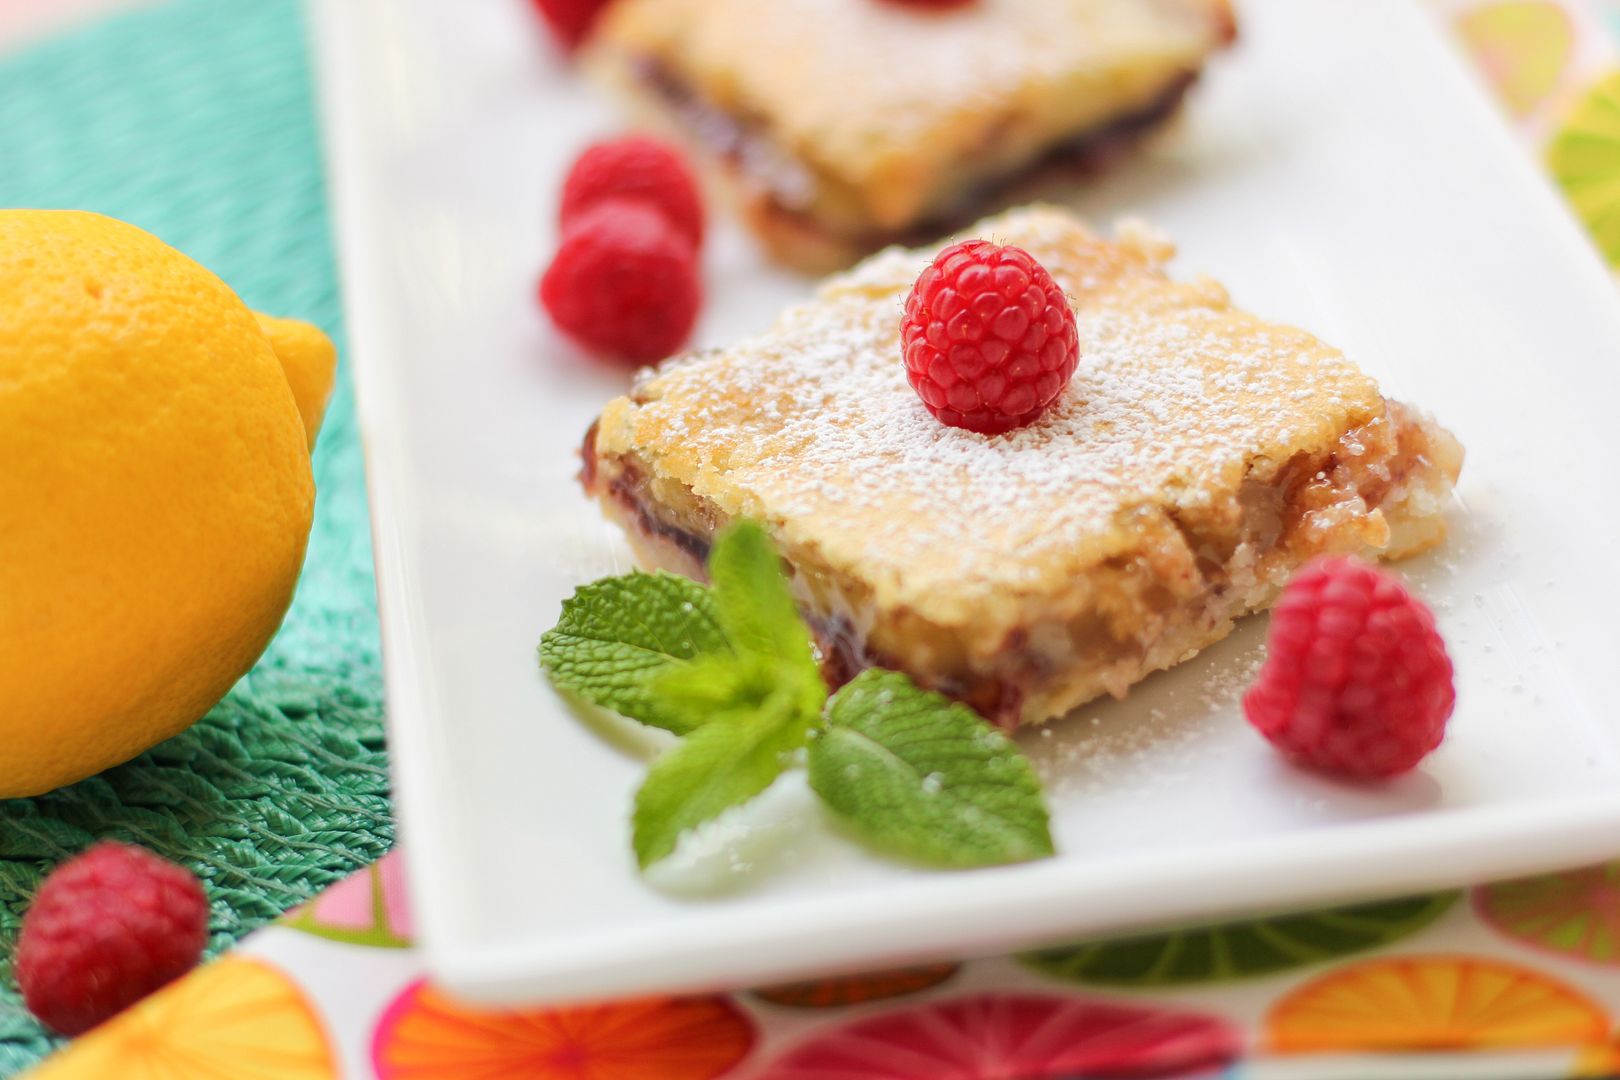
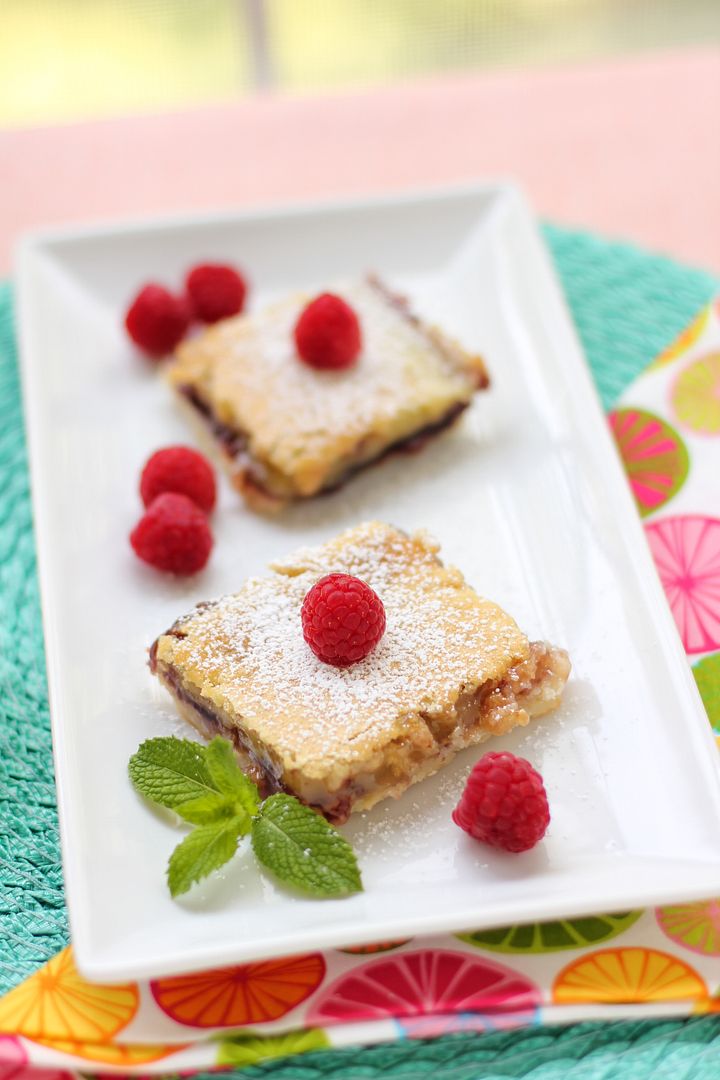
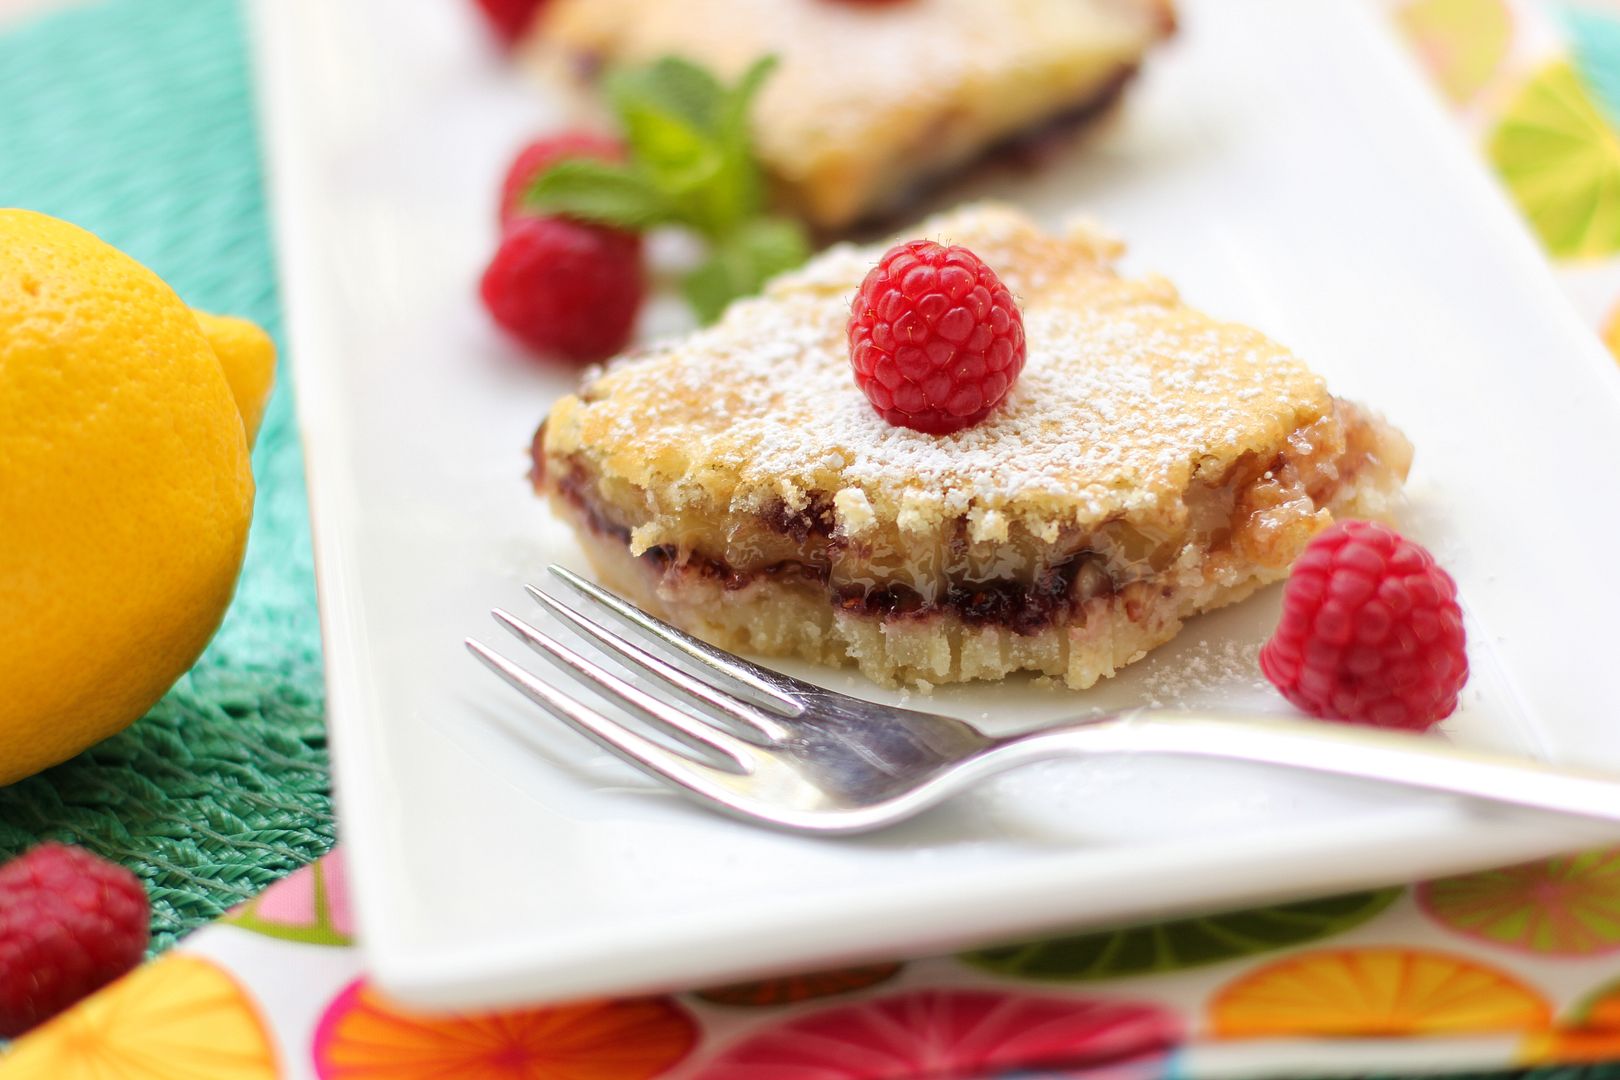
If you’re in need of even more fun after that humiliating tale, don’t worry. I have another distraction for you: Lemon Raspberry Squares. Think of your typical gorgeous, sweet-tart lemon squares on a buttery shortbread crust. Now mentally slather a layer of raspberry jam right down the middle. Now eat about 50 of them.

See? All better.

What’s your favorite way to get your mind off of troubles?

One year ago: Soft Sugar Cookies
Two years ago: Secret Garden Craft: Simple Luncheon Napkins

Lemon Raspberry Squares


Recipe by: Slightly adapted from Heather Christo Cooks
Yield: 12-15 bars

This is a dessert for folks who have a sweet-tooth! They’re sweet, buttery, tart, and downright delicious. They taste like sunshine.

Ingredients:
2 cups all-purpose flour
1 cup powdered sugar
1 cup cold butter, cut into small pieces
1/2 teaspoon salt
4 eggs
2 cups white sugar
1/3 cup flour
1/2 cup fresh lemon juice
raspberry jam (I think I used about a cup — just eyeball enough for a thin layer), room temperature

Directions:
Note: You want your jam at room temperature here because in regular lemon squares, the lemon mixture is poured onto a hot crust. If you pour it onto cold jam instead, it takes longer for the middle to cook (don’t ask me how I know this.) I think having the jam at room temperature will help the whole dish cook more evenly.

Preheat the oven to 350 degrees F and spray a 9 x 13-inch baking dish with cooking spray. You could also place parchment paper in the dish to form a sling if you’d rather — this will make the bars easier to remove.

Pulse the flour, powdered sugar, and salt together in a food processor to combine. Add the cold butter chunks and pulse about 10-12 times until you have the texture of coarse sand (you can also use a pastry cutter or two knives to accomplish this if you don’t have a food processor). Pour this mixture into the prepared dish and use a spatula or the bottom of a glass to press it down into an even layer. Bake it for about 15 minutes or until it’s lightly browned.

While it’s baking, stick a spoon in your jam so it’s ready to spread on quickly. In a medium bowl, whisk the eggs until fluffy before adding sugar while whisking constantly (if you stop whisking here, the sugar will “cook” the eggs, and you don’t want that!) Once the sugar and eggs are combined, add in the flour and the lemon juice, continuing to whisk. Spread the jam in a thin layer over the entire hot crust. Then pour the lemon mixture over the jam.

Stick the entire dish back into the oven and bake 15-25 minutes (this is such a wide range because the temperature of my jam might’ve made my baking time longer — it took my bars around 25 minutes to get pretty set.) Start checking at 15 minutes by giving the pan a little jiggle. The lemon mixture should be about set (slight jiggle only) and a light golden brown. If it starts to get too dark before it’s set, cover the pan with foil as it finishes baking.

When the bars are done, remove the dish to a cooling rack to cool completely before cutting (if you don’t cool them completely, I’m betting they’ll be runny, so be patient!) Use a sharp knife to cut the bars and serve them. You can sprinkle powdered sugar from a sifter over the top for decoration, but the bars are very sweet already, so go easy!

If you liked this post, please:
Subscribe to Willow Bird Baking
Follow Willow Bird Baking on Twitter
Follow Willow Bird Baking on Facebook
Sweet Tater & Chorizo Hand Tarts

In light of Willow Bird Baking’s Cooking Hard Stuff Challenge, I’ll be sharing some tips for tackling new or challenging recipes throughout the month of March. If you haven’t signed on for the challenge yet, make sure you read about it and join in the fun — there are still a few days left!

Cooking Hard Stuff Tip #3: Make a schedule.


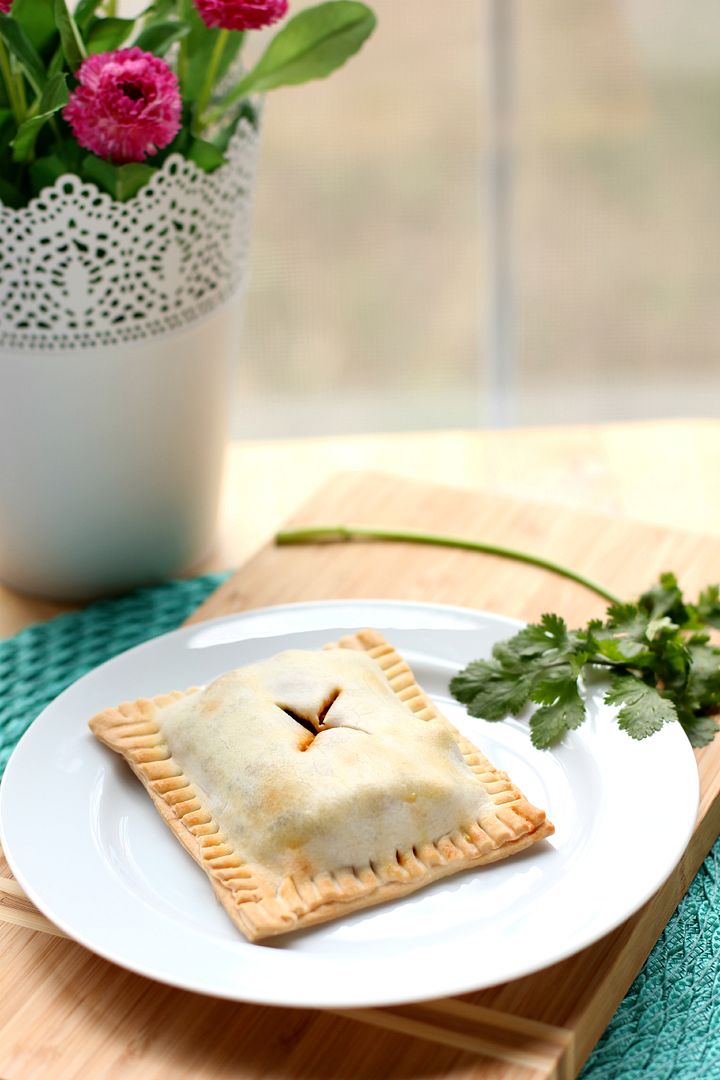
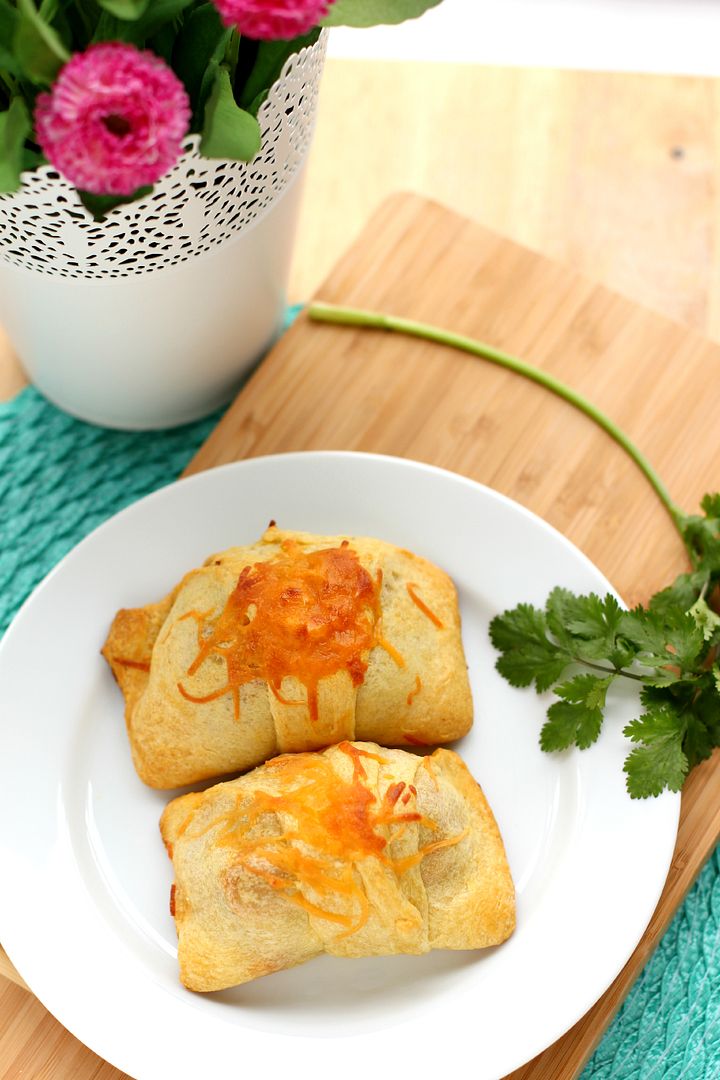
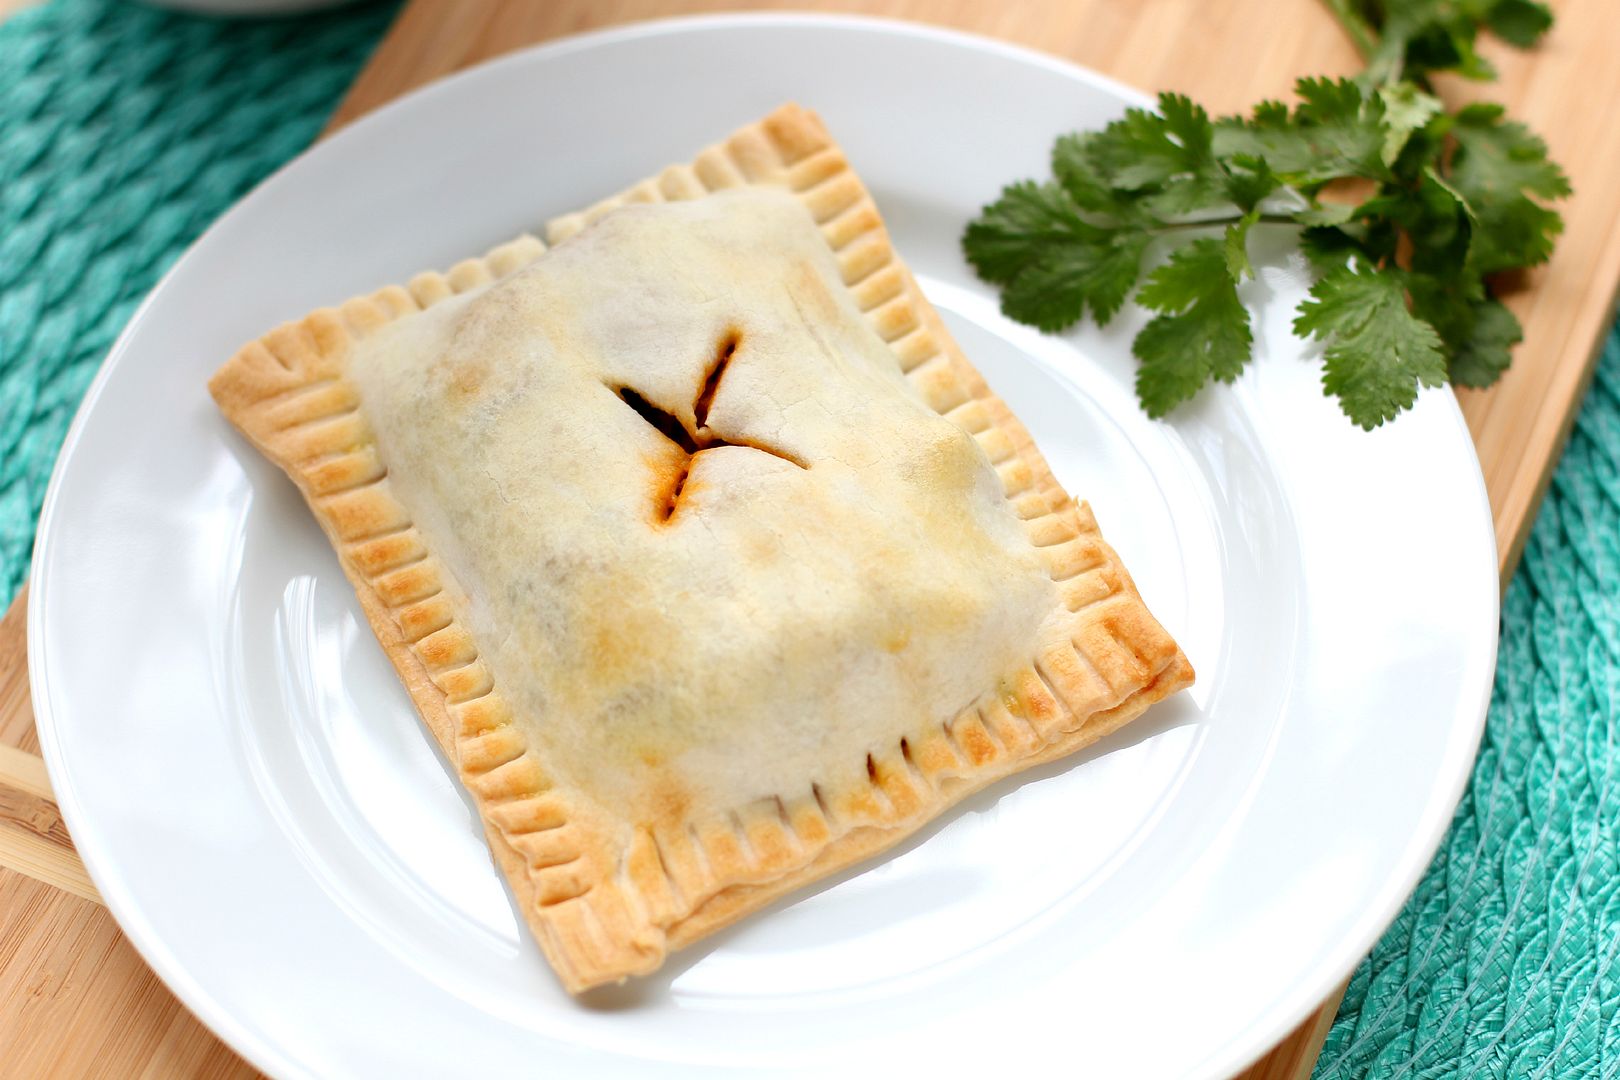
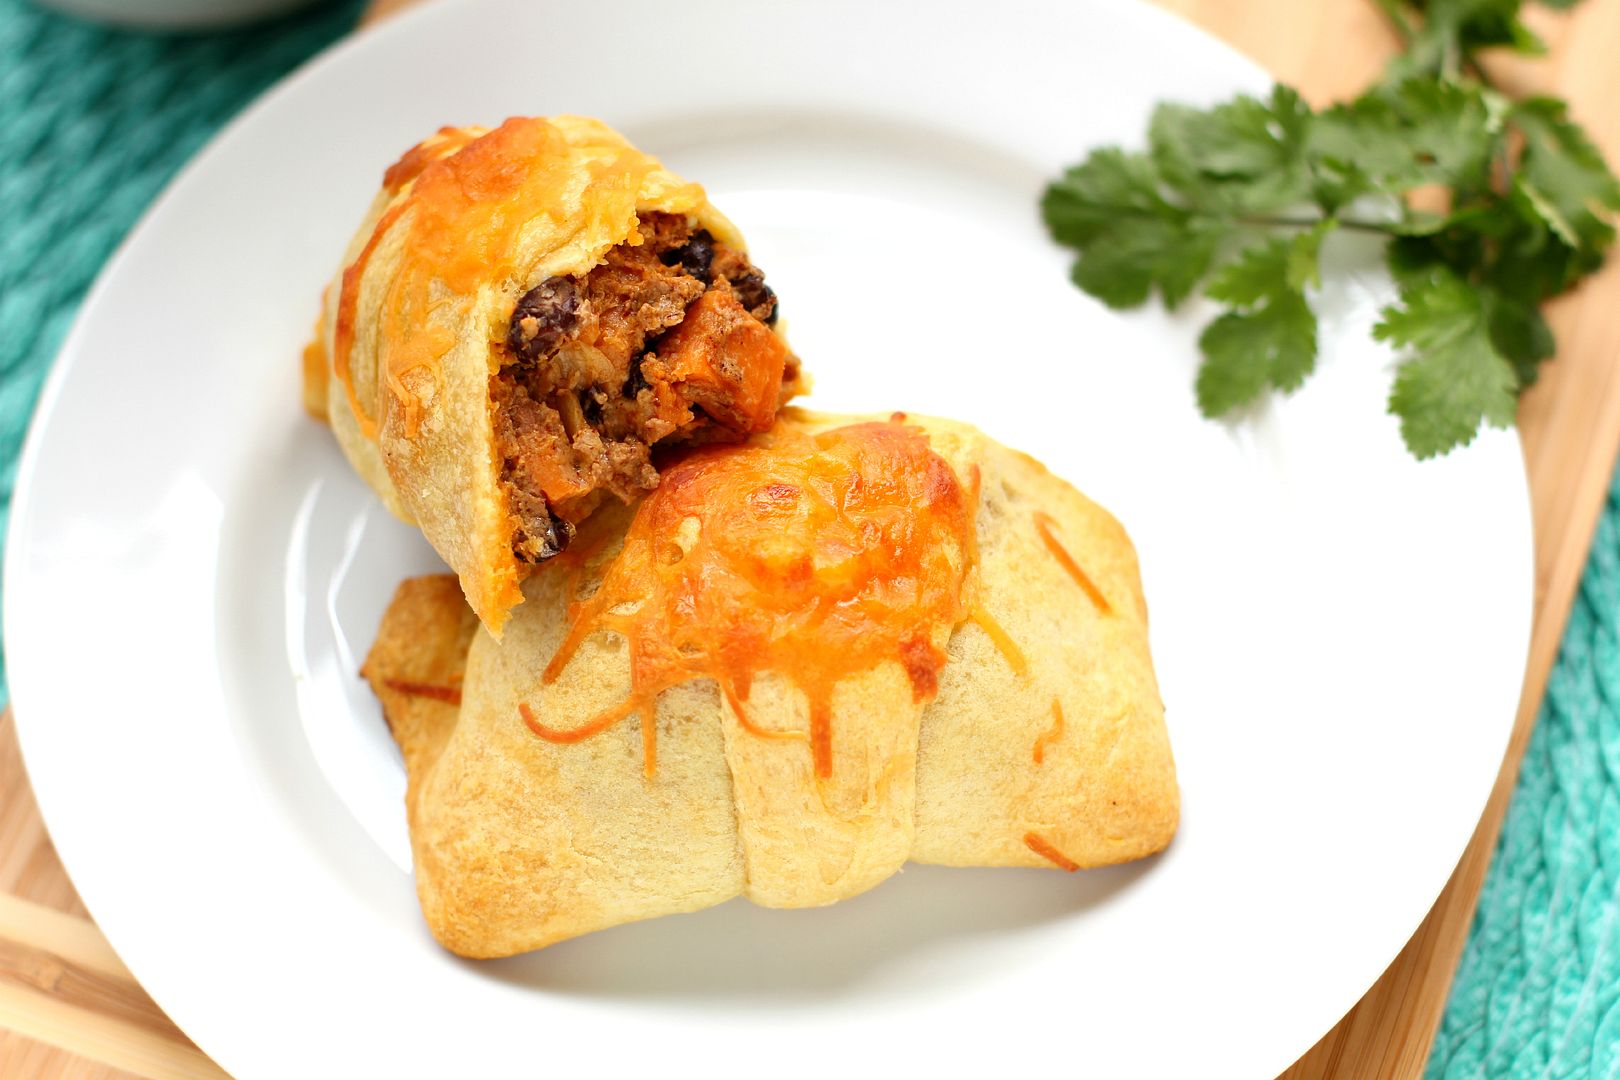
two sweet tater hand tart options

In college, my personality type changed. According to the Meyers-Briggs Personality Type Indicator, I went from an INFP to an INFJ. That tells you all sorts of things about me (maybe too much), but that little switch from P to J also tells you a lot about Davidson College, where I went to school. Davidson can make a P into a J in one semester flat (and the café can make a good PB&J, too, while we’re throwing letters around.)

P means “perceiving,” which means you make decisions and act while taking in information. P people present themselves as more spontaneous, since they like to continually take in new information and adapt to it. J people are “judging” (not judgmental!), which means they prefer to take in information and make a decision before acting. These people present themselves as more rigid and organized. They might be schedulers, for instance.

Davidson — where there was literally more work than there was time to complete it and get any reasonable amount of sleep — taught me to be a scheduler. Turns out that comes in handy when Cooking Hard Stuff.

Sometimes hard recipes take forever. That’s not a bad thing; besides the fact that time in the kitchen is edifying and therapeutic, the results of these recipes are often worth the extra effort. Croissants and puff pastry take two days to prepare. Yeast bread often has to rise for several hours. Mousses and cheesecakes sometimes have to chill overnight. Good things come to those who can stand to wait.

The problem for me is usually not being patient, but figuring out how and when to wait. For instance, I probably should not start a recipe late at night if it has to chill for three hours before the next step. Nevertheless, countless times I’ve found myself awake in the wee hours of the morning or canceling plans to babysit something in the oven or fridge. My solution to this — and one I wholeheartedly recommend to anyone Cooking Hard Stuff — is to make a list or schedule.

Making an ordered to-do list of prep work allows you to spend less time running around deciding what task to complete next and more time efficiently enjoying each process. If a recipe includes extensive resting, chilling, or baking periods, you can also pencil approximate times you’ll complete each step onto your list. Finally, if a recipe can be broken up over several days (many of the fancy cheesecakes on Willow Bird Baking can be broken up over three days), break down what you’ll be doing on which day so that you can enjoy yourself.

You’re probably going to make fun of me, but since I’m a visual person, I actually draw my schedules out in blocks. Here’s an example. The blocks help me see, relatively, how long each step will take, and when I might have time to walk the dog, jump in the shower, or go get lunch with a friend.

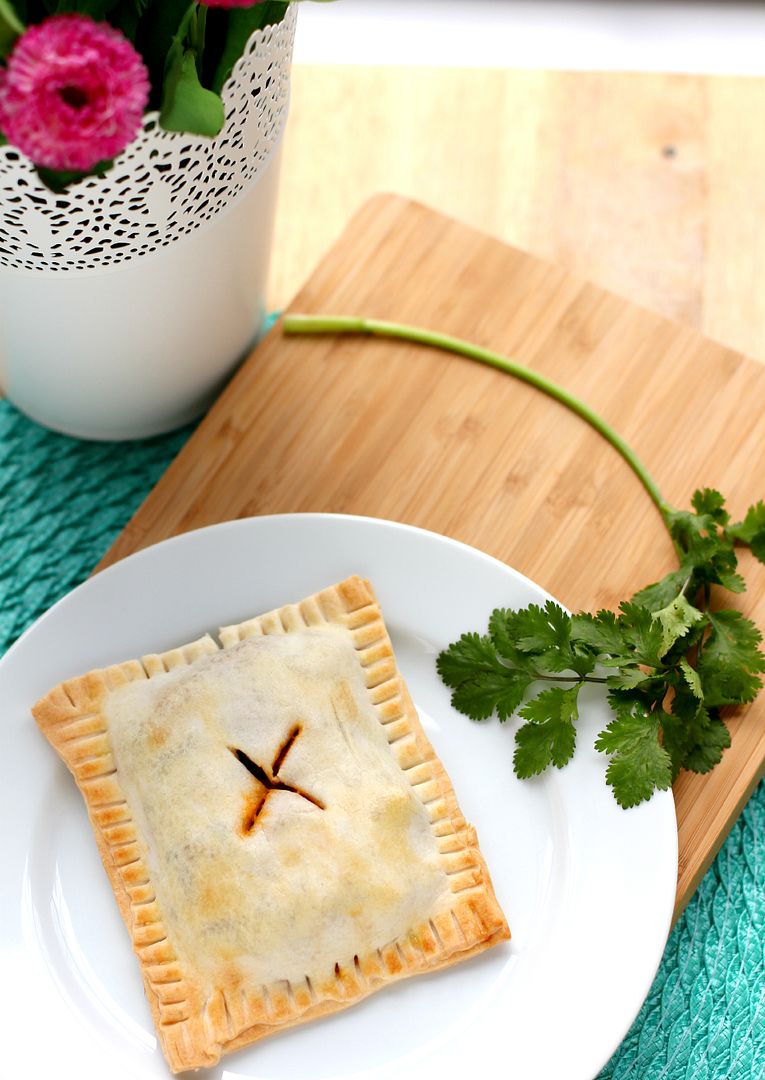
These Sweet Tater & Chorizo Tarts are fortunately simple to make. You could use premade pie dough (or even crescent roll dough for a super easy meal), but it’s also easy to prepare homemade pie dough while roasting your sweet potatoes. You can then mix up the filling while the pie dough chills, cool the filling while you roll the dough out, assemble your tarts, and bake. Draw out a little schedule for yourself (maybe something like this?) and enjoy the process.

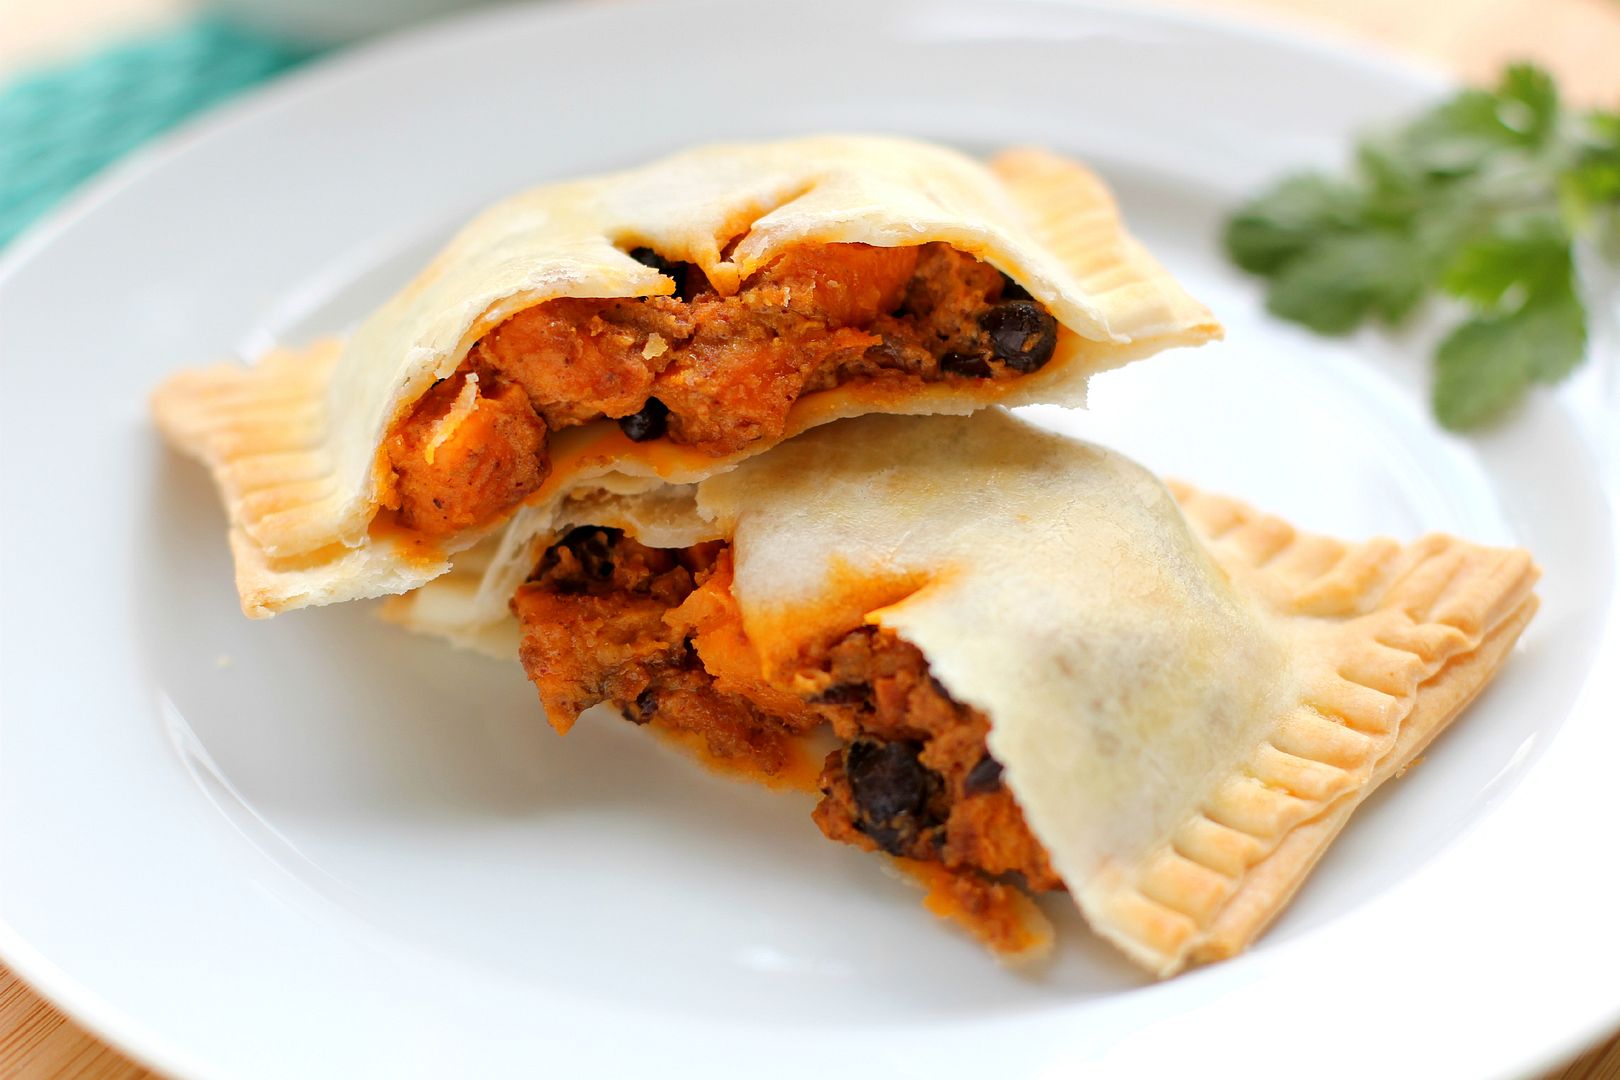
And even more, enjoy the product. The natural sweetness of the sweet taters is fantastic with the spicy chorizo and cumin scented black beans. The flaky pastry crust (or buttery crescent roll) around the filling rounds out the flavor and makes each little tart fun to eat. This is one of Mike’s new favorite dinners!

Do you know your Meyers-Briggs personality type? Are you a planner/scheduler, or more of a free spirit?

Sweet Potato & Chorizo Hand Tarts


Recipe by: Willow Bird Baking, inspired in part by Joy the Baker‘s tacos
Yield: about 7-10 tarts, or 12 crescents

This sweet tater and chorizo filling is so scrumptious, I want to incorporate it into every dinner! In this recipe, I stuffed pie pastry and crescent roll dough with it to make plump, cheesy, Tex-Mexy hand tarts. They’re spicy, creamy, flaky, with a touch of natural sweetness from the roasted sweet potatoes. A plate of these with some sour cream, salsa, and cilantro on the side is more than enough for a hearty dinner.

Ingredients:
2 recipes pie pastry (or 1 package refrigerated pie pastry, or 2 cans giant crescent rolls)
1 sweet potatoes, cut into 1/2 inch chunks
1 tablespoon olive oil
1/2 teaspoon chili powder
kosher salt to taste
1/2 (15-ounce) can black beans, rinsed and drained
1/2 teaspoon cumin
1/2 teaspoon minced garlic
1 heaping tablespoon finely chopped onion
about 5 ounces chorizo
2 ounces cream cheese
spritz lime juice
1/8 cup sharp cheddar cheese, plus more for topping

optional garnishes: lime wedges, cilantro, sour cream, salsa, guacamole

Directions:
Preheat the oven to 400 degrees F. Toss sweet potatoes with 2 teaspoons of olive oil, kosher salt, and chili powder. Spread the potatoes on a foil-lined baking sheet and roast until fork-tender, about 20-25 minutes.

While the potatoes roast, place cream cheese and cheddar cheese in a medium bowl. Brown the chorizo in a skillet over medium-high heat until it’s fully cooked through, and then pour it over the cheese mixture. Let it melt the cheeses for a minute or two before mixing well. Without wiping the skillet out, add 1 teaspoon of olive oil to the skillet. Add the onion, garlic, and cumin and toast for about 30 seconds or until fragrant. Add the beans and cook until they’re fully warmed through. Add the bean mixture over top of the cheese and chorizo and mix gently until it’s well combined. When the sweet potatoes are fully cooked, fold them into the mixture. Add a spritz of lime juice and kosher salt to taste.

Prepare a baking sheet with parchment paper or cooking spray. Roll out the pie pastry to about 1/8 inch thick on a lightly floured surface. Cut it into roughly 4 in. x 3 in. rectangles. Spoon a generous portion of the sweet potato mixture onto every other rectangle and then sprinkle some cheddar cheese onto each one. Top these with the unused rectangles and crimp the sides together with a fork. Cut a steam vent in each pastry and place it on the prepared baking sheet. (If using crescent rolls, just unroll them and spoon a heaping helping of the sweet potato mixture into each one before rolling it up. Sprinkle some cheese on top.) Bake the tarts for 12-14 minutes or until golden brown (or bake crescents according to package instructions). Serve warm with lime wedges, cilantro, sour cream, salsa, and/or guacamole.

P.S. This dish will be entered in the North Carolina Sweet Potato Commission‘s No More ‘Mallows Recipe Contest. I love me some sweet tater and marshmallow casserole, but I also love that sweet potatoes pack a lot of savory potential.

See all the Cooking Hard Stuff Tips:
The Cooking Hard Stuff Challenge
Tip #1: Read and visualize the recipe.
Tip #2: Mise en place.
Tip #3: Make a schedule.
Tip #4: Try, try, try again — or share your success

If you liked this post, please:
Subscribe to Willow Bird Baking
Follow Willow Bird Baking on Twitter
Follow Willow Bird Baking on Facebook
Give this post a thumbs up on StumbleUpon
Pin It


Shareother ways to share this post with friends

My Favorite Pie Crust Dough

In light of Willow Bird Baking’s Cooking Hard Stuff Challenge, I’ll be sharing some tips for tackling new or challenging recipes throughout the month of March. If you haven’t signed on for the challenge yet, make sure you read about it and join in the fun.

Cooking Hard Stuff Tip #2: Mise en place. (Pronounce that, roughly, “meez ohn plauce.” Apologies to France.)

Mise en place literally means “putting in place,” and it’s an important step in the cooking process that should take place after you read and visualize the steps in your recipe.

If you’ve ever seen a TV chef whisp through a recipe as simply and quickly as a hot knife through butter, you’ve probably witnessed the benefits of this strategy. Every now and again they might measure an ingredient in the middle of the recipe for effect, but in general, all of their ingredients are prepared and sitting next to their workspace, and all of the equipment they need is close at hand. That’s mise en place: measuring ingredients, prepping materials, and setting up your workspace before you begin to cook. Sometimes while I’m visualizing the steps of my recipe, I’ll even sketch out a plan of the mise en place I’ll prepare before I begin.

If you don’t already do a mise en place for your recipes, you might scoff at this advice. I can hear the faint echoes of your criticism across the interwebz: doesn’t that take too much time? Don’t you have to dirty up more dishes to measure everything out beforehand? First off, stop being so negative, Snarky McSnarkerson. Second off, nothing has changed the amount of joy I get out of Cooking Hard Stuff as much as my mise en place. So I’m going to sell you on this.


These photos were taken forever ago with my old camera, so they’re of
a different quality than you’ve hopefully gotten used to lately!

Here’s why you should mise your place:

1. Far from taking more time than measuring as you go, mise en place can save you time (and energy! and happiness!). Measuring out ingredients is probably my least favorite part of baking, but getting it out of the way in one fell swoop at the beginning allows me to enjoy the actual cooking process so much more. It’s streamlined, relaxed, and a lot faster, because everything I need is at my fingertips. Since I’m checking all of my supplies before I begin, I also avoid frustrating and time-consuming mid-recipe trips to the grocery store.

2. Mise en place can be done intelligently so that it doesn’t drastically increase your dish load. For instance, if you know you’ll be combining dry ingredients immediately, instead of measuring them out into separate prep bowls, measure them out altogether into your mixing bowl itself. Look at your recipe to see which ingredients can be measured out into the same bowls. Ingredients that you’ll use soon could even sit in the measuring cups themselves until you’re ready to add them. By the time you’re finished with your mise en place, ingredients will be laid out so logically that your recipe will almost make itself.

3. Prepping your materials and workspace ahead of time frees you up to clean as you go. Cleaning is the anticlimax after finishing a great recipe: all the fun’s over, and you still have a lot of work to do. If you prepare a mise en place, though, the breaks in a recipe (when something’s chilling, mixing, baking, or cooling, for instance) are freed up for cleaning. Instead of preparing for the next steps, you can rinse dishes and stick them in the dishwasher, put leftover ingredients away, and wipe down counters. This makes cooking a nicer experience, but more importantly, it means you’ll have much less cleanup once the cooking is finished.

If you’ve never tried preparing a mise en place before beginning a recipe, give it a shot. Think of it like this: you’re going to have to measure everything out one way or another, so why not do it all at once in an efficient manner instead of having to constantly pop in and out of the pantry, grab the measuring cups, level the flour, and so on and so forth? I think you’ll find that you’ll stress less and enjoy the process more with everything put in place. Still don’t believe me? Here’s an article I enjoyed and some great discussion on the topic.

Do you usually prepare a mise en place before beginning a recipe? If so, how do you do your mise en place?

Pie Crust Dough


Recipe by: Willow Bird Baking
Yield: pie crust for one 9-inch pie

Homemade pie crust is not hard at all, particularly after you make it a couple of times and get a feel for the dough. There are different schools of thought regarding what fat to use in pie crusts, but I’m a firm believer in going halfsies. All butter crusts can lack a tender, flaky texture, while all shortening crusts can lack flavor and create a waxy mouthfeel. This is the best of both worlds: buttery flavor and a flaky texture. I recommend using lard if you can get your hands on it, but shortening also works fine.

Ingredients:
2 cups flour
1 teaspoons salt
3/8 cup (6 tablespoons) cold lard or shortening (I recommend lard)
3/8 cup (6 tablespoons) cold butter, chopped
3-4 tablespoons cold water
1 egg and 1 teaspoon water, lightly beaten together, for egg wash

Directions:
Pulse flour and salt together to combine. Add the lard in hunks and pulse for about 10 seconds (literally stand there and count!) until it’s the texture of coarse sand. Add in the chunks of cold butter and pulse for about 10 pulses (count ’em!) until butter pieces are no larger than small peas. Add 3 tablespoons of ice cold water and turn food processor on low — the dough should form a dough ball in a few seconds. If the dough remains crumbly and doesn’t come together, add another tablespoon of water. Add as little water total as is required for the dough to form a ball. Scoop the dough onto a sheet of plastic wrap, form into a disk, and chill for at least 20-30 minutes.

Preheat oven to 450 degrees F (if you’re blind baking the crust without a filling in it; otherwise, preheat according to your recipe instructions). Roll the disk of dough out between two sheets of lightly floured parchment paper until it’s around 2 inches larger than your (9-inch) pie plate all around. Use the parchment to help you drape the dough over your rolling pin, and then use the rolling pin to gently transfer the dough to your pie plate. Situate it in the plate without stretching the dough (lift the edges and let it fall down into the corners of the dish). Fold the excess dough around the edges and crimp, trimming where necessary.

If you’re filling the crust prior to baking, fill it and bake according to your recipe. If you’re blind baking the crust to fill later, cover the dough with parchment paper and fill this with pie weights or dried beans, pressing to the edges. Bake for around 20 minutes at 450 degrees F. Remove weights and paper, brush the egg wash onto the crust, and bake 5-10 minutes more until golden brown (shield the edges with foil if they begin getting too dark). Let the crust cool completely. Fill according to your recipe.

TIPS:
– When preparing a mise en place for this recipe, chop your butter, measure out your shortening, and fill a jar with ice water first. Stick all of these ingredients into the fridge to get ice cold while you complete the rest of your mise en place.
– Your goal is to keep your fats and your crust dough cold as you prepare it, so don’t handle it too much. The cold hunks of fat in your dough are what will create the flaky layers in your crust as it bakes.
– I roll out my crust dough between two sheets of parchment paper with a little sprinkling of flour on either side. Periodically I’ll stop to lift the paper from the dough to be sure it’s not sticking and flip the dough to check the other side as well. The parchment allows me to use much less messy flour.
-For a double crust pie, double the recipe form into two disks to chill. Roll out each disk separately. Situate the first half of the dough in the pie plate as usual, fill it, and top with the second half. Trim and fold the edges of the top crust under the lip of the bottom crust, crimping the two together. Cut a vent in your pie.

See all the Cooking Hard Stuff Tips:
The Cooking Hard Stuff Challenge
Tip #1: Read and visualize the recipe.
Tip #2: Mise en place.
Tip #3: Make a schedule.
Tip #4: Try, try, try again — or share your success

If you liked this post, please:
Subscribe to Willow Bird Baking
Follow Willow Bird Baking on Twitter
Follow Willow Bird Baking on Facebook
Give this post a thumbs up on StumbleUpon
Pin It


Shareother ways to share this post with friends

1 4 5 6 7 8 12