I need the Care Bear Stare, no joke. The past couple of weeks have been rough, and I know the trouble I face is nothing compared to what others are going through around the world. I feel a little jaded.
I don’t have any fancy belly power (unless you count dessert-making), but I can compile any bits of joy into a salve of sorts: my list of things that make me hopeful. I hope it’s as helpful to you as it is to me.
Things That Make Me Hopeful
1. I ran out of toothpaste and toilet paper this week but miraculously found that I had more of both in the cabinet. This never happens.
2. One of my students has decided her passion is kindness, and she is currently trying to complete 101 Random Acts of Kindness. She’s blogging about it on her adorable blog.
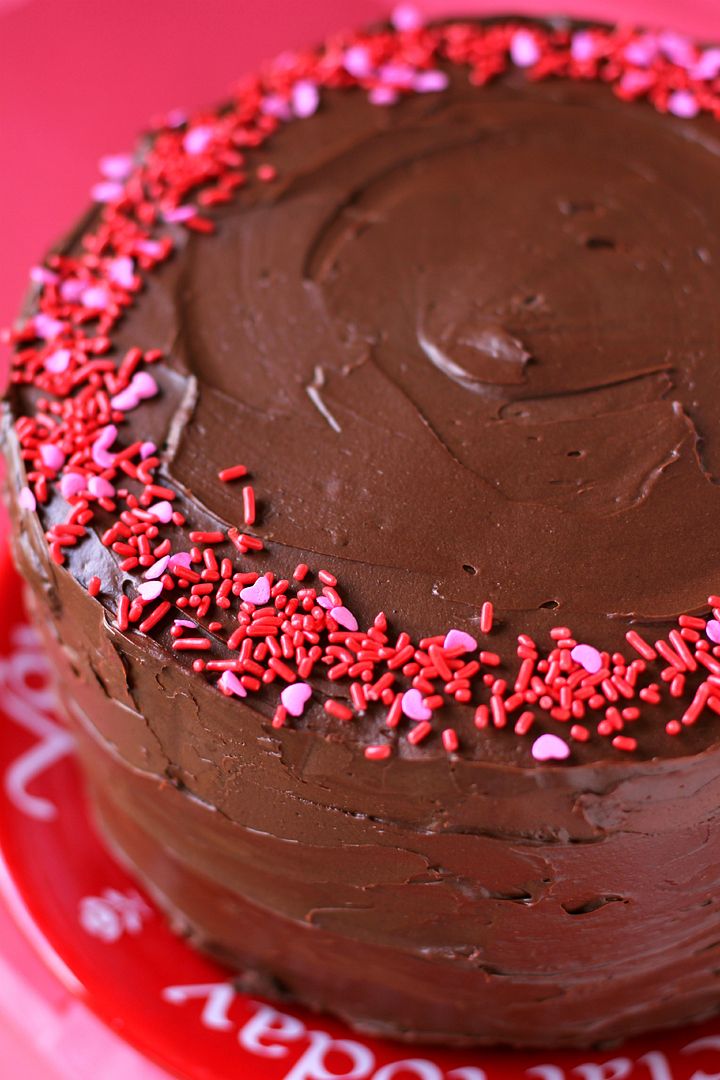
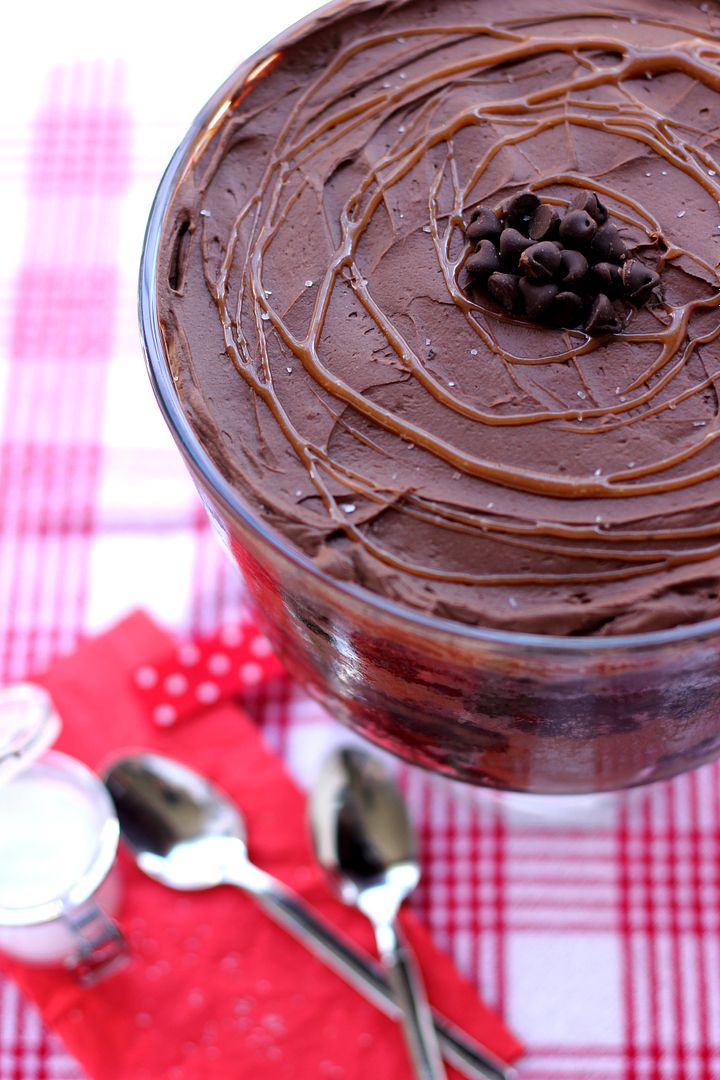
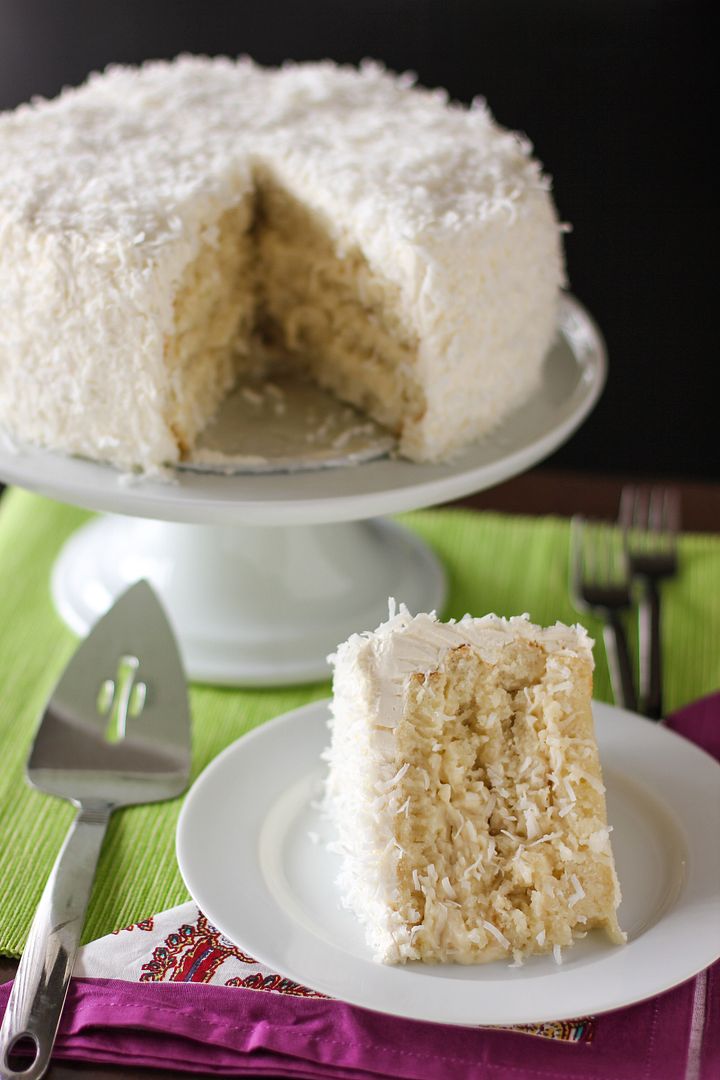
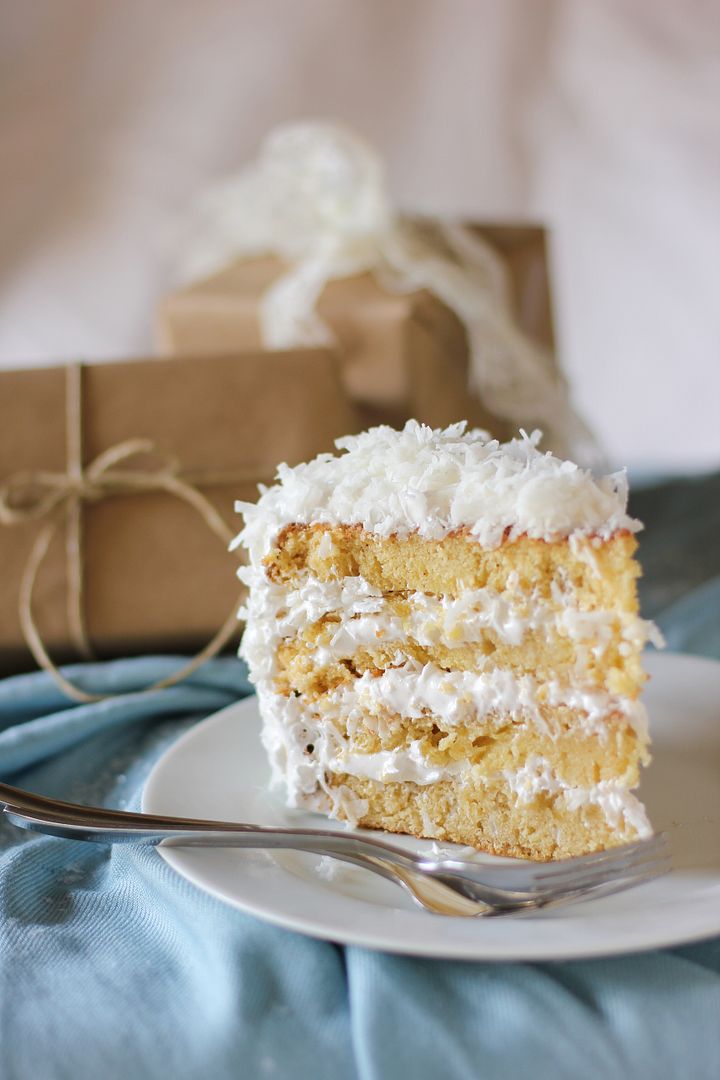
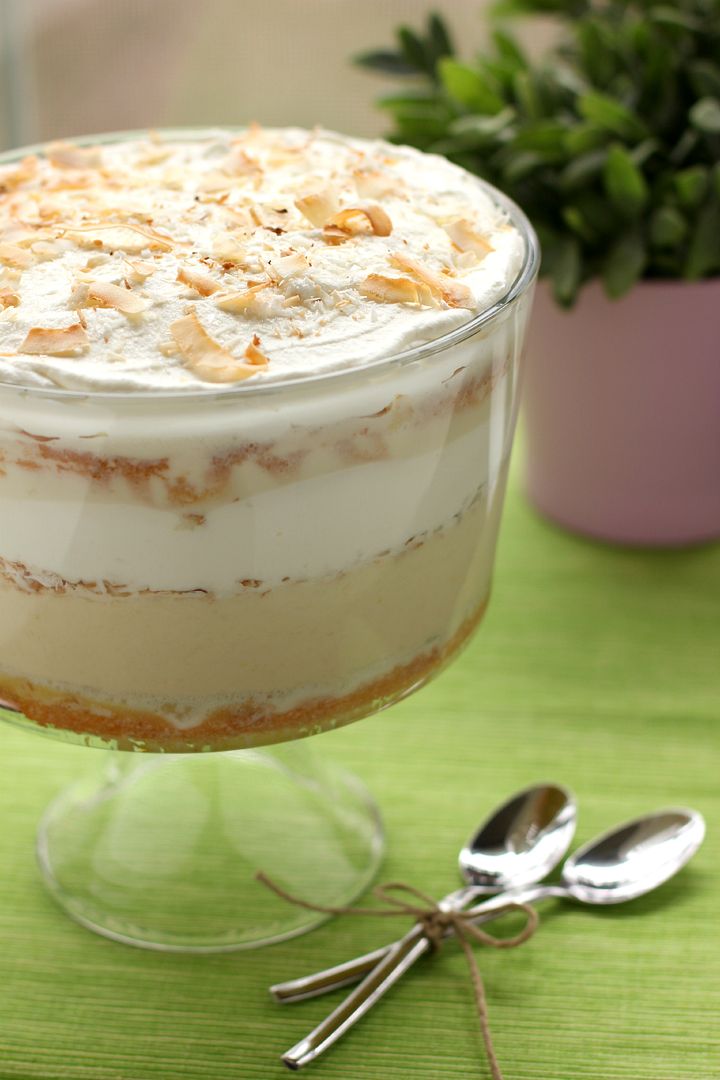
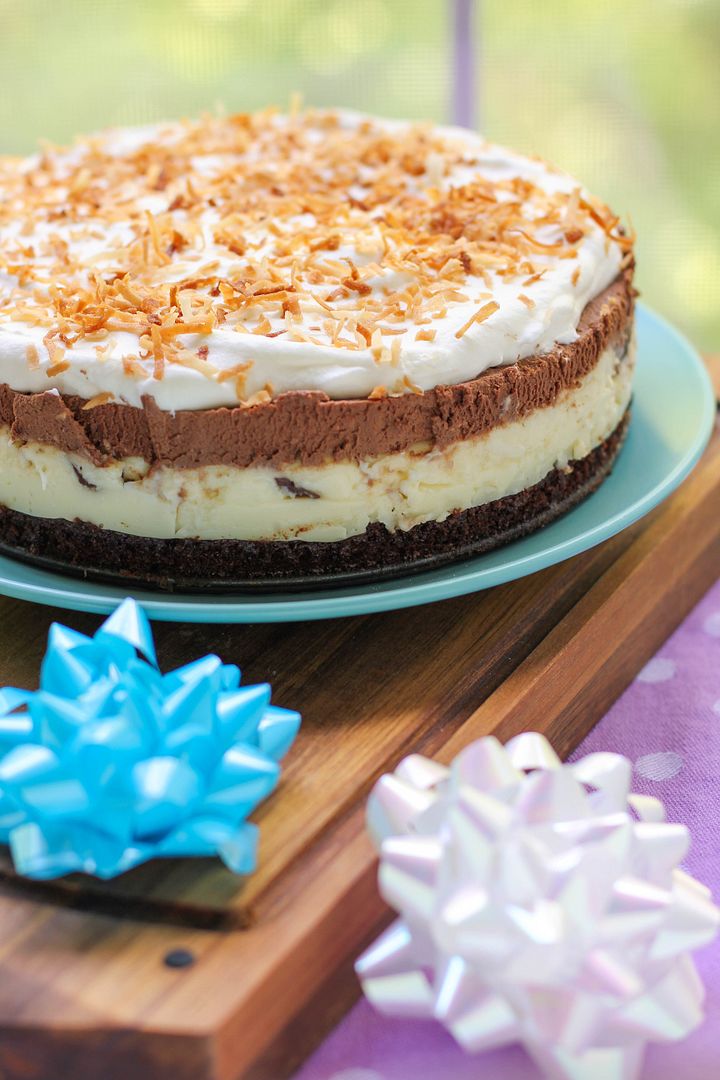
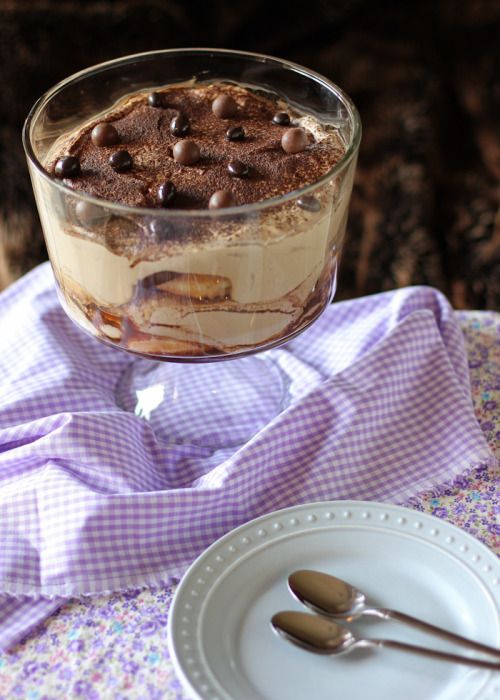
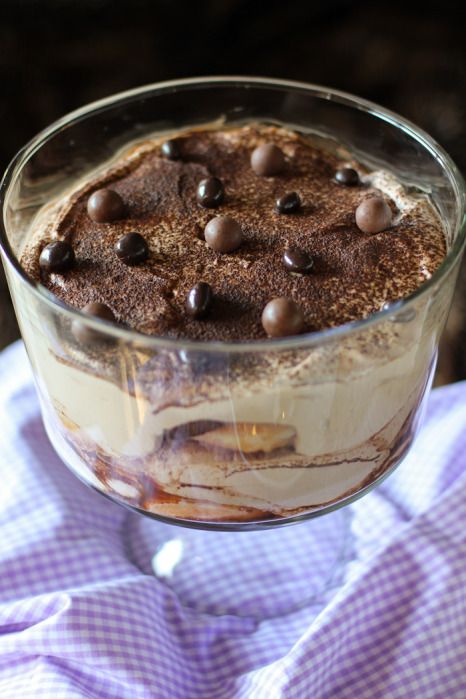
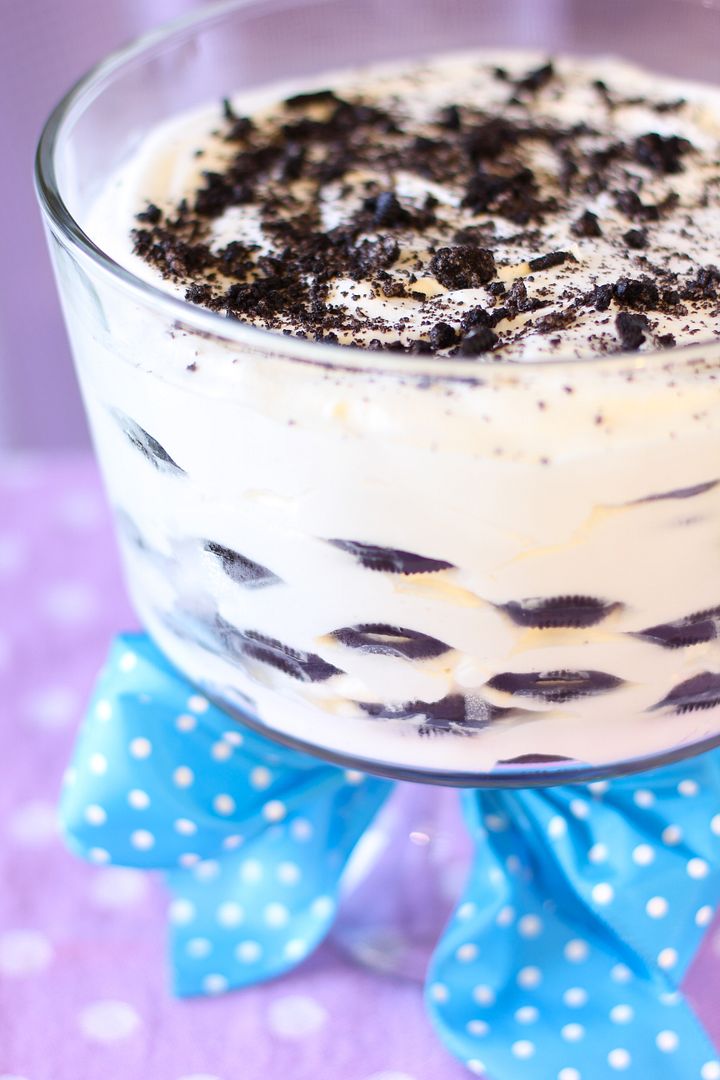
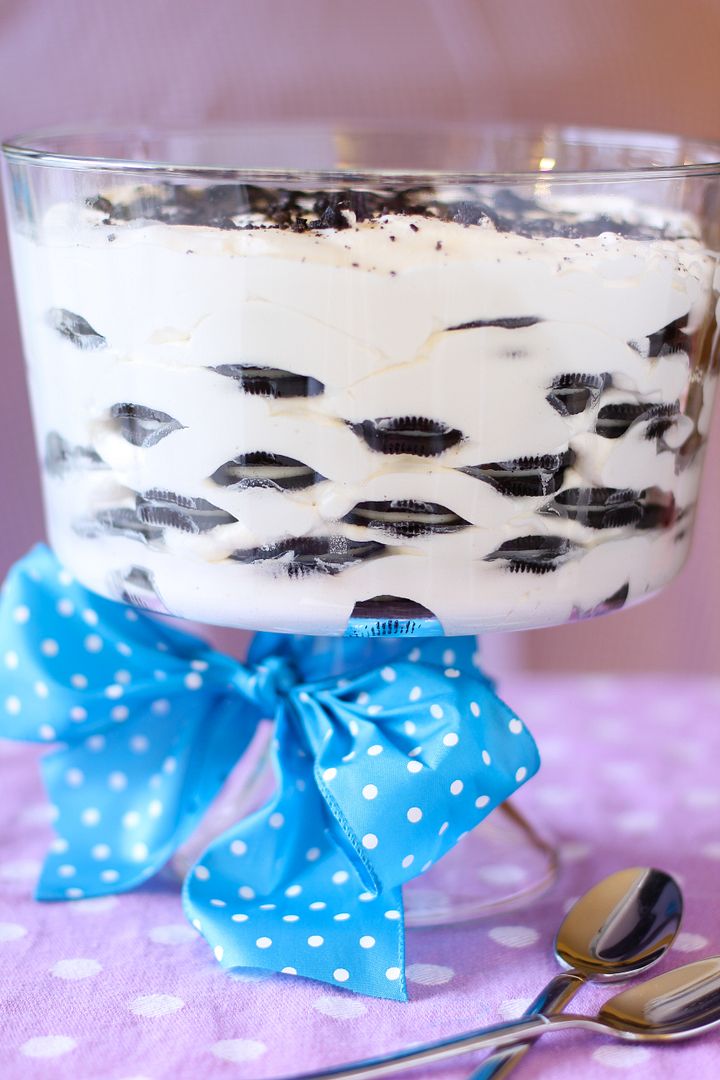
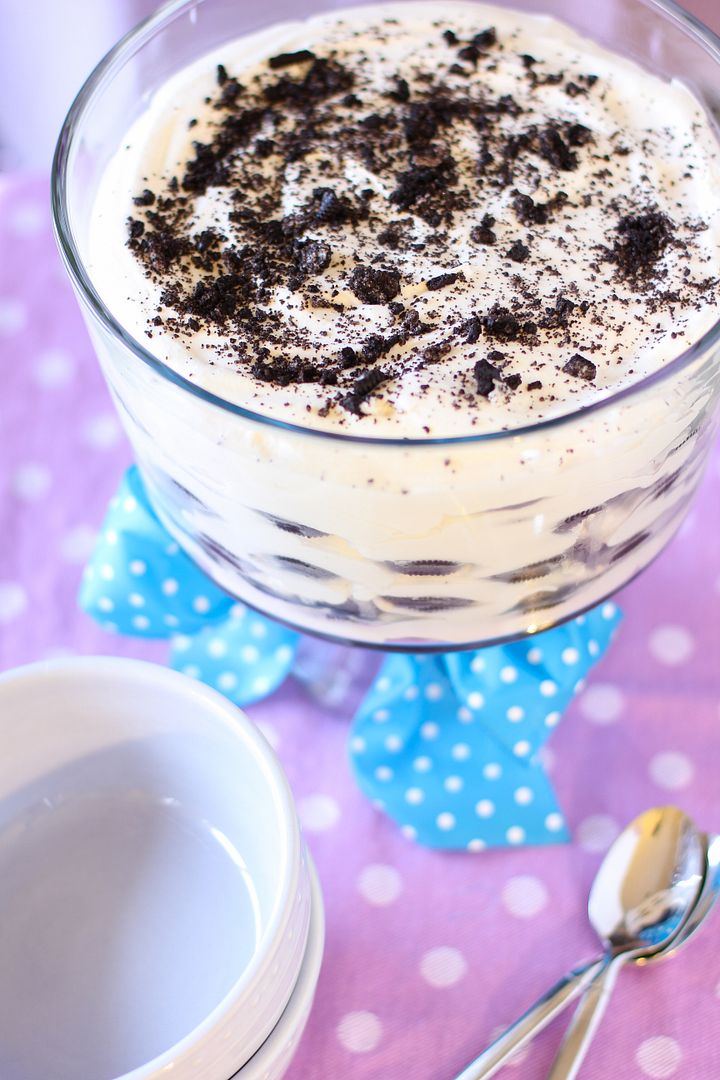
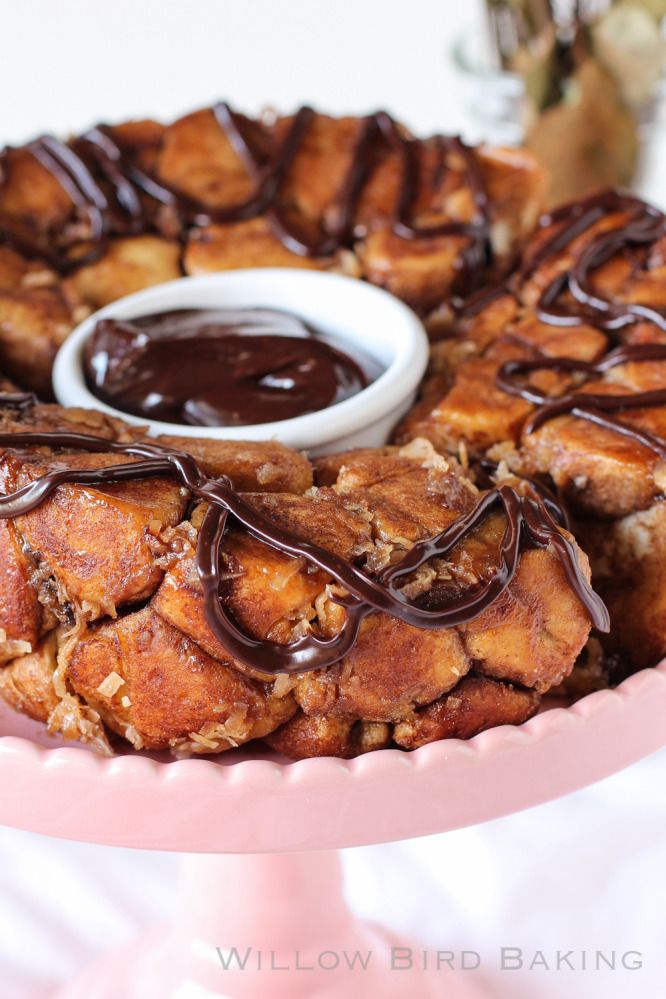
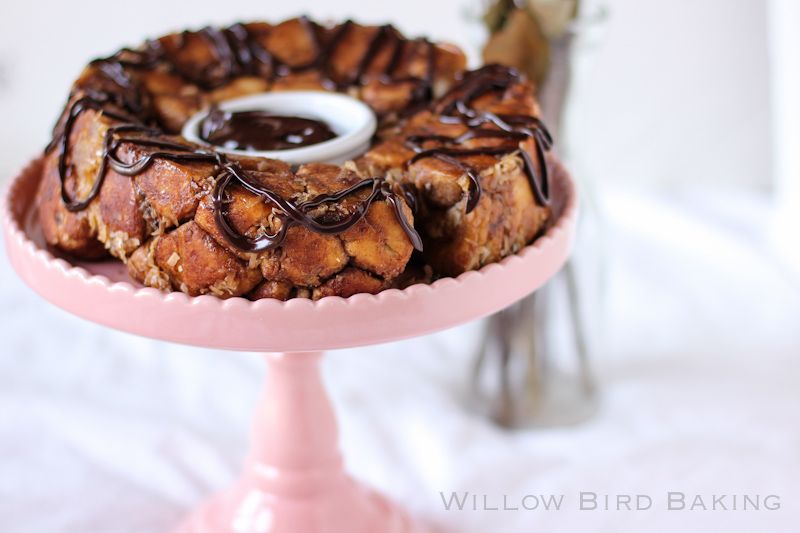
3. Beautiful dishes. Rosanna sent me (for free) the gorgeous pink cake pedestal you see here to review, and now I kind of want to buy out the whole store. I can’t get enough of it. In fact, I don’t actually put pretty dishes like this away — I use them to decorate my living space.
4. I locked myself out of my bedroom and somehow managed to pick the lock with a bobby pin. Profuse self-congratulating (and God-thanking, because I’m not totally delusional) ensued. Please call me MacGyver.
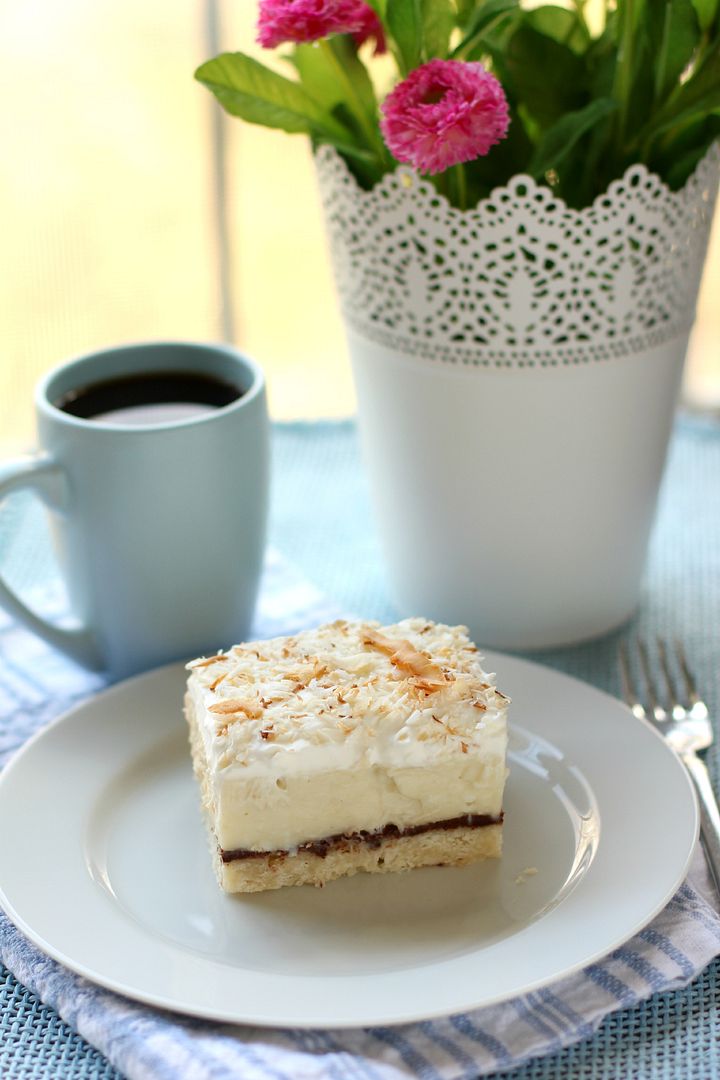
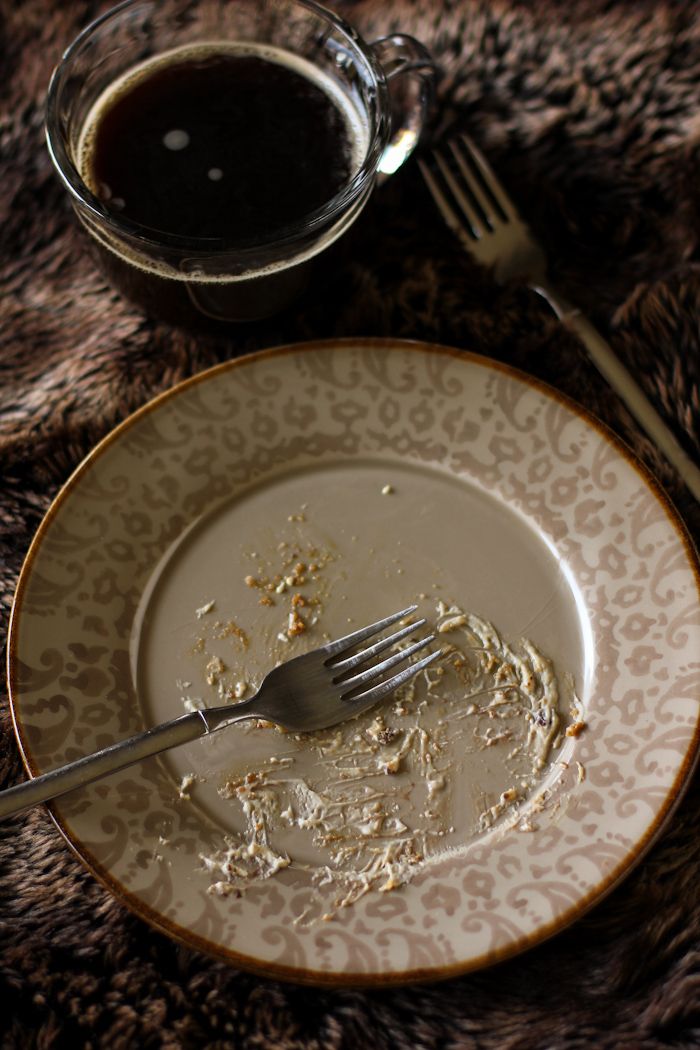
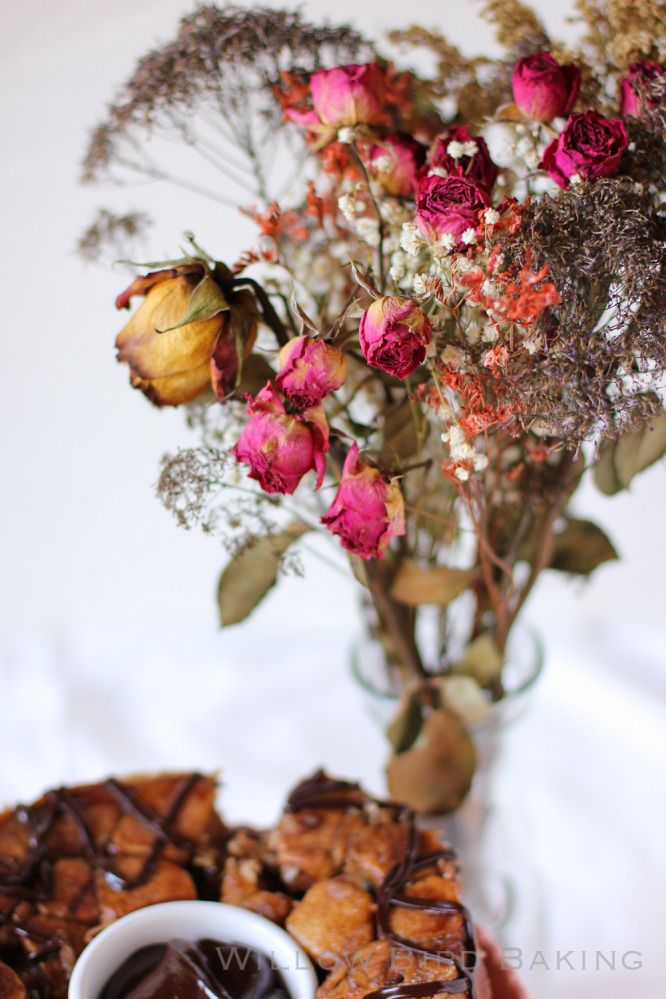
5. I was gifted two beautiful bouquets of flowers when I moved into my new apartment. They’ve long since died and dried out, but they’re still too gorgeous to dispose of. I decided one of them should make an appearance in the background of these photos.
6. My friend Jessie, a current senior at my alma mater, Davidson College, writes a beautiful blog, Eating Aarti. She’s about to move to Seattle and work at a crumpet shop, and I can’t really explain how happy that sounds to me.

8. Spring is here and to enjoy it, I walk to the gym each evening instead of driving. I’m going to buy a couple of plastic chairs and some ferns for my balcony and create a little outdoor workspace. I’ve been excited about doing this all winter, and now I finally can!
9. One of my students has been working very hard on an absolutely stunning short story. When he finished, I gave him a series of revision challenges, but he came up to me with a very serious look on his face. He said, “Ms. Ruble, I really don’t want to change my story. I really want it the way that I have it.” I read him a stirring passage from a novel and asked if he wouldn’t like to use a similar extended metaphor in his work and he said, “Maybe. I just feel like it will mess it up to change it.”
His resistance was clearly not due to laziness or a desire to be finished; he just loved his story and felt strongly about how he had arranged things. I had him make a copy so he could experiment on one without risking his perfect draft. And then I sat down and thought about how priceless it was that he was proud of his work.
10. Brave New Voices is a collection of organizations that support young poets. I’ve been clicking around on YouTube watching teams of these kids who are so passionate about being heard and so worth hearing. I cry every time I see this one.
11. Girl Scout cookies. Actually, I’m just going to say it. You’re going to act like I punched a kitten, but I’m going to say it anyway. I don’t really love Girl Scout cookies. Couldn’t the Girl Scouts sell cake? Or pizza or pad thai or something? But Girl Scout cookies nevertheless give me hope, because nothing can unite a group of people like pulling out 8 or so of those brightly colored boxes. Suddenly everyone’s all Do-si-doing and Samoaing in harmony.

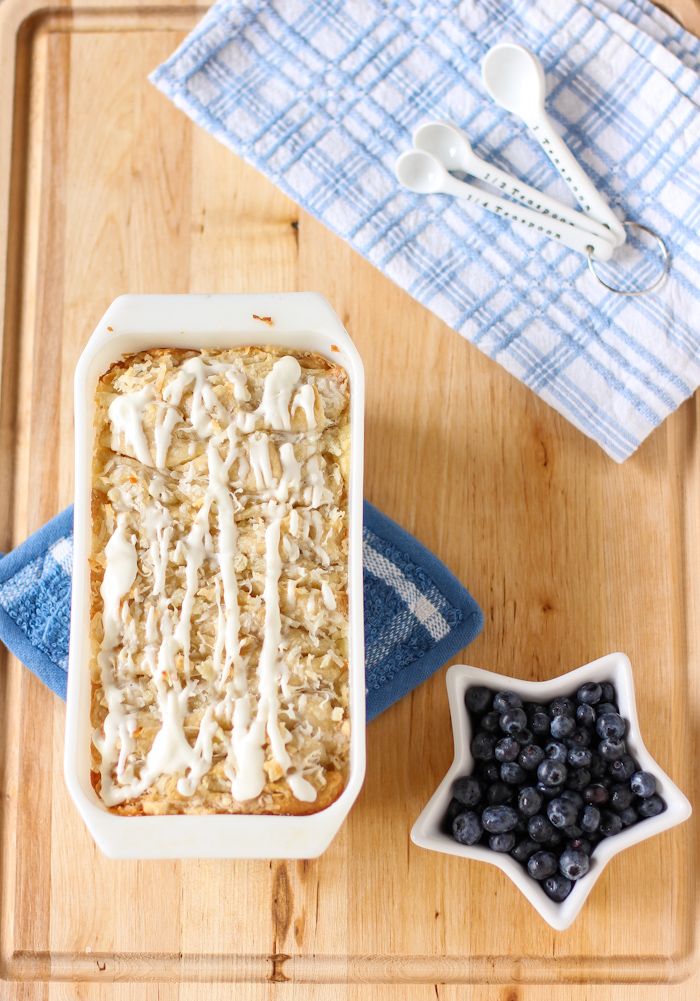
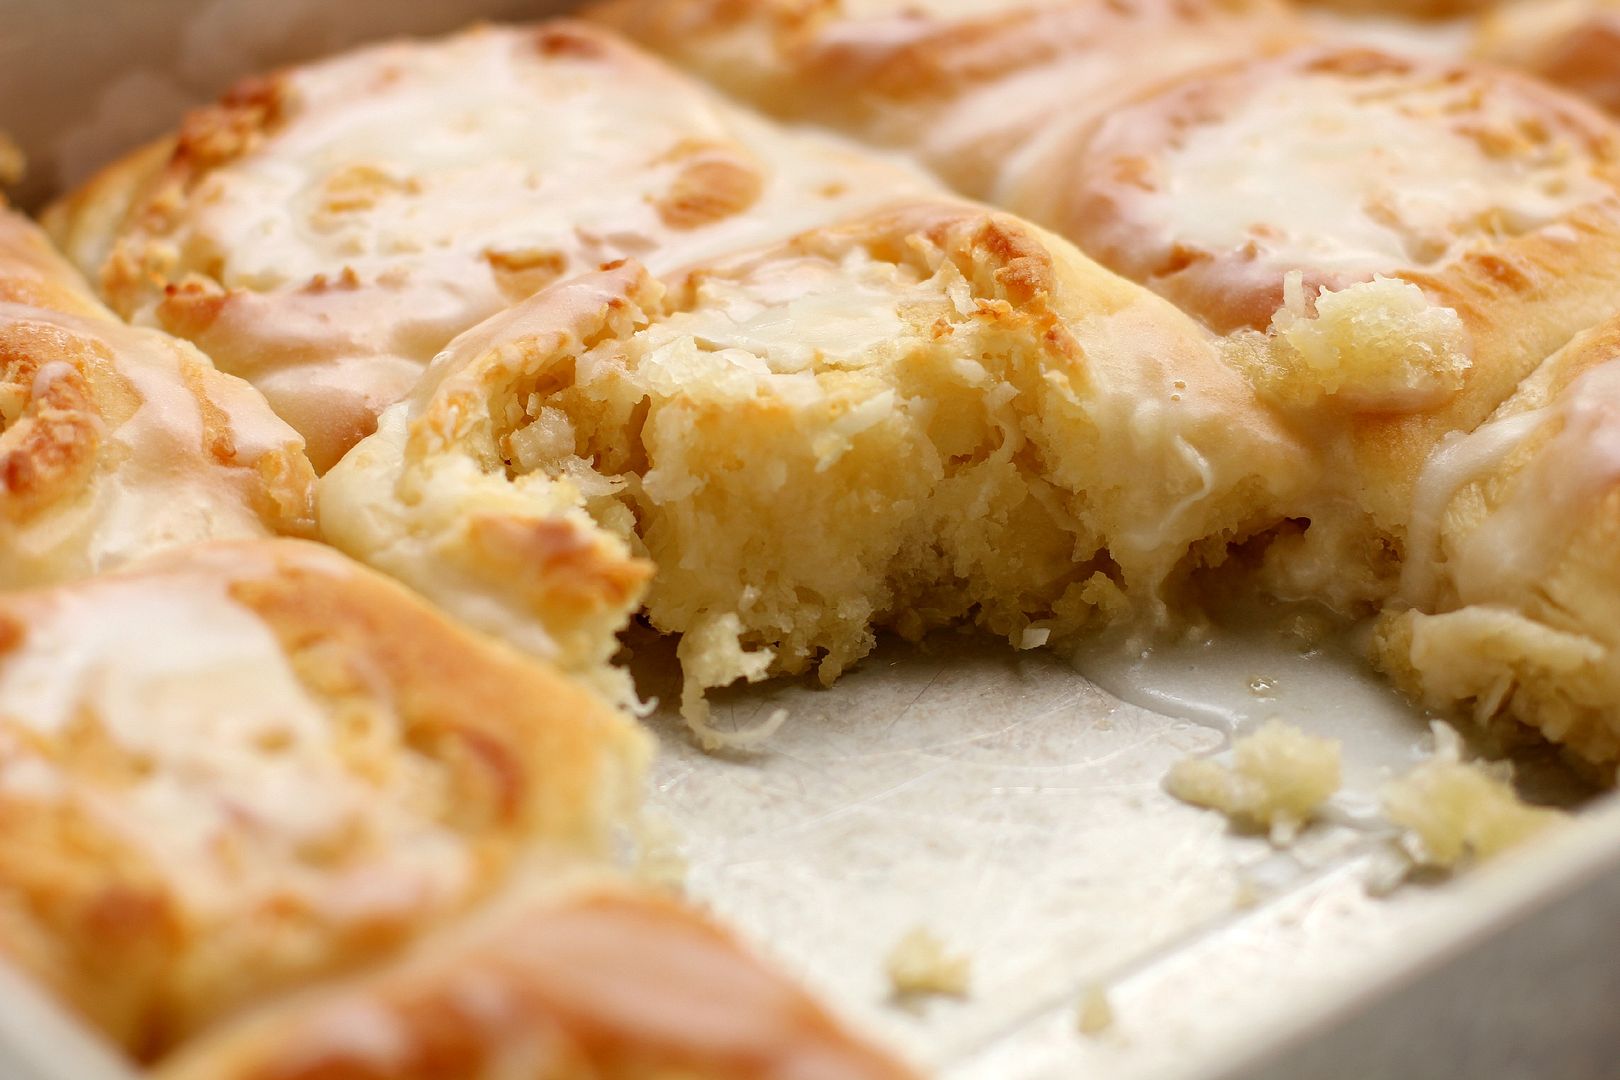
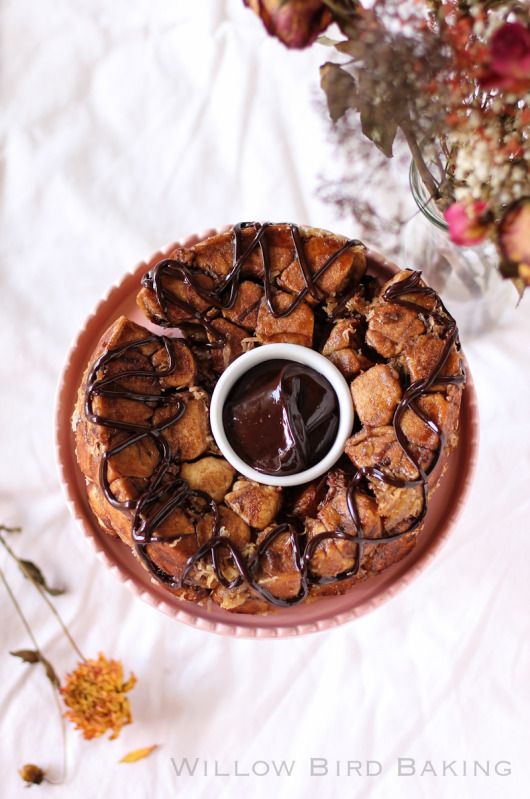
This Samoa Monkey Bread will have a similar effect, but with a little more panache, perhaps. It’s a riff on regular monkey bread — which is already the bee’s knees — except that each nugget is stuffed with melty chocolate and the whole thing is covered in coconut with a ganache drizzle. I added an extra bowl of ganache for dipping and it did not go unappreciated. I’m not going to lie: it’s tedious tucking chocolate into each little dough ball, but it’s also beyond worth it. This is one of those “must make” recipes. And I hope it makes your “Things That Give Me Hope” list!
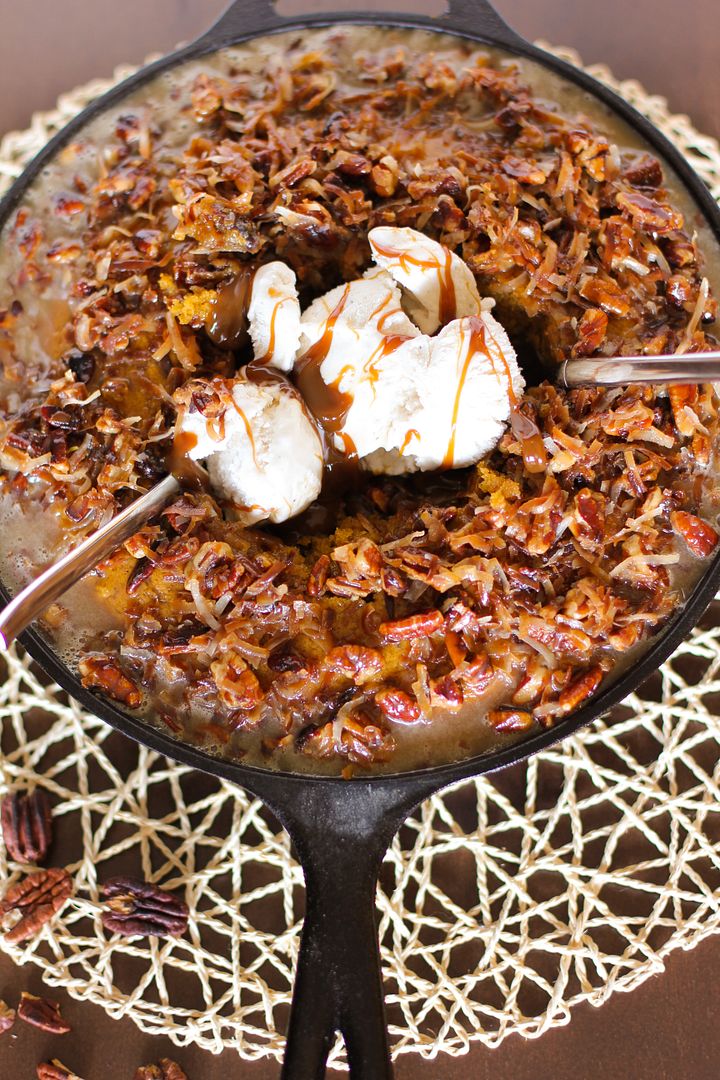
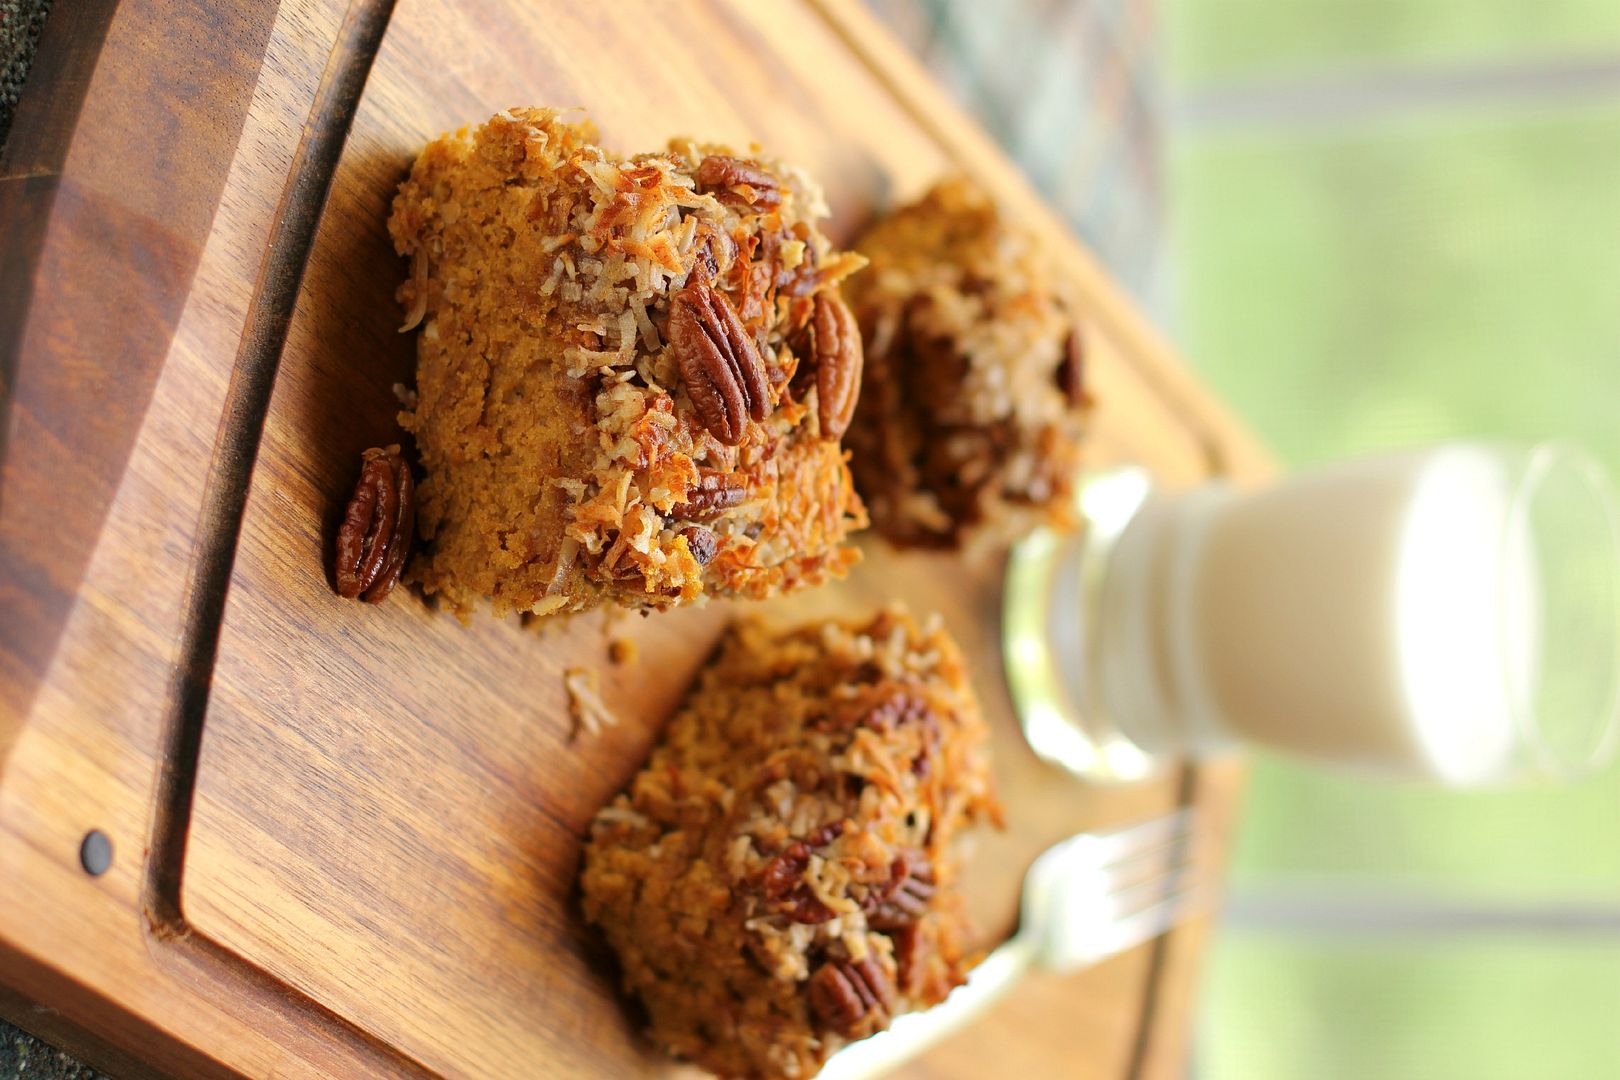
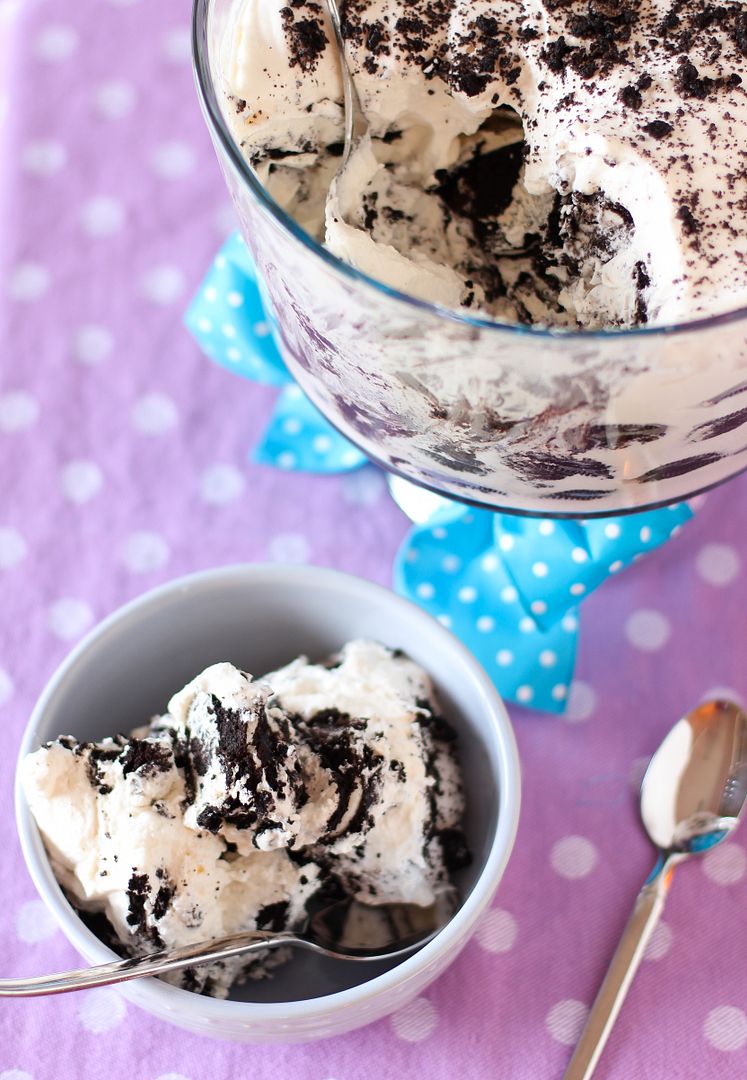
One year ago: Pure Insanity: Pumpkin Oatmeal Cake Ice Cream Sundae
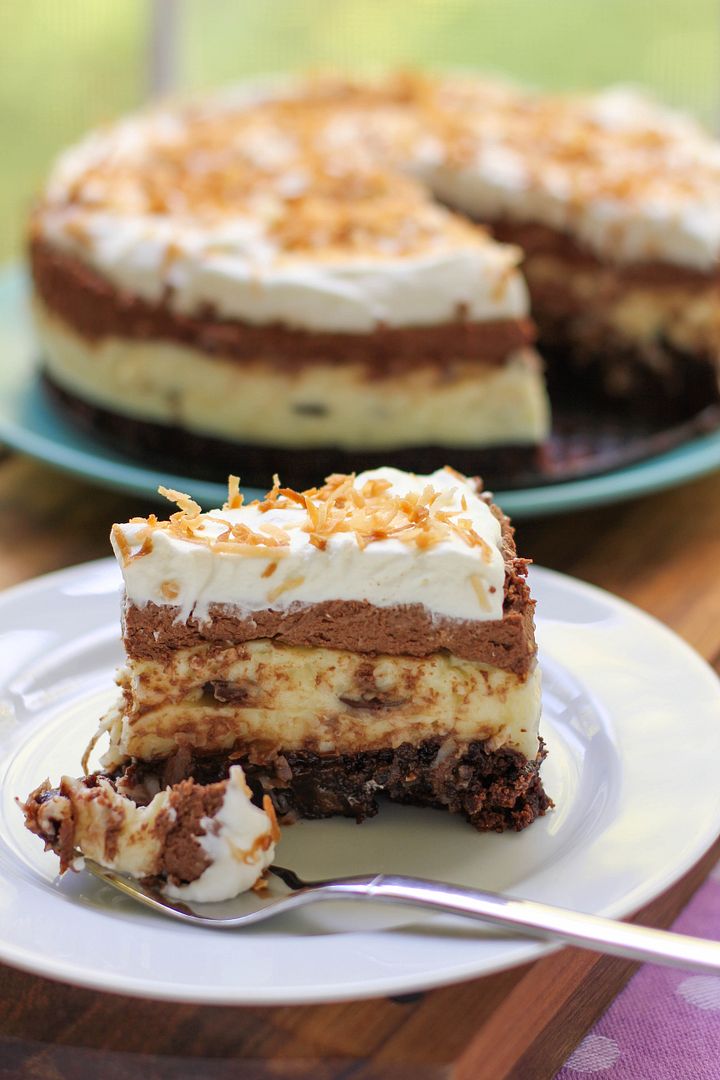
Two years ago: Rich Ice Cream and Coffee Cheesecake
Three years ago: Chocolate Tart with Pretzels
Samoa Monkey Bread with Ganache Dipping Sauce
Recipe by: Willow Bird Baking, heavily adapted from Pillsbury
Yield: 12 servings
Samoa Girl Scout cookies are good. Monkey Bread is good. Samoa Monkey Bread is INSANE. You have to make this one! It’s a little fiddly filling each dough ball with chocolate, but so worth it.
Ingredients:
4 (7.5-ounce) tubes of refrigerated biscuits
3/4 cup sugar
2 teaspoons cinnamon
2 tablespoons cocoa powder
1/2 cup butter, melted
1 teaspoon coconut extract
3/4 cup packed brown sugar
1 1/2 cup shredded coconut
3/4 bag of Hershey’s Baking Melts* for stuffing
1 cup chocolate chips (I prefer Ghirardelli 60% cacao chips for this ganache)
1/2 cup heavy cream
*Karly turned me on to these and they’re perfect for this application, but you can use chocolate chips or even chocolate kisses if you need to.
Directions:
Preheat the oven to 350 degrees F and grease a 12-cup tube or bundt pan. Toss sugar, cinnamon, cocoa powder, and 1/2 cup coconut in a gallon-size plastic zip bag to mix. Cut each refrigerator biscuit in half and place a baking melt on it. Pinch the dough around the baking melt to close completely. Put the dough balls into the prepared bag and toss gently to coat. Then place the coated dough balls into the greased tube pan. Once you get a full layer of dough balls in the pan, sprinkle on about 1/2 cup of shredded coconut flakes. Keep layering dough balls and coconut until the dough balls are all in the pan. Sprinkle a little more coconut over the top.
Mix melted butter, coconut extract, and brown sugar carefully and pour over the dough balls. Bake for about 45 minutes or until well browned (so the middle won’t be doughy). Remove the pan from the oven and cool for 5 minutes before (carefully — the hot butter might splash) inverting it onto a plate.
While it cools slightly, put the chocolate chips in a medium bowl. Heat the heavy cream in the microwave for about 1 minute — long enough to make it hot, but not enough for it to boil. Pour it over the chocolate chips and let it sit for 2 minutes. Then whisk in small circles to form ganache. Drizzle a little over the top of your monkey bread before pouring the rest into a bowl. Serve the ganache with the warm monkey bread for dipping.