Before I say anything else, I just want to thank you all so much for your kind words about my engagement! You guys are the best.
This whole ‘getting married’ thing means there’s also a whole ‘moving to Raleigh’ thing I’ve got to attend to. I’ve already been hired at a wonderful school and I know I’ll be telling you all about that before too long, but right now, I have to process leaving Woodlawn.
Woodlawn is the school where I’ve worked for the past 5 years and one of the most important places in the world to me. There are so many things I could say about this small school — things about its innovative curriculum, its beautiful historic campus, its kind-hearted students, its brilliant teachers. But all of that feels too big. I have to piece this out and say it the way I know how to say it: I’ll tell you some stories.
My first year at Woodlawn in 2008 was a crash course in doing things differently. I’m a very confident, driven, and admittedly controlling person. I know how I want to do things, I do them that way, and usually I’m proud of how they turn out. I like to sum it up by saying that I’m effective. When I got to Woodlawn, though, it was a different cup of tea than I was used to. The teachers collaborated and integrated in a way I’d never imagined was possible. They were at least as effective if not more effective than I was. They were creating projects and units that were overwhelmingly creative and brilliant.
I made one of the best decisions I’ve ever made, and one that taught me a valuable life lesson: I swallowed all of my pride, sat back, and listened. I took my cues from their courage and innovation. I tossed some of my ideas that weren’t right for my new environment. I accepted some of their ideas despite my territorial urge to do things my own way. As a result, that year changed my teaching philosophy. I’ve never looked back. Indeed, I’d say one of the tenets of my philosophy these days is humility, because I realize that a fantastic teacher can always learn from other fantastic teachers.
Overhauling my teaching was only one of many adventures that first year. Another was the cranes. Each year the 7th graders hear the story of Sadako, a young girl who died from leukemia after the bombing of Nagasaki and Hiroshima in Japan during World War II. Sadako spent her last months trying to fold 1,000 origami cranes and wishing for peace. In her honor, my students each year try to reach that ambitious goal as well. I teach them how to fold and they dutifully bring in excess paper: newspaper, old wrapping paper, origami paper.
That first year, they were so excited about the task. They folded huge cranes: one student, Morgan, folded a crane at least a foot in length out of metallic wrapping paper. They folded tiny cranes: the boys seemed to be having a contest to see who could fold the most microscopic crane out of a corner of a post-it note. They folded during any free time at school. They folded at home and came in with bags full of angular little birds. They folded with parents and siblings and friends. Surprisingly, we didn’t make it to 1,000 that year (my third year at Woodlawn, a group shot all the way to 1,300), but we made it close.
What we did accomplish, though, was threading every single crane onto strands of like colors. We hung the garlands all across the room: first the reds, then oranges, yellows, greens, blues, indigoes, violets. One corner held all the others: whites, blacks, browns. When you walked in the door, there was a gorgeous rainbow of flight. We were all a little surprised by how lovely it was.

We enjoyed it immensely until the fire marshall made us take it down. Our cranes sat in the corner for awhile before a student took them home to hang in her room (don’t tell the fire marshall.)
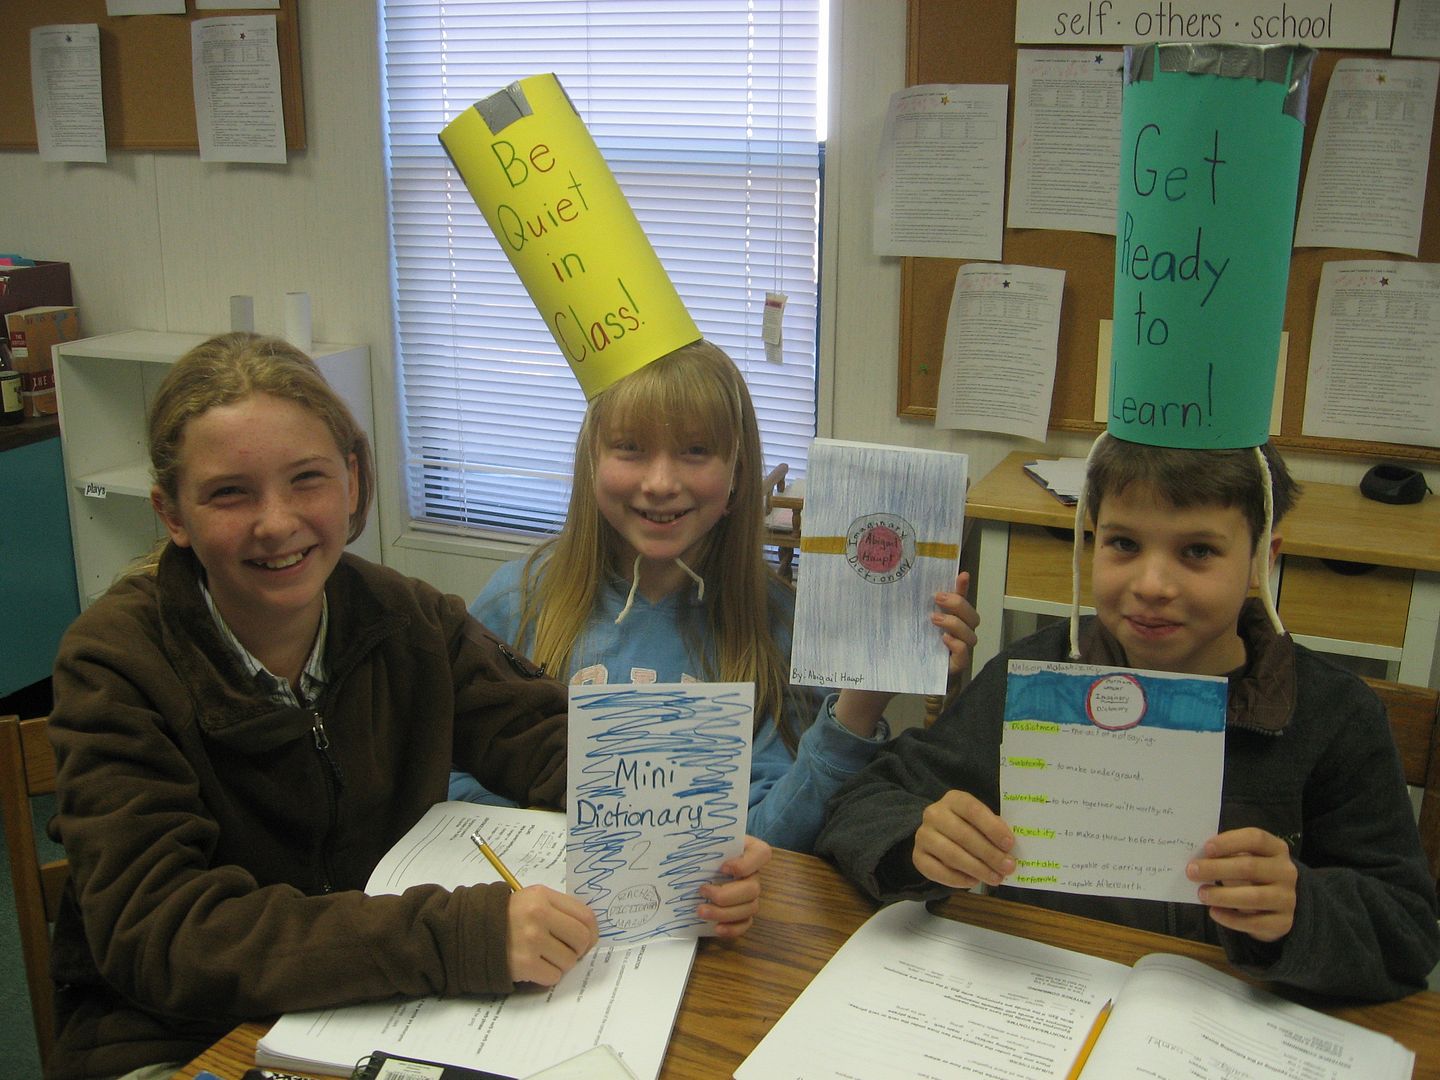
That first year was also the year I told the kids to get on their “ready to learn” caps (my version of the “thinking cap,” I guess? I didn’t think too much about it). I added that they might also need their “be quiet in class” caps. My 6th grader, Abigail, came in the next day with these:
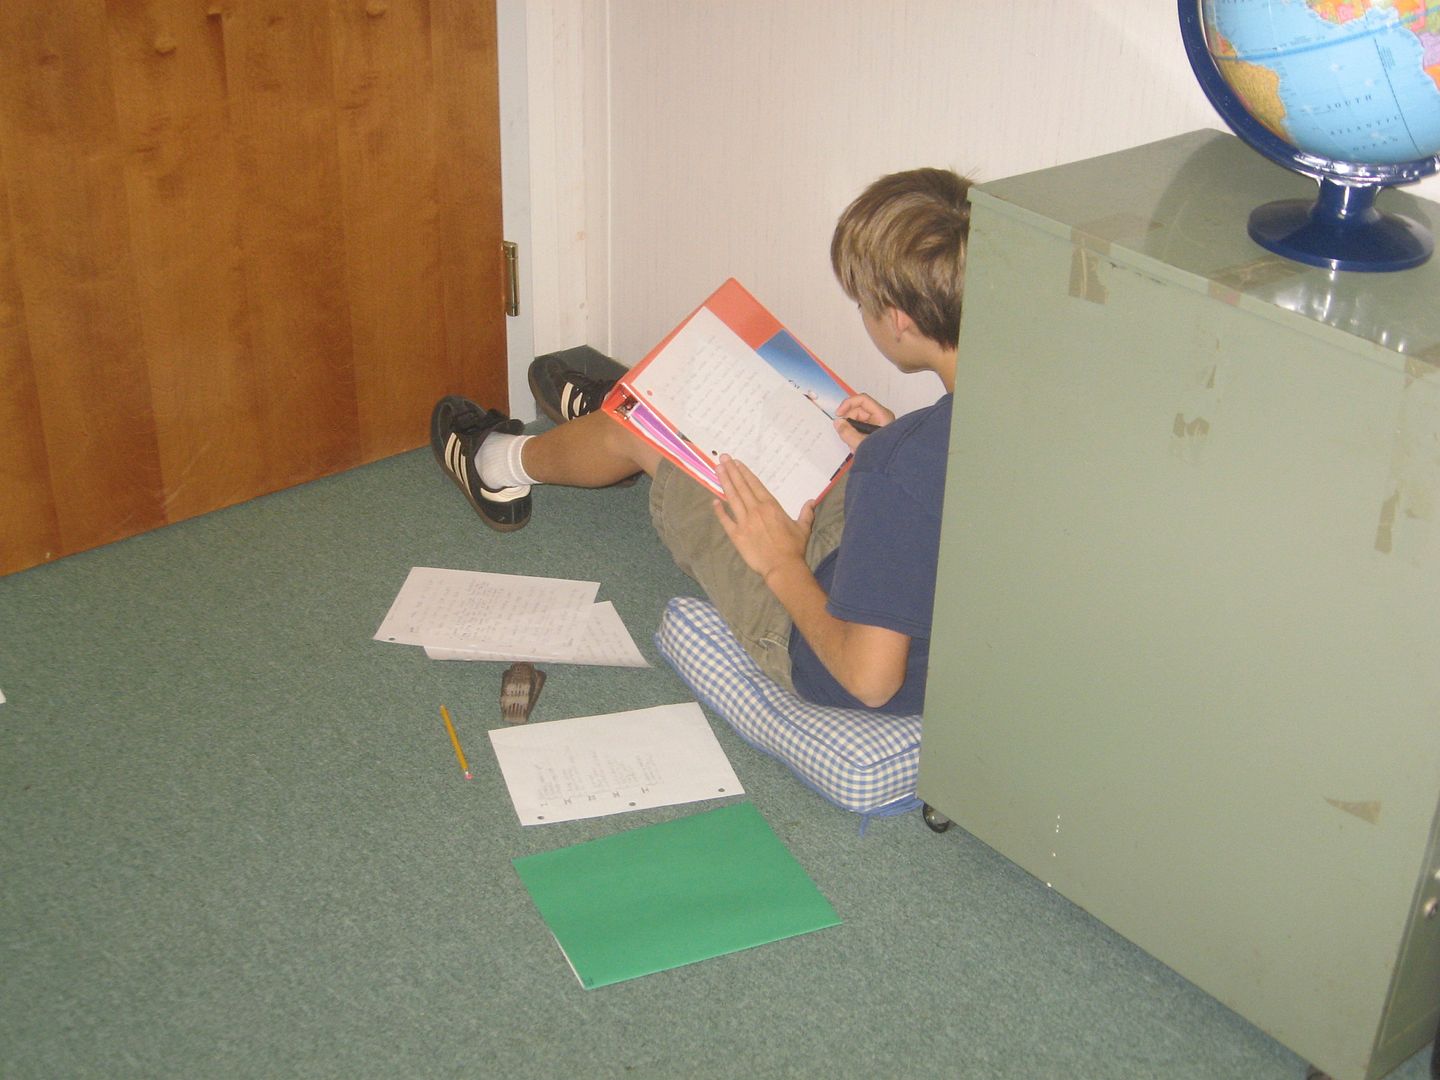
I also remember my first Woodlawn students making liberal use of the cushions I’d bought for their writing workshops. I called them my “floor-sitters” because they’d never sit at a table when they could snag a space on the carpet with a cushion or two.
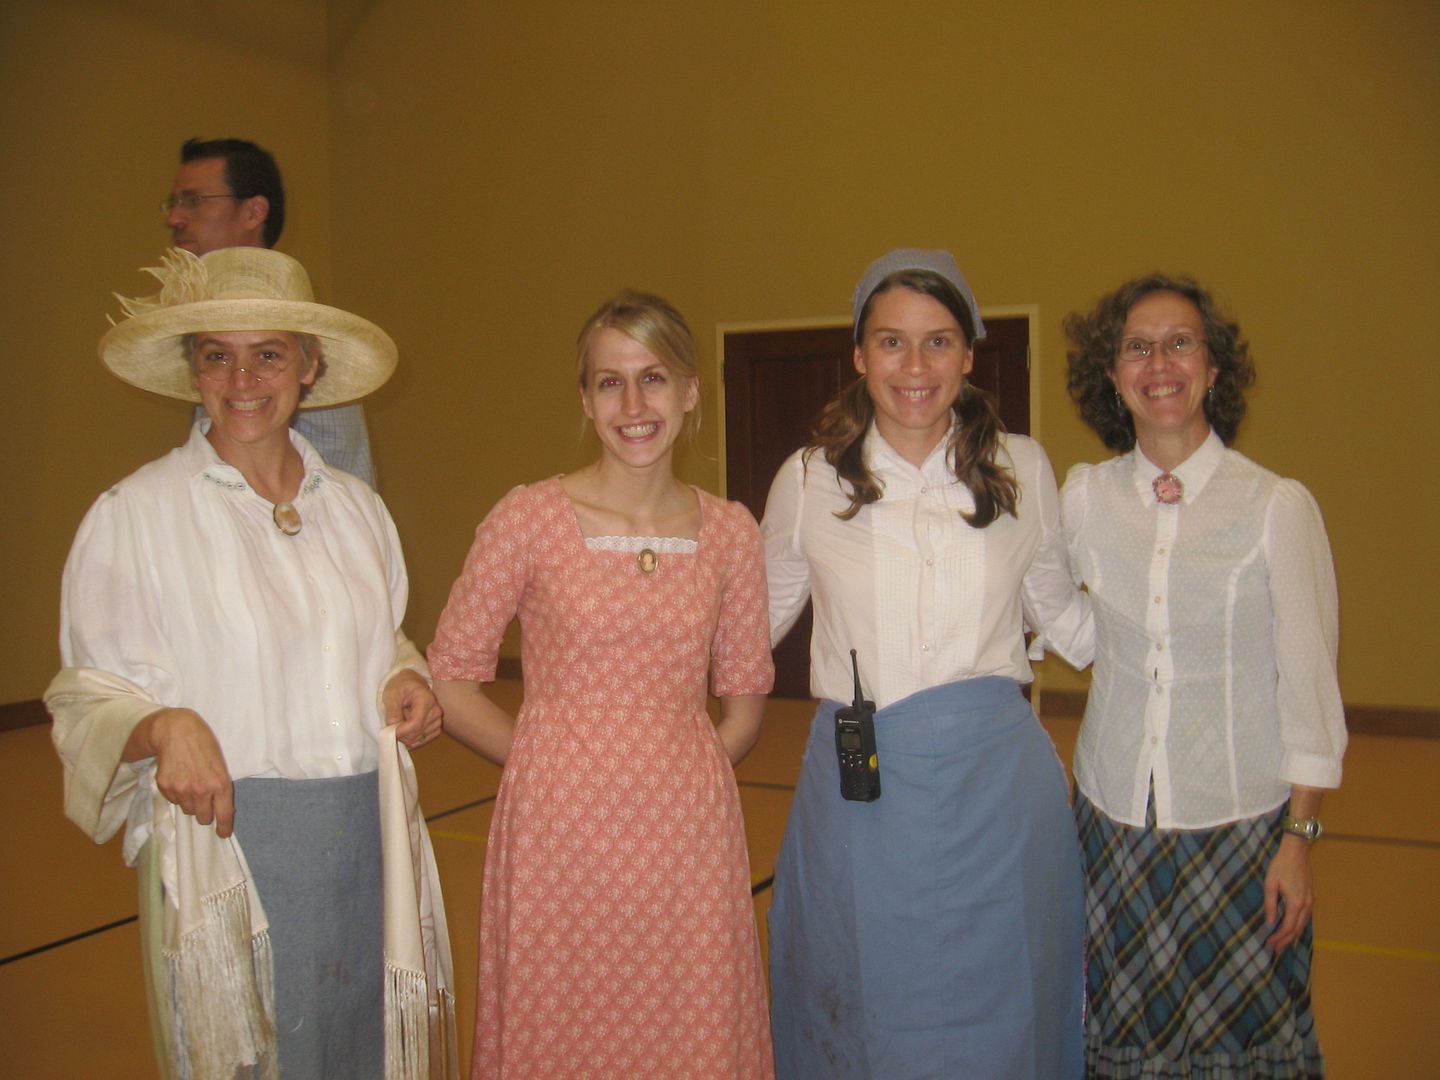
My first taste of Woodlawn Day was also in 2008. We teachers donned costumes and led the students through tours of the old Stinson plantation house, 19th century games, square dancing, gardening, and of course, 19th century popsicles (don’t think too hard about that one).
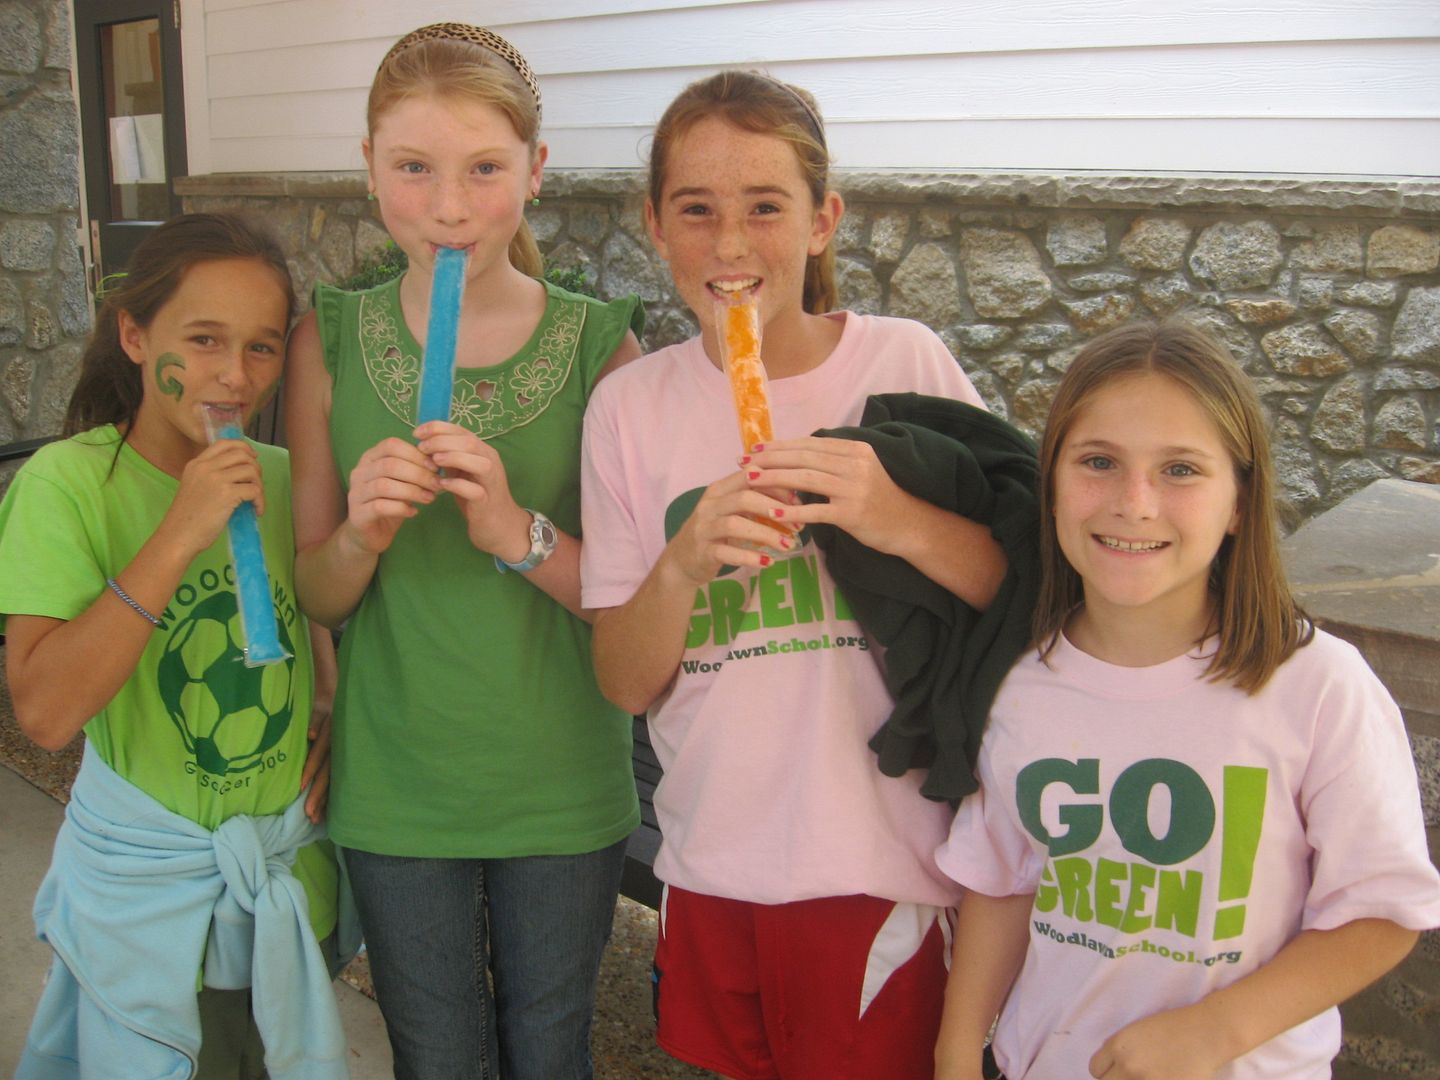
Like our beautiful crane rainbow, all good things must come to an end. That first year did, and I remember the odd, unexpected sadness I felt that June as I realized my time with my students was over. Now, as my time at Woodlawn draws to a close, the sadness isn’t unexpected at all. But it is laced with a lot of sweetness, and a lot of wonderful memories. I hope I gave even half as much to my students and my school as they gave to me.
* * *
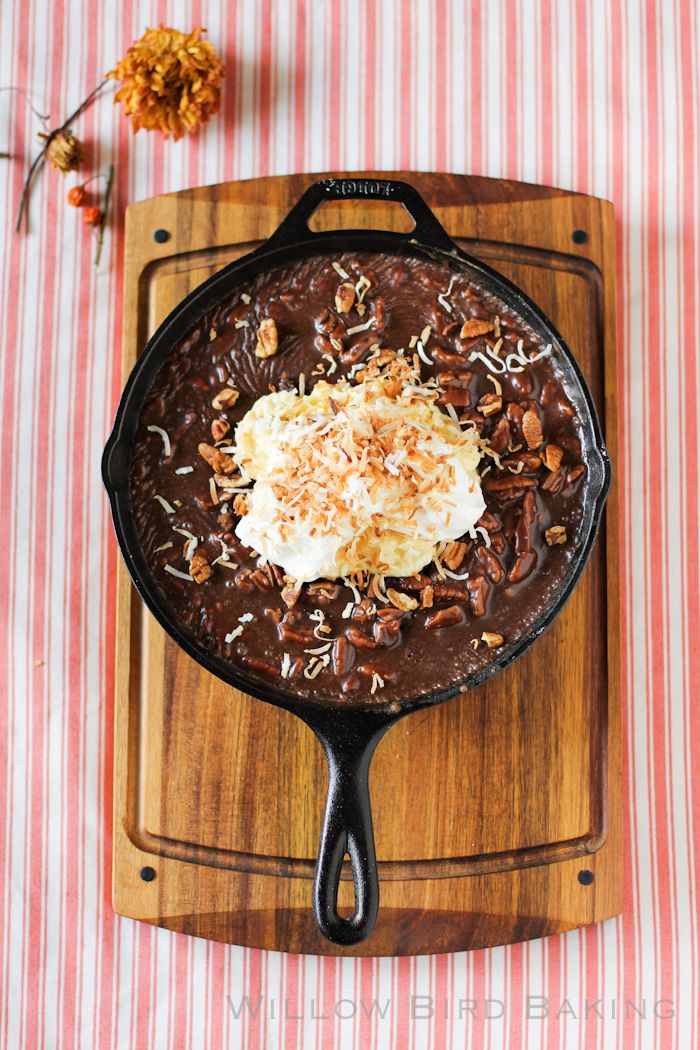
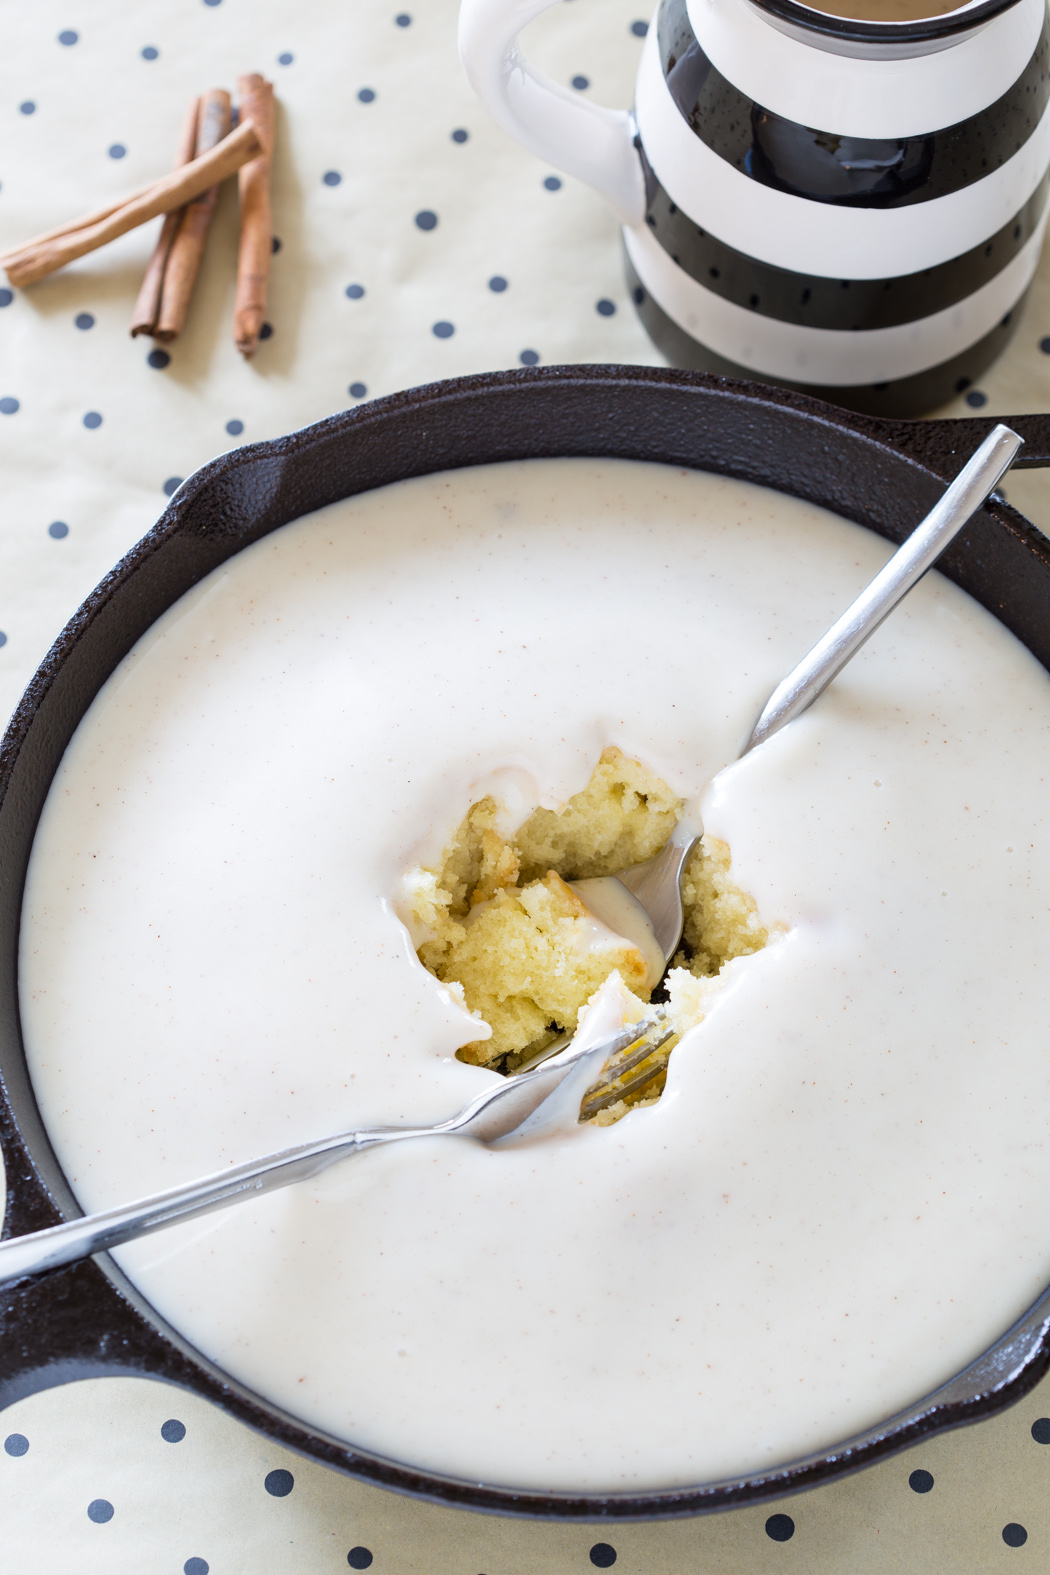
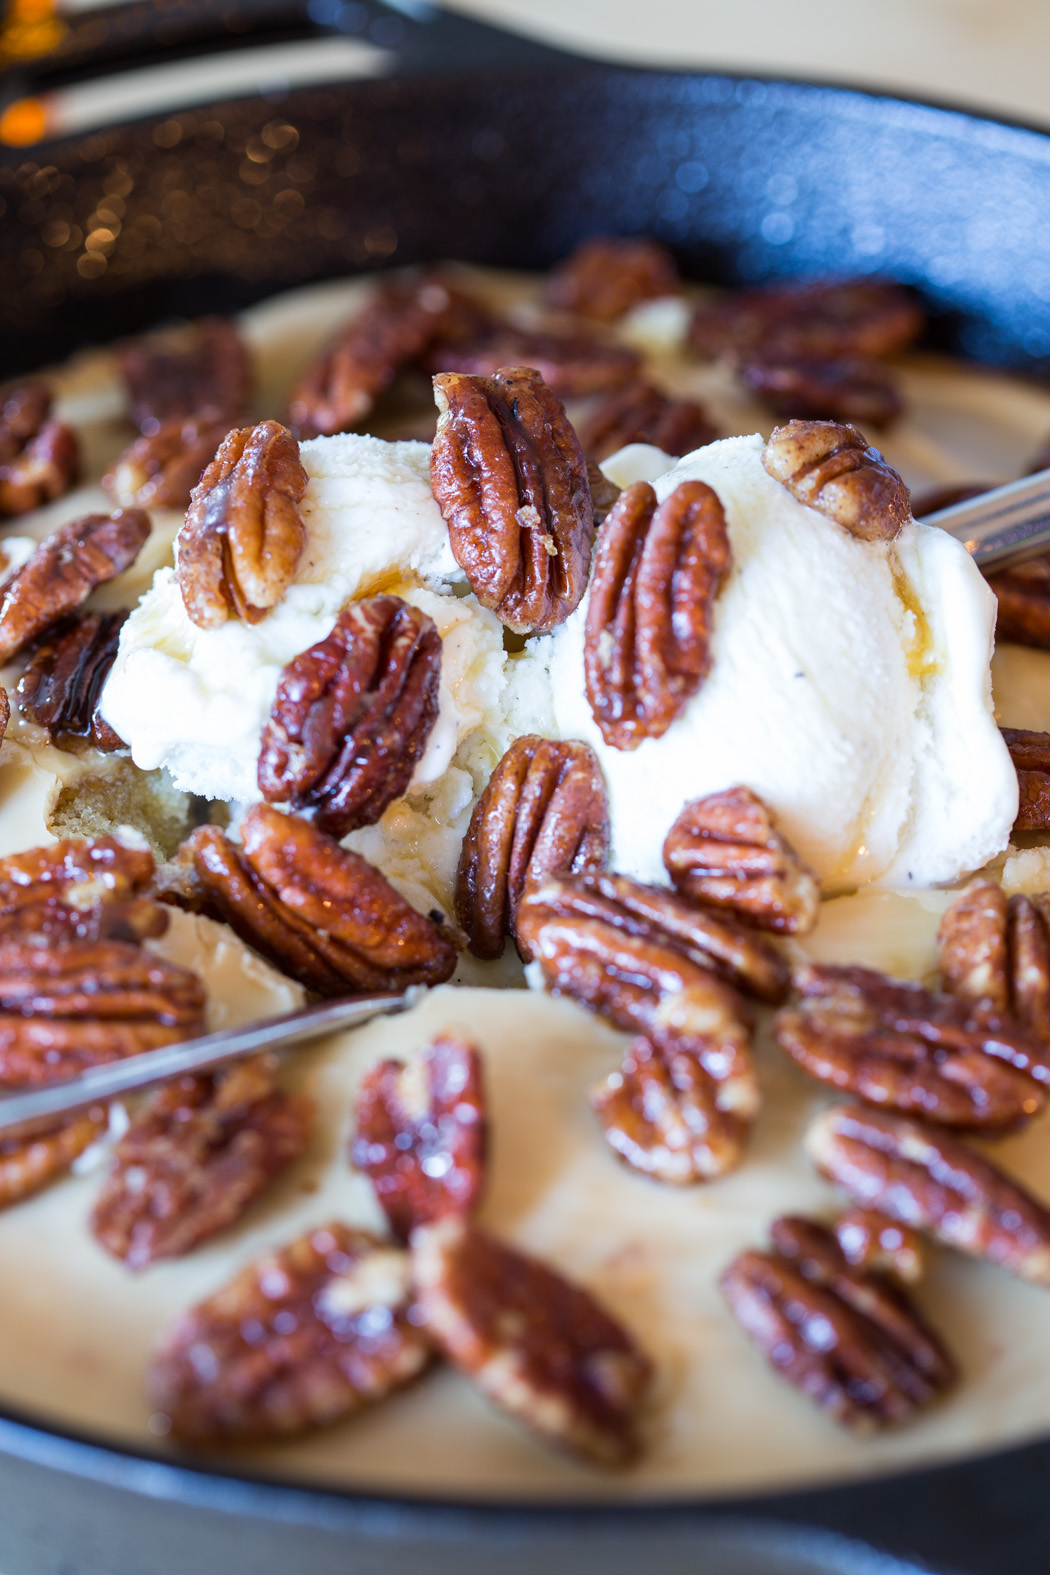
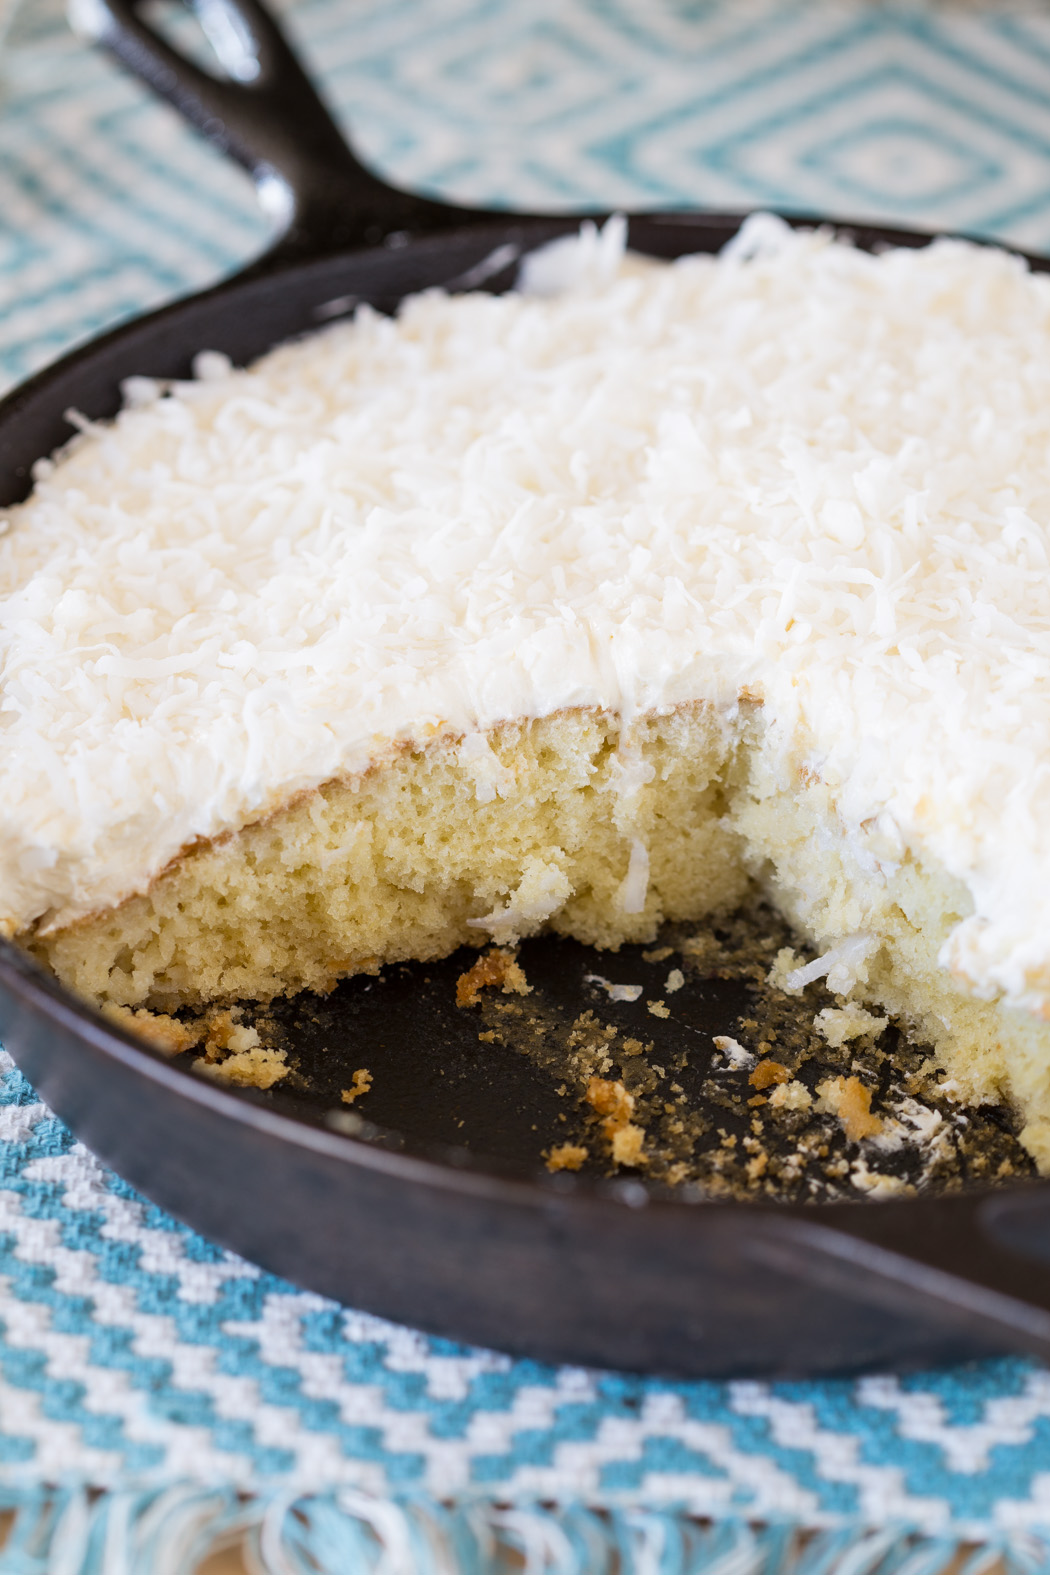
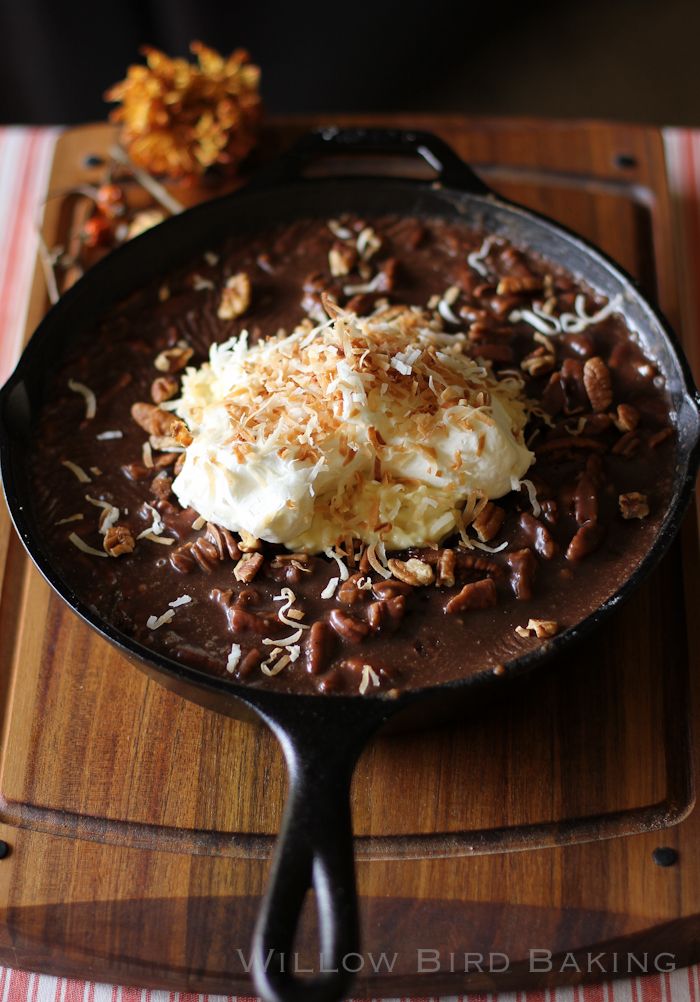
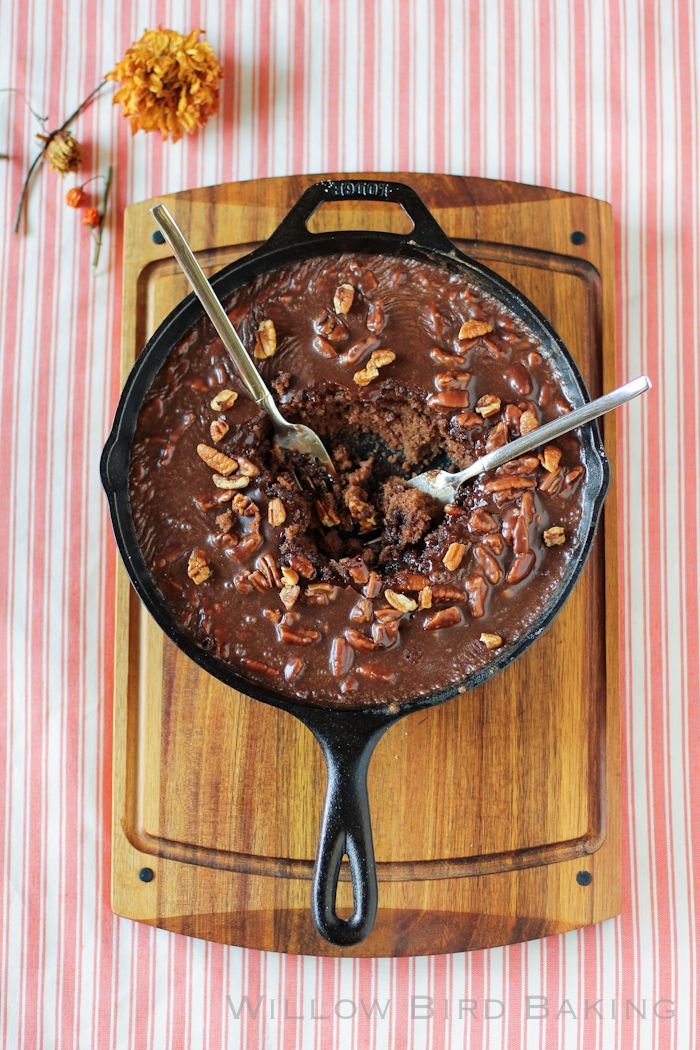
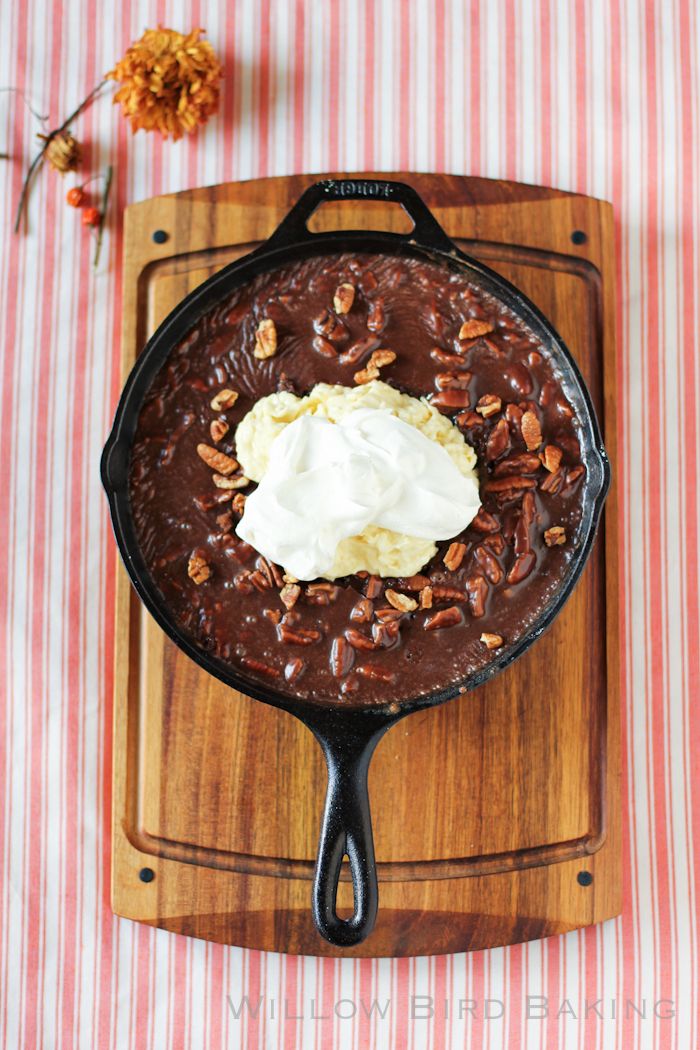
There’ll be more Woodlawn stories to come this summer as I prepare for my move. There’s so much more to tell. In the meantime, here’s some cake! Mike picked out the flavors for this weekend’s dessert and, no surprise, they involved lots of chocolate and coconut. This cake is basically a Texas Sheet Cake scaled down to fit in a skillet. It’s wonderful all by itself, but topping it with a huge mountain of coconut pastry cream and fluffy whipped cream takes it right over the edge. As always, I recommend diving into this dessert straight out of the skillet!

One year ago: Crispy Baked Sweet Potato Fries with Basil Salt and Lemon Garlic Dipping Sauce
Two years ago: Blueberry Cream Cheese Almond Braid
Three years ago: Santa Fe Breakfast Bake
Gooey Chocolate Coconut Cream Skillet Cake
Recipe by: Willow Bird Baking, based on the ubiquitous and absolutely delicious Texas Sheet Cake, with coconut cream from Zoë Bakes
Yield: 4-6 servings
This cake is like you took heaven, put it in a skillet, and added coconut cream. It’s also tremendously fun to eat straight out of the cast iron. What a great treat to pull out for your family after dinner.
Cake Ingredients:
1 cup flour
1/2 teaspoon baking soda
3/4 cup sugar
dash salt
1/4 cup (1/2 stick) butter
1/4 cup vegetable oil
2 tablespoons cocoa powder
1/2 cup water
1/4 cup buttermilk
1 egg
1/2 teaspoon vanilla
Frosting Ingredients:
1/4 cup (1/2 stick) butter
2 tablespoons cocoa
3-4 tablespoons milk (as needed for consistency)
1/2 cup pecans, chopped
2 cups powdered sugar
1/2 teaspoon vanilla
Coconut Cream Filling Ingredients:
1/2 of a 14-ounce can unsweetened coconut milk
3/8 cup sugar
1 teaspoon vanilla extract
pinch kosher salt
2 large egg yolks
1 tablespoon corn starch
1 tablespoon unsalted butter
1/2 cup sweetened coconut flakes
1/4 cup whipping cream
extra whipping cream
toasted coconut (optional)
Directions:
Make coconut cream: Heat the coconut milk, sugar, salt and vanilla in a medium saucepan over medium heat. In a bowl, whisk together the egg yolks and corn starch. Add 1/4 cup of the hot cream slowly to the yolks, whisking as you add. Then pour the yolk mixture into the pot of hot cream and whisk. Continue to whisk with heat on medium-high for 3 more minutes. The mixture will turn thick and bubble. You need to continue to whisk for the full 3 minutes or the pastry cream will separate once it is cool. After the 3 minutes, whisk in the butter. Add the coconut flakes. Pour into a shallow dish to cool.
Cover with plastic wrap pressed right against the pastry cream. This will prevent a thick skin from forming on the surface. Refrigerate for at least an hour or freeze for 30 minutes. Once it is cold, stir the pastry cream to loosen. Whip the 1/4 cup cream to medium peaks. Stir in a third of the whipped cream to the pastry cream to lighten. Fold in the remaining cream until the pastry cream is nice and light. Chill until ready to use.
Make the cake: Preheat the oven to 350 degrees F. In a large bowl, whisk flour, baking soda, sugar, and salt together and set aside.
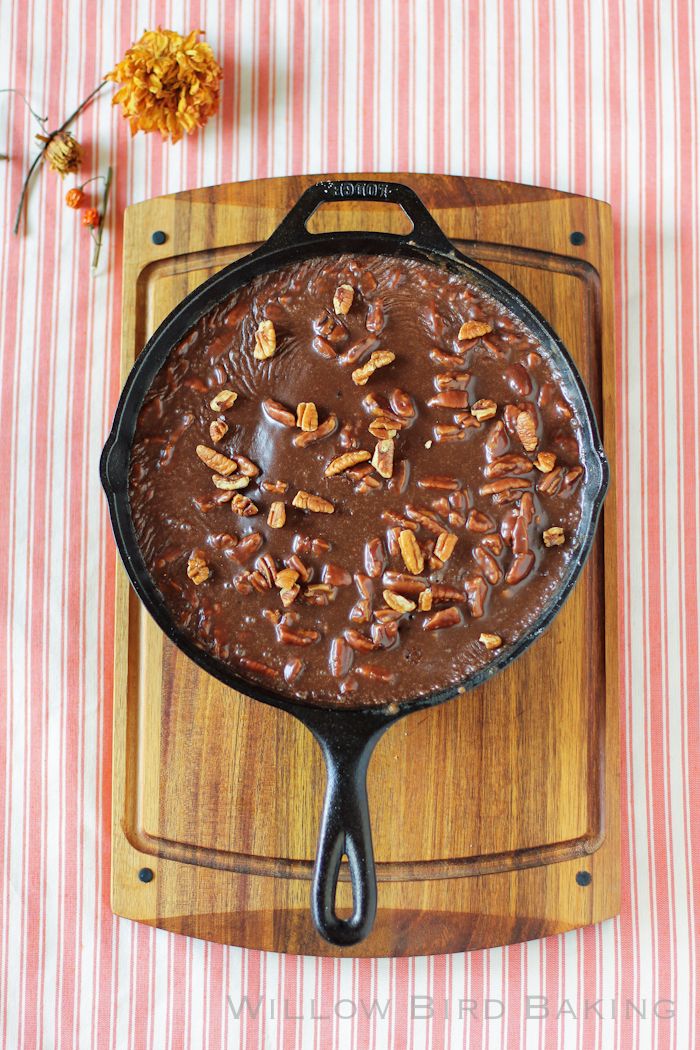
In a 10-inch cast iron skillet, bring the butter, vegetable oil, cocoa powder, and water to a boil. Remove it from the heat and whisk in the dry ingredients well. Mix in the buttermilk, egg, and vanilla. Bake the skillet cake at 350 degrees F for about 15-20 minutes or until a toothpick comes out with just a few moist crumbs.
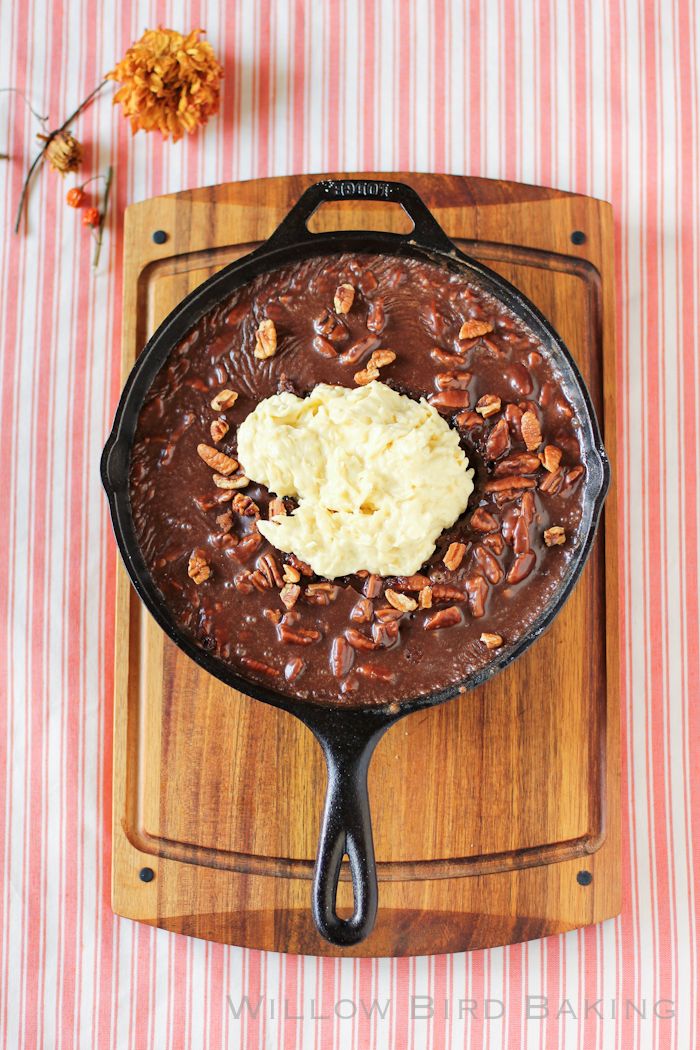
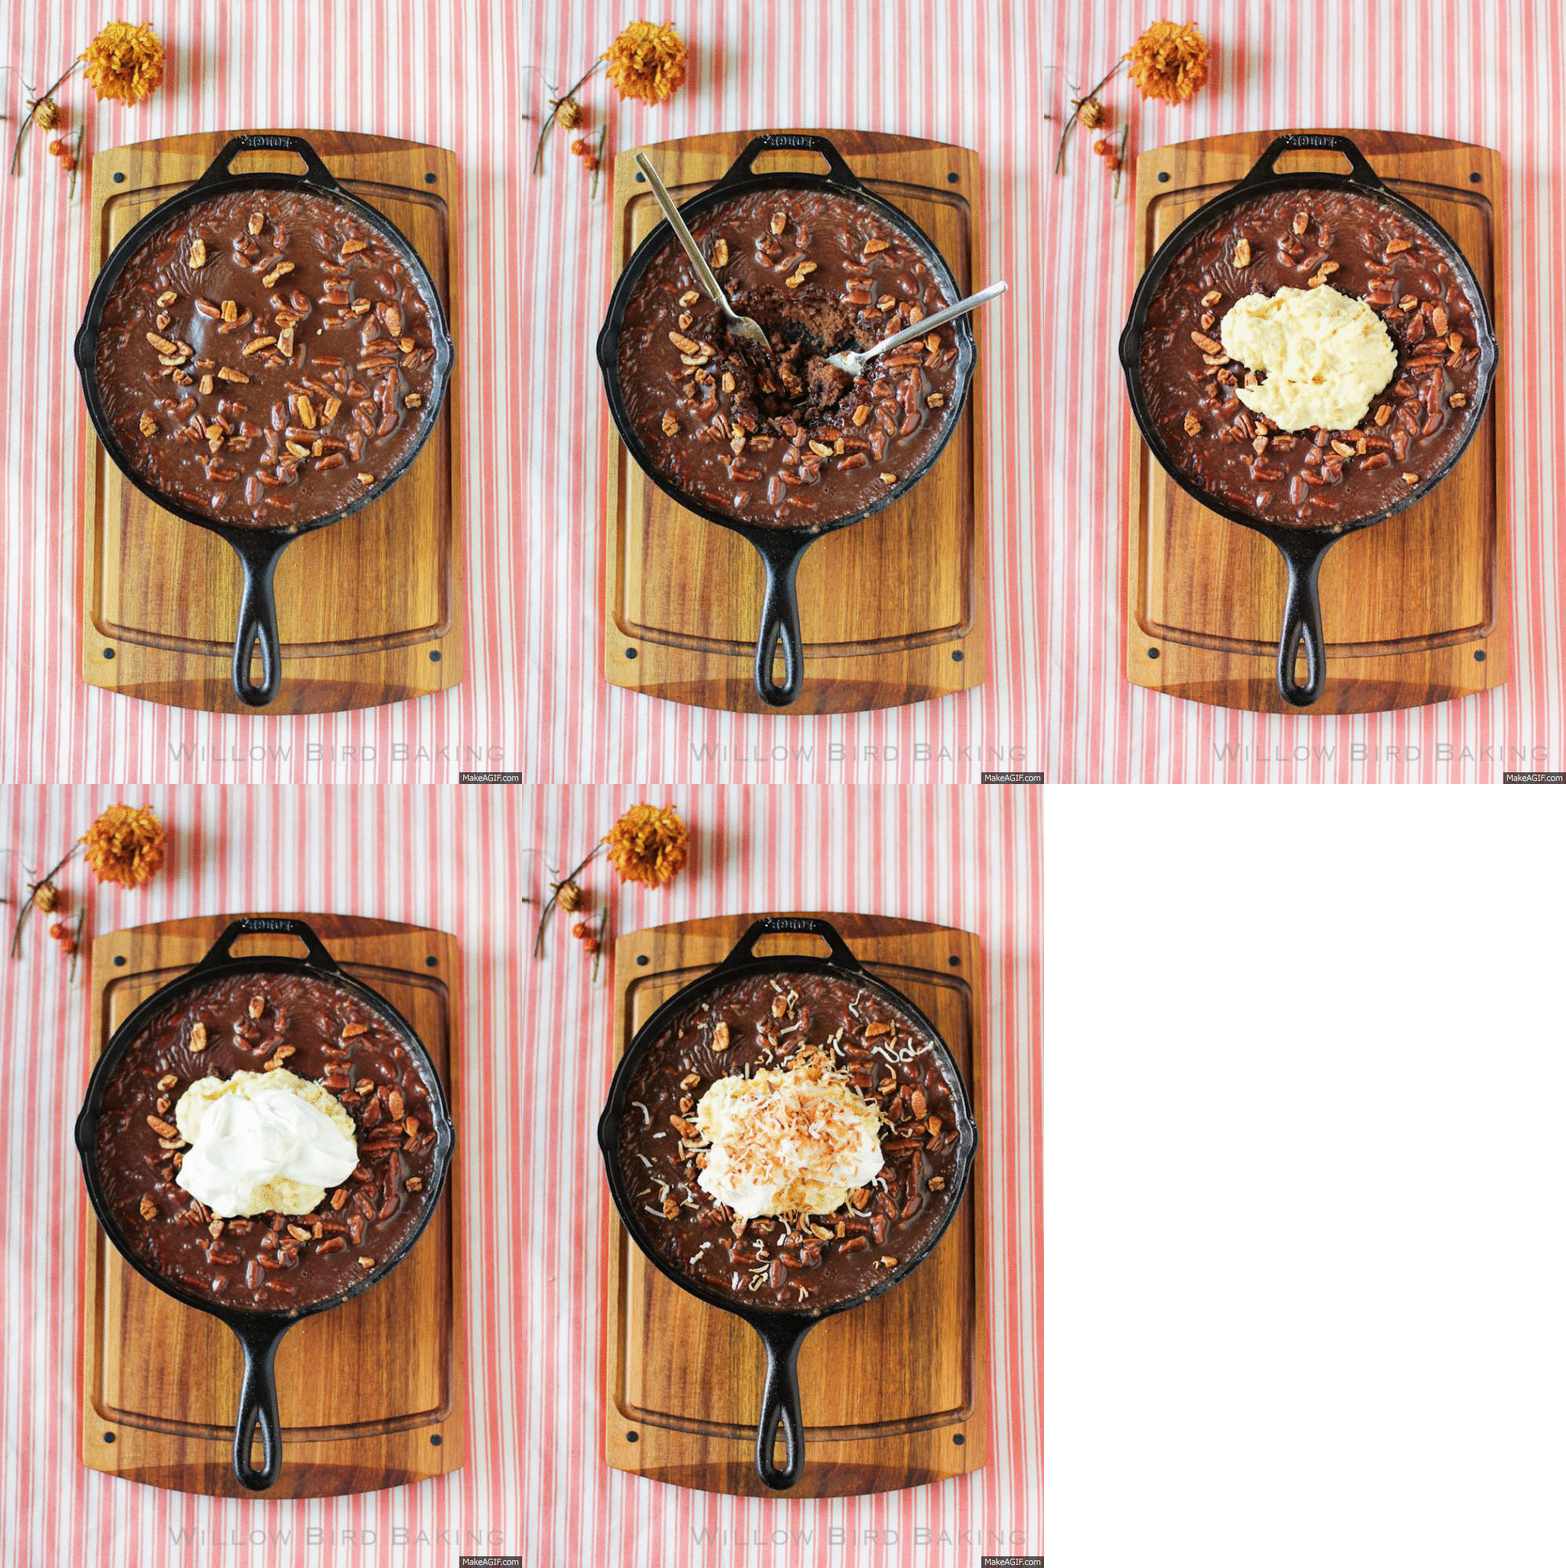
Make the frosting: While the cake starts to cool, bring the butter, cocoa, and milk to a boil in a medium saucepan. Remove them from heat and add the icing sugar, nuts, and vanilla. Stir to combine. Pour over the warm cake, spread with a spatula. Let the cake cool completely. While it cools, whip excess cream to stiff peaks. Toast some coconut on a sheet pan at 350 degrees F, tossing often, for about 5 minutes. Once the cake is cool, scoop out a hollow in the middle of the cake (chef gets to eat the excess cake, of course!) and pour in the coconut pastry cream. Top with whipped cream and toasted coconut. Serve immediately (as you know, I like to eat it straight from the skillet!)
P.S. You know I had to create an animated gif:
Strawberry Coconut Cream Pie

When I was 14 years old, I did something I had never done before. I outright lied to my parents. (Don’t tell my students; I’ve convinced them that I was above reproach as a middle schooler.)
I would say that I don’t know what possessed me, but I do: there was this bold, irreverent high school boy (with long hair, swoon!) who wanted to meet me.
Mike and I had been talking online for weeks. I’d accidentally contacted him while trying to instant message his sister, who was my classmate and friend, and after awhile I was smitten. We’d tried to arrange a meeting, but my parents had understandably forbidden it because of his age. One weekend, though, Mike had a movie date with another girl and I had a parent-sanctioned very public “date” with another boy my age. We were both really only interested in meeting each other, though, and saw this as an opportunity: I fudged the time of my date and asked my parents to drop me off at the mall hours before I was actually supposed to be there. I wore my cutest black pants and white button-down shirt and told Mike to meet me by the fountain.
To be clear, I was the goody-two-shoesiest kid you could imagine. Lying to my parents was not a thing I did, much less lying to my parents to meet a boy. I don’t know how I kept it together. My face burned the whole time I stood by the fountain. When I felt a hand on my shoulder, I thought I might die. Through waves of intense teenage angst, agonizing pangs of conscience, and tremendous excitement, I turned around to finally meet Mike.
He was just so cool, y’all. He was wearing a South Carolina Gamecocks baseball cap that just said COCKS in gigantic letters, a choice I found hilarious and characteristically bold. His long hair (!) was pulled back in a ponytail. He wrapped me in a hug first thing. I died. The end.
Well, that’s what it felt like, anyway. In reality, I awkwardly broke the hug and we started walking around the mall. I’m sure I was laughing nervously every 5 seconds. I’d never been on a real date-date before — like, with someone I really liked! An older boy! With long hair! Ahhh! — and I had no clue what to actually do. Questions raced through my mind: Should we walk through stores? Is that boring? Should we eat? But who pays? Does he expect me to kiss him? Will he try and kiss me? Is that a thing people do? Hyperventilate, rinse, repeat.
I walked in a happy/anxious daze through the wide mall corridors, talking about who knows what. Mike was so much more comfortable than I was. He held my hand without a second thought. He decided he wanted Chinese food, but I felt too shy to let him buy me anything other than a Coke. He took about 4 straws and drank his water through all of them at once without saying a word about it. Who does that?! He was so cool. Ahhh.
Finally, way too soon, it was almost time for my legitimate “date” to arrive. Mike saw that I was disappointed and asked me if I wanted to continue hanging out, but I knew it’d be wrong to ditch the other guy. We reluctantly said our goodbyes. I could tell he wanted to kiss me, but I told him I was way too nervous! It was a good thing: right at that point, my “real date” walked up. I introduced Mike as a friend and then he left. I thought about him the rest of the day, the rest of the week, the rest of the month, the rest of my life since then.
And in case you’re wondering: Miss Goody-Two-Shoes spilled everything to her parents that very evening, and assured them Mike was a perfect gentleman. They were Not. Amused.
This past Saturday, 15 years after that first meeting, Mike and I were walking hand-in-hand again, this time around one of our favorite little shopping centers in Raleigh. A live band was playing covers of Otis Redding and Tracy Chapman and the sun had just started to set, so the weather was cooling off. We walked out of a store and stood by a fountain in the twilight, giving each other a little hug. “Julie,” he started. Before I knew what was happening, he was down on one knee. “Will you marry me?”
At first, the words didn’t register. I thought he was asking . . . I don’t know. Casually? Generally? Like, “Hey, you want to get married someday?” My brain wasn’t working. But it quickly got into gear: he’s down on his knee! in his nice linen pants, even! that means this is, like, the REAL THING.
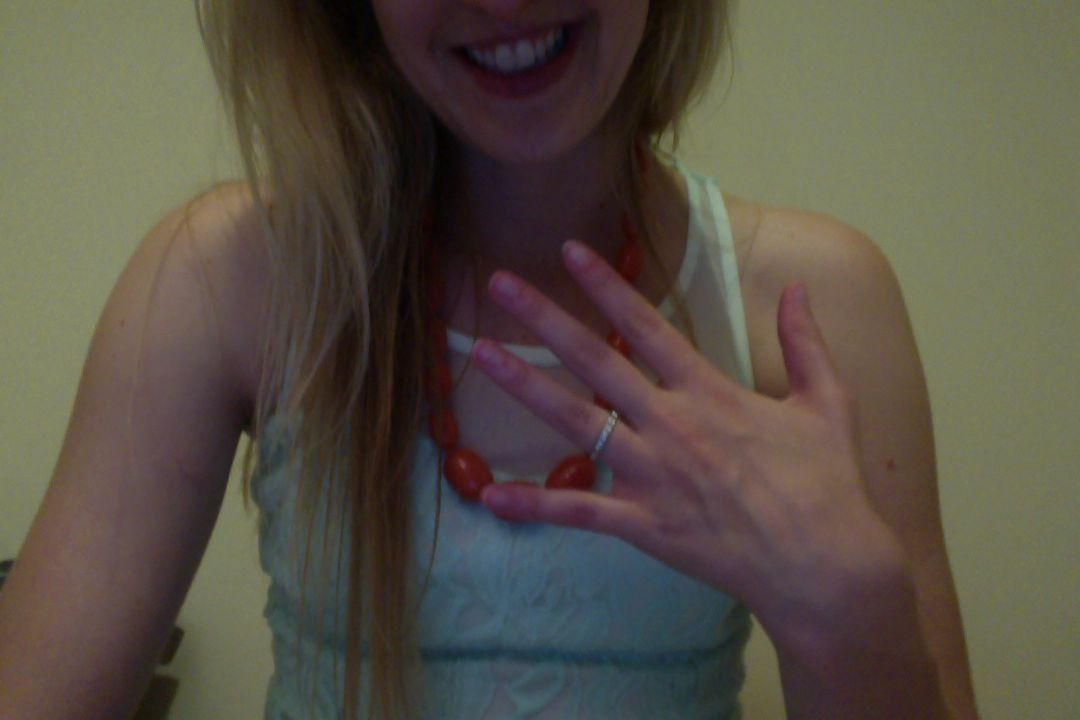
I think I said something like, “Yes. Wait, really? What? OH. This is happening! YES.” Cue so many tears and so much laughter. He held up the most beautiful ring I’ve ever seen — a vintage art deco band from the 1930s, it turns out, though at the time, all I could think was, he even has a ring; oh man, this is totally the real thing!
I’ve always wondered: after the big proposal and related kerfuffle, what does the newly engaged couple do? How do you follow that? Do you talk? Do you pile in your car and go home? Do you go celebrate?
For us, the answer was a lot more nervous laughter and a lot of crying. We probably sat by that fountain for at least 45 minutes afterward, calling my parents, thanking congratulatory passers-by, holding hands, and thinking about our 15 years together. At one point I demonstrated my Zumba moves to Justin Timberlake’s “Mirror.” To be honest, nothing was making sense at that point. We were just so happy, so in love, so excited.
I told Mike as we were walking to the car, “Well, this is the best day of my life so far.”
“Really?” he asked.
“Definitely.”
But if I had to pick a second place, I might pick that first day we met, by that first fountain — the first time I saw the man who I would someday marry.
One year ago: Crispy Baked Sweet Potato Fries with Basil Salt and Lemon Garlic Dipping Sauce
Two years ago: Blueberry Cream Cheese Almond Braid
Three years ago: Blueberry Walnut Bread
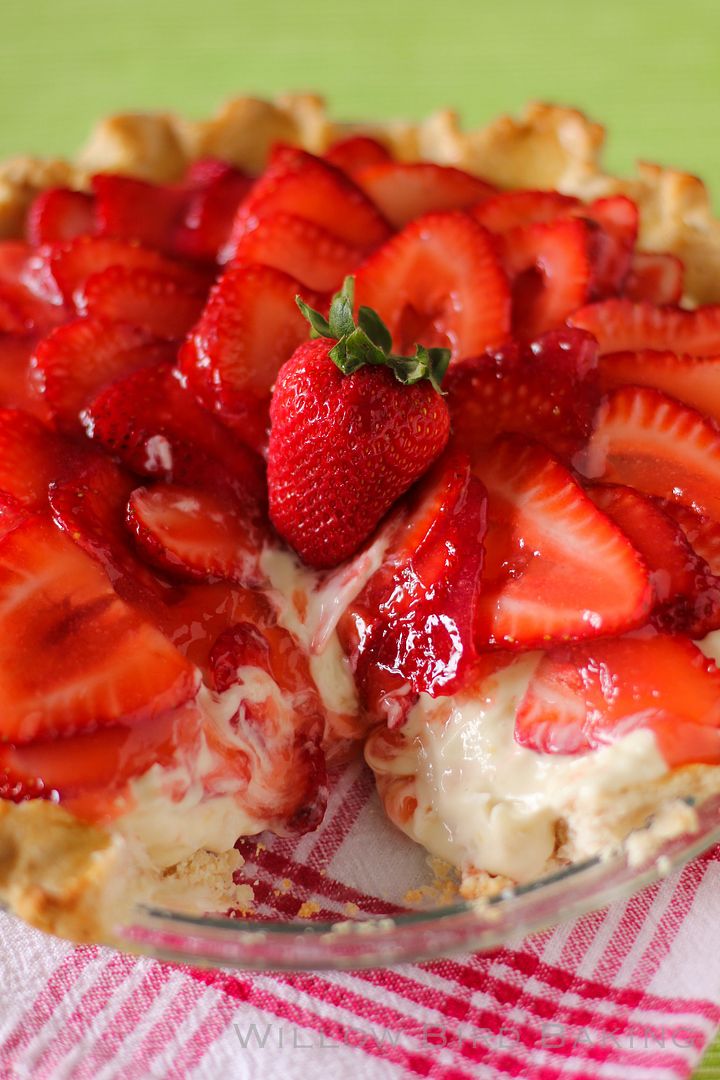
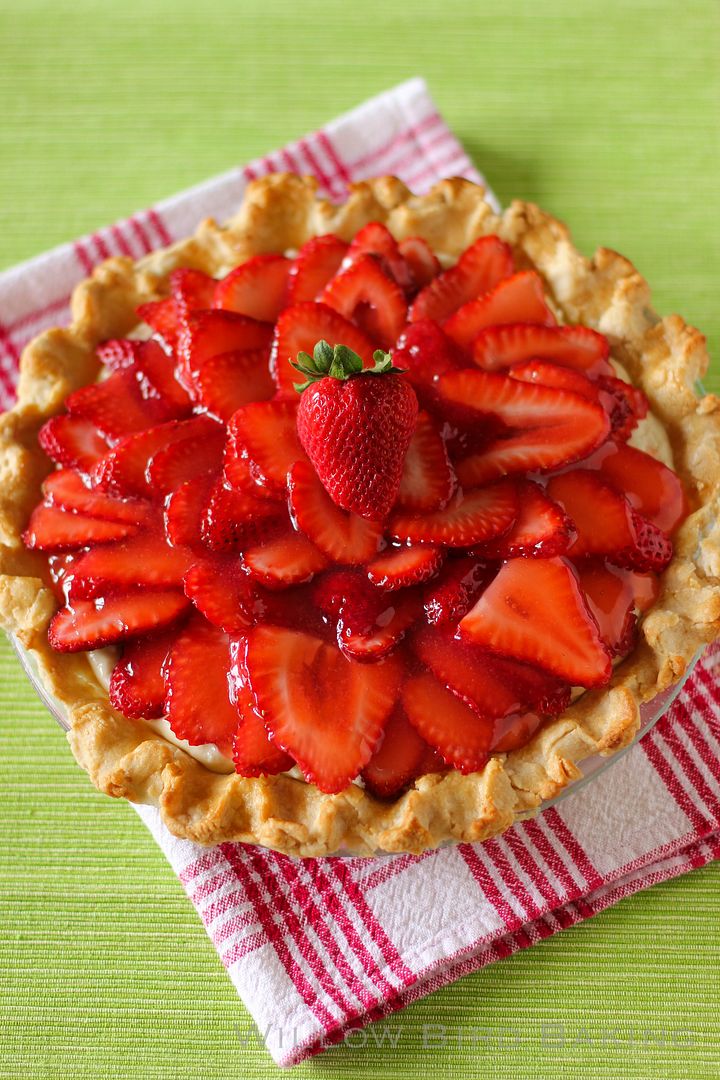
Strawberry Coconut Cream Pie
Recipe by: Willow Bird Baking, with basic pie recipe modeled on my Aunt Pat’s pie and coconut cream from Zoë Bakes
Yield: one 9-inch pie
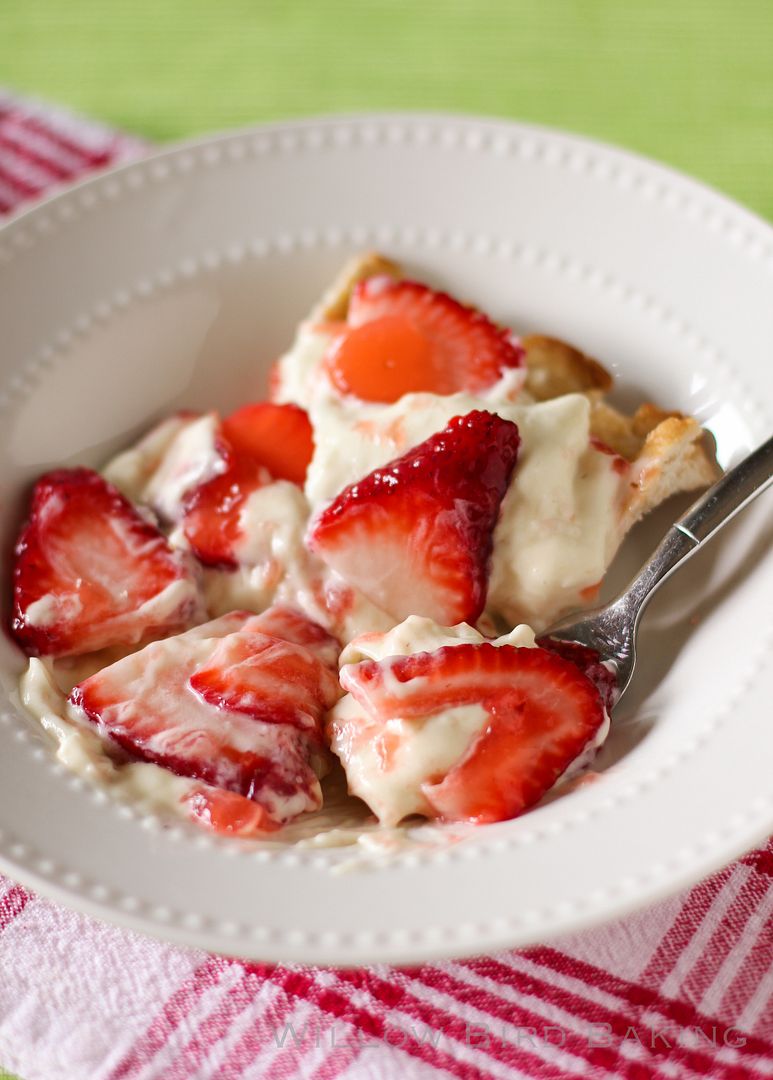
This pie is one of the best pies I’ve ever eaten, and Mike’s already asked for a repeat appearance! It doesn’t hold it’s shape well — it’s more of a pudding pie — and so I serve it in a bowl. It’s more than delicious enough to make up for that, though.
Pie Crust Ingredients:
1 blind baked (until golden) and cooled pie crust
Coconut Cream Filling Ingredients:
1 can (14 fluid ounces) unsweetened coconut milk
3/4 cup sugar
2 teaspoons vanilla extract
pinch kosher salt
3 large egg yolks
2 tablespoons corn starch
2 tablespoons unsalted butter
1 cup sweetened coconut flakes
1/2 cup whipping cream
Topping Ingredients:
1 1/2 cups fresh strawberries
1/2 cup water
1/4 cup sugar
2 teaspoons cornstarch
red food coloring (optional; I skipped this)
mint leaves or whole strawberries for garnish (optional)
Directions:
To make filling: Heat the coconut milk, sugar, salt and vanilla in a medium saucepan over medium heat. In a bowl, whisk together the egg yolks and corn starch. Add 1/2 cup of the hot cream slowly to the yolks, whisking as you add. Then pour the yolk mixture into the pot of hot cream and whisk. Continue to whisk with heat on medium-high for 3 more minutes. The mixture will turn thick and bubble. You need to continue to whisk for the full 3 minutes or the pastry cream will separate once it is cool. After the 3 minutes, whisk in the butter. Add the coconut flakes. Pour into a shallow dish to cool.
Cover with plastic wrap pressed right against the pastry cream. This will prevent a thick skin from forming on the surface. Refrigerate for at least an hour or freeze for 30 minutes. Once it is cold, stir the pastry cream to loosen. Whip the 1/2 cup cream to medium peaks. Stir in 1/3 to the pastry cream to lighten. Fold in the remaining cream until the pastry cream is nice and light. Fill baked, cooled pie crust with your coconut filling.
Slice 1 cup of strawberries in thin slices lengthwise and layer the slices in pretty concentric circles around the top of the coconut cream. Set this in the fridge to chill while you make your glaze.
Make the glaze: Crush remaining 1/2 cup of strawberries and boil with water in a saucepan over medium-high heat for two minutes. Strain through a fine mesh sieve and discard the pulp. Add the juice back to the saucepan over medium-high heat and gradually whisk in sugar and cornstarch. Cook until thickened. Mine had lumps of cornstarch despite my best efforts, but no worries; I just strained it again once thickened. If you want, you can tint this glaze with food coloring to desired hue, but mine was plenty bright enough!
Cool the glaze slightly (I transferred mine to a heat-proof measuring cup with a pour spout to cool for a bit) and then pour over top of strawberry slices on your pie. Garnish with big mint leaves, if you’d like, or whole strawberries. Chill entire pie for at least a few hours for best results; cut with a knife held under hot water and then dried. It’ll still be a bit puddingy, so I served mine in a shallow bowl! Use a pie gate (or a makeshift pie gate made from aluminum foil) to keep remaining pie from oozing in the pie plate after slicing.
Spiked Biscoff Cookie Icebox Cake (only 5 ingredients!)
In college, I noticed that the goal of English teachers seemed to be to complicate things. This annoyed me at the time, but I figured maybe I was imagining it. Then I became an English teacher, and now I can say for sure that I was not imagining it. I do try to create a certain level of uncertainty in the discussions I start and the projects I give my students. They, in turn, are annoyed.
But I think I’m in good company: if God had simply wanted us to get to a final, clear, unequivocal answer, He could’ve knocked us over the head with a lightning bolt and spelled it out. But He sent prophets; Christ spoke in parables; “signs” were not literal signs with, like, letters and things. There was a level of indirectness there that wasn’t an accident. Something about the process of being confused, searching for information, unwinding the data, living in the mystery — something about the journey was the destination.
In our most recent project, my students graphed the intensity of different plot points from a novel. The goal is to get them to examine the structure of a story using some techniques they’ve learned about making visual comparisons from math. It’s cool. They hate it.
Here’s why: they don’t know what their axes should look like. They’re not sure what to do when two points overlap. They inevitably encounter a problem with where to graph things that happen in “winter” — at the beginning or end of a year? If they were doing this project at home, I think they would probably (with parental permission, of course) set it on fire and dance on the ashes.
But they’re doing this project in my classroom, and I don’t allow matches. Plus I sing and dance and guide and encourage, so they usually don’t quite reach the arson level of frustration.
One day, sensing a particularly acute sense of hopelessness in a couple of students, I stopped the class and let them in on my little secret. “Don’t feel sad when you reach a problem, or think that that means you’re failing at your project work. Actually, I put problems in on purpose. Teachers are a little sadistic like that.” Cue lots of groaning.
“Really, though, I think sometimes we’re used to school projects feeling like a ride downhill on a bike: wheeeeee! and then we’re at the bottom, easy as pie. But in the real world, projects aren’t like that at all. I’m trying to get you ready for the real world — in fact, you’re really already IN the real world! — so it doesn’t do any good to have you just glue stuff on a poster all day. In the real world, you get on your bike and start pedaling and BAM, there’s a huge wall. You can sit at the base of the wall and feel sad about it, or you can try a few things. Some of them might not work. But eventually you’ll find some footholds and climb up. When you get to the other side, you’ll realize that you now know how to climb a wall! And you feel strong and capable! Awesome!
“Then you’ll keep on jogging along and eventually, BAM, there’s a deep moat. With, like, piranhas. And you could sit down and give up, but you could also try some things. You might try some of the wrong things and get your fingers nibbled a little. But eventually you’ll realize that music puts the piranhas to sleep and if you do the backstroke, you have enough energy and lung capacity to get across the water while singing “Row, Row, Row Your Boat.” And when you climb out on the other side, you’ll realize that you now know how to get past a moat! And you’ll feel even more strong and capable! Awesome!
“Eventually you’ll get to your destination, and instead of feeling like gravity took you there, or like you just wasted a lot of glue and poster board for no real reason, you’ll know that you learned something and grew throughout the process. No pain, no gain, as they say!”
My reassurance speech was long and a little quirky — my students will all tell you that that’s just how I roll — but I could tell their spirits were lifted. They’d been running into problems and thinking, “Uh-oh, I’m on the wrong track” instead of, “Okay, another challenge! Let’s go!” It’s a hard mental switch to make unless someone with the right amount of authority and insight into your situation can come by and give you permission to make it: “Hey, just so you know, even though it seems uncertain, you’re on the right track!”
I don’t know about you, but I very much understand their struggle. My life is my major project, and I often hit a wall or a moat. My reaction is usually: “Okay, that was the complete wrong path. I might’ve ruined everything. Whiiine.”
The funny thing is that someone with the right amount of authority and insight into my situation has already given me permission to make the mental switch and change my perspective. He’s given me all the information I need to feel optimistic in the face of obstacles, knowing they’re going to be productive and that I’m going to be safe in the long run. After telling his disciples about many coming troubles, Jesus said, “These things I have spoken to you, so that in Me you may have peace. In the world you have tribulation, but take courage; I have overcome the world” (John 16.33 NASB). Someone please remind me of that next time I’m grabbing for the matches.
Do you find it easy to remain optimistic during your struggles, or difficult?
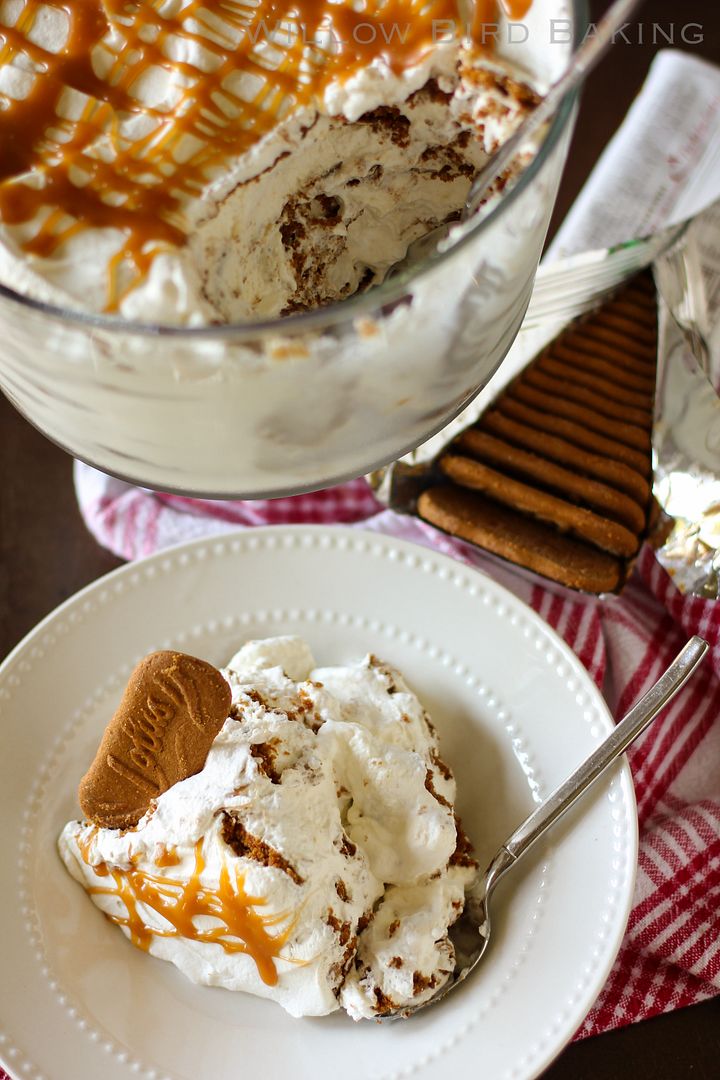
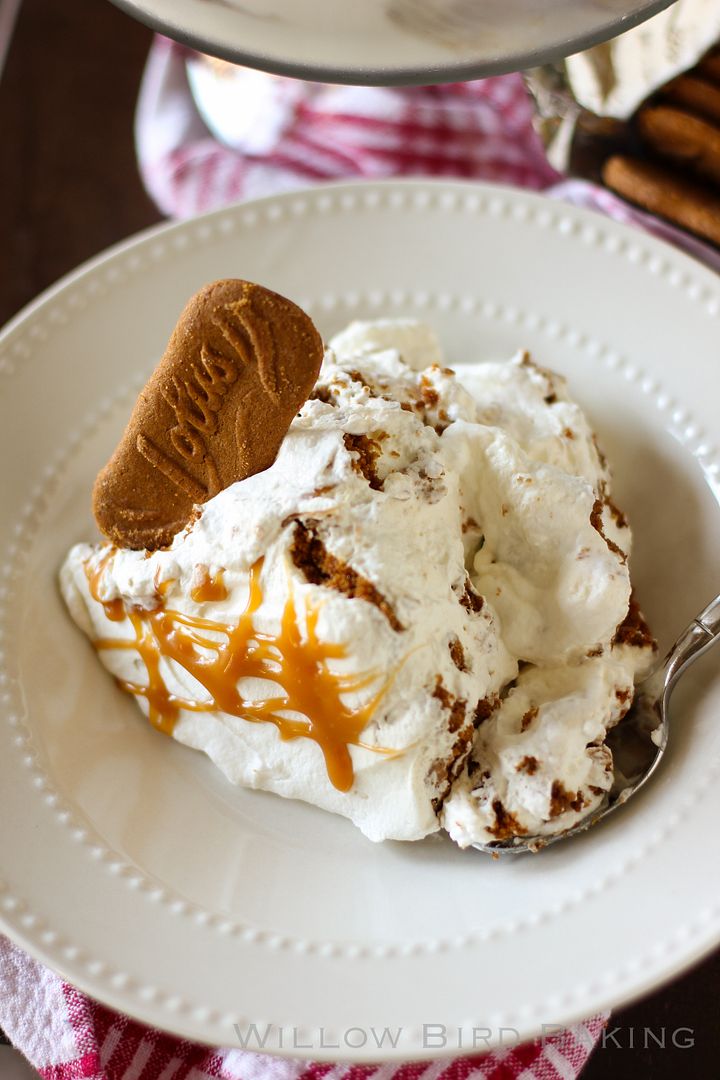
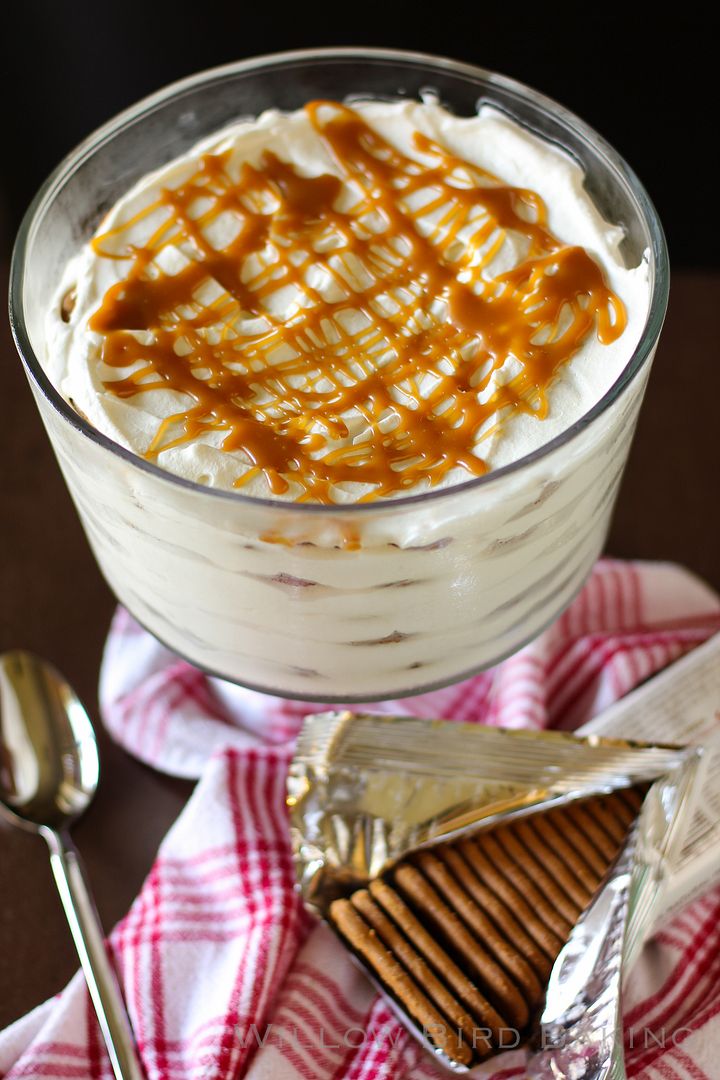
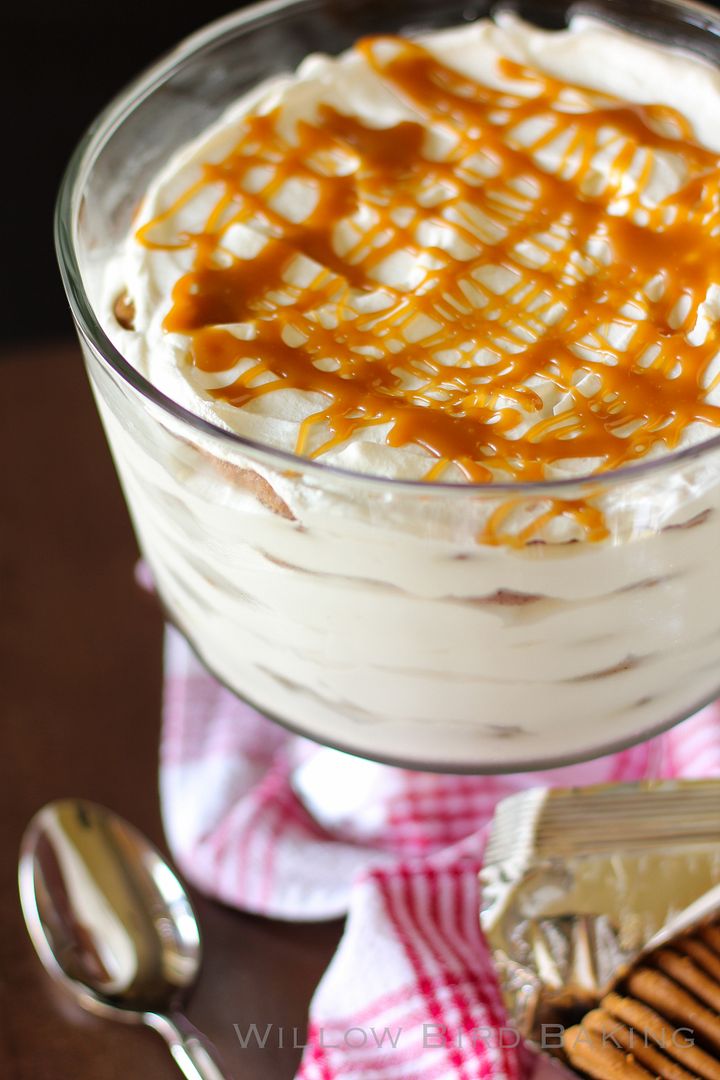
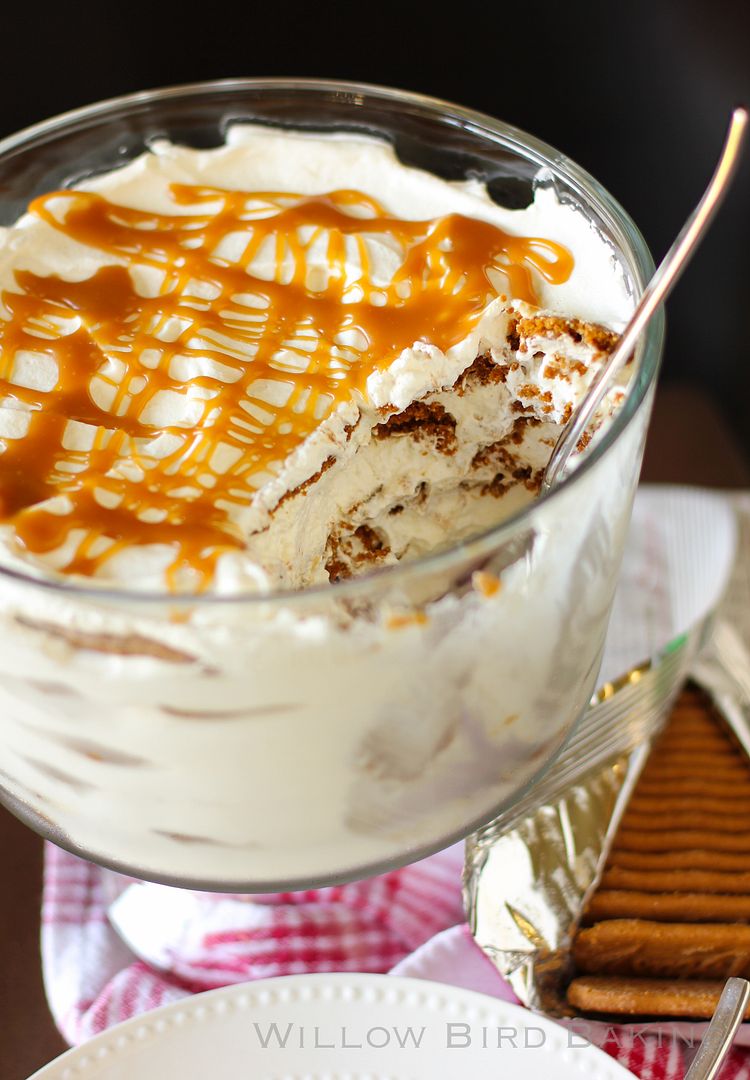
At the end of a long post about struggles, I thought I’d share a super simple recipe with you. This icebox cake only has 5 ingredients and is a cinch to throw together, but is also indulgent and delicious. It’s a riff off of the ubiquitous and well-loved Oreo Icebox Cake, but uses Lotus Biscoff Cookies because they are insane. A little Goldschlager in the whipped cream enhances the cinnamon flavor and gives this chilled dessert a nice bit of “heat.” Enjoy!
One year ago: Eggs à l’Oignon
Two years ago: (Freshly Picked!) Strawberry Cream Pie
Three years ago: Caramel Cream Croquembouche
Spiked Biscoff Cookie Icebox Cake
Recipe by: Willow Bird Baking
Yield: would easily feed 10 people
Icebox cakes are amazing, and spiked icebox cakes are amazinger. With 5 ingredients and 15 minutes of prep, you have a gorgeous, delicious dessert!
Ingredients:
4 cups heavy cream
1/4 cup goldschlager (or cinnamon liquor or liquor of your choice)
1/2 cup powdered sugar
2 packages Lotus Biscoff cookies
caramel sauce for topping (optional; I used store-bought but this is a great from-scratch recipe)
Directions:
Combine cold cream, goldschlager, and powdered sugar in a chilled mixing bowl and beat to stiff peaks. Taste it to be sure the alcohol/sweetness ratio works for your tastebuds. In a trifle dish, place a layer of Biscoff cookies along the bottom, breaking them to fit as needed. Dollop whipped cream on top and spread it over the cookies to form about 1/4 inch layer of cream. Continue layering cookies and cream until you’re out of cookies, finishing with a layer of cream. Cover the dish and let it chill overnight so the cookies are softened. Heat the caramel sauce and then let it cool a bit so it won’t melt the cream. Drizzle it over top of the trifle and serve.
Biscoff Spread Gooey Butter Cake
I am so not a therapist. I tell my students’ parents this all the time when discussing their kids’ motivation and social issues, to be sure they take any surmising with a grain (bag) of salt. I am just so not qualified to give psychological advice —
except insofar as I’ve read a lot, felt a lot, analyzed a lot, and pondered a lot throughout the years. One thing I’m thinking about a lot lately is the lost art of validation.
Validation is, to put it simply, affirming that someone else is competent and that their ideas make sense. Validation is not agreement, though it can accompany agreement. I like to think of it as communicating empathy: “I may or may not agree. I may or may not have been in your position before. Either way, I get what you’re saying and can understand why you’re saying it.”
Validation is nice, sure. But it’s important for a reason beyond being “nice”: it’s what makes real, effective, productive discourse possible.
Take the following two examples. In both, Jane and John are arguing about whether the toilet paper should be positioned with the sheets rolling over or under (quite the heated topic, if you guys are any indication.)
WITH VALIDATION
Jane: Can you please put the toilet paper on so that it rolls over?
John: I would rather place the sheets under, because the cat will unroll the roll otherwise.
Jane: Oh, I see what you mean. I understand why you care about that, but the cat has never done it. Can we try it rolling over and see how he does, because I really like it that way?
John: Sure. If he unrolls it, can we go back to “under”?
Jane: That sounds good.
WITHOUT VALIDATION
Jane: Can you please put the toilet paper on so that it rolls over?
John: Nope, the toilet paper should roll under.
Jane: No it shouldn’t! You don’t know what you’re talking about and you barely ever replace the roll anyway. Everyone I’ve ever talked to agrees with me.
John: Whoa, I’ve actually read about this extensively online and I know I’m right. Your opinion isn’t based on anything!
Jane: You’re being so ridiculous and stubborn! Why can’t you do this one little thing right? Why can’t you support me?
John: Because you’re crazy! This is just like that stupid argument about the dishwasher, and you were wrong then, too!
Jane: I hate you.
John: I hate you more.
*divorce*
Okay, it doesn’t necessarily escalate quite that quickly, but you get my meaning.
Invalidation (through name calling, calling into question someone’s credibility/authority/sanity, pulling unrelated issues into the argument, and simply refusing to listen/care for someone else’s point of view) produces frustration. Instead of a discussion where people are on one team working towards some sort of effective outcome, you get two antagonistic teams battling to the death — and any goals are left in the dust on the battlefield. No one’s mind changes, but lots of feelings get hurt. I see this all the time in arguments between friends and especially in arguments online.
The act of validating someone doesn’t give anything away. You don’t have to compromise your ideals in order to validate someone else’s. There are also different levels of validation (I love this article!), and you may not be able to get to the highest level if you really disagree with someone, but even the lower levels are supportive and productive.
I know that a discussion of validation isn’t necessarily the most relevant to dessert, but it’s been in my thoughts for quite awhile. I sort of what to strum a guitar à la Joan Baez and sing, “What the world needs now, is validation, sweet validation.” No? Okay.
But all I’m trying to say is that I think this sort of radical empathy, given just as generously as we can give it, takes nothing from us but adds a lot to the world. We need to acknowledge each other’s points of view as valid* in order to have real discussions and reach real conclusions.

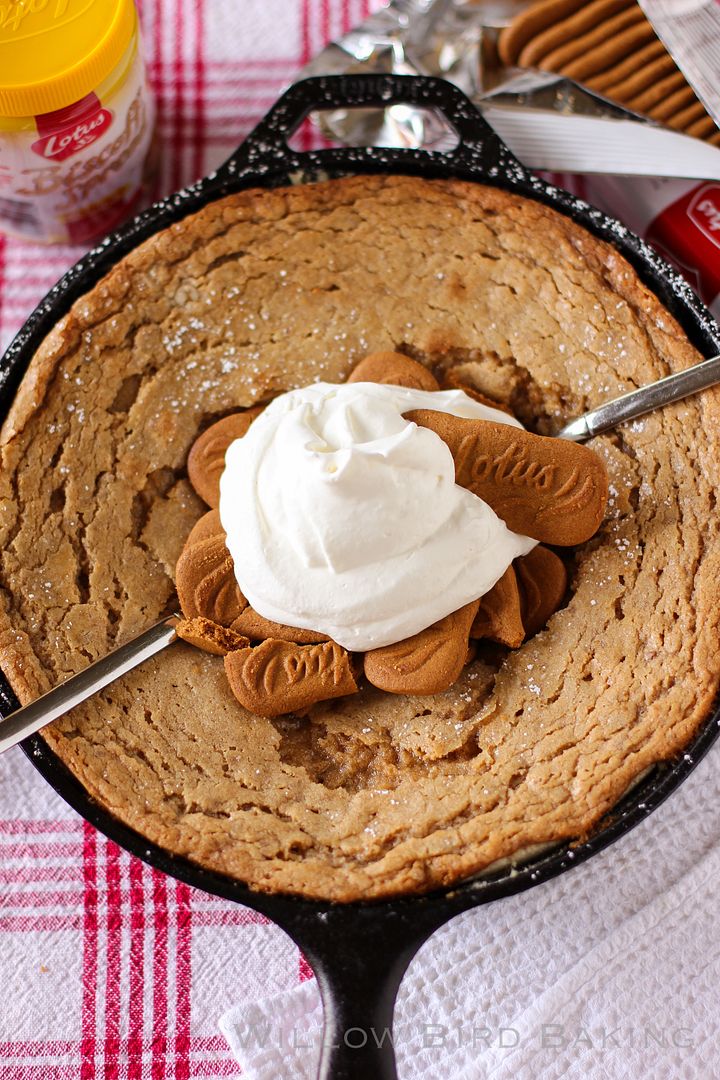
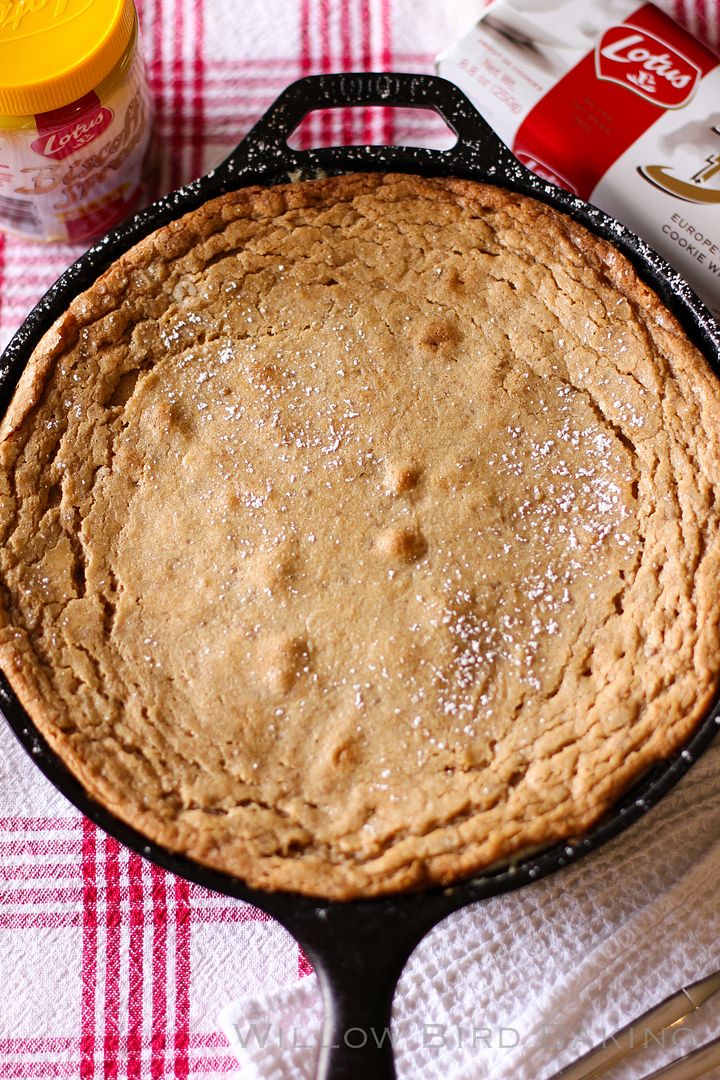
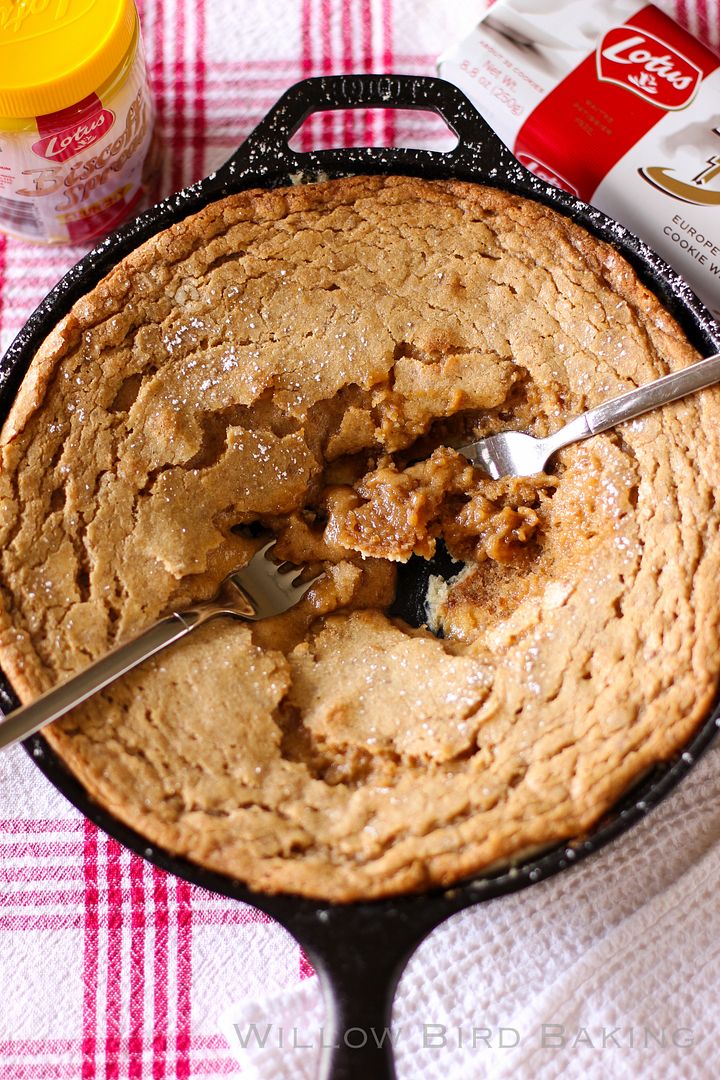
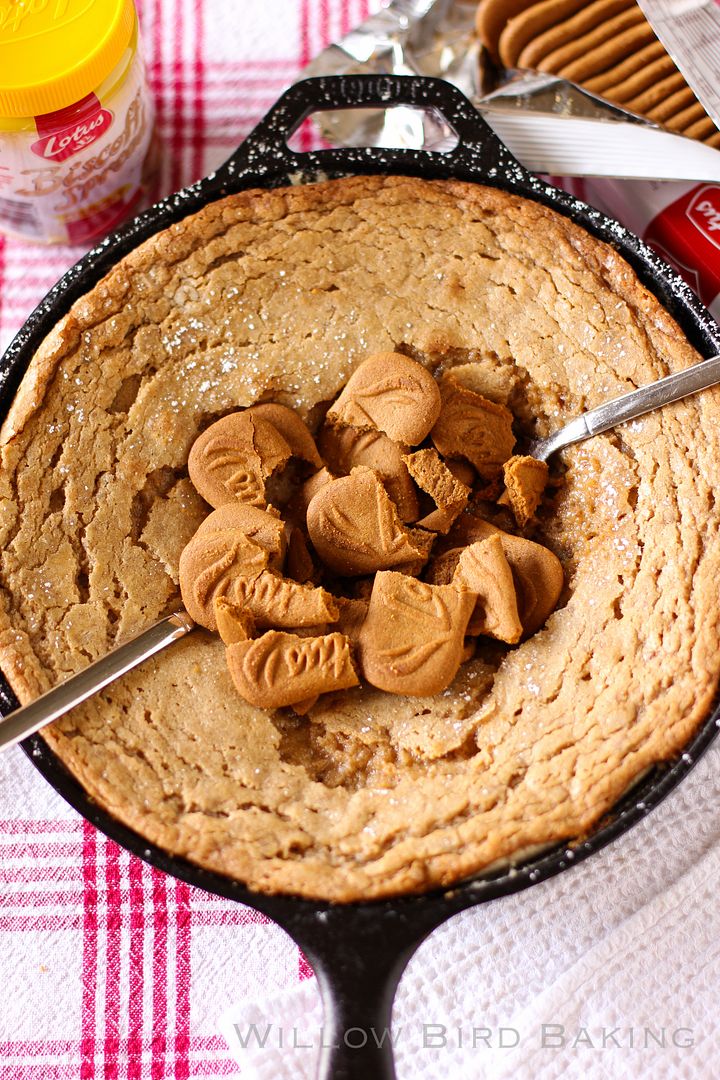
Also, Gooey Butter Cake. There’s no good segue into this, but I made you a Gooey Butter Cake with Biscoff Spread and topped it with Biscoff Cookies and freshly whipped cream. It is pure insanity and you should eat it immediately.
And then go validate someone, of course.
*I personally, however, do believe there’s a limit. For instance, I will not validate discrimination.
One year ago: Blueberry Scones with Maple Glaze
Two years ago: (Freshly Picked!) Strawberry Cream Pie
Three years ago: Eggs in a French Toast Basket
Biscoff Spread Gooey Butter Cake
Recipe by: Willow Bird Baking.
Yield: 6-8 servings
Gooey butter cake is already completely insane, buttery, and delicious, but when you add Biscoff Cookie Spread, things get serious. I thought up this combo when working on my beloved Gooey Butter Cake theme and it is a real crowd-pleaser!
Crust Ingredients:
1 cup cake flour
3 tablespoons granulated sugar
1/3 cup butter, cold
Filling Ingredients:
1 1/4 cups granulated sugar
3/4 cup (1 1/2 sticks) butter, softened
1 cup crunchy Biscoff Spread (or other cookie butter)
1 egg
1 cup all-purpose flour
2/3 cup evaporated milk
1/4 cup light corn syrup
1 teaspoon vanilla
icing sugar
Toppings Ingredients:
more cookie butter!
Biscoff cookies
1 cup heavy whipping cream
Directions:
NOTE: If you don’t have a skillet, I believe you can bake this in a greased 9-inch square baking dish (I’d use a glass one if you have it, and check it early and often. Remove when there’s some jiggle left.) Let us know how it goes if you try it this way for all the other skilletless people!
Make the crust: Preheat oven to 350 degrees. Whisk together cake flour and sugar in a medium bowl. Cut in the butter with a pastry cutter or two knives (I use my food processor) until the mixture resembles fine crumbs and starts to cling together. Press the mixture into the bottom (this step is a lot harder than it sounds, but be patient and use the back of a spoon to help spread/press the mixture down) and up the sides of a 10-inch cast iron skillet.
Make the filling: Cream together the butter and sugar until fluffy and pale yellow (about 2-3 minutes). Mix in the cookie butter. Mix in the egg until just combined. Alternate adding the flour and evaporated milk, mixing after each addition. Mix in the corn syrup and vanilla. Pour the filling into the crust and sprinkle the top with icing sugar.
Bake and assemble the cake: Bake for 45-50 minutes or until cake is nearly set (mine was probably ready around 48 minutes). Some jiggle is fine — do not overcook! It’ll finish setting up as it cools. Let it cool in pan for 2 hours. No really. If you don’t, it’ll just be pudding-y. In the meantime, beat heavy cream to stiff peaks. Top your cake with cookie butter, Biscoff cookies, and whipped cream. Eaaat it.
Lobster Roll Salad (and salad tips!)
It’s started. Like clockwork each spring, my body (mostly) gives up its quest for the comfort of cheese-laden, bready, warm casseroles and begins craving light, lemony salads. Juicy melons! Light tufts of quinoa! Handfuls of berries! Sprigs of fresh leafy herbs! Piles of greens!
You will laugh at this when I post my next recipe. But for now, since I’m craving all things light and fresh, let’s talk salad.
I eat around 4-5 salads per week, usually of the garden-salad variety: tomatoes, cucumbers, a few croutons. I’m bored just talking about it. You’re probably asleep. Next topic.
About once a week I get an awesome salad from my local Greek place complete with feta, red onions, huge hunks of tomatoes, kalamata olives, a Greek vinaigrette, and shaved gyro meat. I eat it with tzatziki sauce and crackers and it is probably the best salad in the universe. It is also probably 8,000 calories. I’m gaining weight just talking about it. You’re probably disgusted. Next topic.
Salads are harrrd. They’re often either healthy and gross or delicious and artery-clogging. It’s hard to strike a balance. When I got the chance to send a few of my salad questions to awesome, famous, cool, I-can’t-believe-she’s-talking-to-me, celebrity chef Michelle Bernstein in honor of National Salad Month, I jumped at the chance. Both because of my salad confusion and because I secretly hope she decides to be my BFF. Heyyy, Michelle. Call me. We’ll go shoe shopping. Unless you don’t like shoes. Whatever, that’s cool too.
For now, I’ll settle for her answering my salad questions. I sent her three:
1. I eat lots of salads to balance out all the desserts I make, but they get a little boring. I usually throw together some arugula, lemon juice and olive oil, kosher salt and pepper. What are some quick ways to make salads more interesting?
2. I find that dressing can pack so many calories, but I also sort of hate my salad if I don’t use enough of it. How can I balance taste and nutrition?
3. If you had to choose one salad combo to eat every day for the rest of your life, what would you choose?
Here are her awesome answers, which I will interpret as a love letter to me and an invitation to her house for BBQ (she said none of this. But you will love what she did say.) Thanks, Michelle!
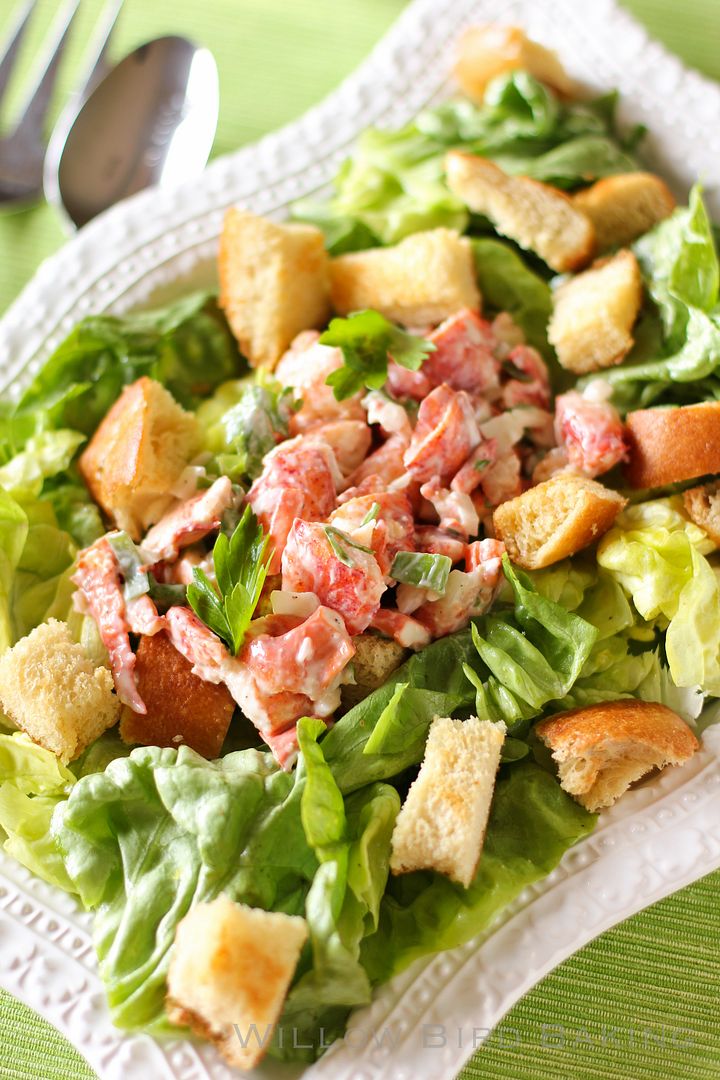
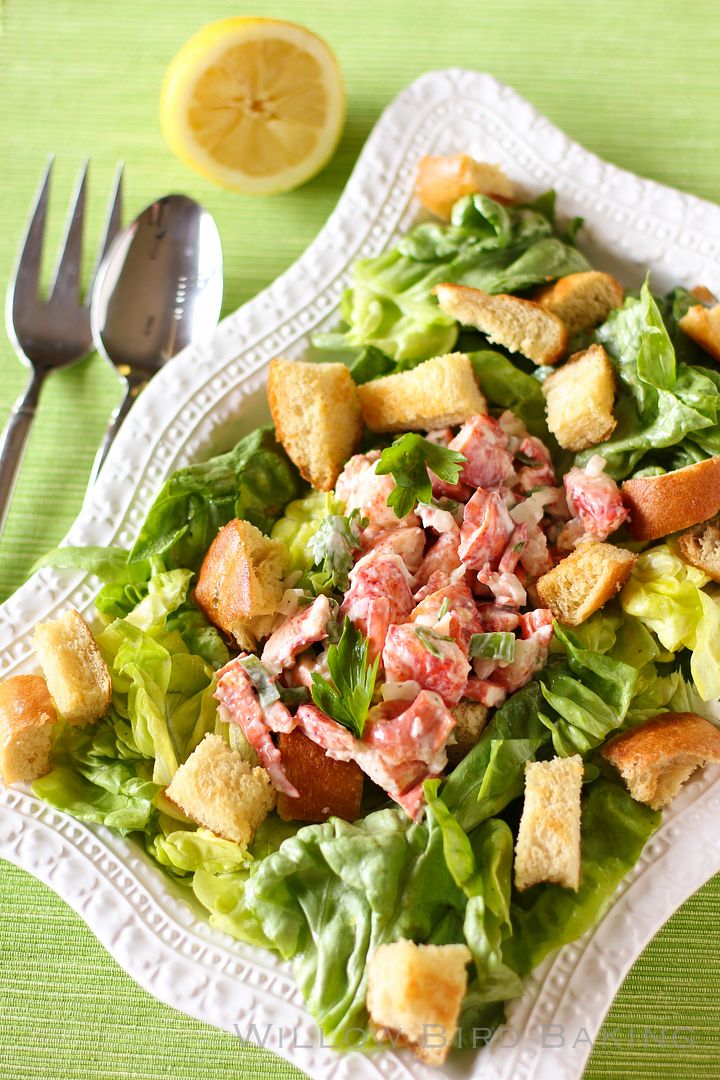
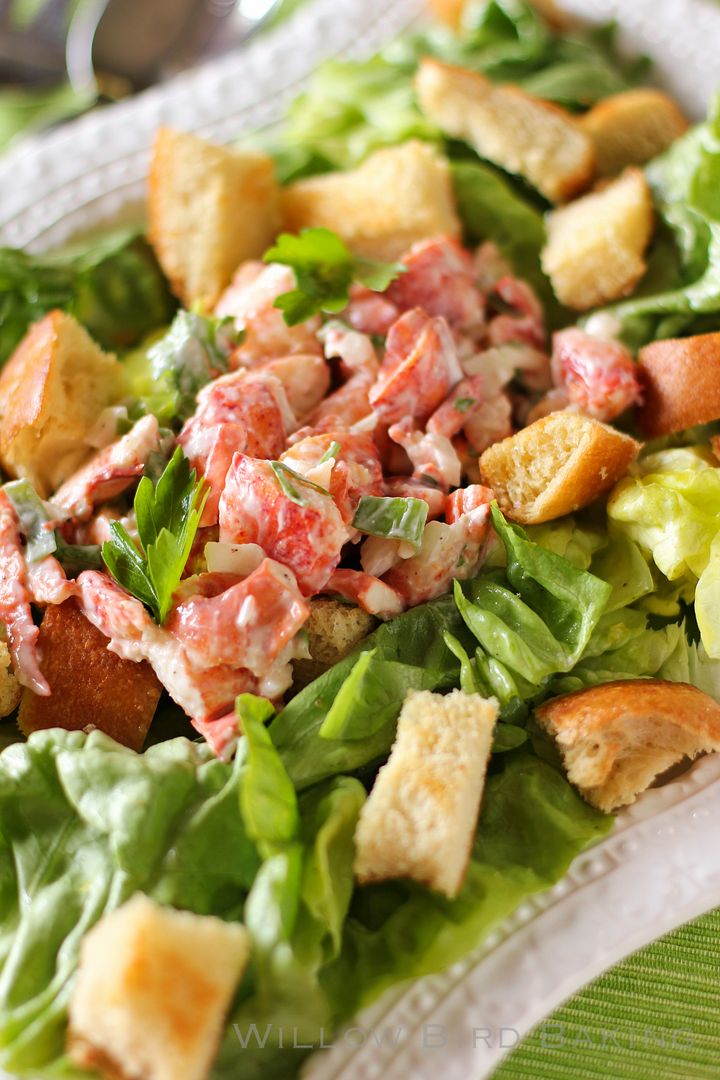
After listening to Bernstein’s answers, I was inspired to get a little more creative with my salad. I took a beloved, traditional dish — the lobster roll — and transformed it into a lower carb salad version that was a little lighter on the mayonnaise and butter. The tangy, fresh lobster salad on the bright butter lettuce felt so springy and happy, but the garlic butter croutons were the piéce de resistance. Mike sliced up some juicy watermelon for dessert, making this a quintessential (and amazing) spring meal.
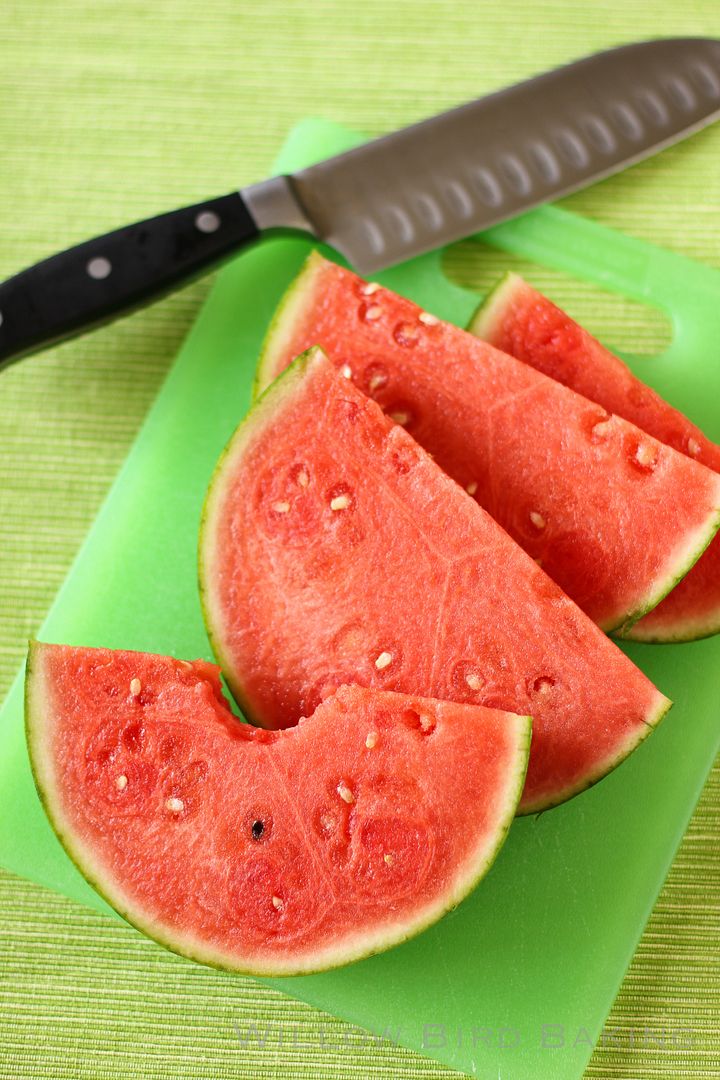
bonus tip: have you ever eaten your watermelon lightly salted?
it may sound odd, but it really brings out the sweetness!
What are some creative salad ideas?
One year ago: Blueberry Scones with Maple Glaze
Two years ago: Coffee Mousse Filled Double Chocolate Chunk Cookie Sandwiches
Three years ago: Lemon Raspberry Cake
Lobster Roll Salad
Recipe by: Willow Bird Baking
Yield: 2 servings
Lobster rolls are buttery, tangy, bright, and fresh. This recipe continues those themes in salad form! The salad pictured above used only half as much lobster salad as the recipe below makes; I tweaked the amounts below because I thought it’d be nice to have more. Don’t do store-bought croutons, by the way. These croutons are insane and make all the difference in the salad. I’ll never buy those dry brick croutons ever again!
Ingredients:
1 head butter lettuce, washed and dried
1 tablespoon olive oil
1 teaspoon lemon juice
salt and pepper to taste
12 ounces cooked lobster meat, roughly chopped
4 teaspoons mayonnaise
1 teaspoon Greek yogurt
1/2 teaspoon fresh lime juice
dash of hot sauce (I use Frank’s Hot Sauce)
1 1/2 tablespoons finely chopped vidalia onions
2 teaspoons chopped green onions
2 heaping teaspoons chopped fresh parsley
salt and pepper to taste
1 1/2 – 2 kaiser rolls, chopped into 1-inch cubes
2 tablespoons butter, melted
2 cloves roasted garlic (or 1 clove fresh)
Directions:
Preheat the oven to 300 degrees F. Cover a baking sheet in aluminum foil. Melt the 2 tablespoons of butter and steep the garlic clove(s) in it for a couple of minutes before adding the bread cubes and tossing them to coat. Spread the cubes on a baking sheet (leave the cloves with them) and bake for 10 minutes. Toss the cubes and bake 5 minutes longer or until as crisp as you prefer. Remove and let them cool, discarding the garlic cloves (or saving them for another use).
Place the lemon juice in a large bowl and slowly whisk in the olive oil. Drop in the lettuce leaves and toss to coat. Season them with salt and pepper and set in the fridge to chill until used.
In a medium bowl, whisk together the mayonnaise, Greek yogurt, lime juice, and hot sauce. Stir in the onions, green onions, and parsley. Gently toss in the lobster meat so as not to break it up. Salt and pepper to taste.
Assemble the salad by placing the dressed lettuce on a platter, spreading around the croutons, and piling on the lobster salad. Serve immediately.

