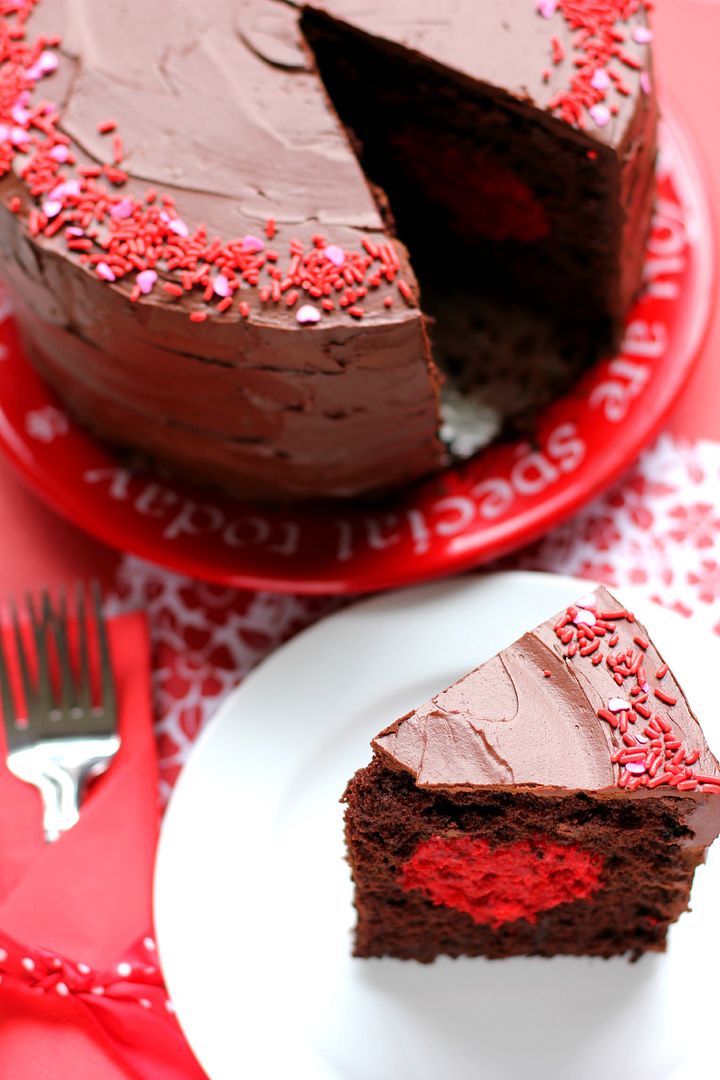
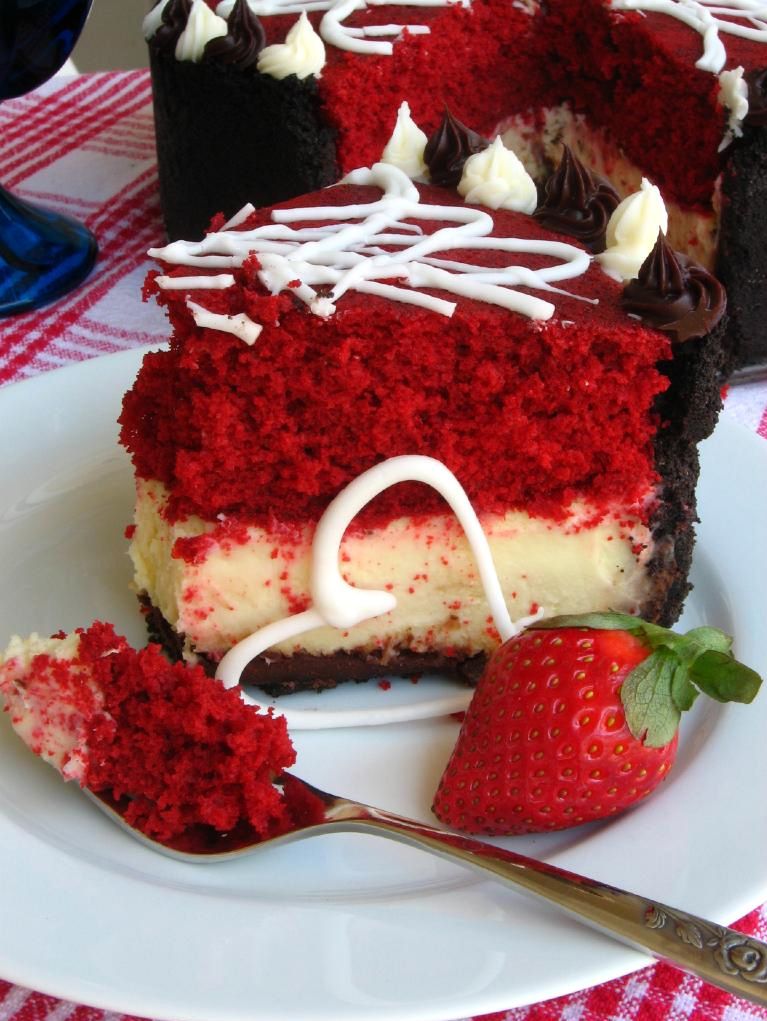
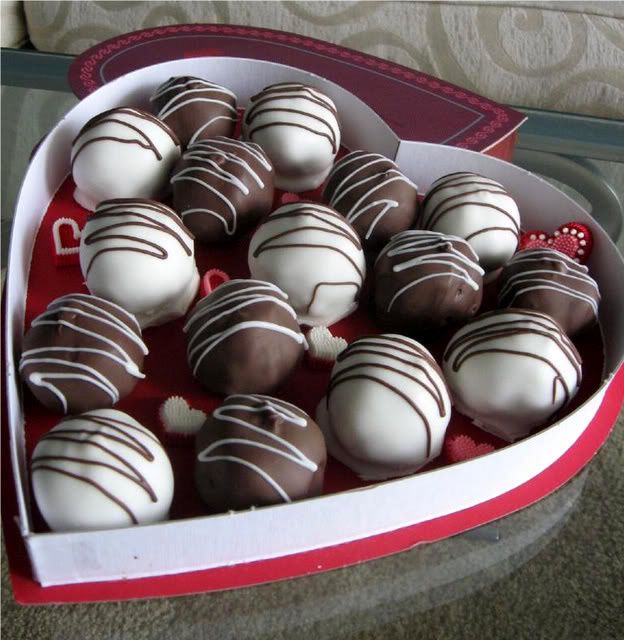
It’s that time again: Valentine’s Day. You either love it or you hate it, but you have to admit . . . at least it’s an excuse to eat dessert? Here are a few that will definitely score you brownie points with your sweetheart (or your own solitary tummy as you sit on the couch and watch reruns of 30 Rock, thank you very much.)
By the way, I’ve included a difficulty rating after each recipe so you can pick one perfect for your skill level and schedule. And how much you love your partner. JUST KIDDING, just kidding.
Those 6 words take me right back to June of 2009, when I snapped a (dark, blurry) photo of some blueberry lemon cheesecake cupcakes with lemon frosting, waxed poetic about them, and hit “Publish” on my very first Willow Bird Baking post. When I hear those words now, part of me wheezes under the weight of the work I know awaits the speaker. Another part of me, though, feels excited about the fun they’re about to have.
Because that speaker will often go on to ask me for advice, I thought of doing a post to sum up my “You’re Starting a Blog!” tips and ideas. It sounds like such an easy task, but actually, I’ve been racking my brain to think of what’s most important to convey.
There’s all the easy advice you’ve heard before: start your blog on WordPress, write about things you care about, write at least one post per week, include photos, use natural light to take those photos, create a social media presence on various websites (Facebook, Twitter, Pinterest, Google+, Instagram) and interact with your friends and readers there to build community. But all of that advice has been given a million times over on a million other blogs. What can I add to this conversation?
If I say that my advice is to be authentic, I know you’re gonna groan. I know you’re going to secretly think of this article that makes fun of giving that advice. (Incidentally, I found that article frustrating in that it took a variegated, organic field and created, facetiously or not, divisions: an “in” and “out” crowd if you will. I think it serves us better to recognize that there are organic trends that ebb and flow and to not be judgy-judgy about other people doing their thang, even “all in fun,” but I digress.) But despite all the lip-service people give to being authentic, I think there’s more to be said about it. And I think I’m the one to say it.
So here goes: the most important piece of advice I can give you is to be authentic.
If you’re finished with your eye rolling (and they’re not stuck), let me elaborate.
1. Define YOU — your values, your goals, your style. To be true to yourself, you have to have a firm idea of yourself. When you blog, you run into ethical dilemmas all the time: whether or not to post about a certain product, whether or not to accept offers from certain companies, whether or not to participate in certain contests. You also run into opportunities to define who you are all the time: from deciding on the content of your posts to choosing the visual design and layout of your blog. Without a clear vision from the beginning, things can get muddy, contradictory, and forgettable to your readers. Or worse: ethical faux pas can be offensive or exploitative.
Awhile back, people made the connection that a blog was a brand you were creating. Your online persona and really your entire blog package was marketing your brand both to readers and companies that might want to work with you. I both hate and love that terminology. I hate it because it reduces this beautiful, passionate extension of my life to a sterile business and also, in my humble opinion, tempts bloggers to become profit-machines, contracting with businesses, pushing products, and viewing their blog primarily as a means of income. There’s nothing wrong with that — but those certainly aren’t the blogs I love to read and it’s certainly not the route I hope you choose with your blog. Call it a personal preference.
I also love that people have realized their blog is a brand, just like I’d love it if people realized they themselves were walking BRANDS: advertising with their words, actions, and values who they are and what they stand for. Realizing this breeds intentionality, and I am nothing if not intentional about things — maybe even to a fault.
So define yourself. Make a list of the values that are important to you. For me, some of my values include honoring God, analyzing and processing in writing the journey He’s sent me on, being adventurous in the kitchen, being honest, and being humble.
Make a list of your goals. Is your goal just to tell your stories? To build traffic and be heard? To create a community? To make money? (It’s possible to do, but make sure it’s not your main goal or you’ll produce another of those spammy blogs with tons of coupons offers, pinnable recipe roundups, and no real voice. Am I being judgy-judgy? I’ll stop.)
Make a list of the words that define you (and your blog) as a “brand.” For me, that includes words like comforting, home, sweet, simple, humble, laughter, realistic, welcoming, loving. And, okay, snarky. ‘Cause I can’t keep the snark at bay. I know; I’ve tried.
2. Be intentional. After you define yourself and your “brand,” make every choice to build that representation of “you” in your online space. Choose the colors that communicate you. Find the voice that communicates you. Take the photos that communicate you. Write about the content that communicates you. Accept the offers that communicate you (and politely decline the ones that don’t.) Interact with your community in a way that communicates you.
Being intentional also includes being deliberate about building that community. Reach out to others — starting with friends and family — to share what you’re doing in a genuine way. Don’t become a salesman and pitch it to them. Be yourself and share it with them. Make connections with other people doing the same thing and support them; you’ll find that they often want to support you, too.
Be intentional about the way you accomplish your goals. I’m betting you didn’t say your goal was to “get a ton of blog traffic no matter WHAT I have to do,” so don’t act like it. Don’t spam people, don’t annoy your Facebook and Twitter friends, don’t become what I call a “climber”: someone who only interacts with others for their personal gain. Don’t sacrifice quality of posts for quantity. Don’t resort to being churning out quick-and-popular posts like an SEO-obsessed robot.
Instead, revel in the fact that “networking” for you can really mean making awesome friends in the blogging community and enjoying relationships with your readers. “Dress for the job you want” by trying to make your work consistent and professional. Print up some business cards to give friends and people you meet. Know how to describe your blog in a sentence or two for folks who are interested. All of these things are positive, intentional steps to get the word out about the great stuff you’re doing without becoming a slave to “success.” Keep sight of your ideals. You can care about growing your readership (slow and steady) and getting your name out there while still honoring your values.
3. Be yourself, but be yourself in the unique ways. There are so many food bloggers. Don’t worry; I still want to read your blog, too! But I do want to know you and not just another Food Blogger (TM). I want to know about your crazy life as a dental hygienist by day, culinary student by night. I want to read about your horrifying experiences as a retail clerk at an unnamed superstore. I want to know about your puppy rescue and the heartwarming lengths you go to to save animals. I want to hear all about how your kid painted herself blue and ate only blue foods at daycare on what they dubbed Smurf Day. I want you to explain how being a Catholic-Jewish Elvis impersonator went for ya.
One thing people love to read on my blog (and I’m glad, because it’s what I love to write!) is stories about teaching. My students are so surprising and smart and hilarious — so those are the unique stories I have to tell. Think about what you have to say. What’s your story?
There’s a lot more I could say, but I really think whatever you do will be lovely as long as you define yourself and then are intentional about being yourself. Just to answer some of the questions you all left on Willow Bird Baking’s Facebook page, though, I got together with the awesome Kaitlin Flannery of Whisk Kid (you’ll love her blog — it’s wonderful!) and recorded a little Food Blogging 101 chat for you. Hope you enjoy!
* * *
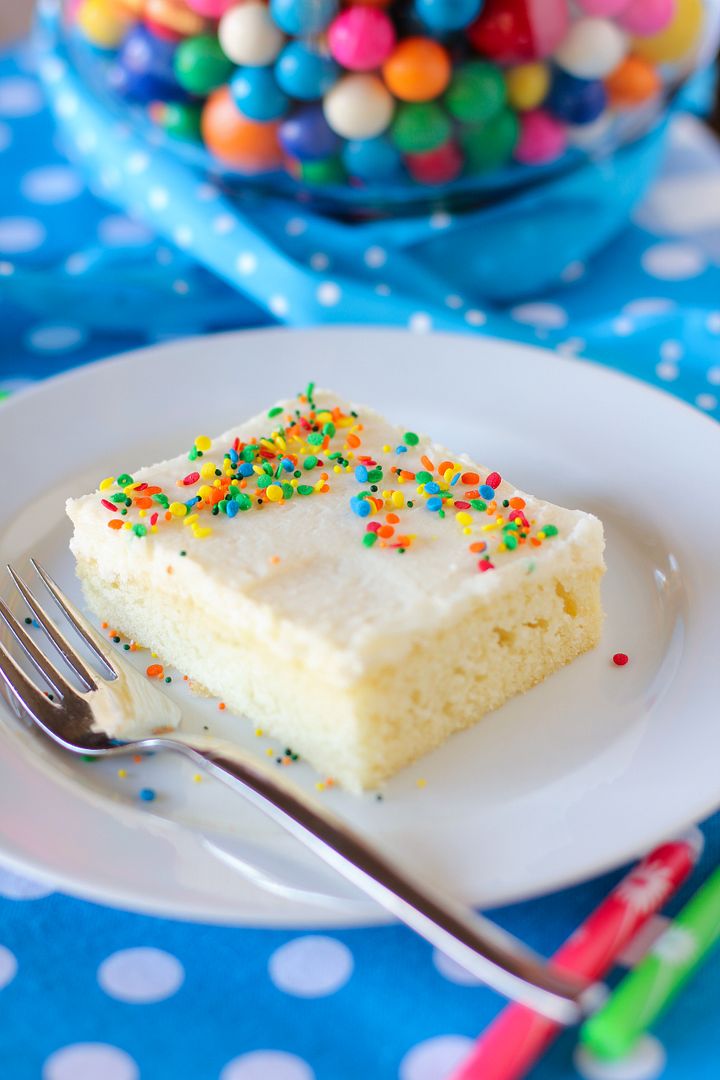
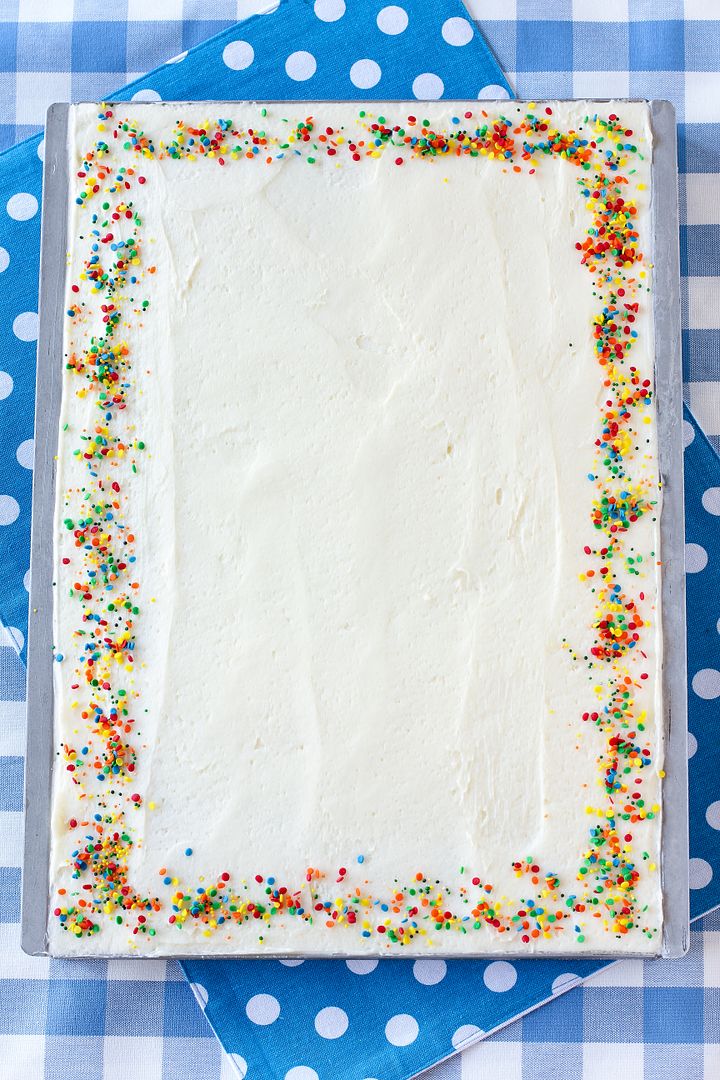
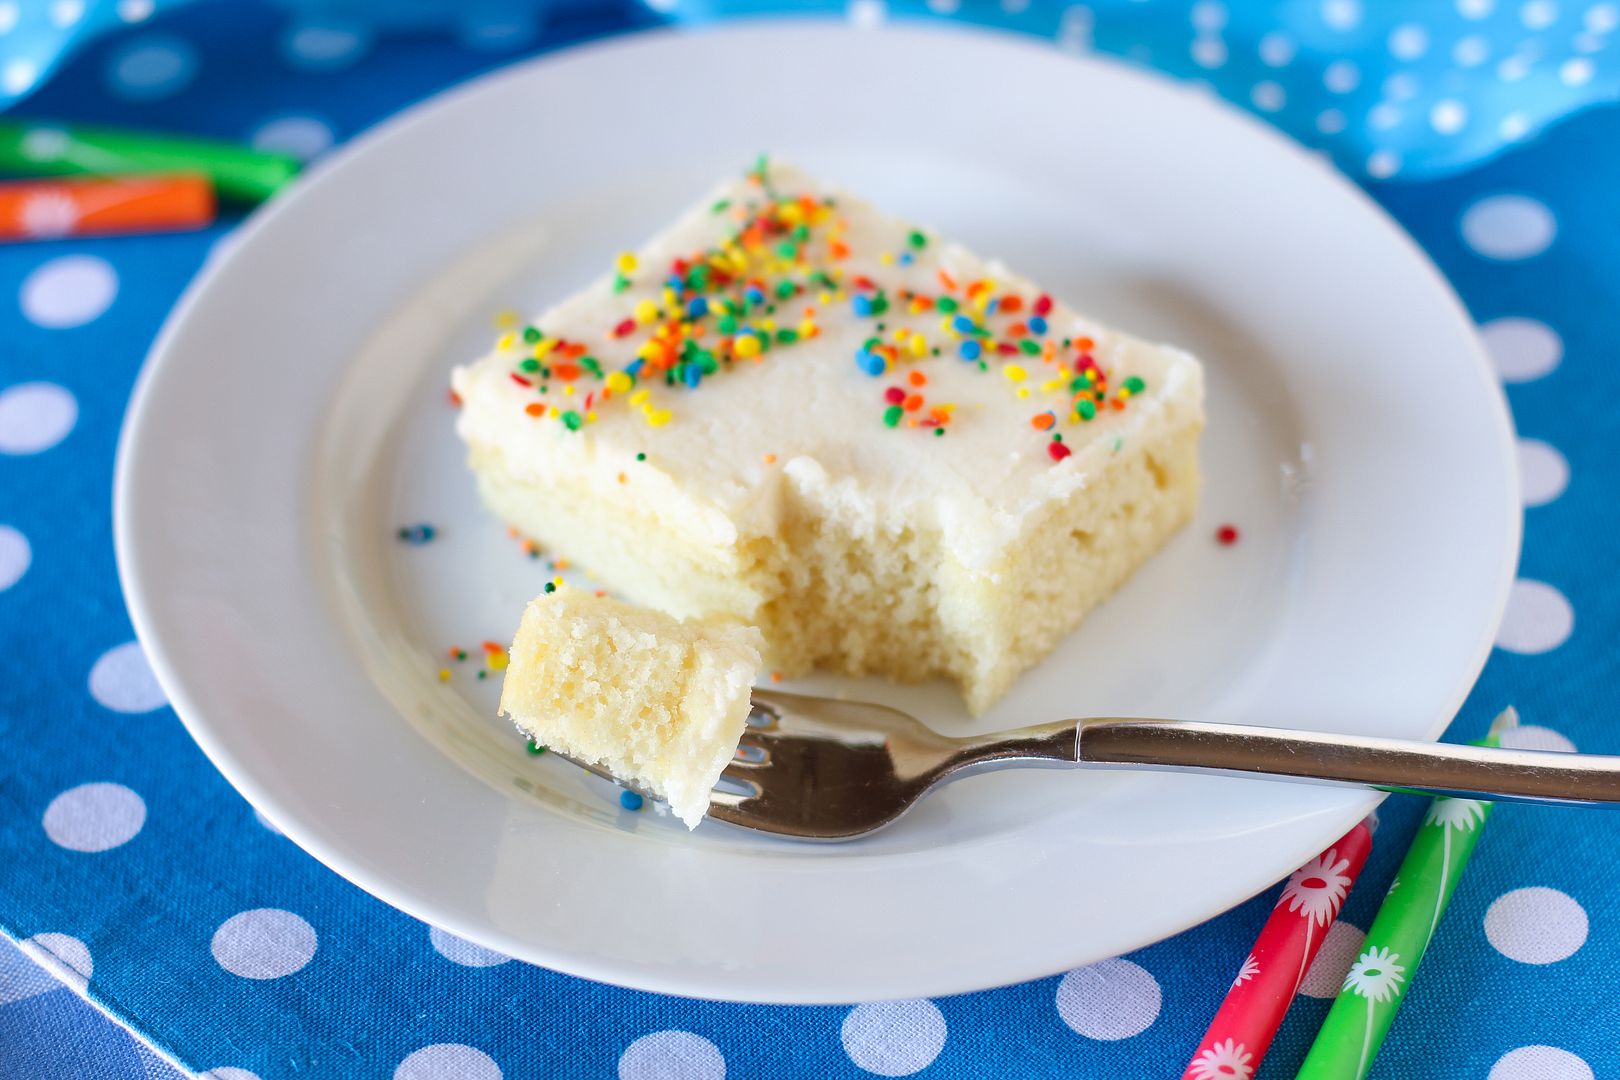
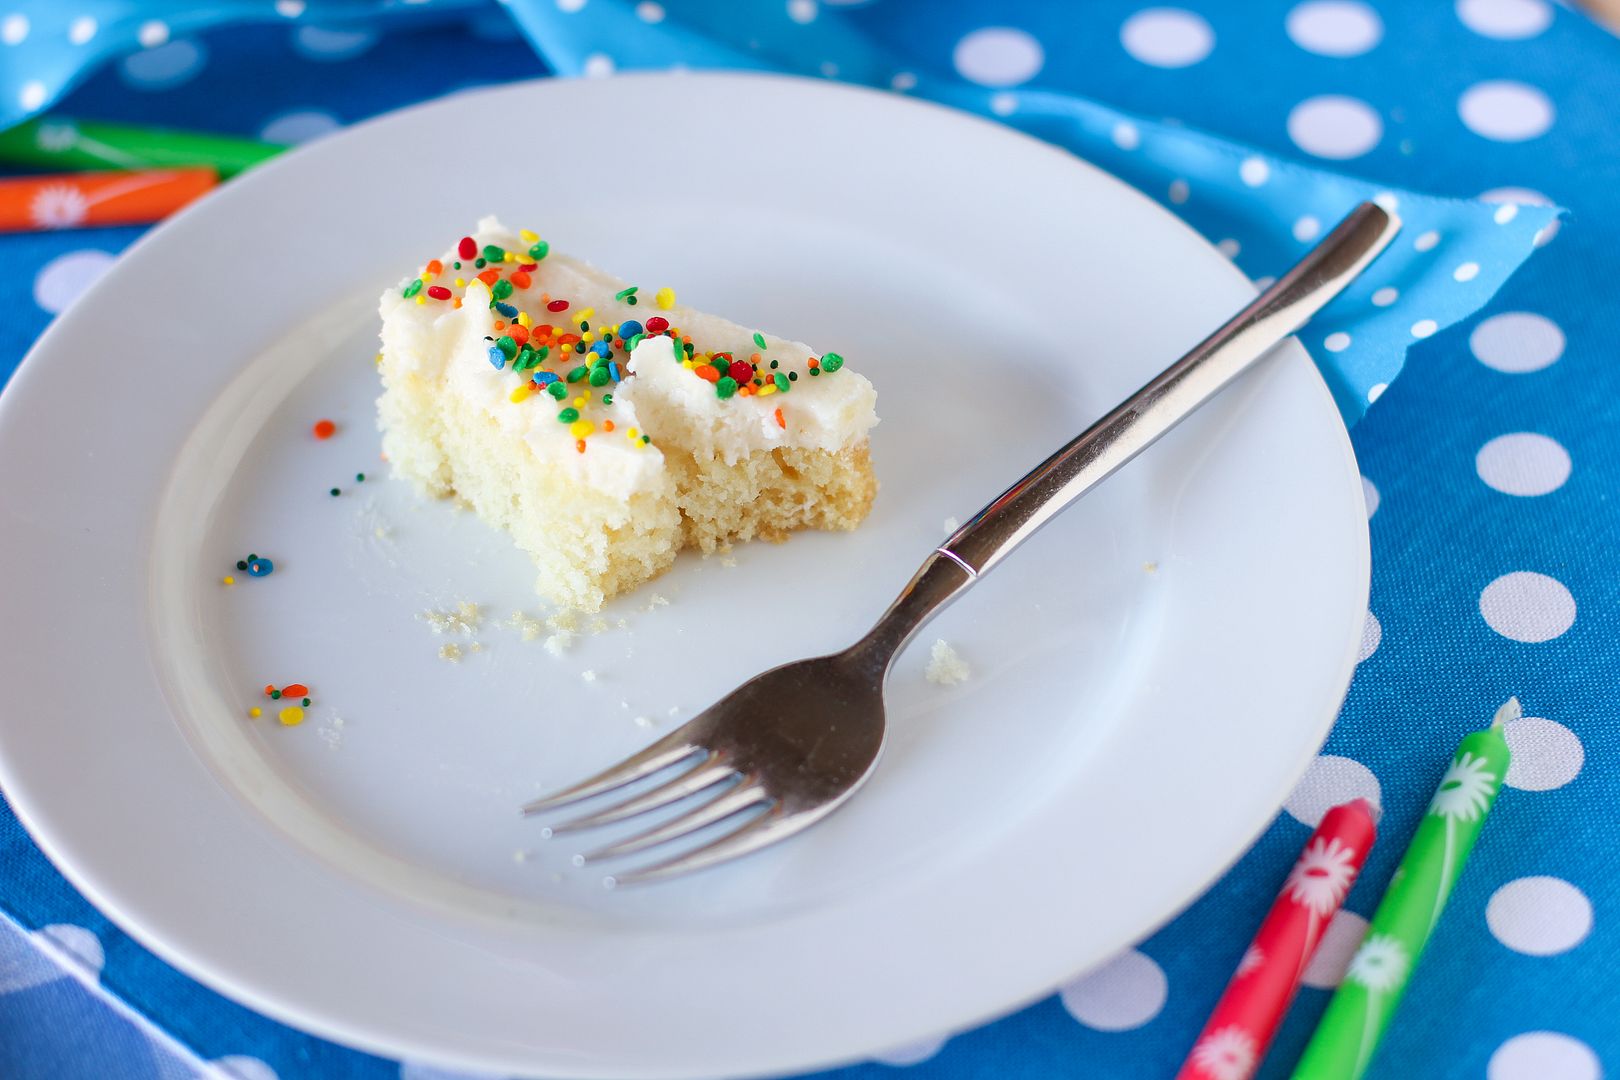
One thing I know you’ll enjoy is this white sheet cake. I’d been craving white sheet cake for awhile — one of those light, moist slabs o’ cake that you can pick up at Sam’s Club or Costco or Walmart slathered with white icing. And I don’t mean that crusty, heavy, dyed buttercream you scrape off, but the really light whipped icing. I don’t know what they put in that stuff, but it is all kinds of amazing! I’m always shocked that a store-bought cake can be that good.
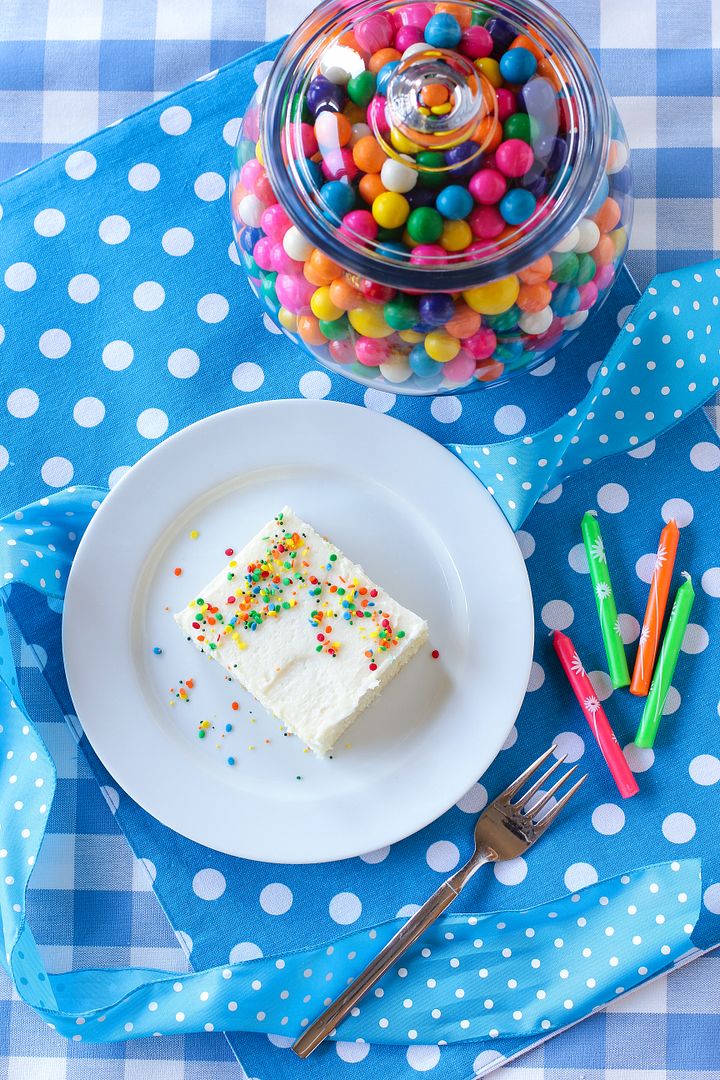
After a little internet sleuthing, I made myself one of those satisfying white sheet cakes at home. This sheet cake is a white Texas sheet cake iced with a lovely whipped frosting I found on Cake Central. A hint of almond is what brings the entire recipe together and makes it taste bakery-quality. Since the cake is easy to throw together and comes out huge, it’s perfect for a birthday party! Or, you know, a Tuesday.
Do you have any blogging questions that didn’t get answered? Do you have some advice you’d add for new bloggers?
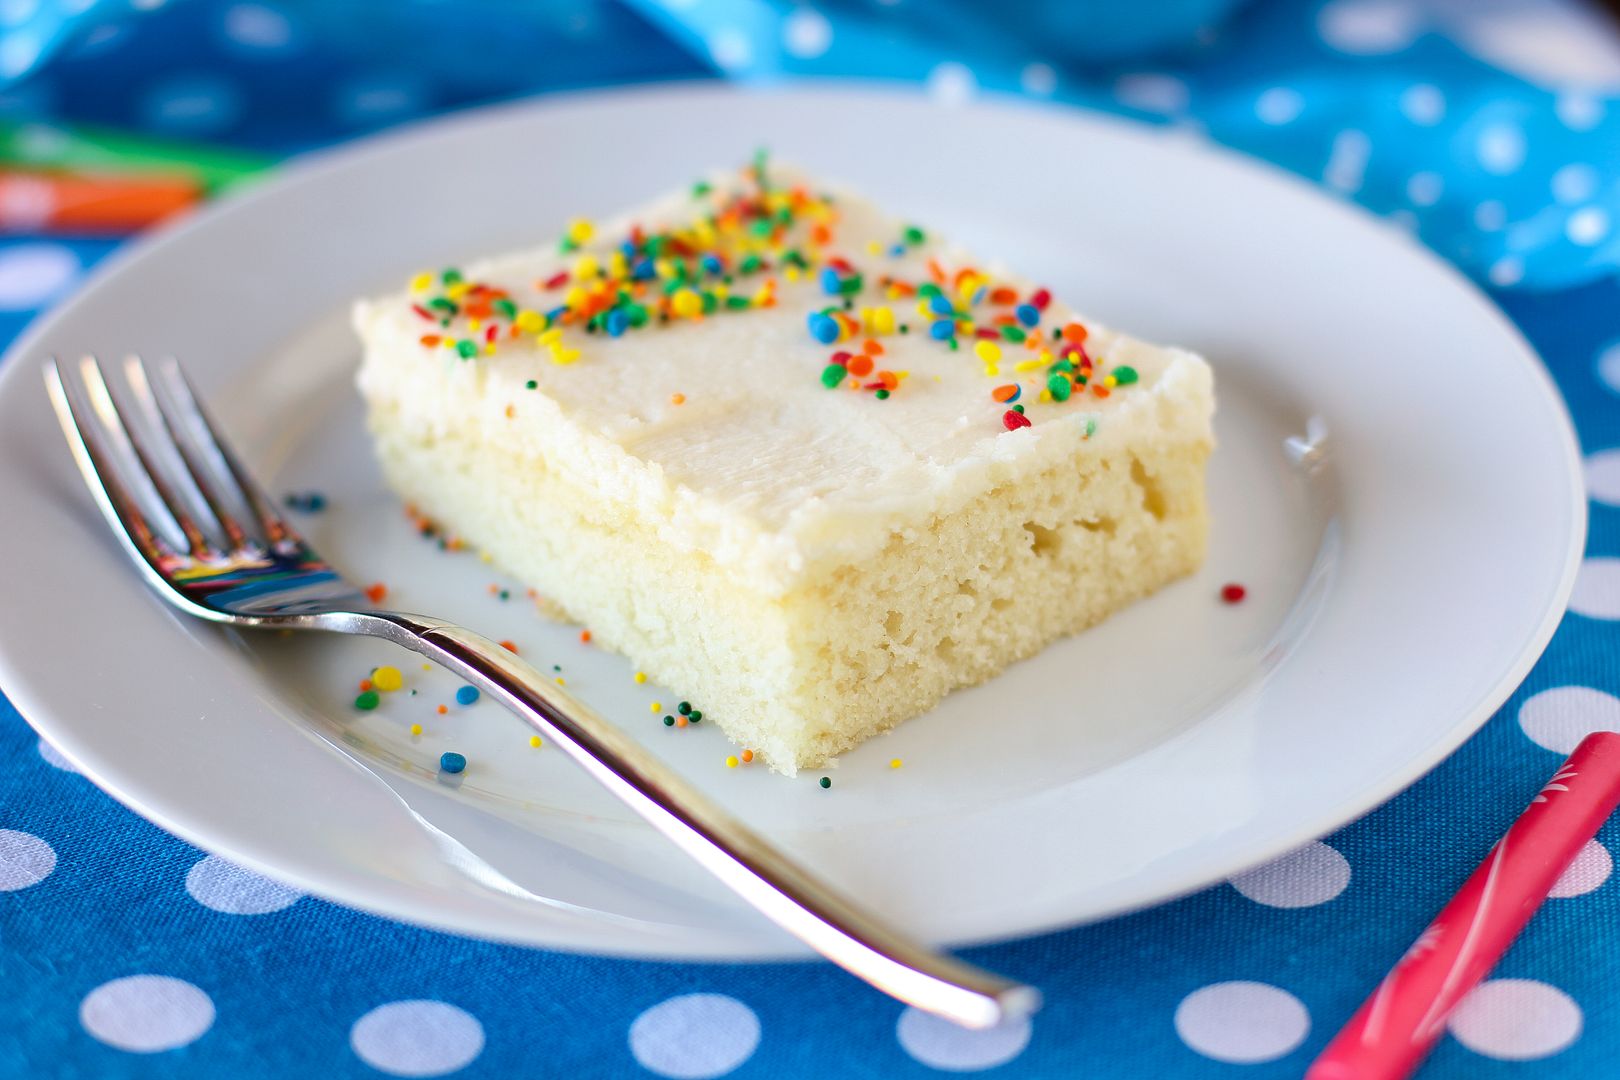
This quick white sheet cake is light and moist with a hint of almond flavor and whipped icing on top. Let the cake sit out for 10-15 minutes before serving so the icing can get nice and soft.
Cake Ingredients:
1 cup butter
1 cup water
2 1/4 cups cake flour
2 cups white sugar
2 eggs, lightly beaten
1/2 cup sour cream
1/2 teaspoon almond extract
1/2 teaspoon vanilla extract
1 teaspoon baking soda
1 teaspoon salt
Frosting Ingredients:
1/2 cup salted butter, room temperature
1/2 cup vegetable shortening, room temperature
3 3/4 cup powdered sugar
1/4 teaspoon salt
1/2 teaspoon almond extract
1/2 teaspoon vanilla extract
3/4 cup heavy whipping cream
1 tablespoon meringue powder
Directions: To make the cake: Preheat the oven to 375 degrees and grease (I use Wilton’s Cake Release) a 15 x 10 x 1″ baking sheet. In a medium saucepan over medium heat, bring the butter and water to a boil. In the meantime, in a separate large bowl, whisk together the cake flour and sugar before adding the eggs, sour cream, almond extract, vanilla extract, baking soda, and salt. Mix to combine. While mixing, slowly pour in the boiling butter and water mixture. Mix to combine completely. Your batter will be very runny. Pour the batter into the prepared baking sheet.
Bake at 375 degrees for 17-22 minutes or until a toothpick inserted in several places comes out with a few moist crumbs (don’t wait for the top to get golden brown, necessarily — mine stayed pale). Cool completely.
To make the frosting: Cream together the room temperature shortening and butter until fluffy. Cream in the powdered sugar. Add the salt, almond extract, vanilla extract, meringue powder, and whipping cream. Blend on low until just combined, and then beat on high until fluffy. Spread over cooled cake. Add sprinkles. Store in refrigerator, but let sit out for 10-15 minutes before serving so the icing can get nice and soft.
That’s something teachers are supposed to say in order to earn their Good Teacher Badge, but for me it’s also true. For example, this past Thursday I found myself in a complicated situation on the internet (oh, the internet), and handling it live with my students’ input proved to be one of the most educational experiences I think we’ve had all year. It all started with a negative book review . . .
At the beginning of 7th grade, my students read a young adult mystery novel set in Japan. It’s not my favorite book in terms of writing or character development, but it serves my purpose each year: to introduce them to Japan in an engaging and accessible way, and to serve as a backdrop and vehicle, respectively, for our more in-depth studies of haiku and essay organization in class. Essentially, I have my reasons for keeping it in the curriculum, but I don’t personally love it.
On my personal account on a popular book review site, I said as much. The site is designed to allow you to share book reviews and ratings with friends, so I felt perfectly comfortable giving my honest and blunt opinion. It was around four years ago when I reviewed the novel, saying, in short, that the simplicity of the book annoyed me.
Imagine my surprise when the author of the book himself — I’ll call him Snarky McSnarkerson — responded to my review. He was defensive and implied that the reason I didn’t like his book was because, basically, I’m a stuffy old teacher who’s not in touch with what kids actually like. This was funny to me, since part of what draws me to middle school language arts is my adoration of young adult literature.
I responded with a touch of sarcasm. It was not the most angelic response, but also not inappropriate. In class, I mentioned the exchange to my students and expressed my surprise over the whole affair. It didn’t occur to me that they might search for the review online, but a few of them found it and also responded to Snarky McSnarkerson. I was proud of how they were supportive of me but also classy and mature in their responses, not resorting to rudeness or immature name-calling. Indeed, they were quite a bit more mature than Snarky McSnarkerson himself! I thanked them but also asked that they no longer fuel the discussion.
A few years passed. Then, this past Thursday, I received another response from McSnarkerson out of the blue.
In his new response, he not only insulted me (saying that maybe someday my students would get a “real teacher”), but also my students (pointing out the grammatical errors in their posts). I was livid. I responded curtly to McSnarkerson himself and posted about the situation on Facebook (where it was promptly shared by a prominent author). In disbelief, I told my current students about the situation, being careful this time to ask them not to contribute to the online exchange. They were all outraged to hear of McSnarkerson’s rudeness and his unfair implications, just like I had been.
I knew this was a ripe teaching moment about how to navigate the internet, and how in the real world, we can vote with our wallets (I’d already told McSnarkerson I wouldn’t be using his book anymore). But I didn’t expect for my students to be quite the wonderful teachers they turned out to be!
We chatted about the inevitable urge to gang up on someone with friends online, and how we must remember that to do so would be cruel. We talked about the difference between responding to be nasty and responding with a thoughtful point. We remembered examples of when people had been unkind to others in groups — like the comments on Rebecca Black’s music video, “Friday,” and how they must have made her feel.
While we were discussing the uncertainty involved in handling an online disagreement effectively, my unfailingly positive and practical student, Lauren, raised her hand. She humbly offered the class, “I learned that if you stop responding to someone and fueling a situation, it usually goes away.” I think her comment literally stopped me in my tracks. What a novel idea. Wasn’t I supposed to be the one saying the wise, mature stuff? I laughed.
“That’s a great point, Lauren. So maybe I shouldn’t have responded to McSnarkerson at all? Or maybe I shouldn’t have responded to his newest comment? And, oh. Maybe I shouldn’t have mentioned it on Facebook?” The whole class paused with me. We all shifted and grinned uneasily. A new discussion had begun: Could Ms. Ruble have navigated the internet in a more effective way?
In true language arts style, we journaled about it. I told them to imagine that they’d left a negative review of Harry Potter and J.K. Rowling had just sent them a nasty comment (we all agreed this scenario was ridiculous — who doesn’t love Harry Potter and Rowling? — but for the sake of journaling, they used their imagination.) They had to first write their initial impulse, and then think of at least two better strategies they could use to handle it productively.
I was so proud of their suggestions. They proposed:
-Write out the response you’d initially want to post, but then ball it up and throw it away instead.
-Write a response, but instead of posting it, send it to someone you trust to edit it.
-Write a response, but instead of immediately posting it, wait 24 hours and then revise it to make sure it’s productive and kind.
-Don’t respond at all.
-No matter what you do, don’t share the situation with others to gang up or gossip, because it creates a bigger problem.
I love when real-life situations come about that they can learn from. I love it even more when they can learn from someone else’s mistakes instead of their own — even if those mistakes are mine! My initial goal in posting my frustrations and a link to the exchange on Facebook was to bring to public light the author’s unkind actions. If I had it to do over again, though, I might handle it in a different way (this is the reason I’m not naming the author or linking to the exchange in this post). Maybe I’d use one of the effective ways my students proposed. And instead of public shaming, I can “voice” my feelings about McSnarkerson by not buying his products.
I appreciate these kids more each and every day.
* * *
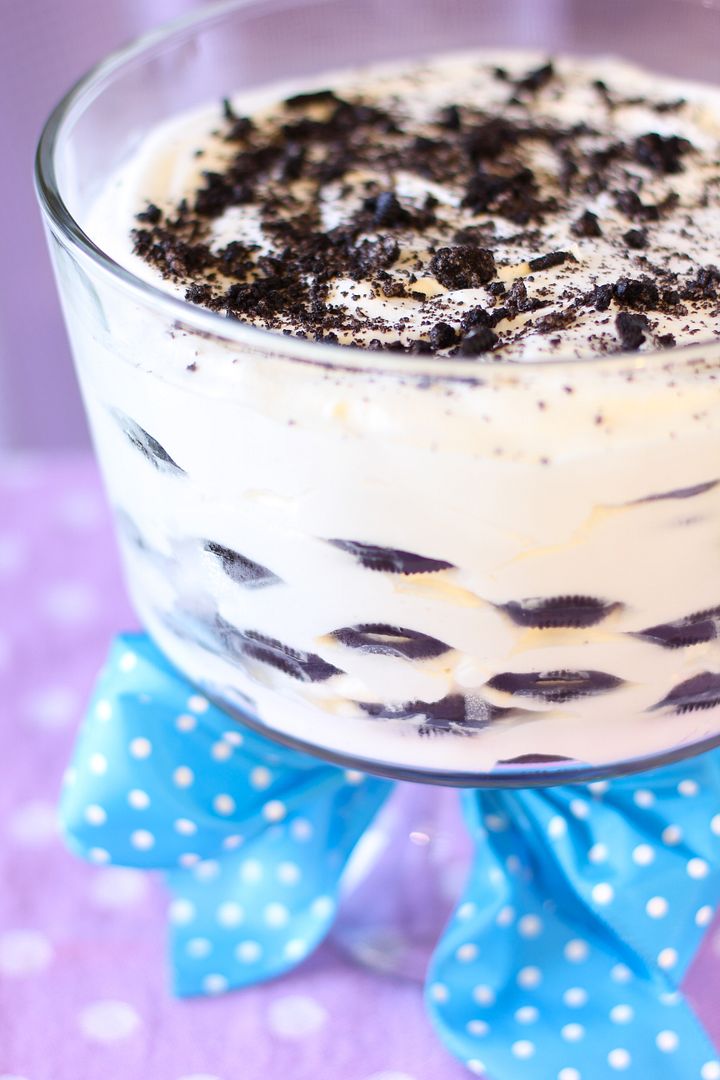
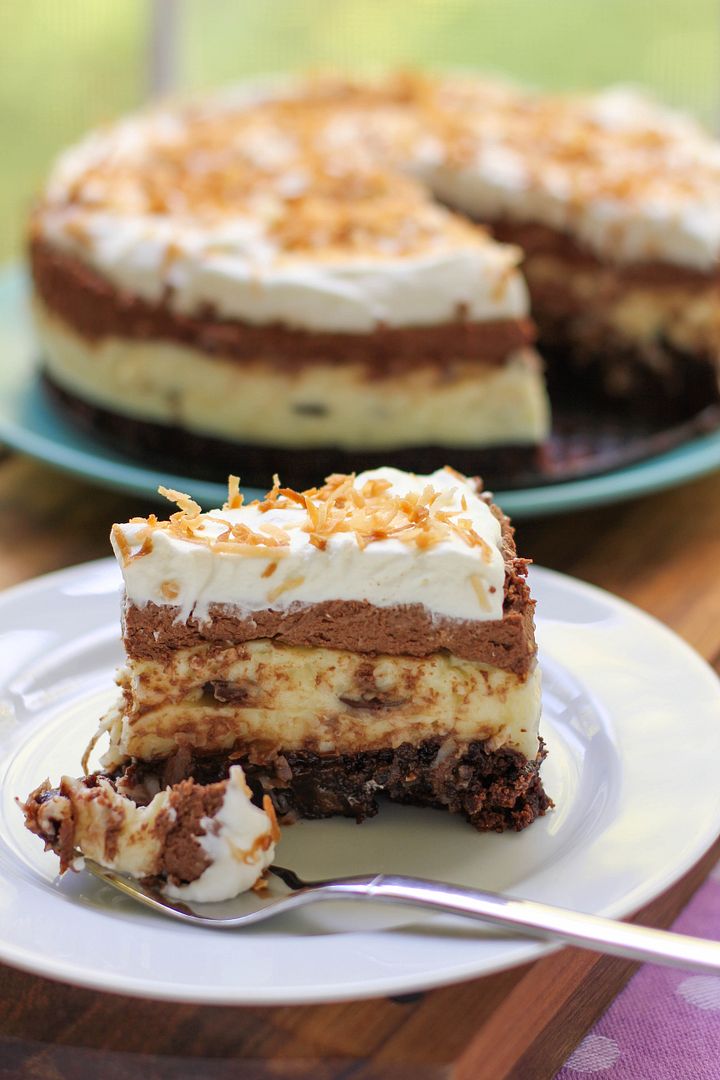
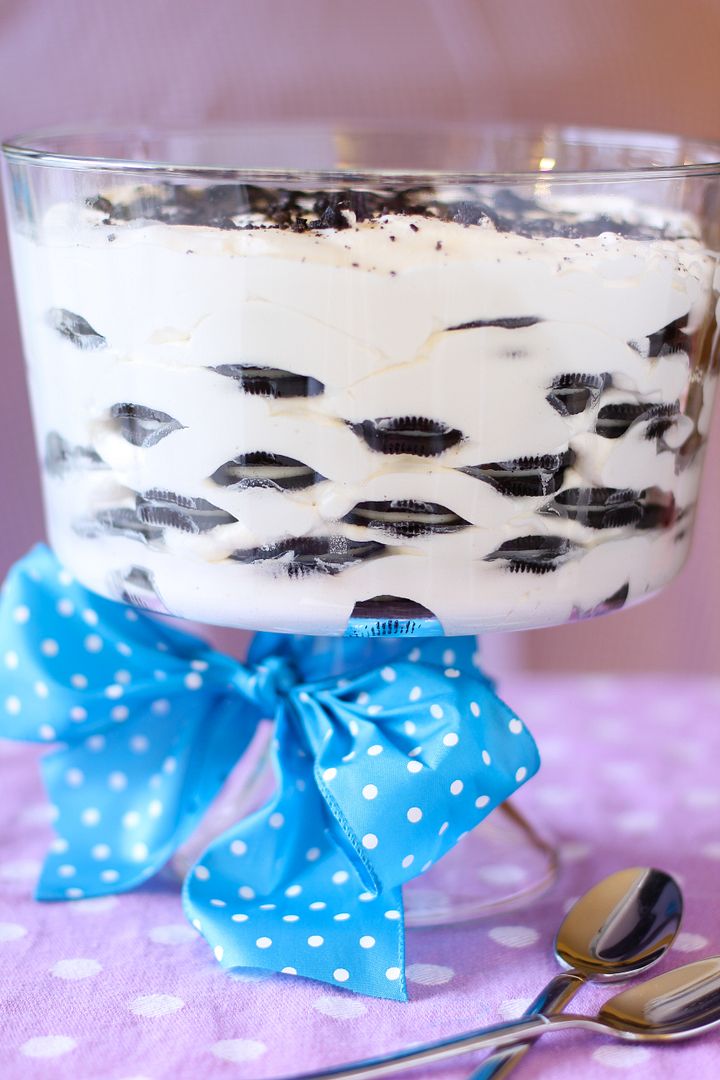
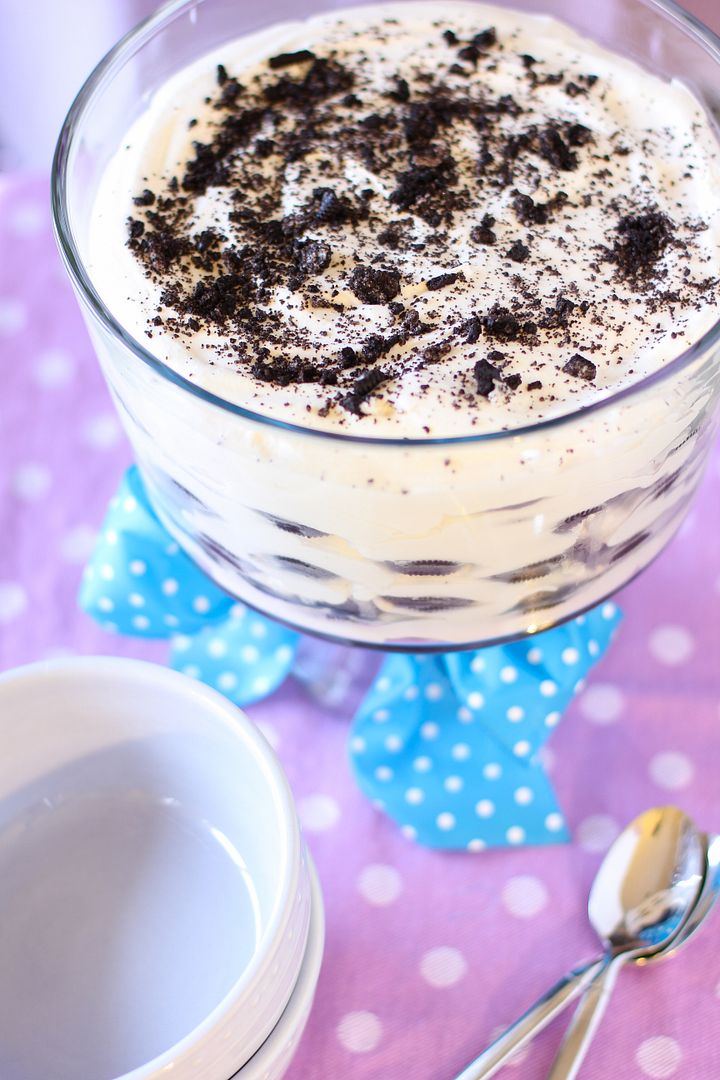
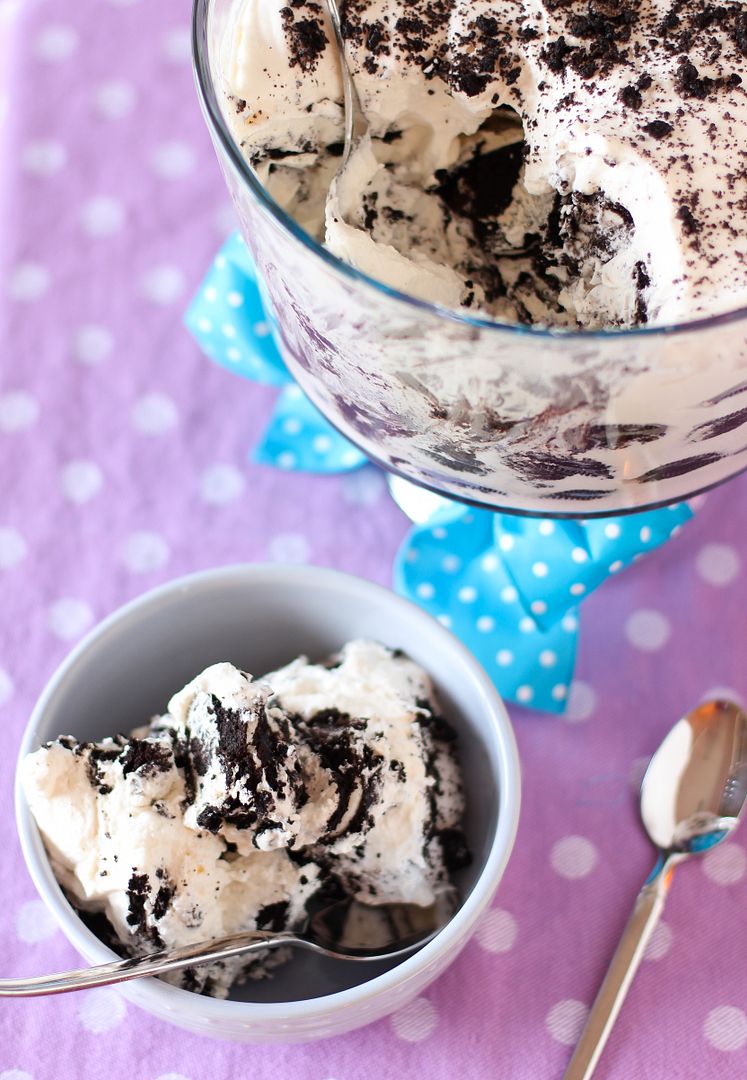
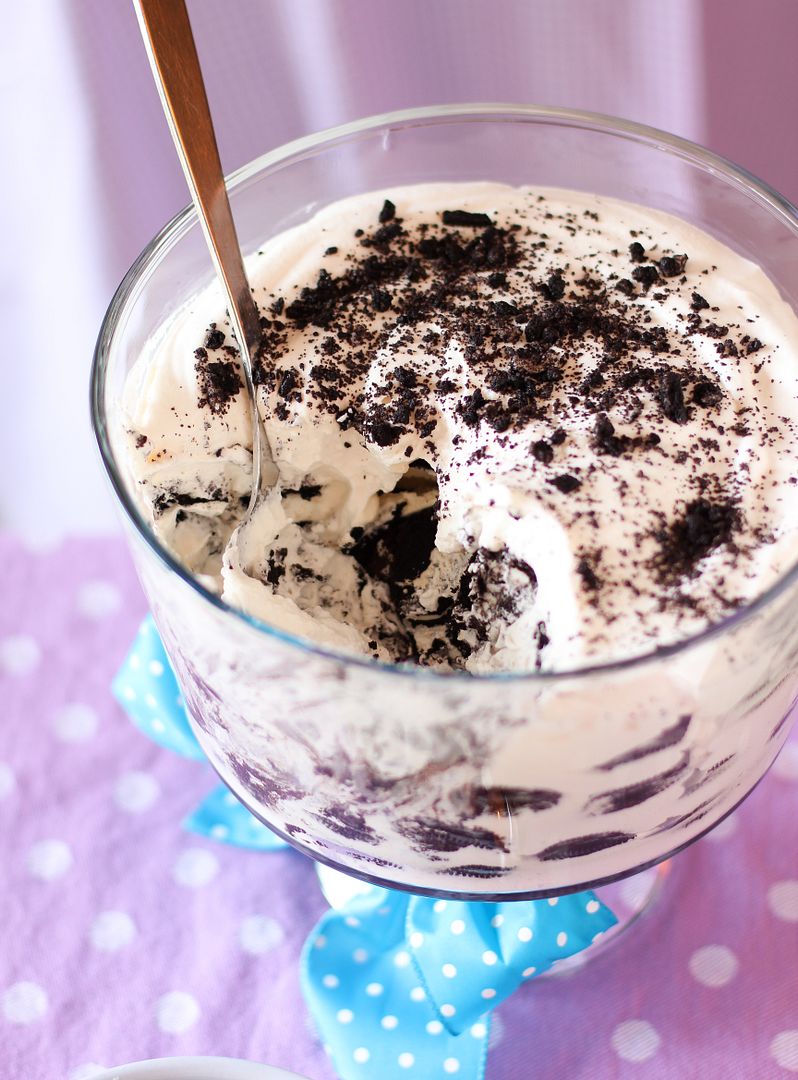
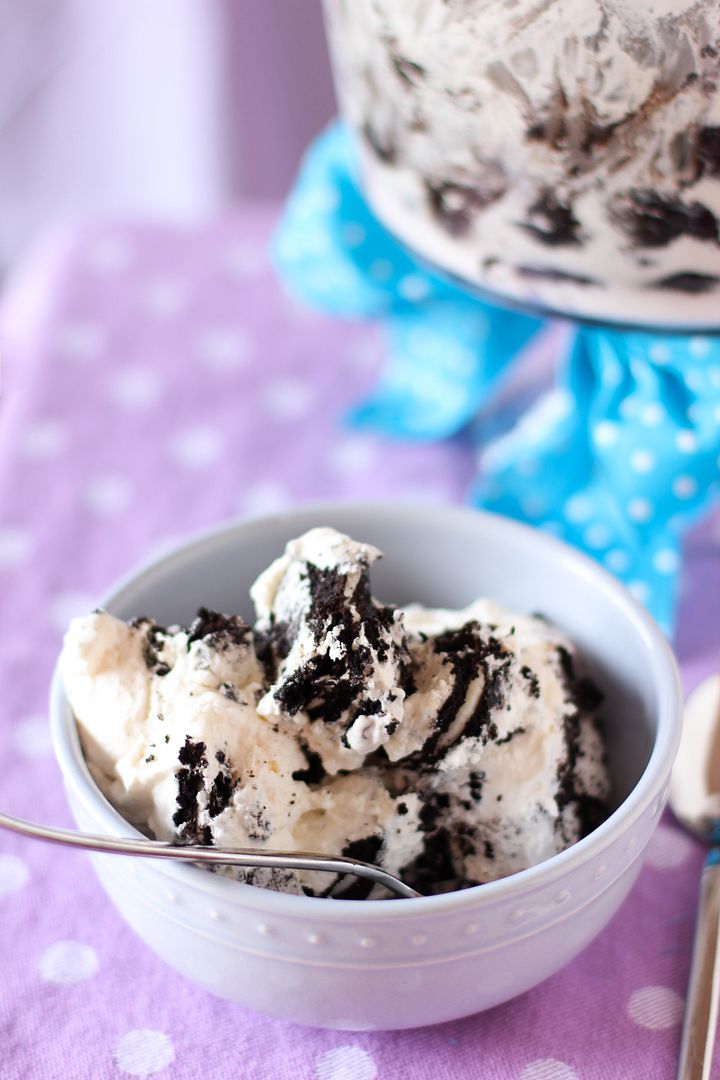
After all that tension, I needed to whip up an easy dessert this weekend, and there is nothing easier than an icebox cake. Icebox cakes layer wafer or sandwich cookies with billowy whipped cream and then chill it to form a delicious, velvety, cake-like dessert. I decided to spike my cream with some almond liqueur for a tasty zing, and now I can’t stop eating this thing. I love that something that takes 5 minutes to prepare can end up so pretty and tasty. Enjoy!
How do you effectively handle disagreements online, where it’s so much easier to be unkind or act rashly?
Icebox Cake is so easy, fast, and delicious. It’s probably the dessert with the biggest bang for your buck. This version is made with oreo cookies and a bunch of whipped cream — and Amaretto for a zing! The cream softens the oreos as they chill overnight into a velvety, cake-like dessert.
Ingredients:
3 cups heavy cream
1/4 cup almond liqueur (like Amaretto) (optional)
3 tablespoons sugar
2 teaspoons vanilla extract
2 packages chocolate sandwich cookies (like Oreos)* *You might want an extra package on hand in case your trifle dish is larger.
Directions:
Fit a mixer with a whisk attachment and whisk the heavy cream, almond liqueur (if using), sugar, and vanilla extract together in a large chilled bowl until it forms soft peaks. In a trifle dish, arrange a single layer of oreo cookies (for my dish, I used between 8-11 cookies per layer, since the sides flare outward) in a circle, with a cookie or two in the middle. Carefully spread about a 1/2 cup of whipped cream over this first layer. Repeat layering cookies and whipped cream, ending with a layer of whipped cream on top. Crumble a last cookie over the top. Cover and refrigerate overnight before serving.
As a teacher, I can tell you that we all have our private plans. Schools have bigger, more systemic plans, but we have private plans. Plans about throwing furniture, plans about overturning tables, plans about barring windows, plans about protecting. “What would I do if–?” has crossed all of our minds. To know that on Friday, some teachers had to put their own plans into action, the strategies they’d woven in the private depths of their imagination —
Well. It’s hard to know what to say. It’s hard to know how to say thank you, I’m sorry, I can’t believe it, what can I do?, and why?, and all of the other things we can’t put language to.
Since I don’t know how to say all of that, I’ll do what I do know how to do. I’ll tell you a story.
* * *
My first experience with teaching was as a student teacher in a summer school in inner-city Atlanta. To say that that was a rough way to start would be an understatement. My students came from home environments in which abuse and poverty were everyday realities. I had a class full of 8th grade girls whose personalities and needs varied considerably.
One girl inexplicably hated me with her entire being and made this clear during most of our interactions.
One girl vacillated between quiet anger and reluctant compliance.
One was realistic, practical, and blunt — qualities she had perhaps honed after having her own baby. She was ready to get on with getting educated and had no time to waste with silliness.
One girl, Marion, was a quiet preacher’s daughter. She barely said a thing throughout the month I taught the class.
Here I was, a middle-class white girl straight out of college. Sure, I could barely afford a suitable teaching outfit at the time, but standing in that classroom, I knew that my students knew hardship in a way that I didn’t understand.
There are many stories I want to tell you about what transpired — about the day the girl touched my hair wistfully, about the day I left my classroom in tears, about the day I bought the girls the wrong kind of cookies, about the day an administrator yelled at me and an entire bevy of those sweet girls unexpectedly stood up for me. But today I want to skip right to the end: the day they took the reading test that would determine whether or not they could continue on to high school.
We had been through a lot together to get to that moment, so I felt very close to the girls. But I saw something in them that day I hadn’t seen before: straight-up fear. It surprised me to see them huddling in the classroom, nervous about the test that they felt was deciding their future. I set to the task of encouraging, supporting, calming. I didn’t know it at the time, but I see now that I was already a teacher in my heart.
I’ll never forget the moment that my co-teachers and I looked over and saw every girl — even the one who hated my guts and, ostensibly, the guts of the world — standing around Marion. She had brought in her father’s absolutely enormous, worn Bible and was holding it in the center of the circle. Every girl had her hand resting on one edge of the well-loved book, her head bowed, and her eyes closed. Some lips moved along with Marion as she prayed aloud over them all. The overarching theme of her plea was, “God, please, please let us pass this test.”
You’re going to hate this, but despite the prayers, the extra #2 pencils, and the most heartfelt teaching I could muster, Marion didn’t pass her test. She came to me upon receiving her scores and asked if I would please write the school system and ask them to promote her, something I gladly did. She had more trouble with tests and test anxiety than she did with reading — a problem many students around the country face each year. But I’m not sure what they ultimately decided.
What Marion and her sweet classmates showed me that day — and really every day they showed up to class and earnestly put their pencils to paper — is faith. Can we have faith after things have gone wrong (tragically, devastatingly wrong)? I know one thing: it won’t be a reasonable faith. It will have to be the unreasoning, innocent faith of a child. One who just believes things can be okay again somehow, some way.
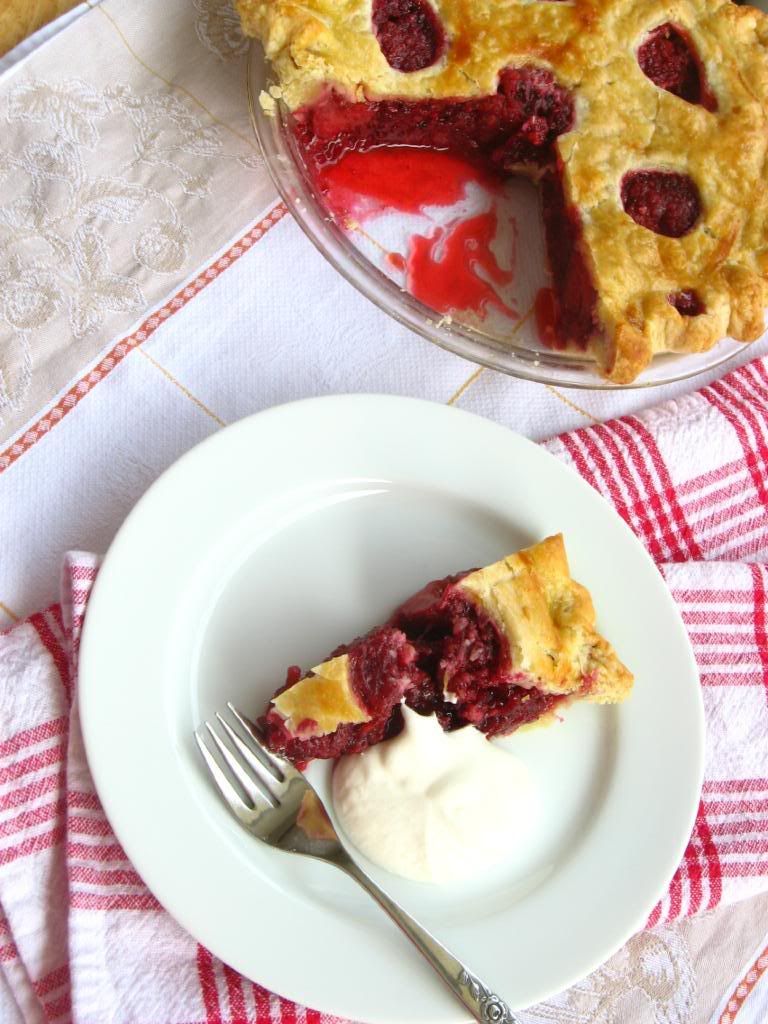
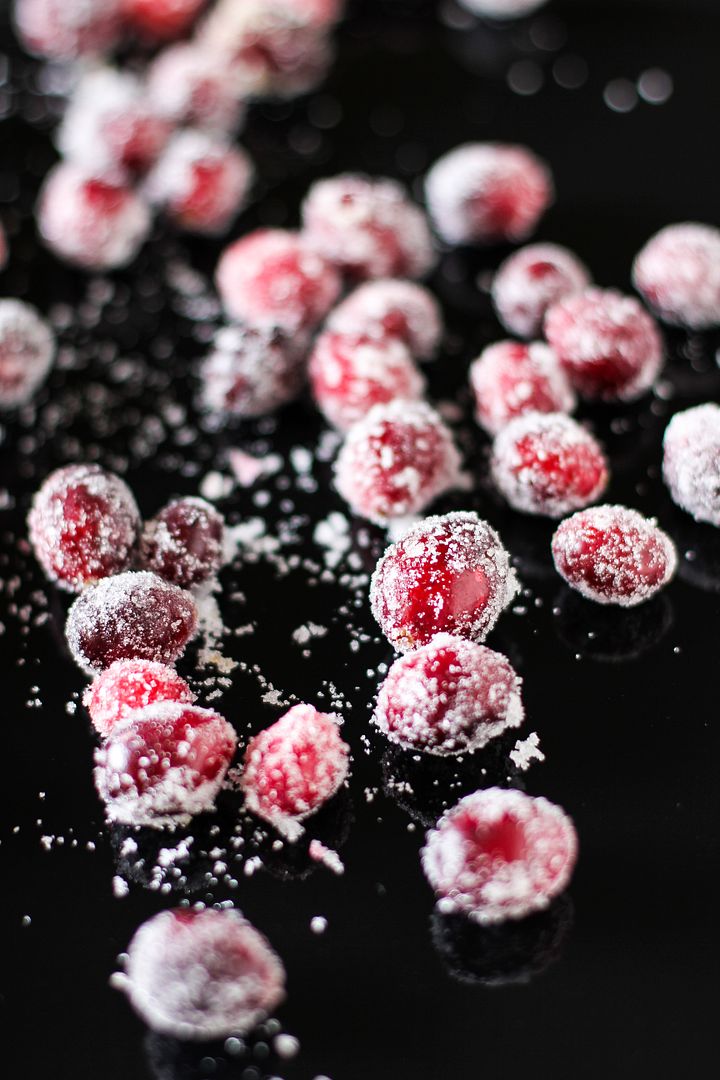
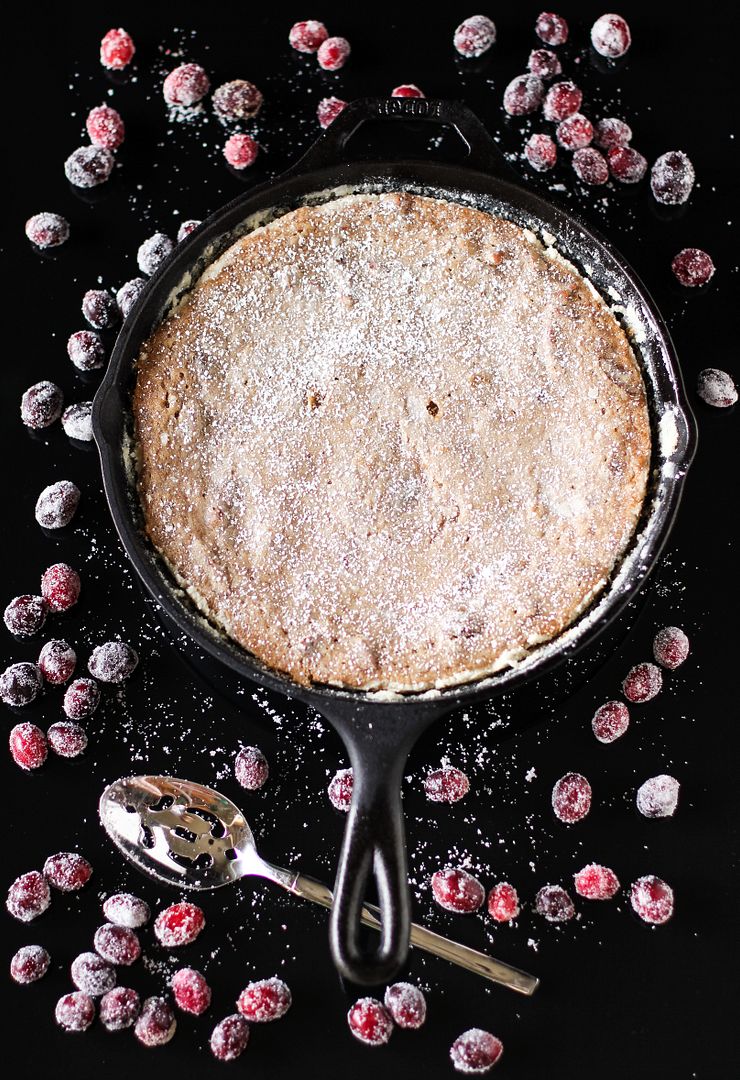
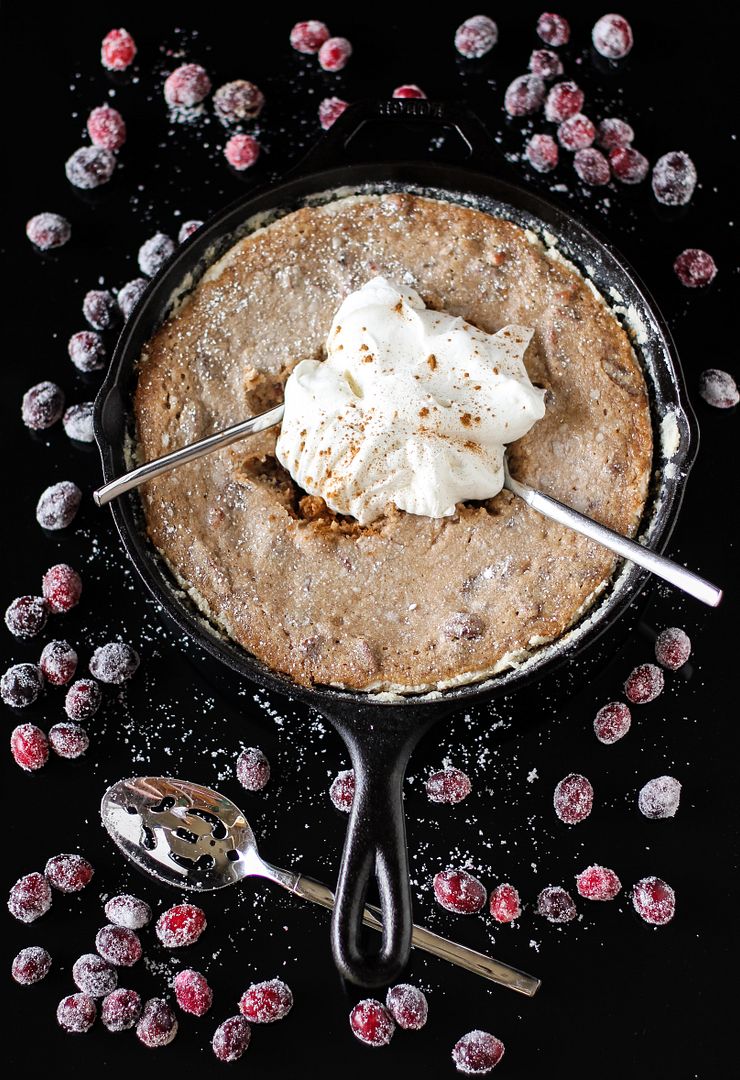
If you love Gooey Butter Cake, here’s a delicious holiday adaptation (with apologies to St. Louis). This Gooey Butter SPICE cake has the wonderful, warm flavors of cinnamon, nutmeg, cloves, brown butter, dates, and toasted pecans. It’s adorned with spiked cream and pretty sparkling cranberries. Enjoy it straight out of the skillet by a big fire, please!
Crust Ingredients:
1 cup cake flour
3 tablespoons granulated sugar
1/3 cup butter, cold
Filling Ingredients:
1 1/4 cups granulated sugar
3/4 cup (1 1/2 sticks) butter, softened
1 egg
1 cup all-purpose flour
2/3 cup minus 2 tablespoons evaporated milk
2 tablespoons brandy
1/4 cup light corn syrup
1 teaspoon vanilla
1 teaspoons cinnamon
1/2 teaspoon nutmeg
1/4 teaspoon ground cloves
1/2 cup chopped dates
1 cup chopped toasted pecans (to toast, bake at 350 degrees F, tossing occasionally, for 4-6 minutes)
powdered sugar
Sparkling Cranberry Topping Ingredients:
1/3 cup granulated sugar
1/3 cup water
2 cups fresh cranberries, room temperature
1 1/2 cups granulated sugar (some coarse sugar if you have it, and some regular, for rolling)
2 cups heavy whipping cream (with a glug of brandy mixed in, optional)
Directions: NOTE: If you don’t have a skillet, I believe you can bake this in a greased 9-inch square baking dish (I’d use a glass one if you have it, and check it early and often. Remove when there’s some jiggle left.) Let us know how it goes if you try it this way for all the other skilletless people!
Prepare the sparkling cranberries: Cook the 1/3 cup granulated sugar and 1/3 cup water together over medium-high heat until simmering (not boiling). Remove from the heat and let cool a couple of minutes so cranberries won’t burst. Pour in cranberries and mix to coat them. Spread the cranberries out on a cooling rack using a slotted spoon and let them dry for an hour, spreading them out as much as possible. Roll the cranberries in small batches in the coarse sugar first, and then in the regular granulated sugar to finish coating. Allow the cranberries to dry in a clean area at least 1 more hour. I prepared these the night before and let them dry, very lightly covered, overnight.
Brown the butter for your gooey butter cake filling: Put the 1 1/2 sticks of butter in a saucepan over medium heat. Melt it and heat until the butter begins to brown. Begin swirling so it will cook evenly. Brown it to a dark amber and then pour it out into a shallow dish. Stick this in the freezer to firm up a bit. When firm, set it out to soften slightly while you make the gooey butter cake crust.
Make the crust: Preheat oven to 350 degrees. Whisk together cake flour and sugar in a medium bowl. Cut in the 1/3 cup butter with a pastry cutter or two knives until the mixture resembles fine crumbs and starts to cling together. Press the mixture into the bottom (this step is a lot harder than it sounds, but be patient and use the back of a spoon to help spread/press the mixture down. I also stuck mine in the fridge for a bit to make the butter less sticky) and up the sides of a 10-inch cast iron skillet.
Make the filling: In a small bowl, whisk together the flour, cinnamon, cloves, and nutmeg. In a separate large bowl, cream together the butter and sugar until fluffy and pale yellow (about 2-3 minutes). Mix in the egg until just combined. Alternate adding the flour mixture and evaporated milk, mixing after each addition. Mix in the corn syrup, brandy, pecans, dates, and vanilla. Pour the filling into the crust and sprinkle the top with powdered sugar.
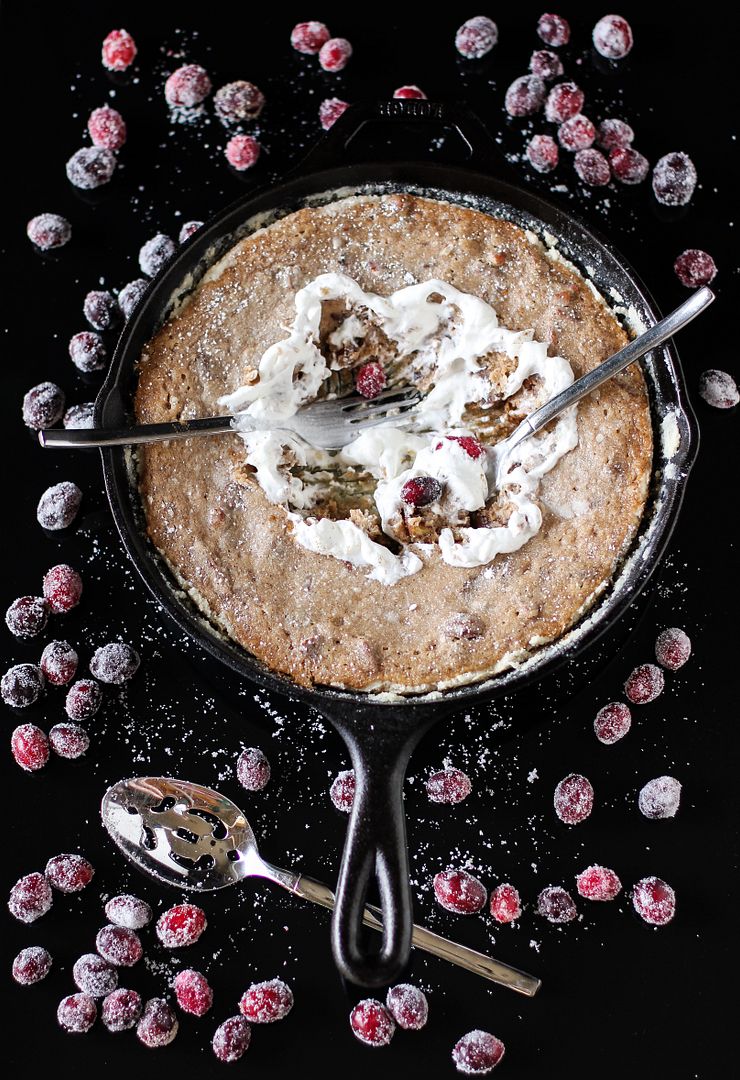
Bake and assemble the cake: Bake for 25 to 35 minutes or until cake is nearly set (mine was probably ready around 30). Some jiggle is fine — do not overcook! It’ll finish setting up as it cools. Let it cool in pan for 2 hours. In the meantime, beat heavy cream to stiff peaks (with a glug of brandy if you’d like). Pile heaps of freshly whipped cream into the center of your cooled, set gooey butter cake, garnish with a few sparkling cranberries, and serve.
The first time we saw her years ago, we were sure she was pregnant. She was just so round and lumpy. We laughed at the rhythmic harmonic motion of her belly, which nearly swished across the ground with each step. Despite her interesting mechanics, her movement was relatively agile and quick — perks of being feline, I guess. She was next to us in a flash, headbutting our legs and hoping for a nice ear rub.
Mike was ready to ignore her persistence and hurry into the restaurant — our breath hung in the air, a visible testament to the frigid temperatures — but I was predictably smitten. Her gray fur was thick against winter’s chill and my fingertips, and her wide face reminded me of a chipmunk trying to manage two mouthfuls of food in one mouth. In short, as I cooed over and over while stroking her, she was sooo-oo-ooo cuuuuute.
And so fat! And so sweet! And so fluffy!
speaking of fluffy…
I promised myself that if she were still prowling about after dinner, I’d scoop her up and take her to a vet. With that resolution easing my mind, Mike and I finally sat down to heaping dishfuls of fragrant red curry with hunks of pineapple and duck and — my favorite — a plate of colorful Pad Thai garnished with peanuts, bean sprouts, julienned carrots, and a wedge of lime. As we ate, I glanced out the window periodically for our new friend, but quickly lost sight of her.
Sure enough, when we came back out of the restaurant, she was nowhere to be found. We left the restaurant stuffed but catless and a little disappointed (well, let’s be honest. Mike was probably relieved.)
This past August, years after spotting the Thai Cat, as I’ve taken to calling her, I moved to a little apartment close to that same Thai restaurant. One warm night I tugged on my favorite orange dress and Mike and I strolled the few blocks to the restaurant to grab dinner. As we approached the door, who do you suppose we should meet but the Thai Cat herself! At this point, we learned two things about her:
1. She had not been pregnant (unless cats stay pregnant for three years) but was just exceptionally rotund.
2. She did, in fact, have owners — in a manner of speaking.
This second point became apparent because of the ornate red collar she wore, with green accents and a jingle bell. Another clue was a shelter we found secreted away behind a thicket comprised of potted plants: a little house filled with blankets, a dish of food and water. Our chubby friend had been adopted by the Thai family who owns the restaurant!
And by the looks of it, she’d been feasting on quite the array of roast duck and chicken herself. No wonder she’s a pudge.
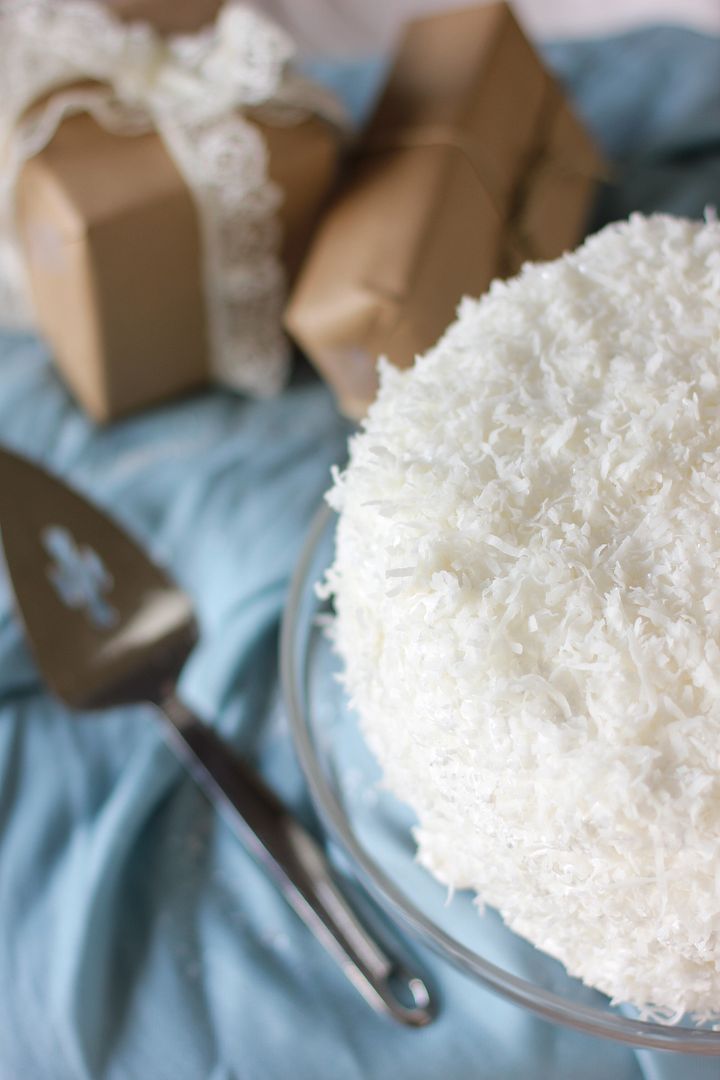
The Thai Cat doesn’t have too much to do with a Coconut Cake (though no doubt she’d make short work of a slice) besides reminding me of the importance of a home. Her home and family is a bit unusual for sure — no couch and tons of interesting strangers — but she’s happy as a plump little plum.
My home’s felt unusual for years. Once I wasn’t living with my parents anymore and was instead bouncing around from college dorm to makeshift apartments, hopping between roommates and loneliness, I started to feel a little like dropping my own self off at an animal rescue (“Free to a good home, preferably with a ready-made family, or at least cable.”) Lately, though I love my new apartment, that desire for home and family — of some sort — has been in the back of my mind. I’m willing to wait for God to put the pieces together for me.
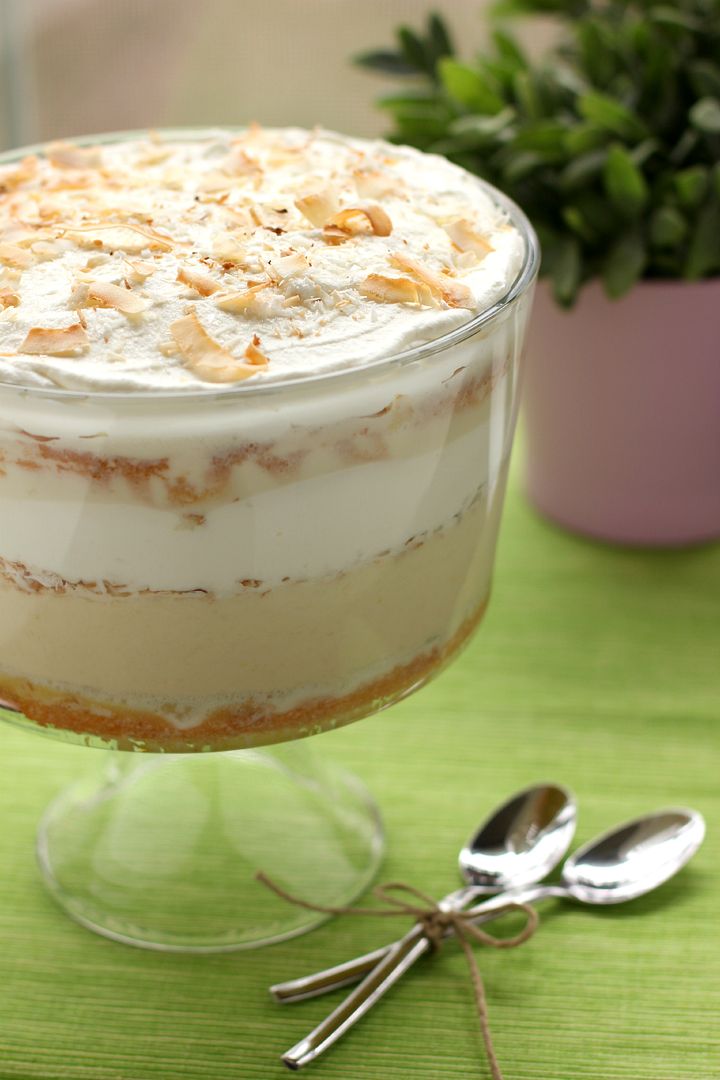
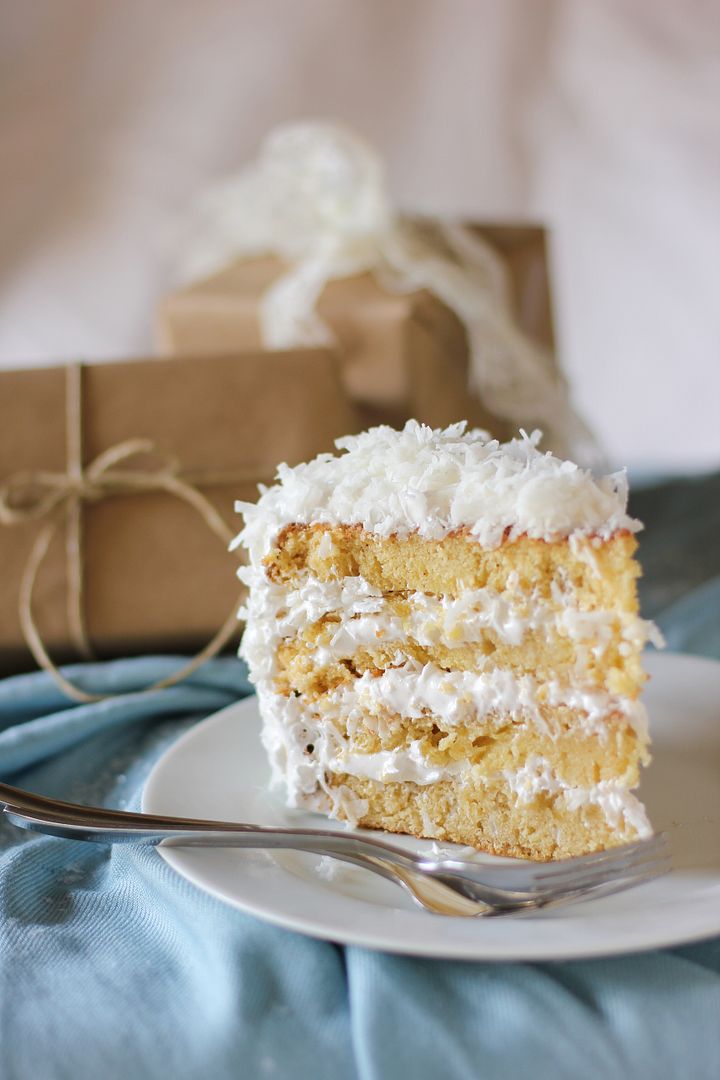
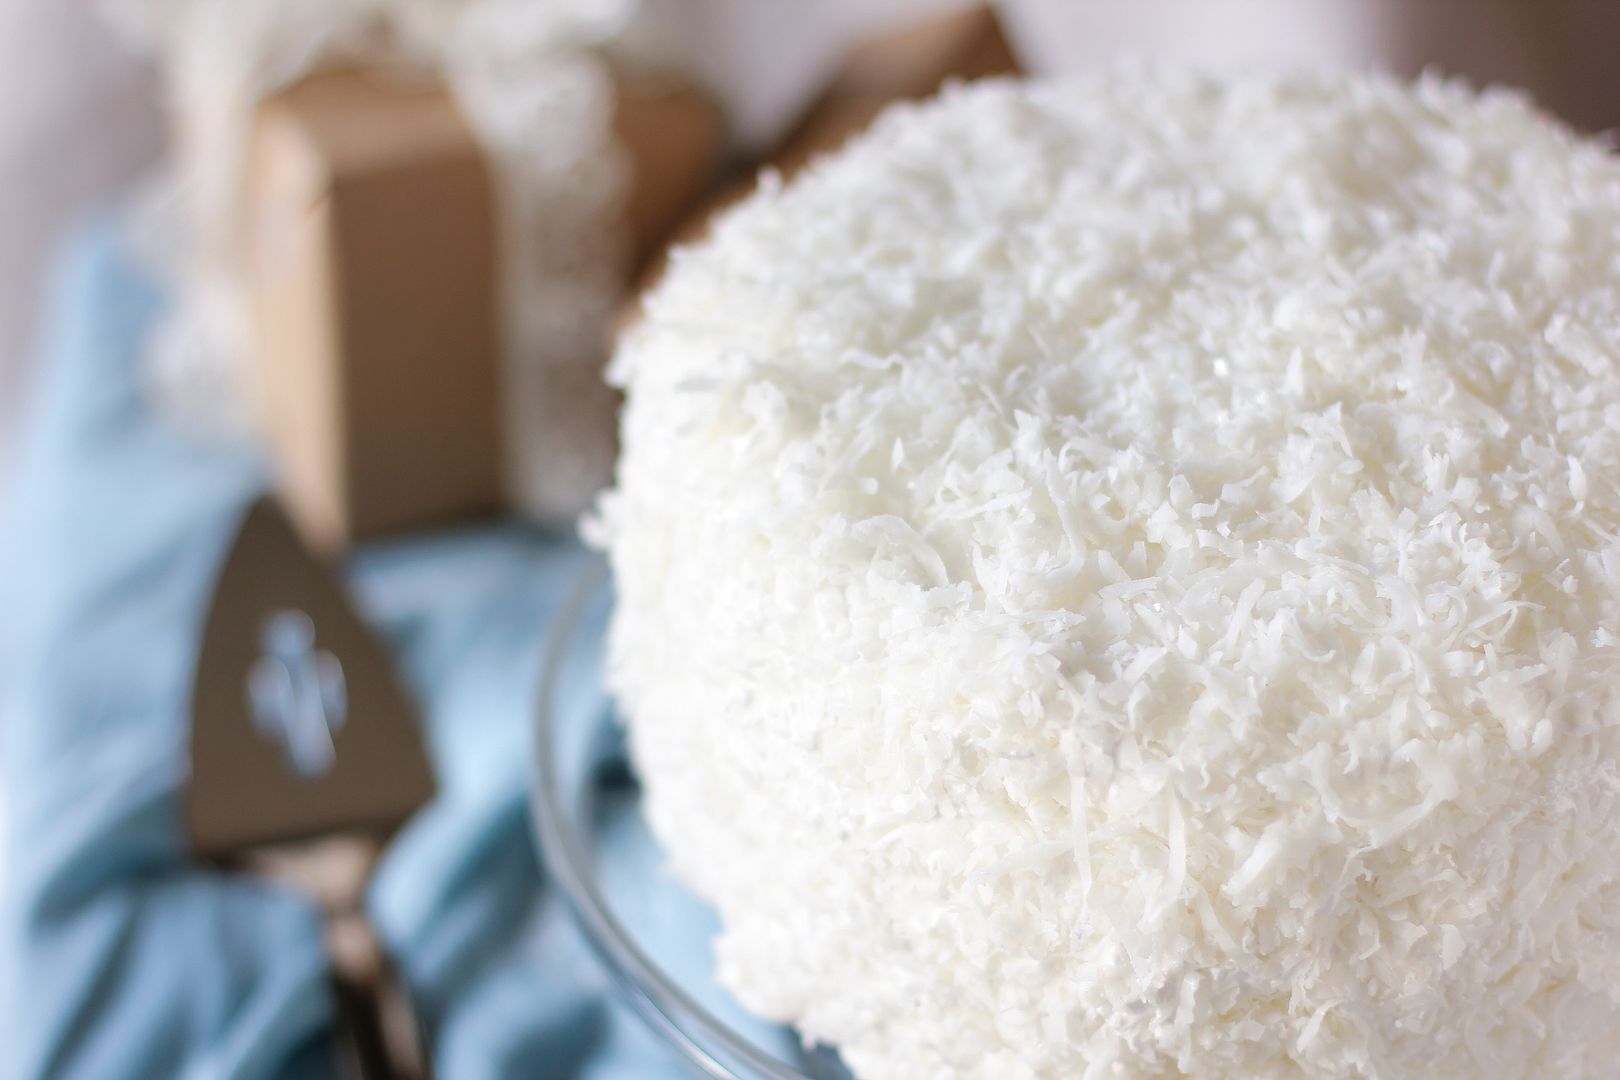
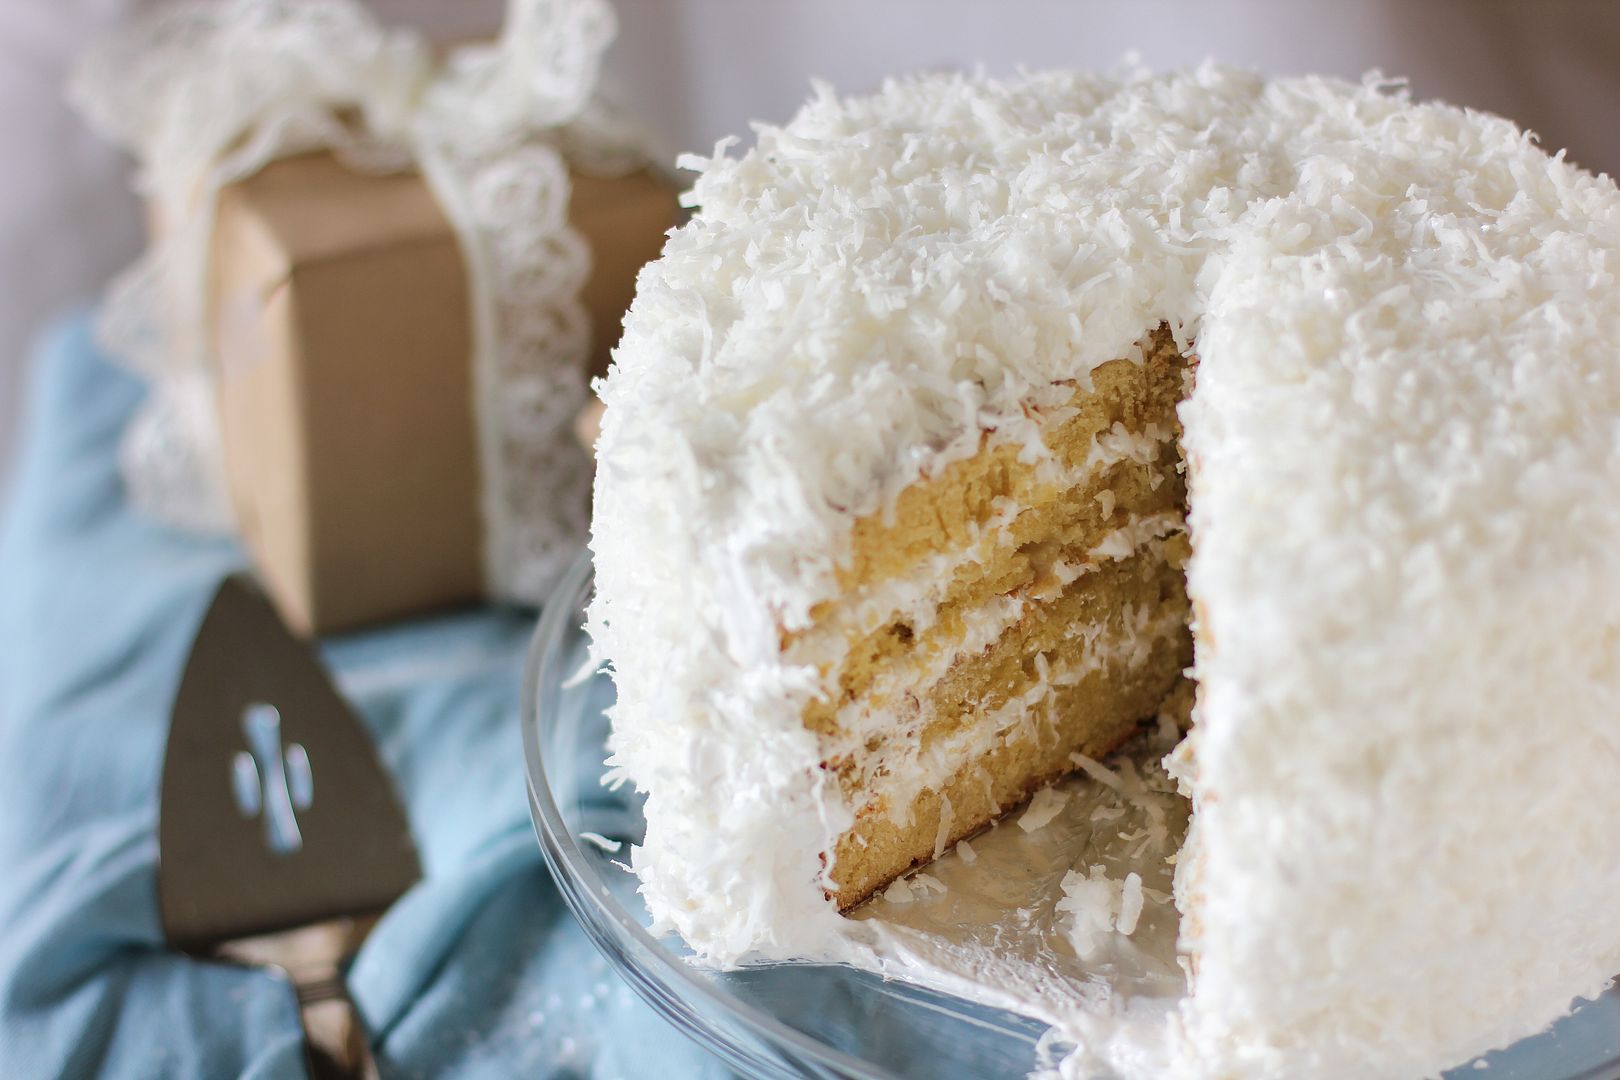
In the meantime, I’ll make Coconut Cake, a fluffy, moist symbol of home and family if there ever was one. A friend of Mike’s family recently recalled making one for her son year after year: painstakingly grating the fresh coconut, reserving the water to soak the layers, stacking the cake, slathering on the 7-minute frosting. It’s a labor of love — a gift you present to someone, much like a red collar with green accents and a tiny jingle bell, to say, “You belong here.”
Recipe by: adapted slightly from SAVEUR’s associate food editor Ben Mims’s grandmother, Jane Newson
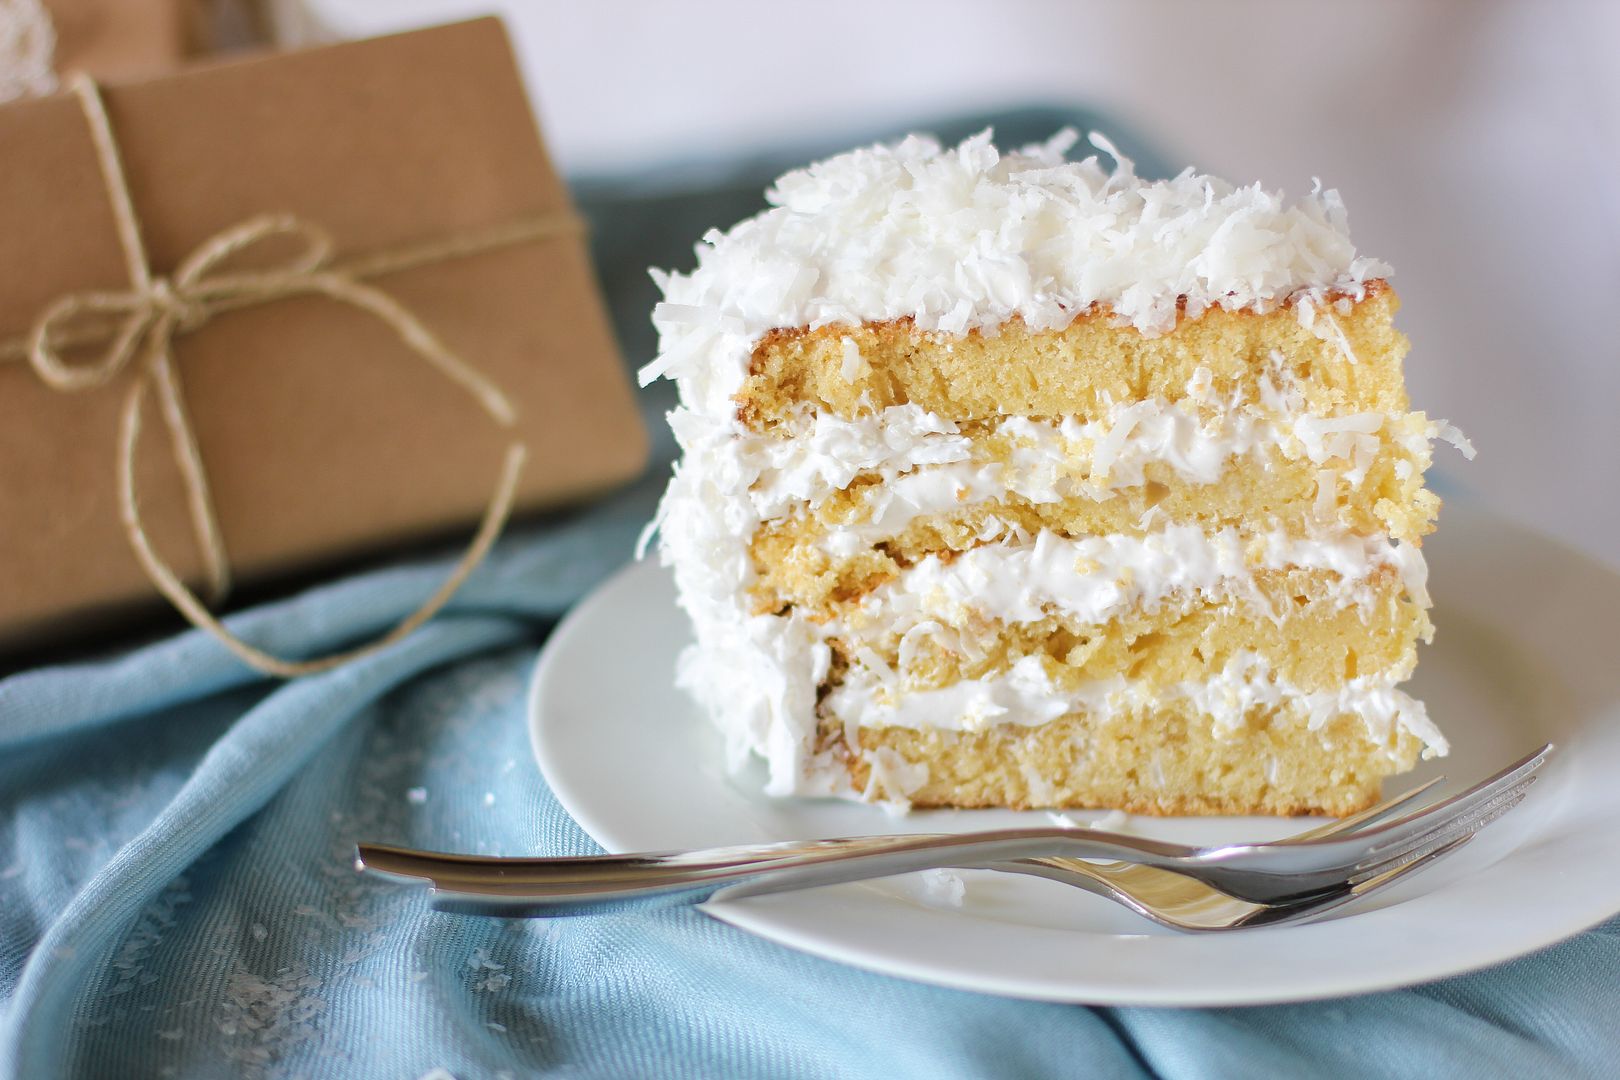
Yield: 10-12 servings
What can I say? It’s like eating clouds. Coconutty, billowy, moist, delectable clouds. Actually, I think after having 8 (give or take a few) slices of this amazing coconut cake, clouds would be sorely disappointing.
Cake Ingredients:
16 tablespoon unsalted butter, softened
2 1/2 cups cake flour, sifted
1 teaspoon baking soda
1 teaspoon kosher salt
3/4 cup buttermilk
1/4 cup coconut milk
1 tablespoon vanilla extract
2 cups sugar
5 eggs
Frosting Ingredients:
4 egg whites
1/2 teaspoon cream of tartar
2 1/4 cups sugar
1/4 cup light corn syrup
1 teaspoon kosher salt
2 teaspoons vanilla extract
1/2 cup water
3/4 cup fresh coconut water
3 cups freshly grated coconut
Directions:
Note: This frosting isn’t supposed to keep too well, so it’s best to frost the cake the day it’s being served. However, to spread out the work, you can make the layers in advance. Really, I should also admit that we ate this cake for days after I made it and it stayed delicious, so while I’m sure it’s best to eat it the day you frost it, I wouldn’t toss the leftovers (if there are any, that is.)
Make the cake: Preheat the oven to 350 degrees F. Grease two 9″ cake pans (I use Wilton’s Cake Release), line with parchment paper rounds, and grease the parchment paper as well. In a medium bowl, whisk together flour, baking soda, and salt. In a separate small bowl (or measuring cup), whisk together buttermilk, coconut milk, and vanilla. Finally, in a large bowl, cream together the butter and sugar until pale, light yellow, and fluffy, about 2-3 minutes. Add in the eggs one at a time, mixing well after each egg. Alternate adding the dry ingredients and buttermilk mixture with the mixer on low speed before increasing the speed to high and beating for a few seconds to smooth out the batter.
Pour the batter evenly into the two prepared cake pans, bang on the counter to remove air bubbles, and smooth the tops with a spatula. Bake until a toothpick comes out with just a few moist crumbs, about 30-35 minutes. Let the cakes cool in the pans for about 20 minutes before turning them out onto a rack to cool completely. Wrap the cake layers and freeze until firm to make them easier to manage (at least 30 minutes). Once firm, use a large serrated knife to carefully cut each cake layer in half horizontally to create four layers. Rewrap and refreeze these layers until you’re ready to assemble the cake.
Make the frosting: In the bowl of a stand mixer, use the whisk attachment to beat the egg whites and cream of tartar together until soft peaks form. Let this sit while you boil the sugar, syrup, salt, and water together in a saucepan over high heat. Stir to dissolve the sugar and cook until a candy thermometer reads 250 degrees F, about 4-5 minutes. With the mixer on medium speed, drizzle in the hot syrup and add vanilla extract. Turn the mixer to high speed and beat until the frosting has stiff peaks and is only slightly warm, about 3 minutes.
Assemble the cake: Place one cake layer onto a platter or cake decorating turntable. Drizzle 3 tablespoons of coconut water over the cake layer and spread it around. Spoon about 1 1/4 cups of the frosting onto this layer and spread it thick, letting it spill a bit over the edges all around. Top with 1/2 cup of grated coconut. Continue layering cake layer, coconut water drizzle, frosting, and coconut. On top of the cake, drizzle the last 3 tablespoons of coconut water before covering the whole top and sides of cake with the remaining frosting. Spread it thick and billowy and use a cupped hand to lightly press grated coconut all over the surface of the cake — it’ll hide any frosting imperfections! Store cake in the fridge. Serve either chilled or after letting it sit out for about 20-30 minutes to take the chill off.