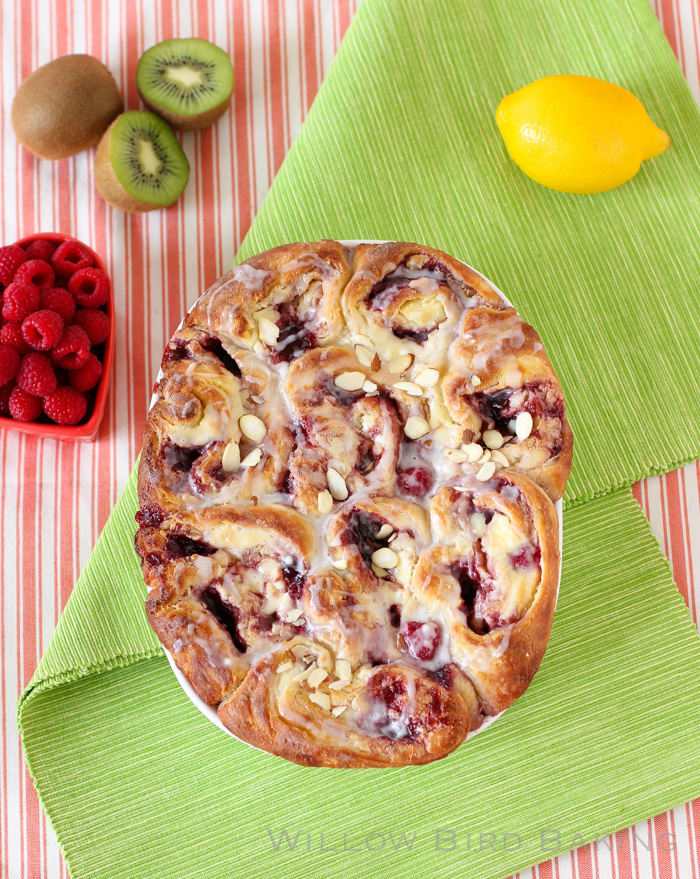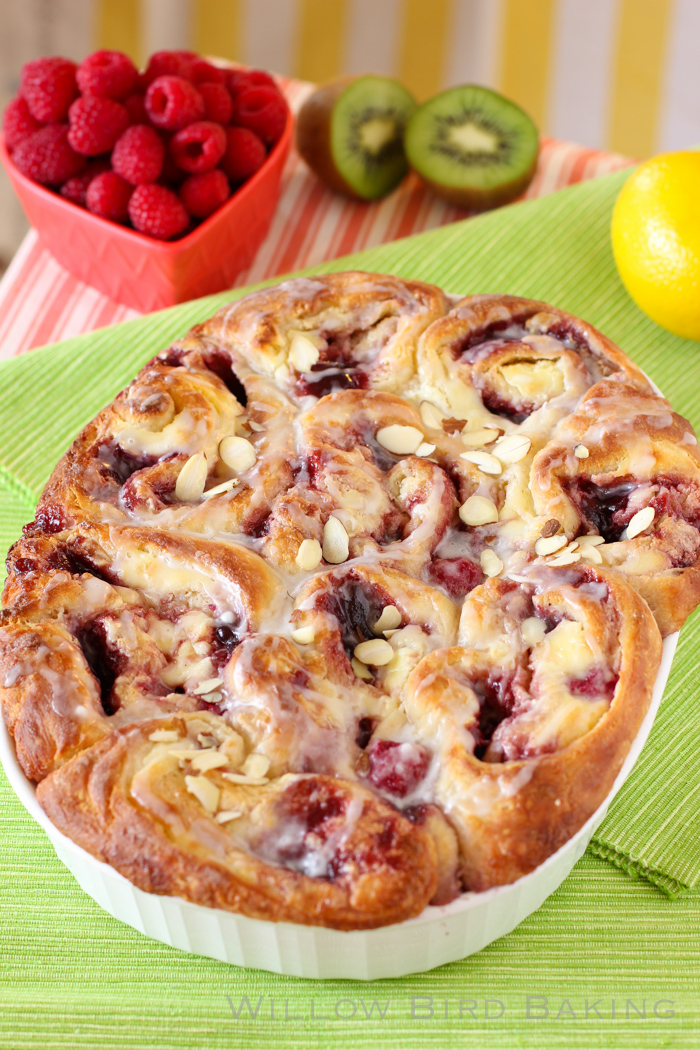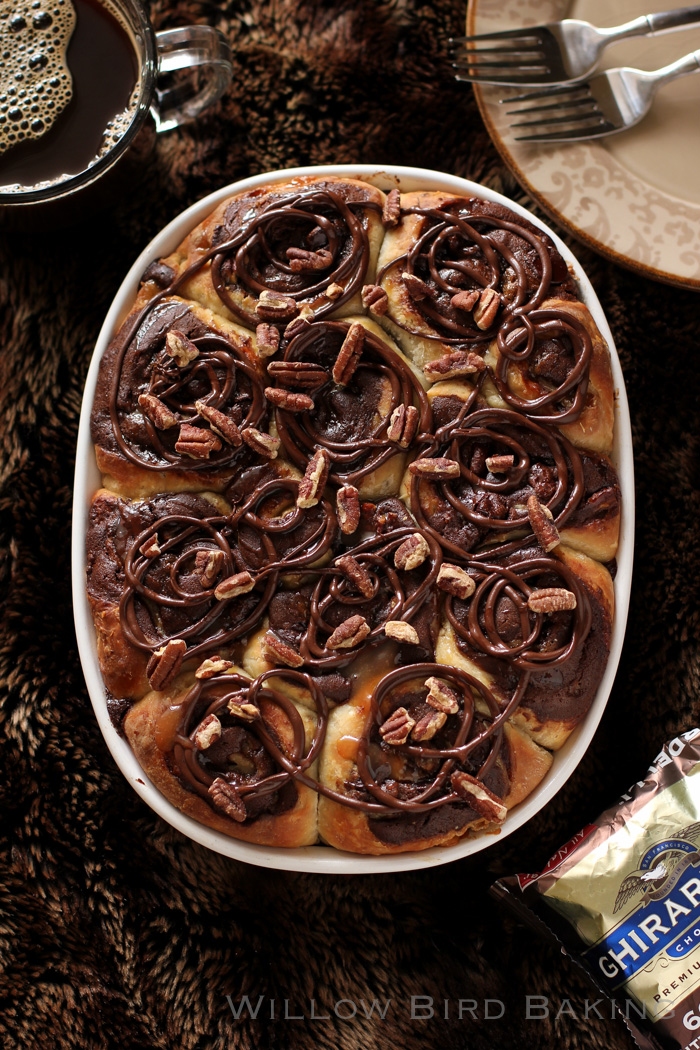
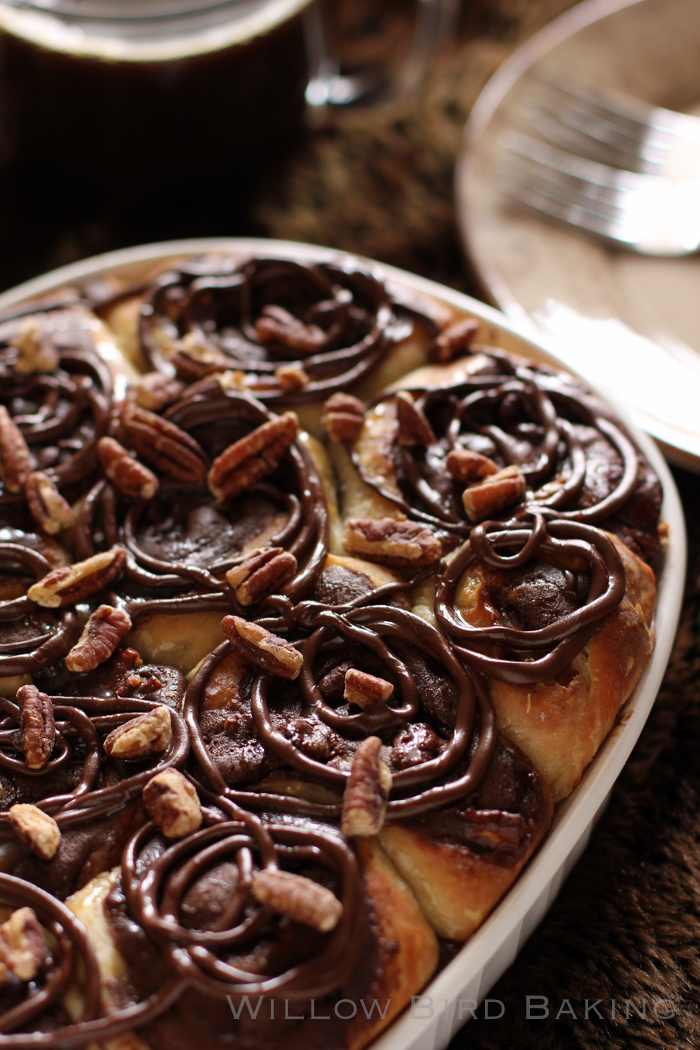
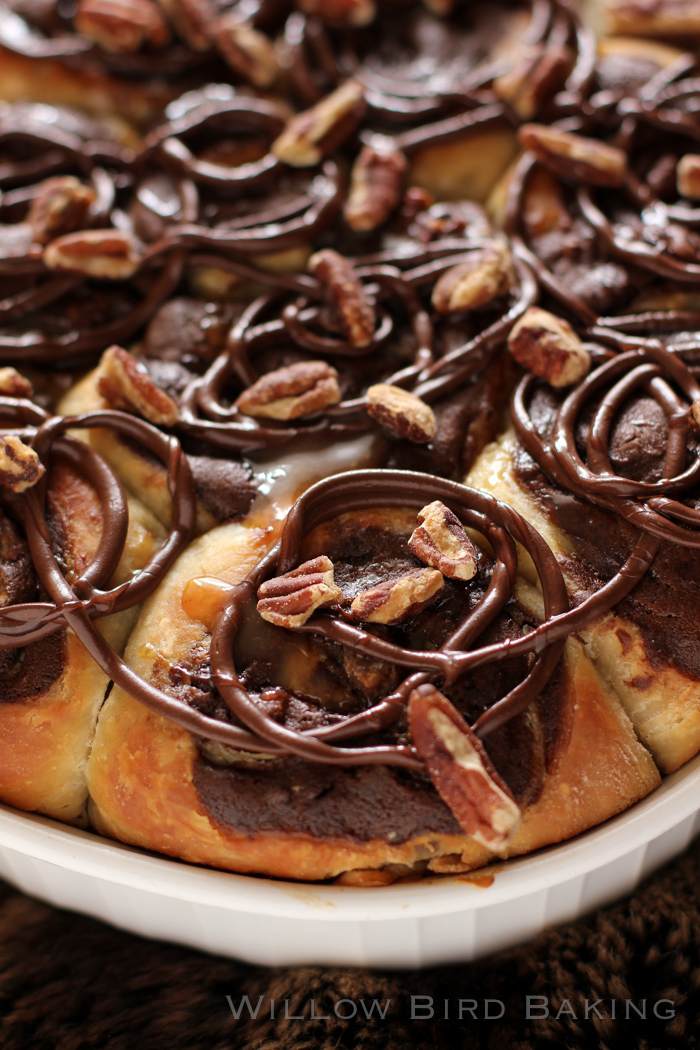
Gooey Turtle Brownie Sticky Buns
Sometimes you know you’ve gone too far.
Sometimes you’re unwrapping another stick of butter and cracking another couple of eggs and you realize you’re only making a half-batch of the recipe and —
You have two options. You can stop right where you are, go to Zumba, and repent. Or . . .
You can keep going and hope there’s room in the world for a new Paula Deen (except minus the racism scandal part. Just the butter part. And the “y’all” part. And I wouldn’t mind the awesome Savannah mansion part.)
Well sign me up for my cooking show, y’all.
Because that’s exactly what happened here. Whenever I’m developing sticky bun recipes, I always make a full batch of yeast dough and then make two different half-batches of filling so I’ll have two new recipes to share. When I was working on this one, I realized that a half-batch of the brownie batter filling (that’s right: BROWNIE BATTER FILLING) had an entire cup of butter, a cup of cocoa powder, a cup and a half of sugar — and my head exploded.
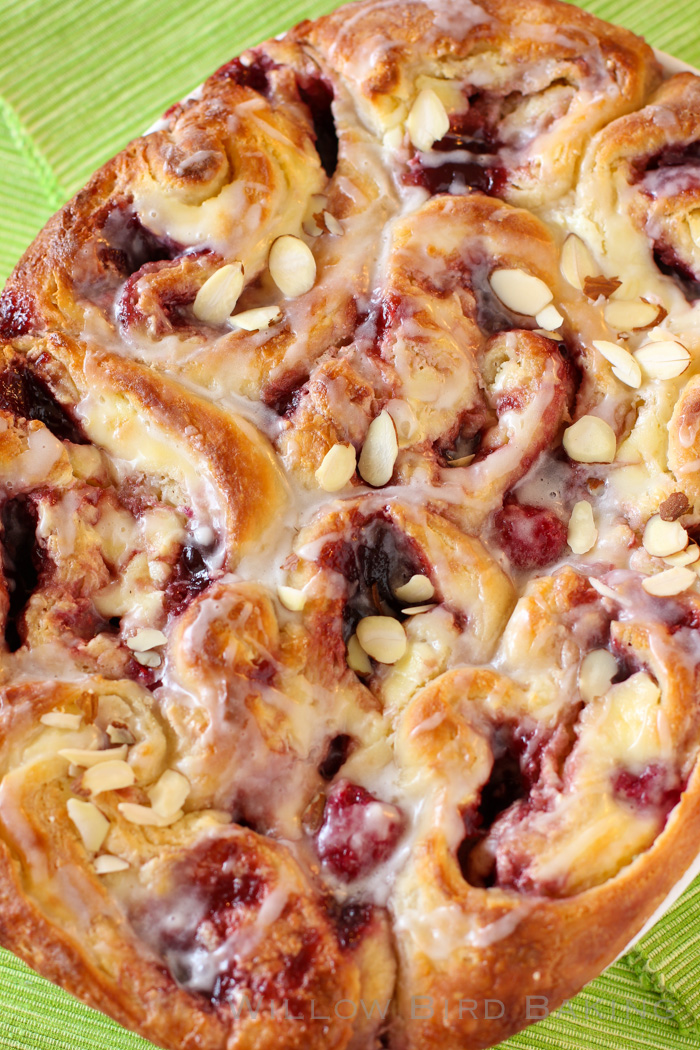
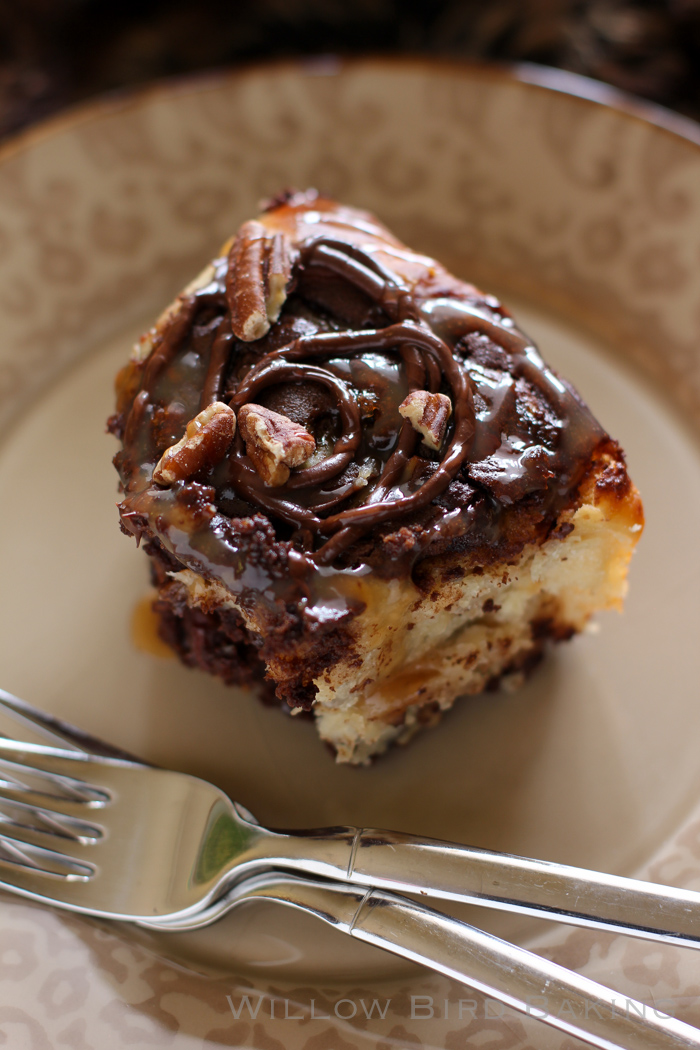
But I still baked them, duh. And I still ate them, DUH. And they were wonderful: gooey, chocolatey, caramelly, pecany (…?) awesomeness. And so I’m sharing them with you in the only format I can excuse myself for: as a half-recipe!
The recipe below will make the full batch of yeast dough, but only a half-batch of the filling. Choose another filling that you love for the other half of the dough or make two batches of these to freeze one for later. Whatever you do, don’t tell my Zumba instructor.
Thanks.
One year ago: Quick & Easy Sides: Roasted Carrots and Asparagus with Garlic-Lemon Aioli
Two years ago: Pork Bulgogi Bāozi (Steamed Korean BBQ Buns)
Three years ago: Carrot Cake Sandwich Cookies with Honey Cardamom Cream Cheese
Four years ago: Nanaimo Bars
Gooey Turtle Brownie Sticky Buns
Recipe by: Willow Bird Baking with filling adapted from these brownies
Yield: 12 buns plus dough for more
This recipe makes twice as much yeast dough as you need (I don’t recommend halving yeast recipes). Roll and fill half of the yeast dough to make these buns and then use the other half to make another kind! Need inspiration? Try these or these or these or these or these or these! Alternatively, you could use the extra dough to make a second batch of these buns and freeze it for later. To freeze some of the unbaked rolls, just wrap them well before the second rise and freeze them. Once frozen, pop them out of the pan all together and store in the freezer, wrapped in plastic wrap and in a zip top bag or wrapped in foil. When you want to bake them, stick them back in a greased pan, thaw them in the fridge overnight, proof for the instructed amount of time, and bake like usual.
Bun Ingredients:
1/4 cup warm water (100-110 degrees F)
1 package (2 1/4 teaspoons) active dry yeast
2 tablespoons white vinegar
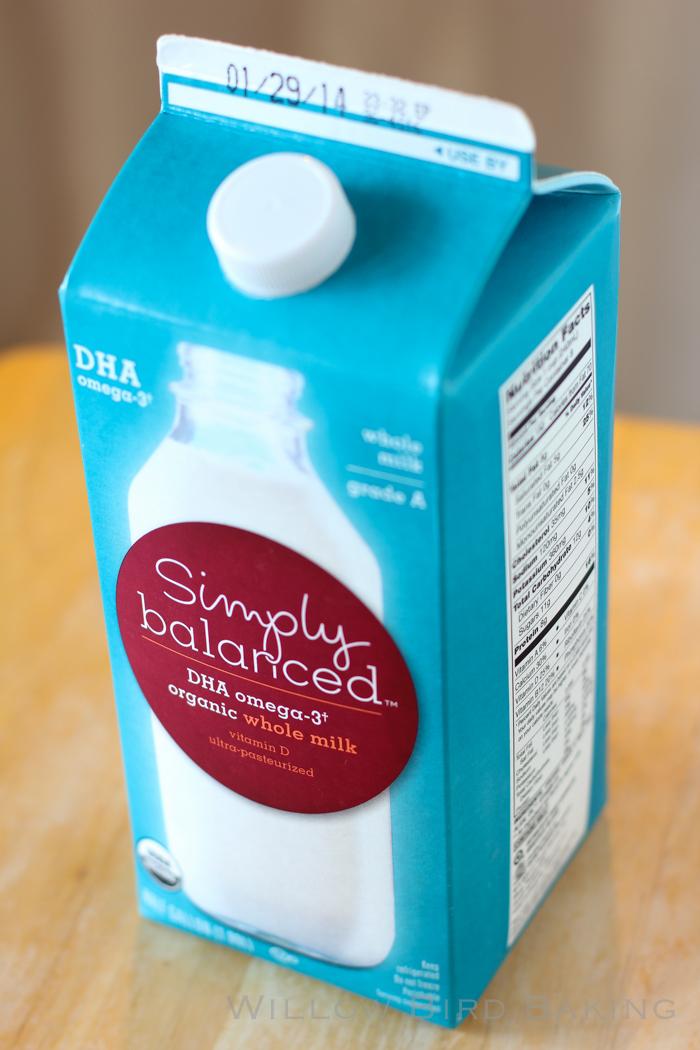
2 cups milk minus 2 tablespoons, room temperature
5 cups flour
3 tablespoons sugar
1 teaspoon salt
1 teaspoon baking soda
1 teaspoon baking powder
2/3 cup cold shortening (I use butter flavored Crisco)
2 tablespoons butter, melted, for after baking
Half-Batch Filling Ingredients:
(or try your own favorite brownie batter scaled for a 9 x 13-inch pan, provided it’s a pretty thick batter)
1 cup butter, melted
1 cup unsweetened cocoa
1 1/2 cups sugar
4 eggs
1 1/2 teaspoon vanilla
1 cup flour
1/2 teaspoon salt
bittersweet chocolate chips
caramel sauce
1 cup toasted pecans*
Glaze Ingredients:
melted chocolate chips
caramel sauce
toasted pecans
Directions:
*To toast pecans: spread pecans on a baking sheet and bake at 350 degrees F for around 6-7 minutes, tossing occasionally, until fragrant. Chop while still warm.
Mix the warm water and yeast in a medium bowl and let the yeast foam for about 10 minutes. Put 2 tablespoons white vinegar in a measuring cup and then add milk up to the 2 cup line. Set this aside. In a separate large bowl (or the bowl of a mixer fitted with a dough hook), whisk together flour, sugar, salt, baking soda, and baking powder and cut the shortening into the mixture with two knives or a pastry cutter until the shortening looks like small peas. Stir yeast mixture and milk mixture into the dry ingredients and mix well, kneading just a few turns. Transfer the dough to a bowl lightly sprayed with cooking spray, cover tightly with plastic wrap, and store in refrigerator overnight.
The next morning, in a medium bowl, mix melted butter and cocoa powder until cocoa is dissolved. Mix in the sugar and then mix in the eggs, one at a time, mixing after each until just combined. Stir in the vanilla, flour, and salt, mixing until just combined (don’t over mix). Set the batter aside while you roll out your dough. Don’t stick it in the fridge like I did, because it hardens. Oops.
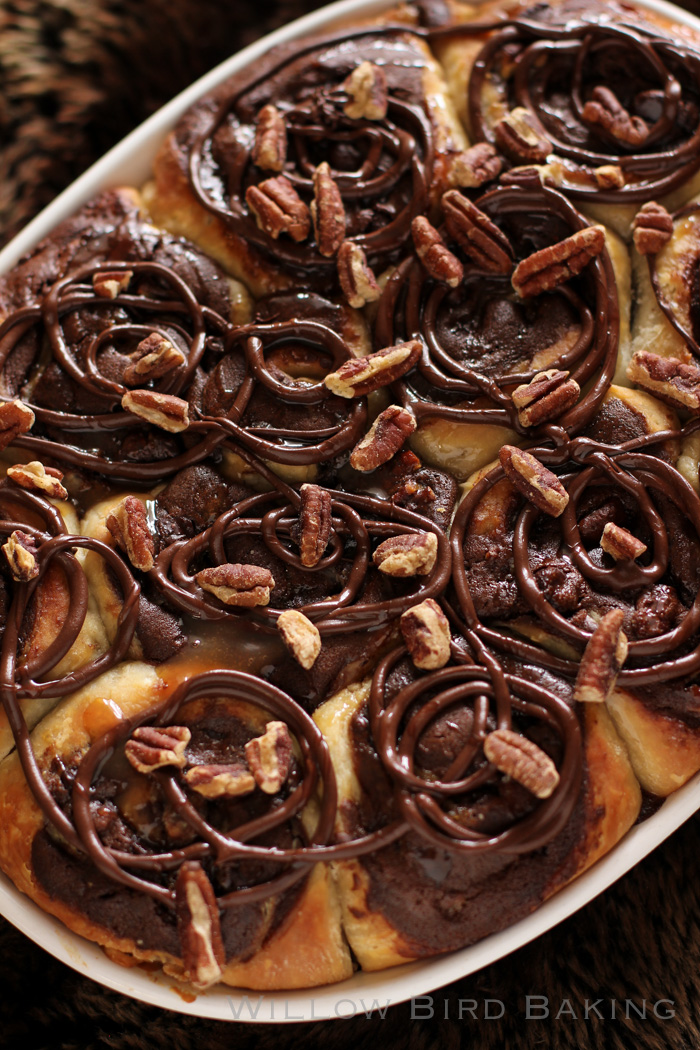
Preheat the oven to 400 degrees F and lightly spray a baking dish (I use an oval dish that’s smaller than a 9 x 13-inch, but just use whatever will fit about 12 buns close together) with cooking spray. Turn half of the chilled dough out onto a floured surface and roll it into a large rectangle about 1/8-inch thick. Spread the brownie batter gently and evenly all over the dough and sprinkle on chocolate chips and toasted pecans. Drizzle on caramel sauce. Gently roll the dough up into a spiral and cut it into rolls, placing them close together in your prepared baking dish (at this point, you could wrap and freeze the rolls for later if you wanted).
Cover the rolls with a clean dish cloth and let them rise in a warm spot (I set them on my oven’s heat vent) until they’ve nearly doubled, about 2 hours. Bake them for about 15-20 minutes or until browned on top (if you take them out at just lightly golden brown, they may still be doughy in the center). Brush with 2 tablespoons melted butter and return to the oven for 1 more minute. Drizzle rolls with chocolate and caramel sauce. Sprinkle on toasted pecans. Serve immediately.