nuts

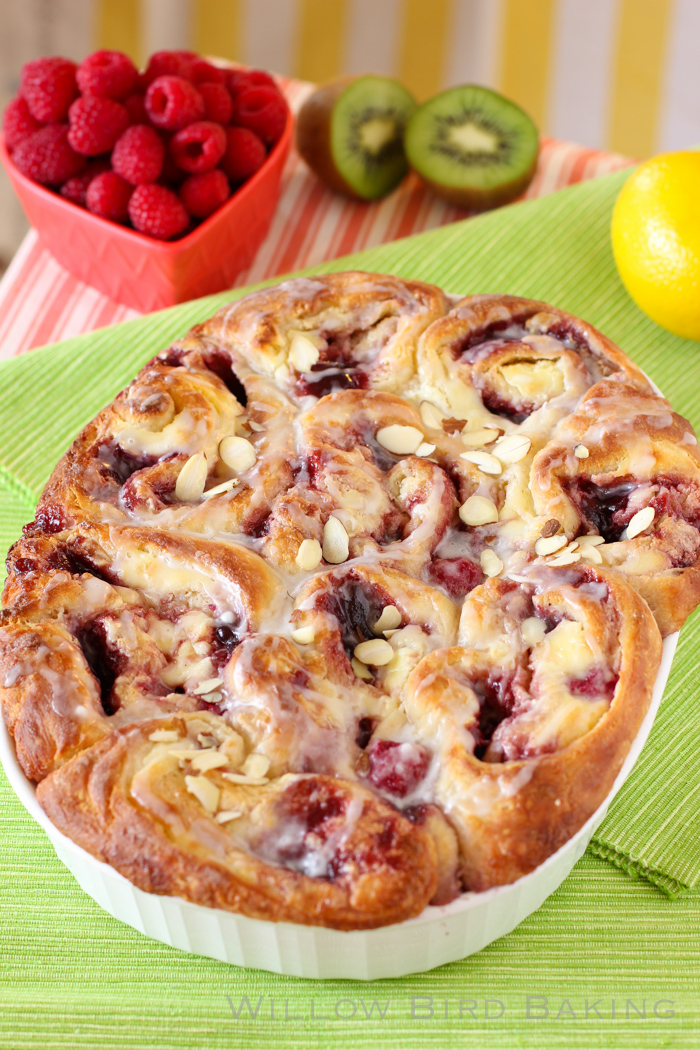
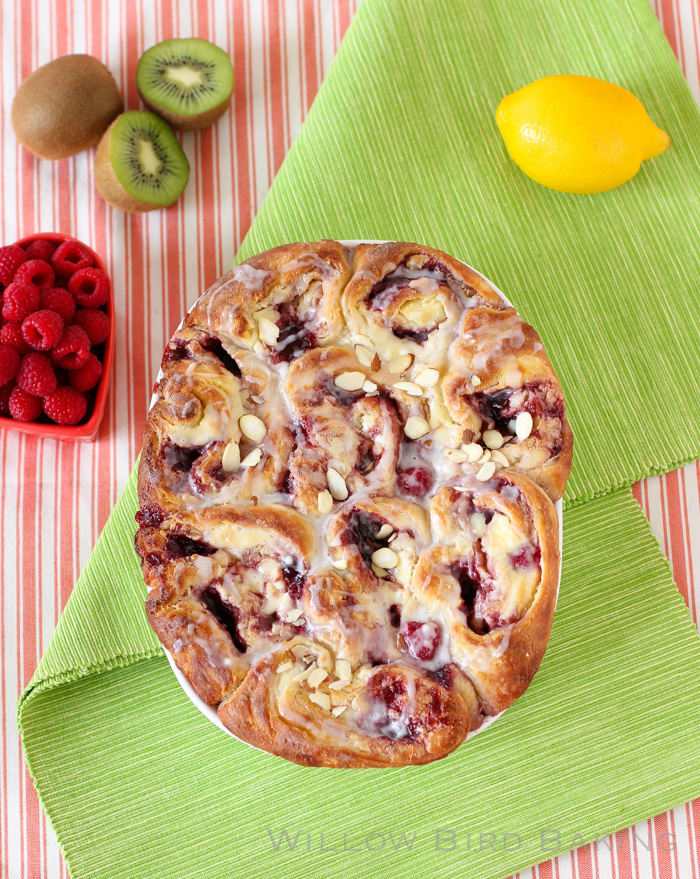
Raspberry Cheesecake Morning Buns

Raspberry Cheesecake Morning Buns
          Raspberry Cheesecake Morning Buns

Raspberry Cheesecake Morning Buns


Recipe by: Willow Bird Baking
Yield: 24 rolls

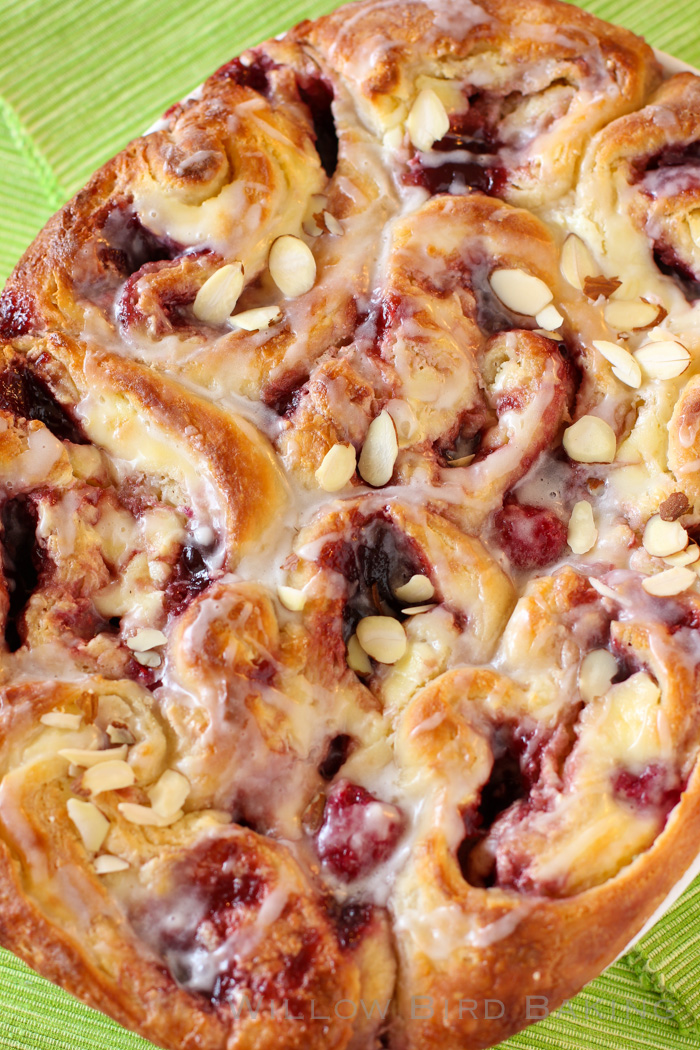
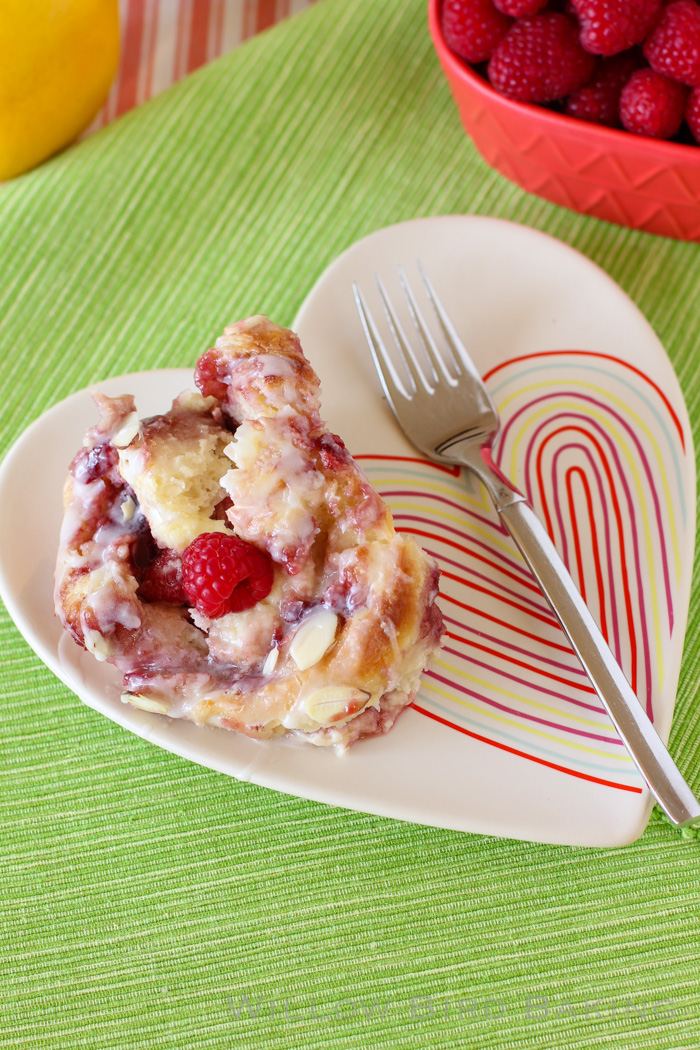
These Raspberry Cheesecake Morning Buns combine the world’s best yeast dough with fresh raspberries and indulgent cheesecake. I’ve used a sweet almond glaze to round out the flavors, but if you’re not an almond fan, you can use vanilla extract in the glaze instead.

Roll Ingredients:
1 package (2 1/4 teaspoons) active dry yeast
1/4 cup warm water (100-110 degrees F)
2 tablespoons white vinegar
2 cups milk minus 2 tablespoons, room temperature
2/3 cup cold shortening
3 tablespoons sugar
1 teaspoon salt
1 teaspoon baking soda
1 teaspoon baking powder
5 cups flour
2 tablespoons butter, melted, for after baking

Filling Ingredients:
4 (8-ounce) packages cream cheese, softened
1 cup sugar
2 eggs, room temperature
2 sticks salted butter (or 2 stick unsalted butter and 1/2 teaspoon salt), melted
1 (12-ounce) jar raspberry jam
1 pint fresh raspberries (plus more for topping)

Glaze Ingredients:
1/2 cup powdered sugar
1 tablespoon milk
1/8 teaspoon almond extract (or vanilla if you prefer)
sliced almonds for garnish (optional)

Directions:
Note: I don’t recommend halving yeast recipes; instead, if you don’t want 24 rolls at once, consider freezing some for later. To freeze some of the unbaked rolls, just wrap them well before the second rise and freeze them. Once frozen, pop them out of the pan all together and store in the freezer, wrapped in plastic wrap and in a zip top bag or wrapped in foil. When you want to bake them, stick them back in a greased pan, thaw them in the fridge overnight, proof for the instructed amount of time, and bake like usual. These bun/roll recipes also provide the perfect opportunity to try two different flavor combos. I often make half sweet buns and half savory buns (like these or these) and half to make sweet buns for dessert. If you do this, just half the filling recipes and roll out the dough half at a time.

Mix the warm water and yeast in a medium bowl and let the yeast foam for about 10 minutes. Put 2 tablespoons white vinegar in a measuring cup and then add milk up to the 2 cup line. Set this aside. In a separate large bowl (or the bowl of a mixer fitted with a dough hook), whisk together flour, sugar, salt, baking soda, and baking powder and cut the shortening into the mixture with two knives or a pastry cutter until the shortening looks like small peas. Stir yeast mixture and milk mixture into the dry ingredients and mix well, kneading just a few turns. Transfer the dough to a bowl lightly sprayed with cooking spray, cover tightly with plastic wrap, and proof in a warm, draft-free place (such as a closed, turned-off oven), for around 70 minutes or until doubled in size.

After proofing the dough, cream the softened cream cheese in a medium bowl until fluffy before adding the sugar and eggs. Mix together until well combined.

Turn the dough out onto a floured surface and roll it into a large rectangle about 1/8-inch thick (I carefully cut the dough in half and worked with half at a time to make it more manageable; if you do this, just spread on half of the filling ingredients for each half you roll). Spread the melted butter over the surface of the rolled dough and then dollop the cream cheese mixture all across the surface, spreading gently to create an even layer. Dollop raspberry jam on top and spread it gently across the cream cheese. Sprinkle on raspberries. Gently roll the dough up into a spiral (I find using a bench scraper to encourage the dough to roll up during this process incredibly helpful) and cut it into 2-inch rolls, placing them close together in a 9 x 13-inch baking dish sprayed with cooking spray (at this point, you could wrap and freeze the rolls for later if you wanted).

Cover the rolls let them rise in the fridge overnight (they will have nearly doubled.) When you’re ready to bake, preheat the oven to 400 degrees F, letting the rolls rise on top of the preheating oven covered by a clean dish towel. Bake them for about 25-30 minutes or until lightly browned on top (don’t underbake or they’ll still be doughy in the center). Brush with 2 tablespoons melted butter and return to the oven for 1 more minute. Whisk together the glaze ingredients and drizzle the glaze over the warm rolls. Serve immediately.

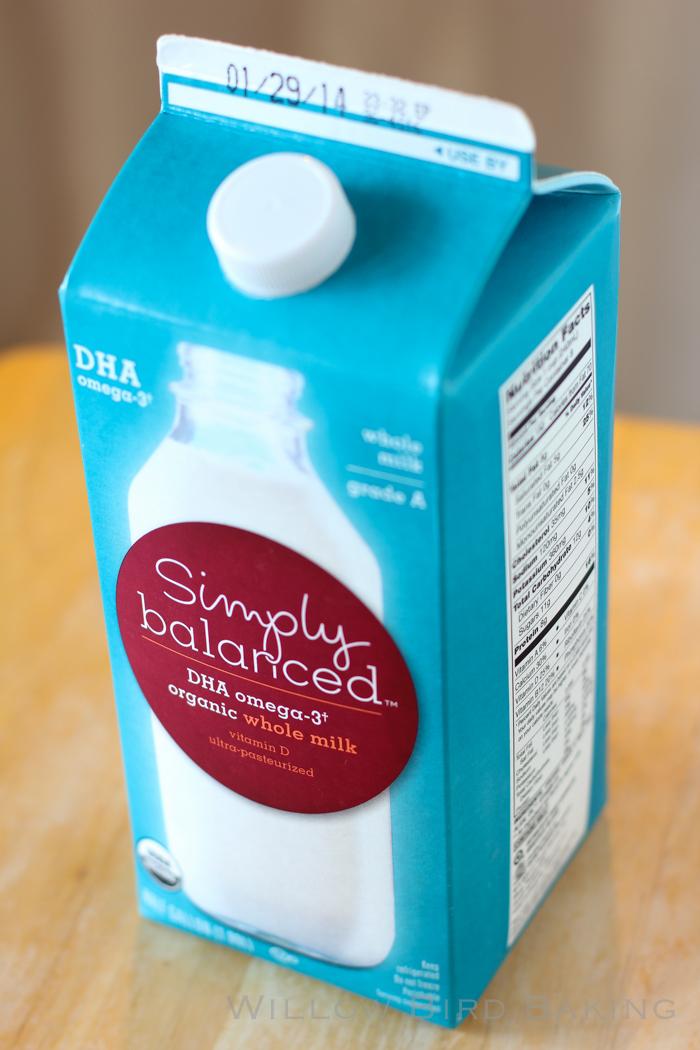
Take the guesswork out of eating well. Introducing Simply Balanced, a new brand from Target that’s thoughtfully crafted for taste and goodness.

Disclosure: Compensation was provided by Target via Glam Media. The opinions in this post, however, are all mine.

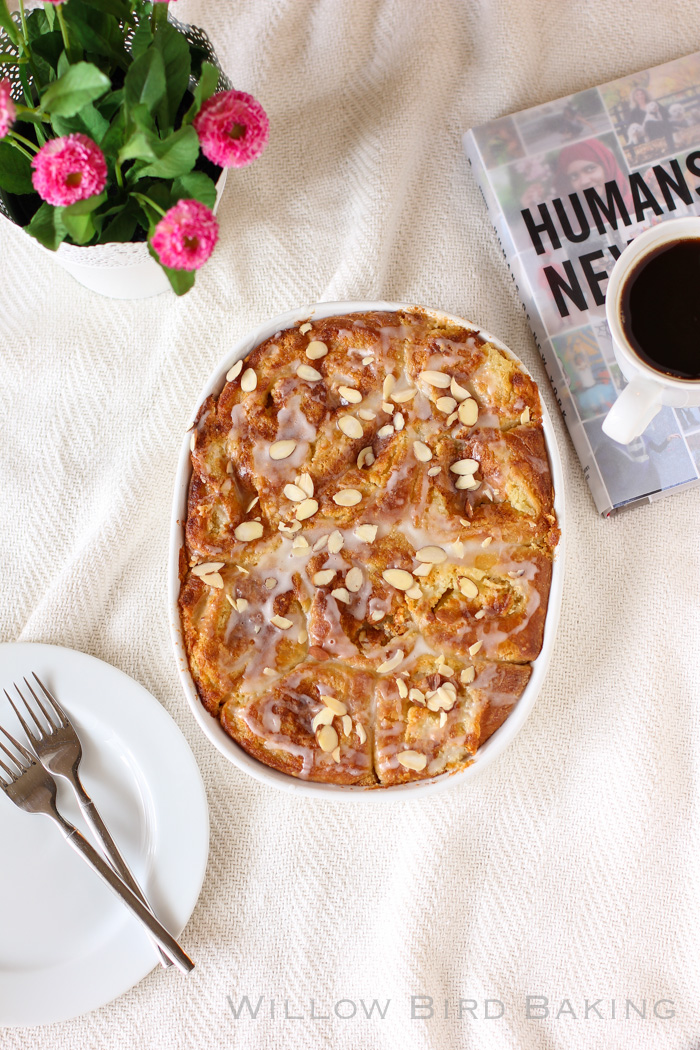
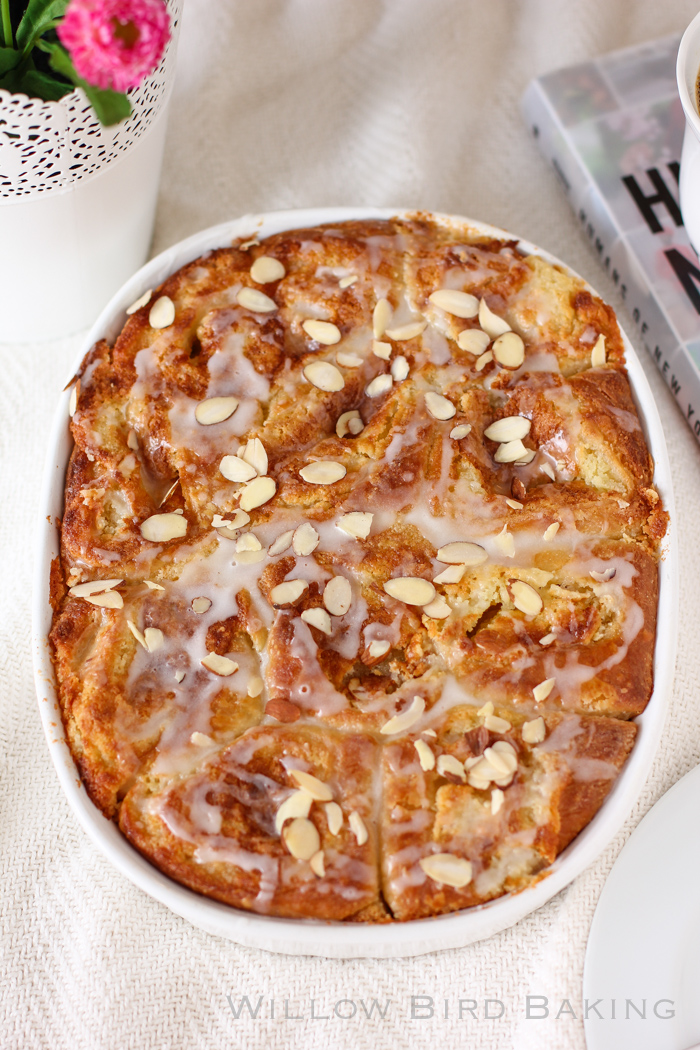
Buttery Almond Stuffed Morning Buns

Buttery Almond Stuffed Morning Buns

Buttery Almond Stuffed Morning Buns


Recipe by: Willow Bird Baking
Yield: 24 buns

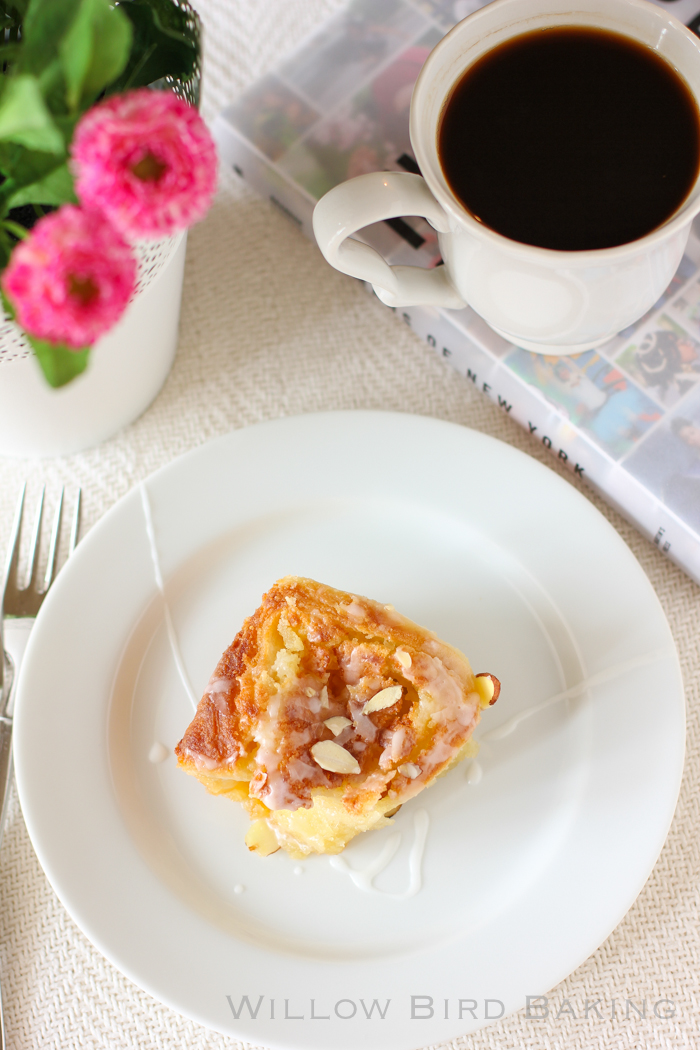
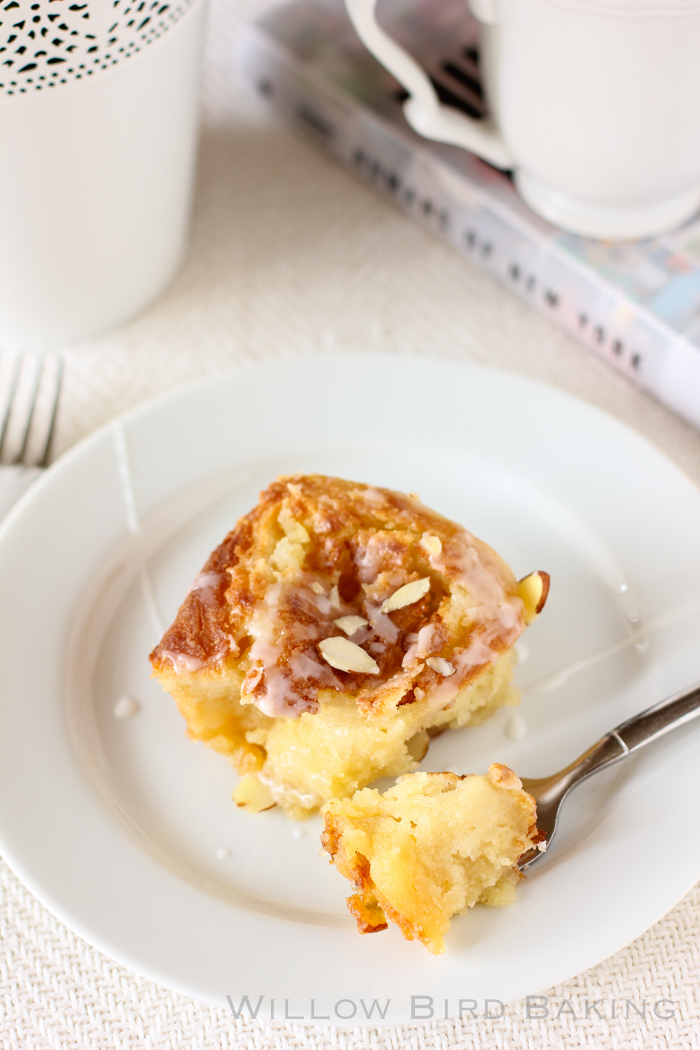
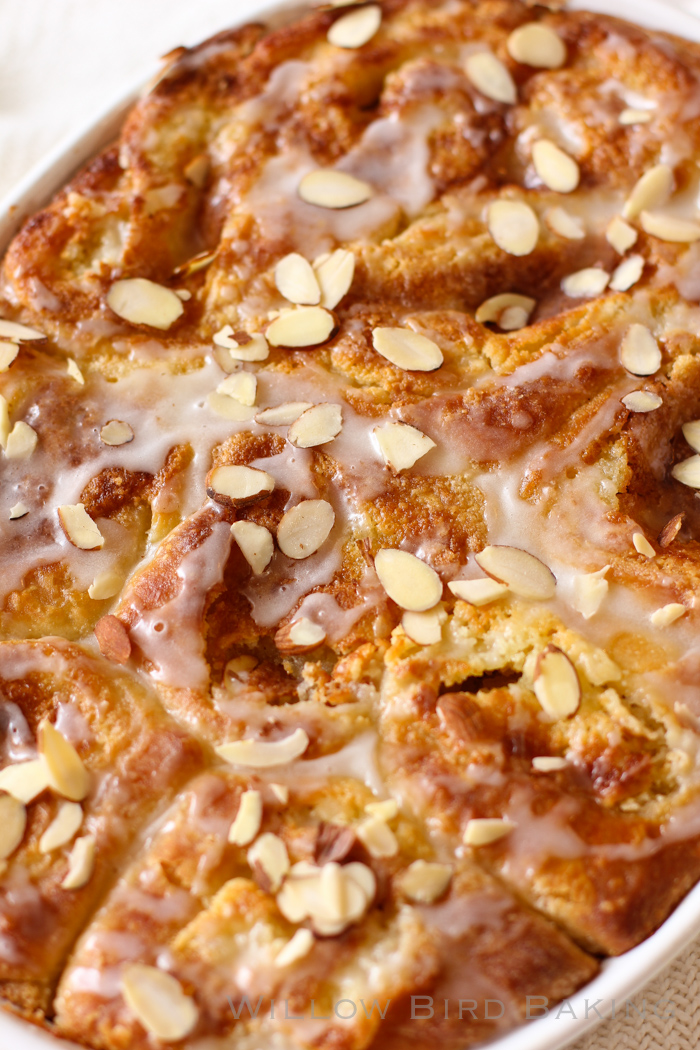
If you love yeast rolls and almond croissants, you’re going to adore these incredible Buttery Almond Stuffed Morning Buns. The buttery texture and incredible almond flavor make these my new favorite breakfast item!

Roll Ingredients:
1/4 cup warm water (100-110 degrees F)
1 package (2 1/4 teaspoons) active dry yeast
2 tablespoons white vinegar
2 cups milk minus 2 tablespoons, room temperature
5 cups flour
3 tablespoons sugar
1 teaspoon salt
1 teaspoon baking soda
1 teaspoon baking powder
2/3 cup cold shortening
2 tablespoons butter, melted, for after baking

Filling Ingredients:
1 pound butter, softened (I use Plugrá Butter)
1 1/4 cups granulated sugar
2 cups almond paste (this is about two 8-ounce cans)
1 teaspoon almond extract
2 eggs
dash of salt
1 1/2 cups sliced almonds, divided

Glaze Ingredients:
1/2 cup powdered sugar
1 tablespoon milk
1/8 teaspoon almond extract

Directions:
Note: I don’t recommend halving yeast recipes; instead, if you don’t want 24 rolls at once, consider freezing some for later. To freeze some of the unbaked rolls, just wrap them well before the second rise and freeze them. Once frozen, pop them out of the pan all together and store in the freezer, wrapped in plastic wrap and in a zip top bag or wrapped in foil. When you want to bake them, stick them back in a greased pan, thaw them in the fridge overnight, proof for the instructed amount of time, and bake like usual. I also love making a full dough recipe and using half to make savory buns (like these or these) and half to make sweet buns for dessert. If you do this, just half the filling recipes and roll out the dough half at a time.

Make the yeast dough: Mix the warm water and yeast in a medium bowl and let the yeast foam for about 10 minutes. Put 2 tablespoons white vinegar in a measuring cup and then add milk up to the 2 cup line. Set this aside. In a separate large bowl (or the bowl of a mixer fitted with a dough hook), whisk together flour, sugar, salt, baking soda, and baking powder and cut the shortening into the mixture with two knives or a pastry cutter until the shortening looks like small peas. Stir yeast mixture and milk mixture into the dry ingredients and mix well, kneading just a few turns. Transfer the dough to a bowl lightly sprayed with cooking spray, cover tightly with plastic wrap, and store in refrigerator overnight.
Make the filling: The next morning, in a large bowl, cream together softened butter and sugar until pale, fluffy, and smooth. Add in almond paste, dash of salt, and almond extract and mix until well combined — it’ll be a little lumpy, and that’s okay. Beat in egg.

Roll out the dough: Preheat the oven to 400 degrees F and lightly spray a 9 x 13-inch baking dish (or two smaller baking dishes) with cooking spray. Turn the chilled dough out onto a well-floured surface and roll it into a large rectangle about 1/8-inch thick (I carefully cut the dough in half and worked with half at a time to make it more manageable; if you do this, just spread on half of the filling ingredients for each half you roll). Spread the almond paste mixture gently and evenly all over the dough and sprinkle on about half of your sliced almonds. Gently roll the dough up into a spiral and cut it into rolls, placing them close together in your prepared baking dish (at this point, you could wrap and freeze the rolls for later if you wanted).

Proof the rolls, bake, and glaze: Cover the rolls with a clean dish cloth and let them rise in a warm spot (I set them on my oven’s heat vent) until they’ve nearly doubled, about 2 hours. Bake them for about 15-20 minutes or until browned on top (if you take them out at just lightly golden brown, they may still be doughy in the center). Brush with 2 tablespoons melted butter and return to the oven for 1 more minute. Whisk together ingredients for the glaze and drizzle it over the rolls. Sprinkle with remaining sliced almonds. Serve immediately.

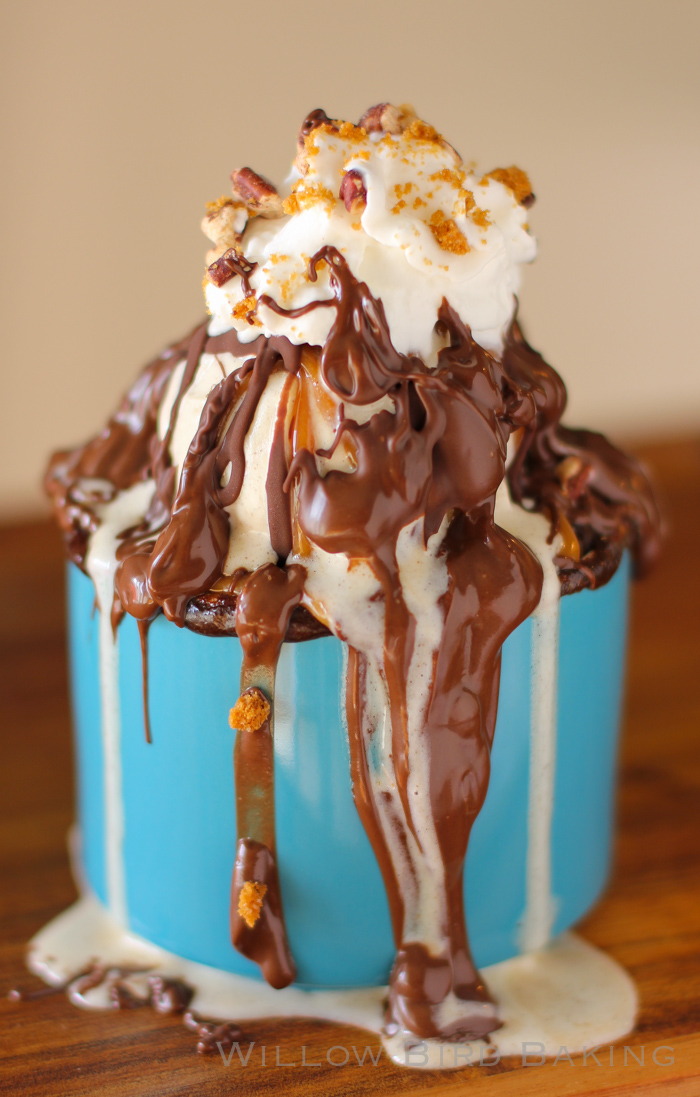
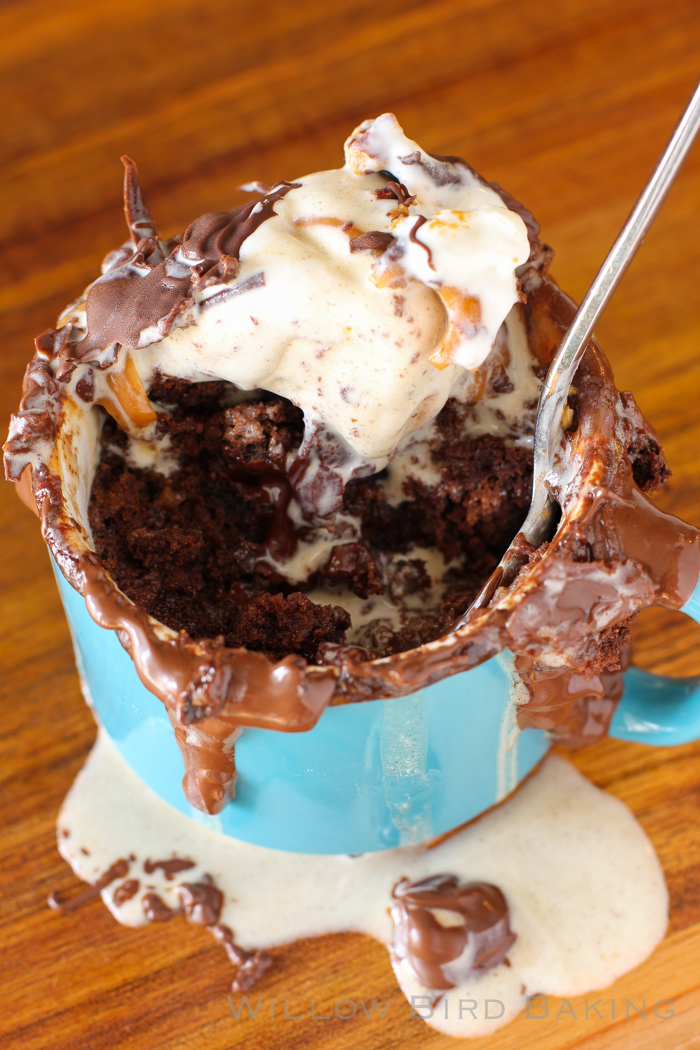
The Ultimate Gooey Caramel Brownie Mug Cake Sundae

The Ultimate Gooey Caramel Brownie Mug Cake Sundae

5 from 1 reviews
The Ultimate Gooey Caramel Brownie Mug Cake Sundae
 
Prep time
Cook time
Total time
 
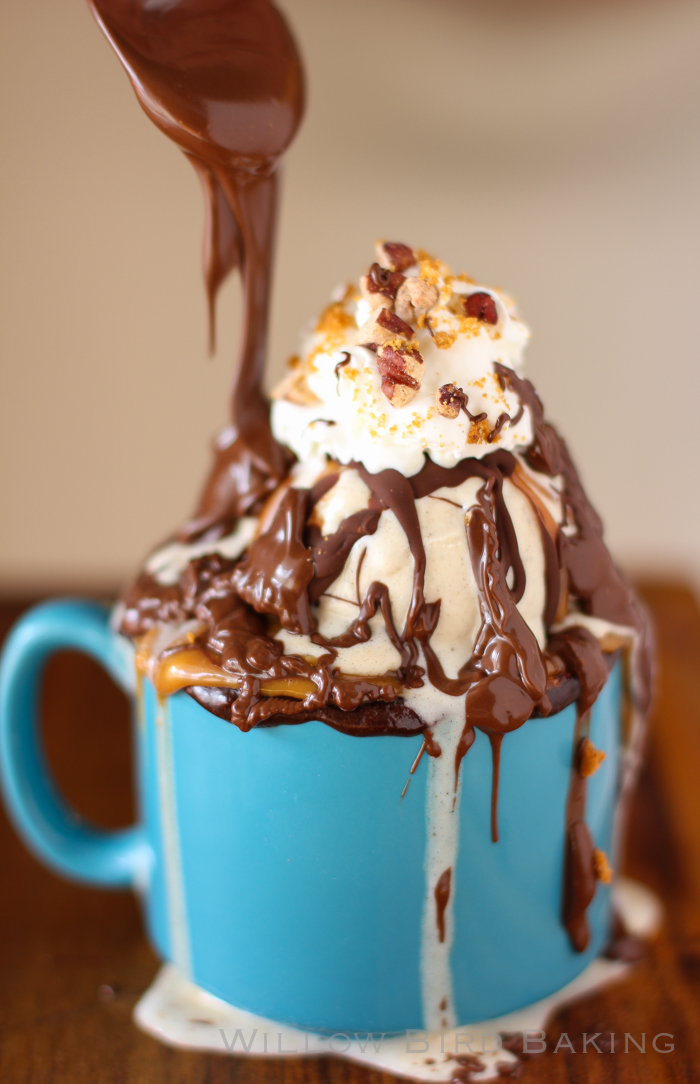
I took an already-great mug cake from one of my faves, America’s Test Kitchen, and pumped it up! I added some espresso to deepen the chocolate flavor and a slew of my favorite toppings from my pantry to create a dessert as decadent as one it takes hours to make. Throw this together at home when you want a special dessert but don’t want to get out of your jammies! I used a big espresso mug for this cake, but you can use any regular size coffee mug that’s microwave safe. Different microwaves may require different cooking times, but your finished cake should look set up but very moist.
Author:
Serves: 1
Ingredients
Cake Ingredients:
  • 2 tablespoons unsalted butter
  • 2 tablespoons chocolate chips (half bittersweet and half semisweet)
  • 1/8 teaspoon salt
  • 2 tablespoons all-purpose flour
  • 1/4 teaspoon baking powder
  • 1 large egg
  • 1/2 teaspoon vanilla extract
  • 1/2 teaspoon instant espresso powder
  • 2 tablespoons sugar
  • 1 tablespoon unsweetened cocoa powder
  • 1 square of your favorite dark chocolate bar
Topping Ingredients:
  • 3 Werther’s Original® Baking Caramels
  • 2 teaspoons milk
  • melted chocolate chips
  • vanilla bean ice cream or gelato
  • crushed toasted nuts
  • crushed cookie
  • whipped cream
Instructions
  1. Place butter and chocolate chips in a coffee mug and heat on half power for 15 second intervals, stirring between each interval, until melted (about 45 seconds total). In a separate small bowl or ramekin, whisk together the flour, baking powder, and salt. In a separate small bowl or ramekin, whisk together the egg, vanilla extract, and espresso powder. When the chocolate is melted in your mug, stir in sugar and cocoa powder. Stir in the egg mixture. Stir in the flour mixture. Stir well to eliminate lumps.
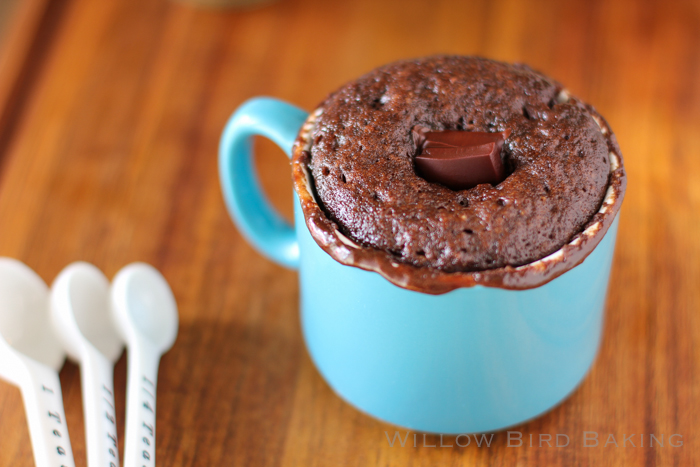
  2. Microwave the mug on half power for 30 seconds (I set mine on a plate just in case there’s spillover). Stir. Microwave on half power for 35 seconds (the cake will rise over the top of your mug like a giant soufflé, but stay calm.) Press the square of chocolate bar down into the center of the cake (I broke mine into two pieces), being careful not to burn your fingers. Microwave on half power for 40 seconds. Let the cake cool in the mug for 2 minutes while you prepare your toppings.
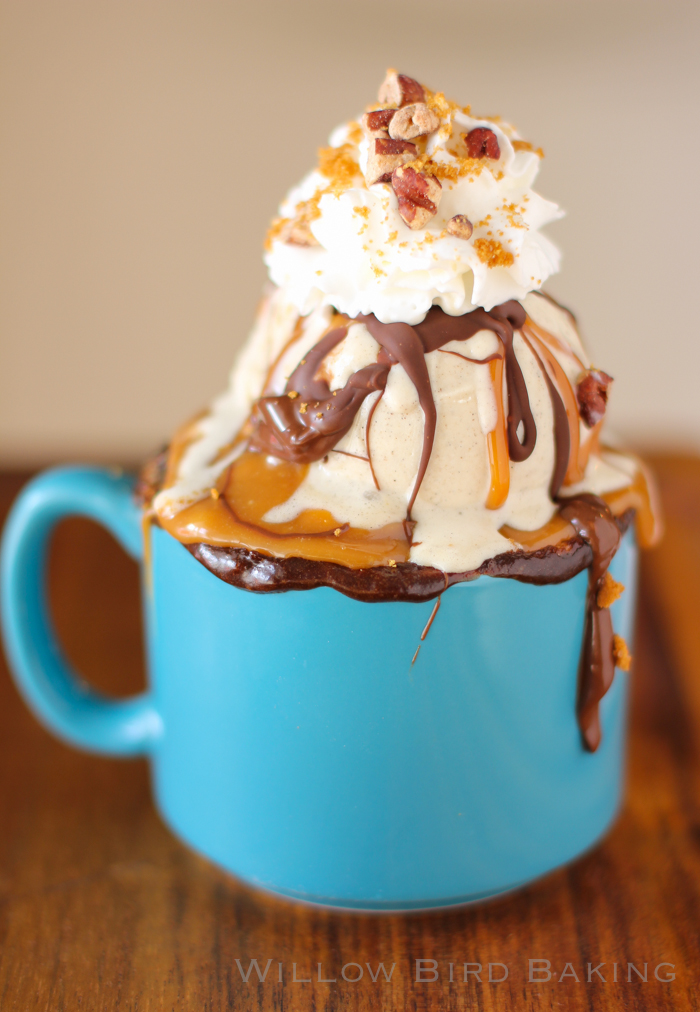
  3. Melt the chocolate chips by heating on half power for 20 second intervals, stirring between each, until melty. Melt the Werther’s Original® Baking Caramels by placing them in a small bowl with the milk. Heat on 30 second intervals, stirring carefully between each, until melty. Top your mug cake with a big scoop of vanilla bean ice cream, caramel sauce, chocolate sauce, whipped cream, crushed toasted pecans, a crushed cookie (I used a Biscoff cookie), and the kitchen sink. Just kidding about the sink. Enjoy!


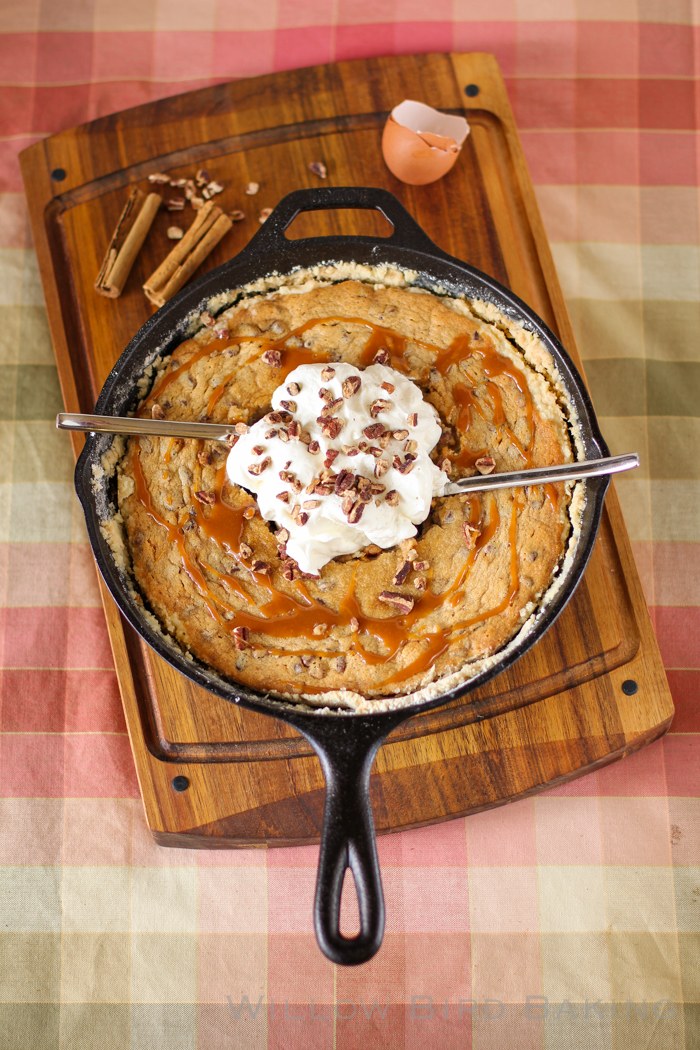
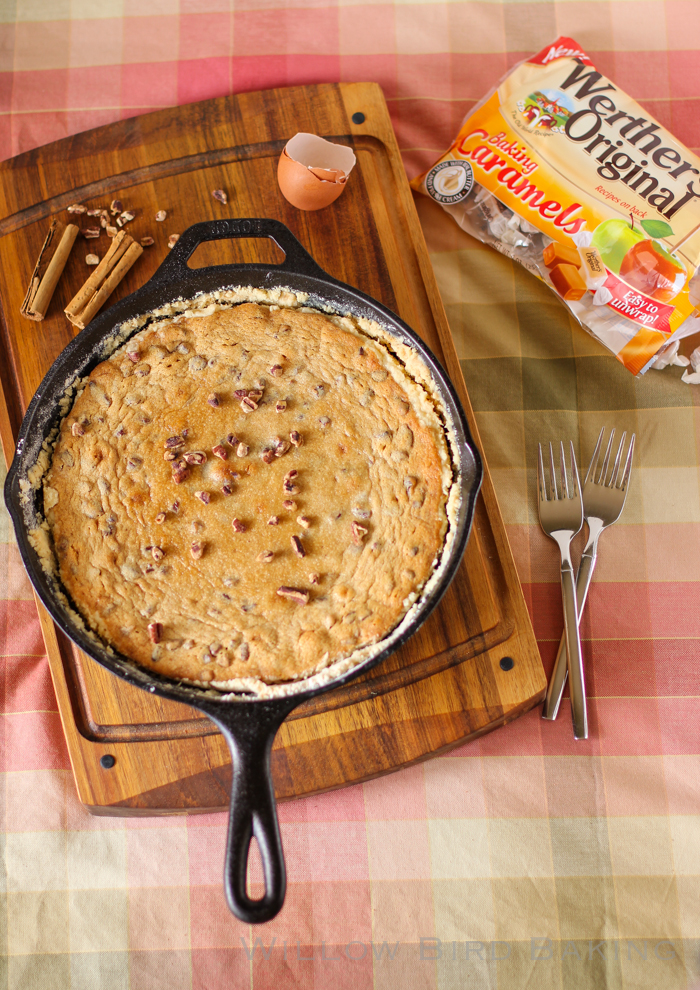
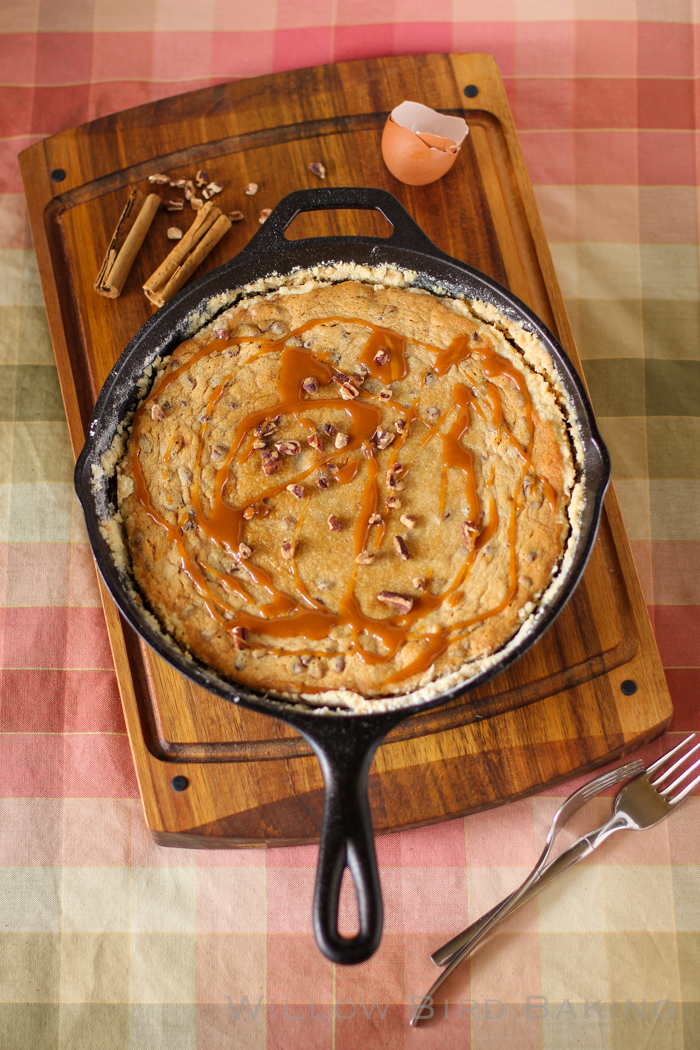
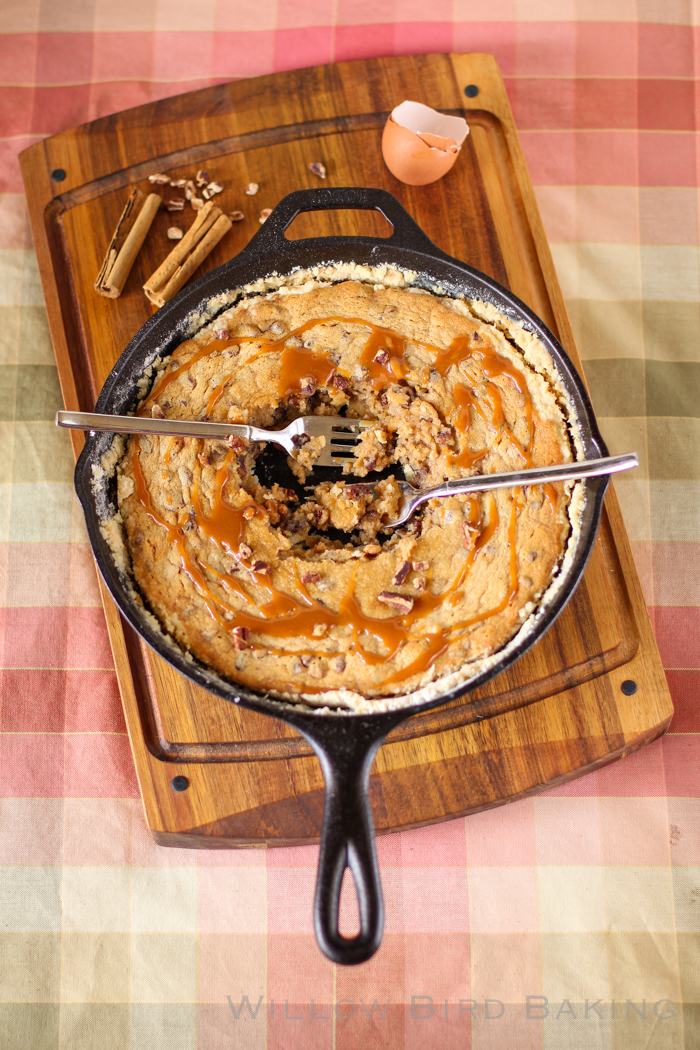
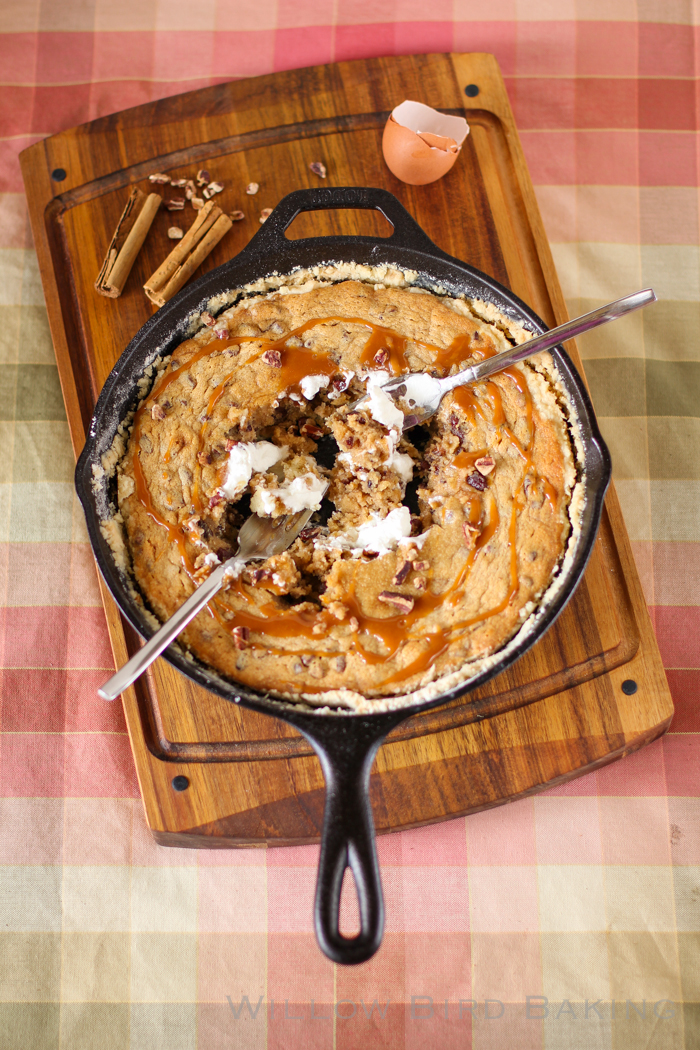
Brown Butter Pecan Gooey Butter Cake with Spiked Whipped Cream

Brown Butter Pecan Gooey Butter Cake with Spiked Whipped Cream

Brown Butter Pecan Gooey Butter Cake with Spiked Whipped Cream


Recipe by: Willow Bird Baking
Yield: 6 servings

This delicious cake has everything delightful in it: nutty brown butter, bloomed cinnamon and cloves, toasted pecans, a simple caramel sauce, and spiked whipped cream! It’s perfect for a holiday table, but easy enough for an anytime dessert.

Crust Ingredients:
1 cup cake flour
3 tablespoons granulated sugar
1/3 cup cold butter

Filling Ingredients:
1 cup (2 sticks) butter
1 teaspoon cinnamon
1/4 teaspoon ground cloves
3/4 cup granulated sugar
1/4 cup brown sugar
1 egg
1 cup all-purpose flour
2/3 cup evaporated milk
1/4 cup light corn syrup
1/2 teaspoon vanilla
1 cup toasted pecans*
icing sugar

Topping Ingredients:
2 cups heavy whipping cream
4 tablespoons powdered sugar
2 tablespoons dark rum (optional)
20 Werther’s Original® Baking Caramels
2 tablespoons whole milk

Directions:
*NOTE: To toast pecans, spread them on a baking sheet and bake at 350 degrees F for around 6-7 minutes, tossing occasionally, until fragrant. Chop while still warm.

NOTE 2: If you don’t have a skillet, I believe you can bake this in a greased 9-inch square baking dish (I’d use a glass one if you have it, and check it early and often. Remove when there’s some jiggle left.) Let us know how it goes if you try it this way for all the other skilletless people!

Make the brown butter: Cut the 1 cup butter into 1-tablespoon cubes. Place it into a heavy-bottom saucepan over medium heat and brown the butter, whisking often. The butter will melt, foam, and then begin to brown, and the whisking is important so that it browns evenly. Whisk in cinnamon and cloves. Pour your brown butter into a shallow, wide dish to cool for a bit before sticking it in the freezer to set up. After it’s set up, set it back out at room temperature to soften for use.

Make the crust: Preheat oven to 350 degrees. Whisk together cake flour and sugar in a medium bowl. Cut in the cold butter with a pastry cutter or two knives until the mixture resembles fine crumbs and starts to cling together (I often use my food processor for this step, pulsing the cold fat into the flour). Press the mixture into the bottom and up the sides of a 10-inch cast iron skillet using a flat glass or the back of a spoon.

Make the filling: Cream together the softened brown butter and white and brown sugars until fluffy (about 2-3 minutes). Mix in the egg until just combined. Alternate adding the flour and evaporated milk, mixing after each addition. Mix in the corn syrup and vanilla. Stir in the toasted pecans. Pour the filling into the crust and sprinkle the top with icing sugar.

Bake and assemble the cake: Bake for 25 to 35 minutes or until cake is nearly set (mine was probably ready around 30). Some jiggle is fine — do not overcook! It’ll finish setting up as it cools. Let it cool in pan for 2 hours. Whip the heavy cream, powdered sugar, and rum to stiff peaks. Melt the caramels and milk together in a microwave safe bowl for 2 minutes, stirring often but carefully, until the hot caramel sauce is ready. Pour caramel sauce over cooled cake and top with a giant mound of spiked whipped cream. Serve from the skillet with a few forks or on plates, if you like things a little more formal.

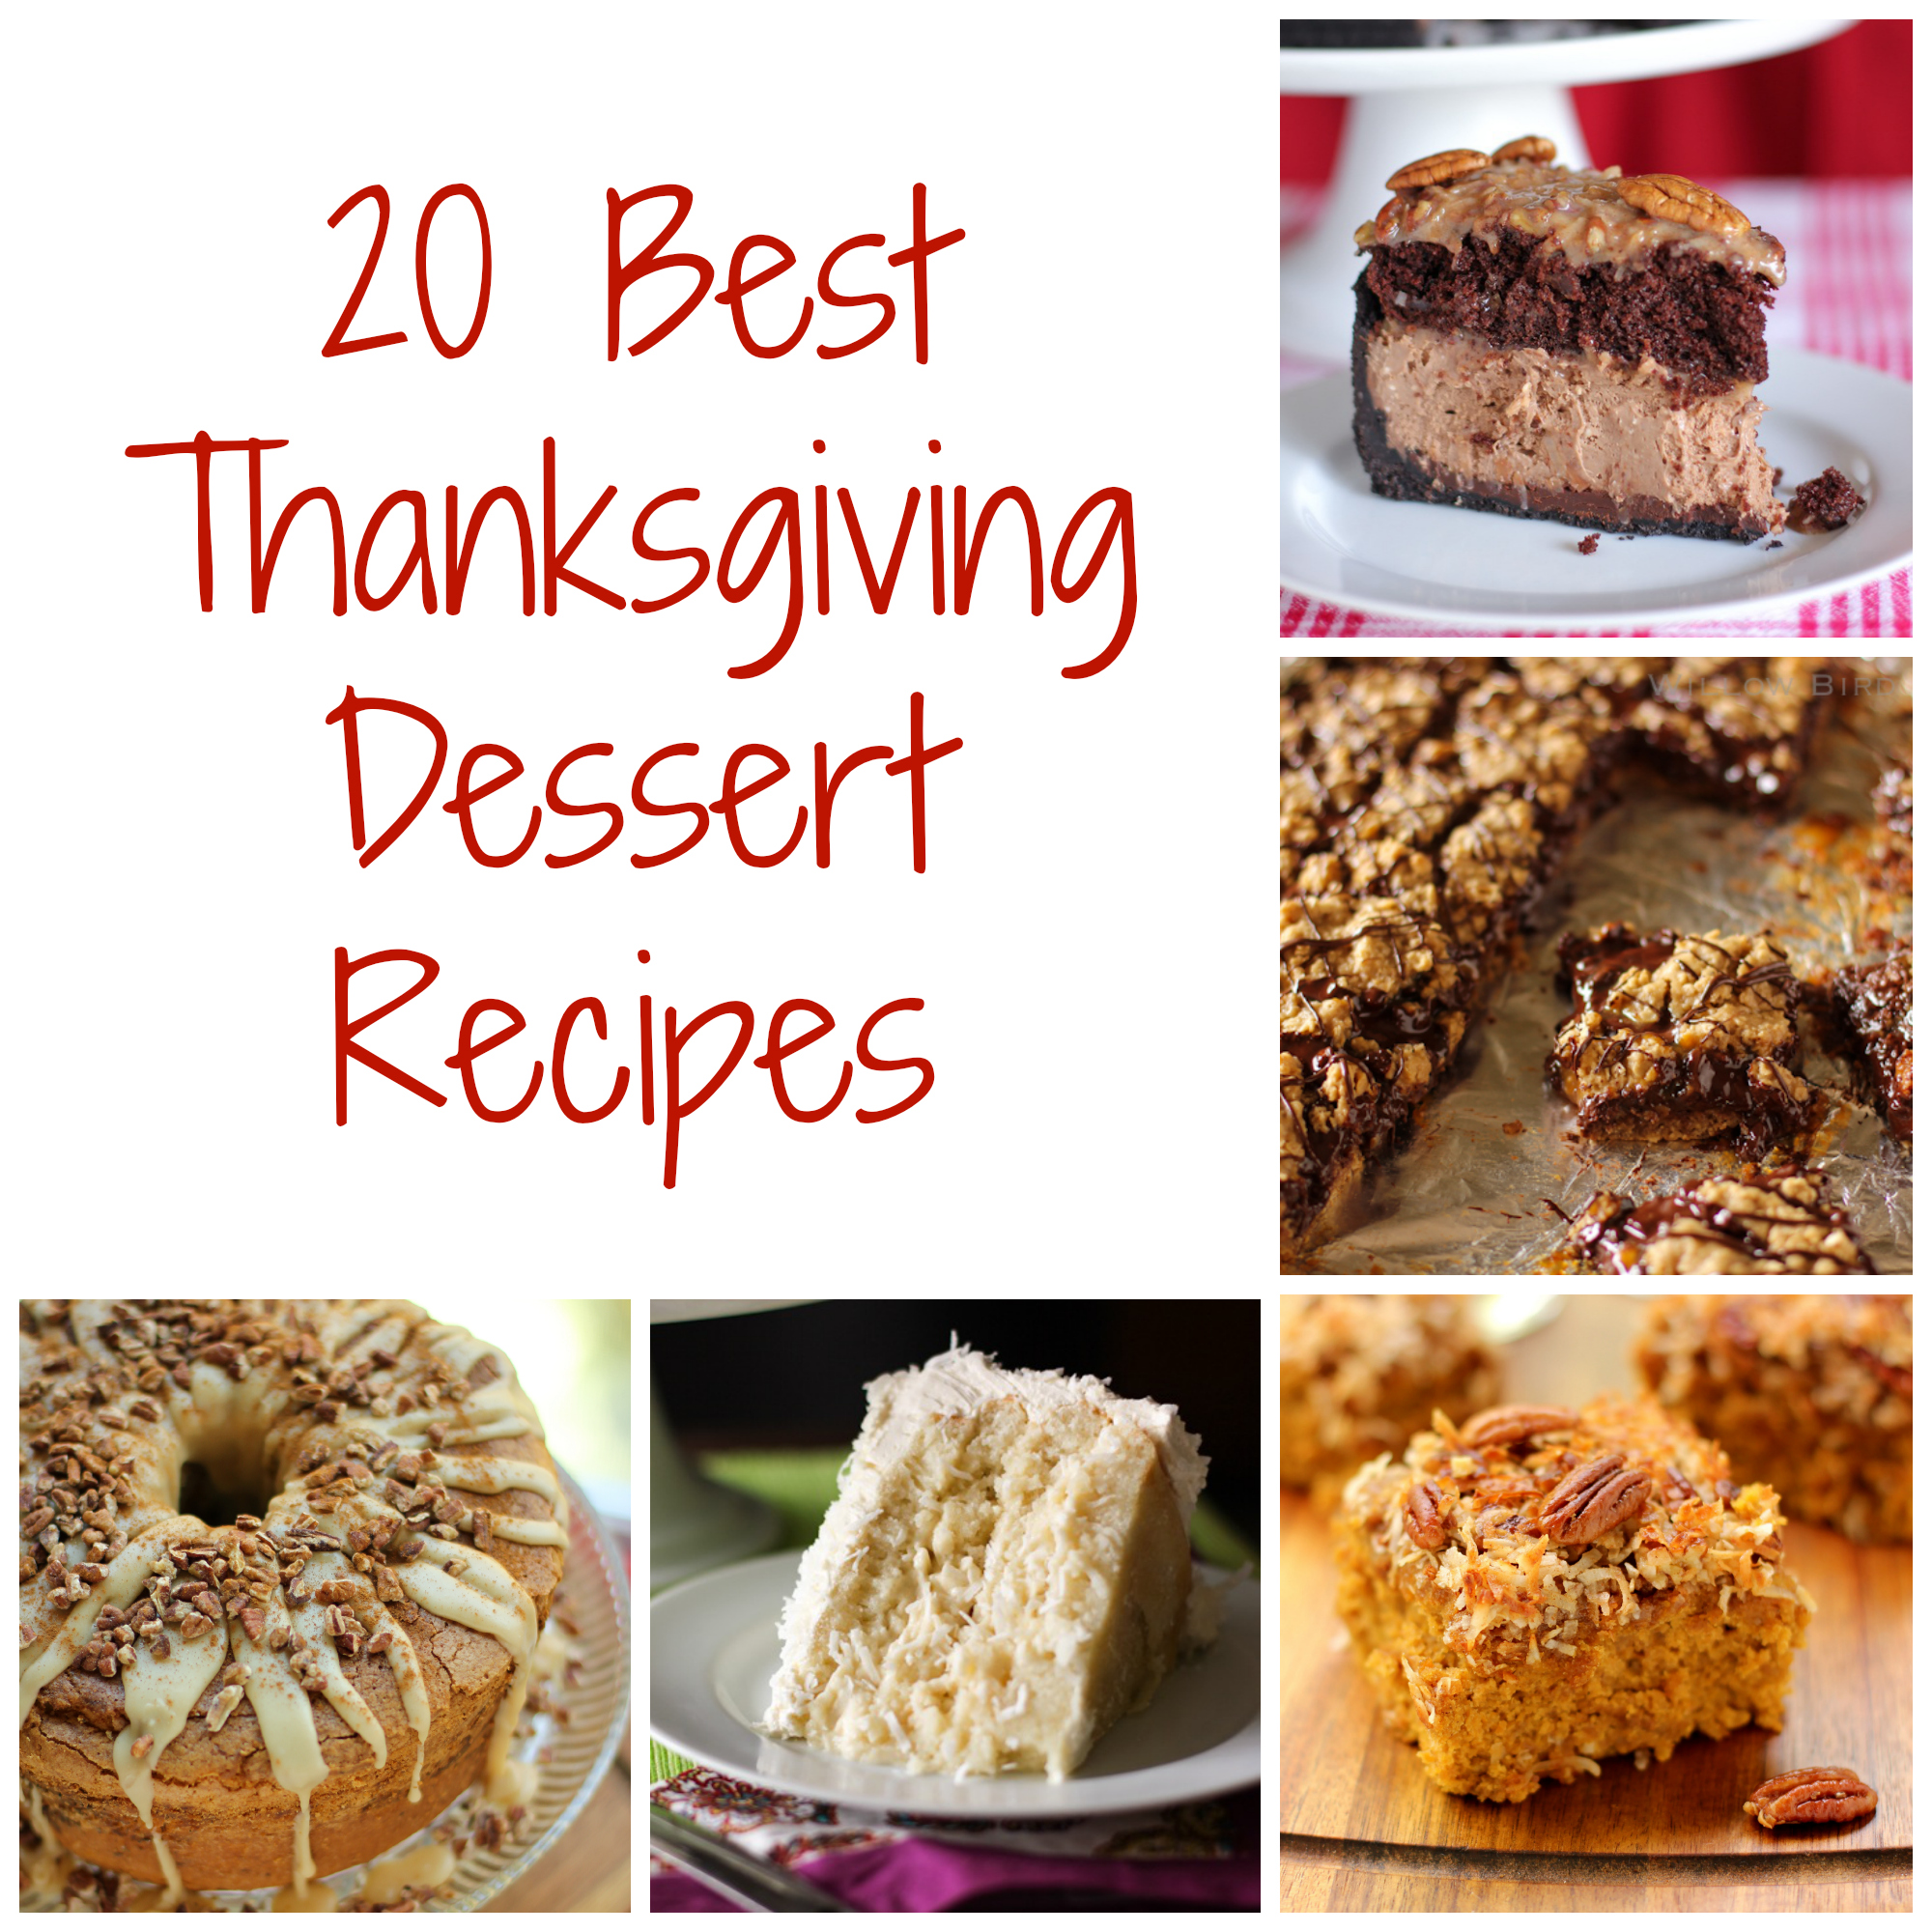
Thanksgiving Dessert Recipes

Thanks, Foodie, for sponsoring this post.

You don’t want just any old Thanksgiving Dessert Recipe. It needs to be the best. If you’re going to indulge in an epic feast, you want every bite to count. I get it. Below are the no-joke absolute stunner recipes from Willow Bird Baking — the ones you’ll want your whole family to taste. The ones you’ll want to use to impress your mother-in-law. The ones you’ll want to shock your relatives with. YES, EVEN YOUR PICKY AUNT GLADYS. ESPECIALLY YOUR PICKY AUNT GLADYS.

The best of the best, tailored for your Thanksgiving dessert table. Prepare to enter dessert utopia.

Willow Bird Baking's 20 Best Thanksgiving Dessert Recipes

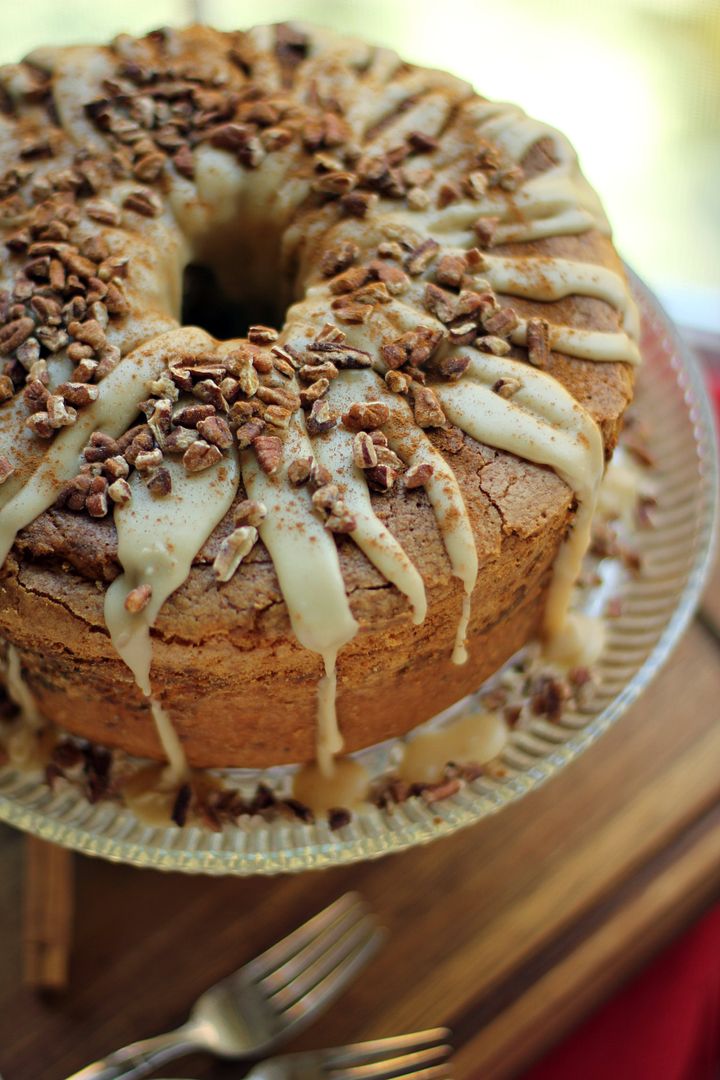
1. PUMPKIN STREUSEL SWIRLED CREAM CHEESE POUND CAKE.

PUMPKIN STREUSEL SWIRLED CREAM CHEESE POUND CAKE
cooking difficulty: intermediate


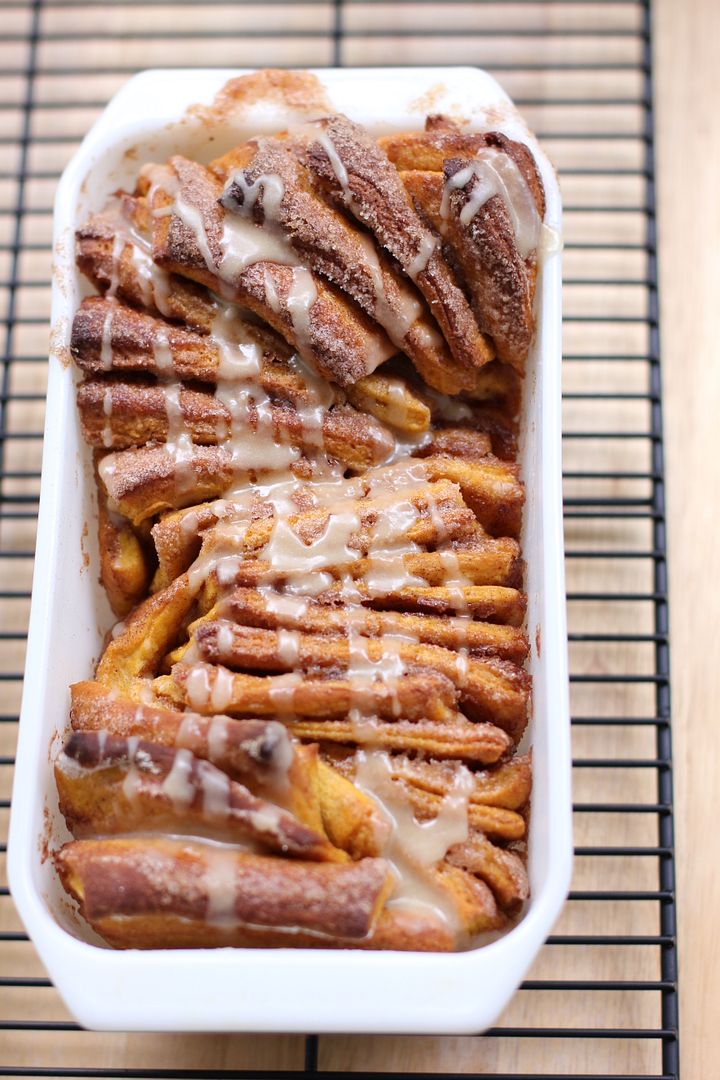
2. PUMPKIN SPICE PULL-APART BREAD WITH BUTTER RUM GLAZE.

PUMPKIN SPICE PULL-APART BREAD WITH BUTTER RUM GLAZE
cooking difficulty: intermediate


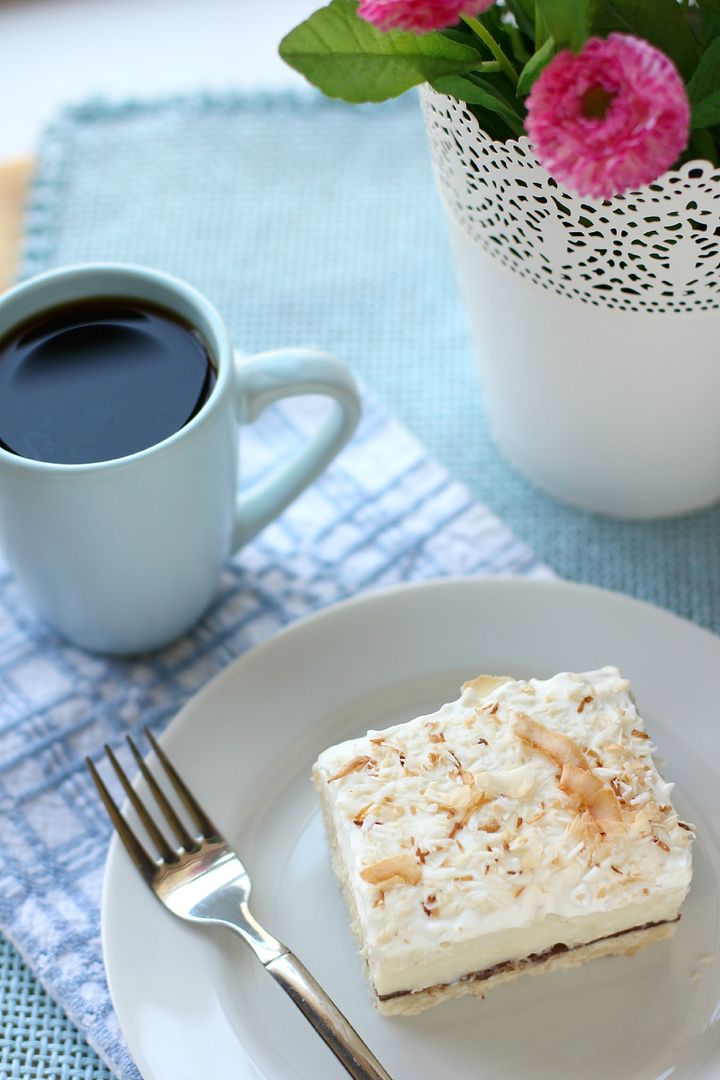
3. CHOCOLATE COCONUT CREAM PIE BARS.

CHOCOLATE COCONUT CREAM PIE BARS
cooking difficulty: easy


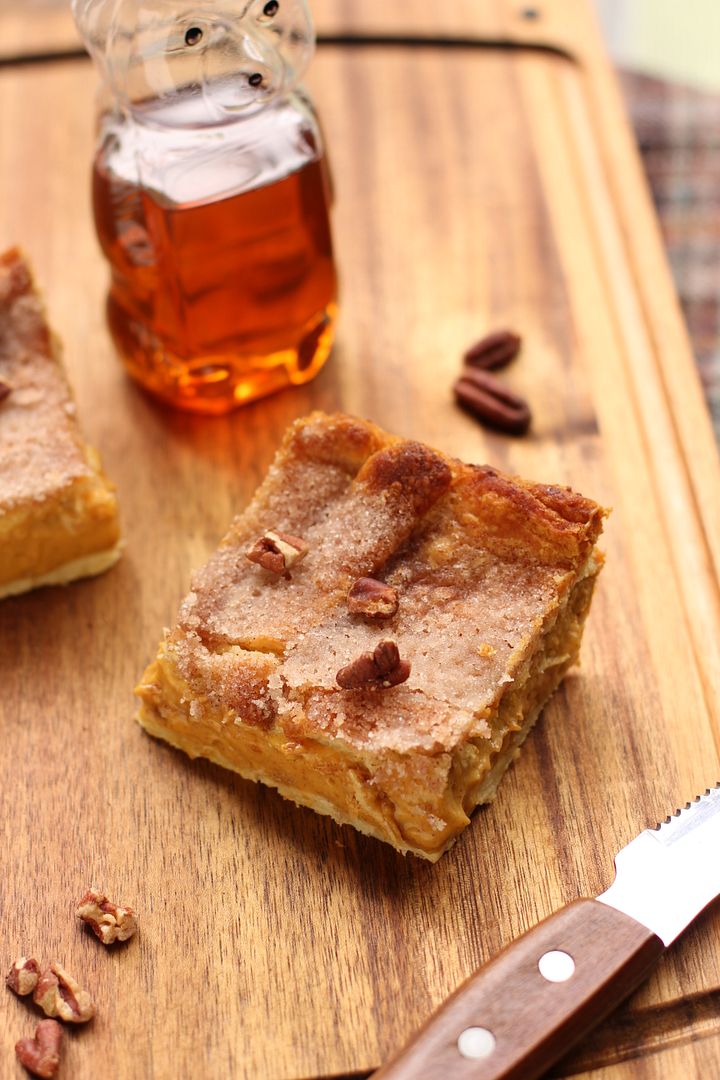
4. SOPAPILLA PUMPKIN CHEESECAKE BARS.

SOPAPILLA PUMPKIN CHEESECAKE BARS
cooking difficulty: easy


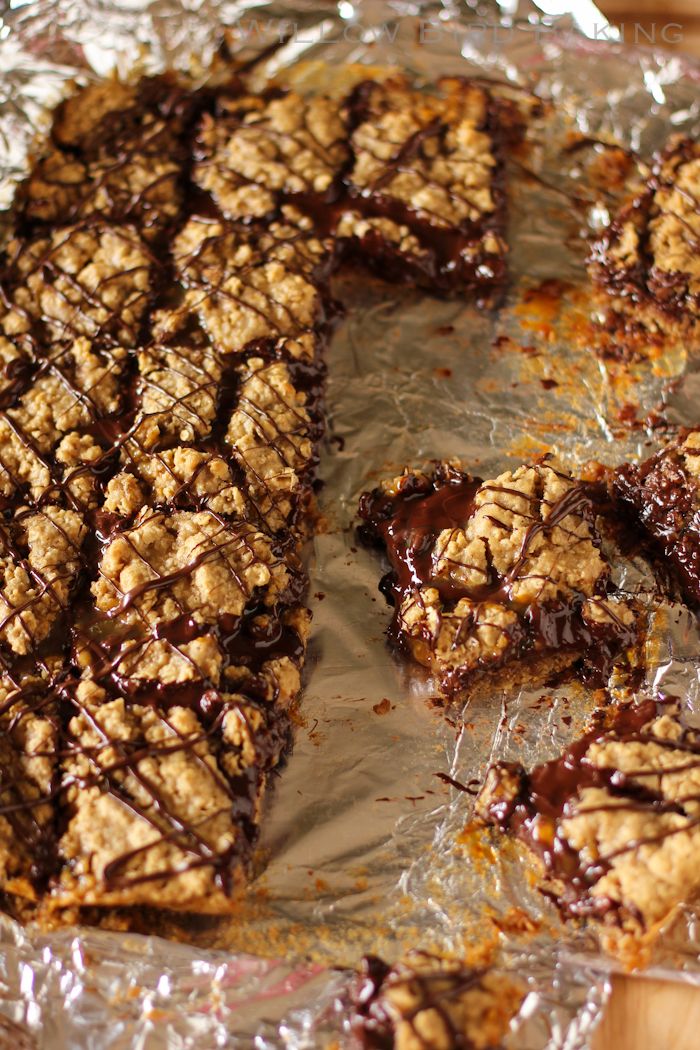
5. GOOEY CARMELITAS.

GOOEY CARMELITAS
cooking difficulty: easy


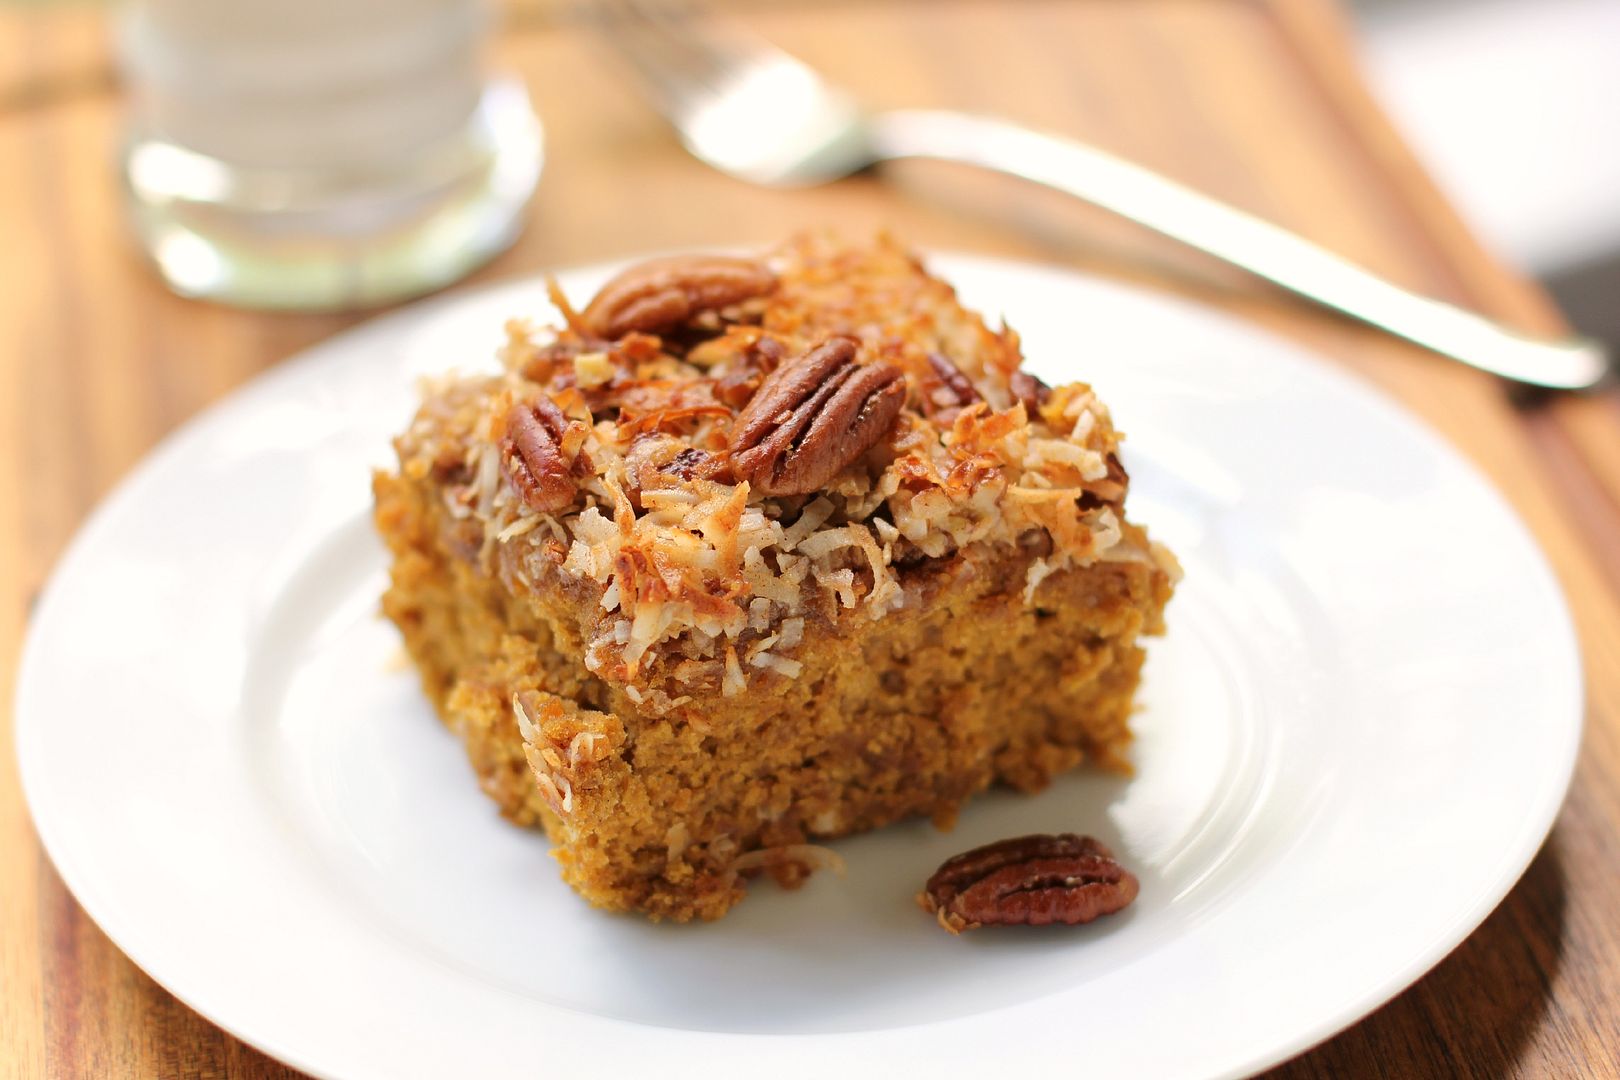
6. PUMPKIN OAT CAKE WITH BROILED COCONUT ICING.

PUMPKIN OAT CAKE WITH BROILED COCONUT ICING
cooking difficulty: easy


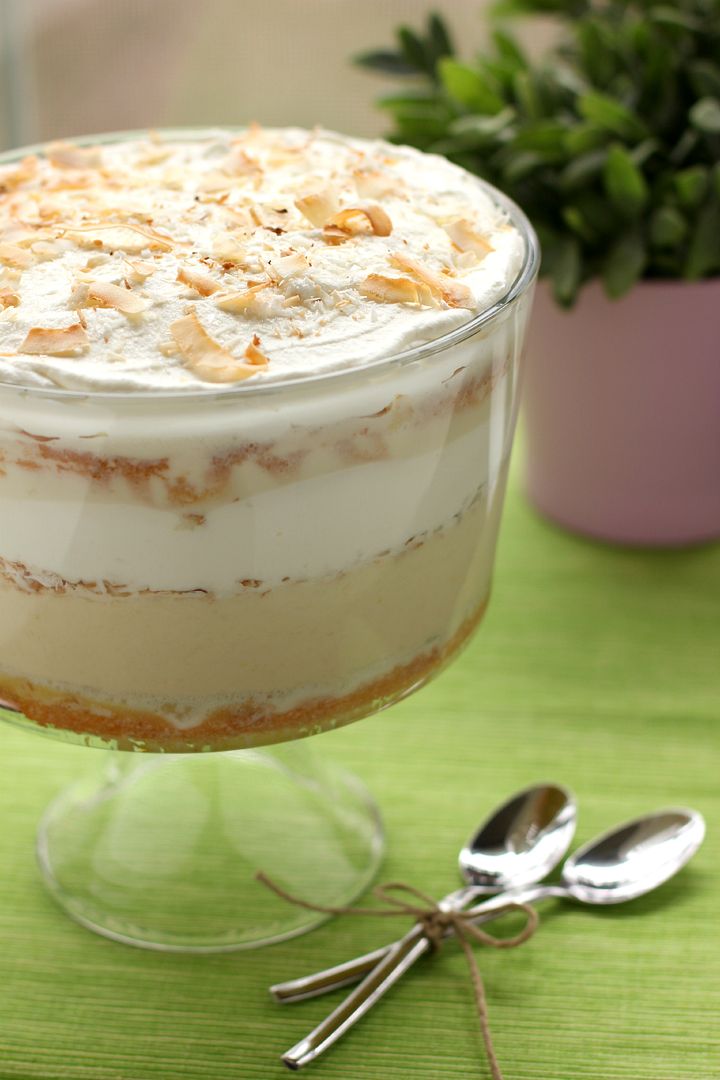
7. TRES LECHES COCONUT CAKE TRIFLE.

TRES LECHES COCONUT CAKE TRIFLE
cooking difficulty: intermediate


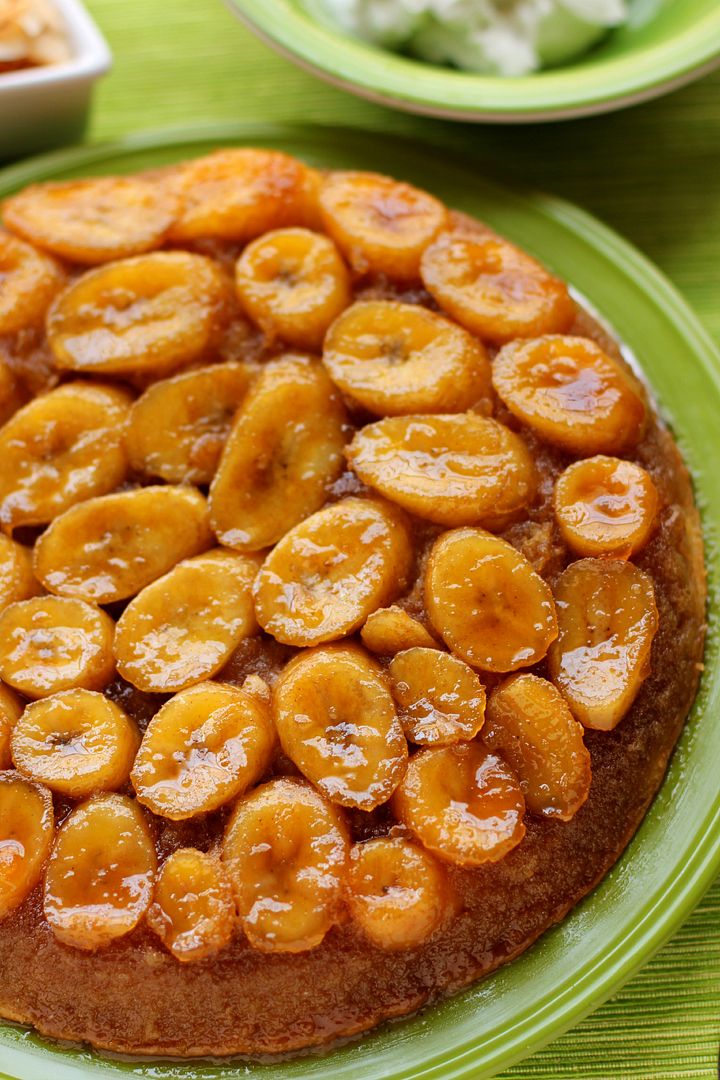
8. CARAMELIZED BANANA UPSIDE-DOWN COCONUT CAKE WITH COCONUT WHIPPED CREAM.

CARAMELIZED BANANA UPSIDE-DOWN COCONUT CAKE WITH COCONUT WHIPPED CREAM
cooking difficulty: easy


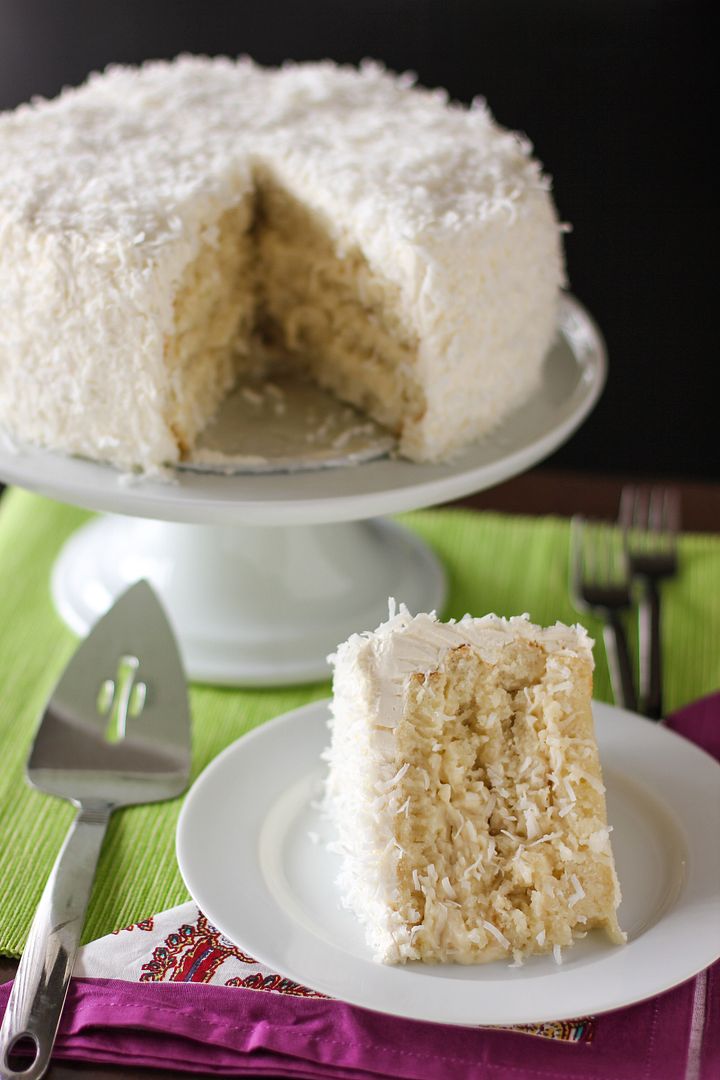
9. THE ULTIMATE, MOIST, FLUFFY, RIDICULOUS COCONUT CAKE.

THE ULTIMATE, MOIST, FLUFFY, RIDICULOUS COCONUT CAKE
cooking difficulty: intermediate


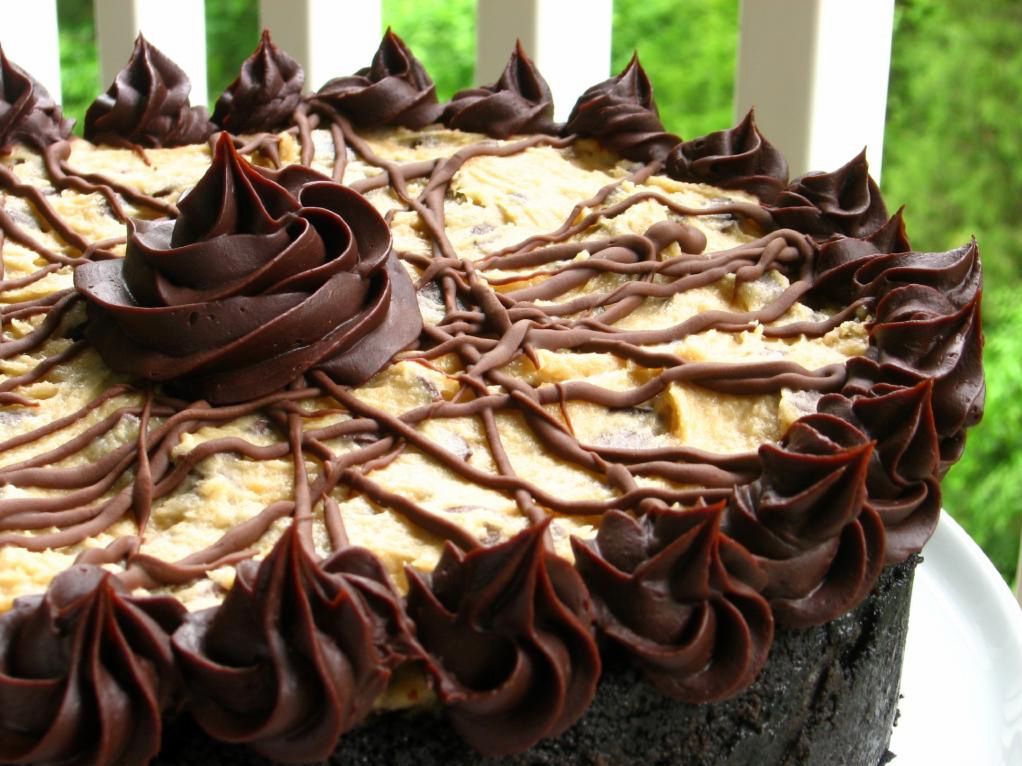
10. COFFEE COOKIE DOUGH FUDGE CHEESECAKE.

COFFEE COOKIE DOUGH FUDGE CHEESECAKE
cooking difficulty: easy but long


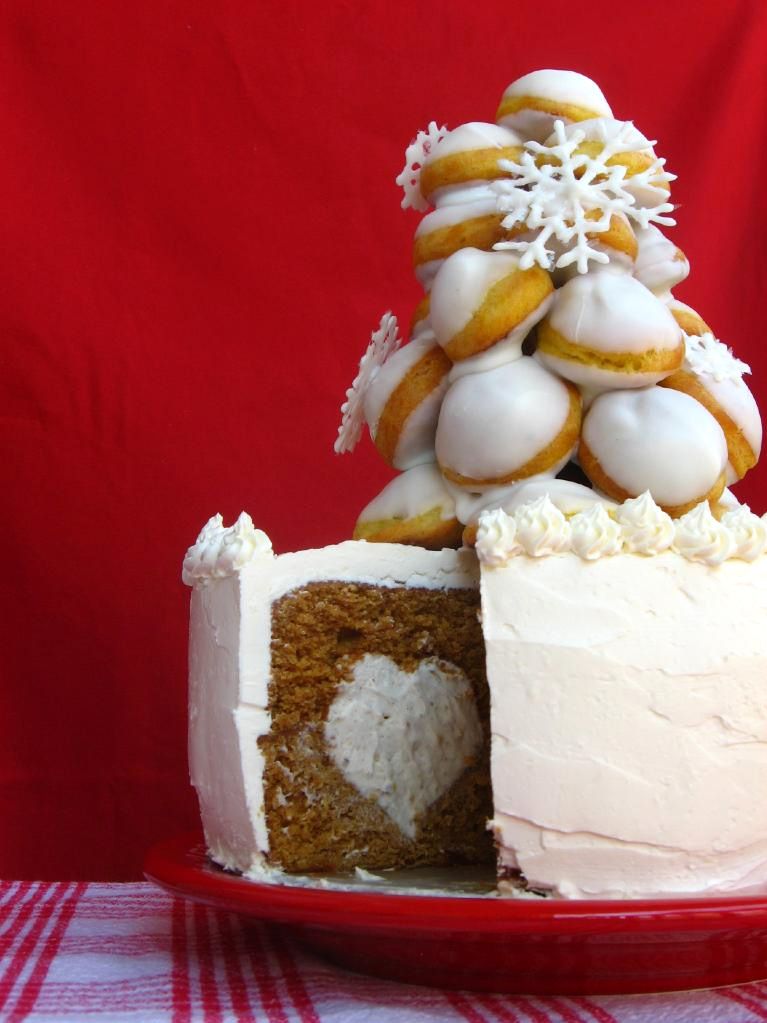
11. BROWN BUTTER PUMPKIN CROQUEMCAKE WITH WHITE CHOCOLATE CHAI MOUSSE.

BROWN BUTTER PUMPKIN CROQUEMCAKE WITH WHITE CHOCOLATE CHAI MOUSSE
cooking difficulty: advanced


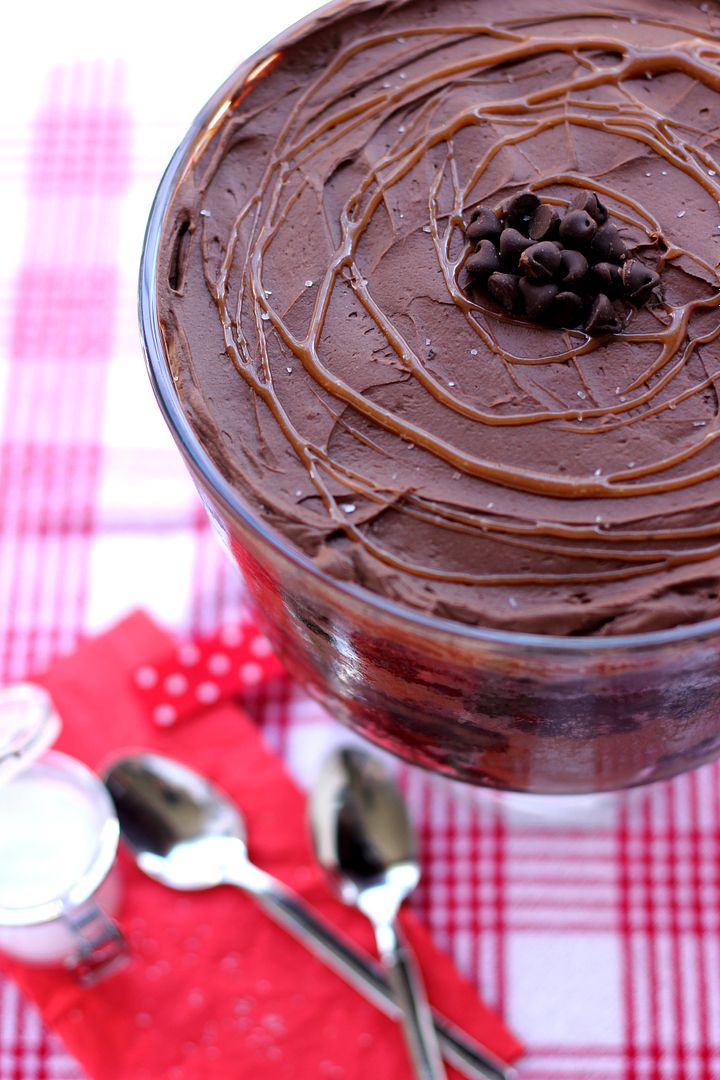
12. SALTED CARAMEL CHOCOLATE TRIFLE.

SALTED CARAMEL CHOCOLATE TRIFLE
cooking difficulty: intermediate


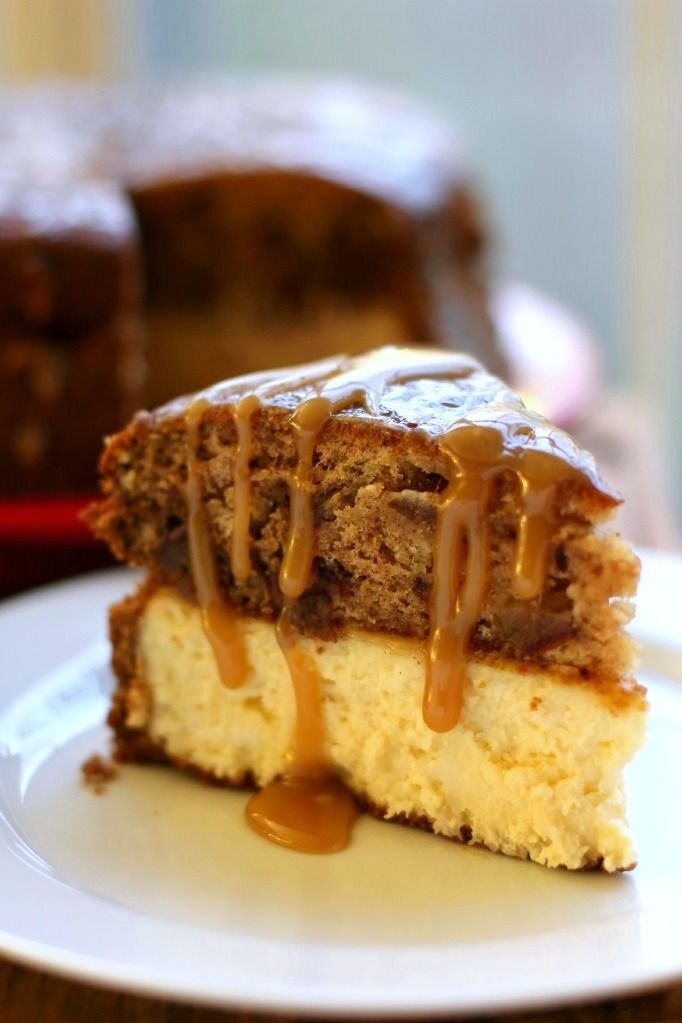
13. STICKY TOFFEE PUDDING CHEESECAKE.

Sticky Toffee Pudding Cheesecake
cooking difficulty: easy but long


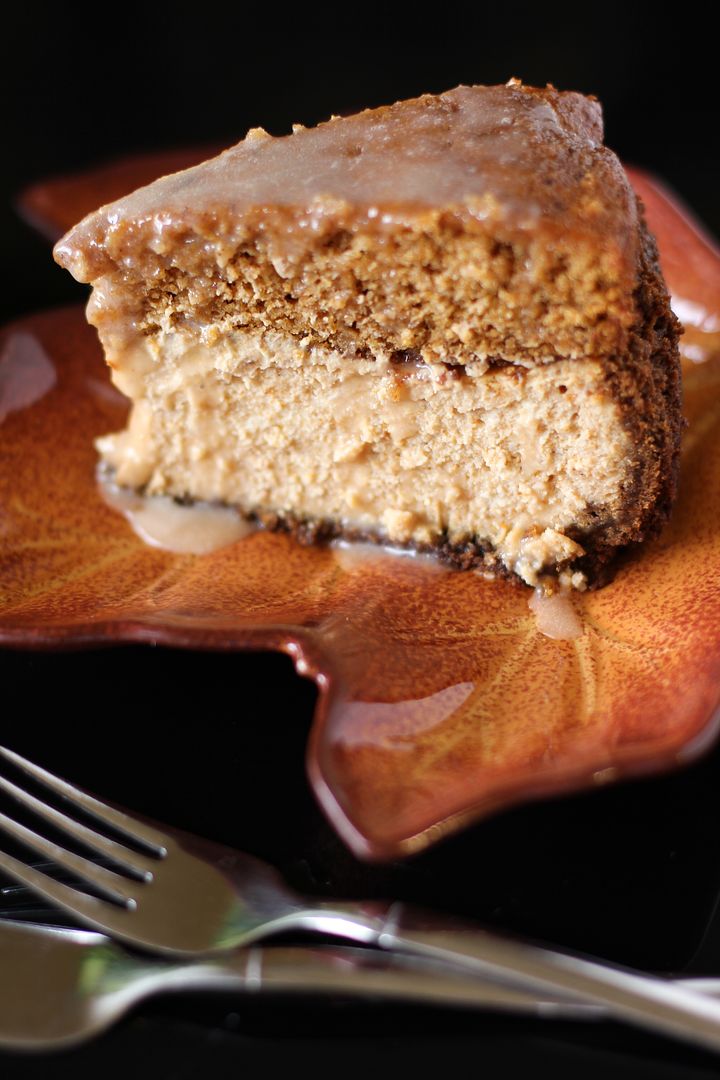
14. BROWN BUTTER PUMPKIN CAKE CHEESECAKE WITH SALTED CARAMEL.

BROWN BUTTER PUMPKIN CAKE CHEESECAKE WITH SALTED CARAMEL
cooking difficulty: intermediate


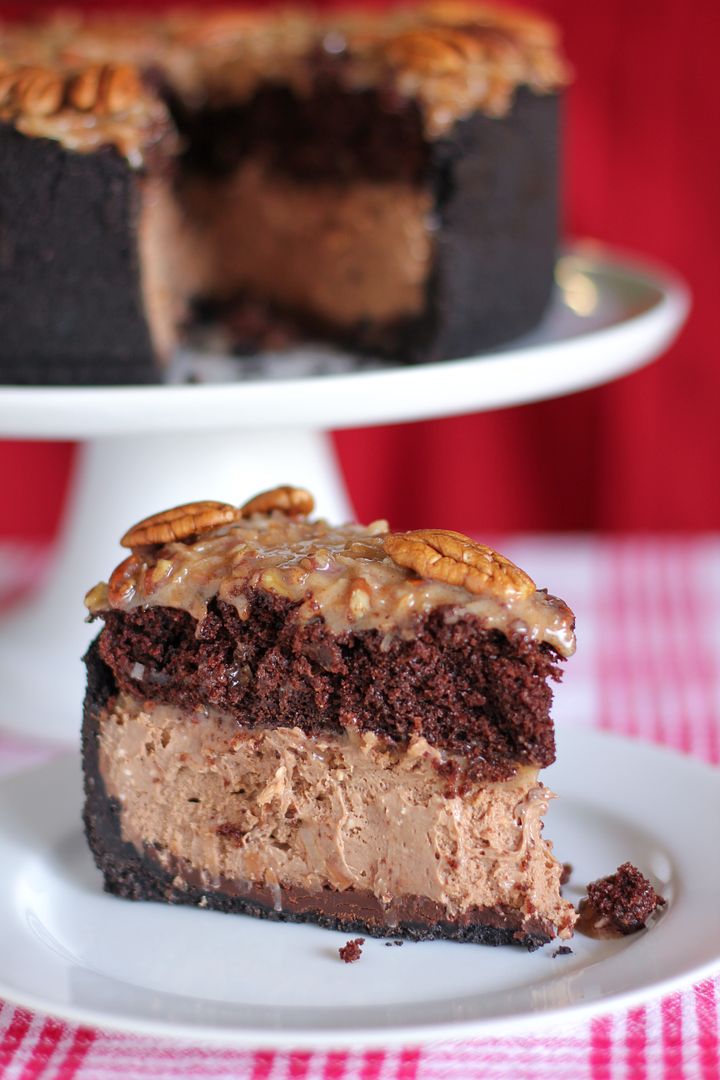
15. GERMAN CHOCOLATE CHEESECAKE.

GERMAN CHOCOLATE CHEESECAKE
cooking difficulty: easy but long


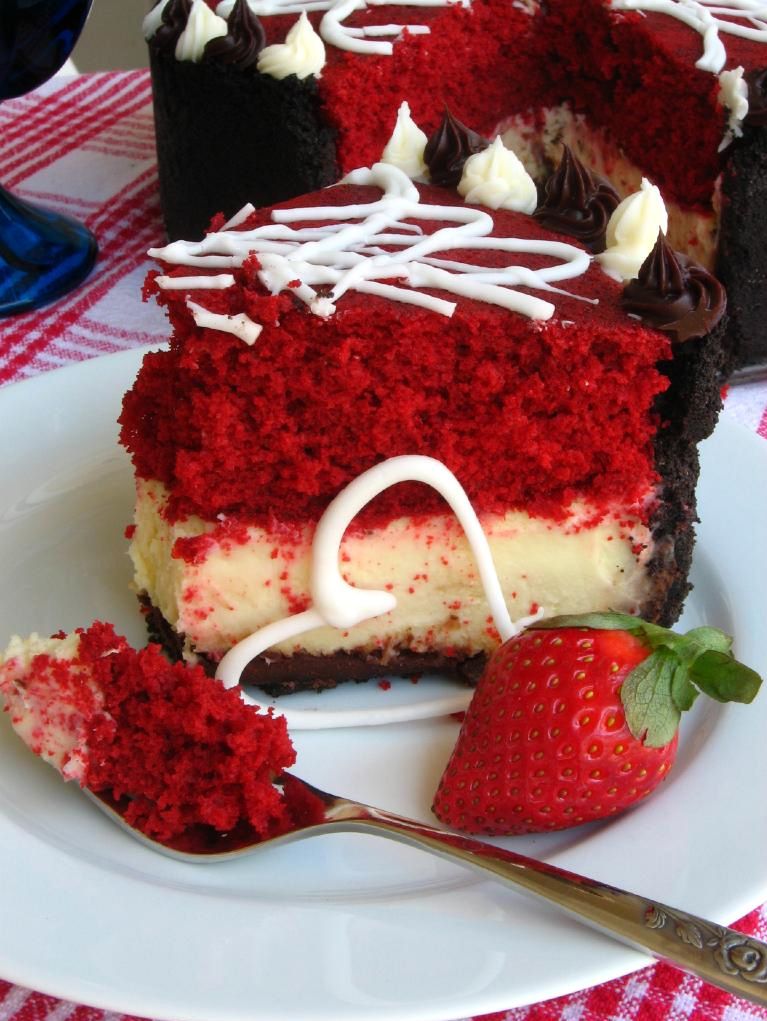
16. RED VELVET CHEESECAKE.

RED VELVET CHEESECAKE
cooking difficulty: easy but long


17. CARAMEL FUDGE BROWNIE CHEESECAKE.

CARAMEL FUDGE BROWNIE CHEESECAKE
cooking difficulty: intermediate


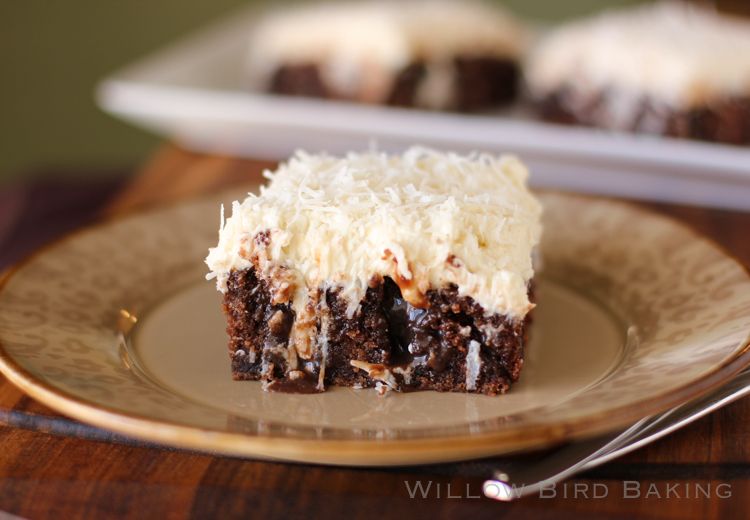
18. CHOCOLATE POKE CAKE WITH WHIPPED COCONUT ICING.

CHOCOLATE POKE CAKE WITH WHIPPED COCONUT ICING
cooking difficulty: easy


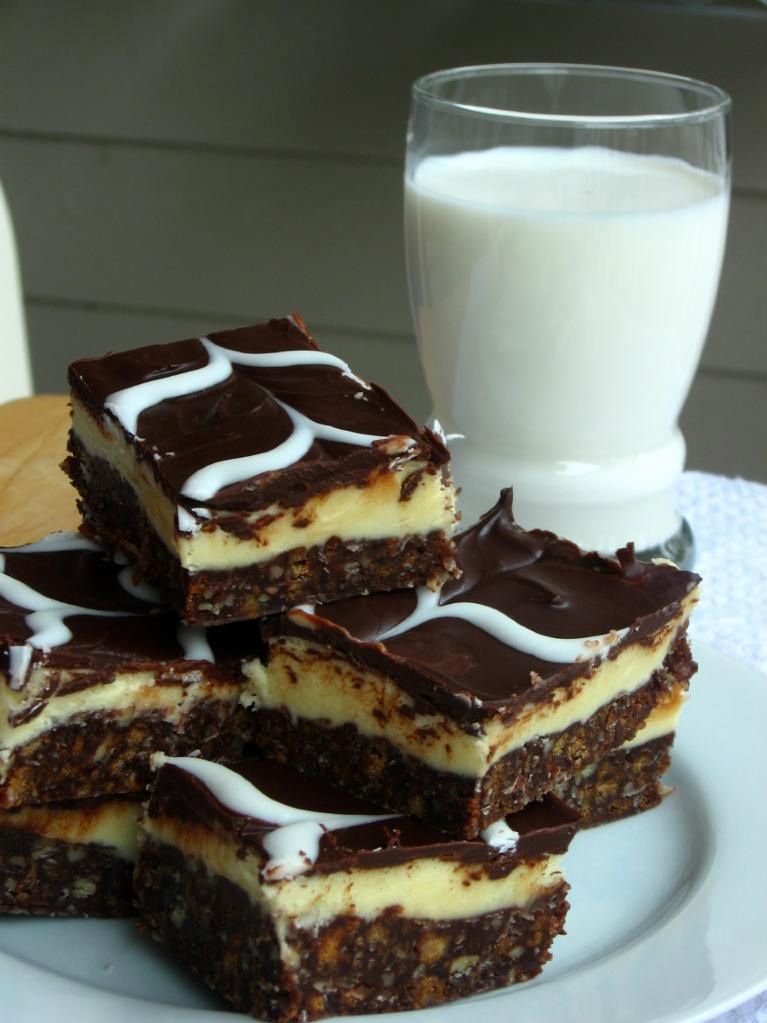
19. NANAIMO BARS.

NANAIMO BARS
cooking difficulty: easy


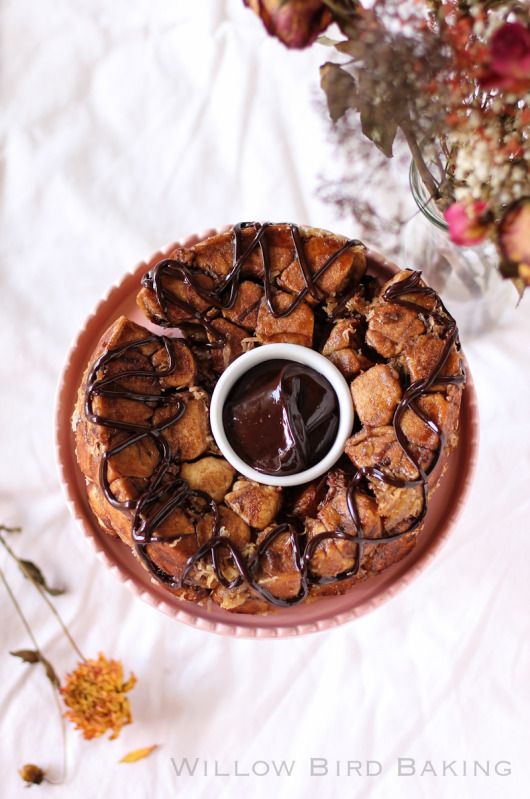
20. SAMOA MONKEY BREAD WITH GANACHE DIPPING SAUCE.

SAMOA MONKEY BREAD WITH GANACHE DIPPING SAUCE
cooking difficulty: easy

Want more Thanksgiving inspiration from other bloggers I love? Check out my Inspiring Thanksgiving Recipes Foodie Collection for side dishes, cocktails, desserts, and more!

1 6 7 8 9 10 21