Check out 13 Breezy Summer Picnic Recipes
by Julie Ruble at Foodie.com
Thanks, Foodie, for sponsoring this post.
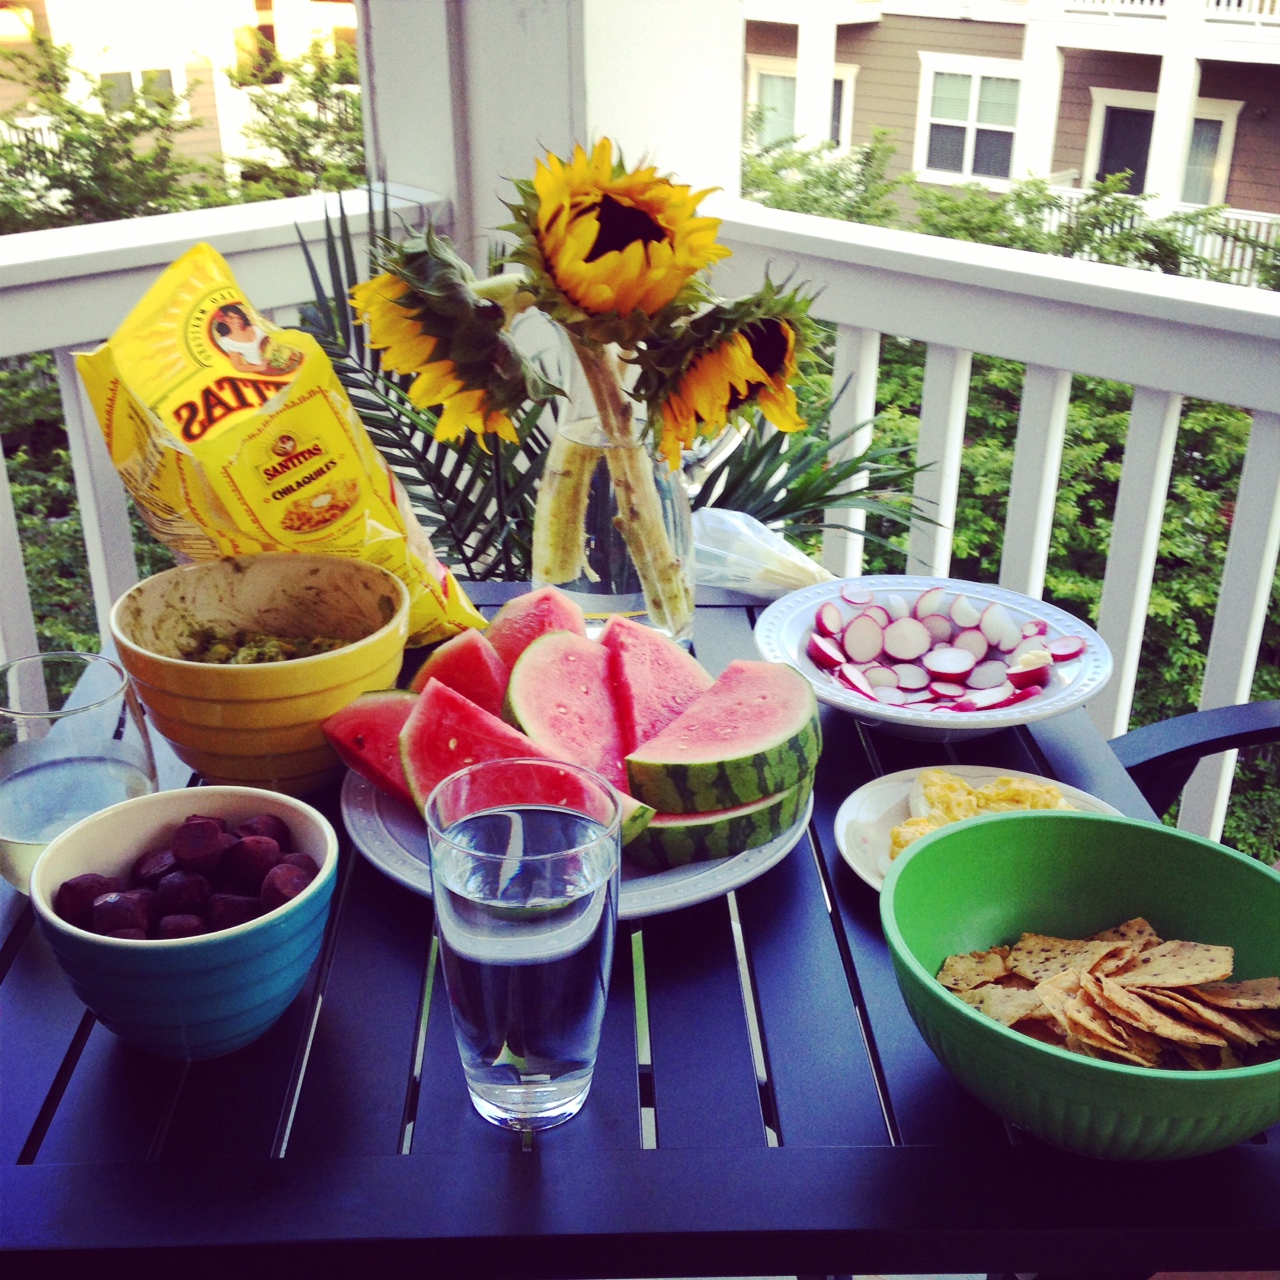
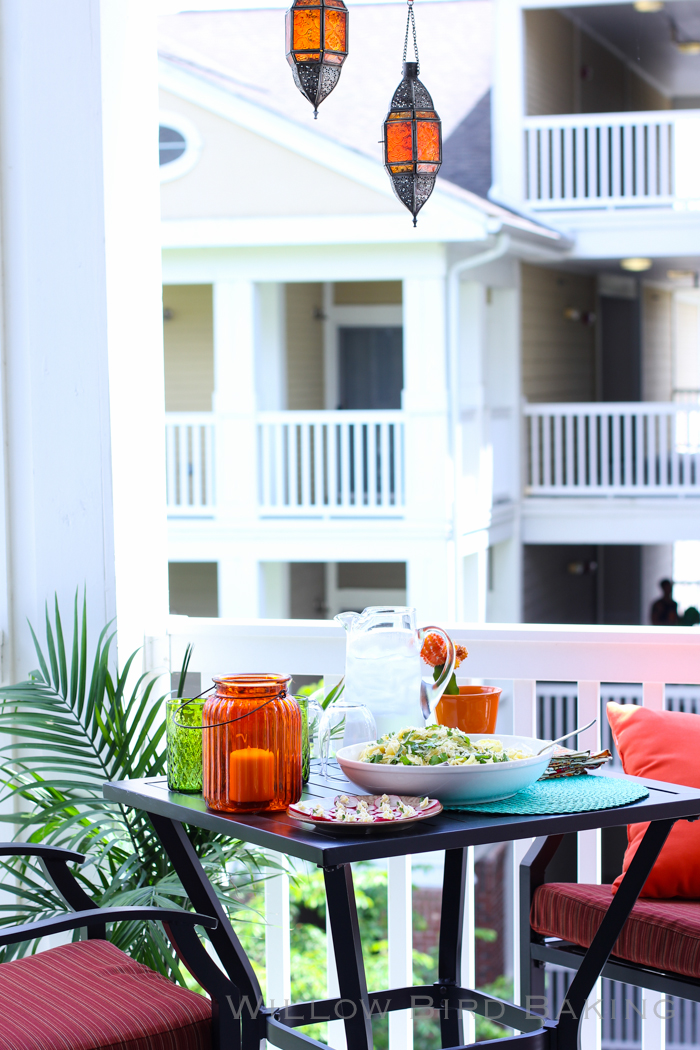
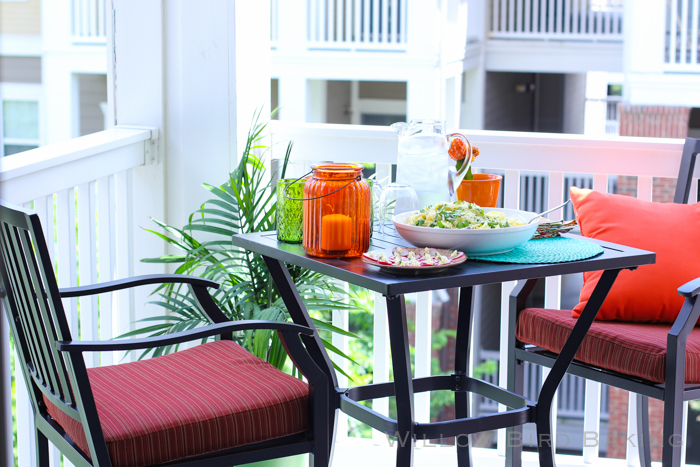
Mike and I have been picnicking every chance we get this summer, usually just on our balcony. It’s been so nice and breezy and gorgeous. Some of my fellow bloggers have been posting their lovely picnics too, like this one with snacks for a toddler and this incredible birthday picnic!
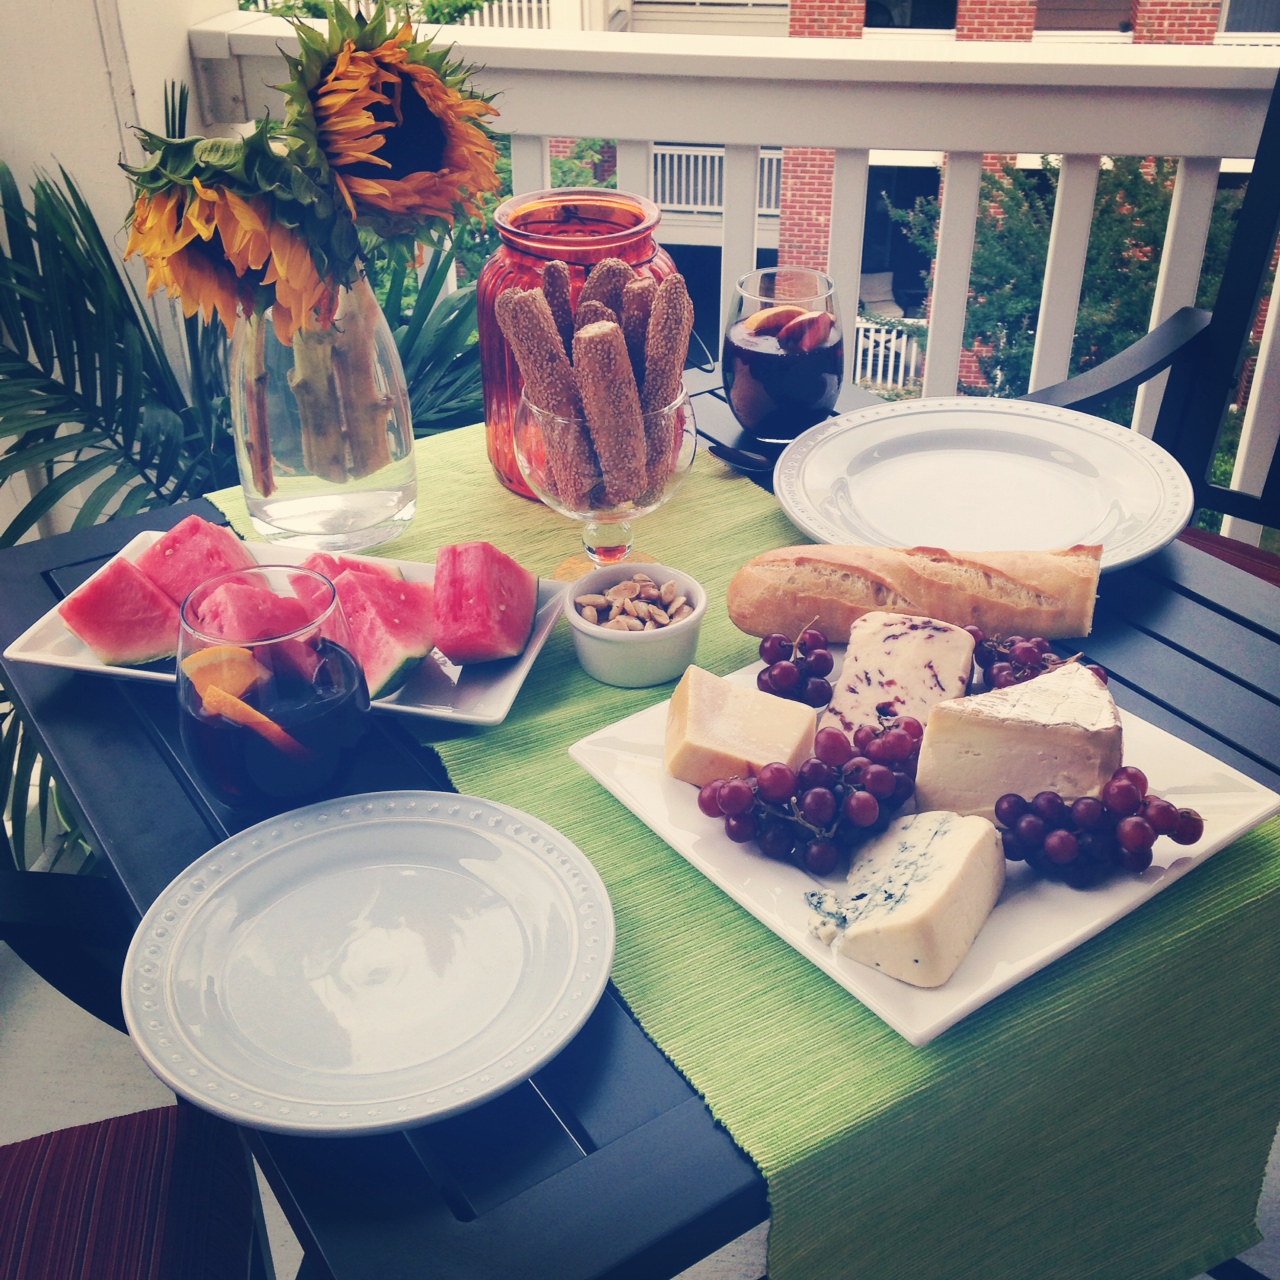
I’ve gathered some simple picnic recipes in the collection above, but I also want to tell you about my recent realization: you don’t really have to cook for a picnic at all. Instead, you can throw together a cheese plate and some complementary snacks. It’s the quickest picnic prep ever! Mike loved it so much that we’re making it a Sunday tradition. Here are some tips for putting together a cheese plate:
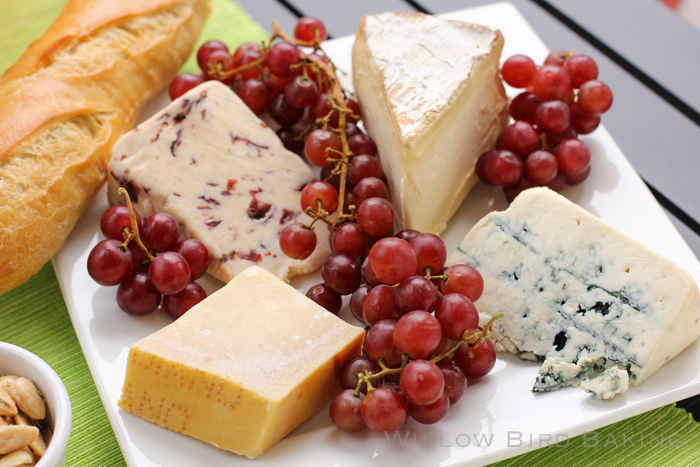
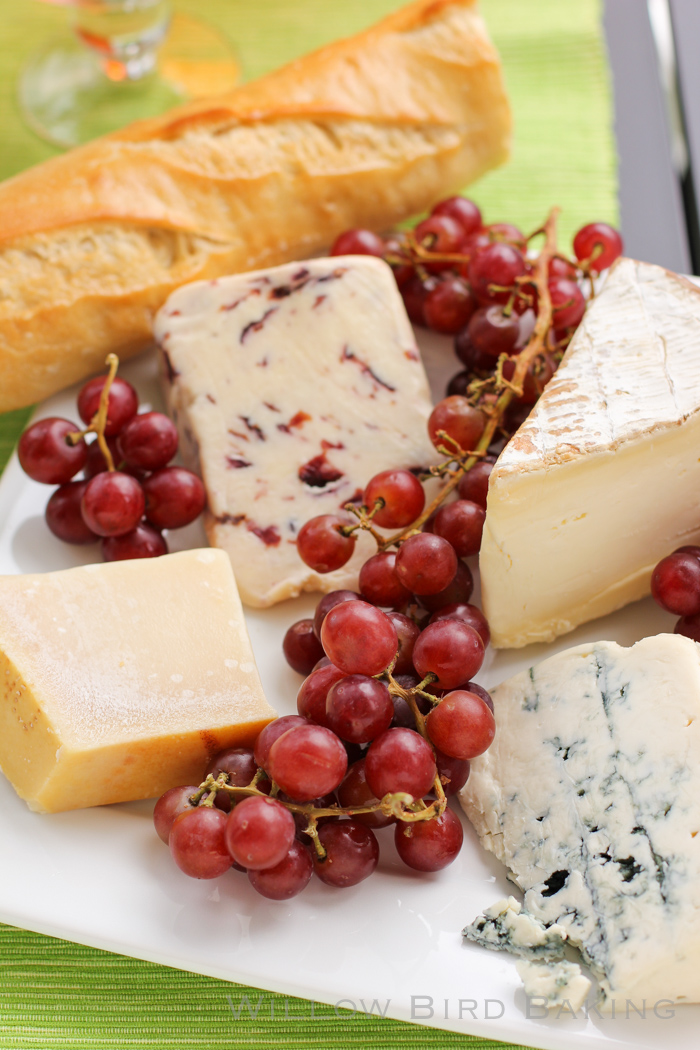
Clockwise from top left: Wensleydale with cranberries, St. André Triple Cream Cheese, Roth Buttermilk Blue, and Parmesan
1. Mix it up. Grab both hard and soft cheeses, strong and mild cheeses, sweet and savory cheeses. I chose Wensleydale with cranberries as a sweet, soft cheese and it ended up being Mike’s favorite. For a mild cheese similar to a brie, I also picked up St. André Triple Cream Cheese. It paired perfectly with apples and grapes. Roth Buttermilk Blue was a soft, stronger flavored cheese that I also loved with the grapes. Good ol’ Parmesan was our hard cheese of choice, and its strong, salty flavor made it a nice counterpoint to the sweeter cheeses.
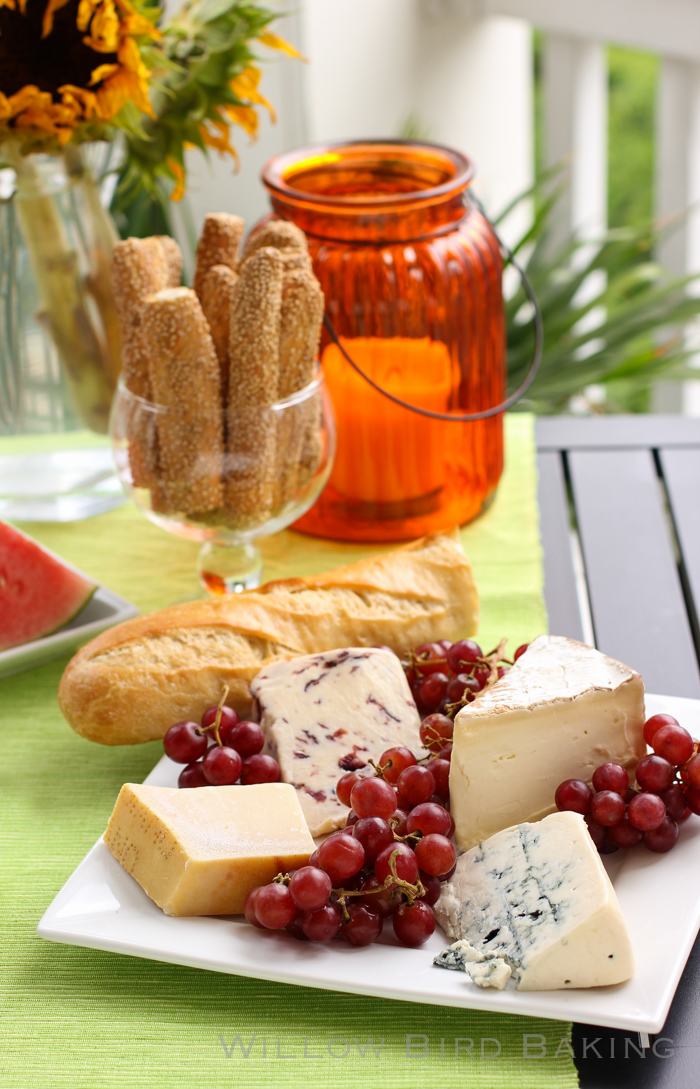
2. Add complementary snacks. My grocery store had a whole range of perfect snacks close to the cheese display. We ended up with crunchy sesame sticks, a baguette, apples, grapes, strawberry jam, watermelon, and these amazing rosemary-roasted marcona almonds I had on hand from Trader Joe’s. Really, the sky’s the limit. Grab some figs, nuts, apricot jam, pretzel sticks, olives, whatever you want! But do mix up salty and sweet so you’ll end up with a nice variety of flavor profiles. I feel like the cheese plate is an exercise in mixing components to create the perfect bite.
3. Splurge a bit. I’m a pretty cheap foodie: I usually skip the most expensive cheeses. But this time around, since cheese was the main part of our meal (and since I figured I’d use leftovers in other recipes), I let myself grab a few blocks of the expensive stuff. When it’s the primary flavor of your meal, it’s worth it!
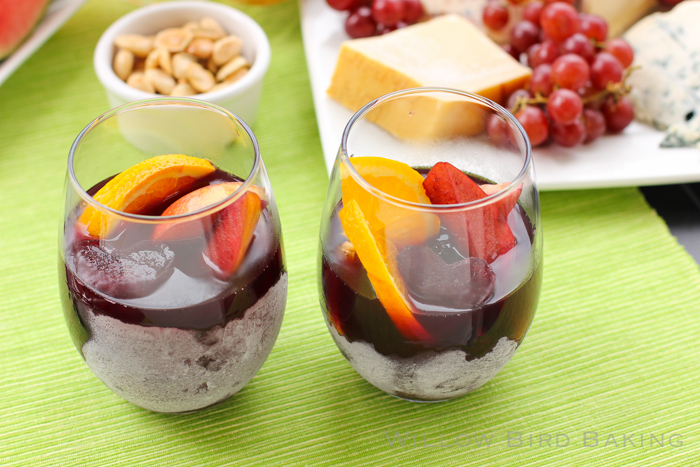
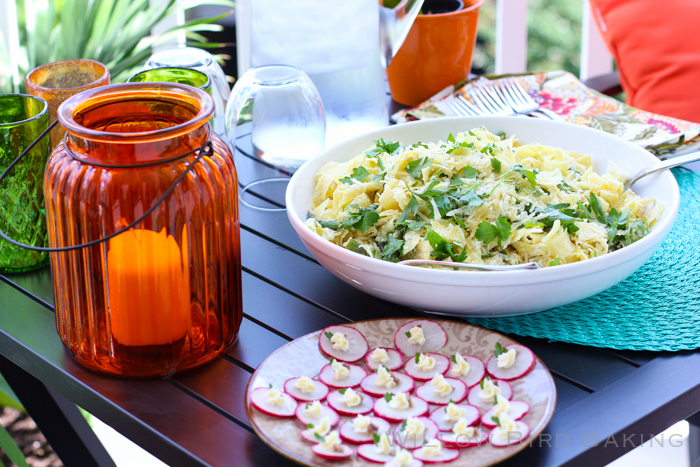
4. Make it pretty. Again, we’re maximizing easiness, here, so I don’t mean make it fancy. Just pretty. I threw a table runner on our patio table, put the cheeses on a platter with grape bunches as a buffer, and poured the snacks into nice jars and ramekins. Things just taste better when they look good. Thankfully, it’s not hard to make a plate of cheese look fantastic.
Any other tips, veteran cheese platers?
Don’t miss these fancier Willow Bird picnics: The Secret Garden Party, A Heartfelt Birthday Do-Over, and School’s IN for Summer

