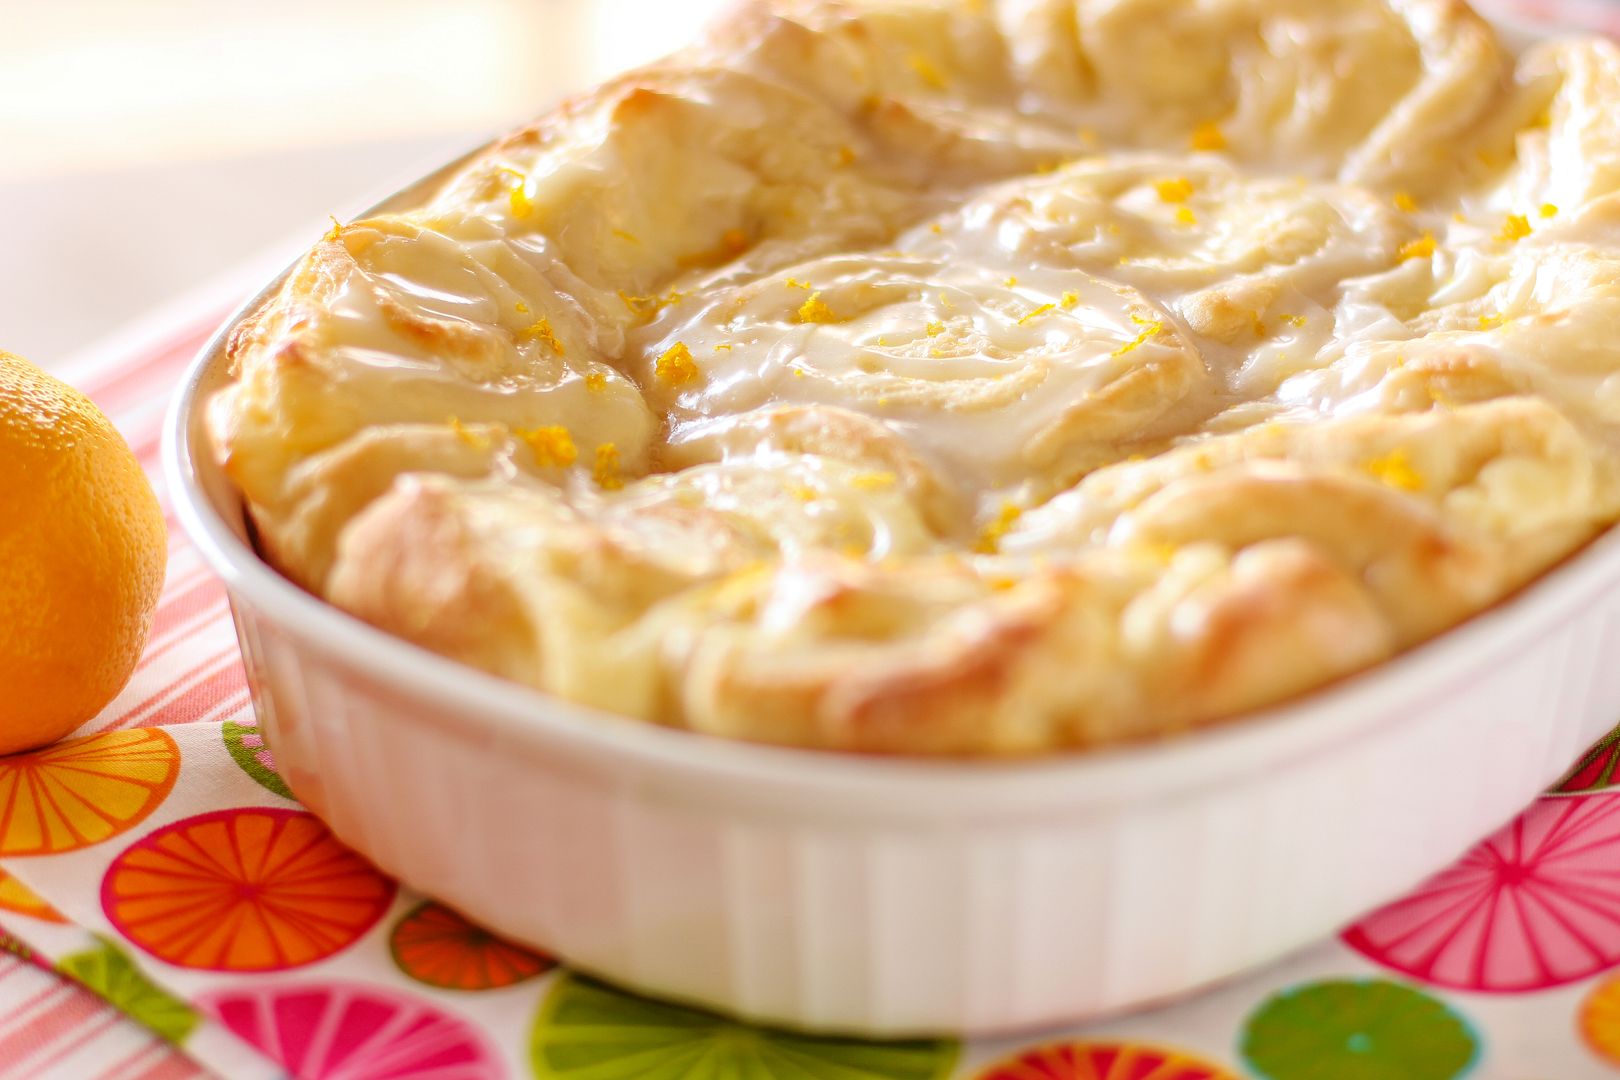
This Coconut Almond Pull-Apart Bread is one of the best things I’ve ever eaten and I really want to spend a few paragraphs gushing about it.
But there’s no time to gush about it. BECAUSE CAT.
If you’re on Willow Bird Baking’s Facebook page (and if you’re not, you’re missing a lot of fun over there), you already know what I’m alluding to. But on the off chance you haven’t heard me crying from the rooftops of the interwebz: I GOT A CAT. CAT CAT CAT!
…introducing Huckle Buckle Beanstalk Ruble, also known as Buckle, also known as my new wittle smooshy-wooshy face.
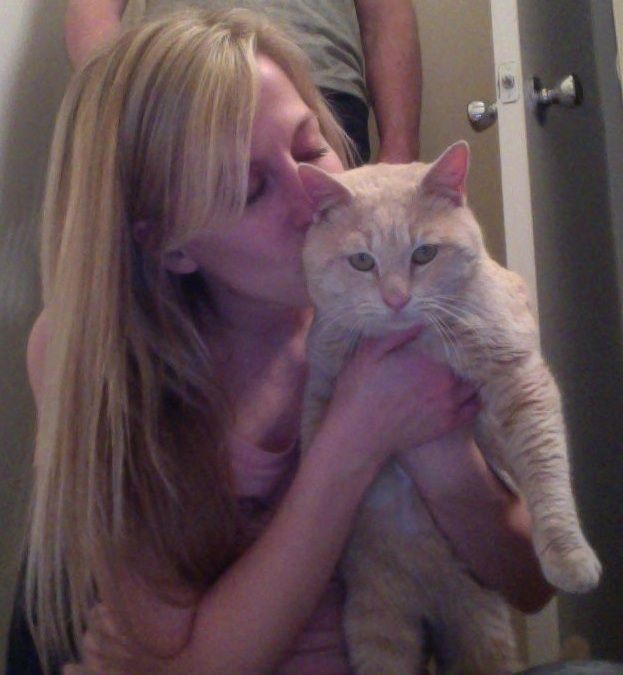
He’s a buff colored, 11-pound, 1.5-year-old chunk of kitty love from the Charlotte Humane Society, and he’s made himself right at home in my apartment and in my heart.
Getting a cat has been on my mind for months, and I’ve scoured Petfinder and Humane Society websites for the perfect one. To be honest, though, I think all of my searching was in vain — because God dropped Buckle right into my lap.
Wonder how these photo shoots will go with kitty around? Hm.
My 6th graders and I take an annual field trip to the Humane Society to drop off the funds they raise by baking and selling dog treats. This year, given my months-long search, I knew the kitty room would hold a special attraction for me. I ended up cuddling a sweet gray kitten for much of the time there, but I knew he was someone else’s. In the first place, kittens get adopted very easily, so I felt compelled to adopt an adult cat. In the second place, the adult cats all had their adoption fees waived thanks to a donor’s generous gift to the Humane Society. Cost was definitely an obstacle for me since I have a steep a pet deposit at my apartment, so this seemed especially fortuitous.
I looked around a bit and saw a fat buff cat and an older orange cat I liked, but I wasn’t sure. I headed back on Saturday with Mike, though, and the buff cat not only purred just like one of Mike’s old cats, Motorboat, but he also seemed loving and laid back — perfect for introducing to Byrd! Before I knew what I was doing, I had him in a travel crate sitting in the adoption counselor’s office. I actually asked Mike, “What’s happening?! Are we doing this?!” Despite my months of research, it didn’t seem real.
There were so many doubts, but moment by moment since we walked in my apartment door together, Buckle has assuaged every one. He is just as sweet as a cupcake: a loving cuddlebug who seems to enjoy Byrd (and matches her coloring exactly, oddly enough!), catnip, and good scratching surfaces. I think the moment I felt the most sure about him was when I was lying in the floor earlier today watching him bat around a ball with Byrd. They were like two little buff colored peas in a pod.
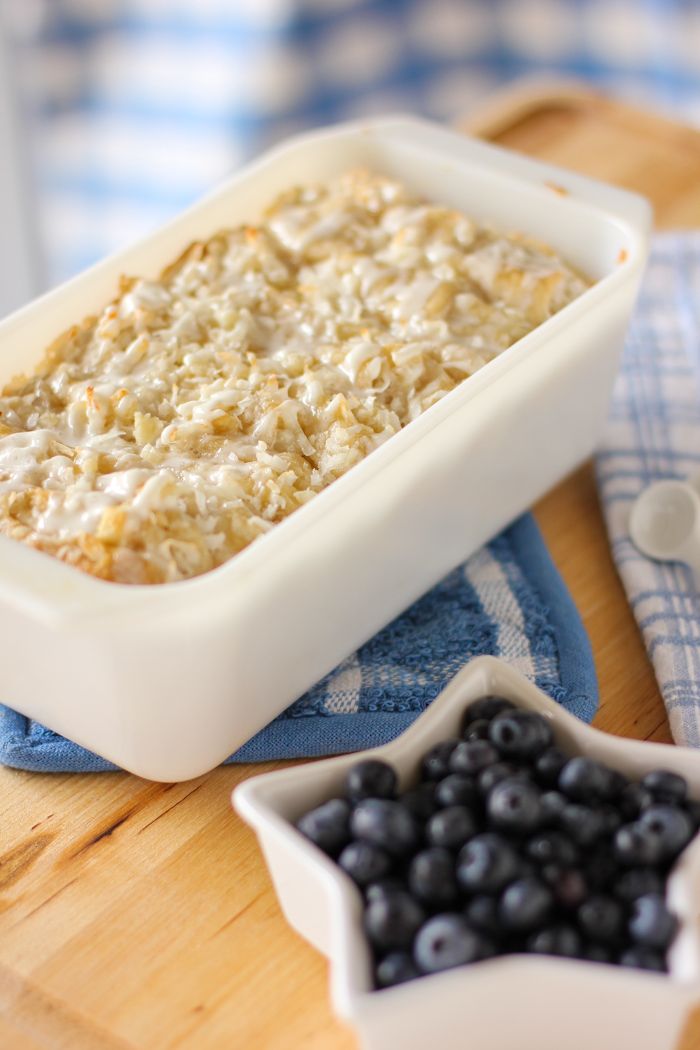
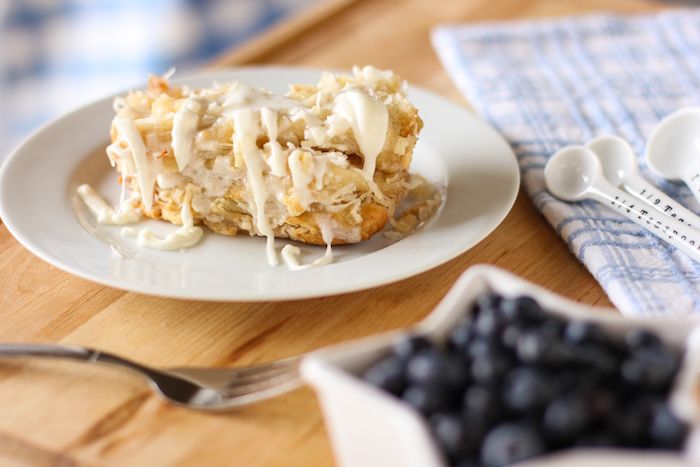
Now that I’ve introduced you to my newest baby, maybe I can finally introduce you to this bread. I can’t really say enough about it: it’s got the most gorgeous, buttery, delicate flavor and texture. The glaze is rich and creamy and adds the perfect touch of decadence to the finished loaf. I think if I could pick one thing to eat for the rest of my life, this would be it. Did I mention it was really, really delicious?
Have you ever rescued a pet?
P.S. Please feel free to weigh in with any and all kitty advice, websites, etc.!
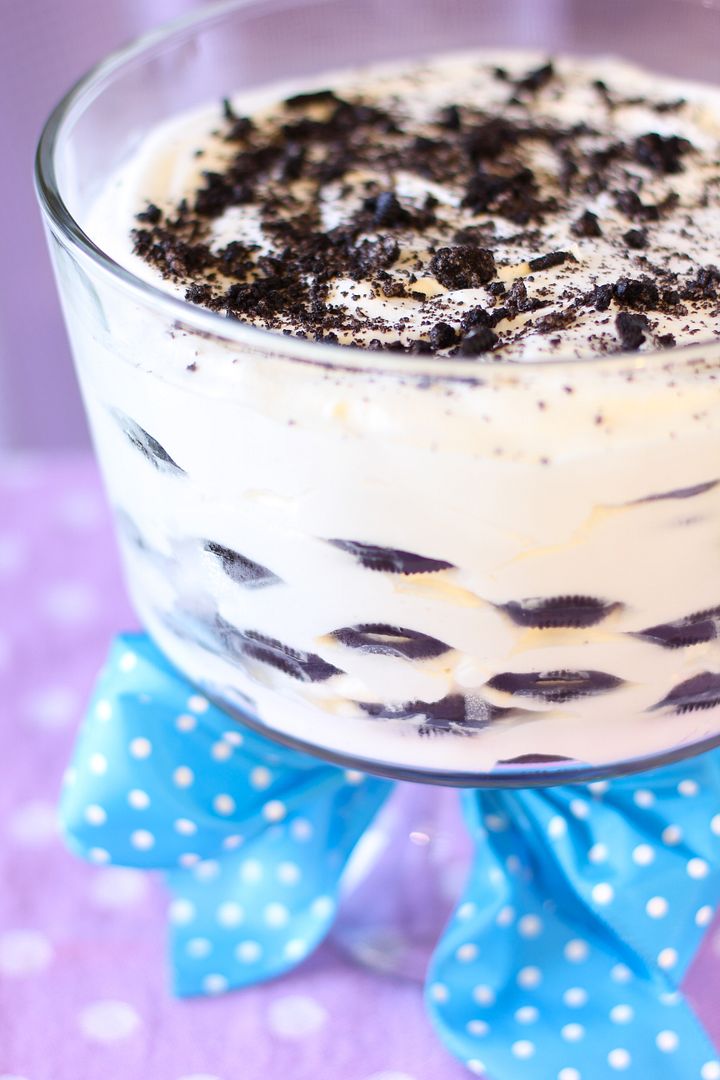
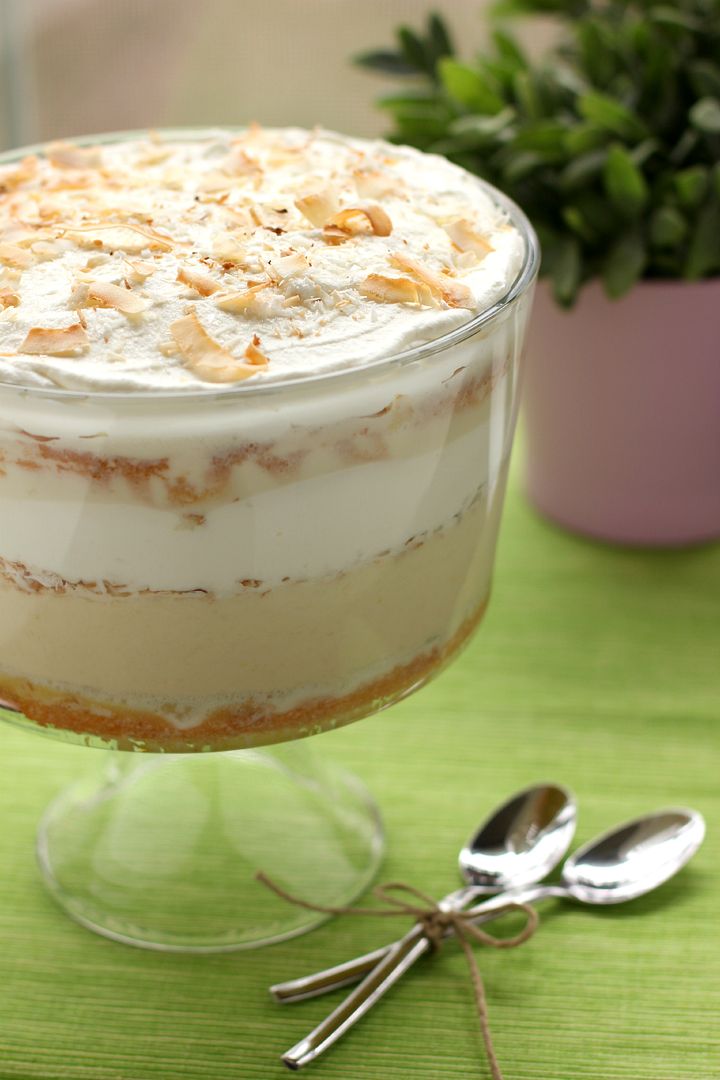
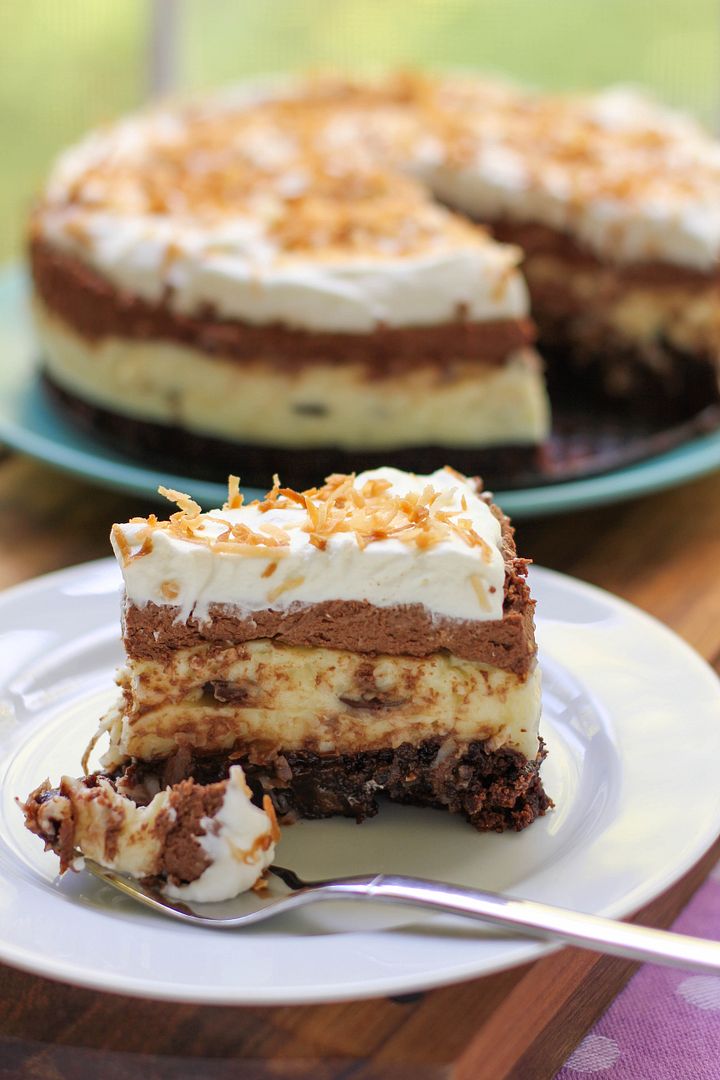
One year ago: Chocolate & Coconut Cream Pie Bars
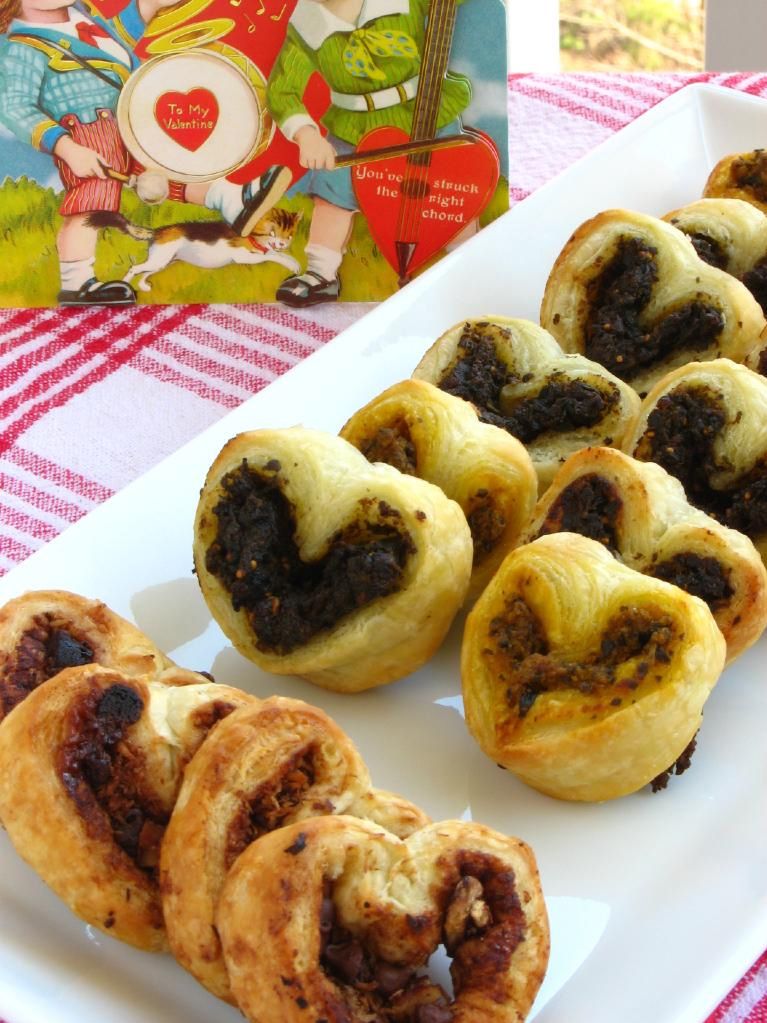
Two years ago: Quick Rosemary, Fig, and Goat Cheese Tarts
Three years ago: Clementine Cake
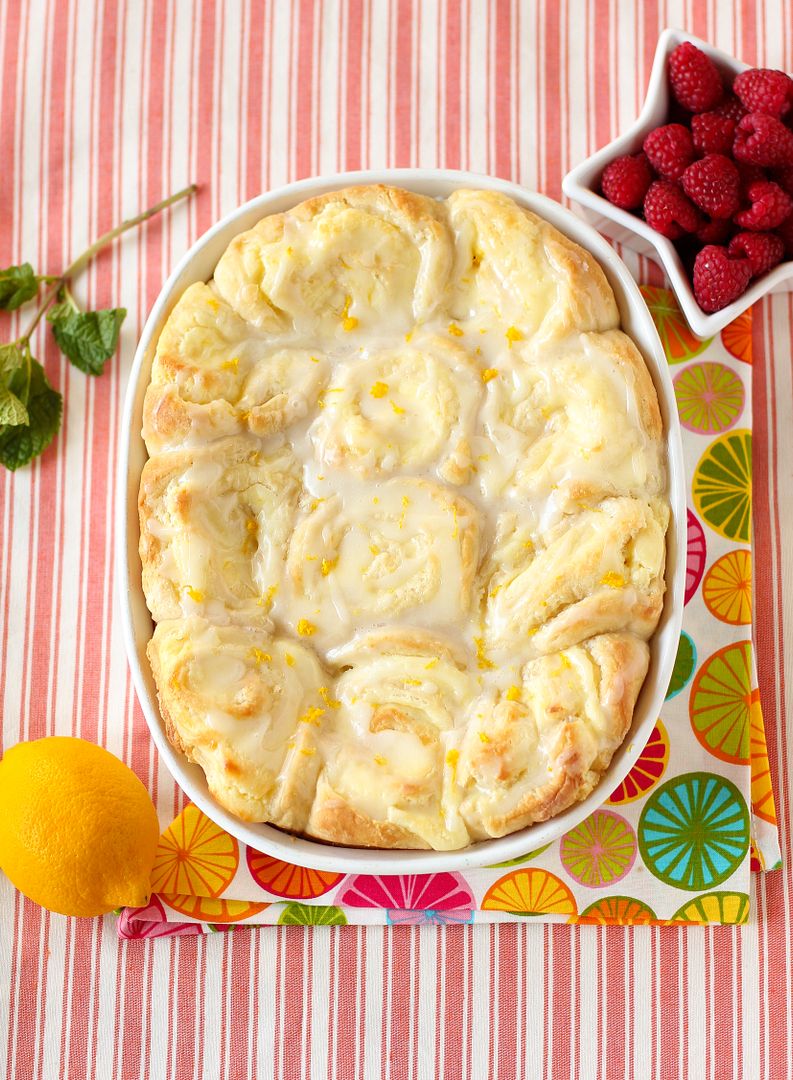
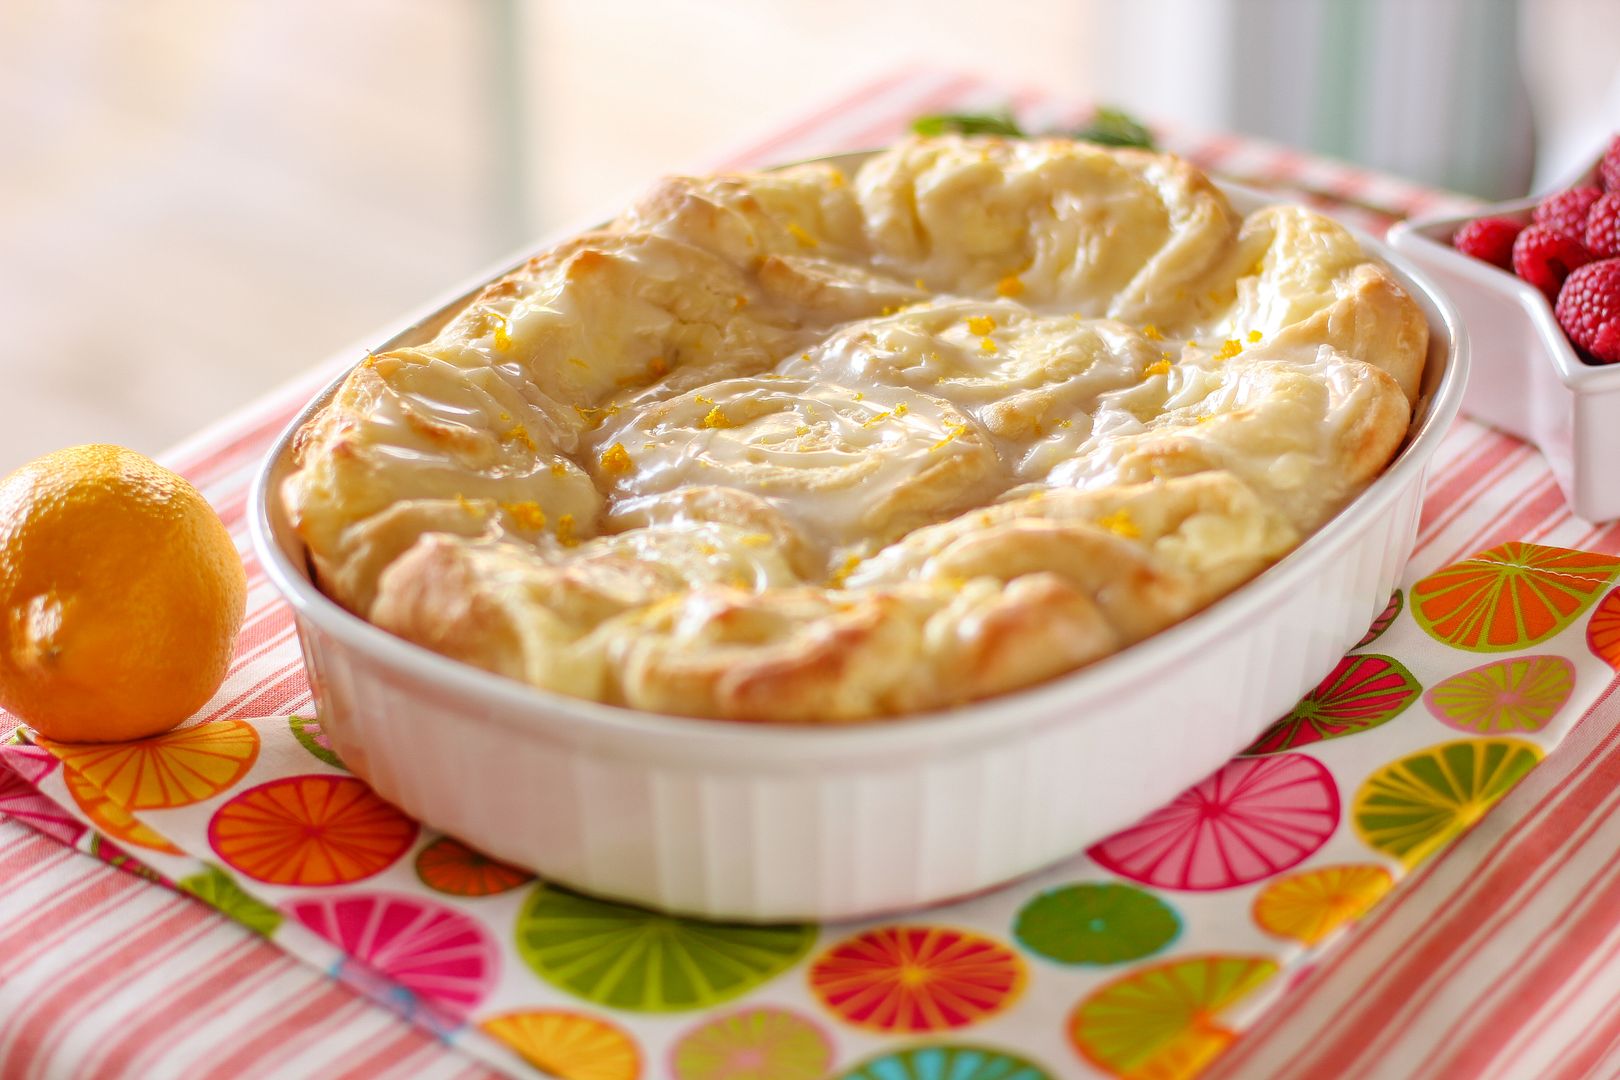
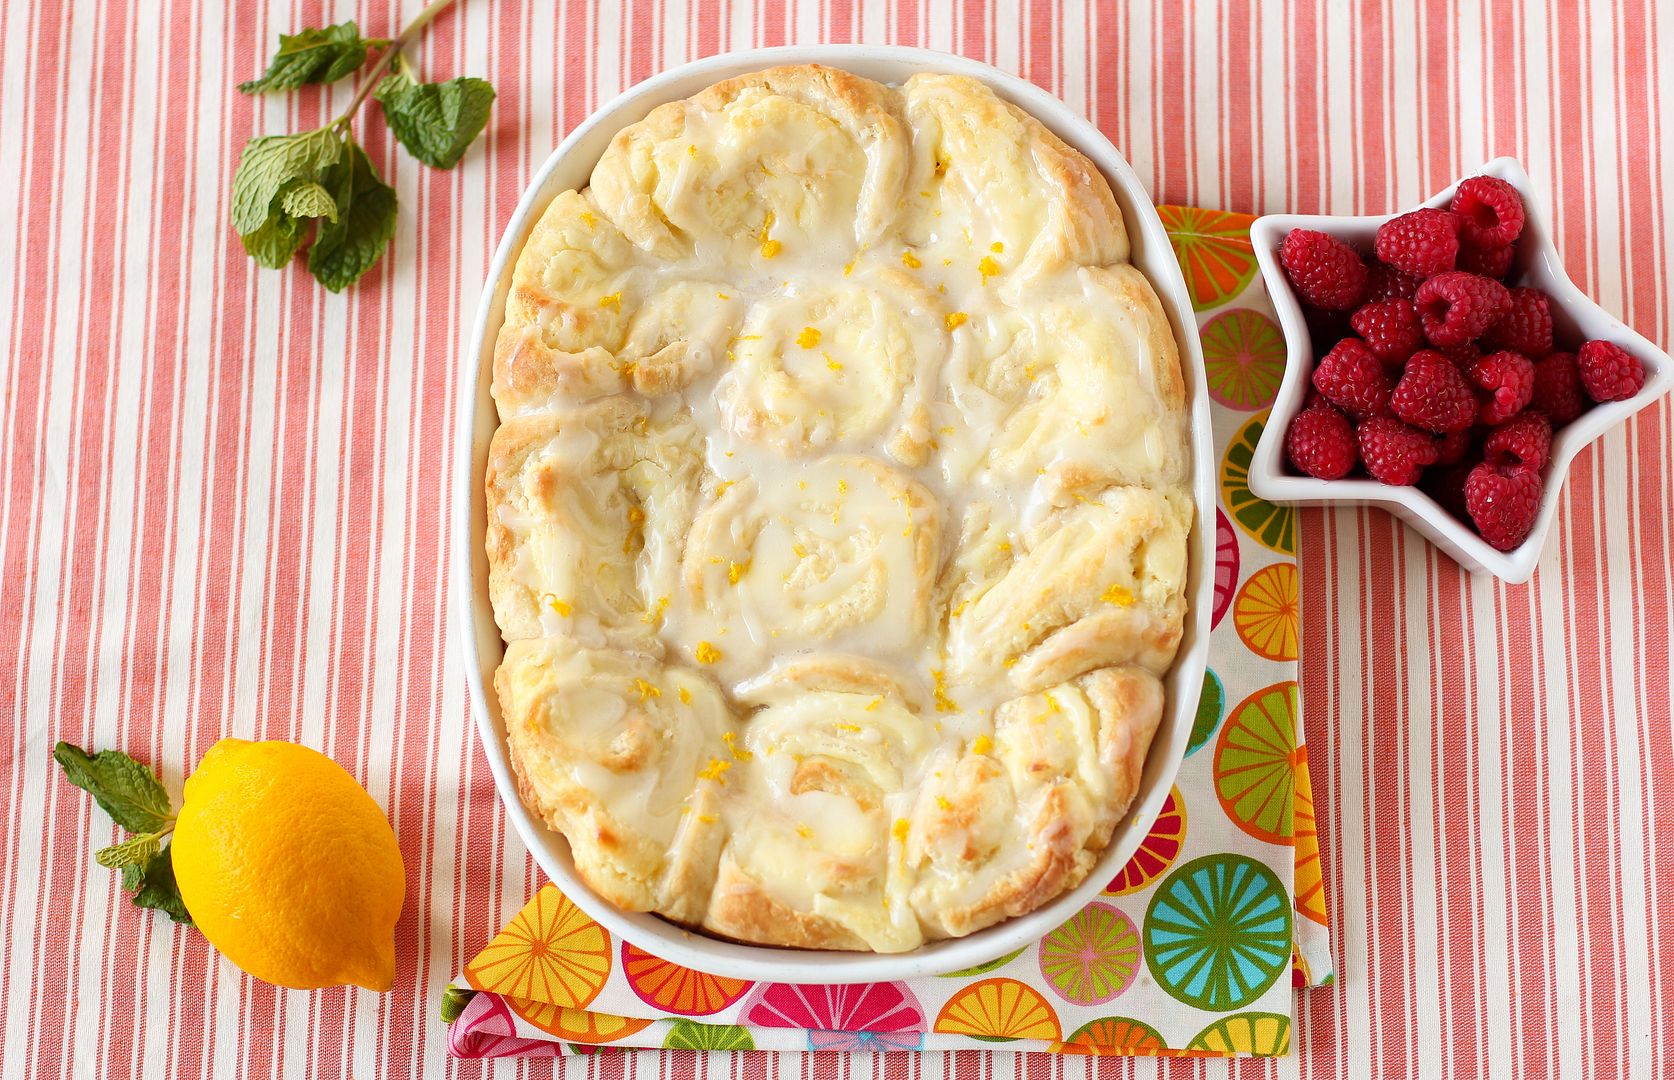
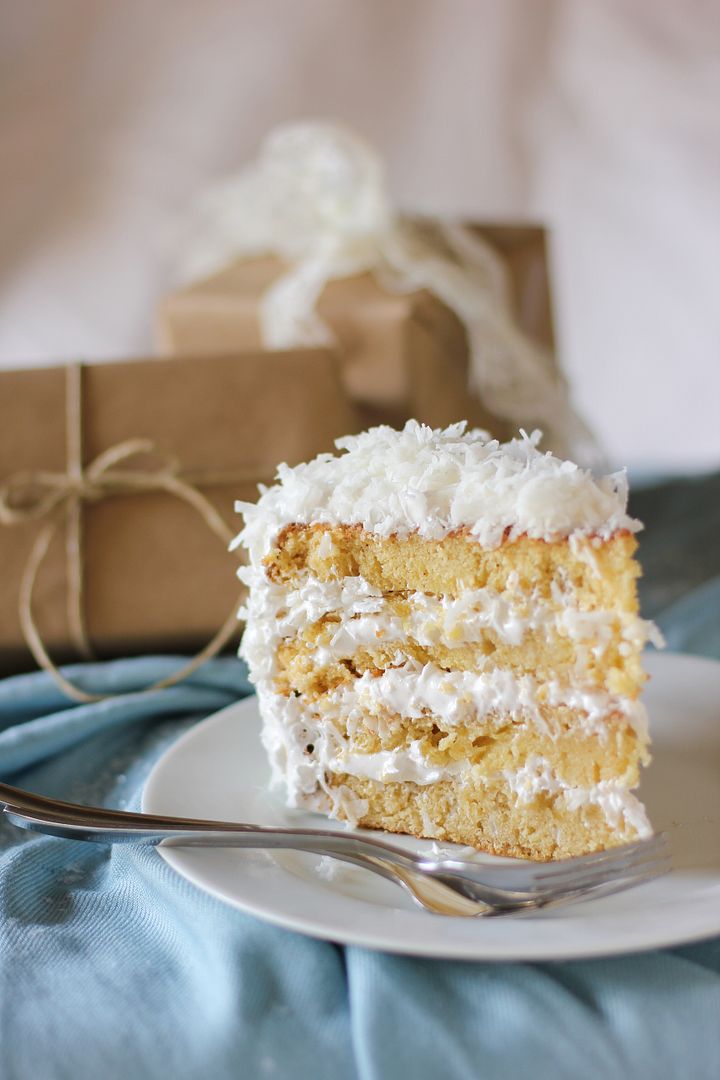
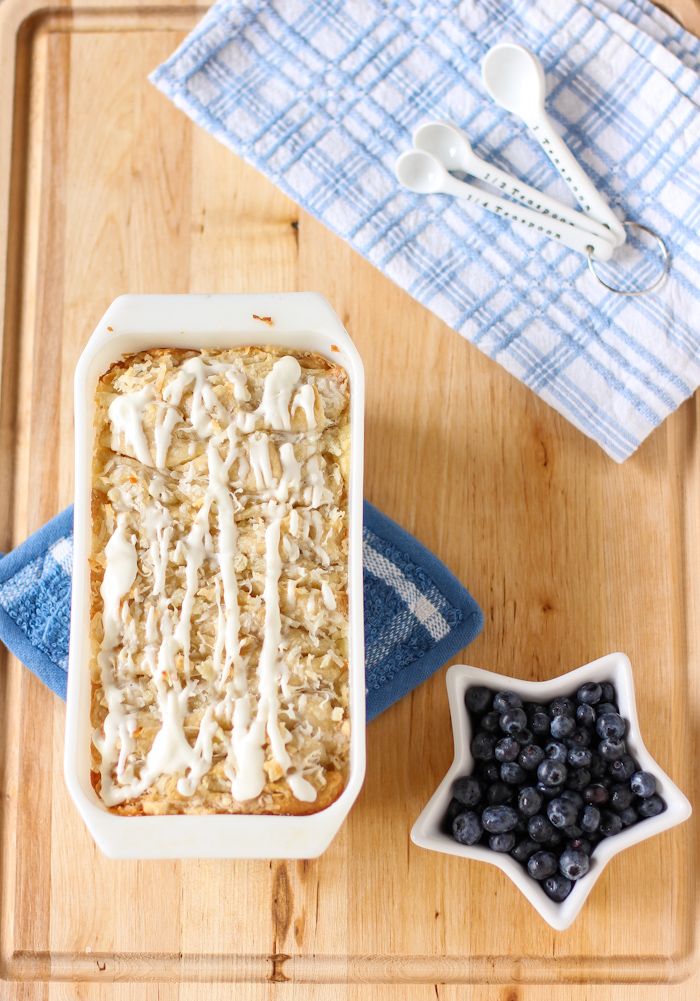
Buttery Coconut Almond Pull-Apart Bread (with Heavenly Coconut Cream Glaze)
Recipe by: Willow Bird Baking
Yield: 2.5 – 3 loaves
If you love pull-apart bread, you’re gonna fliiiip. This yeast dough recipe is (I firmly believe) the best tasting yeast bread recipe in existence. My family uses it for everything. And this filling (buttery coconut almond goodness) is the best filling in existence. Combine them in a tender loaf that ends up with the texture of cinnamon-roll-insides and douse them in a heavy coconut cream glaze and, well. Let’s just say you’ll need to keep coming back to this recipe!
Dough Ingredients:
1 package (2 1/4 teaspoons) active dry yeast
1/4 cup warm water (100-110 degrees F)
2 tablespoons white vinegar
2 cups milk minus 2 tablespoons, room temperature
2/3 cup cold shortening
3 tablespoons sugar
1 teaspoon salt
1 teaspoon baking soda
1 teaspoon baking powder
5 cups flour
2 tablespoons butter, melted, for after baking
Filling Ingredients:
2 sticks butter, melted
1/2 teaspoon coconut extract
7 ounces almond paste, grated or crumbled small
2 cups coconut
3/4 cup sugar
Glaze Ingredients:
1 cup powdered sugar
3/8 cup (6 tablespoons) heavy cream
1/4 teaspoon coconut extract
1/4 teaspoon almond extract
Directions:
Note on proofing: This yeast dough proofs overnight, gets shaped, and then the finished loaves proof for 2-3 more hours. Plan ahead for this amount of time.
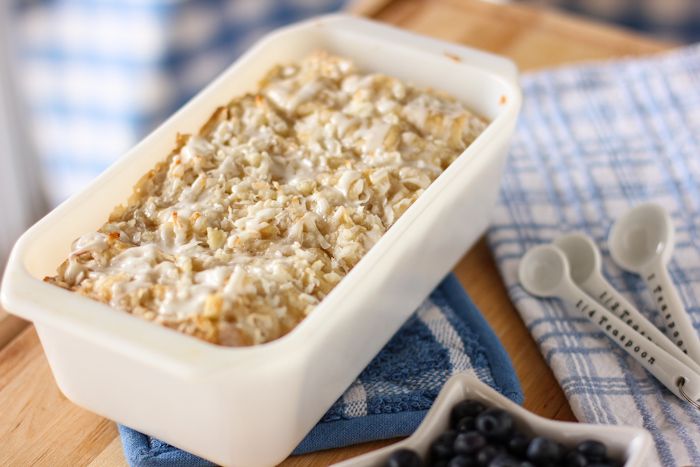
Note on yield: I don’t recommend halving yeast recipes; instead, if you don’t want 2.5 or 3 loaves at once, consider freezing a loaf for later. The variation in the yield is the result of my error — I packed this recipe into 2 loaf pans and the loaves were so squished that they were hard to get baked completely. So in this recipe, I tell you not to oversquish — once your loaf pans are pleasantly stuffed, put the overflow dough into another loaf pan (mini or regular, however much extra you have) to bake. This way the loaves will bake correctly.
Note on freezing: To freeze an unbaked loaf, just wrap it well before the second rise and freeze it. Once frozen, pop it out of the pan all together and store in the freezer, wrapped in plastic wrap and in a zip top bag or wrapped in foil. When you want to bake it, stick it back in a greased pan, thaw it in the fridge overnight, proof for the instructed amount of time, and bake like usual.
Make the dough: Mix the warm water and yeast in a medium bowl and let the yeast foam for about 10 minutes. Put 2 tablespoons white vinegar in a measuring cup and then add milk up to the 2 cup line. Set this aside. In a separate large bowl (or the bowl of a mixer fitted with a dough hook), whisk together flour, sugar, salt, baking soda, and baking powder and cut the shortening into the mixture with two knives or a pastry cutter until the shortening looks like small peas. Stir yeast mixture and milk mixture into the dry ingredients and mix well, kneading just a few turns. Transfer the dough to a bowl lightly sprayed with cooking spray, cover tightly with plastic wrap, and proof overnight in the fridge.
Shape and bake pull-apart bread: Grease three 9 x 5 x 3-inch loaf pans and set aside. Melt the 2 sticks of butter in a microwave safe bowl and stir in coconut extract. In another bowl, mix together the grated almond paste, coconut, and sugar. Set these aside.
Gently cut the dough in thirds to work with. Flour a large work surface and turn your dough out onto it. Roll it out to a 20 inch long and 12 inch wide rectangle, lifting corners periodically to make sure it’s not sticking and using more flour as needed. If it seems to be snapping back, cover it with a damp towel and let it rest for 5 minutes before continuing.
Spread about a third of the melted butter over the rectangle of dough. Then sprinkle about a third of the coconut/almond paste/sugar mixture over the top, patting it down to ensure it mostly sticks. Don’t skimp on the edges.
With the long edge of the rectangle toward you, cut it into 6 strips (do this by cutting the rectangle in half, then cutting each half into equal thirds. I’d use a pizza cutter or bench scraper). Stack these strips on top of one another and cut the resulting stack into 6 even portions (again, cut it in half, and then cut the halves into equal thirds). Place these portions one at a time into your greased loaf pan, pressing them up against each other to fit them all in (if it seems like you’re having to squish your layers too much to fit them all, don’t be afraid to leave a little out — it feels like a waste, but you don’t want an underdone loaf because you overpacked. Maybe you could make a baby loaf with the extra.) Repeat this rolling, filling, and cutting process with the other two portions of dough. Cover the loaf pans with clean, damp cloths and place them in a warm place for 2-3 hours to almost double in size.
After dough rises, preheat oven to 350 degrees F (or 325 if you have a glass loaf dish instead of a metal pan). Place the loaves in the center of the oven and bake for 35-45 minutes until dark golden brown on top (if you take them out at light golden brown, they’re liable to be raw in the middle, so let them get good and dark. If they doesn’t feel done in the middle when you poke them but they’re getting too dark, cover them with foil). Cool for 20-30 minutes on a cooling rack in the loaf pans while you make the glaze.
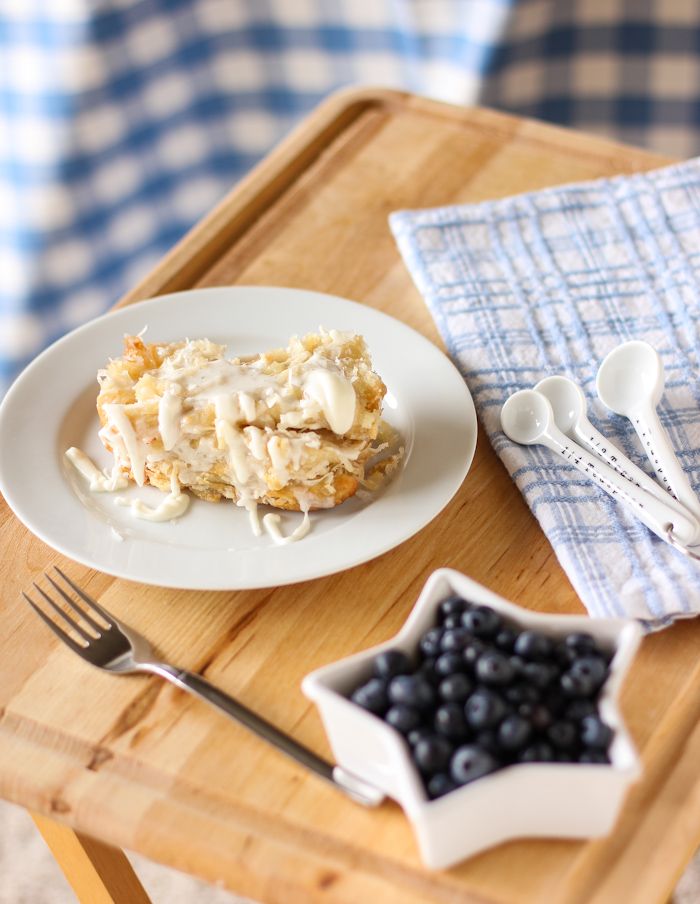
Make the Coconut Cream Glaze: Whisk together cream, powdered sugar, and extracts until smooth. Drizzle on warm loaves, reserving extra to serve on the side. Serve warm slices of loaf with berries of your choice.