I sometimes choose the middle booth at McAlister’s Deli (where I eat dinner way too often), forgetting that it’s the awkward seesaw booth. My seat is attached to the seat of the booth behind me but not secured to much else. As a result, a particularly large or particularly enthusiastic person sitting down behind me launches me into the air.
Today, two particularly enthusiastic little people danced a veritable waltz on the seat behind me. Every few seconds I would go awkwardly airborne. I felt like a passenger on a school bus with suspension problems driving through a speed bump factory. This made for an interesting work environment (I’m a workaholic; when I eat, I always work. And browse Facebook. Whatever.)
I was understandably annoyed. I’m not big on confrontation, however, and I knew they were just little girls, so I seethed quietly. Sometimes the vibration would stop for a few minutes only to start again with a vengeance: pounce-giggle, pounce-giggle, POUNCEPOUNCEPOUNCE-giggle. I crushed my napkin.
A few minutes after the table received their food, however, I heard two little girl voices chanting their prayers in sing-song voices: “God is great. God is good. Let us thank Him for our food….” My heart grew three sizes. I revised my past conclusions about these children (namely, that they were ill-behaved little trolls hell-bent on raising my blood pressure) and decided they were sweet and angelic.

And then: POUNCE-giggle, POUNCEPOUNCE-giggle. WHO RAISED THOSE LITTLE HELLIONS?!
The entire situation was a paradox and I found myself running hot and cold in rapid succession. Were these little girls sweet or annoying?
In this situation, it’s obvious to see the synthesis: they were both. They were sweet girls and they were being annoying. I didn’t have to make a choice whether to despise or love them. I could do a little of both.
I’ve noticed in other spheres of life — particularly ones that are high-stakes like politics, religion, and family issues — people are very reluctant to find the synthesis. Perhaps they feel that giving an inch towards some sort of compromise in position would undermine their personal views; on the contrary, I usually find the synthesis to be more realistic and commendable. It inspires credibility when one can divorce themselves from a dogmatic viewpoint and find common ground.
Perhaps in the gun control debate, we need to value personal freedoms and brainstorm ways to regulate guns more appropriately. Perhaps in the gay marriage debate, we need to be able to live by our personal belief systems and allow others to live by different ones. Maybe we need to keep class sizes down, pay teachers more, and find ways to save money in our school systems. Maybe your overbearing uncle needs to stop talking so much and you need to listen and engage more with his stories. Life is not one big football game. We don’t have to choose sides, paint our faces, and wear one of those morph suits; indeed, we might actually make progress by seeking common goals instead of screaming our polarized opinions louder and louder and LOUDER. This is something I would like Congress to revisit before any more financial stalemates occur. The more complex a problem is, the more important it is to get past partisan squabbles and get to the synthesis so creative problem solving can take place.
To qualify, the truth is not always in the synthesis. Sometimes a stand needs to be taken because one side is right and the other side is wrong. But since I’ve started looking for the synthesis of viewpoints, I personally find this happens very infrequently. Much more frequently, progress could be made on an issue if both sides would acknowledge that, uh, they’re both kinda right.
I’m one of those people who believe that things come across our paths for a reason. So if you’re reading this, maybe consider it a challenge. What’s an area of your life where you’ve been very firmly rooted to one side of an issue? Can you find a synthesis of viewpoints there?
* * *
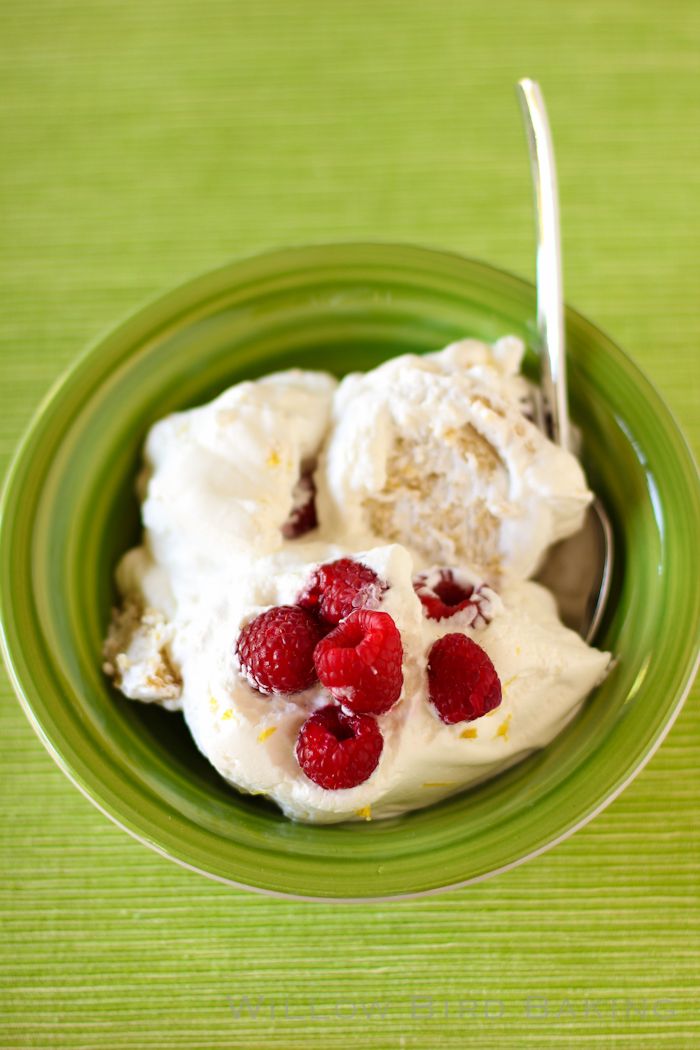
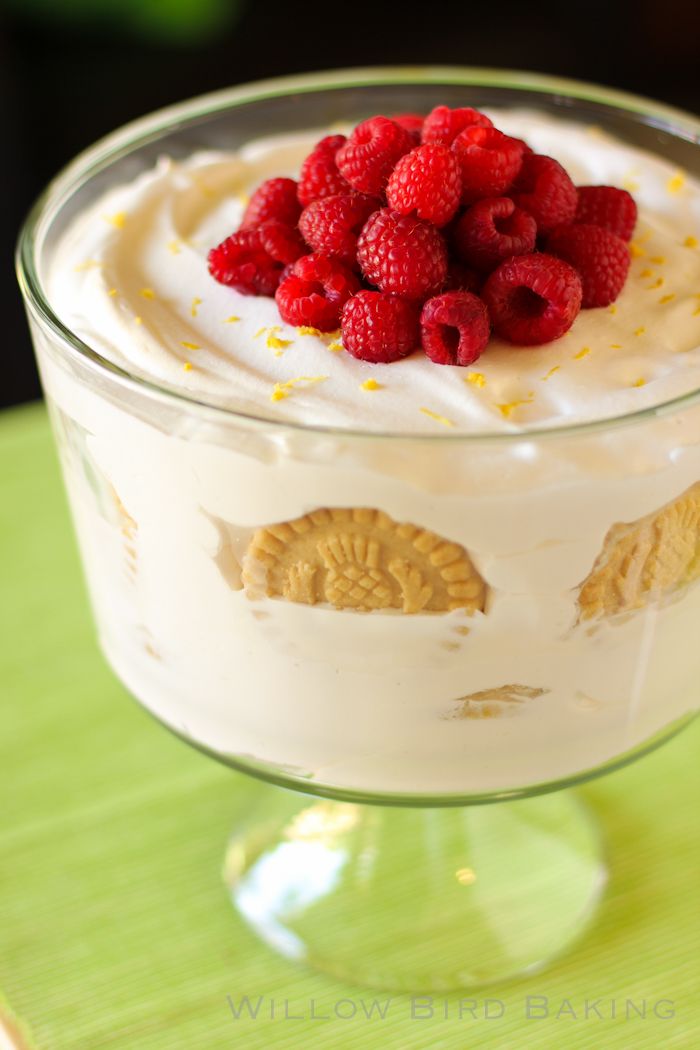
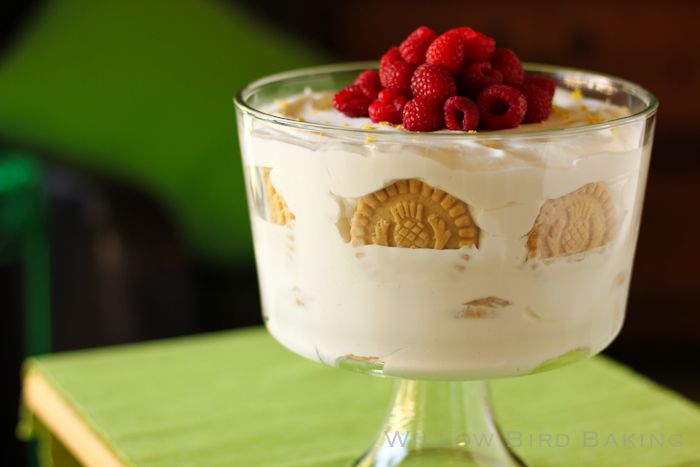
I’m thankful for those little girls, really, because they provided a moment to share something I’ve learned. Now it’s time to share something I’ve made — and I think you’ll love it as much as I did. I took your typical oreo icebox cake and swapped out the oreos for shortbread cookies, swapped out the whipped cream for limoncello-spiked whipped cream, and piled a ton of fresh raspberries on top. It was spring in a bowl — with an amazing little zing, subtle lemon flavor, and lots of brightness!
I also have to tell you about my shortbread experience. I honestly scoffed when I saw the price of a box of these Walkers shortbread cookies ($4.50 at my local store). That is not a price I pay for cookies. However, I got these babies home and took a bite and I seriously might go buy out the shelf. They are wonderful: just as buttery as fresh shortbread cookies and a nicer texture in some ways. They’re perfect for this cake. I immediately emailed the Walkers folks and told them I’d be mentioning them — so go show them some love on Facebook and tell ’em Willow Bird sent you. And buy a box of cookies. Or four.
One year ago: Sweet Orange Florentines
Two years ago: Itsy Bitsy Berry Cream Pies
Three years ago: Pulled Pork Sandwiches, Creamy Coleslaw, and Summer Bean Salsa
Limoncello-Spiked Shortbread Icebox Cake with Fresh Raspberries
Recipe by: Willow Bird Baking
Yield: 10 servings
Icebox cake traditionally layers oreo cookies and whipped cream. Upon chilling, the dessert turns into a velvety, indulgent masterpiece — with no cooking and no fuss. This version is updated for spring, using buttery Walker’s shortbread cookies, whipped cream spiked with limoncello, and a pile of fresh berries.
Ingredients:
6 tablespoons limocello
4 tablespoons sugar
1/2 teaspoon vanilla extract
1 teaspoon lemon juice
4 cups cream
4 (150 g) packages Walkers Shortbread rounds
fresh berries of your choice
lemon zest for topping (optional)
Directions:
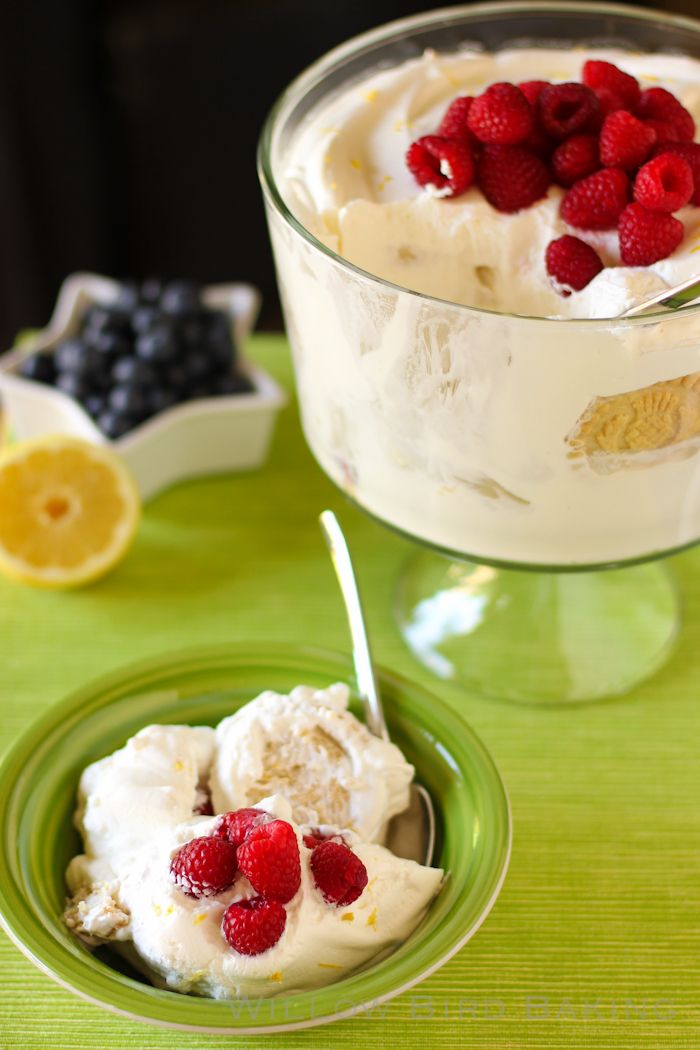
In a large, chilled bowl, combine limoncello, sugar, vanilla extract, lemon juice, and cream. Beat with chilled beaters to stiff peaks. Place a layer of shortbread rounds in a large trifle dish. Top with about an inch of cream. Continue layering, ending with cream. Cover and chill this overnight in fridge. Before serving, sprinkle lemon zest over the top and pile high with berries of your choice.