cherry

Cheerwine Hand Pies

Cheerwine Hand Pies
Cheerwine Hand Pies

Quick and Easy Cherry Cheesecake Pie Bites

This post is sponsored by Philadelphia Cream Cheese.

Quick and Easy Cherry Cheesecake Pie Bites

Cherry Icebox Birthday Cake

Cherry Icebox Birthday Cake

Cherry Icebox Birthday Cake


Recipe by: Willow Bird Baking
Yield: 4 servings

SO EASY, SO GOOD! I fashioned this cheery Cherry Icebox Birthday “Cake” in two 2-cup apothecary jars for a cute presentation, but if you don’t have a 2-cup vessel, you can always make it in one loaf pan lined with parchment paper and, after chilling overnight, turn it out on a platter. Grab yourself a bag of the new birthday cake Oreos and enjoy!

Ingredients:
2 cups heavy whipping cream, chilled
7 tablespoons powdered sugar
2 tablespoons Kirsch (cherry flavored liqueur)*
1/2 teaspoon vanilla extract
1 package birthday cake Oreos
maraschino cherries
sprinkles (optional)
*If you don’t have any Kirsch or don’t want to use it, try subbing in 1 tablespoon maraschino cherry juice. I haven’t tried it, but I bet it’d be good.

Directions:
Whip the cream, powdered sugar, Kirsch, and vanilla extract together in a chilled bowl to stiff peaks. In two, 2-cup glasses or in one loaf pan lined with parchment paper, layer birthday cake Oreos and cherry whipped cream, starting with Oreos and ending with cream. If you want to get fancy, you could include a maraschino cherry layer! Cover and refrigerate overnight. When ready to serve, top with sprinkles and maraschino cherries!

Birthday Cake Cheesecake

At 26-going-on-27, I’ve grown to love birthdays that feel like deep crow-footed, cheek-hurting smiles, that sound like clanging dishes and brassy laughter.

On birthdays, I need my family. We need a table to sit around to hold our leaning elbows. We need food, we need each other, but that’s all.

For children, though, birthdays have to involve some sort of event. Kids want to scarf down plasticky pizza, be mildly terrorized by an oversized animatronic mouse playing a banjo, and wallow in a germy ball pit. Or they want to light tiki torches, drink pineapple punch, and marco polo around a swimming pool until their fingers are wrinkly.

When I was little, my mom convinced me that I wanted to throw a cross-stitching birthday party.

Naturally, the most direct avenue to popularity among your elementary school friends is to invite them to something called a “party” and proceed to introduce them to the pastime of 70-year-old ladies everywhere.

When my birthday rolled around, my unsuspecting friends gathered around the coffee table and listened intently to the plan. Our goal was to pick a pattern and each cross-stitch a bookmark before cake and gifts. We dutifully chose the our favorite design, fussed with threading our needles, and got to work.

Well, turns out cross-stitching requires quite a bit of time. And, like, patience and stuff. Things that are in short supply for kids at birthday parties.

My friends faded fast. Soon we were stuffing our faces with cake, our half-finished bookmarks languishing in the needle-and-thread strewn living room.

Oh well. As long as there’s cake, right?

In that spirit, boy do I have a cake for you. This particular cake is an explosion of birthdayness. A “Funfetti” cheesecake on a vanilla wafer crust is topped with a layer of Funfetti cake, a layer of cake batter cookie dough, chocolate sauce, whipped cream, and a cherry. Every layer contributes a little bit of birthday joy. The final product is scrumptious and outrageously festive.

I have more ridiculous birthday stories from when I was a child, because apparently it was impossible for me to have a normal, uneventful birthday party. But I’ll spread the love and save those for later. In the meantime, have some cake.

Describe one of your favorite (or least favorite) childhood birthday memories.

Birthday Cake Cheesecake


Recipe by: Willow Bird Baking, with chocolate sauce adapted from Bakers Royale
Yield: 24 mini cheesecakes or 1 full-sized cheesecake

Crust Ingredients:
45 vanilla wafers, finely processed into crumbs
5 tablespoons unsalted butter, melted and cooled
Small pinch of salt

Cheesecake Ingredients:
2 (8 oz.) packages cream cheese, at room temperature
2/3 cup sugar
1 tablespoons all-purpose flour
1 tablespoon cake mix
1 1/2 teaspoons vanilla extract
2 large eggs
1 tablespoon sprinkles
1 Funfetti cake mix (or homemade yellow cake with sprinkles mixed in), prepared and baked in thin layers
melted chocolate (for topping)
whipped cream (for topping)
maraschino cherries (for topping)

Cake Batter Cookie Dough Ingredients:
1 1/2 cups all-purpose flour
2/3 cup yellow cake mix
1/4 teaspoon salt
1/2 cup unsalted butter, room temperature
1/2 cup granulated white sugar
1 teaspoon pure vanilla extract
2 tablespoons sprinkles
4-8 tablespoons water

Chocolate Pouring Sauce:
2/3 cups dark chocolate
2 tablespoons heavy cream
4 tablespoons powdered sugar, sifted
4-5 tablespoons water, warm

Directions:
Note on Scheduling: This is a great recipe to make over the course of a few days. You can make the Funfetti cake one day and freeze it, make the cookie dough disc another day and freeze it, make the cheesecake one day and refrigerate it, and then make your chocolate pouring sauce and assemble on the day you’ll serve the dessert.

Prepare your Funfetti cake: Mix and bake in 9-inch round cake pans according to box instructions and set aside to cool. Make one of these a pretty thin layer of cake — this will be the one you use on your cheesecake (be careful; a thinner layer will bake for less time). The other layer is extra; I tore mine up and froze it for future cake balls. After cooling, freeze your cake layer — it’s easier to work with when frozen.

Prepare your cheesecake: To make the cheesecake crust, preheat the oven to 350 degrees F. Butter two mini or one full-sized cheesecake pan. Combine the cookie crumbs, melted butter and salt in a small bowl. Toss with a fork to moisten all of the crumbs. Press into a thin layer covering the bottom of your cheesecake pan(s).

In the bowl of an electric mixer fitted with the paddle attachment, beat the cream cheese and sugar on medium-high speed until well blended. Beat in the flour and cake mix. Add in the vanilla and beat until well incorporated, scraping down the sides of the bowl as needed. Beat in the eggs one at a time, scraping down the bowl between each addition. Pour the filling into your cheesecake pan(s), leaving room for a cake and cookie dough layer on top of your cheesecake.

Bake until the top is lightly browned, puffed and cracked at the edges, and the center moves only very slightly when the pan is lightly shaken (about 40 minutes for a full-sized cheesecake or 12-15 minutes for mini cheesecakes). Transfer to a wire cooling rack. Cool at room temperature for at least 30 minutes. Transfer to the refrigerator and let cool at least 1 hour, until completely chilled and set.

Make the cookie dough: In a medium bowl, cream together butter and sugar for 2-3 minutes until light, fluffy, and pale yellow. Mix in salt, flour, cake mix, sprinkles, and vanilla. Add water one tablespoon at a time, mixing after each, until you reach cookie dough consistency. If making a full-sized cheesecake, line a 9-inch cake pan with plastic wrap and spread cookie dough in a disc in the pan. Freeze it until firm, about 15 minutes. If making mini cheesecakes, just chill the cookie dough until you’re ready to assemble your cakes.

Make the chocolate pouring sauce: Heat chocolate and cream together in a bowl set over simmering water. Let them sit for a few minutes before whisking them together to combine. Whisk in powdered sugar and then add 1 tablespoon of water at a time, mixing after each until you reach pouring consistency. Set the sauce aside and let it cool to warm.

Assemble the cheesecakes: If you’re making mini cheesecakes, use a round cookie cutter or a serrated knife to cut circles of Funfetti cake to fit on each mini cheesecake. Spread a little chocolate sauce on the top of each mini cheesecake before placing a cake round on each and gently pressing them down snugly. If you’re making a full-sized cheesecake, spread chocolate sauce over your cheesecake and just place full frozen cake layer on top and gently press down.

If making mini cheesecakes, spread cookie dough into the top of each well with the back of a spoon. If making a full-sized cheesecake, spread another thin layer of chocolate sauce on top of the cake layer to act as glue, and then take your frozen cookie dough disc and place it on top. Chill cheesecake(s) for about 30 minutes before gently unmolding them. Drizzle with melted chocolate and top with a dollop of whipped cream, sprinkles, and a maraschino cherry.

If you liked this post, please:
Subscribe to Willow Bird Baking
Follow Willow Bird Baking on Twitter
Follow Willow Bird Baking on Facebook
Give this post a thumbs up on StumbleUpon


ShareOther ways to share this post with friends!

48 Homemade Breakfast Cereals

I like variety. Sure, sometimes during the week I can get on a kick and eat the same thing every night for dinner (hellooo, lima beans, I’m lookin’ at you), but I also really appreciate mixing it up every now and then.

That’s why a few months ago when I decided I wanted some breakfast cereal, I went to the store and bought about 8 different boxes of the stuff. Each morning needed to have its own flavor — as long as the nutrition facts were acceptable. What? Don’t look at me like that. Sure, I may be the same girl who posted the Coffee Cookie Dough Fudge Cheesecake, but I do try to eat reasonably during the week!

The store-bought cereal was okay. At least, I thought it was okay at the time. But then something happened — I had one of those thunderous BIG IDEAS.

It all started when I was perusing one of my favorite blogs, Not So Humble Pie, and saw her (you’re not going to believe it) S’mores Candy Bar. I know. Insane.

The premise of her post was that she didn’t understand the excitement over this new company that makes customizable candy bars, since it’s so easy to make them at home. Having been excited about the customizable candy bar company, I felt admonished. And inspired.

Because even more than I had been excited about customizable candy bars, I was excited about customizable cereal. There’s this company on the web (I won’t link to them, since I’m about to tell you it’s silly to pay for their product) that allows you to choose all the ingredients you want in your own personal box of cereal — and even lets you pick a name for your new creation! Too fun!

BUT. I realized when I read Mrs. Humble’s candy bar post that it didn’t make any sense to pay for one kind of customized cereal (that was just like going to the grocery store), or even for eight kinds of customized cereal . . . what would really make sense is to make your own fully customizable cereal buffet — one that would allow you to have a different flavor every day if you wanted to!

A dream was born. I scrounged up recipes for homemade granola and nutty bran flakes (I’ll gush about these in a minute). And as if to emphasize that making homemade cereal was indeed my destiny, the folks at Oh! Nuts emailed to ask if I’d like to review some of their products. Uh, YES, NUT PEOPLE, YOU READ MY MIND. Pounds of nuts and dried fruits later, I was in the cereal-makin’ biz.

If you’re about to post a comment calling me a hippie for making my own bran flakes, hold it right there. This recipe is super easy, super cool, and super rewarding. You feel like a superhero (who makes their own cereal?! I MAKE MY OWN CEREAL! I AM CEREAL WOMAN!), you know exactly what healthy ingredients went into said cereal, and — this is the best part — you have bran flakes that don’t taste like a cardboard box. Every time I opened the jar they were stored in, I got a whiff of delicious nuttiness. They had texture! They had taste! Yes!

The granola is the flavor that really carries the cereal, though. I chose a Double Coconut Granola from Opera Girl Cooks that I’d heard a ton about. Once it cooled, it lived up to the hype — buttery, slightly sweet, coconutty, with a hint of salt to really amp it up.

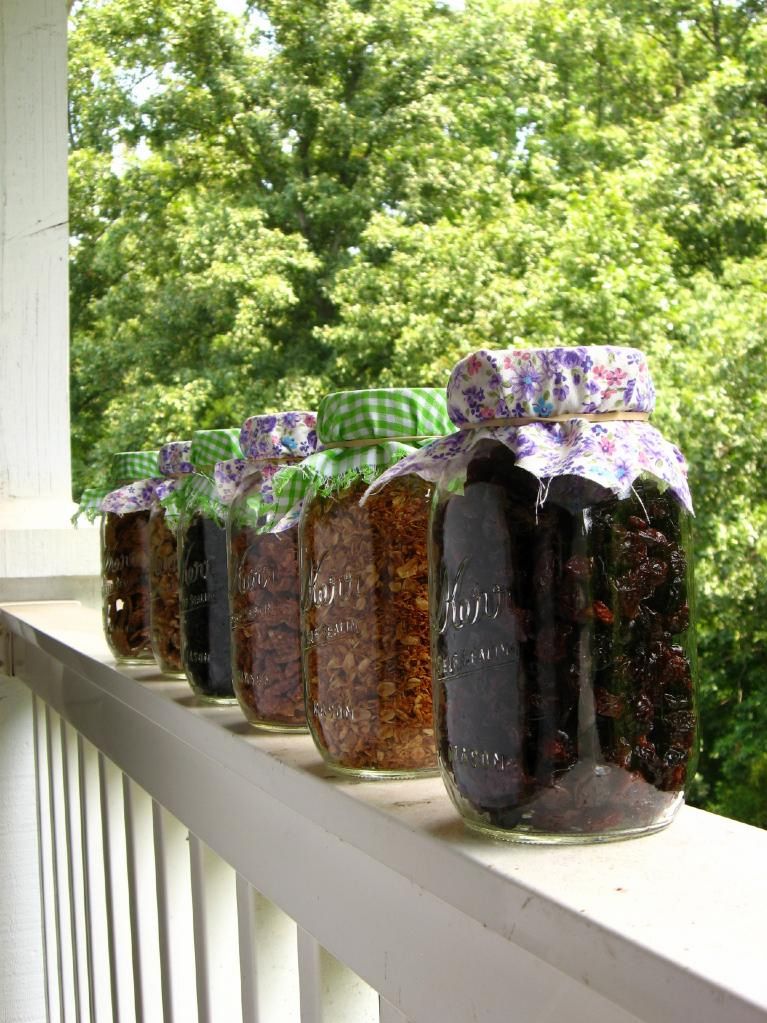
Once you’ve made some flakes and granola, the fun starts. Possible add-ins are endless: dried fruits, fresh fruits, toasted nuts (do make sure to toast them — MUCH more flavor), seeds, chocolate chips, peanut butter or cinnamon chips, candy, marshmallows . . . be creative! Add a little, add a lot.

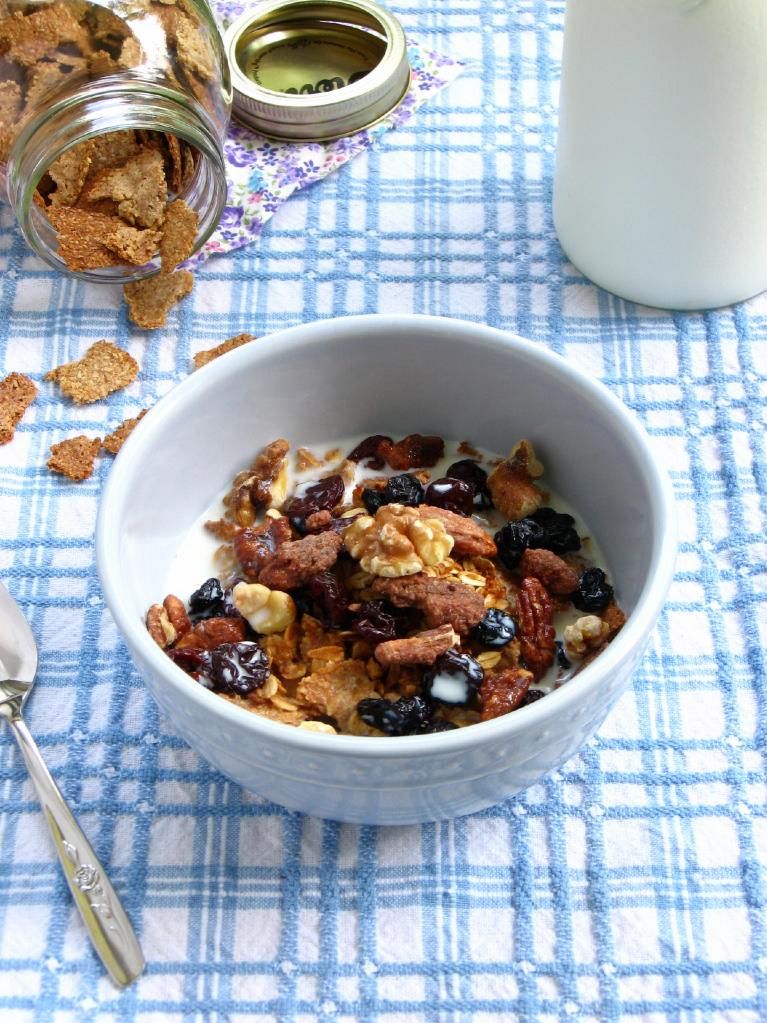
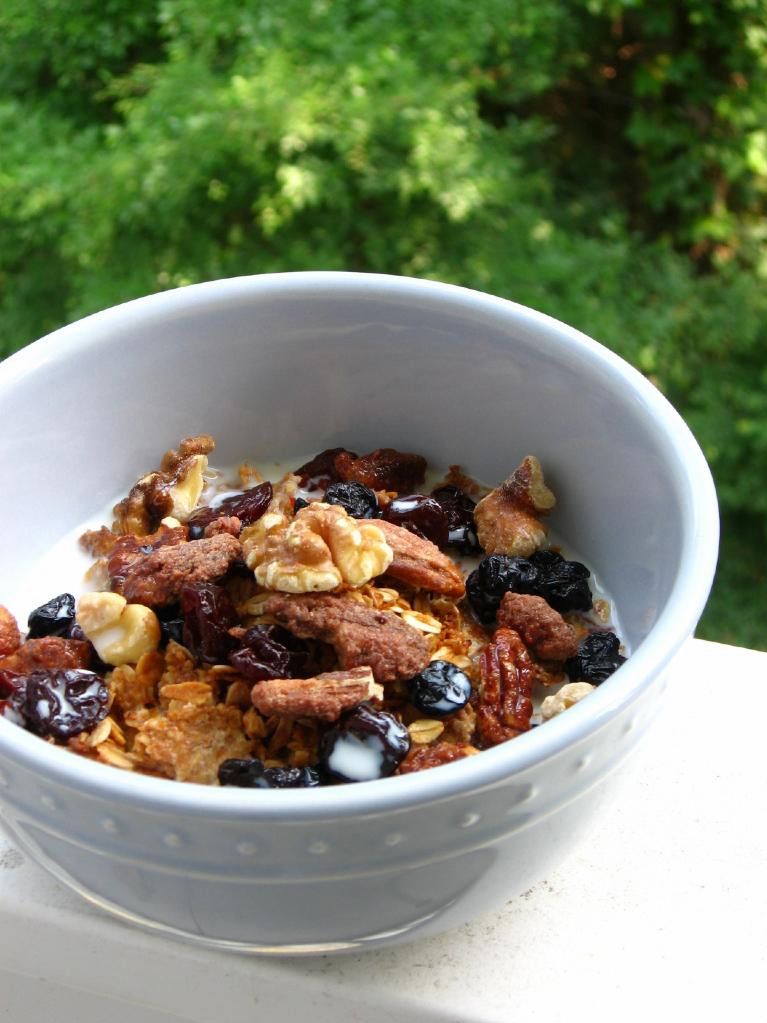
My favorite bowl was a straight-up combination of all my options: bran flakes, double coconut granola, dried cherries, dried blueberries, cinnamon pecans, and toasted walnuts. If you have just 2 dried fruits and two nut options along with your flakes and granola, you’ll have 48 possible breakfast cereal varieties — that’s a lot of options!

The Oh! Nuts products were a success in terms of taste — the blueberries had a pronounced, wonderful blueberry flavor, and the cinnamon pecans were so addictive that I almost ate my stash before I got my cereal made! The sour cherries did have an odd, slightly fishy flavor (I know, weird), but I still enjoyed eating them. Maybe a flavor compound of the cherries came out that isn’t as pronounced when they’re not dried?

To be honest, including the price of shipping, I probably wouldn’t spend the extra money to buy regular nuts or fruit from Oh! Nuts, but would just head to the grocery store. That being said, for specialty items or rare nuts/fruits/candies, they’re the place to go. The selection is huge, and the products are high quality.

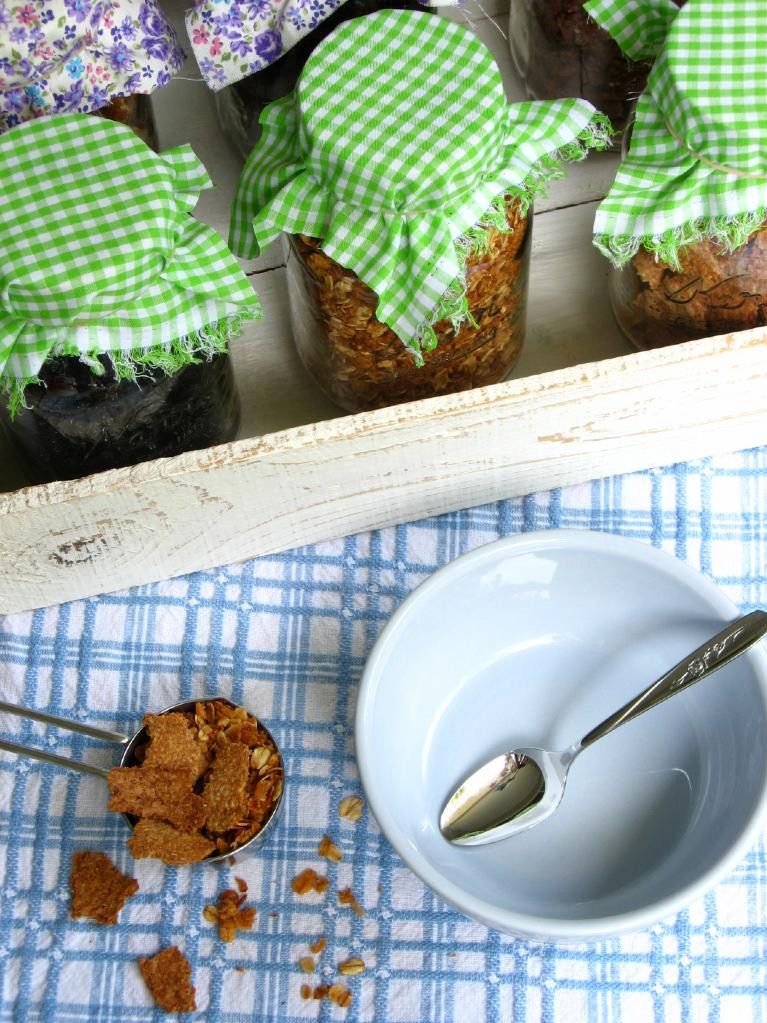
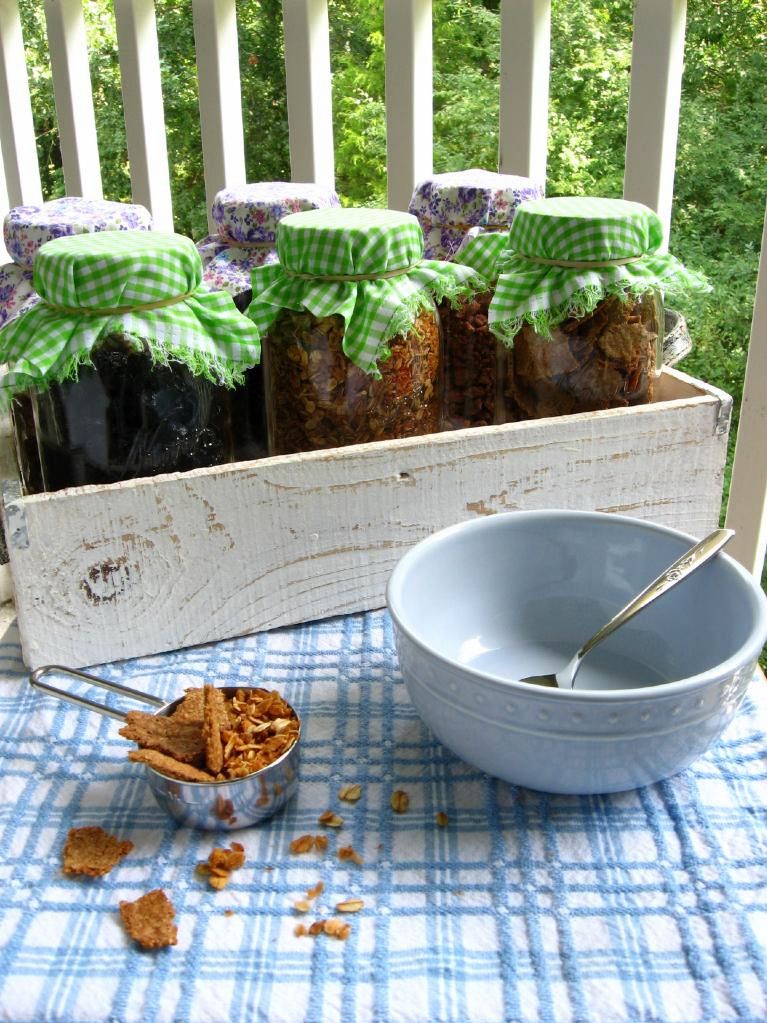
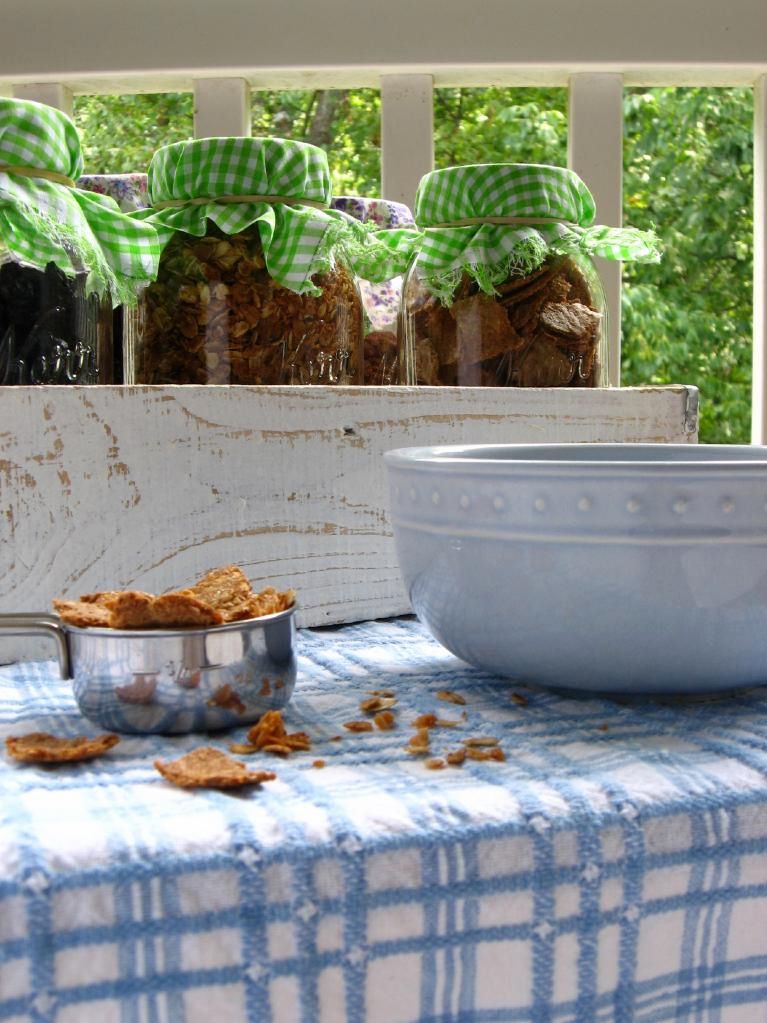
If you, like me, love a big ol’ bowl of hearty, nutty, earthy, crunchy, chewy, flavorful, delicious breakfast cereal — and one that can change with whatever mood you’re in — I hope you’ll make your own personal cereal buffet! Or perhaps fix a cereal buffet in pretty jars as a gift for a friend. Even better, have a breakfast party: set up a cereal buffet for family and friends where each person can make their own cereal combination, perhaps supplemented with juice and muffins on the side. Have fun!

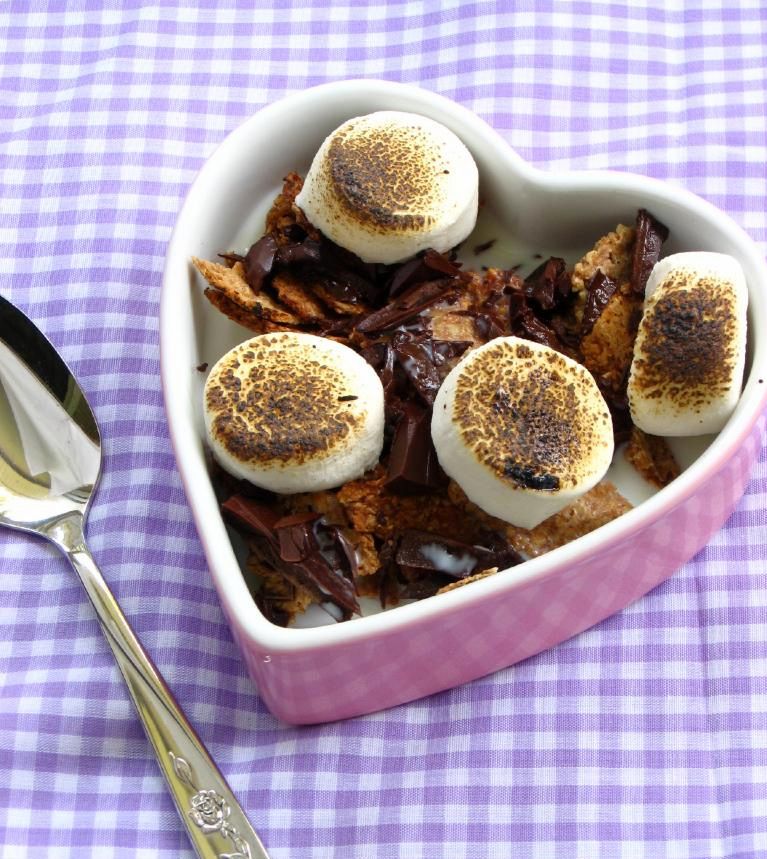
Oh, by the way, I did have to branch out a little in homage to my original inspiration. How about some S’mores Cereal?

Below you’ll find the recipes for granola and nutty bran flakes. I even included nutritional info so you can make healthy breakfast choices! Round up some of your favorite add-ins and place all the components in separate jars for storage. Enjoy!

5 from 1 reviews
Homemade Nutty Bran Flakes
 
Prep time
Cook time
Total time
 
These flakes are SO MUCH BETTER than the stale boxed kind, you'll be amazed. The only downside is that this recipe uses two full baking sheets and only makes 3-4 bowls of cereal. If you have the stamina for an all-day baking project, I'd grab out all your baking sheets and make a day of it, doubling or tripling the recipe. They really are delicious!
Author:
Serves: 3-4
Ingredients
  • 1/2 cup bran
  • 1/2 cup whole wheat flour
  • 1/3 cup almond flour (or other finely ground nuts)
  • 2 tablespoons sugar
  • 1/4 teaspoon baking powder
  • 1/4 teaspoon salt
  • 1/3 cup milk
  • 1/4 cup water
Instructions
  1. Preheat oven to 350 degrees. Sift all dry ingredients into a large mixing bowl and add milk and water. Stir to mix well. The resulting mixture will be a very wet “dough” (so wet, you can hardly call it a dough). Cut two sheets of parchment paper to fit two baking sheets, and set one sheet of parchment paper on the counter where you’ll be rolling — you won’t be able to transfer it without this!
  2. Glop half of the “dough” out onto the sheet of parchment paper and flatten it by hand. Place a piece of plastic wrap over the dough and “roll” it out (your rolling pin will almost just be smooshing it out into place) EXTREMELY THIN, almost transparent in some places. It will look like a giant bran flake — super fun!
  3. Remove the plastic wrap and transfer the parchment carefully to a baking sheet. Cook for 10 minutes, but check often after just 5, because such a thin dough can easily burn. You’re looking for a thin, leathery cracker that is crunchy at the edges. When it’s done, remove it and allow it to cool completely. While it cools, repeat the process with the other half of the dough.
  4. After both giant bran flakes have finished their first bake, reduce the oven temperature to 275 degrees. Tear the first, cooled bran flake into regular bran flake-sized pieces (about 3/4 of an inch), spreading them out on the parchment-covered baking sheet.
  5. Bake at the reduced temperature for 20 minutes, flipping and stirring the flakes around every 5 minutes. Repeat process with the second cooled, giant bran flake. Then allow all bran flakes to cool completely. Store well in a sealed container for up to two weeks.


Now that I’ve shared my favorites with you, I’m anxious to know: What sort of breakfast cereal would you make for yourself? Piña colada cereal with toasted coconut and dried pineapple? Cherry crumble cereal with dried cherries and cinnamon granola? A luscious combo of dates, coconut, and chocolate chips?

5 from 1 reviews
Double Coconut Granola
 
Prep time
Cook time
Total time
 
An absolutely delicious granola to supplement your bran flakes. Again, don't be shy about doubling this recipe!
Author:
Serves: 6
Ingredients
  • 3 cups rolled oats
  • 1 scant cup unsweetened shredded coconut
  • 1/4 cup clover honey
  • 1/6 cup virgin coconut oil (half of a 1/3 cup measure)
  • 1 tablespoon vanilla extract (I used almond because I was out of vanilla)
  • 1 teaspoon kosher salt
  • optional: I toasted another 1/2 cup of sweetened shredded coconut to add in for sweetness, but that was before I’d tasted the cooled batch. It’s probably unnecessary.
Instructions
  1. Heat oven to 300 degrees F. Combine oats and shredded coconut in a large bowl. In a small saucepan over medium heat, cook honey, coconut oil, vanilla, and salt until just simmering.
  2. Pour honey mixture over the oat mixture, stirring well with a wooden spoon until fully combined. Spread this mixture out over a large sheet pan, place in oven, and bake for 10 minutes before stirring the granola. Repeat 10 minute baking time, followed by stirring, until granola is well-toasted (takes about 4 cycles, or about 40 minutes).
  3. Cool the granola on the baking sheet, stirring occasionally. When cooled, you can store granola in an airtight container in the refrigerator for a few weeks, or at room temperature for two.


Other delicious breakfast ideas floating around the internet right now: Beer Waffles with Cinnamon Cardamom Apples, S’mores Oatmeal, Oatmeal Pancakes, Pecan Sticky Buns, and of course, from yours truly, Carrot Cake Waffles.

Note: I received the above mentioned products from Oh! Nuts free of charge to create these recipes.


1 2