
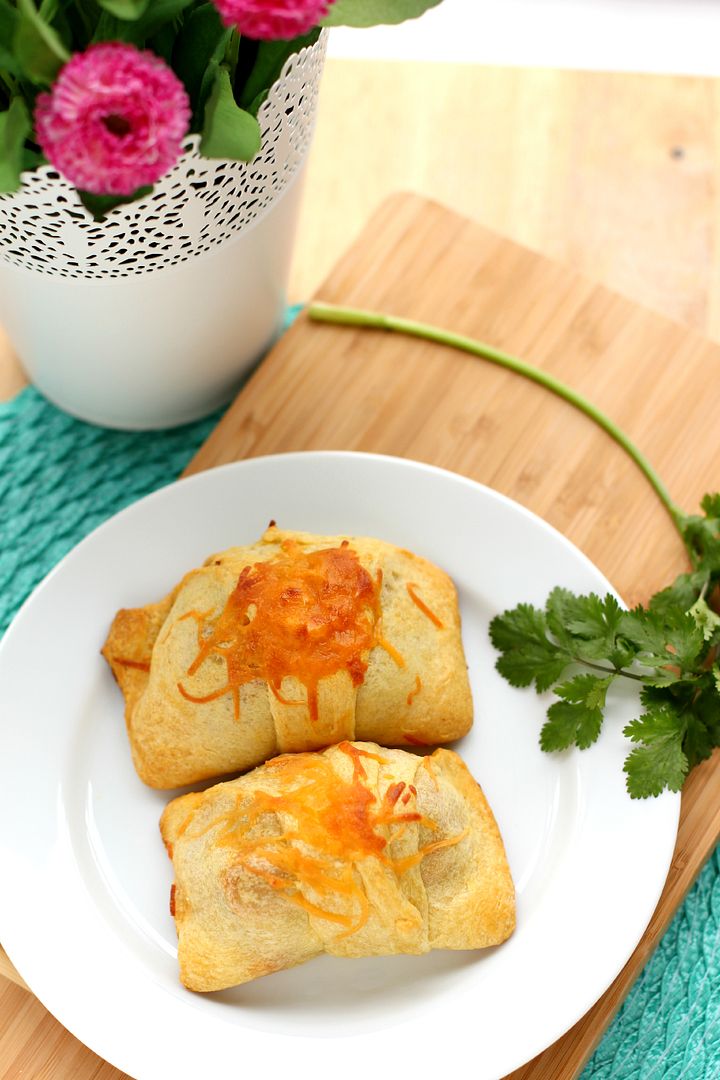
Sausage & Corn Chile Con Queso Taco Ring
To Whom It May Concern: I’d like to submit my application to the superhero club. The superheroes we have now are all pretty unrealistic, in my opinion, and I think the world needs a superhero it can relate to. If accepted, I’d like to be kind of like Wonder Woman. But with pants, please.
Qualification #1: This past week I woke up at 5:15 in the morning not once but twice to make it to the 6 a.m. cycle class at my gym. I pedaled my heart out for 45 minutes and actually increased the resistance on my bike every time the instructor told us to. Mostly.

After class, I went through the awkward and delicate ritual of Showering At the Gym. This includes various trials such as the Don’t-Let-the-Towel-Drop dance as you apply lotion, the Am-I-Going-to-Get-MRSA shimmy as you try to shower without touching any surface, and finally, the Lug-All-My-Toiletries-Back-to-My-Car shuffle.
Certainly cinching my admittance into the superhero club is the fact that after these shenanigans, I actually made it to work on time.
Qualification #2: I made dinner three nights in a row this week despite working a more-than-full-time job. Night 2 was kind of lame, but nights 1 and 3 were awesome enough to make up for it.
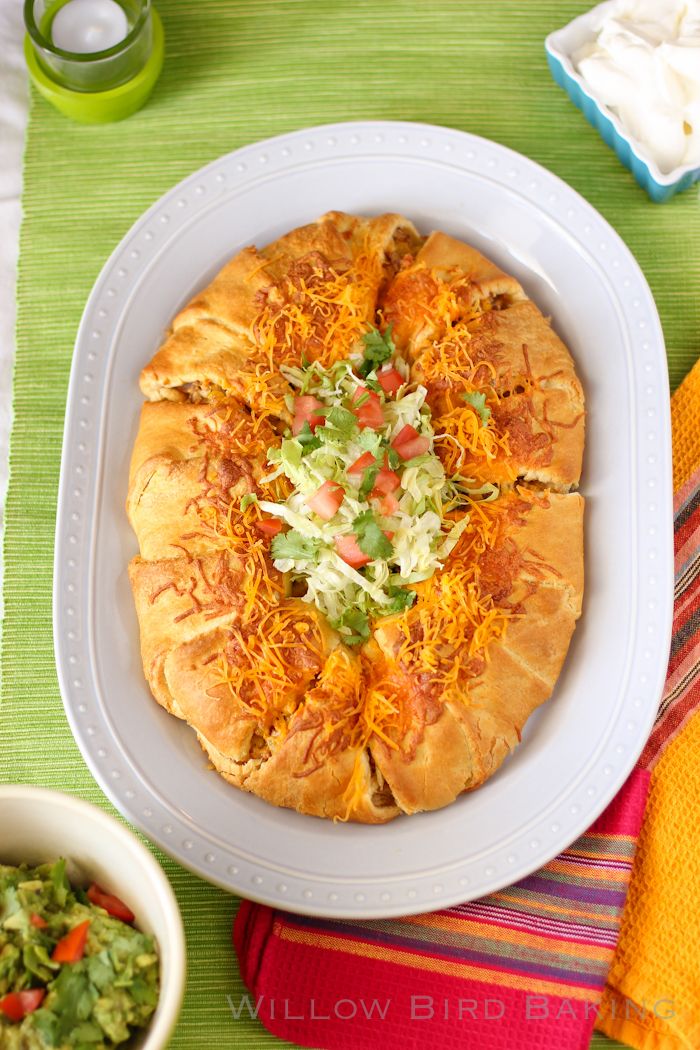
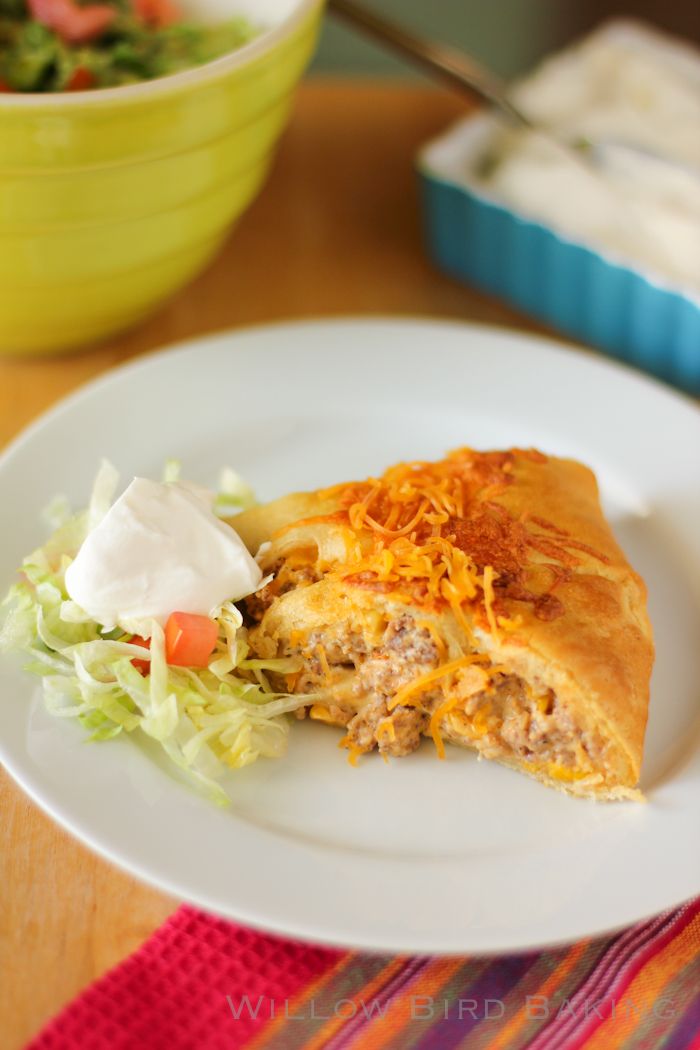
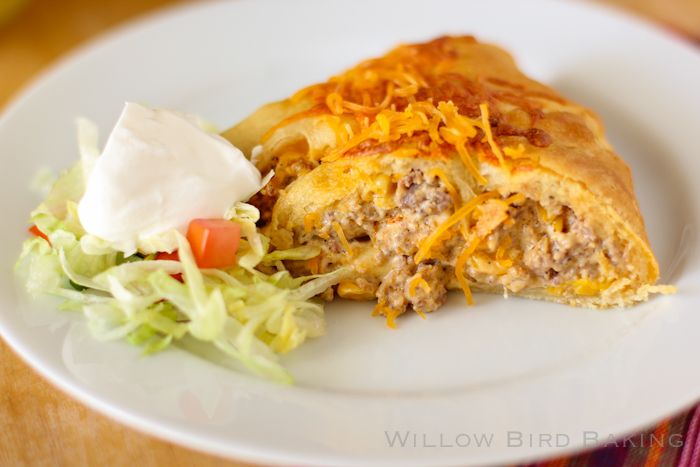
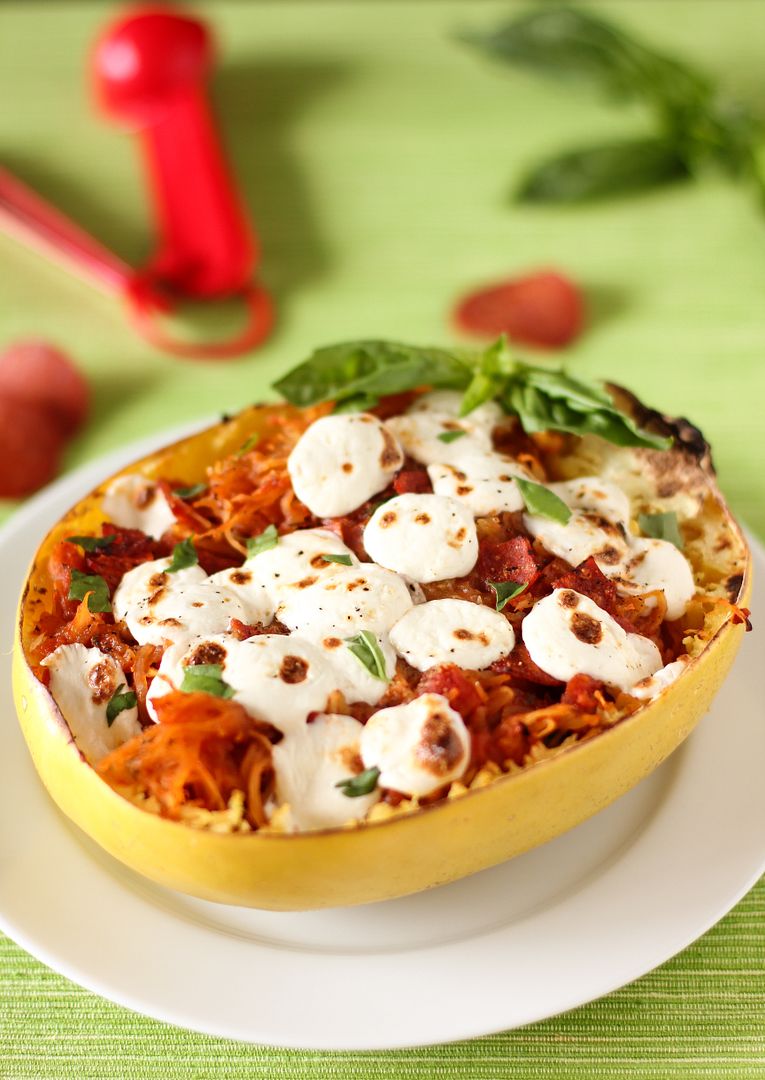
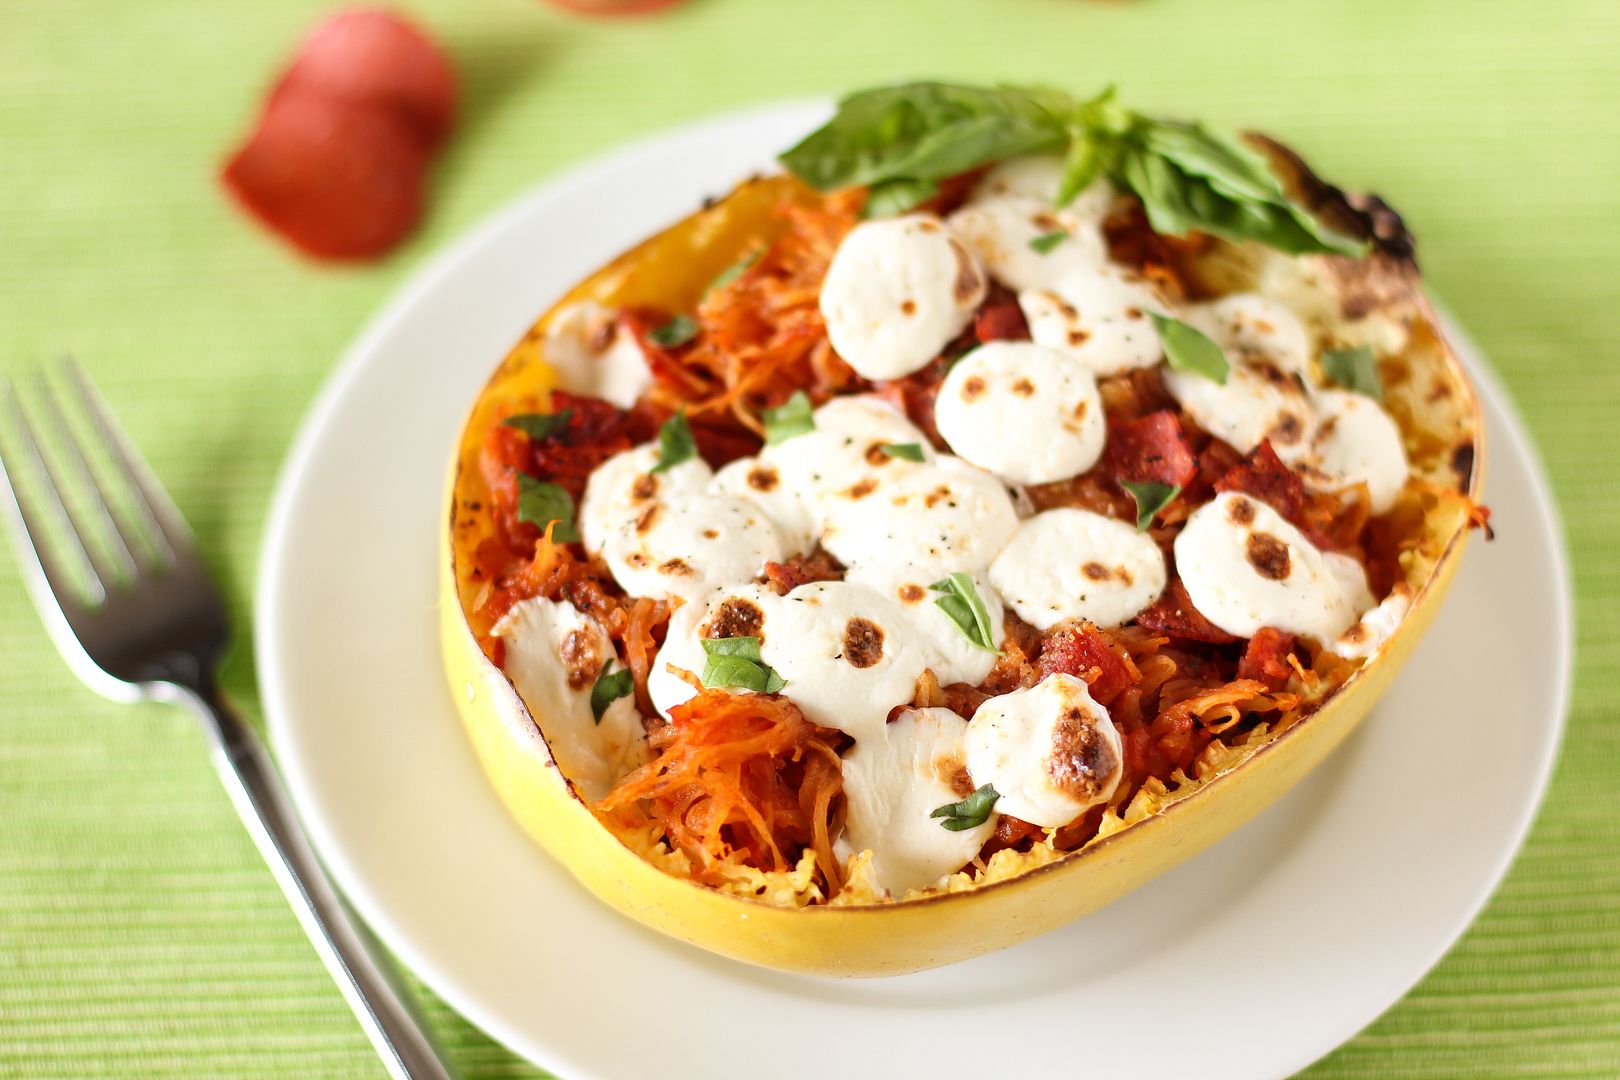
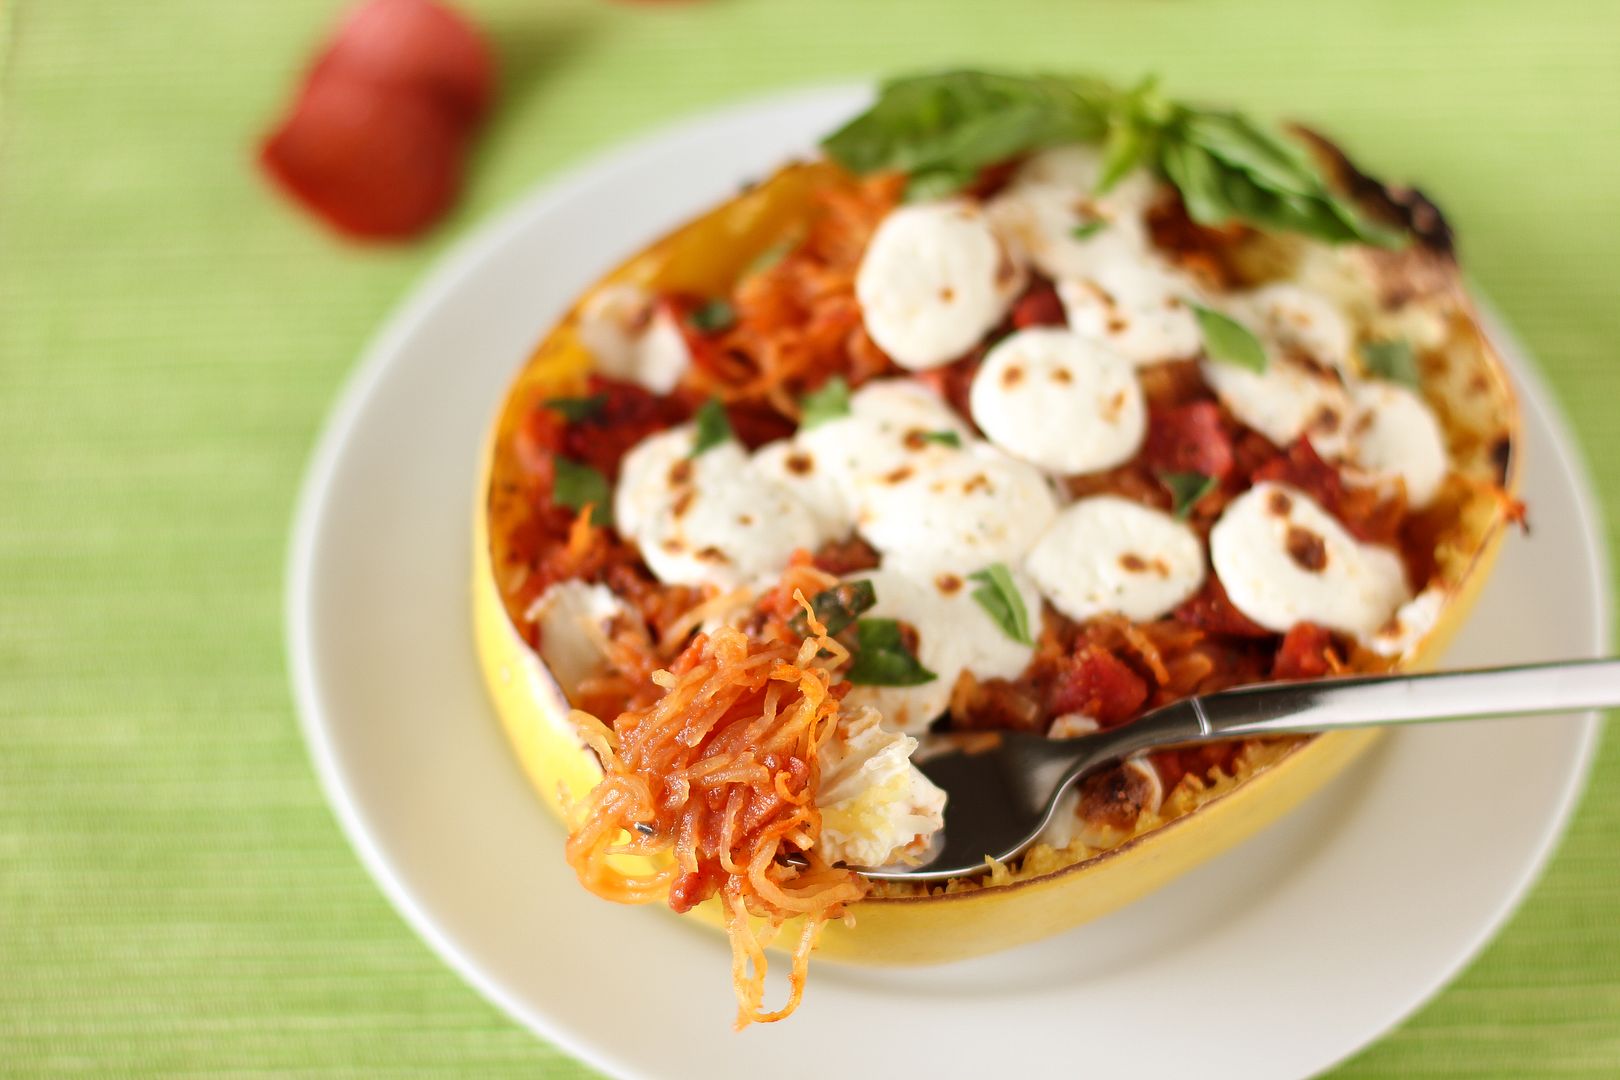
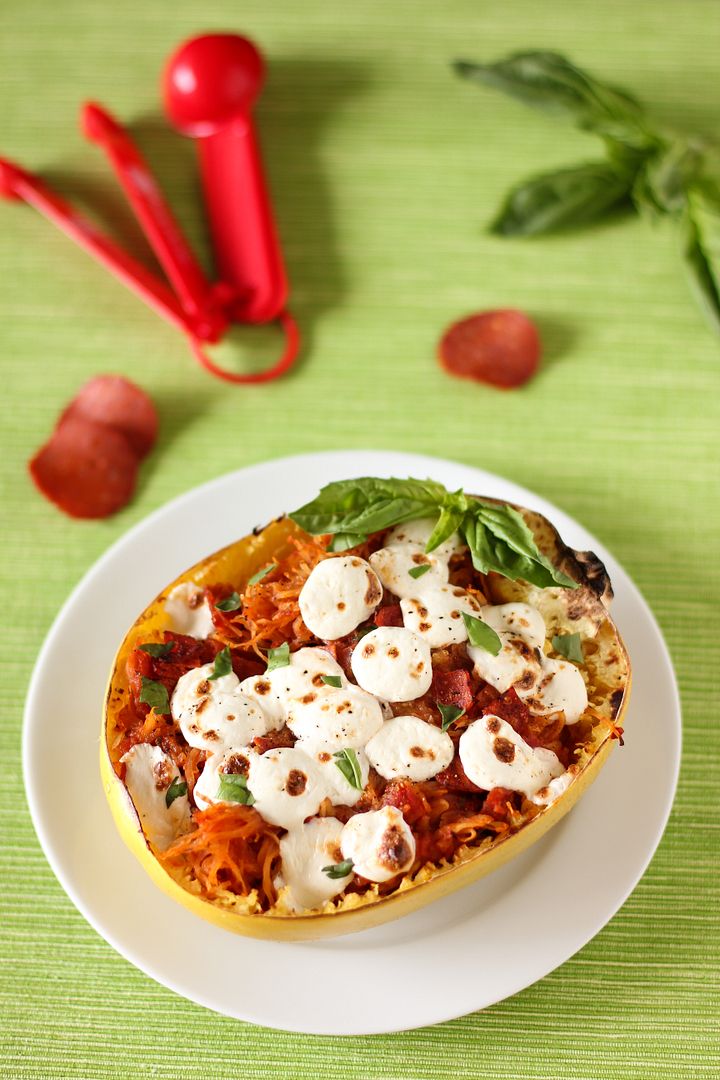
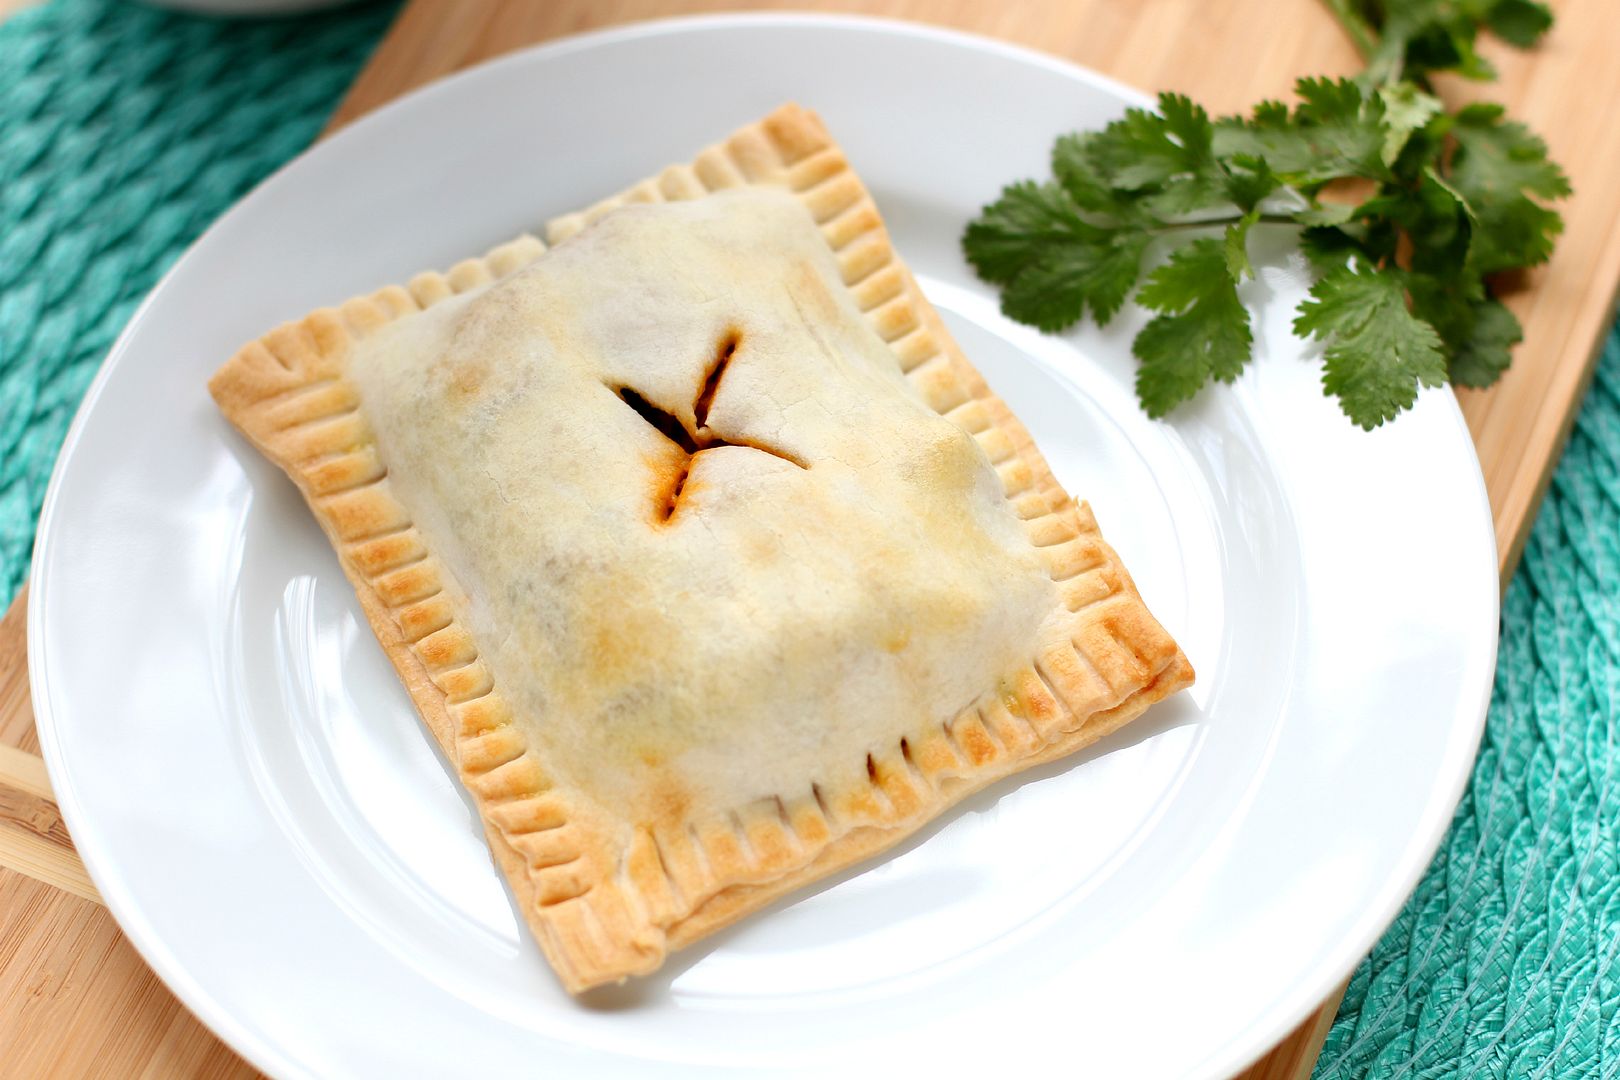
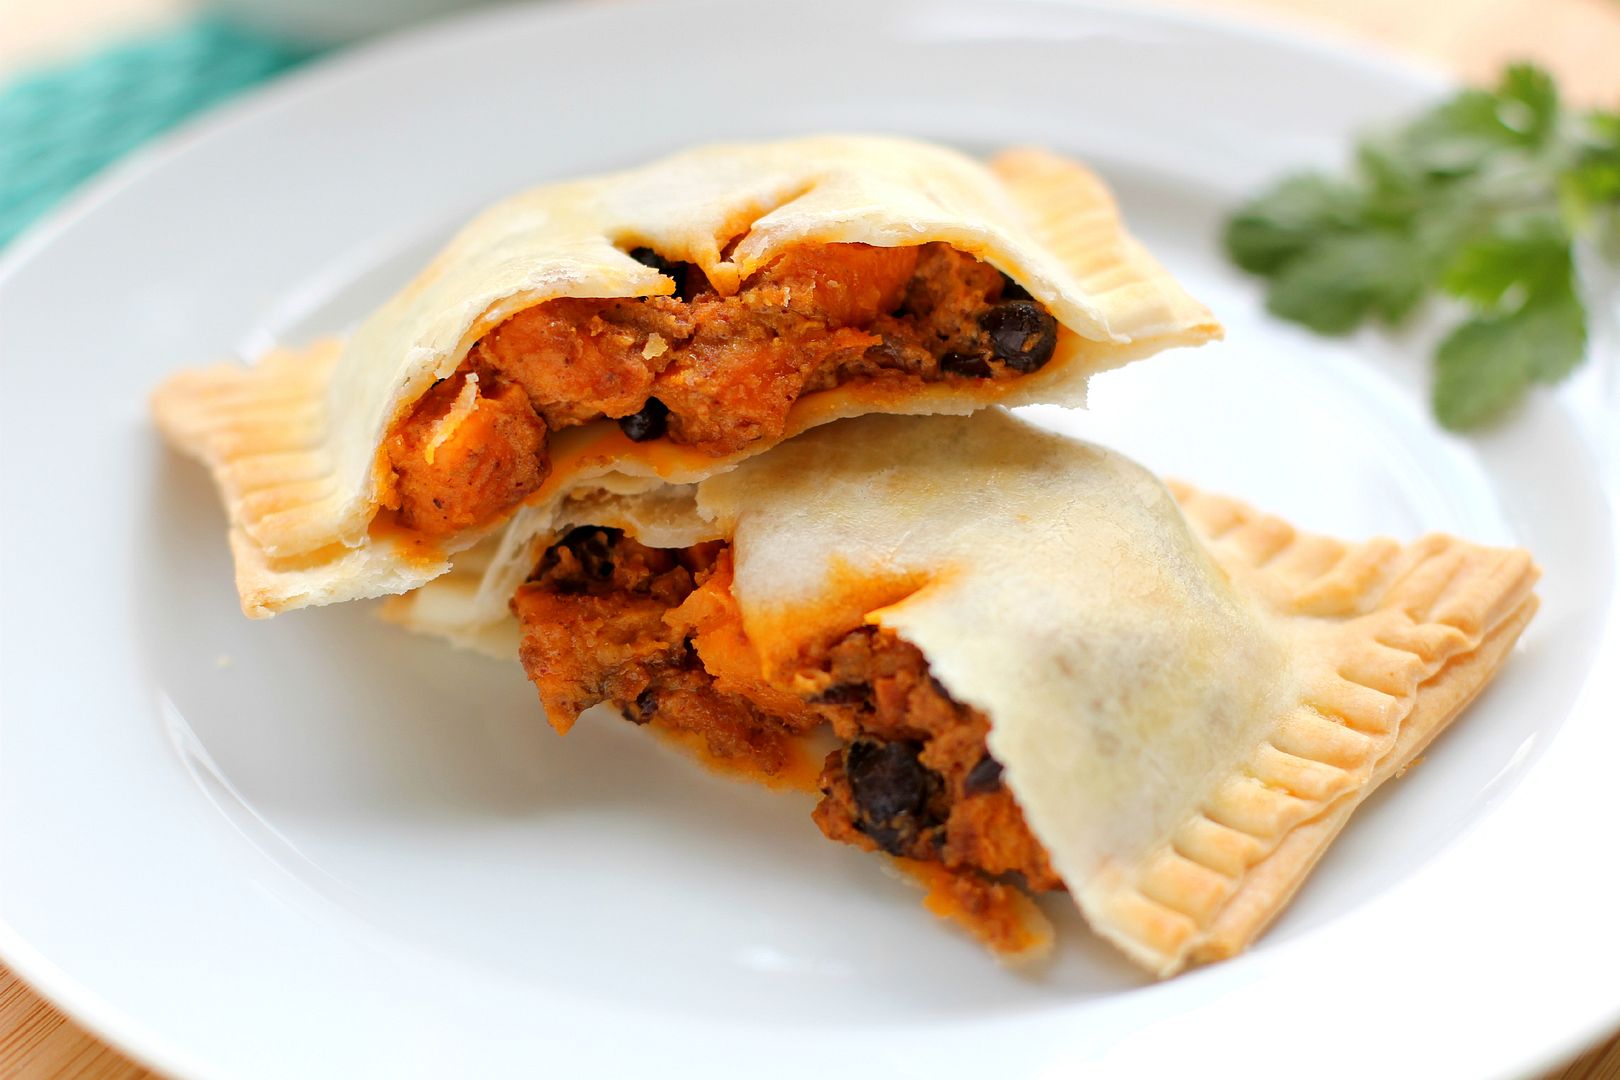
This Sausage & Corn Chile Con Queso Taco Ring was night 3’s dinner, and Whoever It Concerns, I have to tell you that this was one of the best things I’ve ever eaten. It trumps all regular tacos and taco rings, and even my Taco Stuffed Crescent Rolls, which is really saying something. Because those things are nuts.
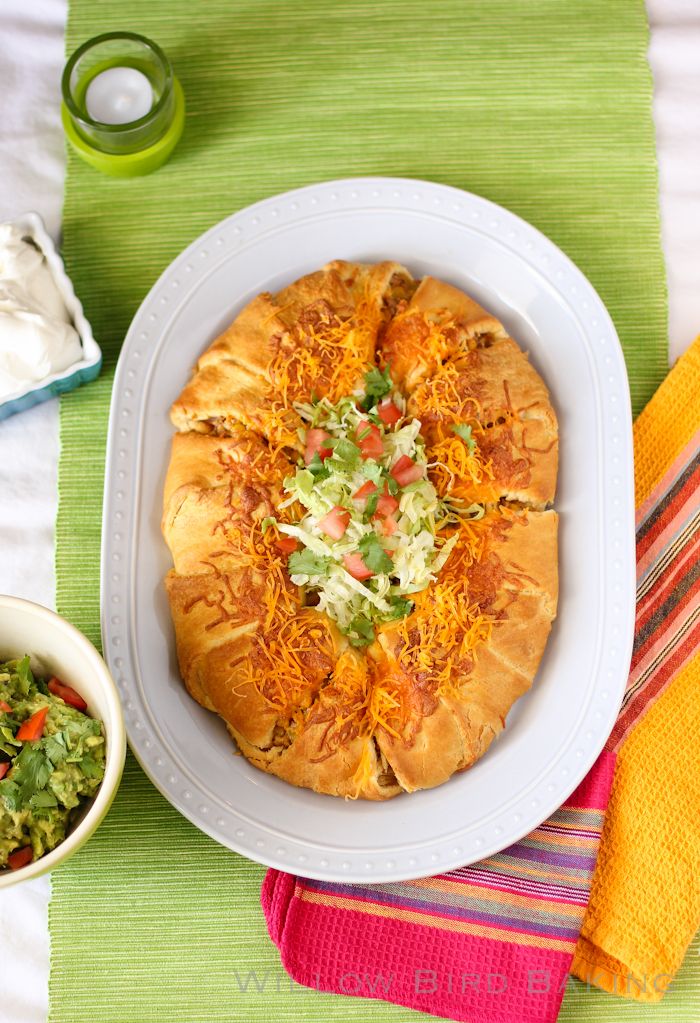
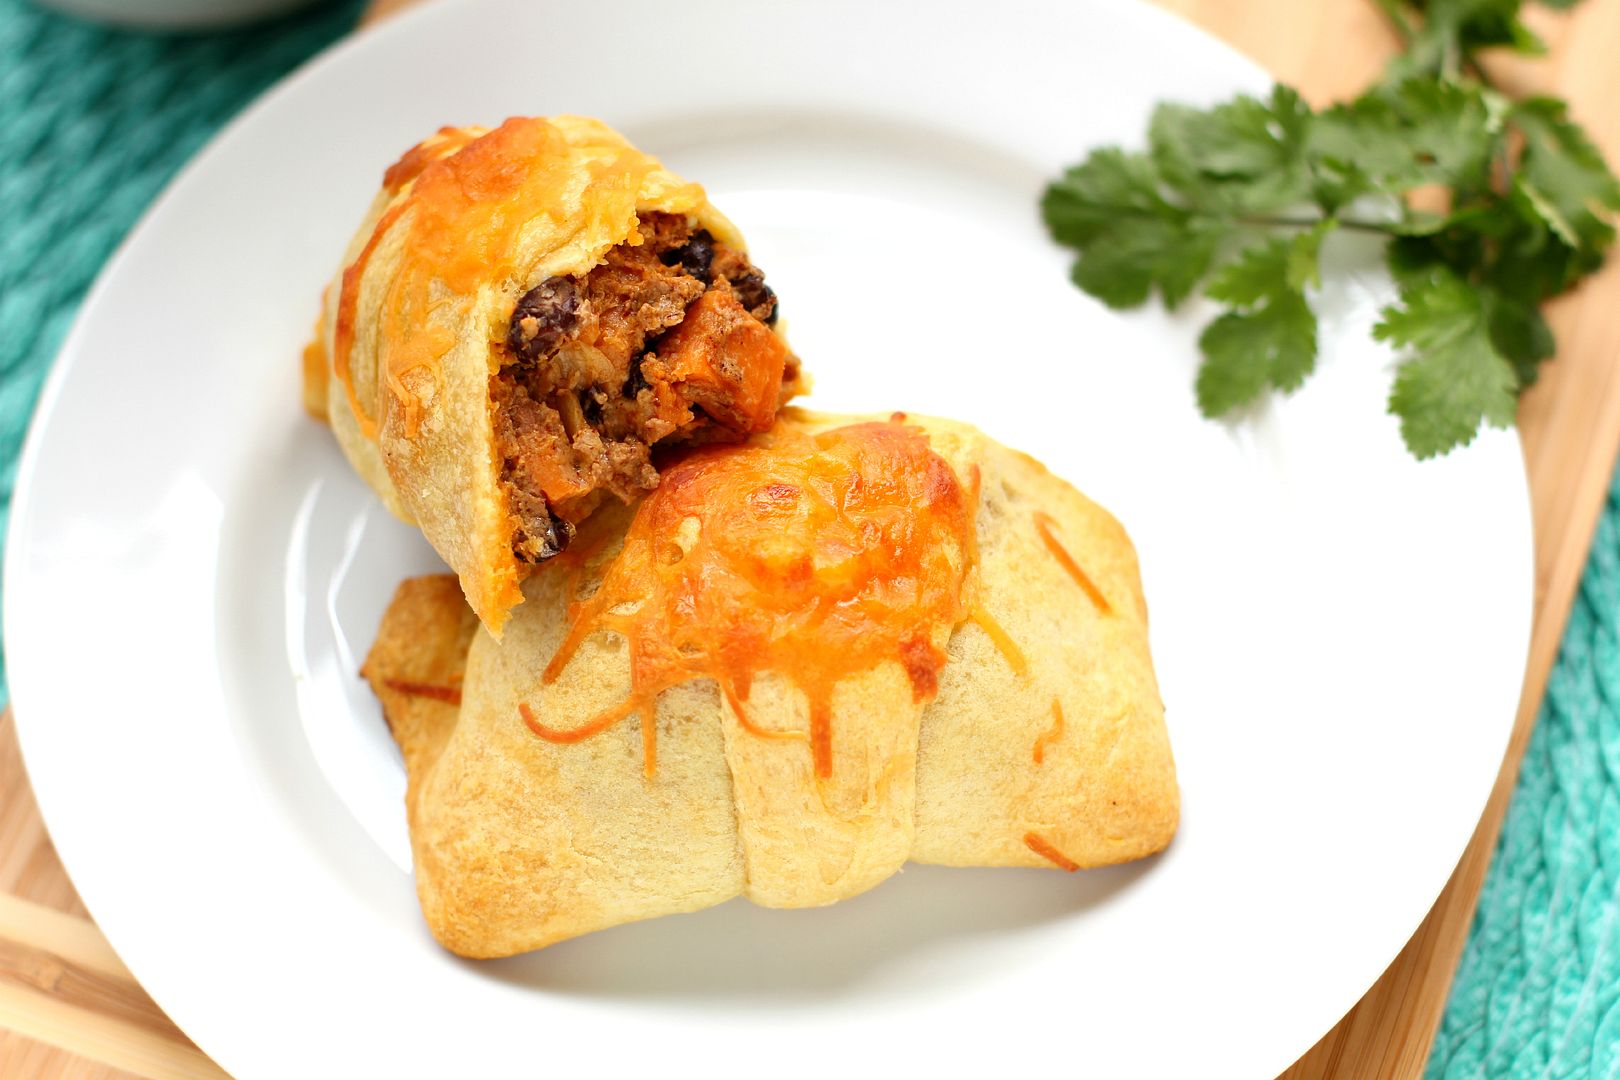
This Sausage & Corn Chile Con Queso Taco Ring is stuffed with a mixture of hot sausage, sweet corn, green chiles, cheddar cheese, and cream cheese. The result is a creamy, savory masterpiece with a little kick — not too much for kids — that is so delicious with some crisp iceberg lettuce, chopped tomatoes, salsa, fresh guacamole, and sour cream. Since it uses Pillsbury Crescent Rolls, it’s quick and easy to whip up.
In conclusion, despite what Edna Mode says, I will prepare my cape. Thank you for your consideration.
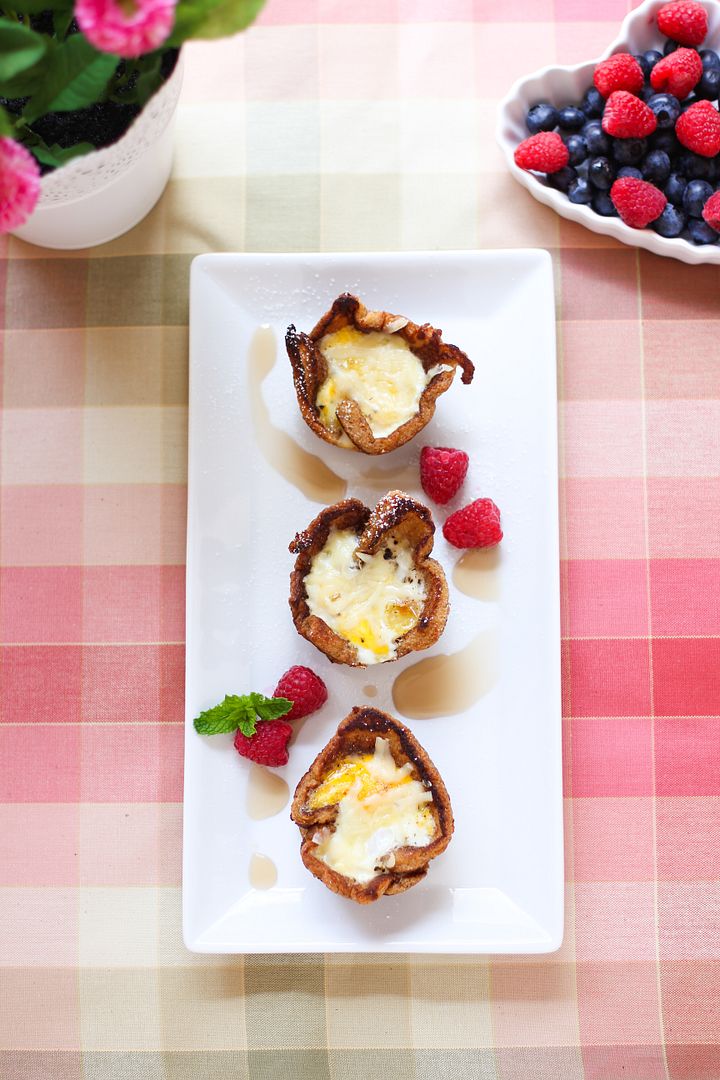
One year ago: Vanilla Custard Soaked Pumpkin Poke Cake
Two years ago: Pumpkin Spice Pull-Apart Bread with Butter Rum Glaze
Three years ago: Chocolate Peanut Butter Bliss Cheesecake
Four years ago: Mini-Pies: Pumpkin, Peach Crisp, and Sour Cream Apple
Sausage & Corn Chile Con Queso Taco Ring
Recipe by: Willow Bird Baking
Yield: 5-6 portions
Forget your usual tacos and even your usual taco rings: this taco ring is an explosion of hot sausage con queso with green chiles. It’s gonna blow your mind! And it’s so easy to make.
Ingredients:
1 (8-ounce) package cream cheese
1/2 cup sharp cheddar cheese, plus more for topping
2 tablespoons salsa of your choice
1 tablespoon diced green chiles
1 pound hot sausage
olive oil (if needed)
1 1/2 cups frozen corn kernels
1 tablespoon taco seasoning
2 cans Pillsbury Crescent Rolls
Directions:
Preheat oven to 375 degrees F and cover a round pizza pan with foil sprayed with cooking spray (or use a pizza stone or baking sheet). Place cream cheese, cheese, salsa, and chiles in a large bowl and set aside.
In a skillet over medium-high heat, brown the sausage. Remove the meat to a paper-towel lined plate to drain, reserving the grease in the skillet. As soon as sausage has drained for a minute, pour it into the cream cheese bowl. Set this aside to allow the cheeses to melt.
In the meantime, pour corn kernels into the skillet over medium heat (adding a little olive oil if there’s not enough grease) and cook 5-6 minutes or until heated through. Stir in 2 teaspoons of taco seasoning towards the end of cooking. Pour the hot corn over the cream cheese and sausage mixture. Stir together until well combined (it’ll take a bit, but it’ll come together).
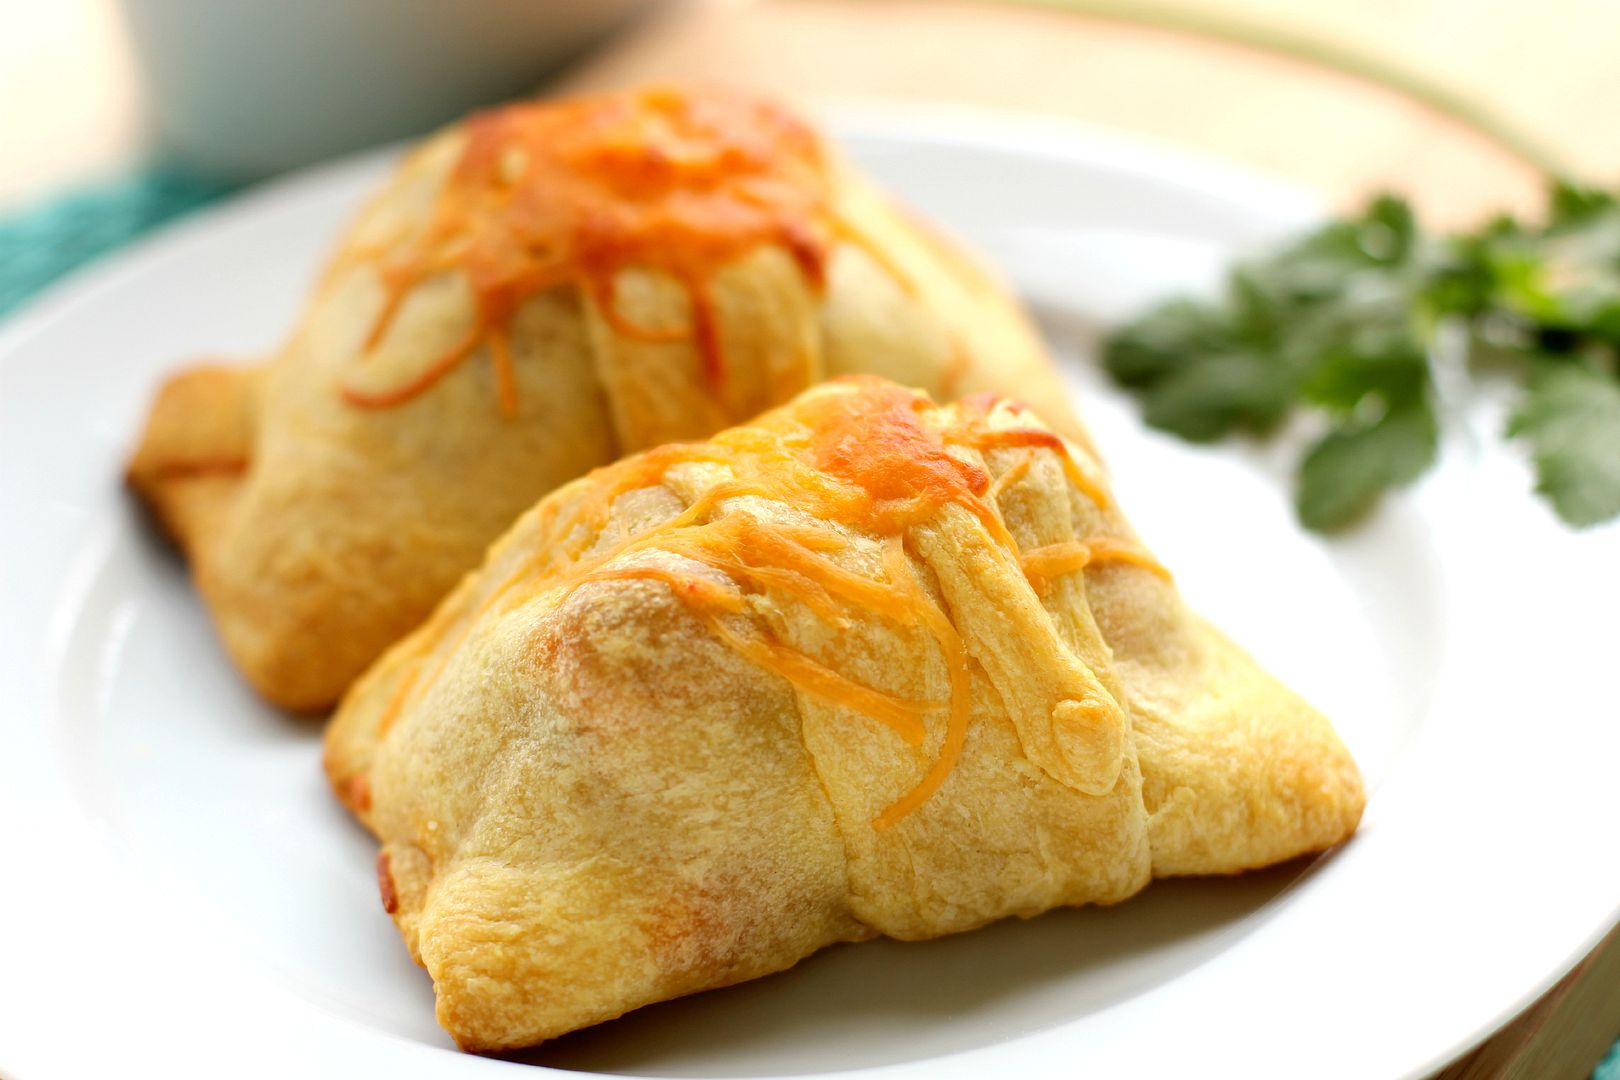
Carefully unroll packages of crescent rolls, separating them into long triangles. Place triangles, points out, in a sun-like ring (allowing bases of the triangles to overlap). Press down on the overlapping bases to flatten the center of the ring to a consistent thickness. (If you’d like to see a video of these steps, I loved this one). Spoon sausage mixture all around the ring (you’ll need to really pile it high) and then tuck the points up and over the mixture. Bake until golden brown (let it get really golden to avoid doughiness), around 15 minutes. During the last few minutes of cooking, top it with cheddar cheese. Serve with salsa, cilantro, sour cream, chips, and guacamole.
If you want a winning weeknight dinner the family will enjoy, use Pillsbury Crescent Rolls. Get more recipes at http://www.Pillsbury.com.
 Disclosure: This post was sponsored by General Mills via Glam Media. The opinions expressed herein are all mine, however, and are not indicative of the opinions or positions of General Mills.


)