

In college, I noticed that the goal of English teachers seemed to be to complicate things. This annoyed me at the time, but I figured maybe I was imagining it. Then I became an English teacher, and now I can say for sure that I was not imagining it. I do try to create a certain level of uncertainty in the discussions I start and the projects I give my students. They, in turn, are annoyed.
But I think I’m in good company: if God had simply wanted us to get to a final, clear, unequivocal answer, He could’ve knocked us over the head with a lightning bolt and spelled it out. But He sent prophets; Christ spoke in parables; “signs” were not literal signs with, like, letters and things. There was a level of indirectness there that wasn’t an accident. Something about the process of being confused, searching for information, unwinding the data, living in the mystery — something about the journey was the destination.

In our most recent project, my students graphed the intensity of different plot points from a novel. The goal is to get them to examine the structure of a story using some techniques they’ve learned about making visual comparisons from math. It’s cool. They hate it.
Here’s why: they don’t know what their axes should look like. They’re not sure what to do when two points overlap. They inevitably encounter a problem with where to graph things that happen in “winter” — at the beginning or end of a year? If they were doing this project at home, I think they would probably (with parental permission, of course) set it on fire and dance on the ashes.
But they’re doing this project in my classroom, and I don’t allow matches. Plus I sing and dance and guide and encourage, so they usually don’t quite reach the arson level of frustration.
One day, sensing a particularly acute sense of hopelessness in a couple of students, I stopped the class and let them in on my little secret. “Don’t feel sad when you reach a problem, or think that that means you’re failing at your project work. Actually, I put problems in on purpose. Teachers are a little sadistic like that.” Cue lots of groaning.
“Really, though, I think sometimes we’re used to school projects feeling like a ride downhill on a bike: wheeeeee! and then we’re at the bottom, easy as pie. But in the real world, projects aren’t like that at all. I’m trying to get you ready for the real world — in fact, you’re really already IN the real world! — so it doesn’t do any good to have you just glue stuff on a poster all day. In the real world, you get on your bike and start pedaling and BAM, there’s a huge wall. You can sit at the base of the wall and feel sad about it, or you can try a few things. Some of them might not work. But eventually you’ll find some footholds and climb up. When you get to the other side, you’ll realize that you now know how to climb a wall! And you feel strong and capable! Awesome!

“Then you’ll keep on jogging along and eventually, BAM, there’s a deep moat. With, like, piranhas. And you could sit down and give up, but you could also try some things. You might try some of the wrong things and get your fingers nibbled a little. But eventually you’ll realize that music puts the piranhas to sleep and if you do the backstroke, you have enough energy and lung capacity to get across the water while singing “Row, Row, Row Your Boat.” And when you climb out on the other side, you’ll realize that you now know how to get past a moat! And you’ll feel even more strong and capable! Awesome!
“Eventually you’ll get to your destination, and instead of feeling like gravity took you there, or like you just wasted a lot of glue and poster board for no real reason, you’ll know that you learned something and grew throughout the process. No pain, no gain, as they say!”

My reassurance speech was long and a little quirky — my students will all tell you that that’s just how I roll — but I could tell their spirits were lifted. They’d been running into problems and thinking, “Uh-oh, I’m on the wrong track” instead of, “Okay, another challenge! Let’s go!” It’s a hard mental switch to make unless someone with the right amount of authority and insight into your situation can come by and give you permission to make it: “Hey, just so you know, even though it seems uncertain, you’re on the right track!”
I don’t know about you, but I very much understand their struggle. My life is my major project, and I often hit a wall or a moat. My reaction is usually: “Okay, that was the complete wrong path. I might’ve ruined everything. Whiiine.”
The funny thing is that someone with the right amount of authority and insight into my situation has already given me permission to make the mental switch and change my perspective. He’s given me all the information I need to feel optimistic in the face of obstacles, knowing they’re going to be productive and that I’m going to be safe in the long run. After telling his disciples about many coming troubles, Jesus said, “These things I have spoken to you, so that in Me you may have peace. In the world you have tribulation, but take courage; I have overcome the world” (John 16.33 NASB). Someone please remind me of that next time I’m grabbing for the matches.
Do you find it easy to remain optimistic during your struggles, or difficult?

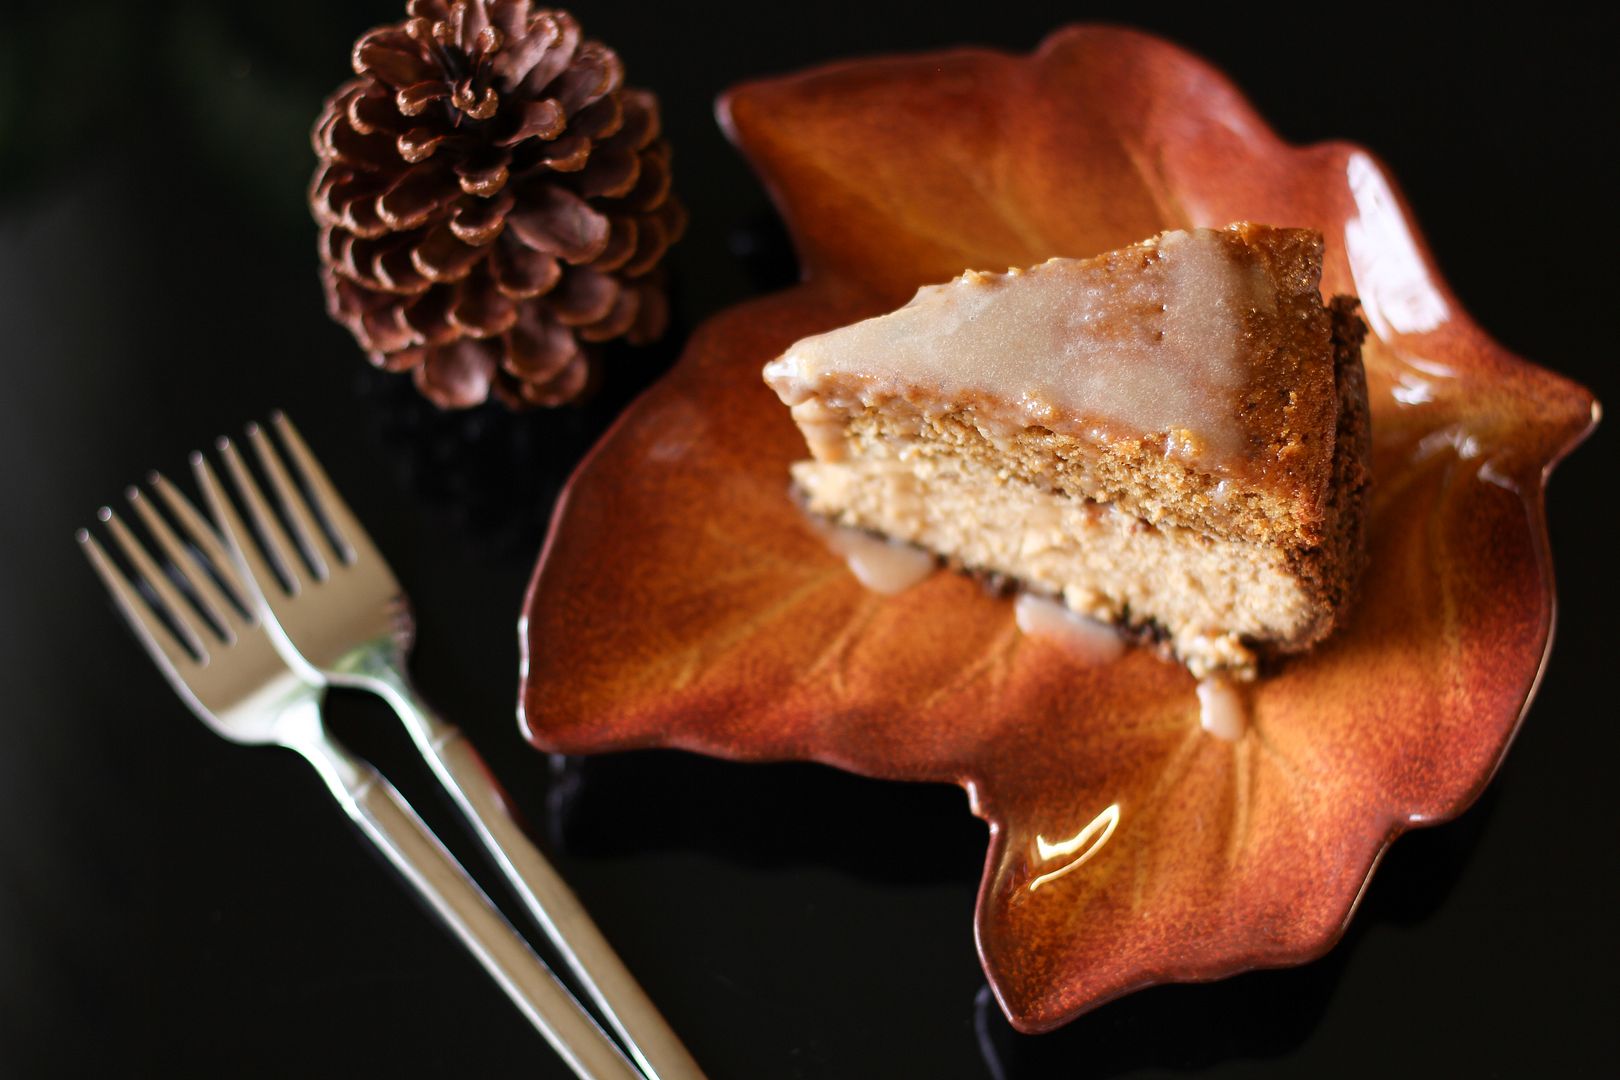
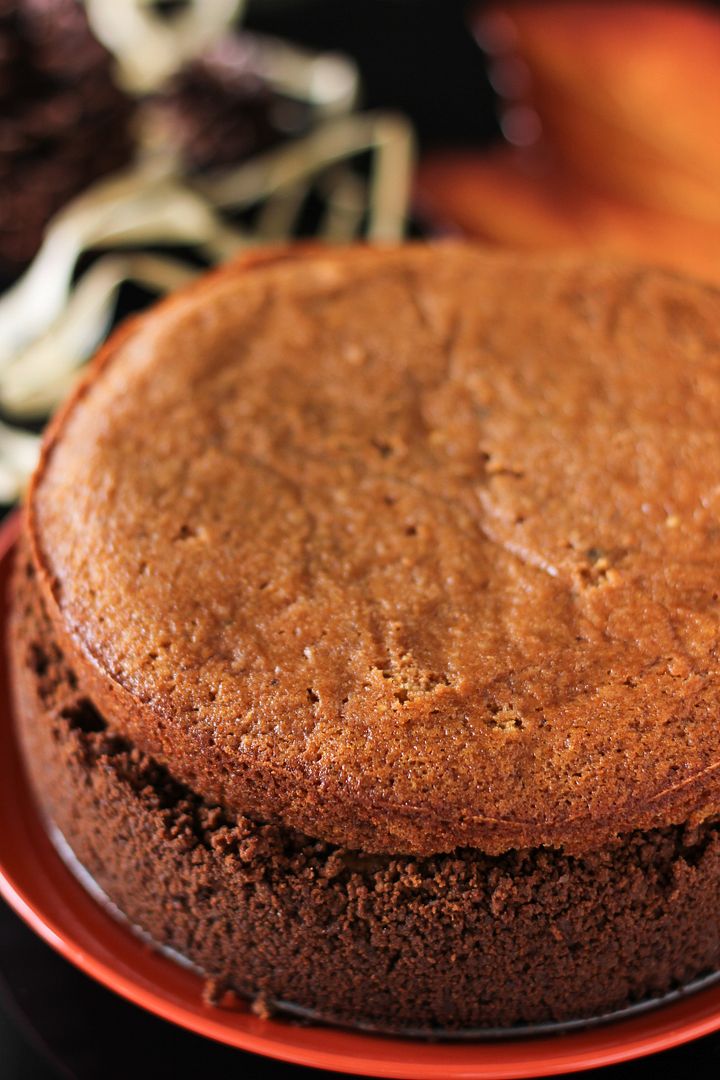
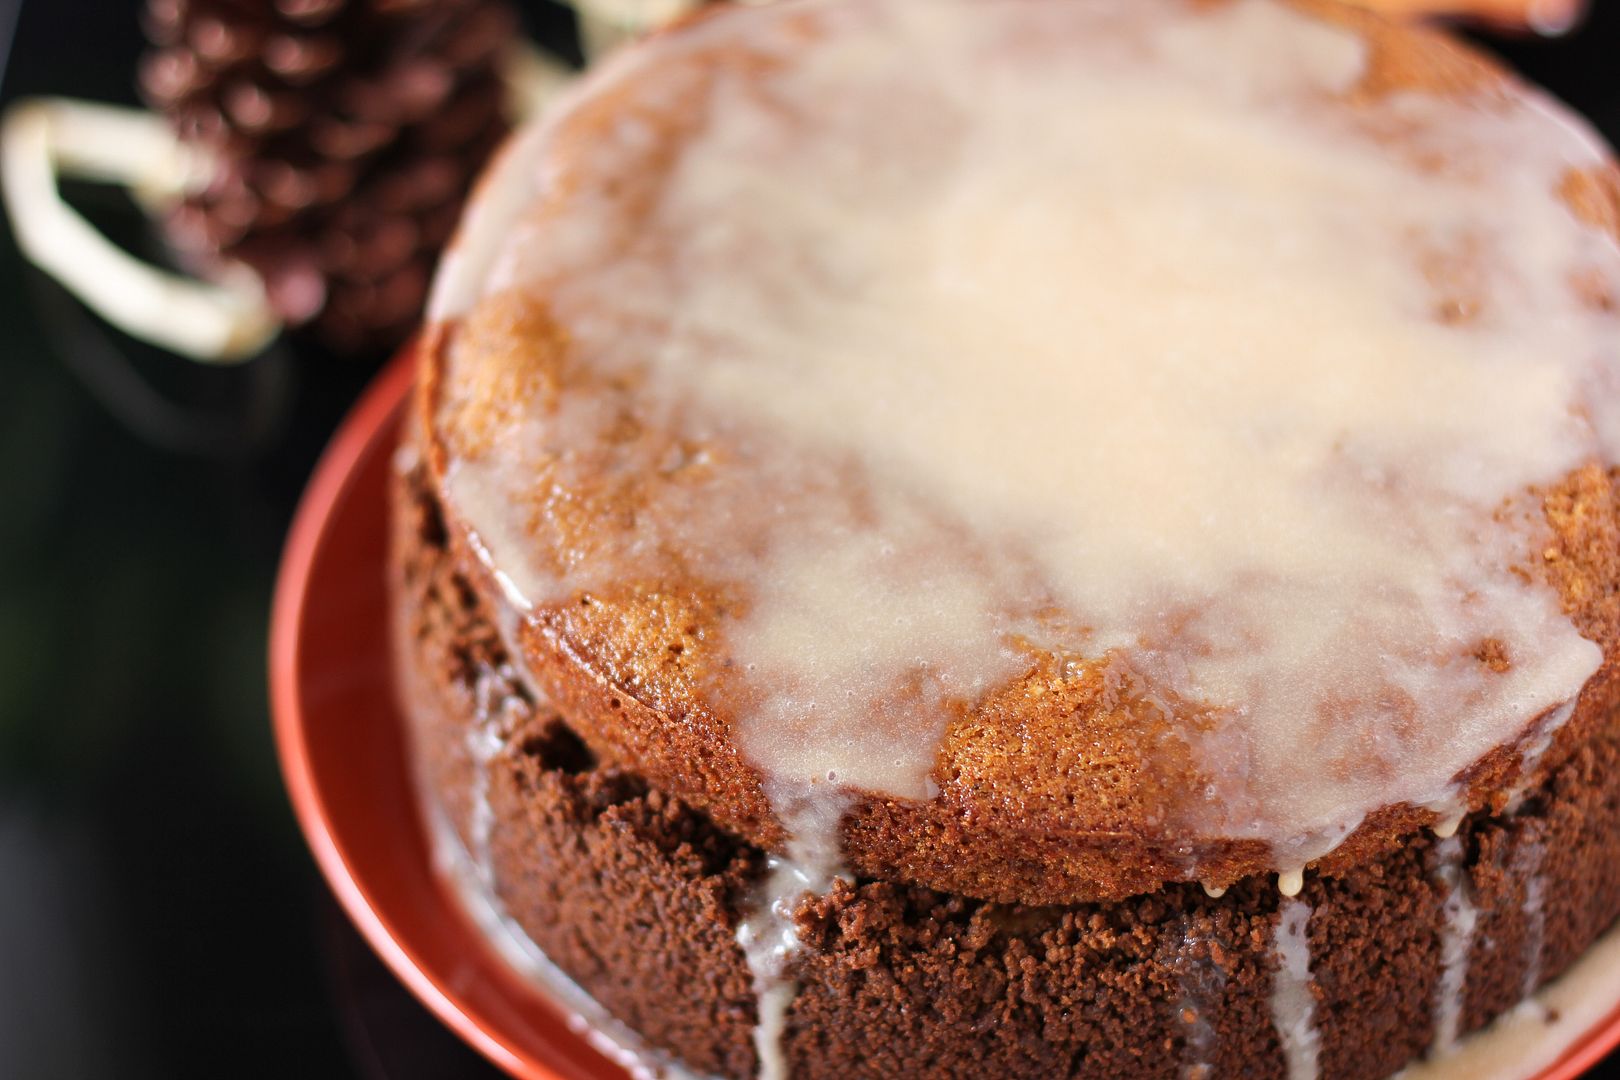
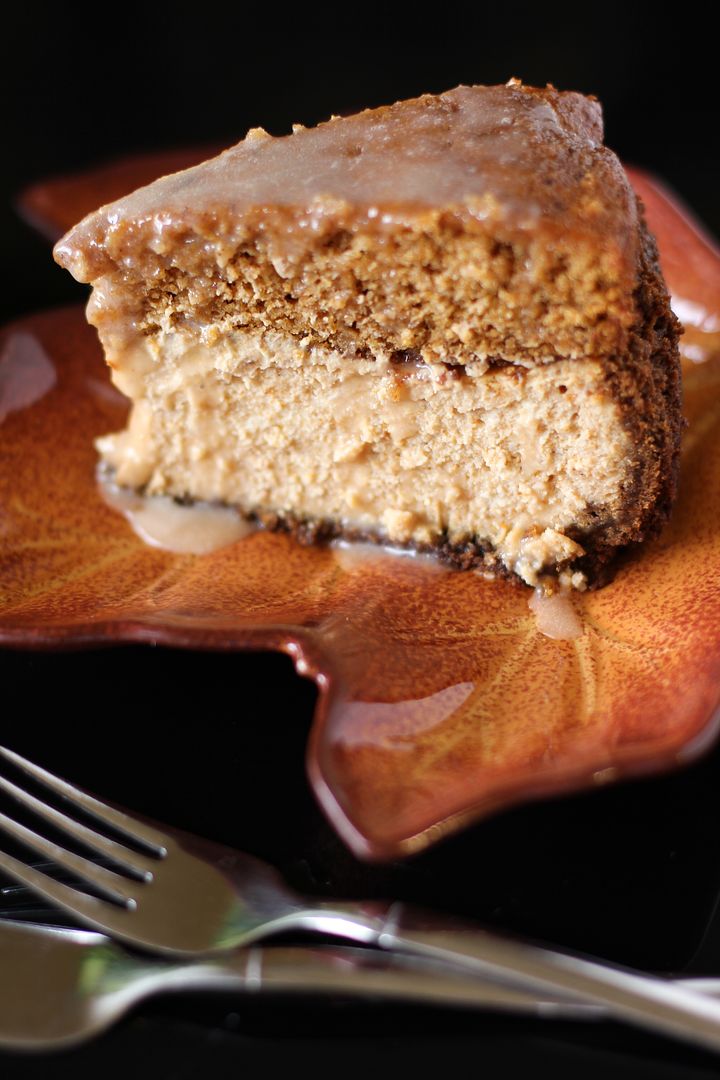
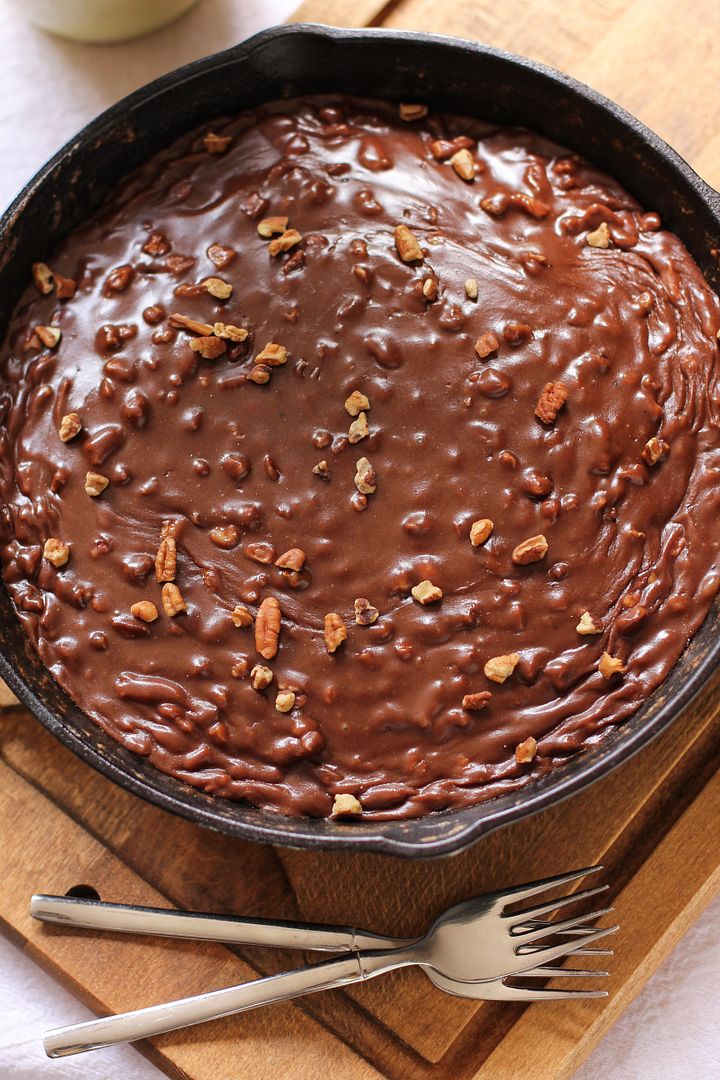
At the end of a long post about struggles, I thought I’d share a super simple recipe with you. This icebox cake only has 5 ingredients and is a cinch to throw together, but is also indulgent and delicious. It’s a riff off of the ubiquitous and well-loved Oreo Icebox Cake, but uses Lotus Biscoff Cookies because they are insane. A little Goldschlager in the whipped cream enhances the cinnamon flavor and gives this chilled dessert a nice bit of “heat.” Enjoy!
One year ago: Eggs à l’Oignon
Two years ago: (Freshly Picked!) Strawberry Cream Pie
Three years ago: Caramel Cream Croquembouche
Spiked Biscoff Cookie Icebox Cake
Recipe by: Willow Bird Baking
Yield: would easily feed 10 people
Icebox cakes are amazing, and spiked icebox cakes are amazinger. With 5 ingredients and 15 minutes of prep, you have a gorgeous, delicious dessert!
Ingredients:
4 cups heavy cream
1/4 cup goldschlager (or cinnamon liquor or liquor of your choice)
1/2 cup powdered sugar
2 packages Lotus Biscoff cookies
caramel sauce for topping (optional; I used store-bought but this is a great from-scratch recipe)
Directions:
Combine cold cream, goldschlager, and powdered sugar in a chilled mixing bowl and beat to stiff peaks. Taste it to be sure the alcohol/sweetness ratio works for your tastebuds. In a trifle dish, place a layer of Biscoff cookies along the bottom, breaking them to fit as needed. Dollop whipped cream on top and spread it over the cookies to form about 1/4 inch layer of cream. Continue layering cookies and cream until you’re out of cookies, finishing with a layer of cream. Cover the dish and let it chill overnight so the cookies are softened. Heat the caramel sauce and then let it cool a bit so it won’t melt the cream. Drizzle it over top of the trifle and serve.


