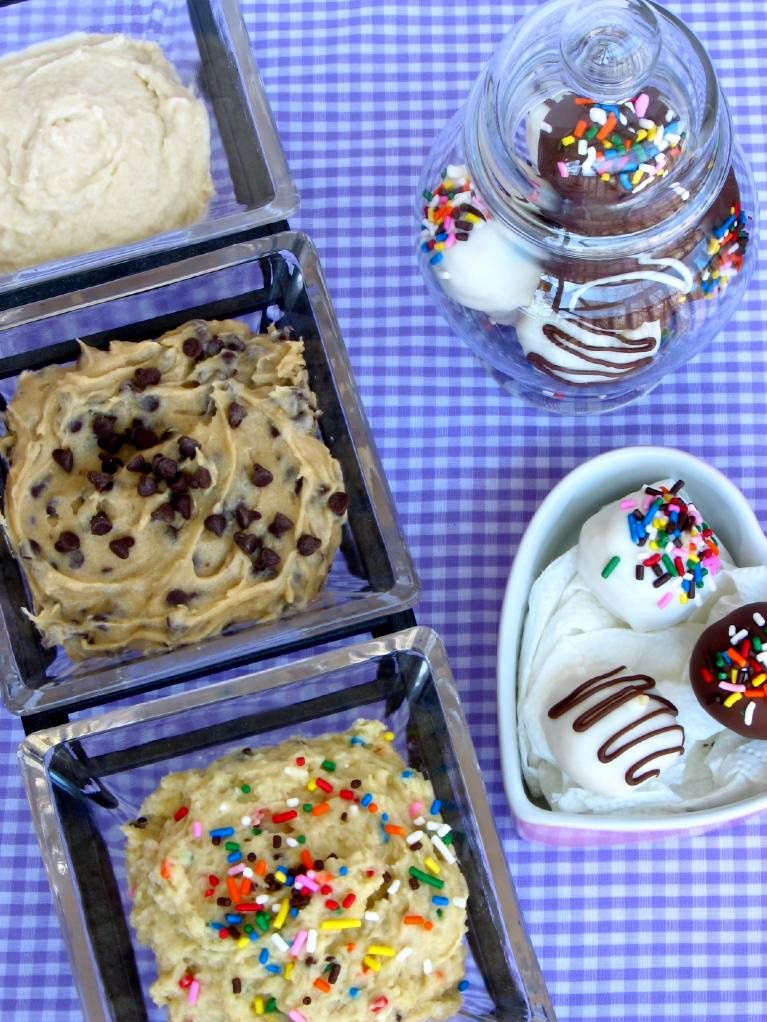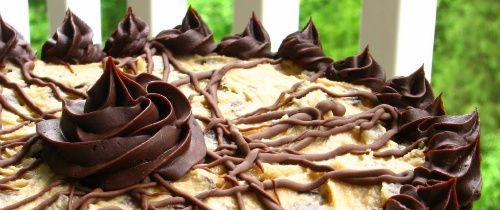
Cake Batter Cookie Dough Truffles

What a mess of a weekend. While I was blowing my nose repeatedly and hacking unattractively on Saturday night, I noticed that Byrd was lethargic. After a little investigating (read: walking around the apartment), I found that she had eaten about a metric ton of kleenex from the trash can. Her tissue escapades must have been her attempt at staying occupied while I tried to sleep off my cold; alas, it was a bad life decision. She was one unhappy puppy.

She curled up next to me and tried to look as pitiful as possible while I massaged her sick little body. Every now and then she’d look up at me as if to say, “Why aren’t you fixing it, Mommy?” Then I’d cry a little and she’d lick my face a little and we’d continue spooning.

Finally the tissues worked their way out of her system, but not until the entire weekend had been spent fretting and giving her sips of olive oil. I’m ready for everyone in the apartment to be healthy now! At least my turtle hasn’t contracted any plagues as of yet.

Needless to say, the safe-to-eat cookie dough I posted on Sunday has been a welcome ray of sunshine in an otherwise germy, sickly sort of week. In fact, I found two recipes in which to use said cookie dough that almost made everything feel downright cheery. And here’s one of them now: cookie dough truffles.

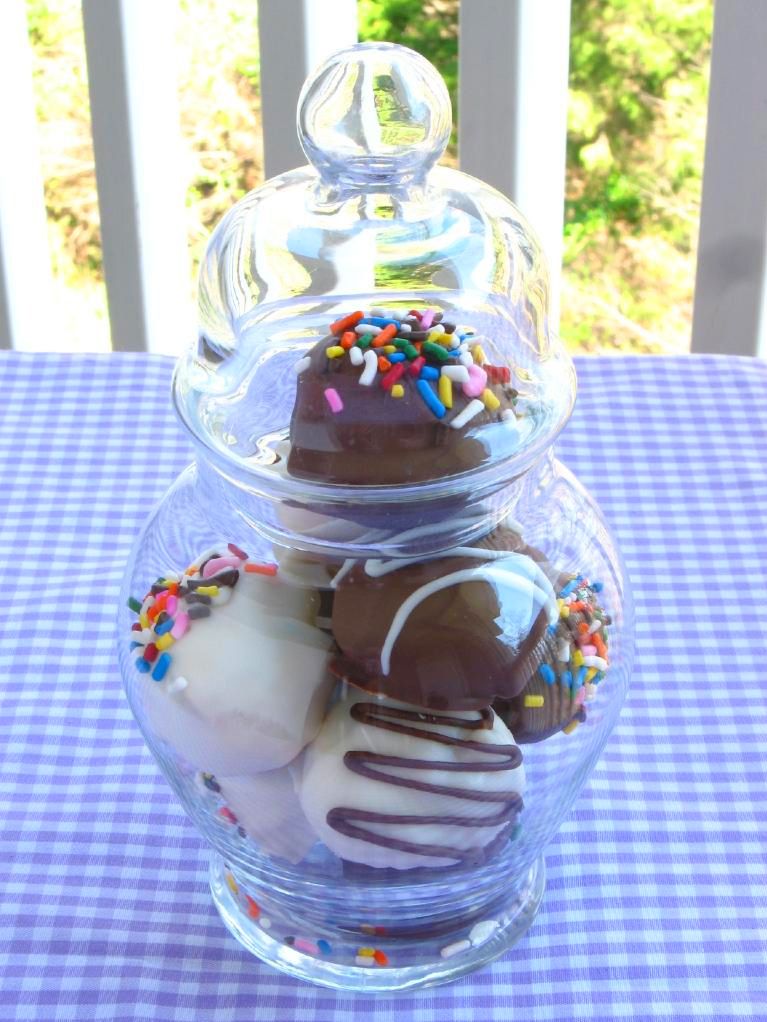
I usually use the eggless chocolate chip cookie dough in my Coffee Cookie Dough Fudge Cheesecake — a noble purpose, for sure. But if you’re not feeling making an entire cheesecake, you can whip up a batch of these simple truffles. I made them with each type of cookie dough and unsurprisingly, the cake batter cookie dough truffles were my absolute favorite. The cake batter cookie dough was the perfect buttery and festive filling inside of the rich chocolate shell. I’m just sorry poor Byrd couldn’t join in for a bite!

Cake Batter Cookie Dough Truffles


Recipe by: Willow Bird Baking
Yields:about 12 truffles, depending on size

Ingredients:
one recipe cake batter cookie dough (or other flavor)
chocolate candy melts (I use Candiquik)
sprinkles!

Directions: Roll your cookie dough into 1 inch balls and refrigerate for a few hours or overnight.

Melt candy melts according to package instructions. I place the bowl of melted candy melts into a bigger bowl with hot water in it. This keeps the candy melts warm and viscous as you work. Just be careful not to get any water in the chocolate, which will cause it to seize and be unusable. Prepare a sheet of wax paper to let your truffles dry on.

Take only a few dough balls out of the fridge at a time. Spear one with a toothpick and dip it, using a spoon to help you coat the outside and wiggling it a little over the bowl to let the excess drip off. Now wiggle it off onto your wax paper and top with sprinkles, chocolate chips, crushed oreos, or other cute toppings. Let them harden. Serve immediately or keep in an airtight container in the fridge.

If you liked this post, please:
Subscribe to Willow Bird Baking
Follow Willow Bird Baking on Twitter
Follow Willow Bird Baking on Facebook
Give this post a thumbs up on StumbleUpon


ShareOther ways to share this post with friends!

Three Safe-to-Eat Cookie Doughs: Chocolate Chip, Sugar, and Cake Batter!

I’m siiiiick. If you follow Willow Bird Baking on Facebook or Twitter (you do, right?), you’ve probably heard me whining about it lately (okay, maybe this isn’t the best way to encourage you to follow).

It started with a sore throat and has turned into a beastly, phlegmatic ogre of a cold that has taken up residence in my chest and commenced hanging draperies and such. I have protested this development with various hot teas, soups, and my favorite home remedy suggested by readers: complaining.

Three Safe-to-Eat Cookie Doughs: Chocolate Chip, Sugar, and Cake Batter!

Three Safe-to-Eat Cookie Doughs: Chocolate Chip, Sugar, and Cake Batter!

I know my students are to blame for this plague! They’ve been dropping like flies recently. A wave of 6th graders was sick early in the year, and then 7th grade took a nose dive. At one point almost half the class was home in bed, weeping at the thought of missing their fantastic language arts class and writing pickup essays in fond remembrance of healthier days. That’s what students do when they’re home sick, right?

Three Safe-to-Eat Cookie Doughs: Chocolate Chip, Sugar, and Cake Batter!

I can’t stay home until I’m better, but I do tend to baby myself when I’m sick. Take, for instance, the vat of spicy crab chowder and loaf of sourdough bread I allowed myself to eat yesterday under the guise of “feeding a cold” (not that I starve a fever or anything).

And I’m not even going to mention the amount of this cookie dough I consumed over the weekend. I’m sure cookie dough has, like, vitamins and stuff.

Three Safe-to-Eat Cookie Doughs: Chocolate Chip, Sugar, and Cake Batter!

If nothing else, cookie dough is good for the soul. As a child, my idea of adulthood was finally getting to sit down with a tube of technically-unsafe-to-eat-before-baking cookie dough, slice it open, and eat the whole thing — no parental scolding involved.

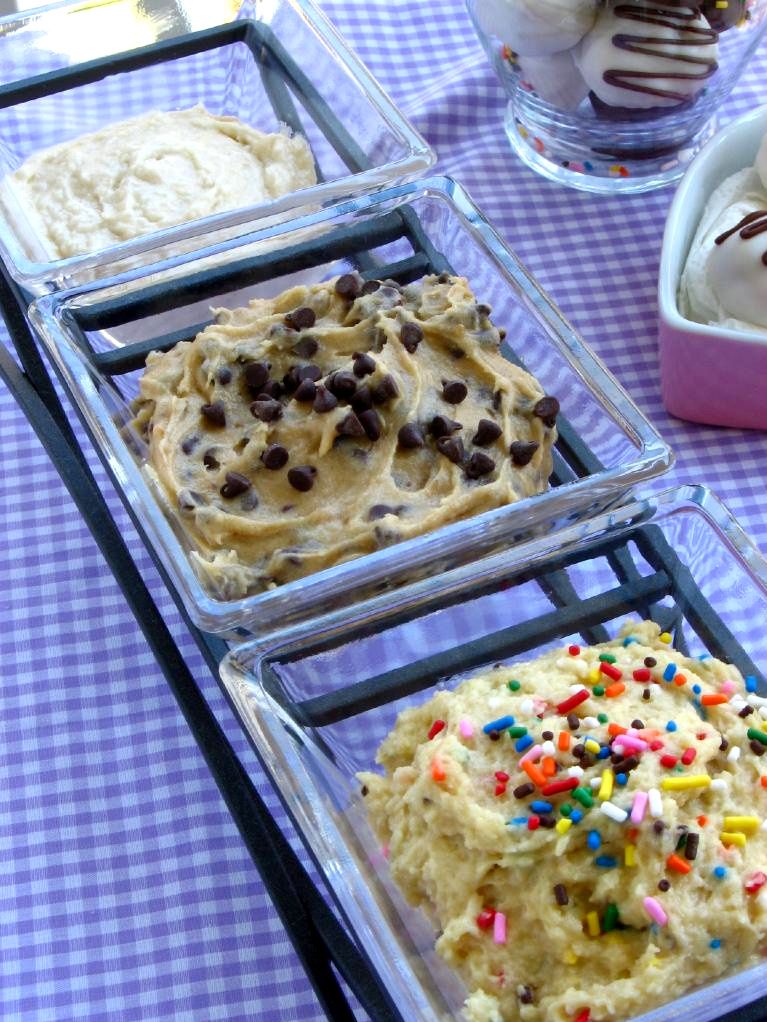
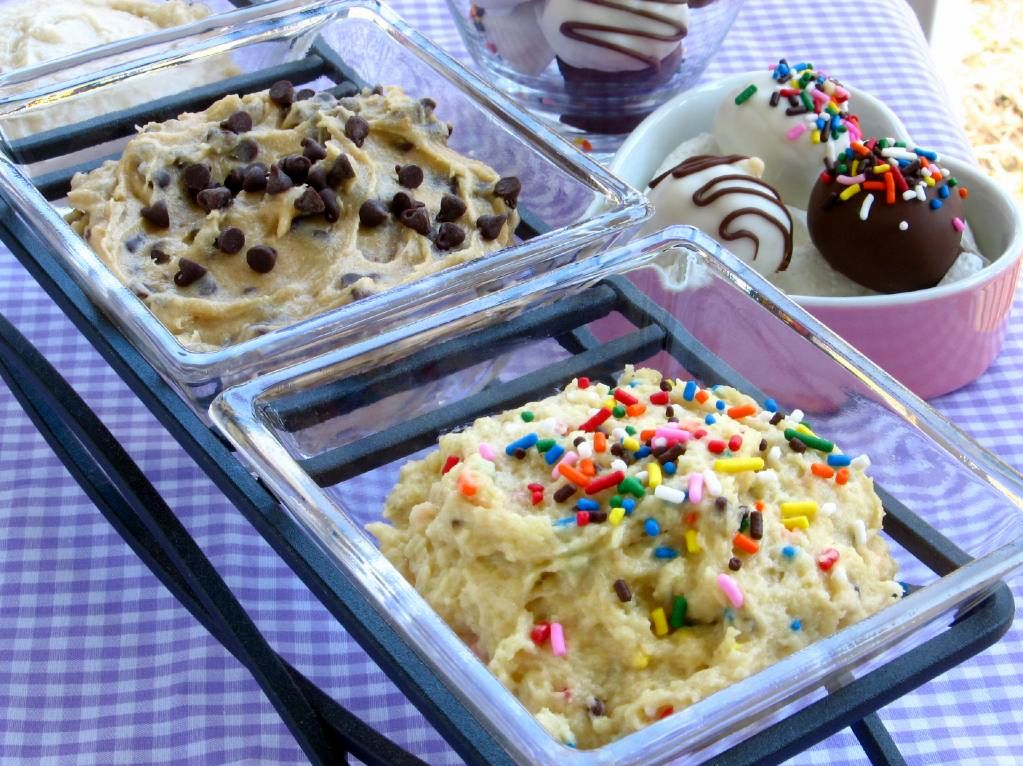
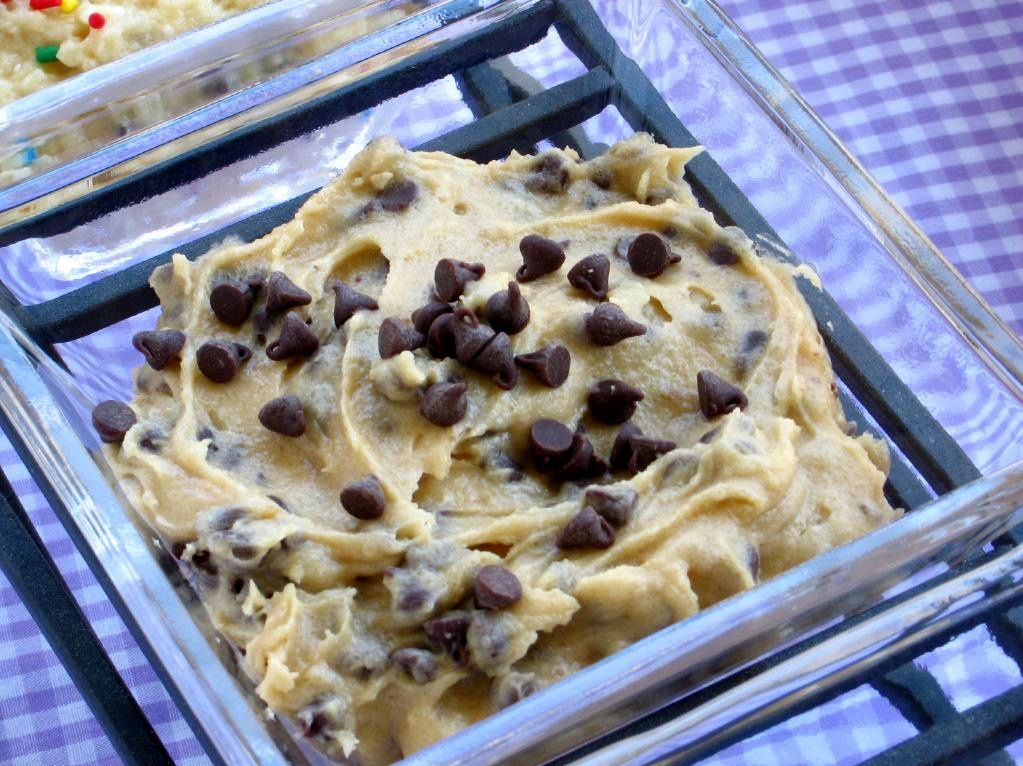
And now, look how far I’ve come: this weekend I made not one, but three kinds of cookie dough! Not only that, but they’re all eggless and therefore actually safe to eat*.

Three Safe-to-Eat Cookie Doughs: Chocolate Chip, Sugar, and Cake Batter!

Chocolate chip cookie dough recipes are popular and easy to find, but safe-to-eat sugar cookie dough is a bit more elusive. I developed the recipe below from a regular sugar cookie recipe. But the dough that really takes the cake (literally!) is the Cake Batter Cookie Dough.

Jessica at How Sweet It Is has been going cake batter crazy lately, and I’m loving it! Inspired, I decided to create a rich cookie dough that tastes like buttery yellow cake batter, complete with sprinkles. There’s just something wonderful about food that tastes like a birthday party.

Oh, and are you wondering about those truffles in the photos? Stay tuned — I’ll tell you all about those soon, along with yet another awesome use for cookie dough!

So, in summary: I’m sick. My students are sick. We’re all sick. Eat cookie dough.

5 from 1 reviews
Safe-to-Eat Chocolate Chip Cookie Dough
 
Prep time
Total time
 
Chocolate chip cookie dough you can eat on a spoon!
Author:
Ingredients
  • 1/2 cup butter, softened
  • 3/4 cup light brown sugar, packed
  • 1 cup all-purpose flour
  • 1/2 teaspoon salt (a few people have found this to be too much; if you want, just add a pinch and increase to taste. I add the full 1/2 teaspoon and enjoy it!)
  • 1 tablespoon vanilla extract (again, you might want to add this a teaspoon at a time to taste. I add the full tablespoon and enjoy it!)
  • 1 cup semisweet chocolate chips
  • water
Instructions
  1. In a medium bowl, cream together the butter and sugar. Stir in the flour, salt, vanilla and chocolate chips. Add water one tablespoon at a time (stirring between each) until the dough reaches cookie dough consistency.


5 from 1 reviews
Safe-to-Eat Sugar Cookie Dough
 
Prep time
Total time
 
Ingredients
  • 1 1/3 cups and 1 tablespoon all-purpose flour
  • 1/2 cup butter, softened
  • 3/4 cup white sugar
  • 1-2 tablespoons water
  • 1/2 teaspoon vanilla extract
Instructions
  1. In a medium bowl, cream together butter and sugar for 2-3 minutes until light, fluffy, and pale yellow. Mix in flour and vanilla. Add water one tablespoon at a time, mixing after each, until you reach cookie dough consistency.

5 from 1 reviews
Safe-to-Eat Cake Batter Cookie Dough
 
Prep time
Total time
 
Ingredients
  • 1 1/2 cups all-purpose flour
  • 2/3 cup yellow cake mix
  • 1/4 teaspoon salt
  • 1/2 cup unsalted butter, room temperature
  • 1/2 cup granulated white sugar
  • 1 teaspoon pure vanilla extract
  • 2 tablespoons sprinkles
  • 4-8 tablespoons water
Instructions
  1. In a medium bowl, cream together butter and sugar for 2-3 minutes until light, fluffy, and pale yellow. Mix in salt, flour, cake mix, sprinkles, and vanilla. Add water one tablespoon at a time, mixing after each, until you reach cookie dough consistency.

*Note: Since posting this recipe, scientisty types have also found that raw flour — just like produce — can carry E.coli if it’s been contaminated with it. This article suggests that the risk is even smaller than the tiny risk of getting Salmonella from eating cookie dough with raw eggs, but it’s still there and I wanted you to know about it. At least eggless cookie dough is safer — and no reason to waste the eggs when you just want to eat it with a spoon, right?!

Mini Apple Pies with Cheddar Crusts

On car trips when I was younger, one of my favorite things to do was to torment my little brother. He would be tucked safely into his car seat minding his own business when I would attack. There was no tickling or hitting or poking involved — that’s just not my style. Instead, I launched a calculated verbal and psychological assault.

Despite the fact that we were usually in Tennessee or Kentucky at the time, I’d point out the window and scream, “HEY, look, it’s Disney World!” His hopeful little face would whip around to see the happiest place on earth, only to be confronted with cornfields and the occasional disinterested cow. “Oh, you just missed it,” I’d say, consoling him with a pat on the arm.

After he’d missed a few more Disney Worlds and a Sea World or two, he was about as frustrated as a hornet in a mason jar. His spluttering protests were met with one of those smug-big-sister shrugs on my part. “What?” I’d say, “I can’t help it if you’re turning around too slow.”

Okay, so I was kind of a punk. In my defense, I was little. And he was usually a pill, I promise.

Anyway, huge counterexample aside, I’m actually a pretty trustworthy person. I don’t know if Alex will ever trust me again, but you can.

One thing you should certainly trust me about is the fact that apple pies and cheddar cheese were made for each other. Some folks — especially in my part of the world, it seems — have never heard of this combo. People can be downright skeptical when you mention it.

I first heard about pairing apple pie and cheddar cheese only a few years ago. I was shocked to find out that this odd couple was an established and beloved tradition in some places. How had I missed out on this my entire life? I promptly ran to the grocery store, bought a mini apple pie and a block of sharp cheddar, and gave it a try. Turns out all those crazy New Englanders (love you guys!) weren’t wrong: the sweet filling with the sharp cheese was a perfect match.

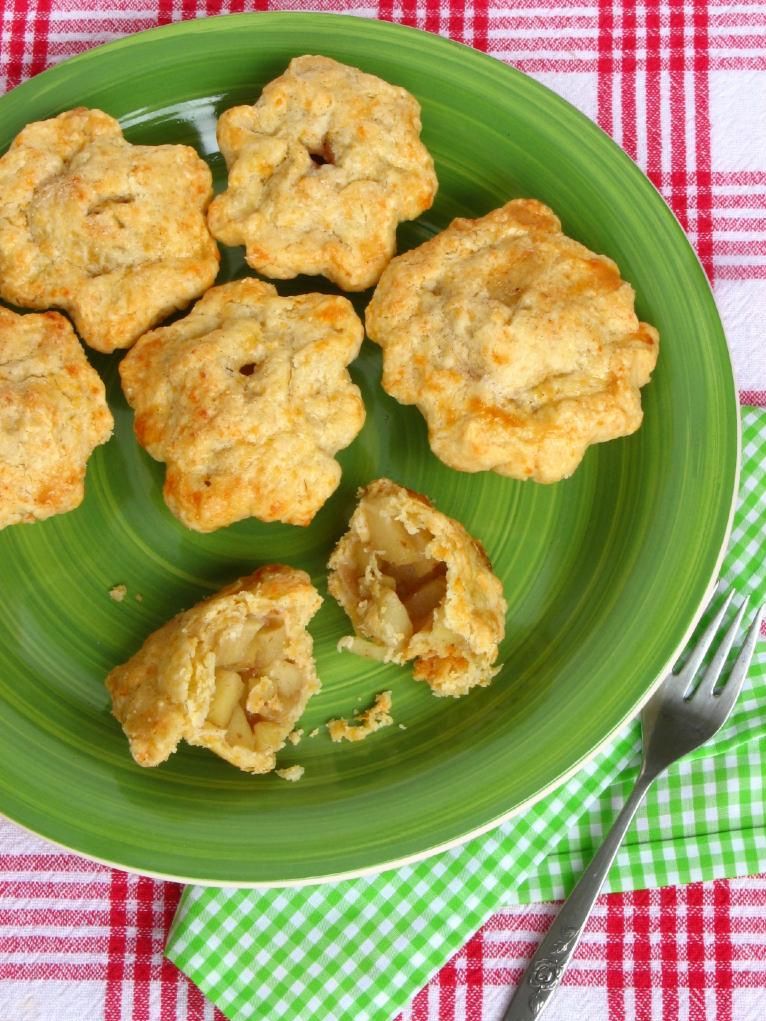
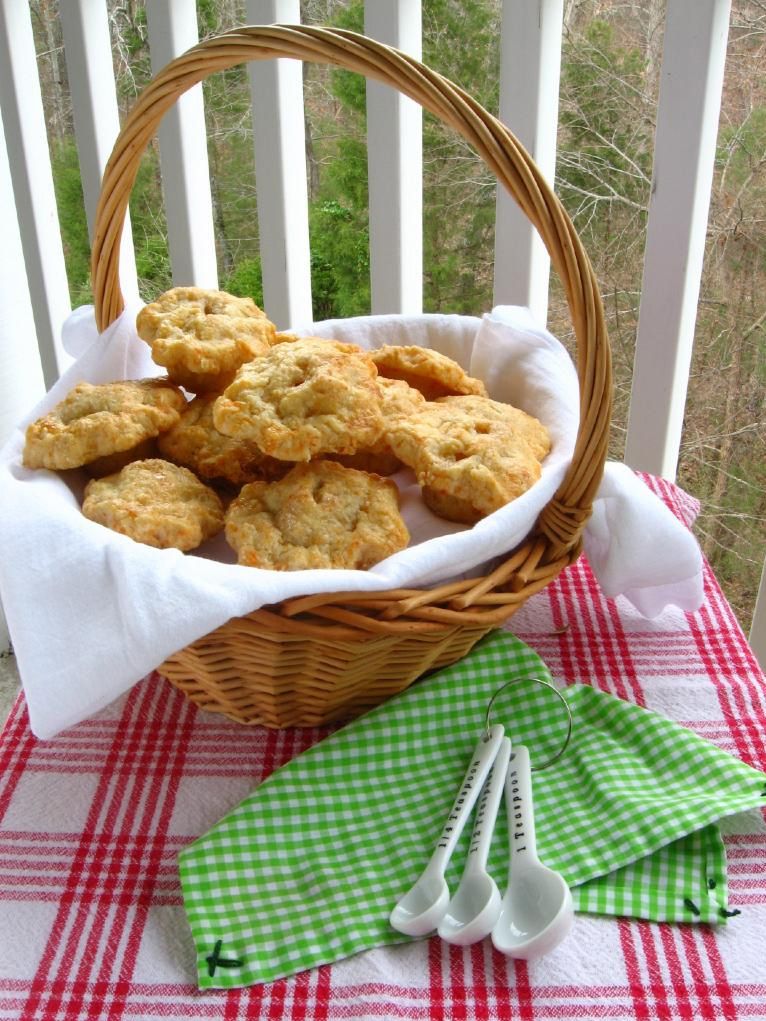
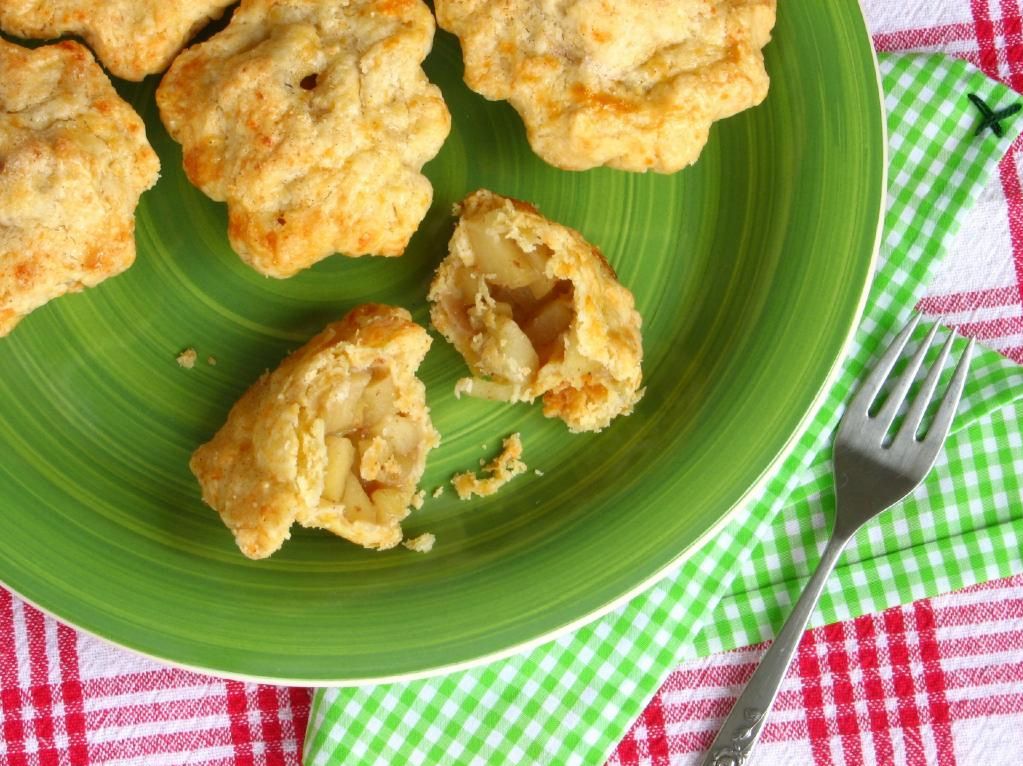
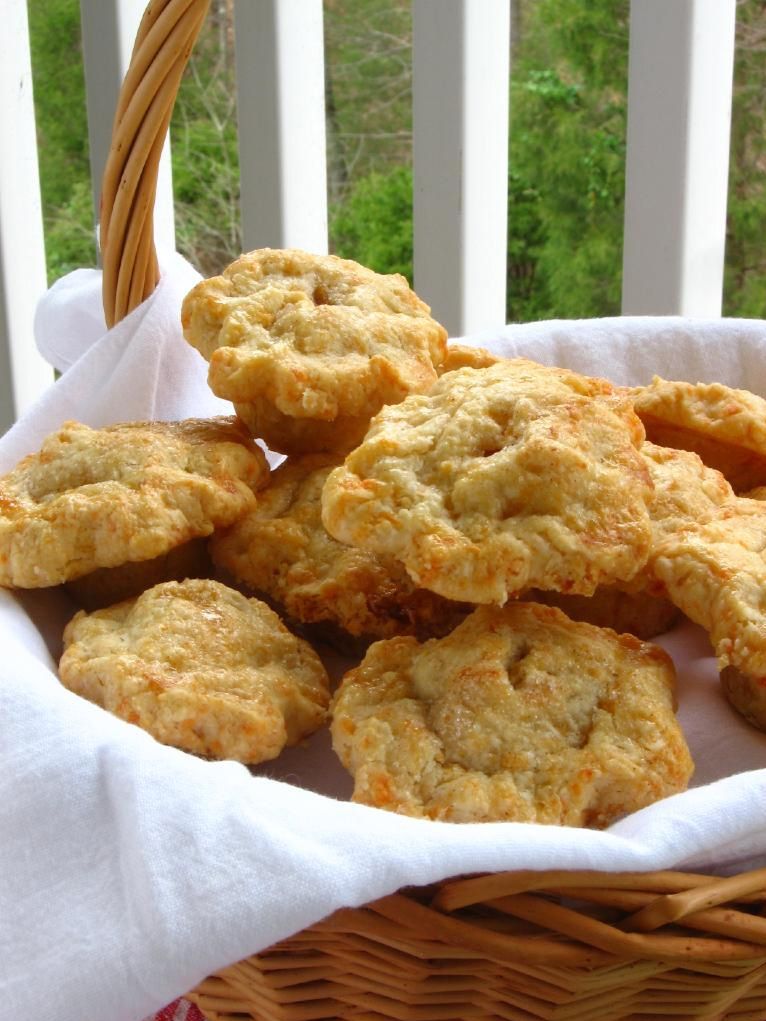
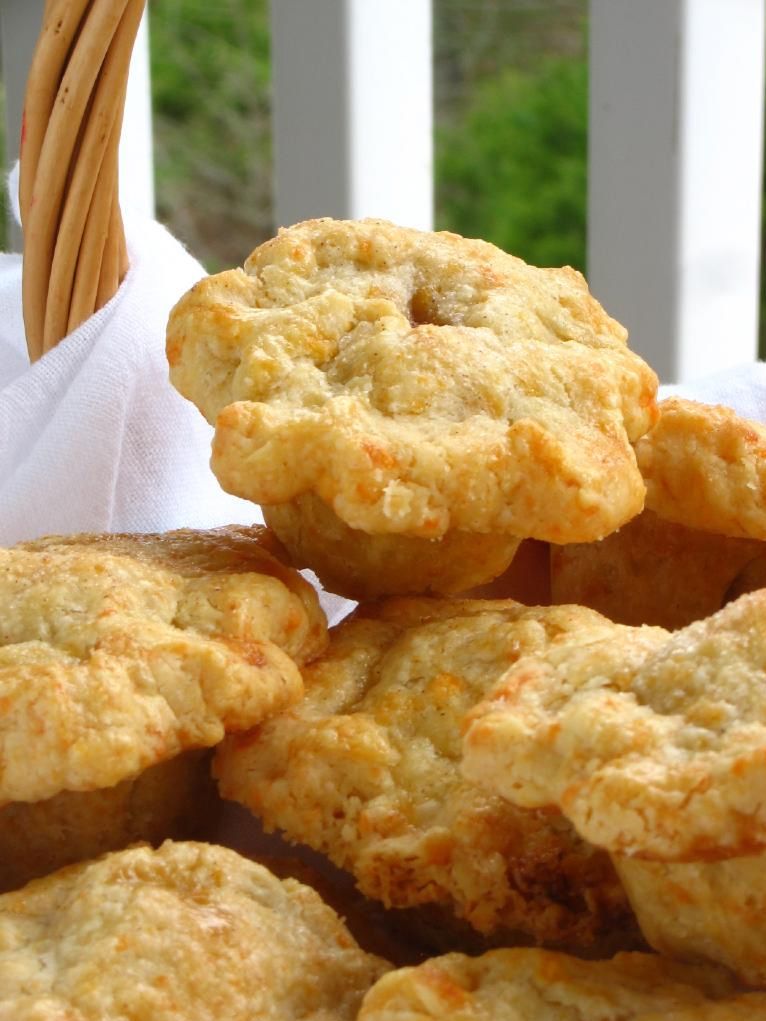
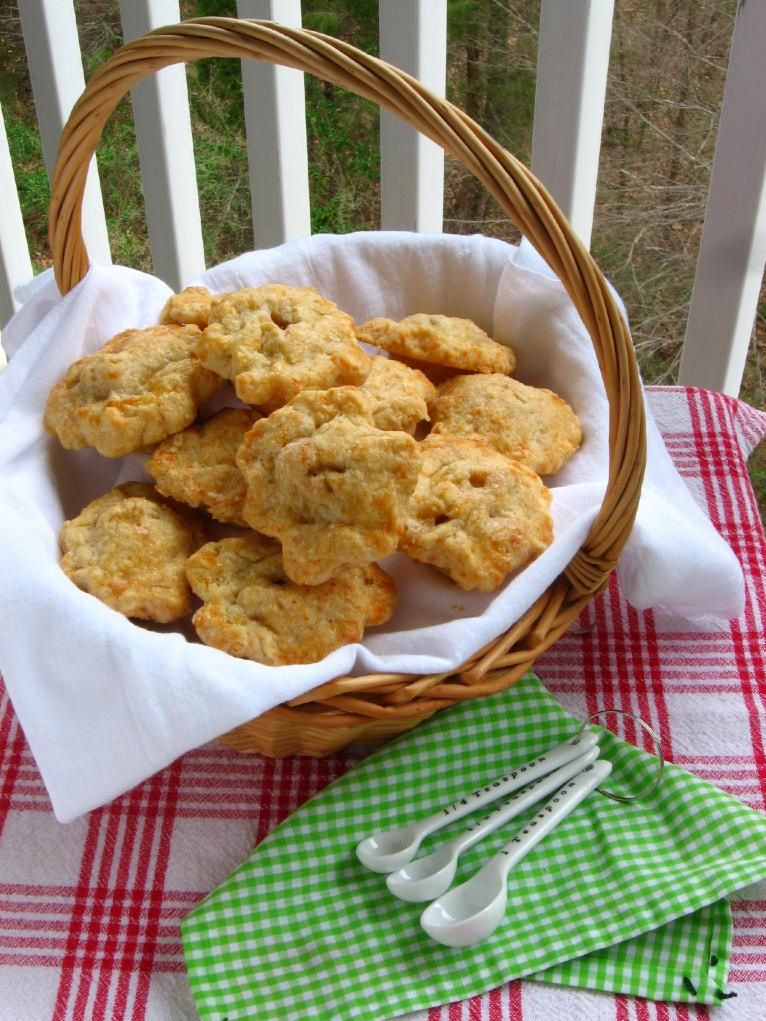
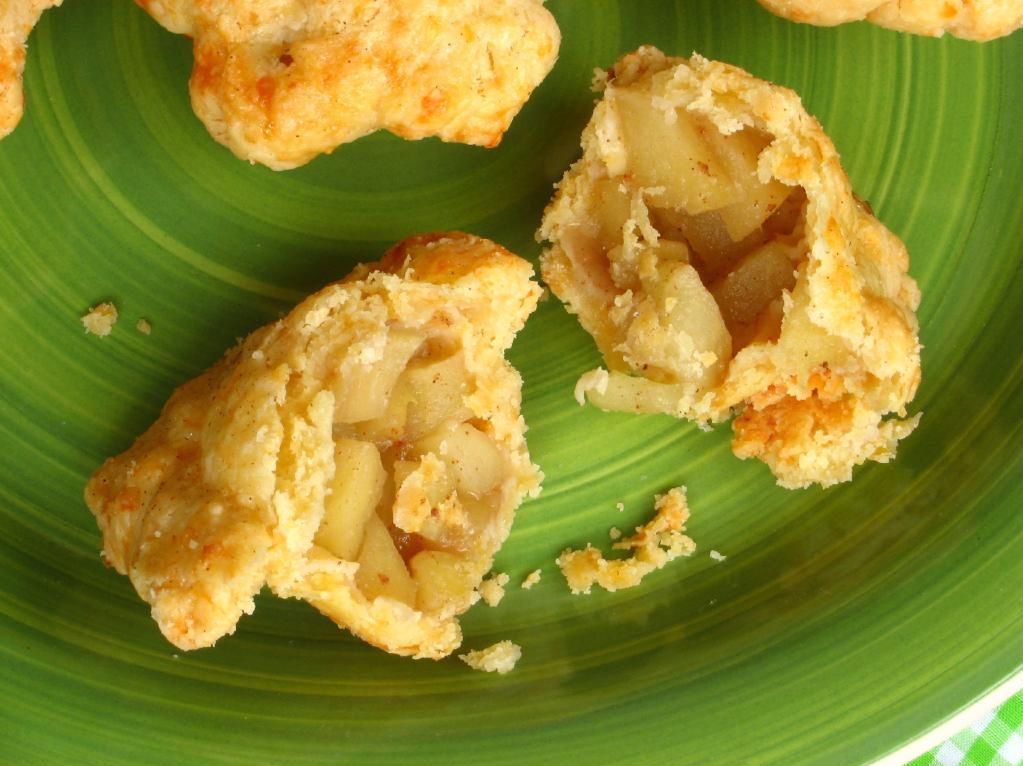
So what would be better than a slice of apple pie with a slice of cheddar cheese on top? How about a pie that fully integrates the apply and cheddary goodness? I created these mini apple pies with cheddar crusts to do just that. The cheddar crust is phenomenal — I think I ate more of it raw than I used in the pies — and I chose a sweet apple filling to balance it out. The result is a buttery, sweet-and-salty piece of heaven.

If this is the first time you’ve heard of the apple pie and cheddar combo, trust me — all Disney Worlds and Sea Worlds aside — when I say you have to try it. And if you’ve enjoyed a slice of apple pie with a hunk of cheddar on top, back me up: tell us how much you love it.

P.S.: Some folks have apparently been known to say, “An apple pie without the cheese is like a hug without the squeeze.”

P.S. 2: Happy Pi Day — only one day late. These little guys are worth the wait.

Mini Apple Pies with Cheddar Crusts


Recipe by: Adapted from my own pie crust and Betty Crocker’s filling
Yield: 4 cupcake-sized apple pies and 10-12 mini apple-pies

Crust Ingredients:
4 cups flour
1 teaspoon salt
10 ounces extra-sharp cheddar, grated
3/4 cup cold lard (non-hydrogenated if available)*
3/4 cup cold butter, chopped
6-8 tablespoons cold water
1 egg beaten with 1 tablespoon water for egg wash
1/4 cup white sugar mixed with 1 teaspoon cinnamon for sprinkling
*you can substitute vegetable shortening here if you wish, but I highly recommend the lard!

Filling Ingredients:
1/4 cup sugar
1/8 cup all-purpose flour
1/2 teaspoon ground cinnamon
1/2 teaspoon ground nutmeg
pinch salt
4 cups mixed apples, peeled and chopped (4 medium — I used Gala, Fuji, Granny Smith, and Golden Delicious)
1 tablespoon butter

Directions: Pulse flour and salt together to combine. Add scoops of lard and pulse into the mixture has the texture of coarse sand, about 10 seconds. Add in chunks of butter and cheese and pulse until butter pieces are no larger than small peas, about 10 pulses. Add minimum amount of water and pulse on low. If dough remains crumbly and doesn’t come together, add another 2 tablespoons of water. Add as little as is required to enable the dough to be rolled into a ball. Form the dough into 2 disks, wrap in plastic, and refrigerate for 20-30 minutes while preparing your filling.

Prepare filling: Mix all ingredients together except for butter.

Preheat your oven to 400 degrees F. Use cupcake pans, mini-cupcake pans or both for your pies, as desired. After crust has chilled, roll it out between two sheets of parchment paper until it’s relatively thin — a little thinner than 1/4 inch. Pull the parchment paper off the dough every now and then (flipping to do this on both sides) to ensure your dough isn’t sticking. Use a big round cookie cutter or a knife to cut out a piece of dough about 2 inches larger around than your cupcake wells (or about 1 inch larger around than your mini-cupcake wells). Fit this dough down into a well as a bottom crust. Fill it with filling, top it with a few bits of butter, and use another circle of dough to form the top crust. Crimp the edges (careful not to make your crimping too elaborate — if your edge is too big, your pies can be top-heavy and pull apart. You may just want to use a fork to create decorative edges instead of traditional “crimping.”) Repeat this process until all of your mini pies are ready for the oven. Brush them all with egg wash and sprinkle cinnamon and sugar mixture over the top.

Bake mini pies at 400 degrees for 15 minutes (for cupcake-sized) or 10 minutes (for mini-cupcake sized). Turn temperature down to 375 degrees F, open the oven to rotate your pans and cool it off for a few seconds, and turn temperature down to 375 degrees F. Bake cupcake-size pies for 7-9 minutes longer, and mini-cupcake sized pies for 6-7 minutes longer. Remove from the oven and let pies cool completely in the pan — then gently “twist” the pies in their wells to be sure they aren’t sticking and pull them out. Serve immediately or store in an air-tight container in the refrigerator.

P.S. Don’t forget about the Cheesecake Challenge! Choose any one of 9 cheesecake recipes to prepare within the next month. Email a photo to me by 4/5/2011 to be featured on Willow Bird Baking! Get more details about the challenge here.

If you liked this post, please:
Subscribe to Willow Bird Baking
Follow Willow Bird Baking on Twitter
Follow Willow Bird Baking on Facebook
Give this post a thumbs up on StumbleUpon


ShareOther ways to share this post with friends!

Soft Pretzel Dogs (an homage to Auntie Anne’s Pretzels)

I have this embarrassing salad bar practice. You’re going to think I’m silly (or else you’re going to leave me a comment saying, “I DO THAT EXACT SAME THING!” and make me feel a little better. No pressure.)

See, I’m a little shy about how much salad dressing I eat. I was never one of those mostly-veggies-with-a-spritz-of-lemon-juice salad people. I was (am!) one of those bacon-cheese-and-crouton salad people, where the dressing has to touch every leaf with its creamy goodness. But I can never quite shake the feeling that the person behind me at the salad bar is watching me pour my bleu cheese dressing with thinly veiled disgust, silently tabulating the calories I’m about to consume.

To deal with this uncomfortable situation, I developed a little pantomime routine in which I dump as much salad dressing as I want on my salad before giving a little gasp and jerking the bottle up as if to say, “Oops! Of COURSE I didn’t mean to pour that much salad dressing — it just came out so fast!” Then I snap up my salad and hastily head to my seat.

I’m sure the lemon-spritzers in line behind me think I’m disappointed that my salad got drenched and that I’m really only eating it because I hate to waste food . . . right?! Okay, maybe I’m not fooling anyone.

The truth is, while I eat reasonably all week, I go all out on the weekends. And I can eat a lot. Like, enough so that more than one waitress has been driven to exclaim over the amount I have consumed (they better be glad I don’t believe in docking tips). Like, enough that I can almost always out-eat any fully grown, healthy, hungry man around me.

In college, the impressive amount I could eat would become glaringly apparent in the dining hall, where most gals were ordering half a grapefruit for breakfast and my plate was overflowing with bacon and eggs. And a waffle. With, like, butter and syrup and stuff. This disparity produced lots of food embarrassment. For some reason, perhaps especially as a woman, I always feel like I should be, um, daintier or something.

Sometimes, though, a certain food compels me to stop caring about what other people are thinking. Recently, that food was Auntie Anne’s Pretzel Dogs. I first saw them in the Dallas airport on a layover. I was reserved, ordering only one along with a couple of other small snacks.

But my first bite of that buttery, yeasty pretzel wrapped around a juicy hot dog was a surreal experience — and I don’t think it was just the medicine I take for my flight anxiety. I was hooked. I talked about the pretzel dogs throughout my entire weekend trip, and when I found myself flying back home to Charlotte through Dallas, I was prepared.

As soon as we touched down, I hastily disembarked and headed straight for the nearest Auntie Anne’s. There, I immediately threw caution and food embarrassment to the wind, ordering 3 pretzel dogs and a big soft pretzel on the side to, um, balance out my meal. And cheese sauce. I was in pretzel dog heaven.

Clearly, the next step was to figure out how to make pretzel dogs at home in Charlotte. I found the following recipe and, while not perfect, it’s pretty darn close, not to mention pretty darn easy!

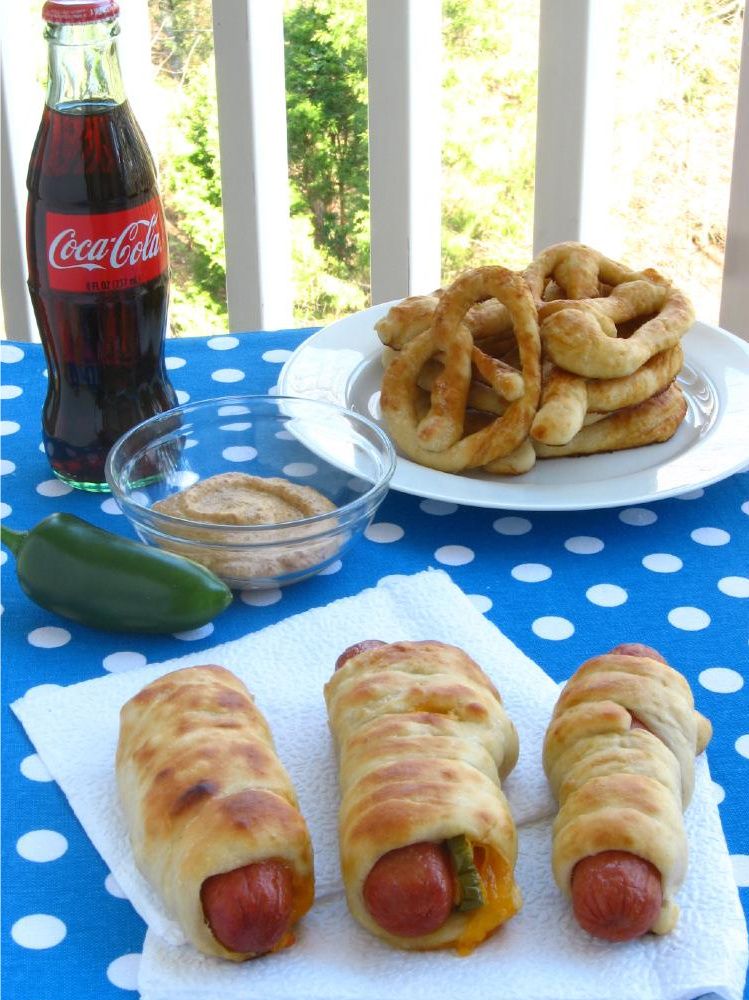
The baking soda solution I dipped my pretzels in didn’t seem strong enough to give them a nice deep brown color, so I tweaked it below. I also had a lot of fun with flavors. I made soft pretzels, pretzel dogs, cheddar pretzel dogs, and jalapeno pretzel dogs. And all bashfulness aside, over the course of a weekend, I ate almost every single one of them myself.

Do you ever feel any food embarrassment, or are you an unabashed eater?

Soft Pretzel Dogs


Recipe by: Adapted from CDKitchen
Yields: 8 pretzel dogs and 5-6 pretzels

Ingredients:
1 1/2 cup warm water
1 1/8 teaspoon active dry yeast
2 tablespoons brown sugar
1 1/8 teaspoon salt
1 cup bread flour
3 cups regular flour
2 cups warm water
2 tablespoons baking soda
3 tablespoons butter, softened to room temperature
8 Nathan’s all-beef hot dogs (do yourself a favor and don’t use anything but Nathan’s!)

Toppings:
cheddar cheese
jalapeno slices (wear gloves to handle, and don’t touch your eyes!)
coarse salt, to taste
4 tablespoons butter (melted)

Directions:
Place warm water in mixing bowl and sprinkle yeast in, stirring to dissolve. Add the sugar and salt and stir. Add the flour and mix until combined. Knead until the dough is smooth and elastic (this took a few minutes on high speed with my KitchenAid mixer equipped with a dough hook). Place the dough in a greased bowl and cover it. Place it in a warm area to rise at least 1/2 an hour.

Preheat oven to 450 degrees F. When dough’s almost finished rising, prepare a baking soda water bath. I used one that I don’t think was strong enough (from the original recipe) to brown the pretzels appropriately, so I’ve poked around and found a better one for you. Mix the warm water and baking soda and continue to whisk periodically as you work with your dough.

Once your dough is risen, spray cooking spray over a spot on your counter and turn the dough out onto it. Use a sprayed pizza cutter to slice off a strip of dough. Roll it, starting from the middle and working outward with greased hands, into a thin rope — the thinner you get it, the more like Auntie Anne’s pretzels it’ll be. I even gently picked it up and let gravity help me lengthen it every now and then. For inspiration, watch this awesome video from the folks at Auntie Anne’s on shaping, dipping, and baking pretzels.

Form your strand into a pretzel shape OR wrap it around a hot dog OR wrap it around a hot dog and strip of cheese OR wrap it around a hot dog with a strip of cheese and some jalapenos. When you wrap it around the hot dogs, just slightly overlap the dough so there aren’t many gaps. Now dip the pretzel into your soda solution and place on a parchment-lined baking sheet. Sprinkle with coarse salt. Bake for 7-10 minutes or until golden brown. Brush with melted butter and serve immediately with hot mustard or Cheez Whiz (tastes just like Auntie Anne’s cheddar dip!) for dipping.

P.S. Don’t forget about the Cheesecake Challenge! Choose any one of 9 cheesecake recipes to prepare within the next month. Email a photo to me by 4/5/2011 to be featured on Willow Bird Baking! Get more details about the challenge here.

If you liked this post, please:
Subscribe to Willow Bird Baking
Follow Willow Bird Baking on Twitter
Follow Willow Bird Baking on Facebook
Give this post a thumbs up on StumbleUpon


ShareOther ways to share this post with friends!

Celebrating Cheesecake — and a challenge for you!

Taylor from Taylor Takes a Taste tweeted me yesterday with a very, very important message: Today is National Cheesecake Day! Well, okay, it’s actually National White Chocolate Cheesecake Day, but I’ve never made a white chocolate cheesecake, so just ignore that part. I’ll add it to my to-do list.

In order to celebrate, I thought I’d compile Willow Bird Baking’s many cheesecake recipes and issue a challenge for you!

My goal is to inspire kitchen confidence in home cooks by encouraging them to tackle fun, challenging new recipes. So I’m challenging you this month! Here’s what you do:

Choose one of the cheesecake recipes below that feels like a challenge to you and make it for friends, family, or coworkers.

– Take a photo and email it to me at juruble ‘at’ gmail ‘dot’ com with a few comments about how it went and a link to your blog (if you have one — if you don’t, that’s okay too!).

– Do this before April 5, 2011. In exactly a month, I’ll post all of your cheesecake masterpieces here on Willow Bird Baking!

– You can also grab the badge at the bottom of this post if you’d like to let your readers know that you’re participating in the Cheesecake Challenge, but it’s optional.

If you’d like to participate, leave me a comment below and let me know! If you’ve already made one of the recipes below, that counts too! Just send me a photo!

Willow Bird Baking’s Cheesecake Recipes:

1. Coffee Cookie Dough Fudge Cheesecake


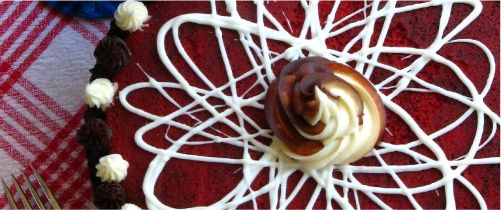
2. Red Velvet Cheesecake


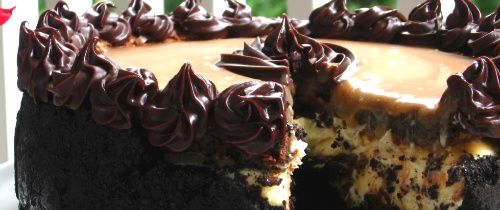
3. Caramel Fudge Brownie Cheesecake


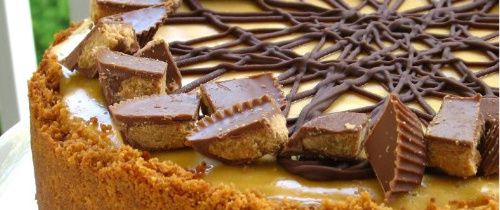
4. Chocolate Peanut Butter Bliss Cheesecake


5. Blueberry Lemon Cheesecake Cupcakes


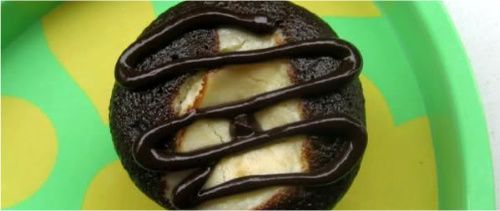
6. Chocolate Cheesecake-Stuffed Cupcakes with Ganache


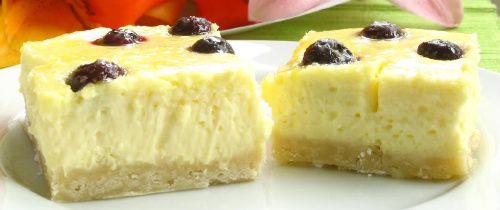
7. Lemon Blueberry Cheesecake Squares with Shortbread Crust


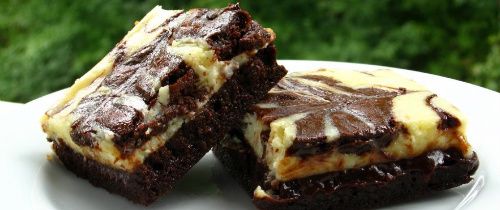
8. Marbled Chocolate Cheesecake Brownies


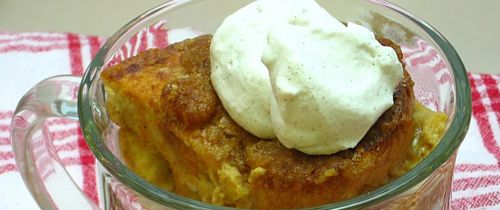
9. Pumpkin Cheesecake Bread Pudding

And don’t forget to watch my (slightly embarrassing) cheesecake tutorial for great cheesecake pointers!

Finally, here’s the Cheesecake Challenge badge if you want to grab it:

If you liked this post, please:
Subscribe to Willow Bird Baking
Follow Willow Bird Baking on Twitter
Follow Willow Bird Baking on Facebook
Give this post a thumbs up on StumbleUpon


ShareOther ways to share this post with friends!
1 94 95 96 97 98 127