Milnot Cheesecake Cheesecake

The world lost a firecracker just a few days before Christmas. My Great Grandma Thelma passed away at 99 years old, but her spirit can’t be extinguished.

Grandma was as comfortable with a gun and a dog as she was in a dress and pearls. As if to match her personality, her hair remained a shocking shade of red right up until the last few years of her life, when soft white took over. The lines on her face deepened and multiplied over time, no doubt spurred on by belly laughs and smiles.

She was a home to those who needed a home, a laugh to those who needed a laugh, and a light to all of us.

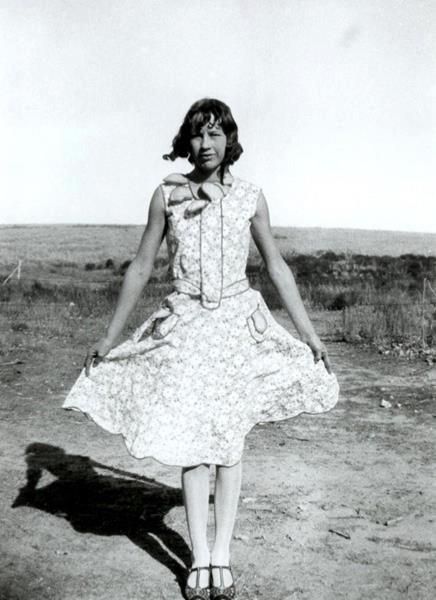
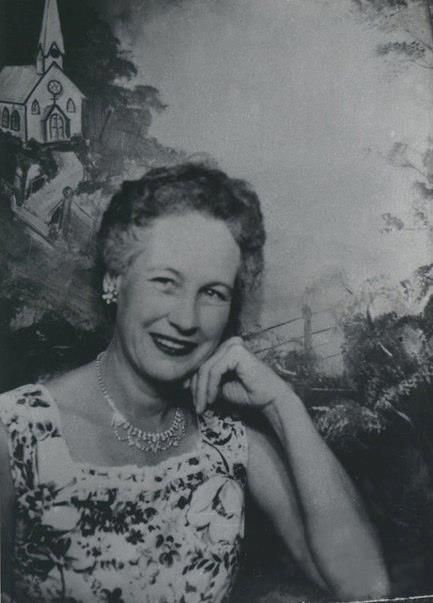
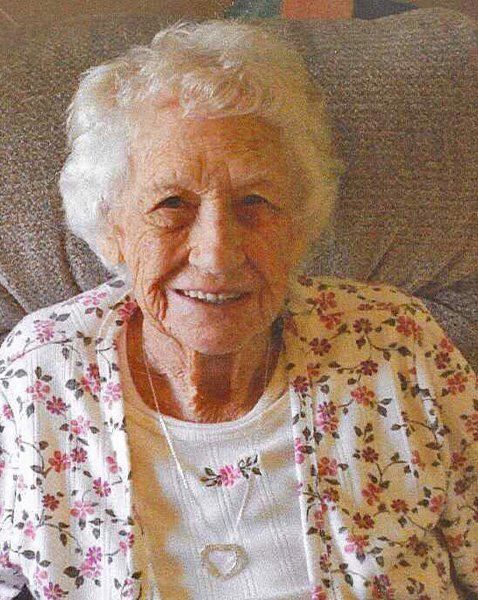
Grandma Thelma through the years.

My mom, who was very close to her grandma and lived with her for awhile growing up, got to travel to Missouri to attend her funeral. Person after person stood up and reflected how Grandma had touched their lives. Mom says she couldn’t hold it together enough to talk about her Grandma then, but when she returned home, she sat down with my dad and began the task of capturing Nettie Thelma Logsden in words.

I can’t think of a better way to introduce you to this wonderful woman than to share Mom’s list with you. So without further ado, here are Life Lessons from Grandma Thelma. Some of them are funny, some of them are profound, some of them are downright suspect. But they’re all thoroughly Thelma.

1. Work hard. People are counting on you.

2. Turtles will always return to one spot. Best to paint your initials on their shells (hot pink paint will work) to identify them later.

3. Outhouses also look great painted hot pink!

4. Bacon grease, duck eggs, and bread soaked in grease make healthy dog food.

5. Spoons, Yahtzee, Rummy, and Skip Bo are great fun!

6. Cold beer and peanuts taste exceptionally good after mowing the lawn.

7. A bite of peanut butter will take the beer smell away (in case someone drives up)!

8. Empty your own “potty.”

9. A straw hat pulled way down will keep your hair from blowing in the wind while driving.
10. Empty bottles and doll heads are keepers!

11. Everything is a keeper!

12. Enjoy the silly things in life: Furbies, Billy Bass, Rockin’ Santas, et cetera.

13. Flour with weevils is fine; just sift them out and it’ll be good as new!

14. If the dog was good enough to tree something (even at 3 a.m.), it’s our duty to go shoot it!

15. If you are old enough to reach the pedal, you are old enough to drive.

16. If something is on sale, buy 10. Even if it’s bubble bath and you don’t have a bathroom. You’ll use it someday.

17. Under the bed is a great place to store all the Cokes you bought on sale.

18. Rock hunting is fun (especially hunting for shiny ones. Or round ones. Or flat ones. Or arrow heads. Well, pretty much ANY rock!)

19. Don’t do anything until the supper dishes are done. You’ll hate coming back to do them later.
20. Fishing, hunting, camping are all fun when done with family.

21. Annie Over is a wonderful game, but it’s hard to find a place to play!

22. Guitar, banjo, harmonica, and piano are all fun to play, and you can teach yourself!

23. Staying up late (even all night) is okay.

24. You can tie a string around a lizard’s tail and pin it to your shirt and it will wiggle. Beetles with strings tied to their leg are great fun, too. (Julie’s note: WHAT?! Really, Grandma?! Do not try this at home, y’all.)

25. You can drive better and faster if you hunch over the steering wheel. (Don’t forget the straw hat!)

26. The fish in Peggy’s lake like to eat chicken fat.

27. When you stir your gravy, put your whole body into it.

28. You don’t really ever need lunch.
29. Take people in if they need a place to stay.

30. Aunt Jaquie’s house is a great place to wash your hair, do laundry, or just hang out.

31. Certain plant leaves are good for making “frog tongues.”

32. Sleeping is better with a small pillow between your knees, a fan on, and a big swig of mineral “oral” before bed. (A True Confessions magazine helps, too.)

33. An electric skillet makes great fried chicken. (Or pork steaks!)

34. Waffles are great with white corn syrup and real butter.

35. Never talk bad about anyone. (Never THINK bad about anyone.)

36. Store-bought frozen cream pies are great!

37. Churn your own butter and drink the buttermilk.

38. Writing on the “tunnel” walls is fun.
39. A whole lot of kids can fit into one car on “$1.00 night” at Pine Hill Drive-In.

40. Grandkids are special!

41. Great grandkids are special!

42. Great, great, grandkids are special!

43. Milnot Cheesecake is very easy and tasty.

I may not agree with Grandma Thelma on every detail (I throw away my doll heads, personally. And OH MY GOSH, no live animals are pinned to clothing on my watch), but she’s struck plenty of truth here. She lived a bright, full, strong life, and treated every person who walked into that life with love and respect. I’m glad the world had her for 99 years.

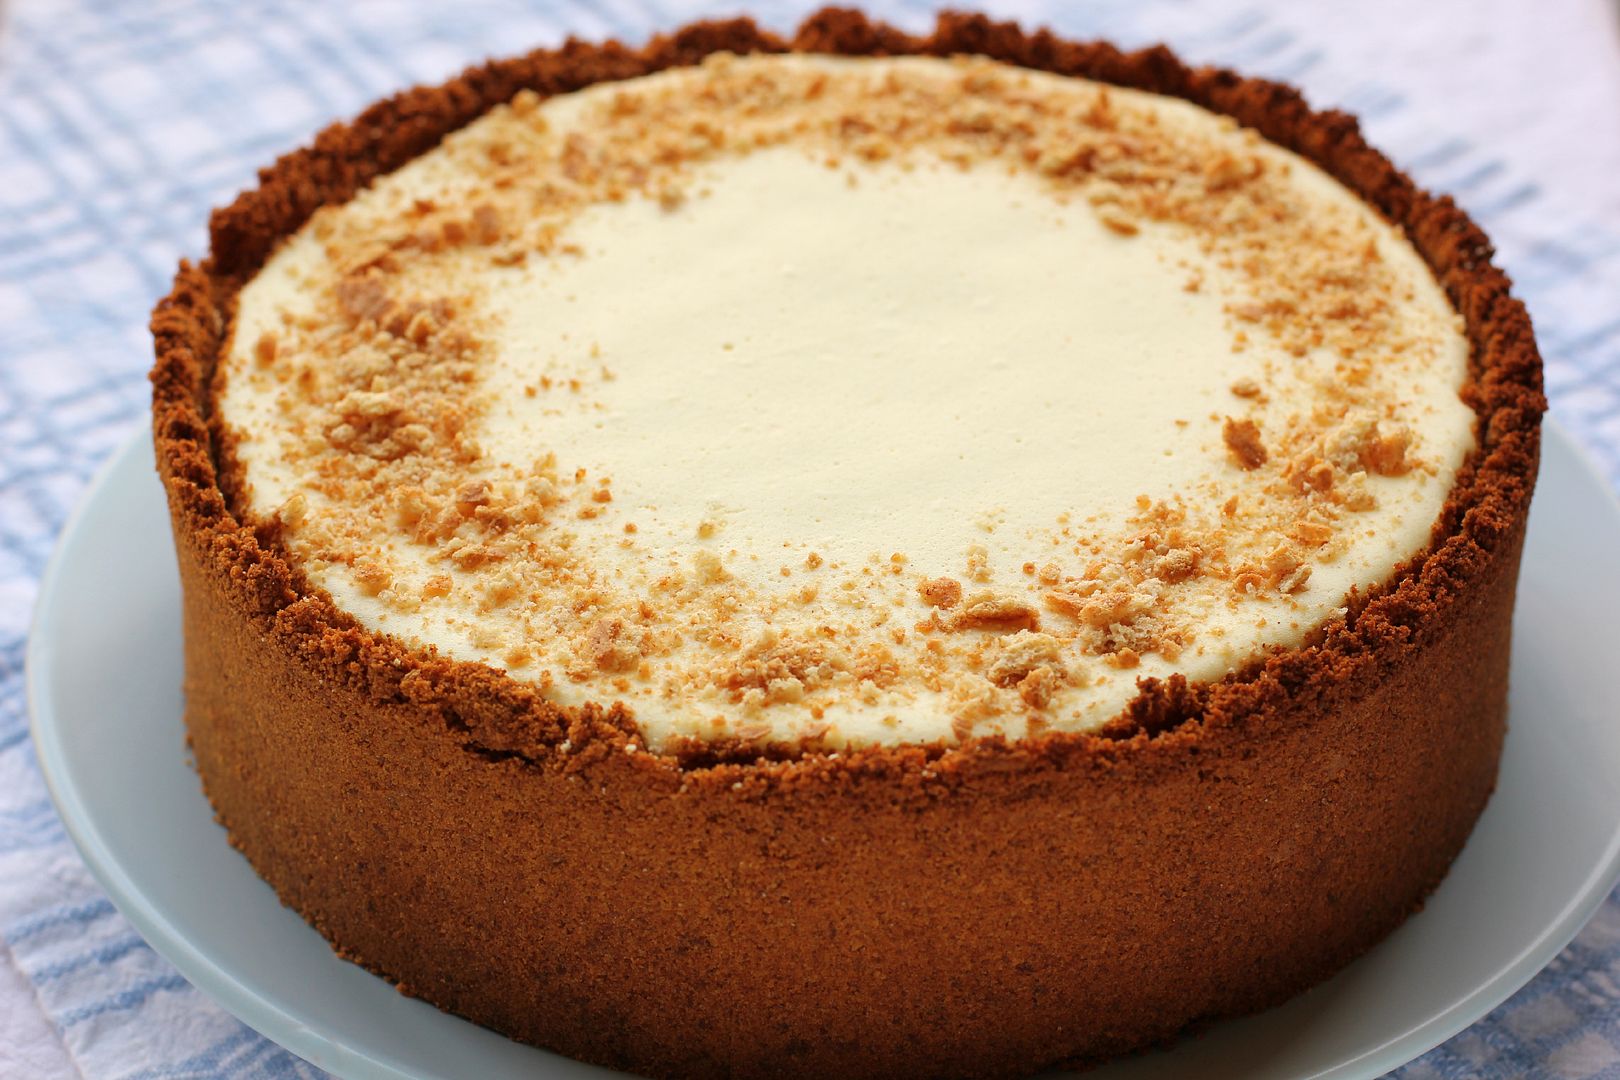
One thing she was certainly right about is Milnot Cheesecake. It’s an old no-bake recipe named after Milnot, an evaporated milk substitute. The Milnot or evaporated milk whips into a whipped cream consistency. When combined with cream cheese and a package of lemon Jell-O gelatin, it creates a light, lemony cloud of mousse. Grandma Thelma used to wake up on occasion and declare, “I think I’ll make a Milnot cheesecake.”
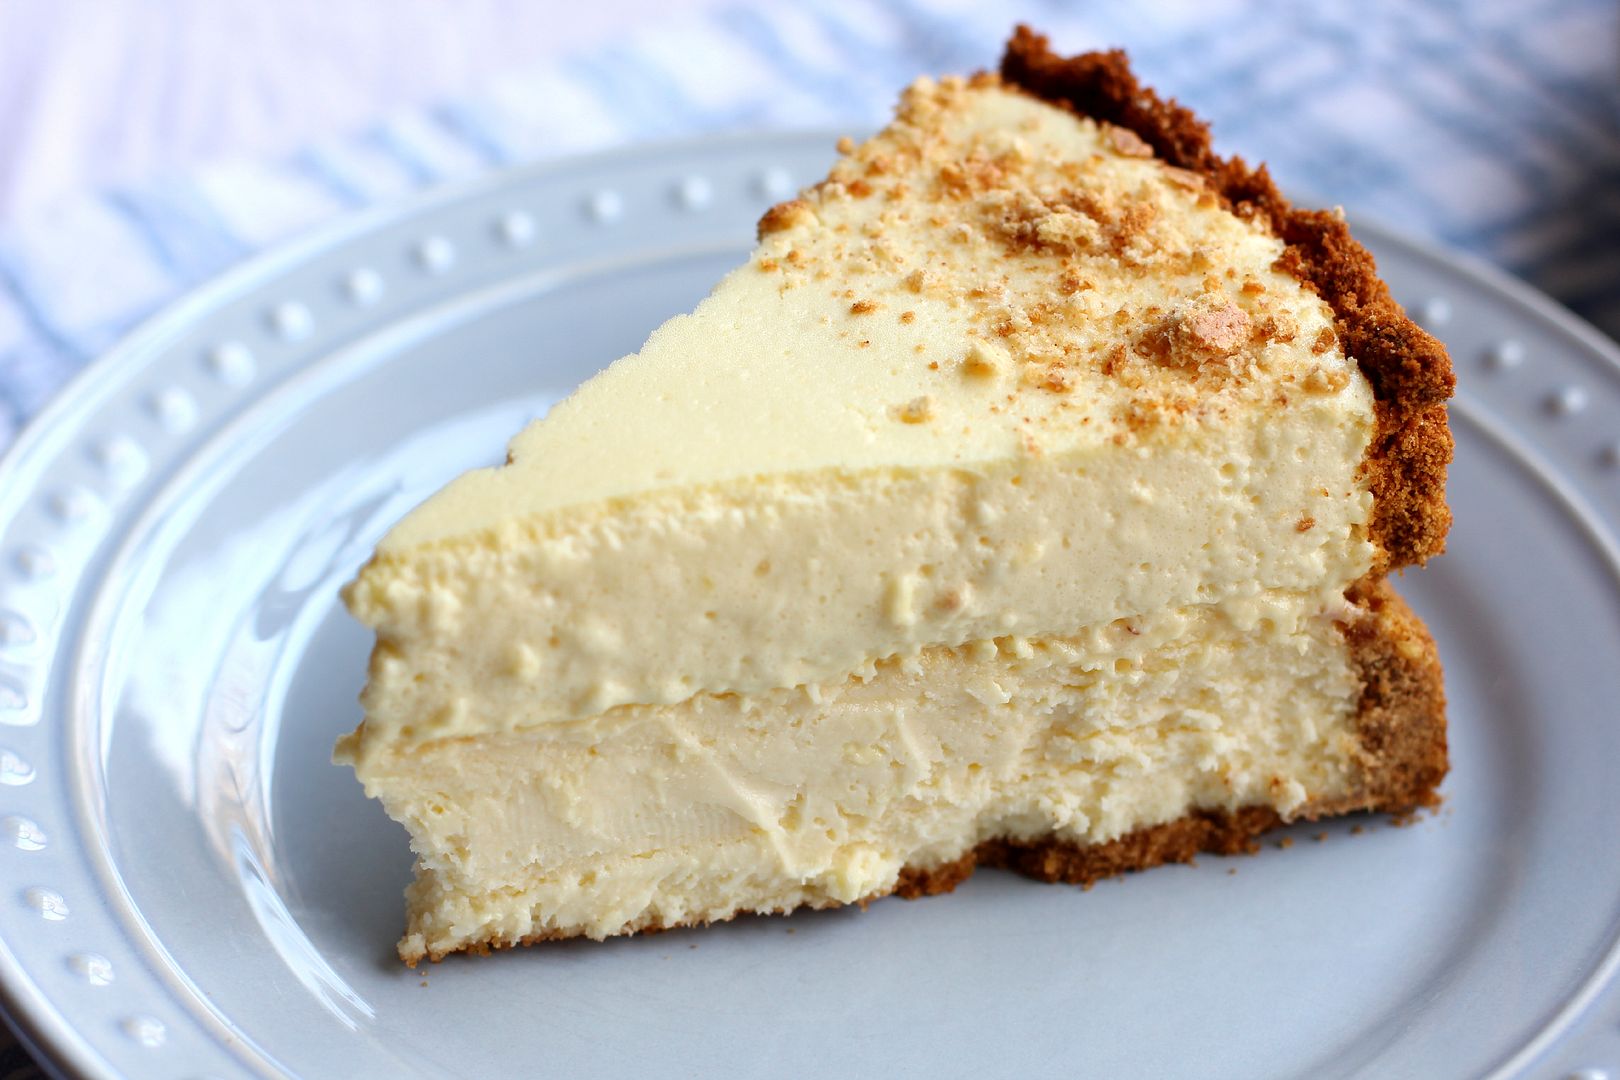
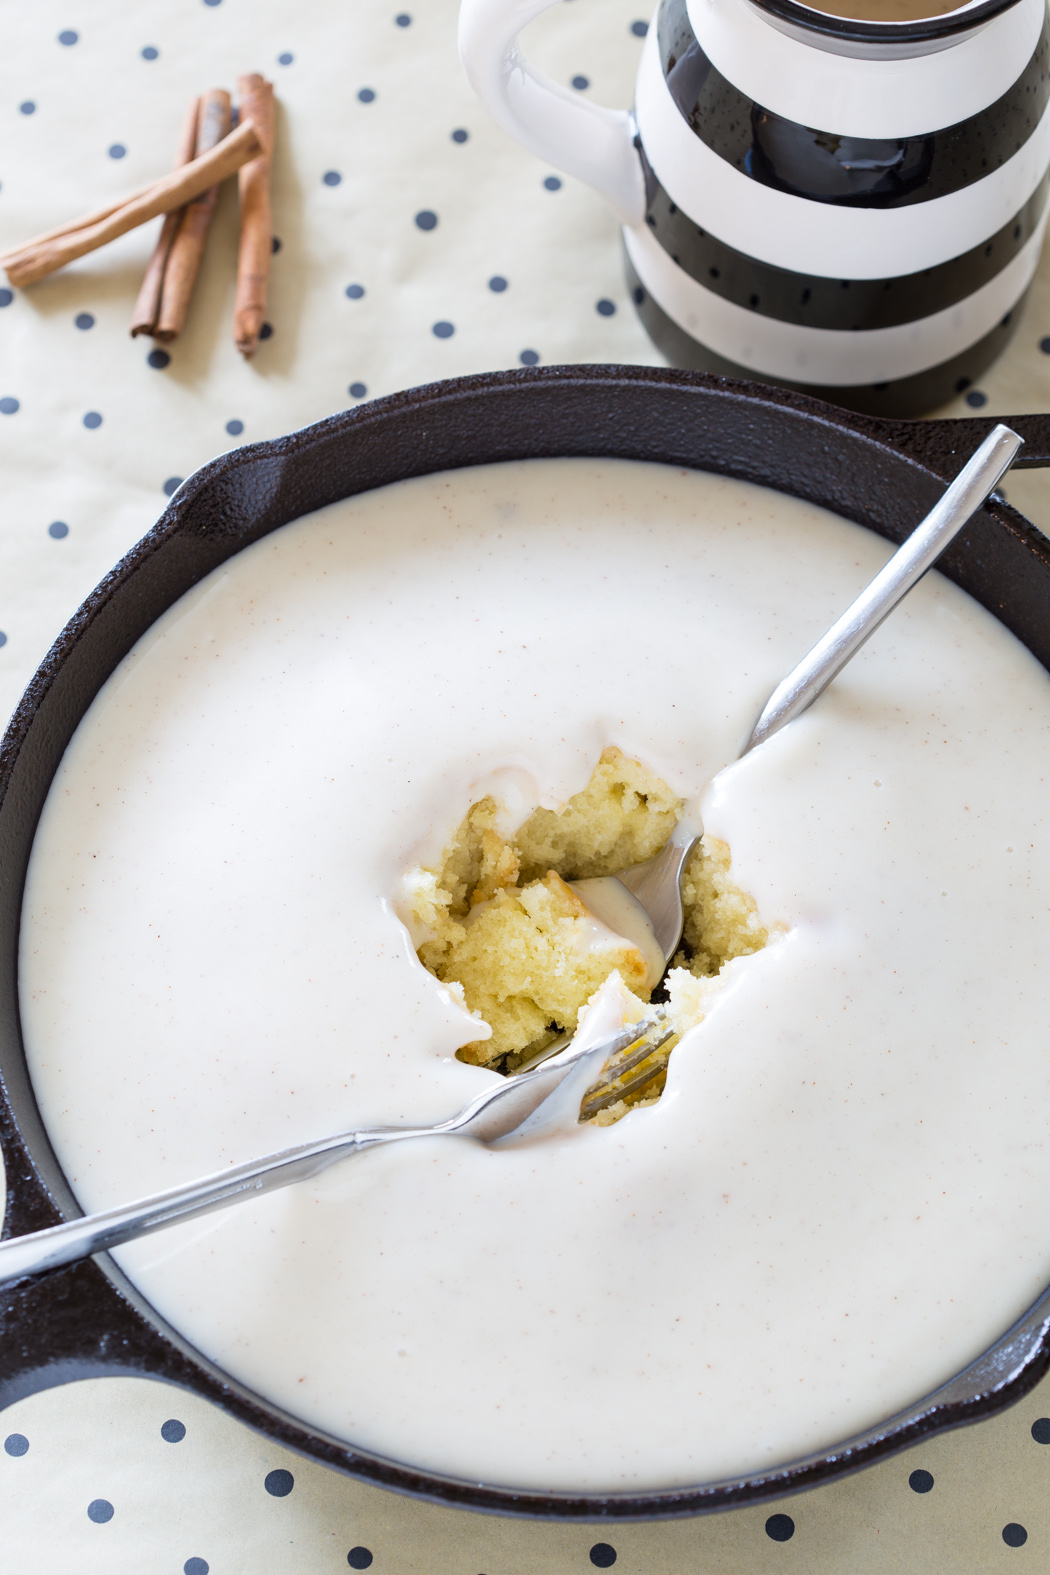
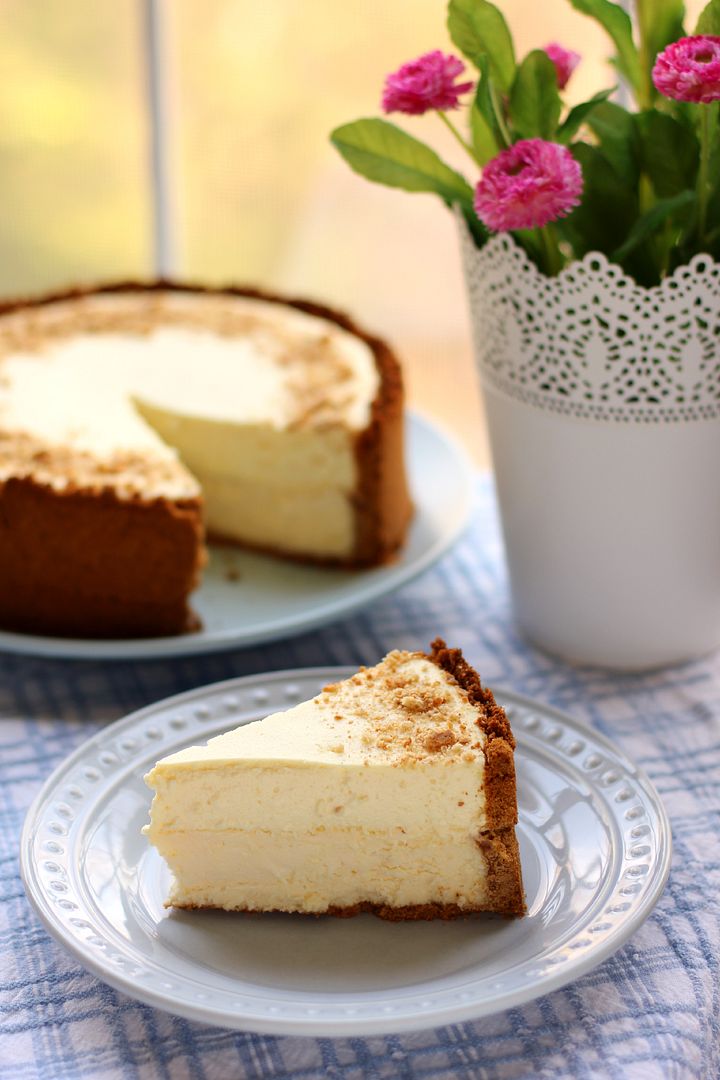
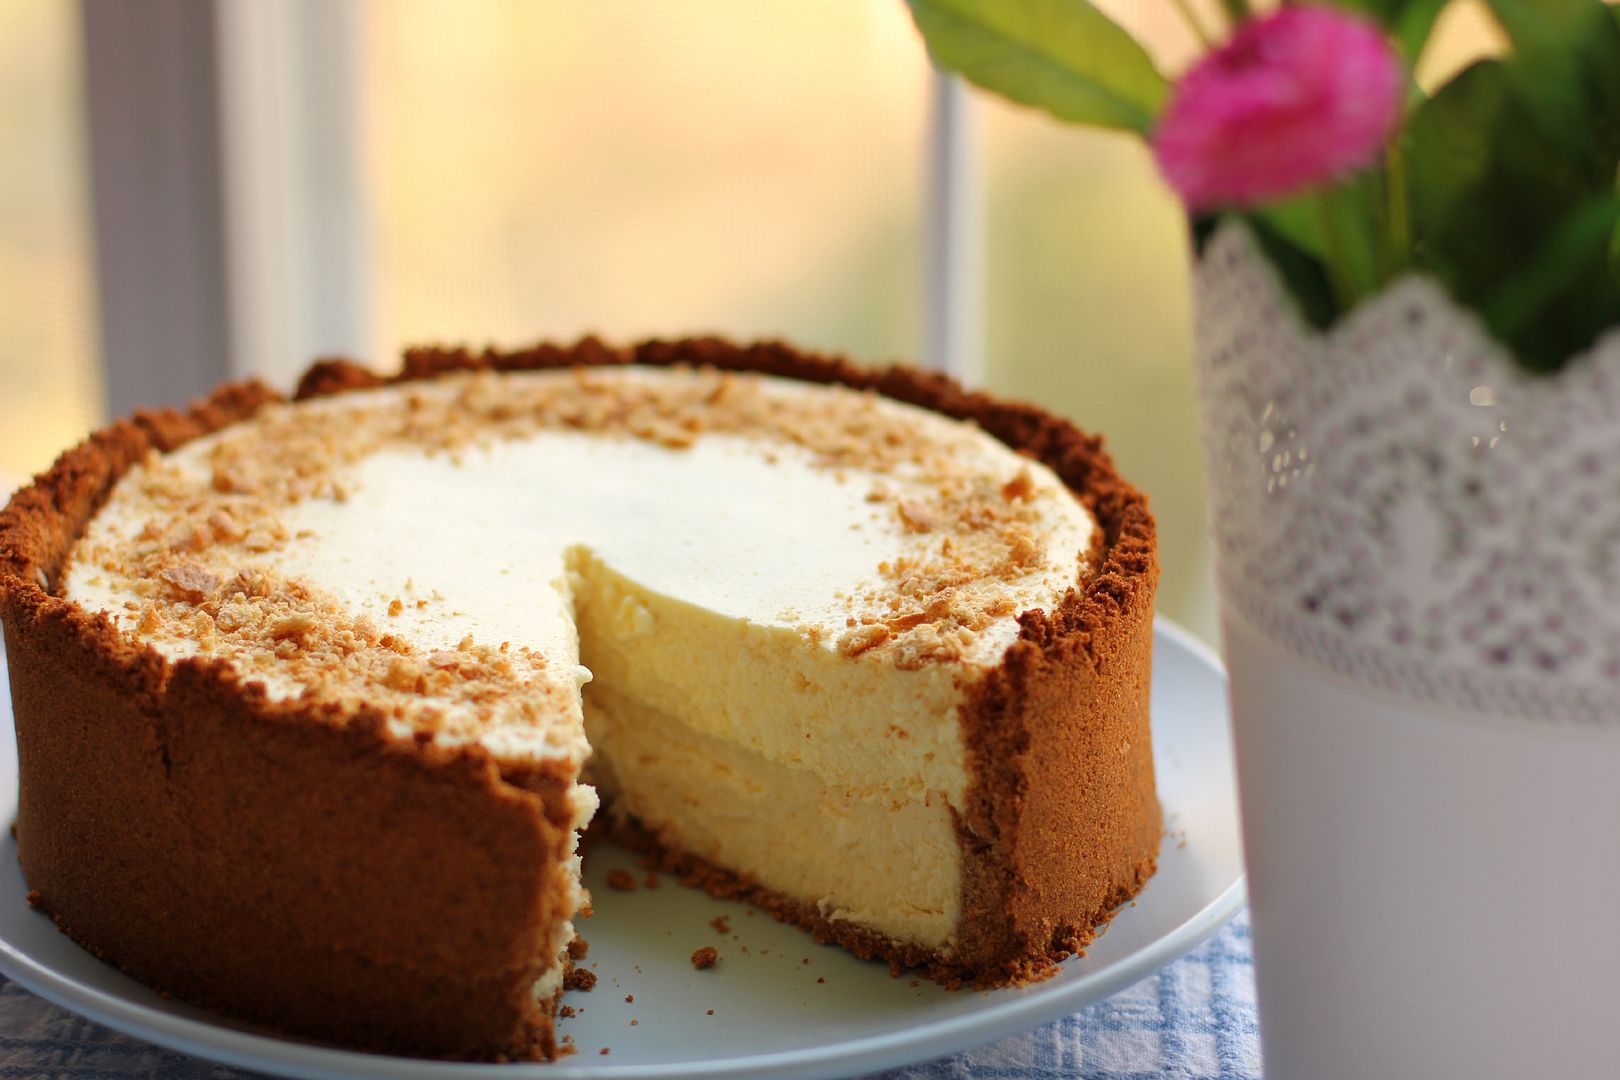
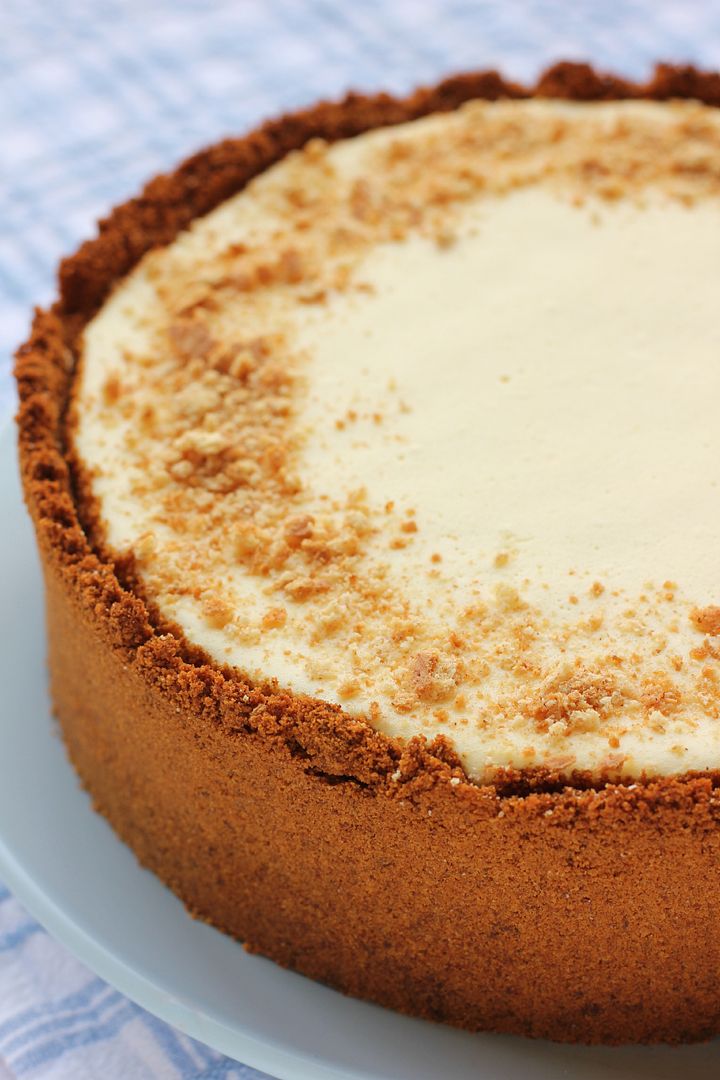
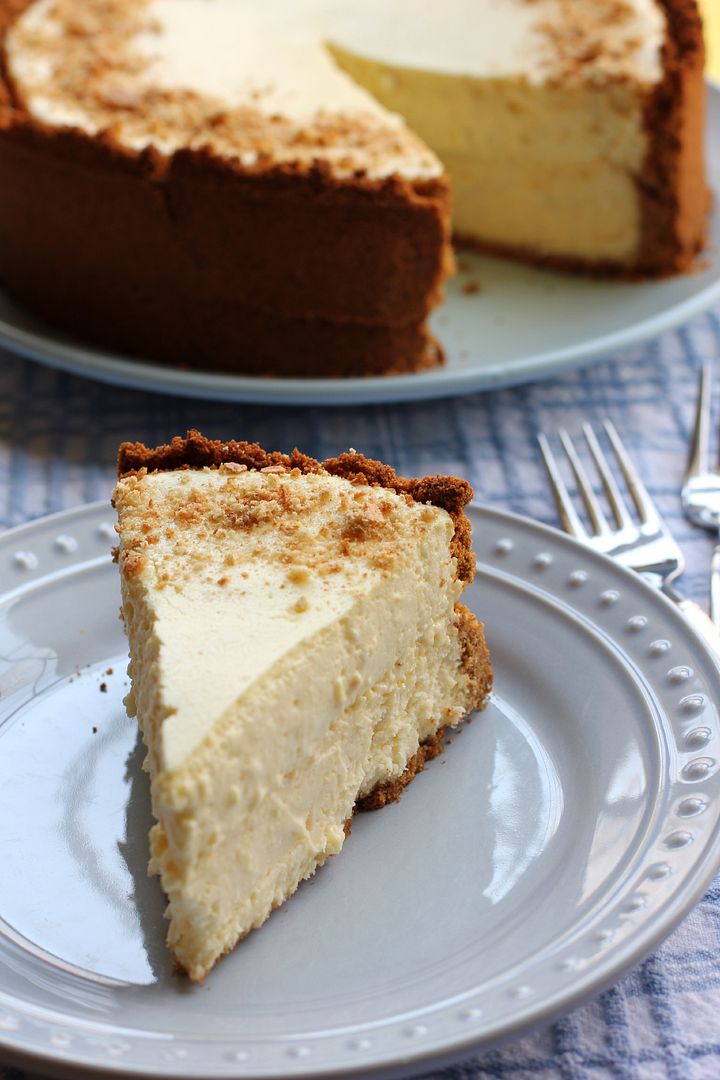
But the title of this essay isn’t a mistake. The dessert pictured here isn’t a Milnot Cheesecake. It’s a Milnot Cheesecake Cheesecake.

Never content to leave well enough alone, I decided to stack a layer of Milnot Cheesecake on top of a layer of creamy, thick regular cheesecake. This double-layered dessert has a mixture of textures and a light, airy flavor that would make Grandma Thelma proud. The recipe might look a little fiddly — and true, it isn’t a dessert you can whip up in a few minutes — but it can be broken up over a few days into very manageable pieces.

In honor of Grandma Thelma, have a slice! (Then go finish your supper dishes. You aren’t going to want to come back to those later.)

Milnot Cheesecake Cheesecake


Recipe by: Willow Bird Baking, using an age-old recipe for Milnot Cheesecake found on Recipes for Laughter
Yield: serves 8-10

This recipe is a twist on the classic, no-bake Milnot Cheesecake. A layer of fluffy, delicious Milnot cheesecake sits like a delicate lemon cloud over a rich layer of traditional cheesecake. A cinnamon graham cracker crust encircles the whole shebang. See the note on scheduling below to break this recipe into a few manageable parts.

Cheesecake Ingredients:
3 (8 ounce) packages cream cheese, at room temperature
1 cup granulated sugar
1 1/2 tablespoons all-purpose flour
2 teaspoons vanilla extract
3 large eggs
2 heaping cups graham cracker crumbs (I use the cinnamon kind)
6 tablespoons butter

Milnot Cheesecake Topping Ingredients:
1/2 small package of lemon Jell-o gelatin mix (this will be 3 tablespoons and 1/4 teaspoon of the powder)
1/2 cup boiling water
8 ounces (1 package) of cream cheese, at room temperature
2 tablespoons and 2 teaspoons sugar
1/2 teaspoon vanilla
a few drops yellow food coloring, optional
1/2 of a 12-ounce can Milnot or evaporated milk, chilled (this will be about 3/4 cup)
crumbled graham cracker crumbs for decorationg

Directions:
Notes: Cheesecakes are simple and super customizable. New to cheesecake making? Watch my 6 minute Cheesecake Video Tutorial for visual assistance! This recipe can be divided up over several days. You can make the cheesecake one day and chill it overnight, make and add the Milnot cheesecake topping the next day, and serve on day 3!

Make the cheesecake: Preheat the oven to 350 degrees F. Lightly grease a springform cheesecake pan. Combine the cookie crumbs and melted butter in a small bowl. Toss with a fork to moisten all of the crumbs. Using a flat-sided glass, press into an even layer covering the bottom and sides of your cheesecake pan (you want it to be tall — try to get to about 2.5-3 inches high — and a little thicker than for your usual cheesecake; maybe 1/4 inch thick so it won’t crumble). Bake the crust for about 6 minutes and let it cool as you make your cheesecake filling.

In a large bowl, beat the cream cheese and sugar on medium-high speed until well blended. Beat in the flour. Add in the vanilla and beat until well incorporated, scraping down the sides of the bowl as needed. Beat in the eggs one at a time, scraping down the bowl between each addition. Pour the filling into your crust.

Bake until the top is lightly browned, puffed and cracked at the edges, and the center moves only very slightly when the pan is lightly shaken (about 40 minutes). Check while baking periodically and put a pie shield (or strips of foil) around the top of your pan to protect the crust edges if they’re getting too dark. Just don’t let the shield/foil touch the crust — it’s delicate and might crumble.

When you pull the cheesecake out, you can use a sharp knife to score a circle around the top of the cheesecake about an inch inside the crust so that as it cools and chills/sinks, it won’t pull the crust in too much. Don’t worry if the circle you cut isn’t pretty, because you won’t be able to see it in the finished product! Let cheesecake cool completely on a wire rack before chilling it in the fridge for at least 3 hours.

Make Milnot Cheesecake Topping: Dissolve Jell-o in boiling water and chill in the refrigerator until slightly thickened, about 25 minutes. Meanwhile, cream the cream cheese, sugar, food coloring, and vanilla in a large bowl. Beat the chilled Jell-o into the cream cheese mixture until completely combined and smooth.

In a large chilled bowl, whip the chilled Milnot with a chilled beater until it forms stiff peaks. Stir about 1/3 of the Milnot mixture into the cream cheese mixture to lighten it up. Then gently fold the rest of the whipped Milnot in until the mixture is uniform in color and completely combined. Pour Milnot filling evenly onto your cheesecake (you will use most of it but not quite all — pour the remainder into a separate dish and cover with graham cracker crumbs. Chill it to make a separate “individual” cheesecake dessert!). Garnish your cheesecake with graham cracker crumbs. Chill the cake for 8 hours. Keep refrigerated and serve chilled.

If you liked this post, please:
Subscribe to Willow Bird Baking
Follow Willow Bird Baking on Twitter
Follow Willow Bird Baking on Facebook
Give this post a thumbs up on StumbleUpon
Pin It


Shareother ways to share this post with friends

Healthy Roasted Tomato and Onion Bread Soup

The realization that I am a delicate Southern flower who requires thick, humid warmth to survive was not a gradual one for me. I remember vividly the exact moment that confirmed it.

It was my junior year of high school and I was sitting in my first period French class. Our class was held in a portable classroom (read: drafty old trailer) and the door was still open to welcome arriving students. And oh my ever-loving goodness, il faisait froid.*

*It was cold, y’all.

I was sitting in my desk, hunched over and hugging myself in an attempt to protect my vital organs from the piercing morning cold. Despite my efforts and the fact that I was wearing a winter coat (which, as you’ll learn, is basically miraculous for me), I was pretty sure I was dying of hypothermia.

As discomfort gave way to alarm, I wondered how much longer I should wait before raising my hand and asking to be carried into the main building, preferably by burly seniors in puffy coats. I looked around to see if anyone else was on the verge of death. A few people were chatting. A girl was shuffling around in her backpack. Ms. Moran was looking over some papers. Hm.

I began to calculate the distance I would have to walk upright — with vital organs relatively unprotected! — to pull the door shut in one last effort to save myself.

It was during this hellacious class (actually, I wouldn’t have minded a little fire just then — hold the brimstone, though) that I knew I would die if I were ever forced to move to any northern state. I remember realizing that at that very moment, people were walking around and going to work and surviving in, like, Vermont. I was aghast.

Since then, I’ve realized a few things. For instance, I’ve realized that I almost die each winter because I don’t wear enough clothing. I’m not running around in culottes or anything (you guys remember culottes?), but I have an aversion to layering my outfits. I end up pulling and tugging at things all day to get comfortable. Give me a short, lightweight sundress to slip on any old day.

As a result of my layering troubles, I’m often exposed to the elements. I’ll pat myself on the back for wearing a sweater, but then neglect to wear a coat over it. Or I’ll grab my coat on the way out the door, but decide not to worry about scarves or mittens. Or, like, real shoes.

I may or may not have been that person in college wearing rubber ducky flip-flops in the snow.

Anyway, I’m generally bad at cold weather, but I’m not totally hopeless. I may be dressing wholly inappropriately for the temperature, but at least I’ll be eating appropriately. When it’s cold, I start to crave oatmeal, warm drinks, chilis, stews, and soups.

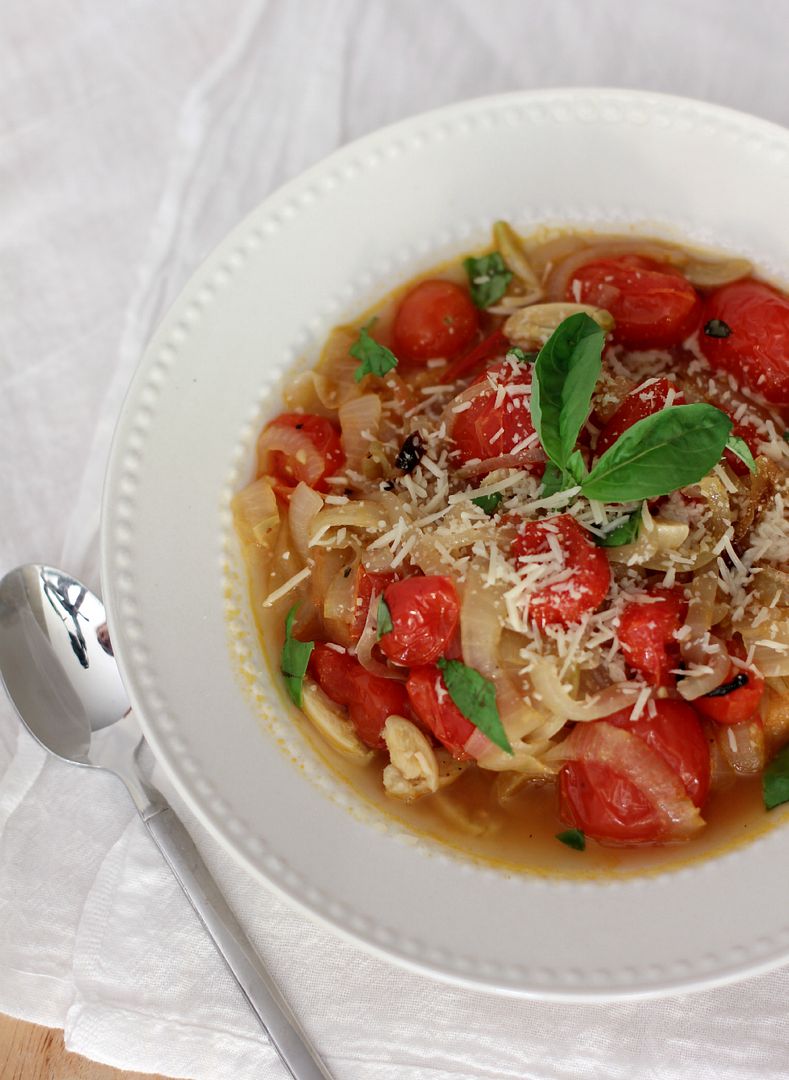
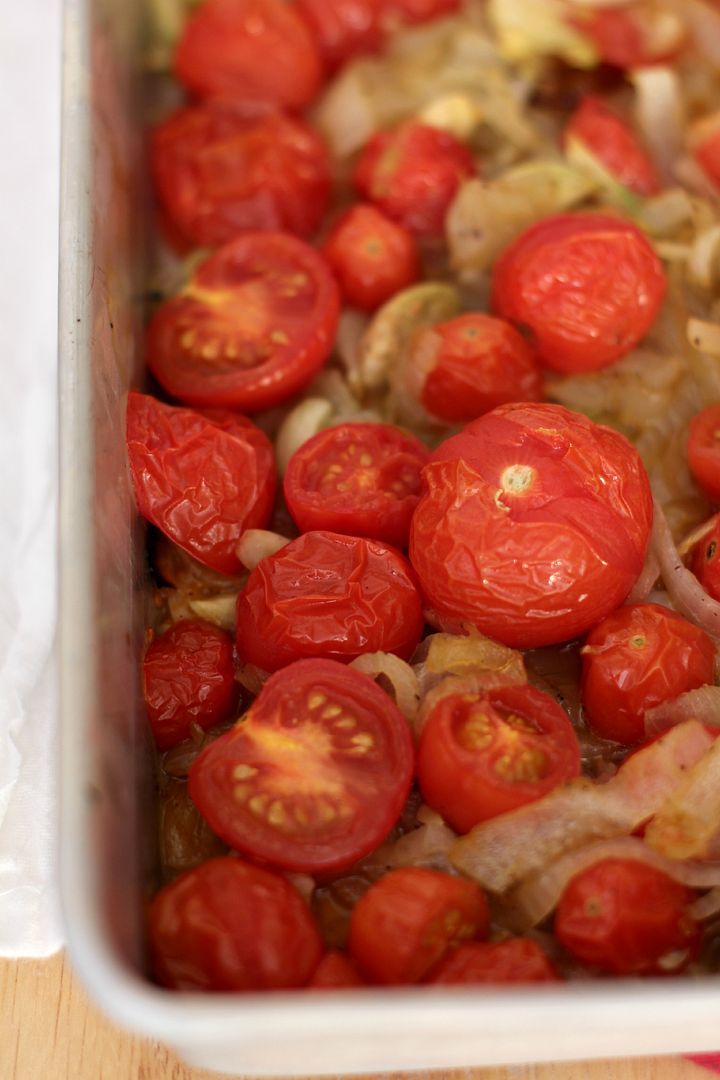
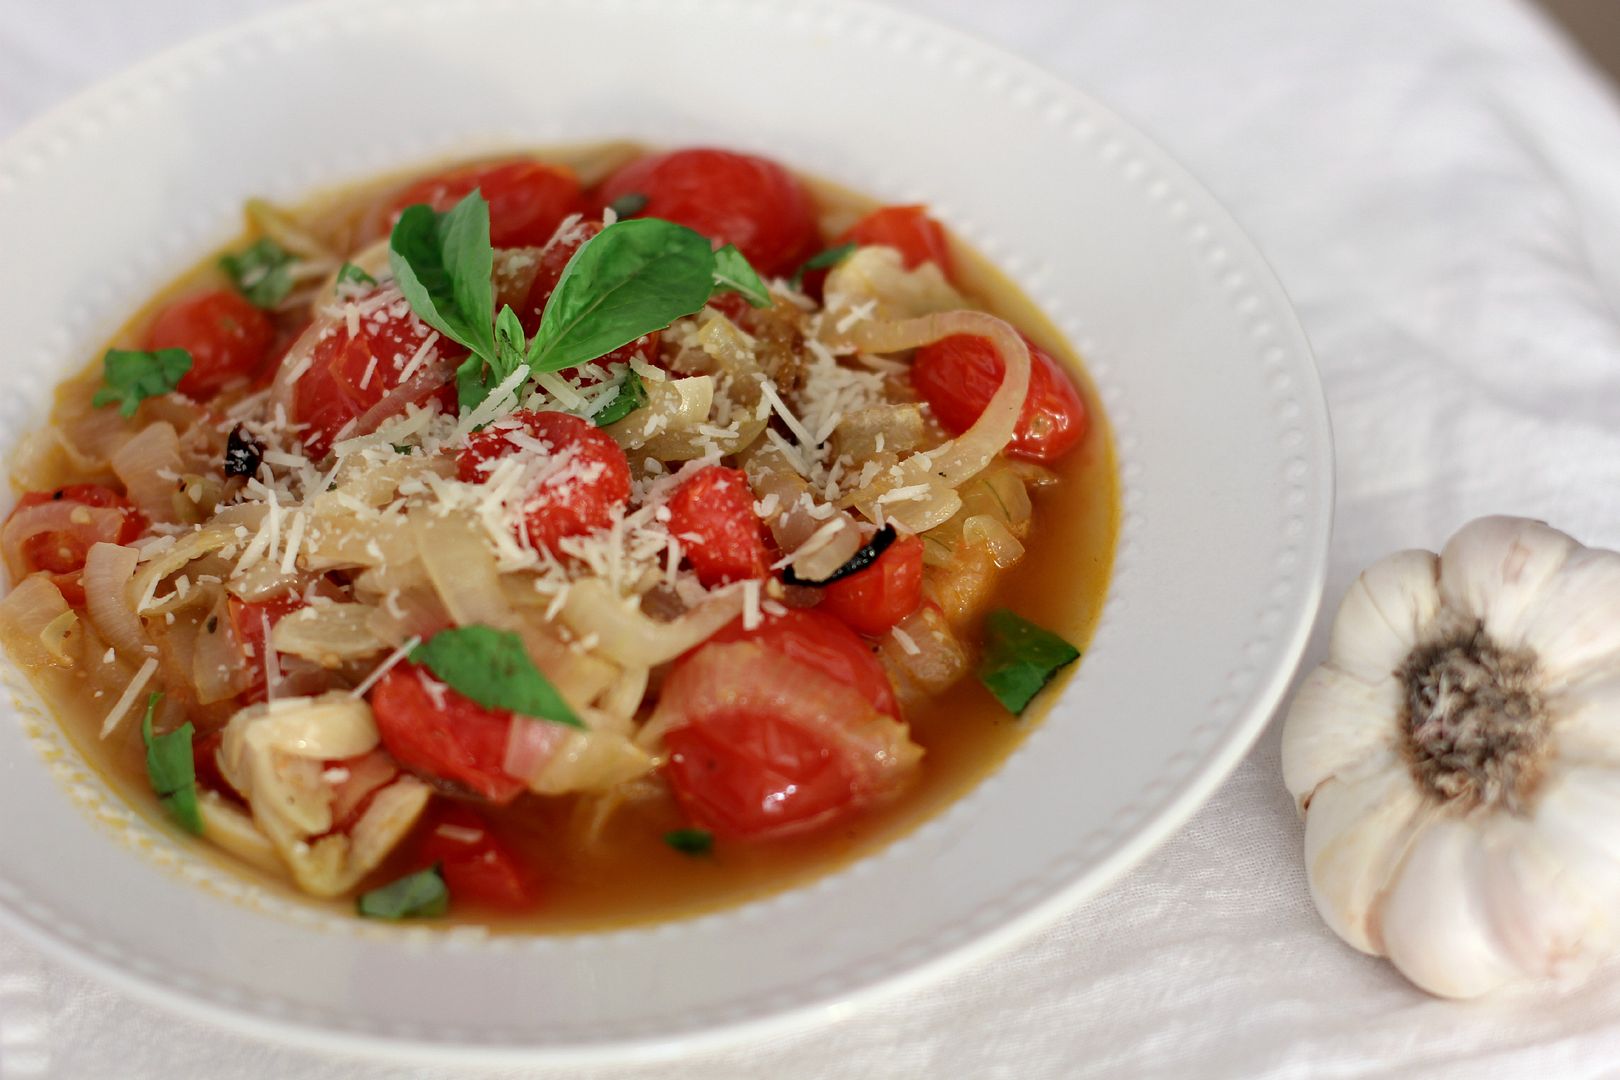
This Roasted Tomato and Onion Bread Soup has been on a regular rotation at my house this winter. Something about serving piping hot soup over a toasty, buttered slice of bread feels rustic and satisfying to me. Best of all, each 1 cup serving of soup is full of veggies and has a little over 200 calories, making this recipe ideal for all the resolutioners out there! When I know I’m having a bowl of this with my dinner, I look forward to it all day long. So grab your snuggies, bundle up, and enjoy!

What are the temperatures like where you live? How do you brave the cold?

Healthy Roasted Tomato and Onion Bread Soup


Recipe by: Adapted from Eating Well
Yield: 6 1-cup servings

This bright soup is served piping hot over a slice of buttered bread. The result is splushy, hearty, and warms you to the soul. I sometimes make a batch of this soup and eat it for several days. When I’m ready to eat a serving, I toast a slice of bread while reheating the soup and then assemble as usual.

Ingredients:
4 cups thinly sliced onions
3 tablespoons extra-virgin olive oil
salt to taste
freshly ground pepper to taste
4 cups cherry tomatoes, halved (I halved most but left some whole)
1/2 cup thinly sliced garlic, plus 1 whole clove, peeled and halved
3 cups reduced-sodium chicken broth or vegetable broth
6 slices hearty bread of your choice
2/3 cup chopped fresh basil
6 tablespoons finely shredded Parmesan cheese
butter for bread
dash of red wine vinegar (optional)

Directions:
Preheat the oven to 450 degrees F. In a large skillet over medium-high heat, heat 1 tablespoon of olive oil. Add thinly sliced onions and top with another tablespoon of olive oil. Add salt and pepper. Toss the onions to coat. Caramelize the onions my cooking them, stirring occasionally (but not constantly, so they can caramelize on the heat) for about 30 minutes or until they’re rich and brown.

In the meantime, I usually chop my tomatoes and garlic. Spray a 9-by-13-inch pan with cooking spray and add the tomatoes, garlic (except the halved clove), the last tablespoon of oil, and salt and pepper to taste. Gently toss tomatoes to coat. Roast these in the oven until the tomatoes are starting to fall apart and brown in spots, about 20 minutes.

When your onions are caramelized, move them to a big stockpot. Deglaze the skillet by pouring the chicken stock into it and bringing it to a simmer. Use a wooden spoon to scrape up the brown bits from the bottom of the pan. Pour the stock into the stockpot with the onions. Add tomato and garlic mixture to the pot as well, mixing gently to combine. Bring this to a simmer. Remove it from the heat, salt and pepper to taste (sometimes I add a dash of red wine vinegar at the end for a little zing), and cover it to keep it warm.

Meanwhile, line your bread up on a foil-lined baking sheet and bake it for about 10 minutes until it’s toasted (full disclosure: I just toast mine in the toaster). Rub a little butter over it and rub the halved garlic cloves on it while it’s still warm (full disclosure: I use jarred minced garlic here instead for more intense flavor). To serve the soup, place a slice of toast into each bowl and ladle a serving of soup on top. Top with 2 tablespoons of shredded cheese and a sprinkle of fresh basil. Serve immediately.

If you liked this post, please:
Subscribe to Willow Bird Baking
Follow Willow Bird Baking on Twitter
Follow Willow Bird Baking on Facebook
Give this post a thumbs up on StumbleUpon
Pin It


Shareother ways to share this post with friends

Willow Bird Baking’s Top 11 Recipes of 2011

It was only a couple of hours ago that I realized the big ball drops tonight. Mike and I have no plans besides watching more Star Trek: Deep Space Nine. I haven’t thought of a single resolution yet. You could say I’m unprepared.

But actually, I am ready. I may not have all the trappings quite prepared, but I’m more than ready to send 2011 off with a kiss and a wave. There were lovely parts of this year — my time with my students, my trip to San Francisco, and most of all, my reunion with Mike. But there were also many challenges. I’m thankful for where I am, but so ready to charge forward in 2012 and live a life I believe in. How about you? What are your resolutions, goals, or plans?

To conclude a wonderful year on Willow Bird Baking — a year in which I have so appreciated your every visit and every comment to these pages — here are the top 11 recipes from ’11. Thanks for a fantastic year, y’all!

11. Strawberry Cheesecake Stuffed Amaretto Cake Pops (on Pretzel Sticks!)
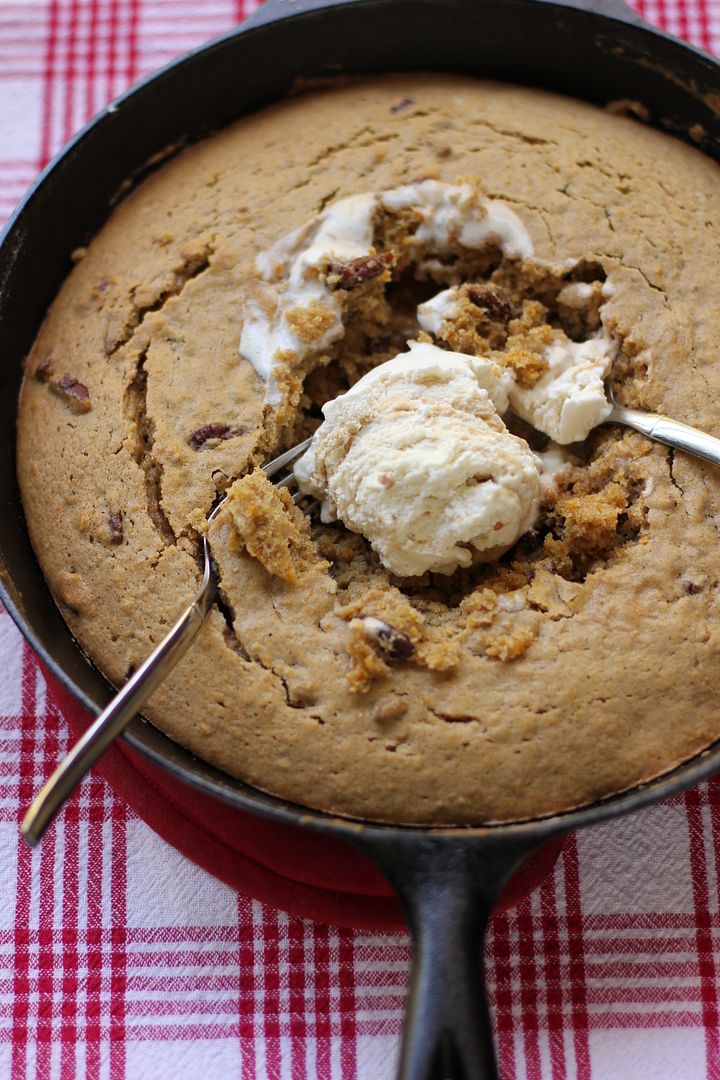
10. One-Skillet Gooey Pumpkin Cookie Cake
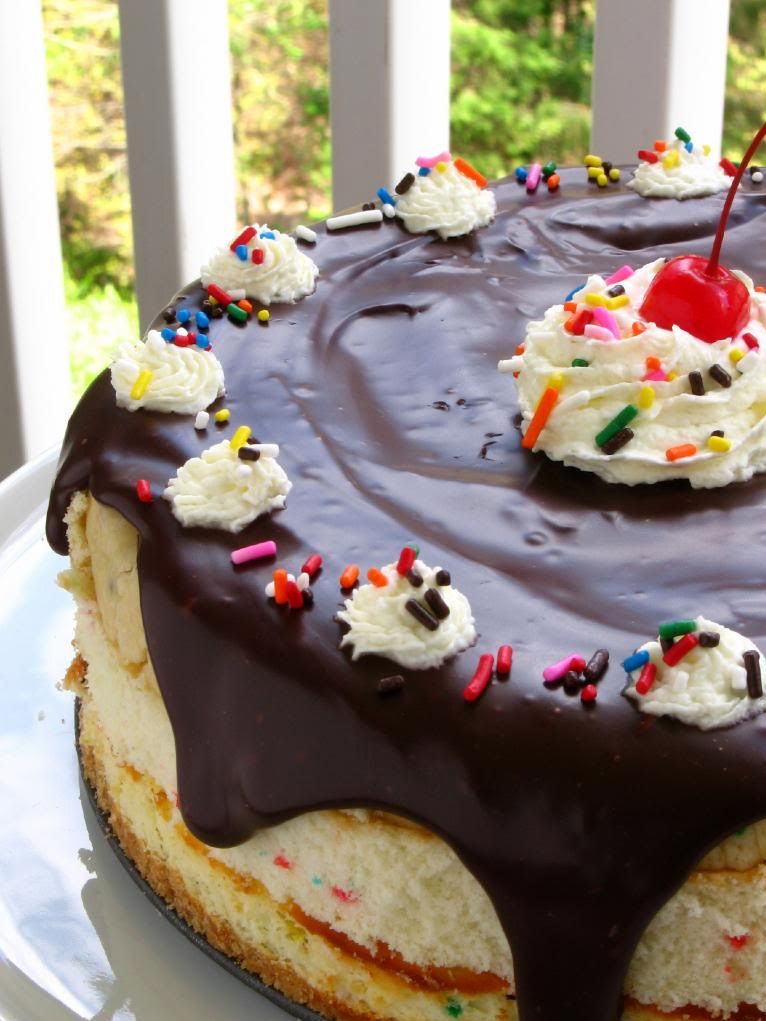
9. Birthday Cake Cheesecake
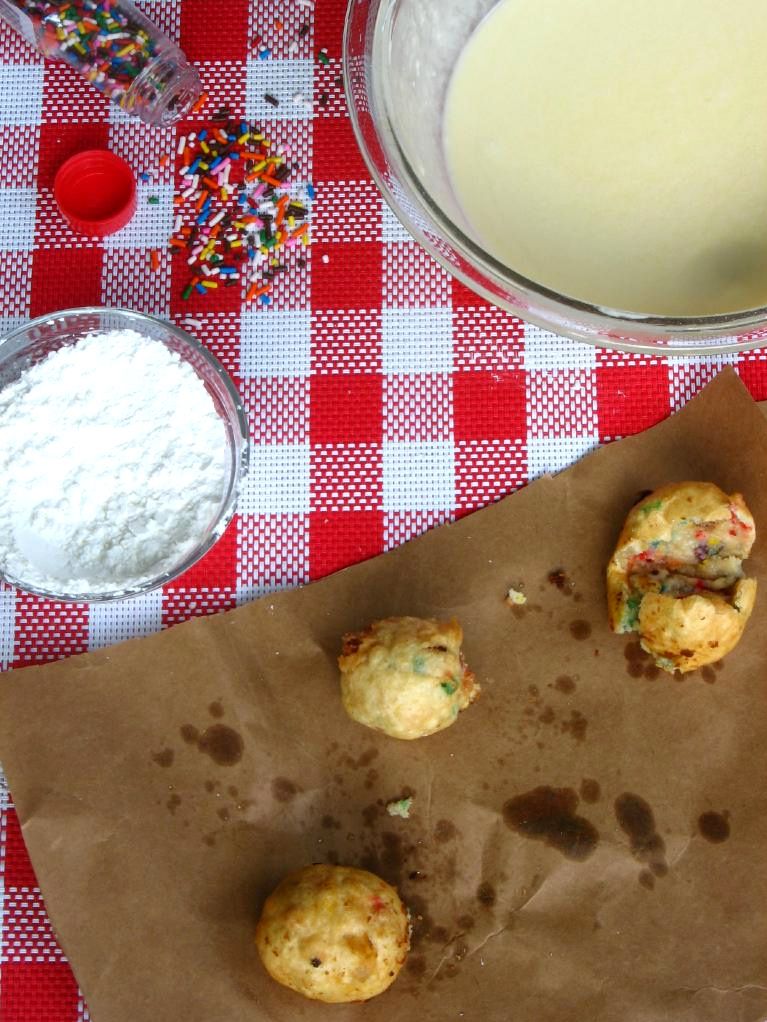
8. Deep Fried Cake Batter Cookie Dough


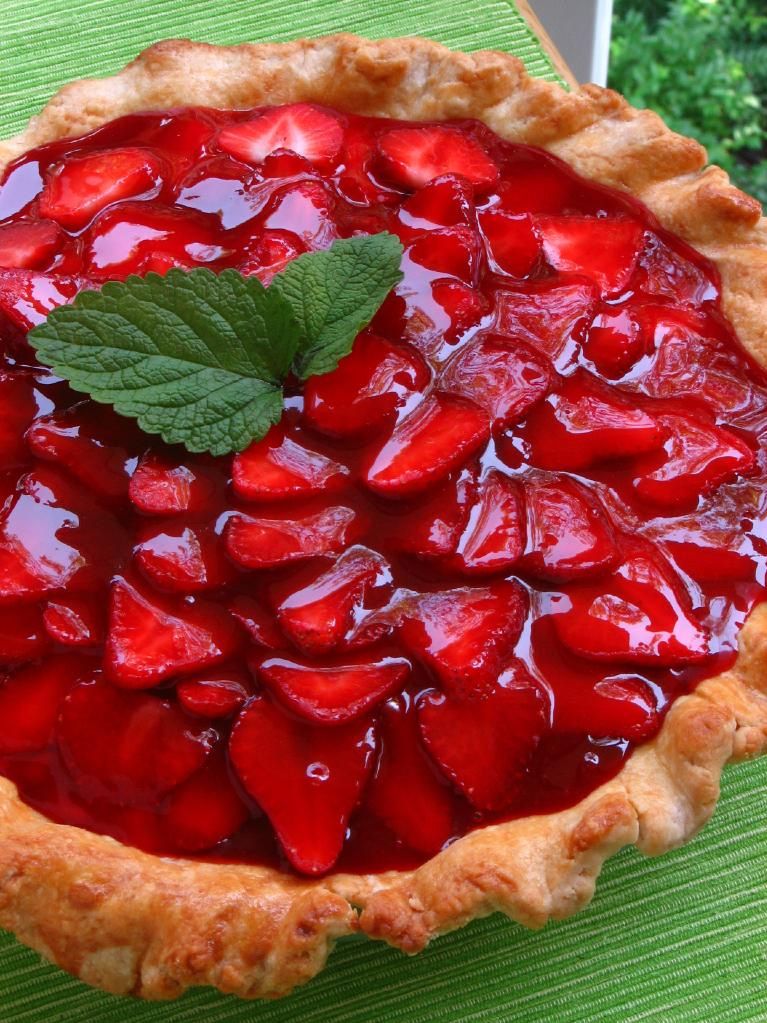
7. (Freshly Picked!) Strawberry Cream Pie
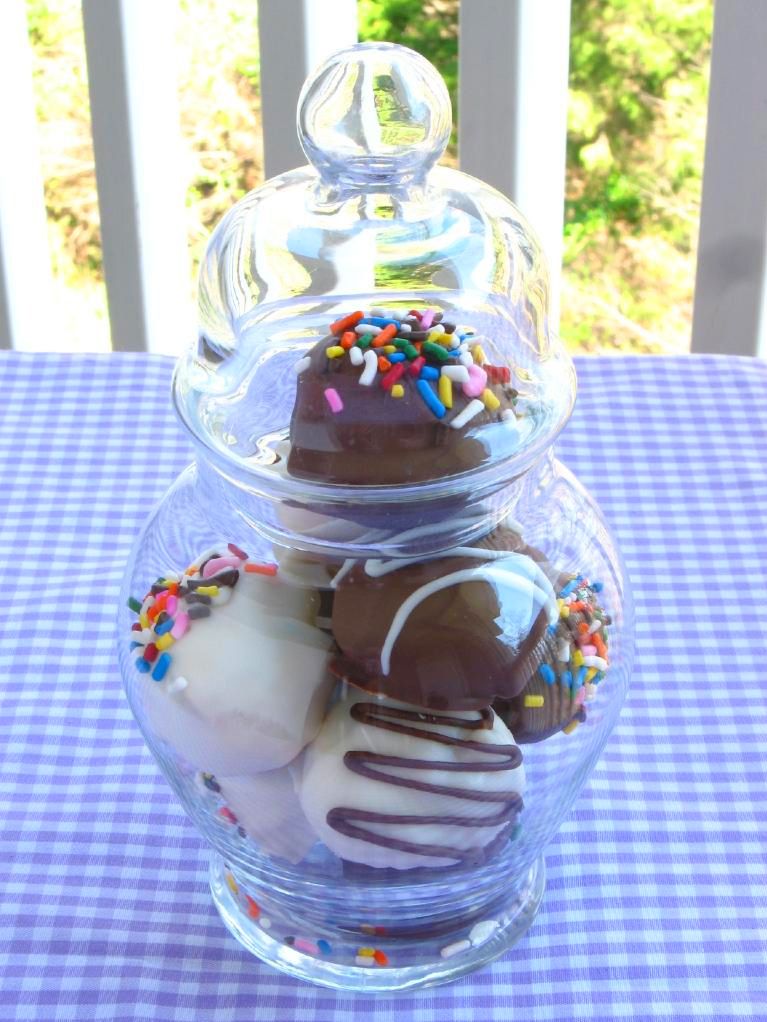
6. Cake Batter Cookie Dough Truffles
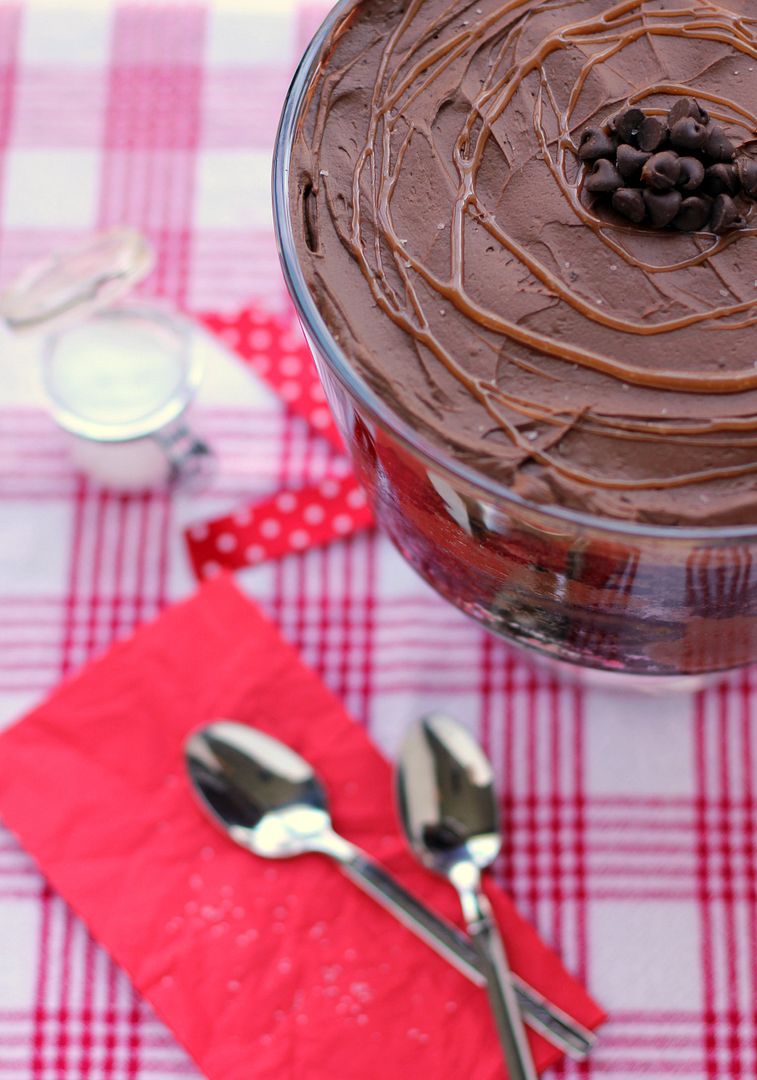
5. Salted Caramel Chocolate Trifle
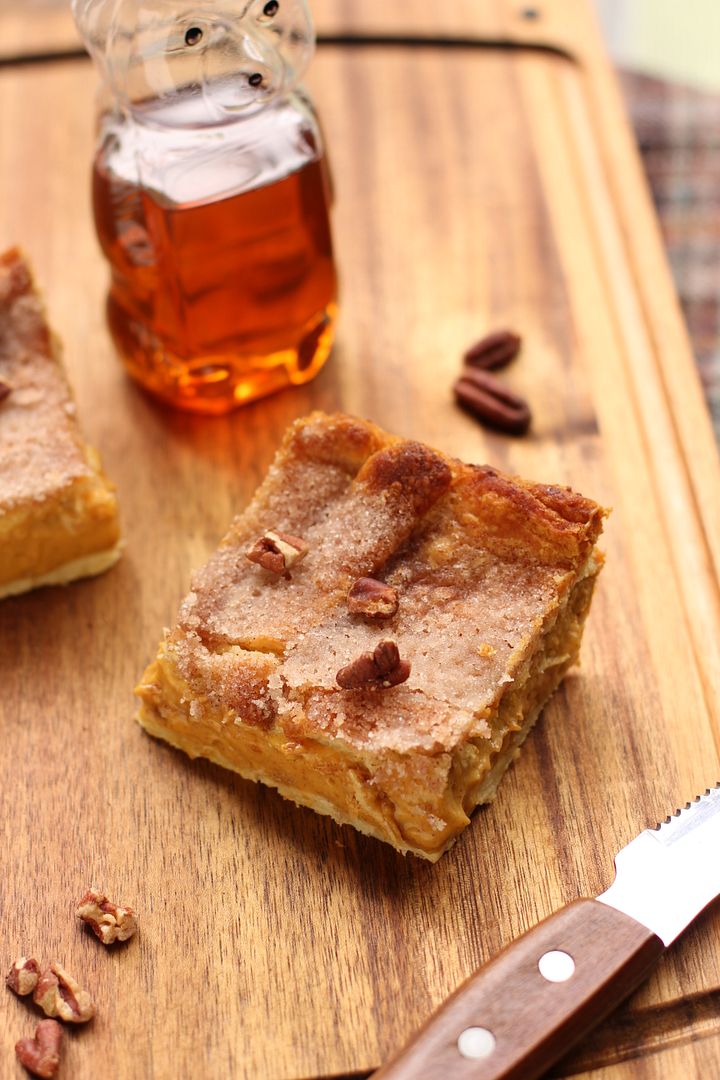
4. Easy Sopapilla Pumpkin Cheesecake Bars


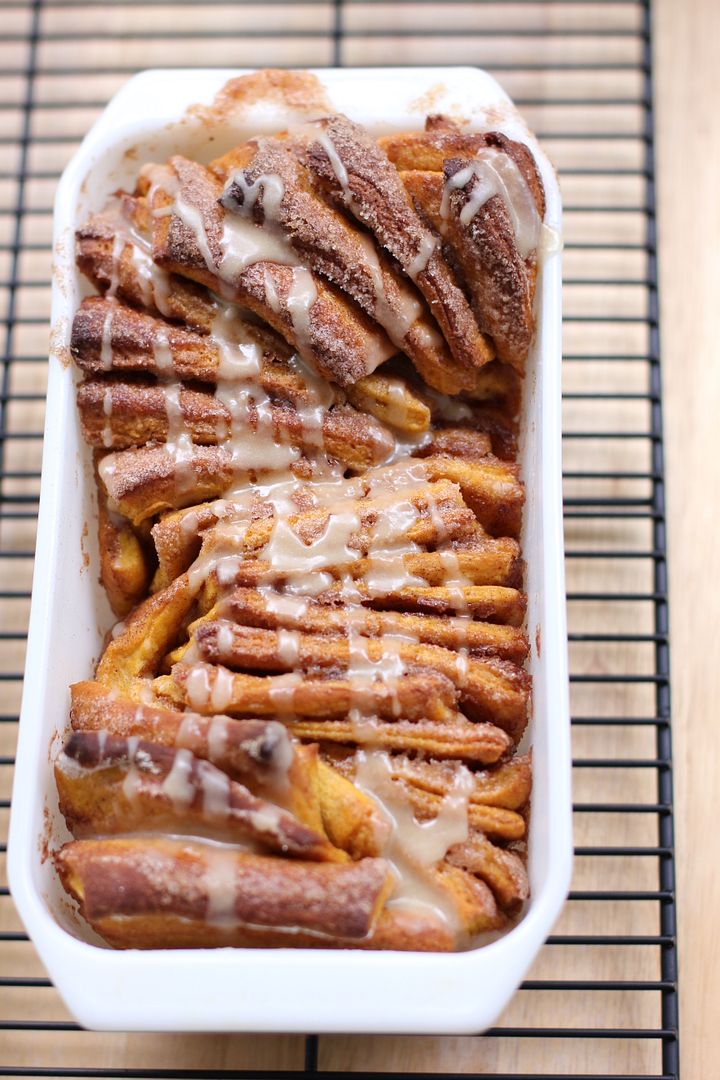
3. Pumpkin Spice Pull-Apart Bread with Butter Rum Glaze
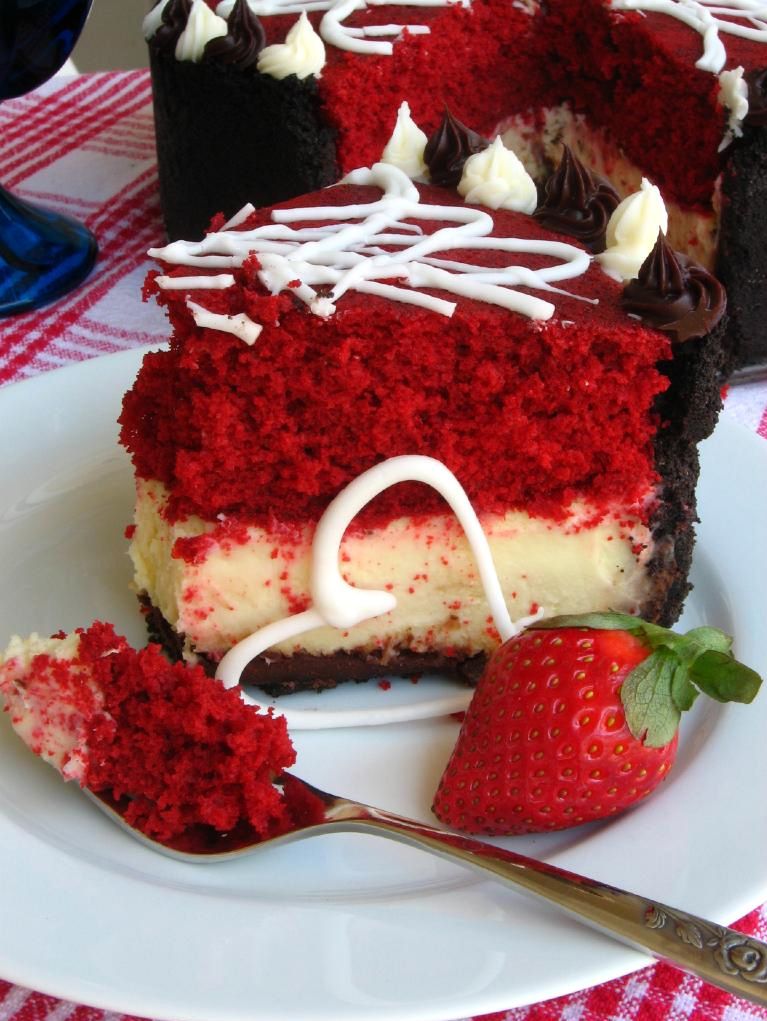
2. Red Velvet Cheesecake

And the top Willow Bird Baking recipe of 2011 is . . .

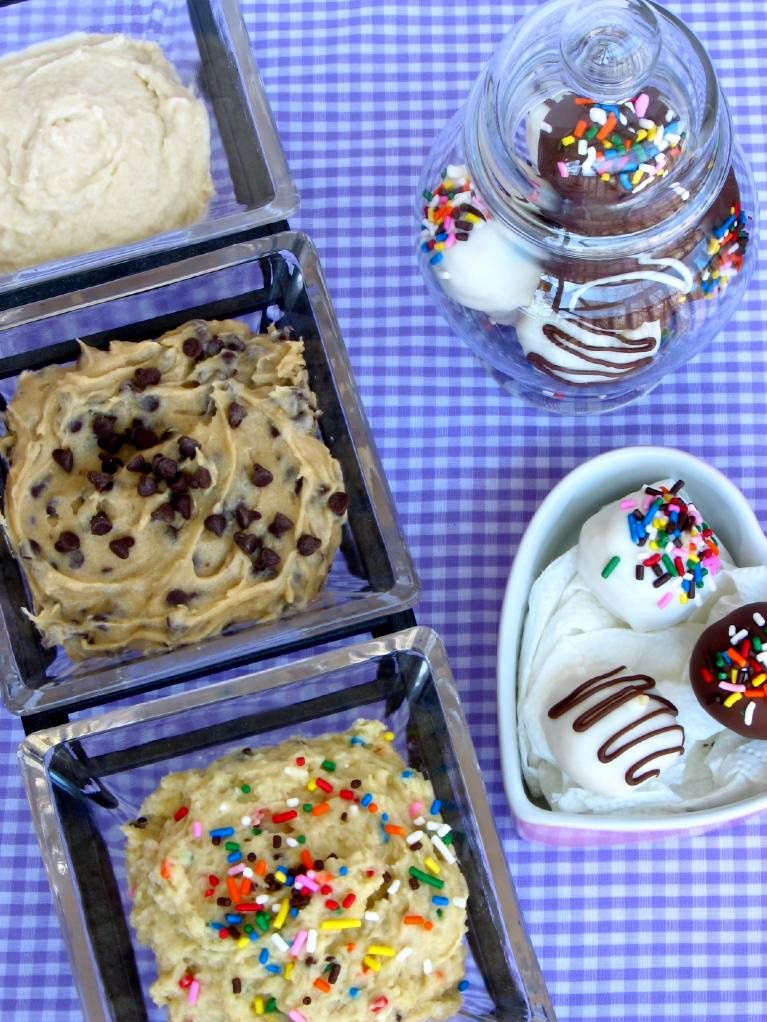
1. Three Safe-to-Eat Cookie Doughs: Chocolate Chip, Sugar, and Cake Batter!

Happy New Year!

If you liked this post, please:
Subscribe to Willow Bird Baking
Follow Willow Bird Baking on Twitter
Follow Willow Bird Baking on Facebook
Give this post a thumbs up on StumbleUpon
Pin It


ShareOther ways to share this post with friends!

Brown Butter Cookie Dough Pretzel Bars

I recently attended the Foodbuzz Blogger Festival in San Francisco, California, 2,700 miles away from my home. Traveling alone is always a meaningful, reflective experience for me. To process my trip, I periodically share vignettes that I hope are meaningful to you, as well.

. . .

“Would you be from Oakland, if you could?” he asked. There was silence for a moment before she answered.

“Oakland is hella dirty.”

I couldn’t help overhearing their conversation in the seat behind me on the train. Their voices suggested they were teenagers, and after a (hopefully inconspicuous) glance behind me, I decided they were dating. The lyrics pouring from the headphones they were sharing sounded metallic and harsh despite being unintelligible from where I sat.

Until this moment, their conversation and the emphatic beat of their music had been bothering me. But now I forced myself to soften a little. I looked out the window to evaluate her statement.

There was no question that we were speeding over a rough part of town. Graffiti covered most available surfaces, and industrial buildings spread like a concrete disease through the landscape. Still, I thought, with the bay in the distance and the sun-bleached streets, there was a real beauty to this outer edge of Oakland. Maybe you had to be from out of town to think so.

The young couple behind me left the train together at the next station, and I found to my surprise that I missed their chatter. What a sweet date for two kids with no car and not much money: riding the BART together and listening to music. I reminisced about the early days of my relationship with Mike as the train raced ahead awhile longer. The loudspeaker finally pulled me back to the present by announcing my stop and I disembarked.

I was getting used to feeling alone and out of place on this trip across the country, but stepping out of the station onto an Oakland street felt like stepping out into a dream. The houses were similar but different than the houses I was used to. The driveways were similar but different. The storefronts were similar but different. The people were similar but different.

I was standing in an urban neighborhood like I had many times before, but it was as if some shrewd and knavish sprite had twisted everything a half-inch off kilter. I didn’t mind — I quite like the feeling of getting used to a new space.

I walked down the sidewalk in the furious sunshine — where had all this sun suddenly come from? the trip thus far had been downright chilly — and enjoyed the pins and needles of newness.

A man rode past me on a bike leading a dog the size of a horse.

I passed a church and was startled as singing burst forth from its open windows. Pigeons standing nearby were startled too and burst into flight.

A man apologized from the open window of an old Volkswagen van for blocking the sidewalk.

A girl with a pretty scarf and a cute pair of flats locked her front door and walked off down the sidewalk.

I quietly stored up each new stimulus like slides in a slidebox. I would pull them out and examine them more carefully later, perhaps under a microscope — or perhaps in an essay surrounded by cookie dough bars. Whichever.

Before long I reached my destination: homeroom, a whimsical little restaurant devoted to my favorite food, macaroni and cheese. This was a pilgrimage of sorts, since I’d been determined to visit the restaurant ever since I heard of its opening in 2010. Now here I was, being seated at a little sun-drenched table next to its flung-open glass doors. I ordered some housemade limeade and a big dish of trailer mac (macaroni and cheese with hot dogs and potato chips) and settled in to jot down some slides — er, memories — for later.

As I sat and collected the flavors and sights around me, I considered the question from the boy on the train: “Would you be from Oakland, if you could?”

I think maybe so.

. . .

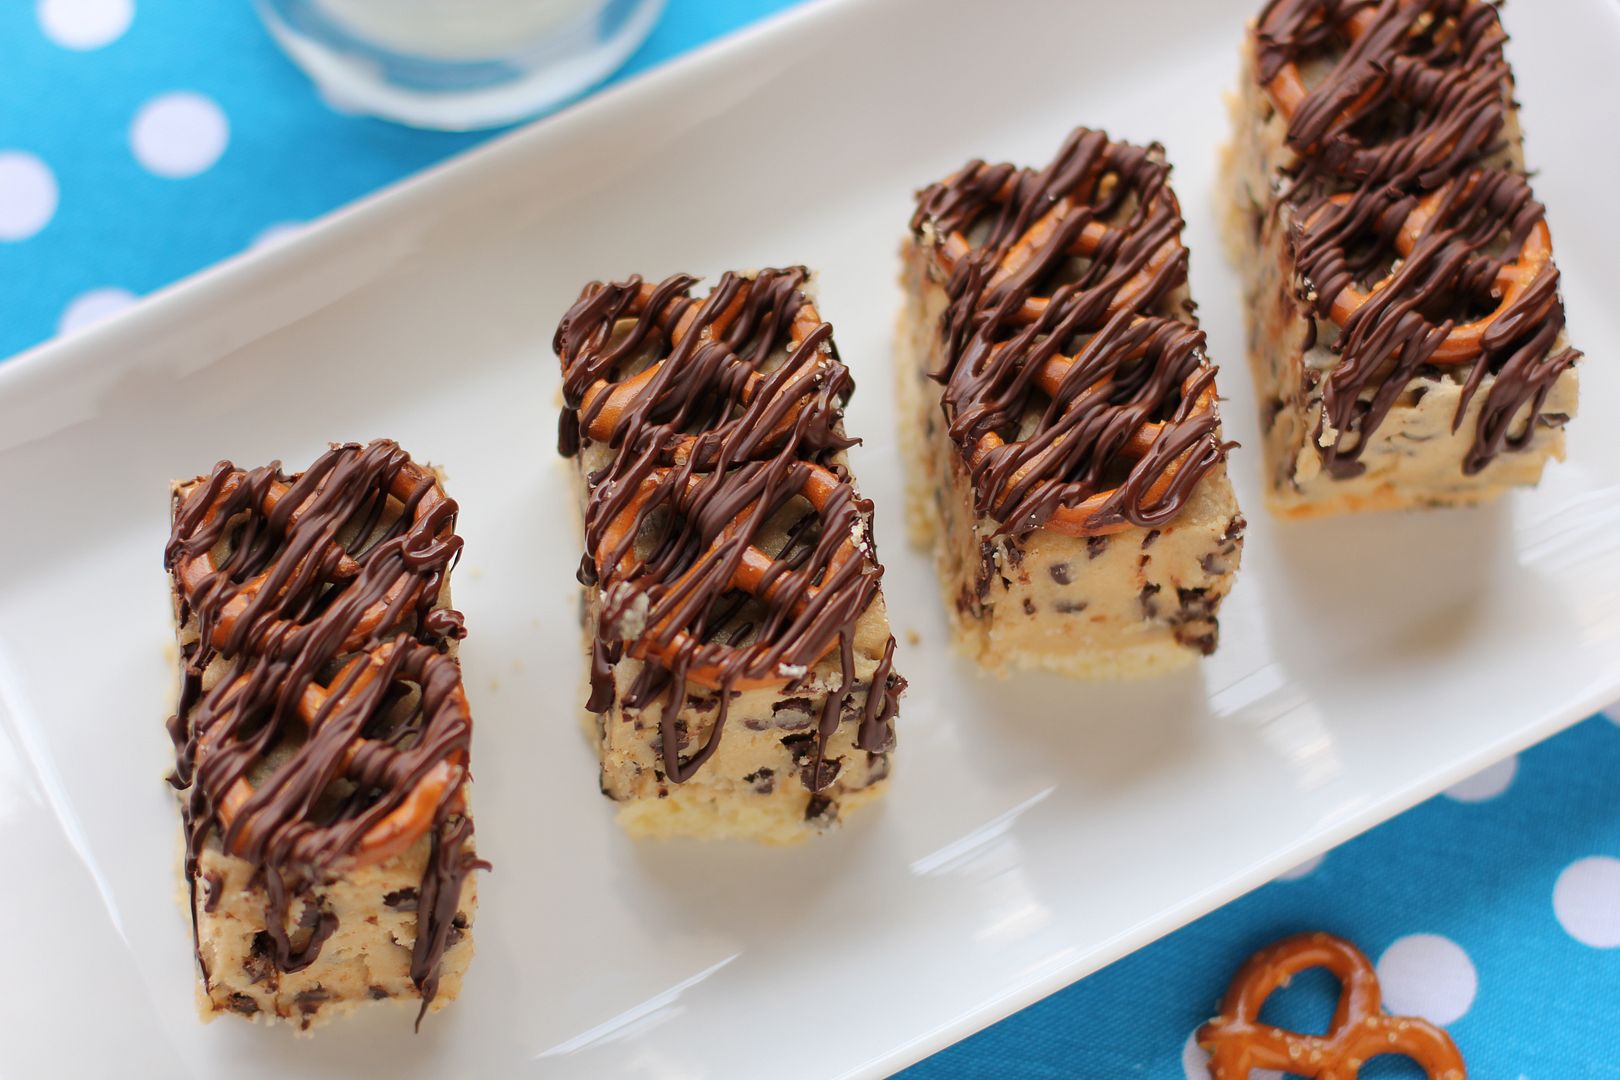
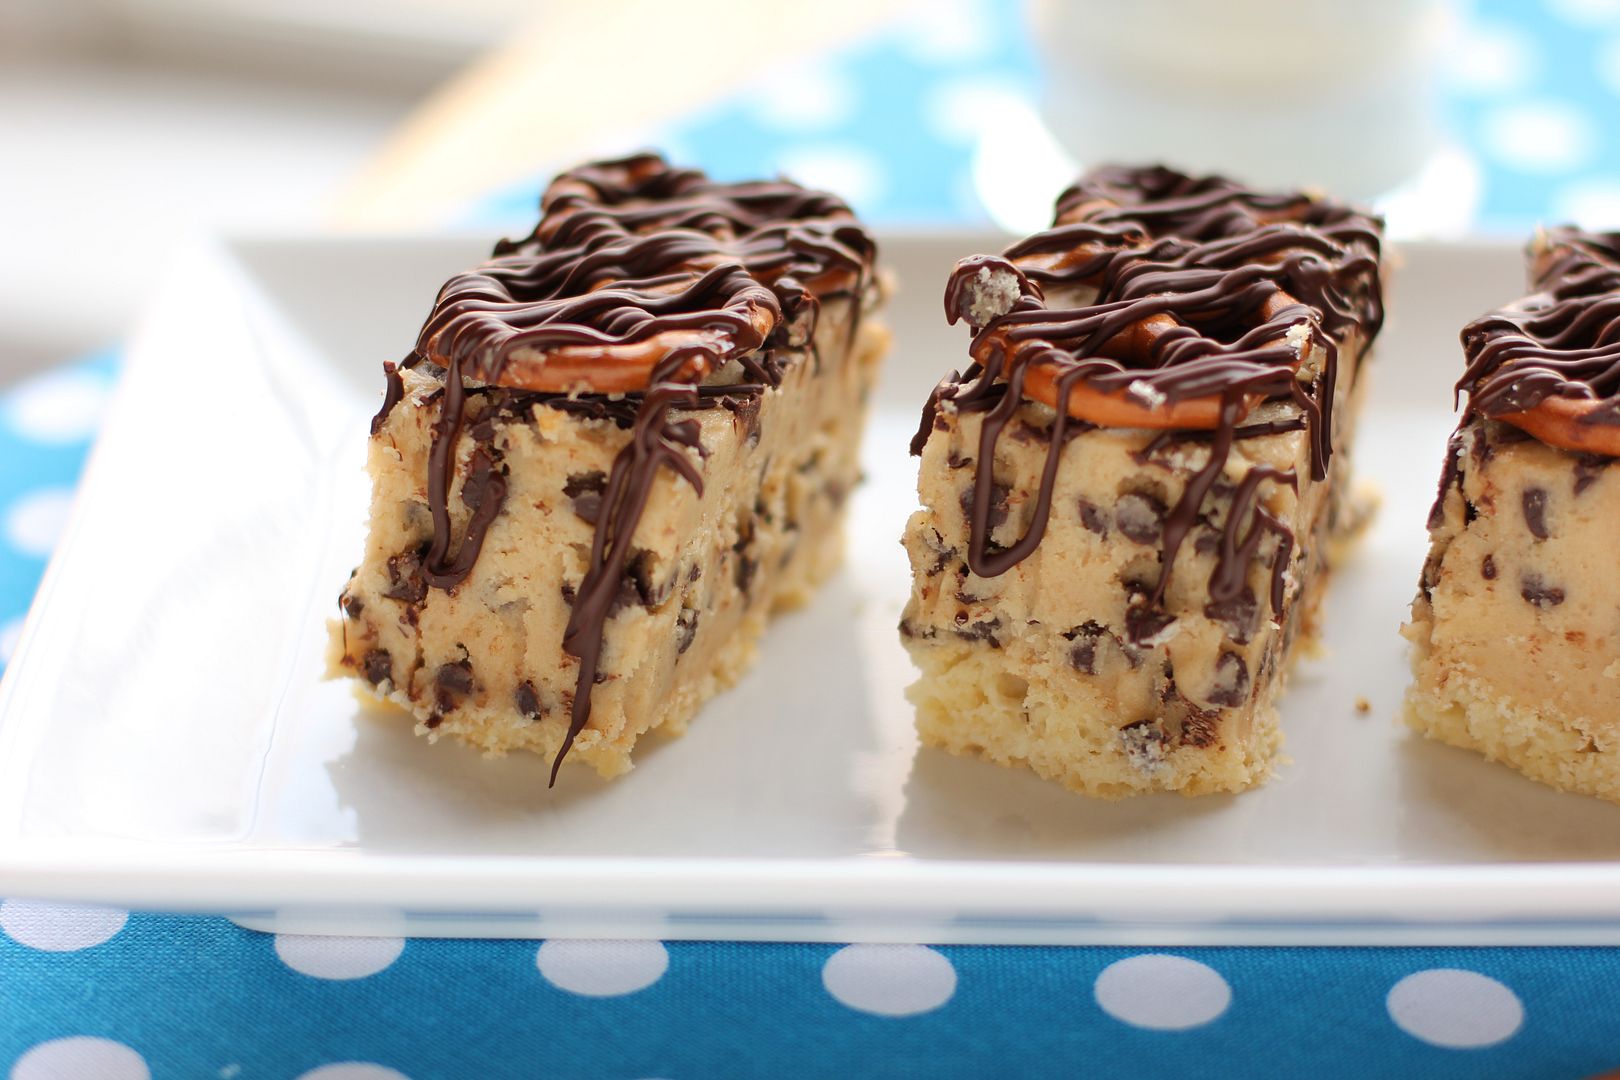
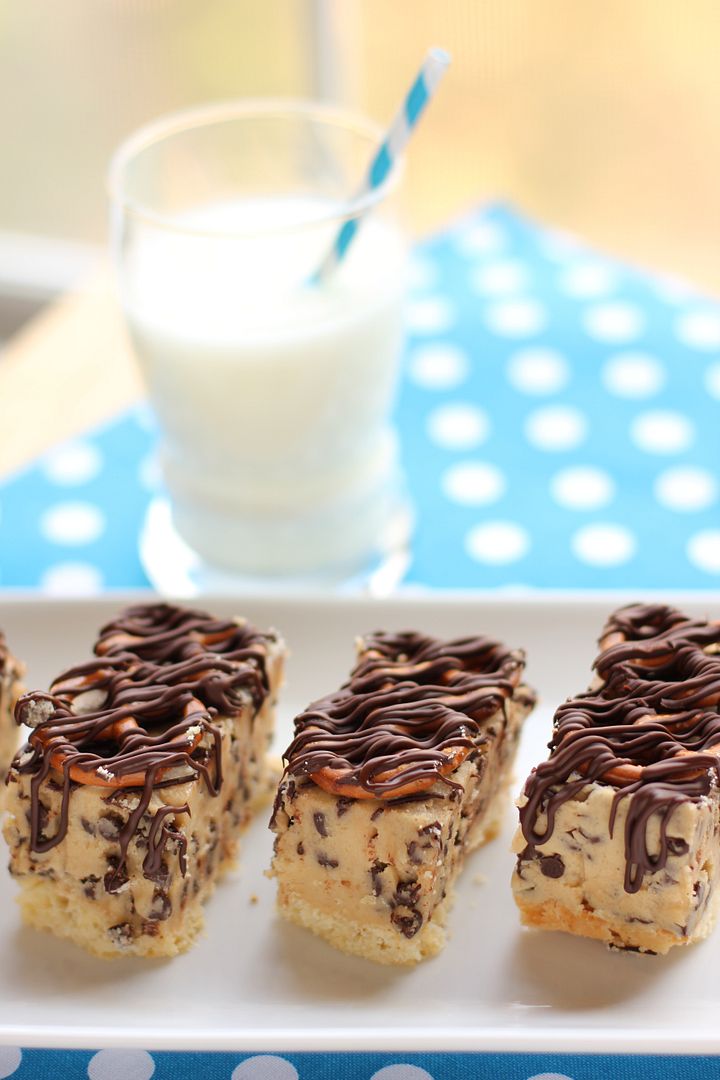
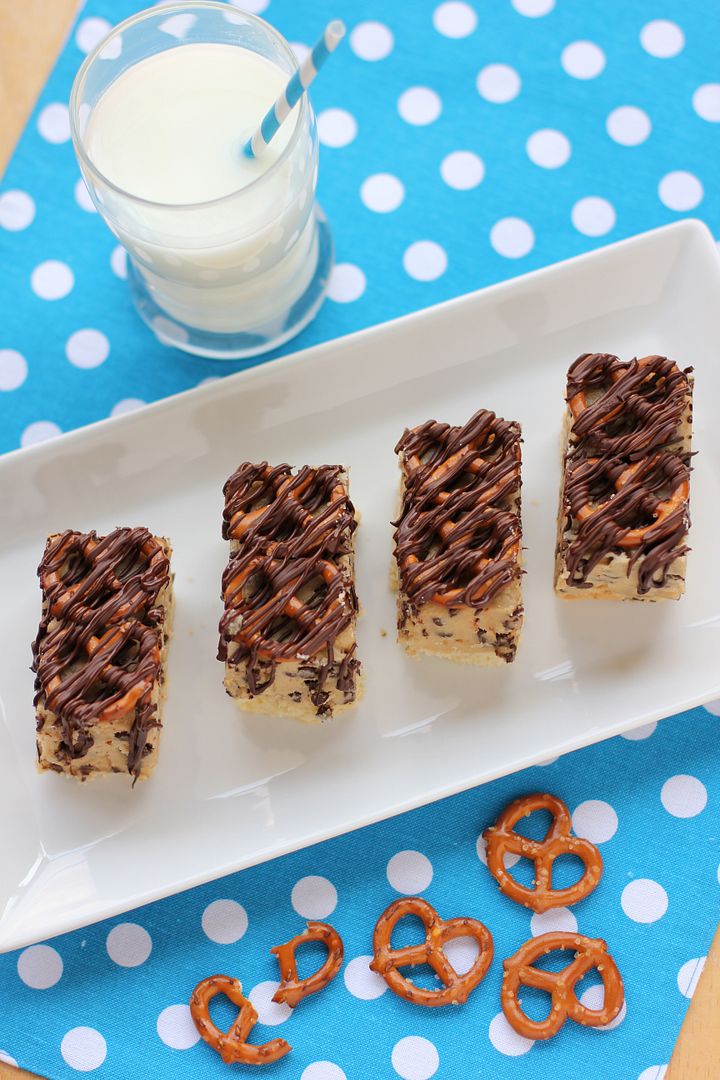
Little bits of happiness add up to joyful memories. These Brown Butter Cookie Dough Pretzel Bars were some little bits of happiness I contributed to a Sunday school Christmas party recently. They combine some of my favorite flavors — buttery shortbread, chocolate chip cookie dough, salty pretzels, and a chocolate drizzle just for fun. I decided they’d be easier to eat with half the cookie dough pictured here, so I cut it down in the recipe below, but feel free to make them either way.

And either way, send one or two my way. They’ve all been devoured over here and I kind of miss them.

Brown Butter Cookie Dough Pretzel Bars


Recipe by: Willow Bird Baking
Yield: about 30 squares

If you love sneaking bites of cookie dough, you’ll love these bars! Made with eggless cookie dough for safety, these bars combine some fantastic flavors: buttery shortbread, chocolate chip cookie dough, salty pretzels, and a drizzle of melted chocolate for good measure. I’ve adjusted the amount of cookie dough in the recipe below to make them the perfect finger food, so they’d be a hit at any party!

Crust Ingredients:
1/2 cup (1 stick) cold butter
1 cup all-purpose flour
1/4 cup confectioners’ sugar

Cookie Dough Ingredients:
1/2 cup butter, room temperature
4 ounces cream cheese, room temperature
3/4 cups light brown sugar, packed
1 cup all-purpose flour
1/2 teaspoon salt
1 tablespoon vanilla extract
1 cup semisweet chocolate chips (I like to use mini chips)
a few tablespoons water (as needed)

Other Ingredients:
about 30 pretzels
1/2 cup chocolate chips for assembly

Directions:
Note: I decided after making these bars that the cookie dough needed to be half as high to make them easier to eat and to better balance the flavors, so I’ve cut it in half in this recipe. That means your bars will only be half as high as in the photos. If you’d rather them be just like the photos, just double the cookie dough ingredients (not the crust or other ingredients).

Brown the butter for the cookie dough: Put the 1/2 cup of butter in a saucepan over medium heat. Melt it and heat until the butter begins to brown. Begin swirling so it will cook evenly. Brown it to a dark amber and then pour it out into a shallow dish. Stick this in the freezer to firm up a bit. When firm, set it out to soften slightly while you prepare your crust.

Make your crust: Preheat your oven to 350°F. Prepare a 9-inch square baking dish with a foil sling. To do this, tear off 4, 16-inch long pieces of aluminum foil and fold them in half. Situate two side-by-side in the pan, covering the bottom of the pan to the edge (they will overlap). Situate the other two strips in the same manner, but perpendicular to the first. The overhanging foil of the sling will make it easy to remove the cake from the pan after baking and cooling. Grease the sling with cooking spray or butter and flour.

In a big bowl using a pastry cutter (or in the bowl of a food processor), cut the cold butter into the flour and confectioners’ sugar. Press this mixture into your prepared pan using the bottom of a glass or something similar. Bake 20 minutes or until light brown. Let cool on wire rack.

Make your cookie dough: While the crust cools, in a medium bowl, cream together the softened brown butter and sugar. Add the cream cheese and whip the mixture until fluffy. Stir in the flour, salt, vanilla and chocolate chips. Add the water one tablespoon at a time stirring between each, until the dough reaches a consistency just a touch thinner than regular cookie dough (such that it will be thick but spreadable).

When your crust is completely cool, spoon cookie dough in big dollops around it and use an offset spatula to gently level it out into an even layer. Chill this while you prepare your chocolate.

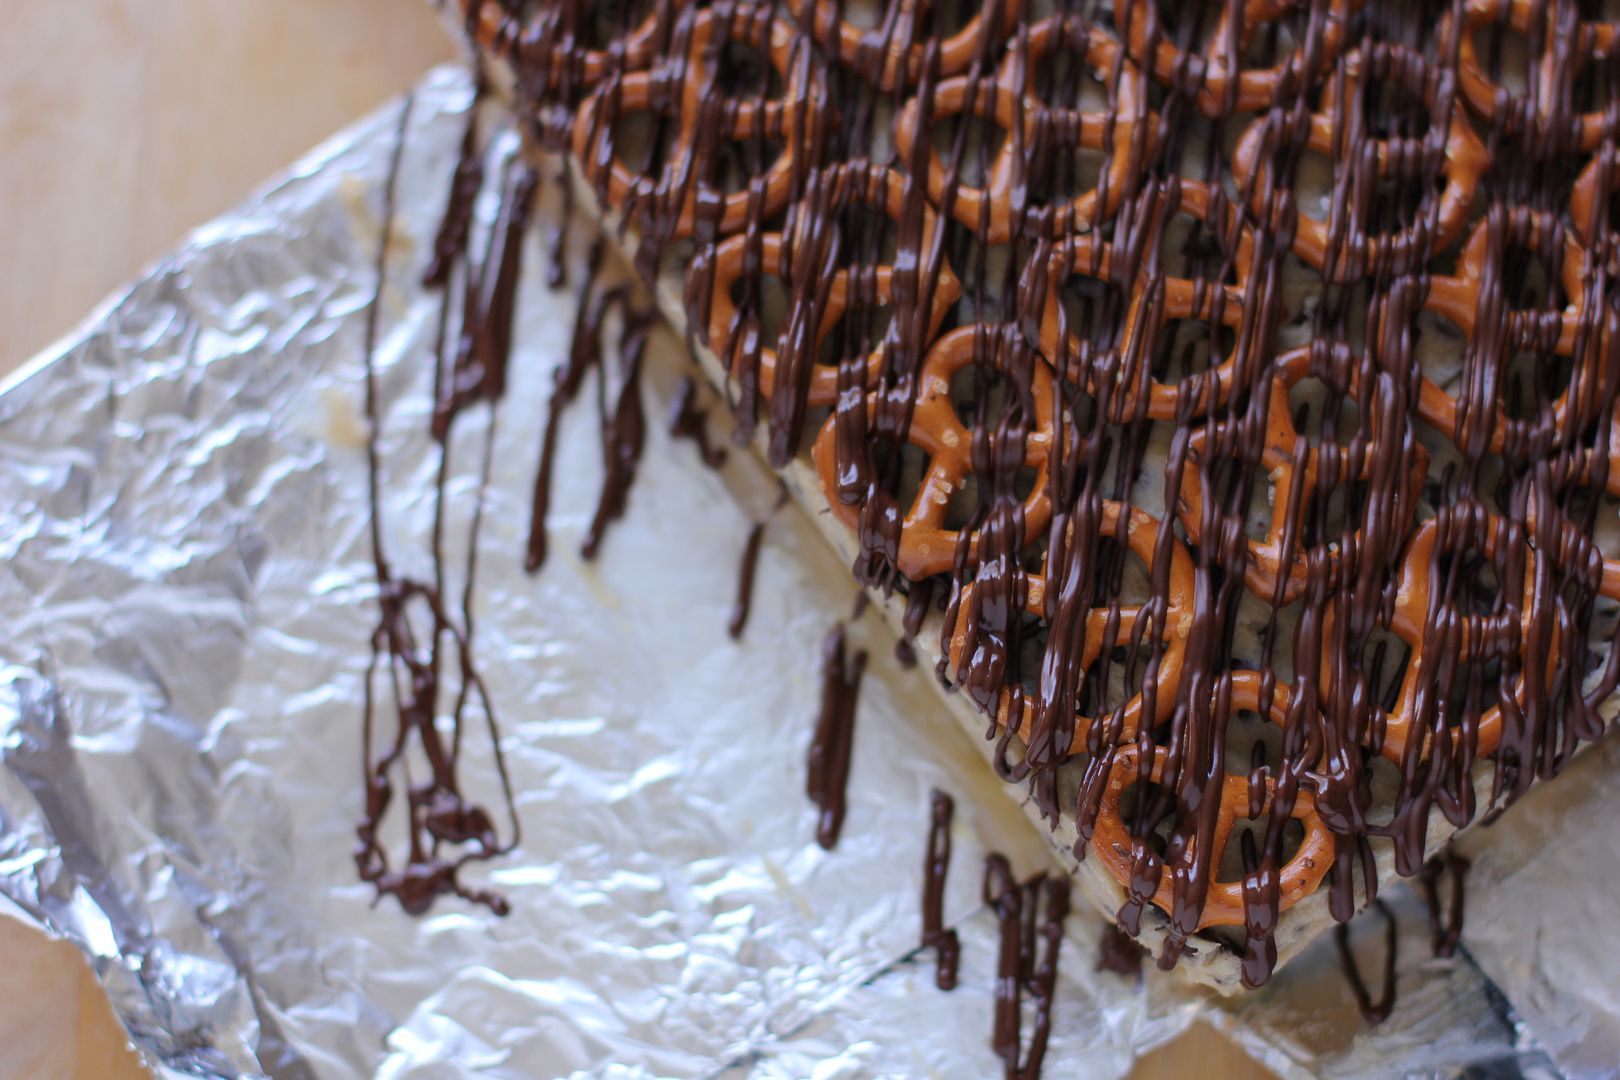
Assemble the bars: Melt chocolate chips according to package instructions in the microwave (usually you heat on half power for a minute and stir, followed by 15 second intervals until the chips are melted, stirring between each heating) and let them cool slightly before pouring the melted chocolate into a plastic zip bag and cutting off the tip of one corner. Drizzle chocolate across the surface of the cookie dough and use this as “glue” to lay your pretzels out in neat rows (working quickly so your chocolate doesn’t harden before you’ve finished laying your pretzels out).

Repeat the chocolate drizzle over the surface of the pretzels. Chill to set the chocolate, then use the ends of the foil sling to pull the bars out of the pan and then slice them to serve. I sliced them into two-pretzel bars for photos, but they’re so rich that one-pretzel squares are the serving size I’d recommend.

Byrd Wishes You a Happy Christmas!

Byrd and I want to wish you a very Happy Christmas!

I am grateful for family, friends, and a new year full of memories. But even these wonderful things aren’t the reason we celebrate tomorrow. This is:

But the angel said to them, “Do not be afraid; for behold, I bring you good news of great joy which will be for all the people; for today in the city of David there has been born for you a Savior, who is Christ the Lord. This will be a sign for you: you will find a baby wrapped in cloths and lying in a manger.” And suddenly there appeared with the angel a multitude of the heavenly host praising God and saying, “Glory to God in the highest, And on earth peace among men with whom He is pleased.”

When the angels had gone away from them into heaven, the shepherds began saying to one another, “Let us go straight to Bethlehem then, and see this thing that has happened which the Lord has made known to us.”

This passage is a sign to you as well — over 2,000 years after Jesus’s miraculous birth. He didn’t come for a certain group of people. His birth was a great joy for all the people. And that includes you!

If you’ve never begun a relationship with the Savior born in the city of David that night and if you feel He may be calling you to do so now, don’t wait. Go straight to Him just as the shepherds did. Please feel free to send me a note with any questions you may have — or even if you’re not sure quite what to ask.

In the meantime, happy Christmas to one and all!

If you liked this post, please:
Subscribe to Willow Bird Baking
Follow Willow Bird Baking on Twitter
Follow Willow Bird Baking on Facebook
Give this post a thumbs up on StumbleUpon
Pin It


Shareother ways to share this post with friends

1 79 80 81 82 83 127