Cheddar Chive and Bacon Cupfakes with Avocado Frosting

This is one of those recipes that you should go make right now! It’s that delectable. It all started so innocently . . .

Well, not really! It all started with my love of cupfakery and my desire to create a delicious savory cupcake. I knew I wanted to use a creamy avocado frosting, and I just had to think of some complementary ingredients. It struck me that a cheddar bacon biscuit (one step up from a simple cheddar biscuit, and we all know that those are already delicious) would be perfect. And, hey, how about throwing in some chives? Some caramelized onions? Oh, yeah!
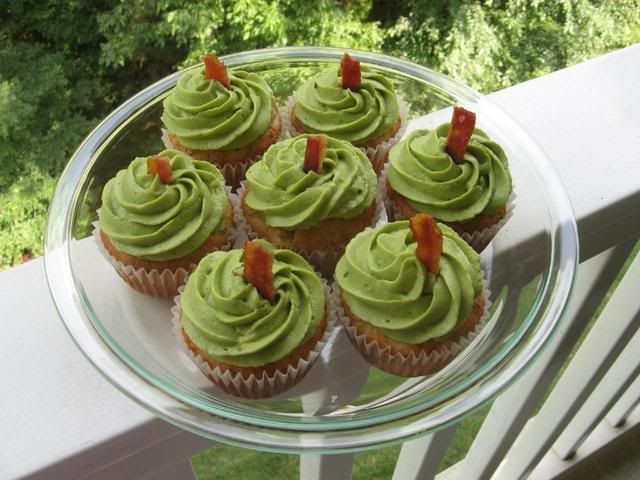

Cheddar Chive Bacon Cupcakes with Avocado Frosting
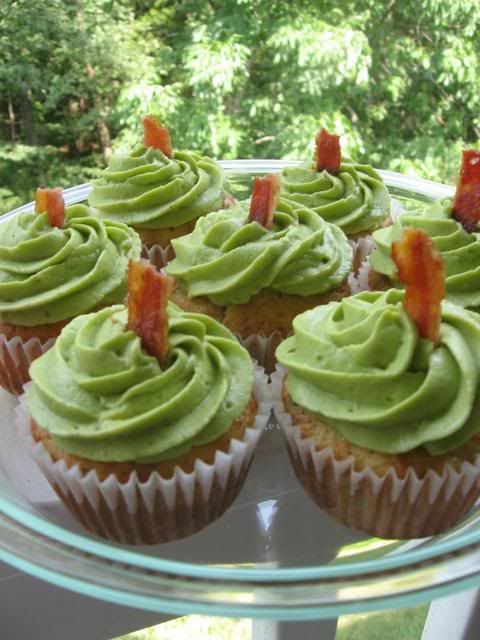

The base recipe here is for cheddar biscuits similar to those you find at Jim N’ Nicks, a barbecue chain. The recipe produces a savory muffin with some sweetness to it. If you don’t like jam on your biscuits or sugar in your cornbread, you might not be too fond of this base recipe. Feel free to cut down on the sugar or try a different cheddar biscuit base (Red Lobster’s recipe is delicious, but I’m not sure how it’ll work in the muffin pan) to mix your bacon, chives, and onions into.

The avocado is the perfect cool-down topping for the bold flavors of the biscuit. And really, apart from the delicious taste, I get a strange joy just from prepping an avocado.

the flesh of an avocado with no deep,
dense core (a knife
snapped into the orb,
which bleeds an orange pulp. the twist,
a clean break).
the flush from gentle lime to olive
to brown in reminiscence —

taking on the appearance of what you’ve lost,
like shrugging on a blue shirt . . .
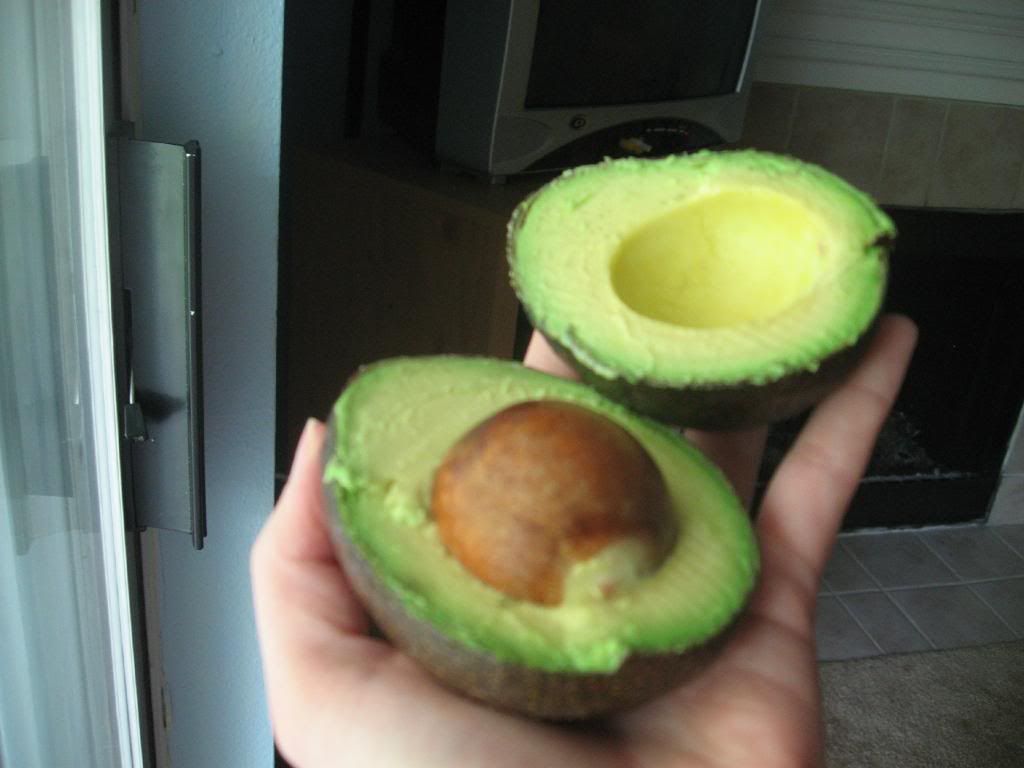
The process of extracting the soft flesh from an avocado is peaceful and satisfying. If this is the first time you’ve worked with an avocado, here’s a nice tutorial. When you’re picking them up from the grocery, pick the darker fruits that are a little soft. These are ripe and ready to be mashed. And if you’re not an avocado fan, please do make the cupfakes without them; they’re delicious with or without their “frosting.”

Enjoy the delicious bacon smell in your kitchen after making these cupfakes, and don’t forget to save your bacon grease for flavoring other dishes later on. Mike and I enjoyed eating the cupfakes with dinner, just as you would eat regular dinner rolls or biscuits. Only these are tastier!


Cheddar Chive and Bacon Cupfakes with Avocado Frosting


Recipe By:

-Jim N’ Nicks (cheddar biscuits, tweaked)
-Me, with various internet inspiration (avocado frosting)

Yields: 15-17 cupfakes

Cupfake Ingredients:
1 1/2 cups flour
1/4 – 1 cup sugar (depending on desired sweetness)
1 cup shredded sharp cheddar
3/4 cup whole milk
1 egg, beaten
4 tablespoons butter, softened
1 1/2 teaspoons baking powder
1/4 teaspoon vanilla
5 strips bacon, cooked and chopped, divided
1/2 sweet onion, chopped finely
2 tablespoons of fresh chives, chopped finely
2 tablespoons olive oil

Avocado Frosting Ingredients:
4 ripe avocados
4 ounces cream cheese
1 teaspoon lemon juice
salt and pepper to taste

Directions:

Cupfakes: Cook bacon on stovetop or in oven. I bake on a foil-lined baking sheet at 400 degrees for 15-20 minutes, and drain on paper towels. Crumble 4 strips into small bits, leaving one strip whole for garnish.

In the meantime, pour 2 tablespoons of olive oil into skillet over medium high heat. Add onion and cook until caramelized, stirring occasionally. Set aside.

Preheat oven to 400 degrees. In a large bowl, mix flour, sugar, cheese, milk, egg, butter, baking powder, vanilla, chives, caramelized onion, and bacon bits. Pour into a greased (or paper-lined) muffin pan. Bake for about 20 minutes. Allow to cool for a couple of minutes in pan, and then transfer to a cooling rack. Frost only when completely cool.

Avocado Frosting: Mash avocado flesh well in bowl with the back of a spoon or fork. I processed mine in a food processor to ensure extra smoothness. Add in lemon juice and cream cheese, and mix until you have a smooth, creamy consistency. Frost cupcakes with a big star tip (I use 1M). Garnish with pieces of bacon.

NOTE on storage: Store cupcakes in airtight container in fridge when frosted. Place avocado pits in container along with cupcakes to discourage browning (but don’t fret if the frosting browns — it’s just oxidized, and still quite edible and yummy). You may even want to half the recipe if you’re just making these for your family, since they almost certainly won’t maintain they’re beautiful green overnight. For taking them to coworkers or friends, I would make the cupcakes ahead of time and frost immediately before the event.


Here are some photos of the process:
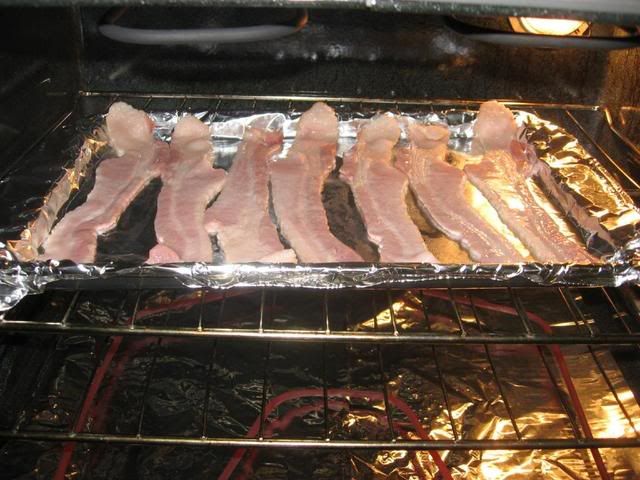

Bacon in the oven.


Caramelized onions, bacon, and chives.
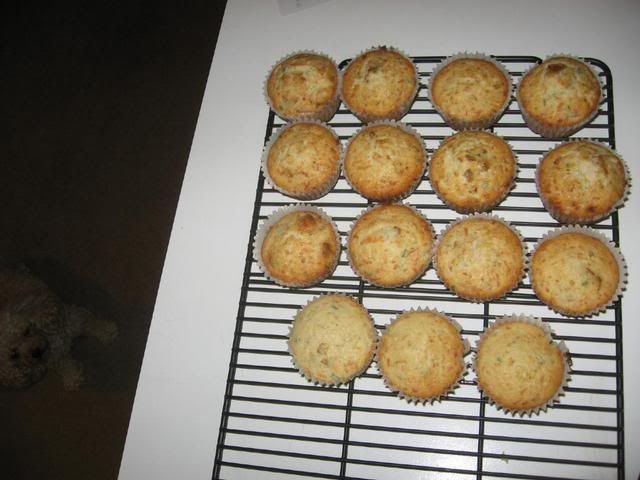


Fresh from the oven.
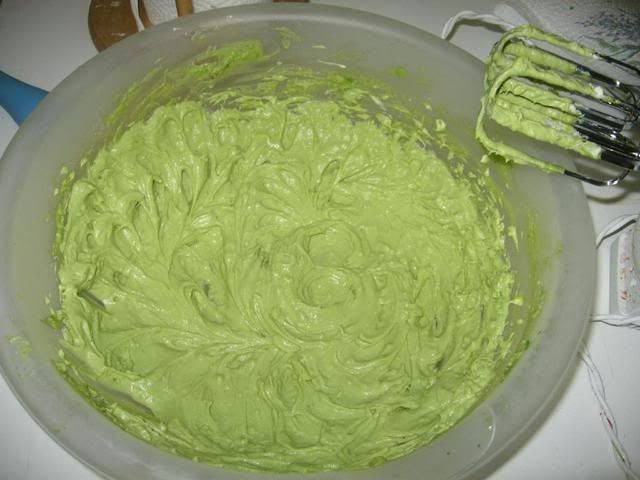


Some very green frosting!
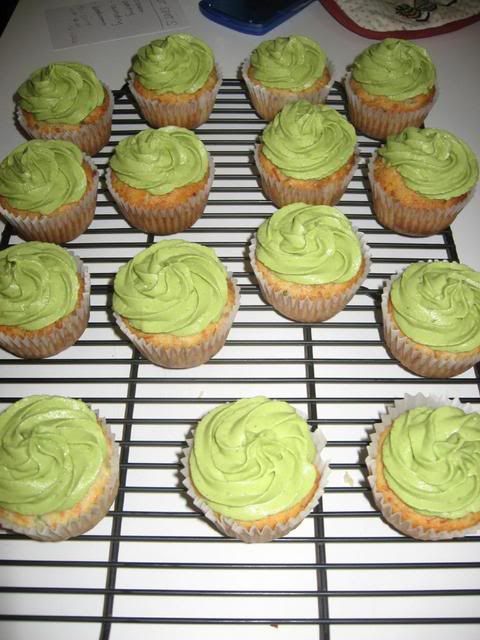


All frosted!
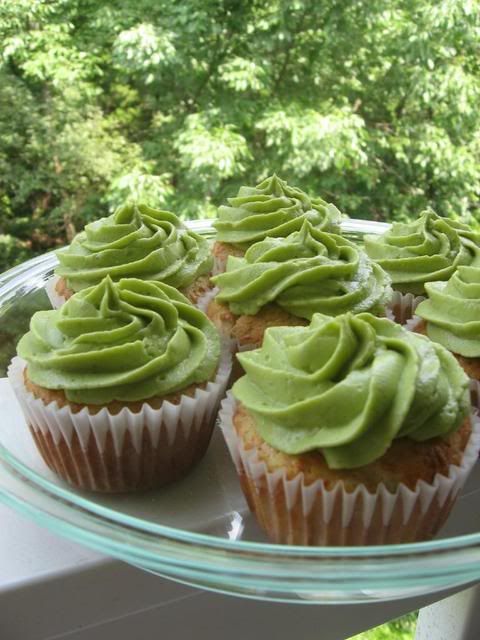


Enjoy!

Chocolate Chickie Cake Balls

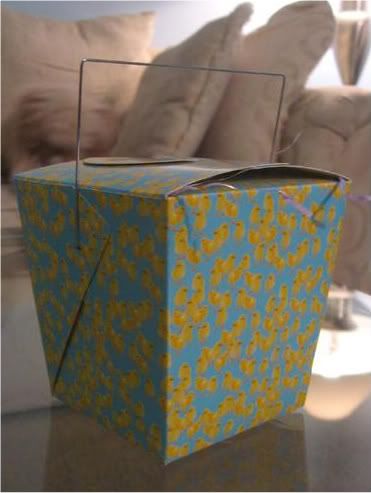
Bakerella always has something beautiful, creative, or adorable up on her blog. I was hunting around in April for something to make Mike for his birthday. I knew Bakerella would have a fantastic idea, and I wasn’t disappointed. In fact, these are my absolute favorite baking achievement to date. Have I piqued your interest? Okay, okay! See this perfect little parcel? Want to see what’s inside?


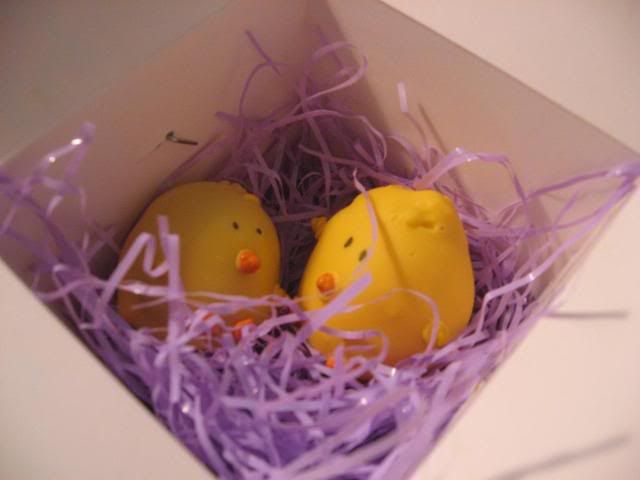
Peekaboo! Chocolate chickie cake balls!

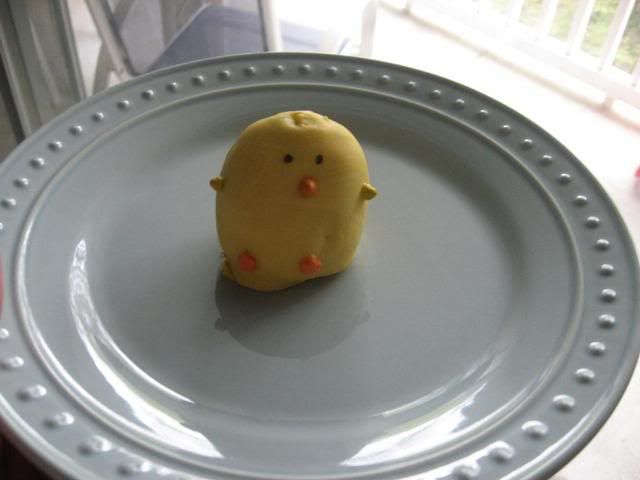
These little chickies are actually delicious chocolate cake and frosting rolled into a perfectly sized morsel, coated with chocolate, and decorated. Now the chocolate cake I used to make these isn’t just any old cake. It’s my favorite cake ever, and has been since I was a little girl. The ingredients come together to form something more spectacular than the sum of their parts. The cake is supremely moist, gooey, chocolatey, and fantastic. The really wondrous part is that it’s quite easy — so easy that I made it myself as a child. Even if you don’t want to go to the trouble of creating the chicks, definitely do try the cake and frosting.

But oh, the chicks are fun! Mike loved them, and a friend said she didn’t know whether to eat them or photograph them! I warn you that with the chocolate cake and coating, they are quite rich, so if you’re not into that sort of thing, consider using a white cake. Also, if you want the same cute effect with less trouble, these cake balls work just fine with box cake mixes and store bought frosting. Enjoy!


Yikes! (All kinds of fun can be had with edible markers)

Chocolate Chickie Cake Balls


Recipe By:

Bakerella (cake balls)
-Linda Houts (cake and frosting)

Yields: about 50 cake balls

Cake Ingredients:
2 cups flour
1 teaspoon baking soda
2 cups sugar
dash salt
1 stick butter
1/2 cup wesson oil
4 tablespoons cocoa
1 cup water
1/2 cup buttermilk
2 eggs
1 teaspoon vanilla

Frosting Ingredients:
1 stick butter
4 tablespoons cocoa
6-8 tablespoons sweet milk
1 cup walnuts, chopped
1 lb. confectioners sugar
1 teaspoon vanilla

Extra items needed to make cake balls:
Yellow Candy Melts
Black Edible Ink Pen
Paramount Crystals / Shortening (to thin candy melts if needed)
Rainbow Candy Coated Chips
Pastel Wild Flower Sprinkles

Directions:

Make the cake: Mix first 4 ingredients together and set aside. Mix next 4 ingredients in pan and bring to boil, then pour over first mixture. Stir well, then add remaining ingredients. Bake at 350 degrees in a greased sheet cake pan, for 15-25 minutes (until a toothpick inserted in the center comes out clean). NOTE: If you’re not planning to make the cake balls, but just want a frosted sheet cake, make the frosting immediately and pour over warm cake.

Make the frosting: Mix butter, cocoa, sweet milk and bring to boil. Remove from heat add confectioner’s sugar, nuts, and vanilla. Spread over warm cake OR, to use for cake balls, see below.

Make the cake balls:
1. After cake is cooked still slightly warm, crumble into large bowl.
2. Mix thoroughly with 2-2.5 cups of warm frosting. (It may be easier to use fingers to mix together, but be warned it will get messy.)
3. Roll mixture into quarter size balls and lay on cookie sheet. (Should make 45-50. You can get even more if you use a mini ice cream scooper, but I like to hand roll them.)
4. Chill for several hours / overnight.
5. Melt chocolate (or candy coating) in microwave per directions on package.
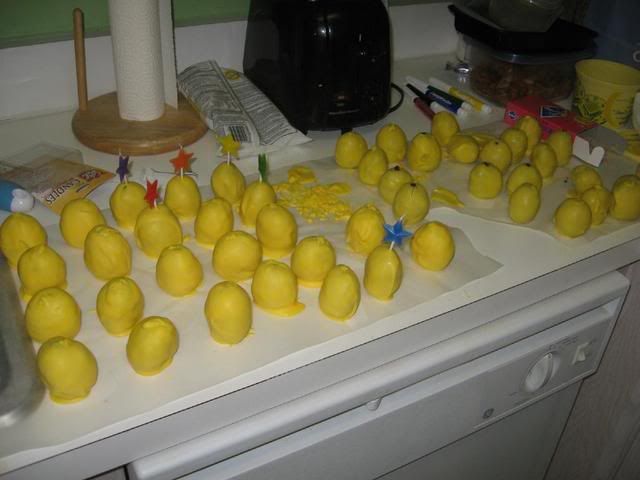
6. Roll balls in chocolate and lay on wax paper until firm.


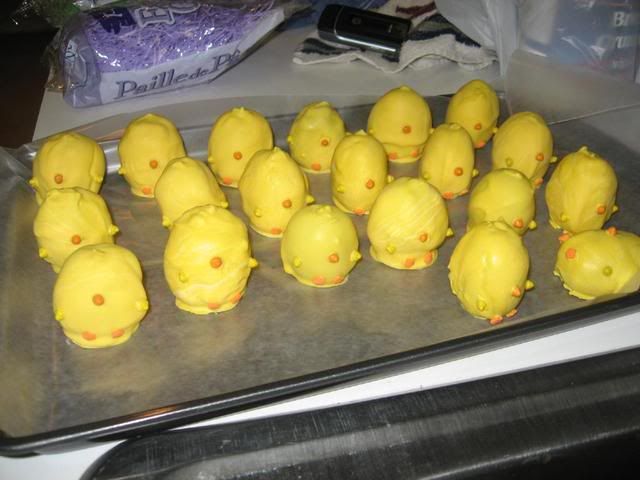
Little soldiers, ready to be dipped!


Dipping in progress!

Decorate the chickies:
1. Once the round yellow candy covered cake pops are dry, use a toothpick to dip into the melted candy coating. Dab a little dot of the coating where you want the beak to go. Then, just take one of the orange rainbow chips and attach it to the pop. It works like glue.
2. For the feet and wings, use the same technique to glue on the other sprinkle shapes.
3. Use the edible ink pen to draw the eyes.


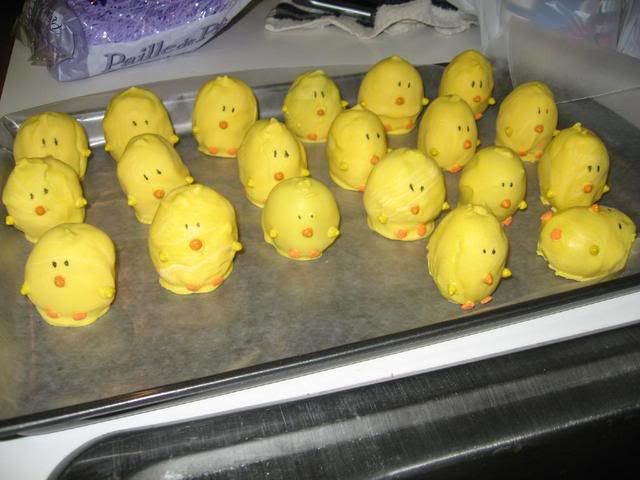
Waiting for eyes.


We can see!

NOTES: I refrigerated my cake balls a bit too long before dipping, I think. I made them one morning and refrigerated them until the next. They cracked and seeped a bit when dipped, indicating that EITHER they were too cold OR this cake/frosting combo has too much butter, perhaps? I’ve had better luck making the cake balls at night, refrigerating, and dipping the next morning.

I used Wilton’s yellow candy coating and didn’t love it. I had to thin it with shortening several times. Next time I’m going to use Candyquik (I really liked it last time) and buy some oil-based food coloring to tint it (note that you cannot use water or water-based food coloring, because it will cause the candy coating to seize!)

I had to double-dip my chickies for full coverage. I held each cake ball on a bamboo skewer and dipped/spooned the candy coating over it. To prevent the cake ball from having a huge “foot” from puddling coating, you have to let the excess drip off for quite awhile before wiggling it off the skewer onto the wax paper. Happy Dipping!

By the way, these are one of the many baked goods that I think taste LOADS better after being refrigerated in an airtight container! They were delicious the day we made them, but something about sticking them in the fridge made them extra wonderful!


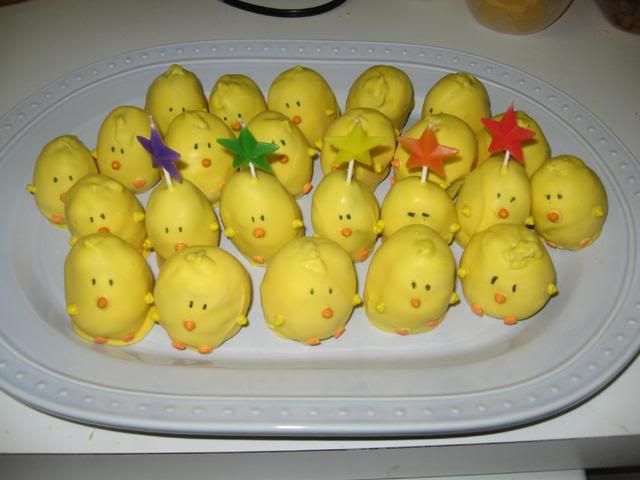
All together now, with some star-shaped birthday candles!

Quick and Easy Peanut Butter Cookies

Last night around midnight, I was poking about online and found this super-easy, flourless peanut butter cookie recipe. I immediately ran out and measured my peanut butter . . . juuuust shy of a cup! Of course! Not to be deterred, I threw Byrd in the car (actually, I let her jump into the car herself) and drove to the grocery store to pick up some extra peanut butter, along with things I’ll need for my savory cupcakes this weekend (stay tuned for these! I’m hoping they’re going to be amazing!)

I was excited about this recipe because of the possibility of making a weekday snack. I eat lower carb during the week, and since they have no flour, these cookies (when made with sugar-free peanut butter and Splenda) are low carb. About 125 calories and 5 grams of carbohydrates per cookie, to be exact.

The only issue I was concerned about is the effect these substitutions would have. Natural peanut butter can be oilier or drier (depending on how well-mixed your jar is) than regular processed peanut butter, and Splenda works in most things, but not all. The cookies came out dry because of the peanut butter difference, and a little crumbly as well, but you know . . . for a low carb sweet, they hit the spot. After refrigerating overnight in an air-tight container, they were quite yummy. Nevertheless, if you’re not worried about the carbs, I would use regular ol’ JIF and sugar for a moister cookie.

Flourless Quick and Easy Peanut Butter Cookies


Recipe By:

Nadia

Yields: 14-18 cookies

Cookie Ingredients:

1 cup peanut butter
1 egg
1/2 cup sugar

Directions:

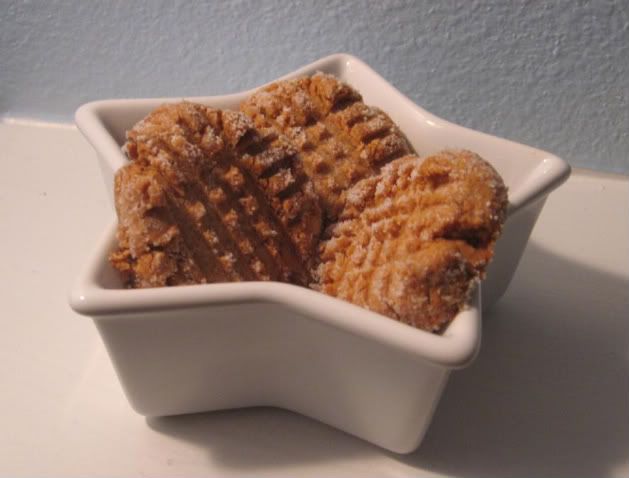
Mix ingredients together for about 2 minutes. Cover and chill in refrigerator for half an hour. Preheat oven to 325 degrees and grease a cookie sheet. Shape dough into small balls (and roll balls in sugar, if you’d like). Use the back of a fork to press balls flat vertically and horizontally (forming that lovely crisscross pattern). Bake for 18 minutes. Allow to cool on wire rack and store in airtight container.

Note: As mentioned above, the low carb version of this won’t be quite as moist, but is yummy as a quick treat. If substituting low carb ingredients (and maybe even if not), I think refrigerating overnight in an airtight container makes the flavor better. If you’re making the regular recipe, I could see these being fantastic with some mini hershey kisses or dipped in jam, as several folks on the original post suggested. Mmm peanut butter cookies! Enjoy!

Ferrero Rocher Failcakes

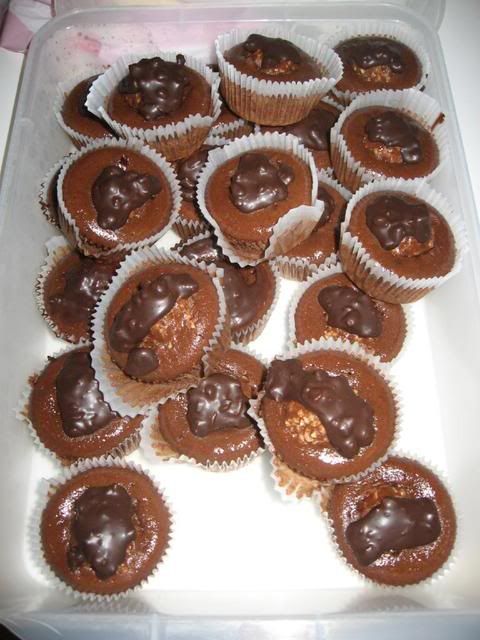
I showed you the pretty ones, but I thought you might also like to see my Ferrero Rocher Failcakes! I have my share of kitchen disasters. While I was happy with my second batch of Ferrero Rocher Cupcakes, the first batch didn’t quite turn out . . . to say the least!

The chocolate cupcake recipe I was using didn’t say anything about adding baking soda and powder (they were in the ingredients list, but not in the directions, which I always go by) and so . . . I didn’t! Oops. Lesson learned: always cross reference the ingredients list.

The failcakes still tasted okay, but were quite dense and not so pretty! I drizzled some extra ganache over them just in case we decided to eat them anyway. As of right now, though, they’re sitting in the fridge untouched.


Ferrero Rocher Cupcakes

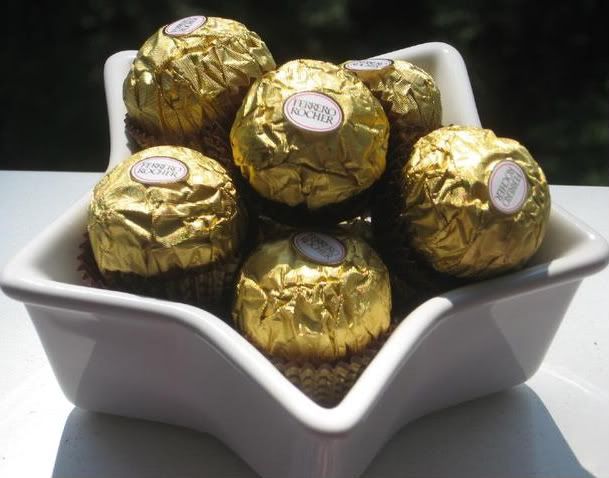
Ferrero Rocher are my absolute favorite candy.  They’re lovely, crunchy, chocolatey balls of hazelnut cream surrounding a whole hazelnut.  Mike isn’t a candy person at all, but he loves them as well.  There’s something about the chocolate, cream, and hazelnut combination that just melds in your mouth.


Best candy in the world!

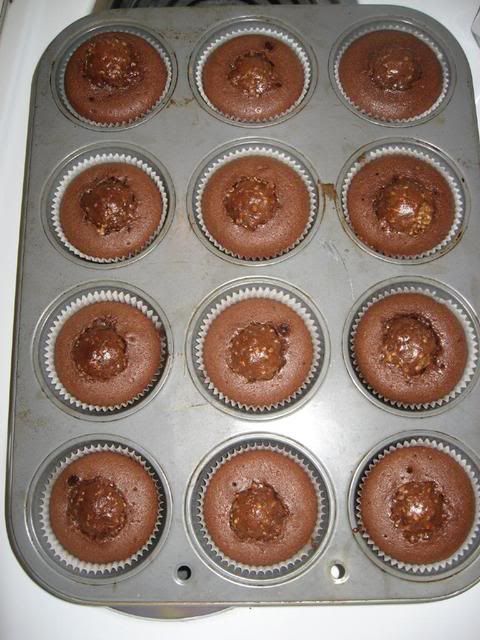
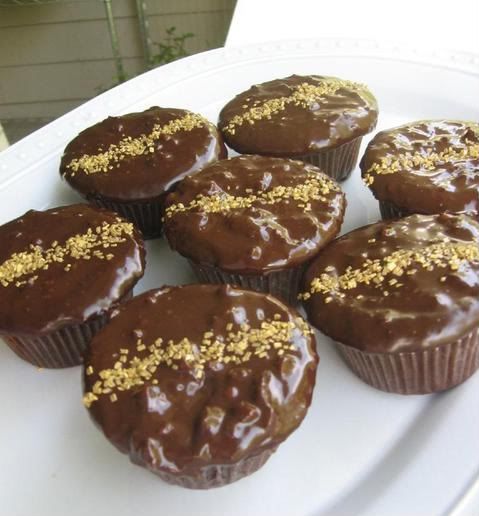
Never content to just enjoy pleasant things as they are, I wanted to innovate with these babies. I decided (big surprise!) to try to create a Ferrero Rocher Cupcake.  I searched out a delicious chocolate cupcake recipe with the intention of poking a whole, frozen candy in the middle of it prior to baking.  The frosting, in an attempt to mimic the chocolate and hazelnut covered shell of the candy itself, was ganache with chopped hazelnuts.  And of course, I drove all the way to Michael’s to pick up some gold sprinkles to echo the candy’s bright gold wrapper.


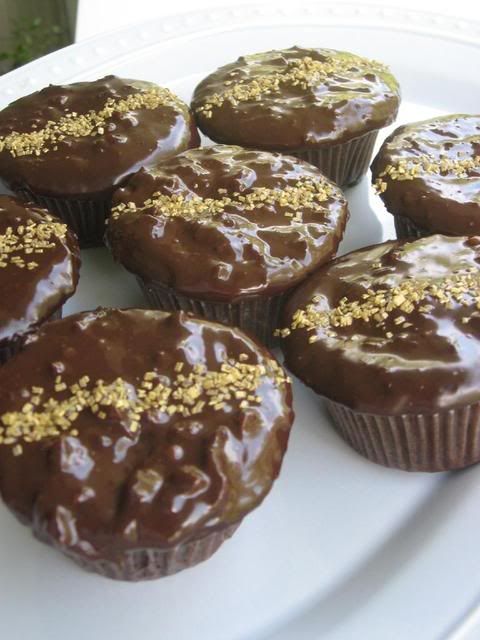
Oh yeah! Ferrero Rocher Cupcakes!

The cupcakes are scrumptious — moist and rich chocolate cake surrounding the familiar Rocher goodness.  There were a few flaws.  The candy stuck to the bottom of the cupcake paper a bit, so a little of its chocolate coating gets left behind when you peel the paper off. I think freezing them for a full 30-45 minutes before baking (I froze mine for 15) would help.  (Edited to add:  after refrigerating overnight, the candy no longer sticks, and the flavors have melded even more — yummy!)

Also, the crispy shell of the Rocher candies absorbed moisture from the batter during baking and lost some of its crunch.  But all in all, despite some texture changes, I feel like this recipe was a success! I was pleased that the taste of the candy was maintained and worked well with the cupcake flavor.

This trial run also makes me think of other great cupcake ideas.  For instance, deconstructing the Rocher: it’d be nice to make a chocolate cupcake filled with hazelnut cream (mmm, nutella!) and chopped hazelnuts, and frosted with this same delicious ganache.  In fact, after posting, I went back and googled to see if anyone had thought of Rocher cupcakes.  Turns out they had;  I found some fun recipes!  In particular, I’d love to try these!  Mmm. There are also some great nutella swirl cupcake recipes I’ve seen floating around. Lots of possibilities! In the meantime, I hope you’ll enjoy these Ferrero Rocher Cupcakes.

Ferrero Rocher Cupcakes


Recipe By:

Michelle (cupcakes)
Alton Brown (ganache, tweaked)
Ferrero Chocolates (they provide the chocolates, y’all!)

Yields: 24 cupcakes

Cupcake Ingredients:
2 cups (500 mL) all-purpose flour
2 cups (500mL) sugar
1/2 cup (125mL) cocoa powder
2 teaspoons (10mL) baking soda
1 tsp (5mL) baking powder
1/2 tsp (2 mL) salt
1 cup (250 mL) vegetable oil
2 eggs
2 cups (500 mL) of butter milk
2 teaspoons (10 mL) vanilla
24 Ferrero Rocher candies

Ganache Frosting Ingredients:
8 ounces semisweet chocolate, chopped fine
8 ounces (1 cup) heavy cream
1/2 cup hazelnuts, finely chopped
gold sprinkles or edible gold leaf (optional)

Directions:

Cupcakes: Freeze 24 Ferrero Rocher candies for 30-45 minutes before baking. Preheat oven to 350 degrees (180 degrees Celsius).

To make cupcakes, sift together flour, sugar, cocoa powder, baking powder, baking soda, and salt. In a separate bowl, mix together oil, eggs, buttermilk and vanilla. Add wet ingredients to dry, mixing well. Increase speed and beat for 2 minutes, until well combined. Spoon into 24 paper-lined muffin cups, filling halfway. Do not overfill, no matter how tempting! Plop one frozen candy into the middle of each cup of batter.


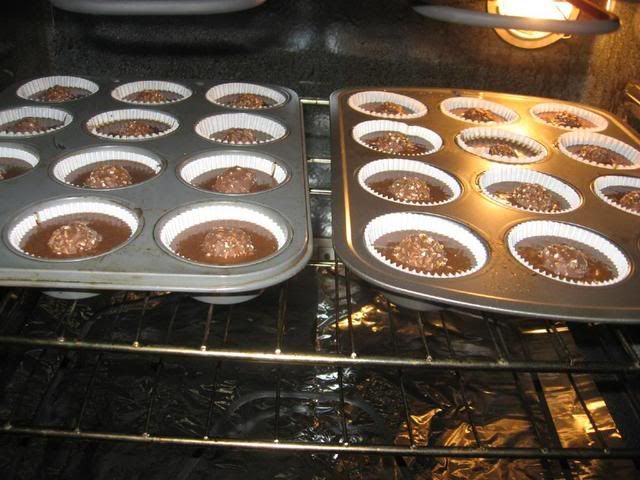
Oven time!

Bake for about 15-20 minutes or until tops are firm and toothpick inserted into cake comes out clean. Let cool in pan for a few minutes, then transfer to rack and cool completely.

Ganache Frosting: Heat the heavy cream in a saucepan until just simmering (careful not to let it boil over). Pour the cream over the chopped chocolate in a heat-resistant bowl. Let sit for 2 minutes. Mix well until smooth. Add in finely chopped hazelnuts and mix. If ganache is too runny, let it cool for awhile until it’s at the appropriate consistency. Then, dip the tops of room temperature cupcakes into the ganache, letting excess drain for a few seconds before righting the cupcakes. Sprinkle gold sprinkles or lay a piece of edible gold leaf in the center of the cupcake for a decoration. Let cool completely.


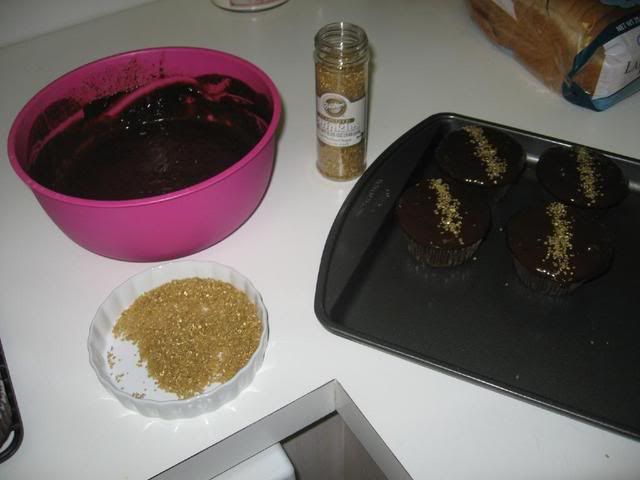
The dipping and sprinkles station.


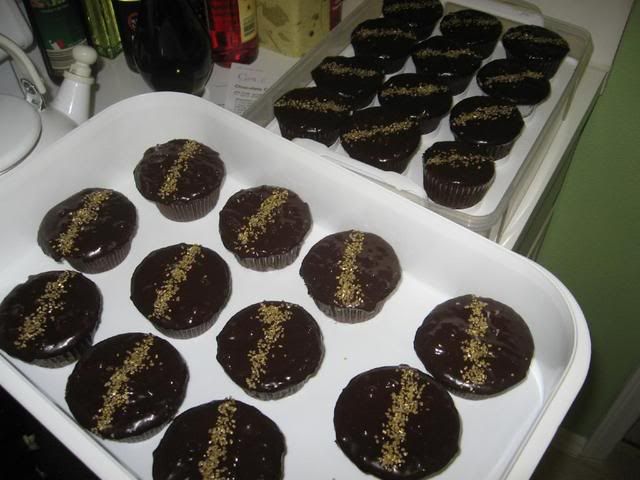
Lots of delicious candy-inspired cupcakes.


Bon Appétit!

1 123 124 125 126 127