

“But I also wondered if he wasn’t right, that we were designed to live through something rather than to attain something, and the thing we were meant to live through was designed to change us.”
—A Million Miles in a Thousand Years, Donald Miller
I don’t know about you, but I generally feel like I’m right about things. I don’t mean that I’m always right, and I’m not a know-it-all; I’ve just spent a lot of time forming my beliefs and I’m a thoughtful person, so I usually don’t feel like my worldview is too far off base.
I think most people probably feel this way. There aren’t very many of us, I’ll wager, who walk through life feeling totally insecure in our ideas and worldview. We believe what we believe for reasons — sometimes good reasons, sometimes misguided ones — and we walk through life feeling pretty certain. Open to change, we hope, and open to learning, but pretty settled.
Every now and then, though, you hit a wall that sends your worldview reeling. Firm ideas you had about your life’s purpose, how to weather different circumstances, and how the world works suddenly seem a lot more fluid. In my own life, I feel like I’ve recently run into the Great Wall of China, not to be melodramatic or anything, and I’m scrambling to find confirmation or revision of my worldview. I won’t bore you with the gory details, but I’d like to share some of my revelations with you over the coming weeks.
The first one is that life is not about checking off boxes. Donald Miller, a writer who had to “edit” his life into a screenplay and discusses the process in his book, A Million Miles in a Thousand Years, realized that inasmuch as life is a story, there are certain elements that are necessary to make it a meaningful one. One of those elements is character transformation.
We sometimes imagine that attaining our goals in life is what makes us successful: finding a husband, having kids, finding a house, finding a job. Have you ever wondered why we never seem to arrive? If we never seem to be finished with achieving, maybe it’s because the achievement itself isn’t the goal, but how we change during the pursuit.
Everyone always says, “the journey is the destination,” but then when we’re faced with health crises, relationship problems, job frustrations, and uncertainty about our future, that ideology falters. We want solutions. We want to be on the other side. It’s hard to rest in the storm, knowing God is using every strong wind and bolt of lightning to transform us in the exact way we need to be transformed. That idea can even evoke hostility in people in the midst of their greatest trials — the idea that God would, even while holding us and loving us in the ultimate sacrificial way, allow us to endure seemingly insurmountable trials is difficult to swallow.
Moreso even than others, I can have trouble resting in a trial. I don’t fault God for letting me go through the hard times, but I do inadvertently try to make myself my own savior, scrambling to fix it fix it fix it! My anxiety gets the better of me, and I flail through all different “solutions,” some of which do more harm than good. Lately I’ve been practicing, instead, letting the trouble wash through me like waves. Maybe they’re strong waves, and maybe they’ll move me. Maybe they’ll even knock me off my feet for a bit. But ultimately they’ll flow past and disappear against the shore.
If you’re in the middle of a trial, practice thinking of each new difficulty like a wave and let it come. Then let it go. And in the meantime, maybe make some cookies. Cookies never hurt.
One year ago: Straw-Raspberry Basil Fruit Leather
Two years ago: Homemade Buttery Croissants and Pains-au-Chocolats
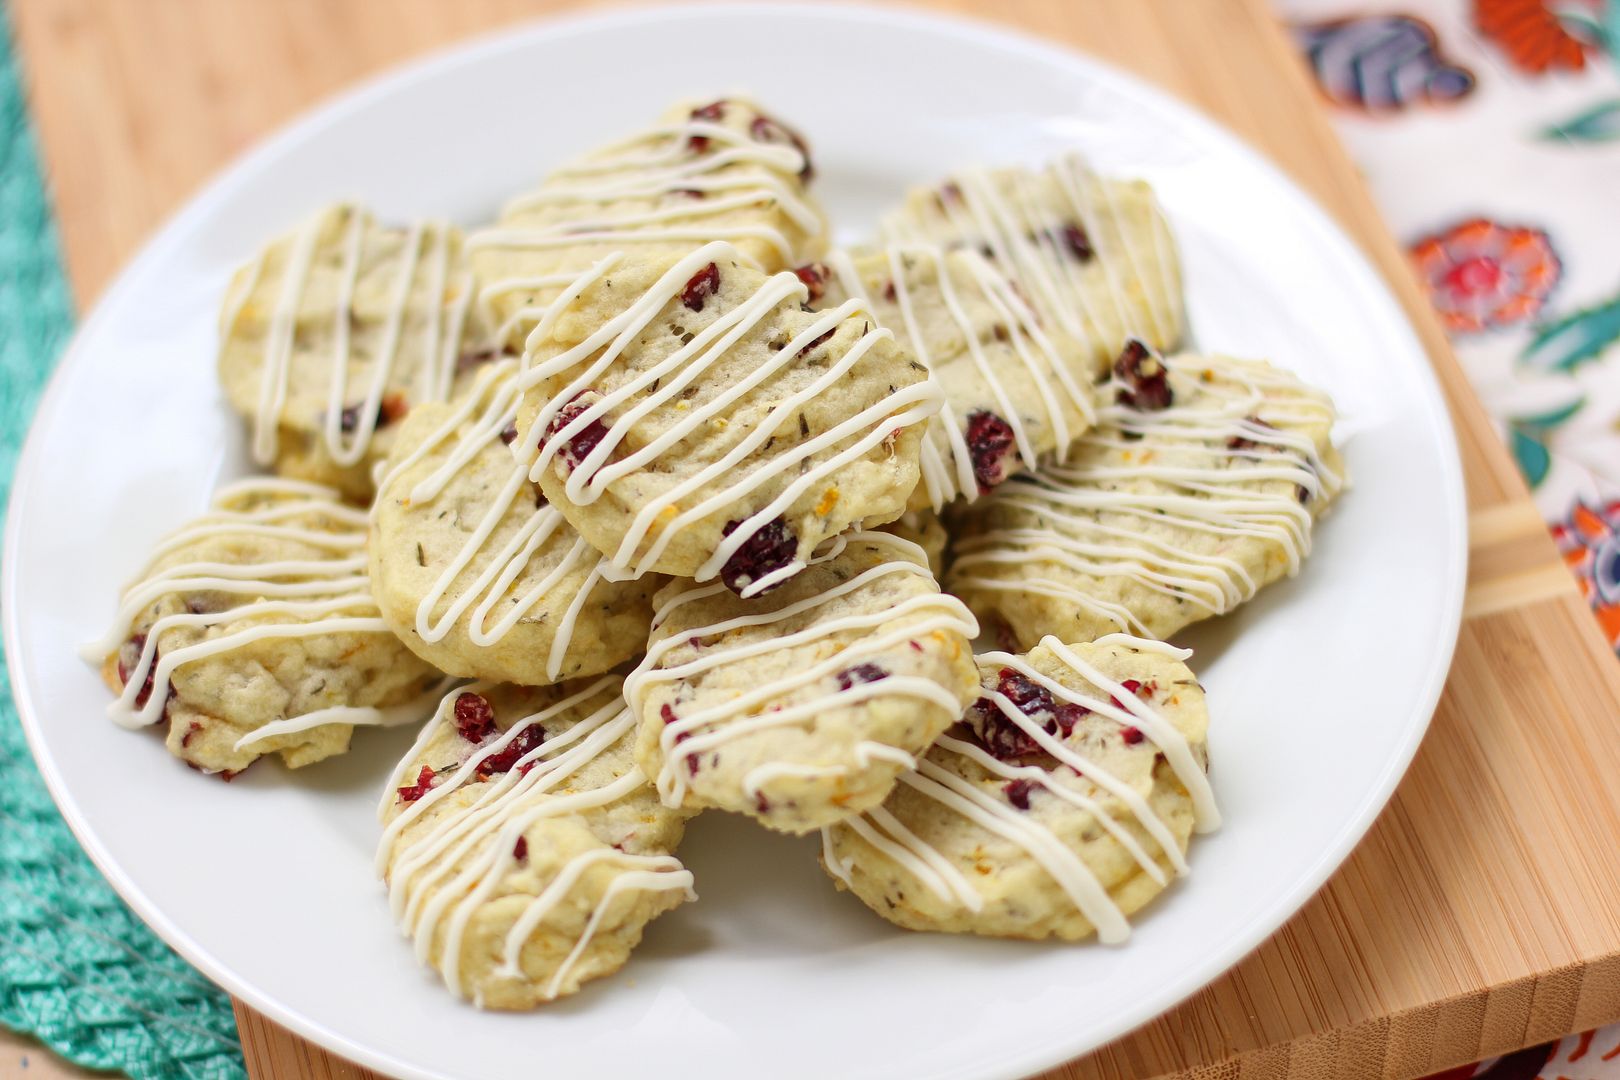
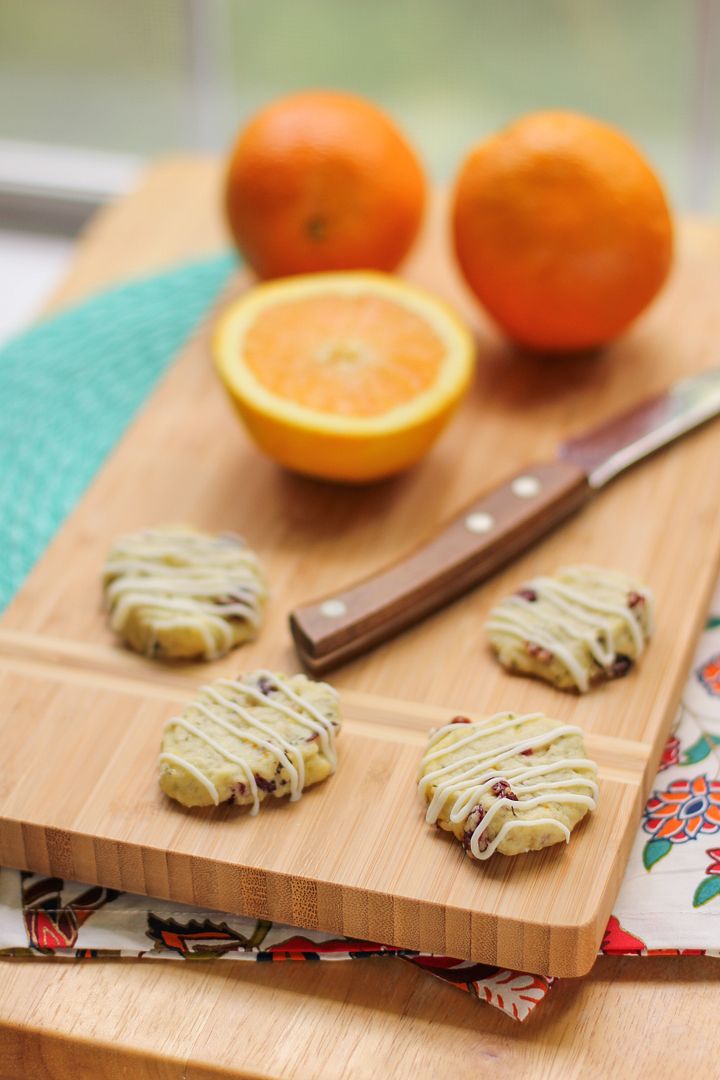
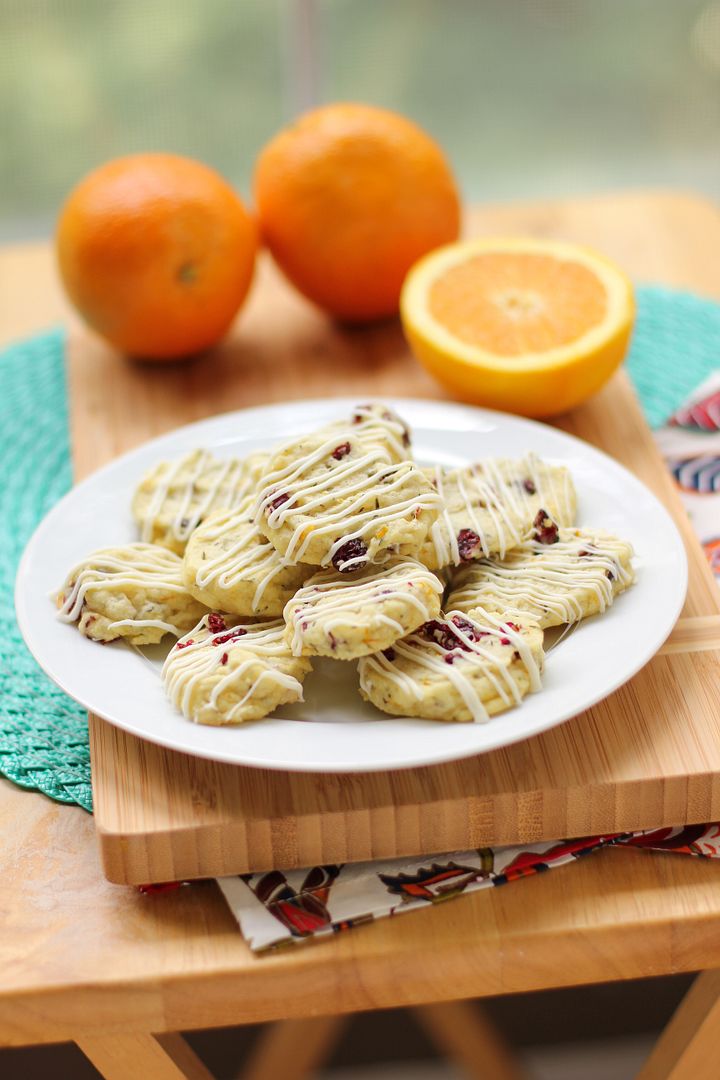
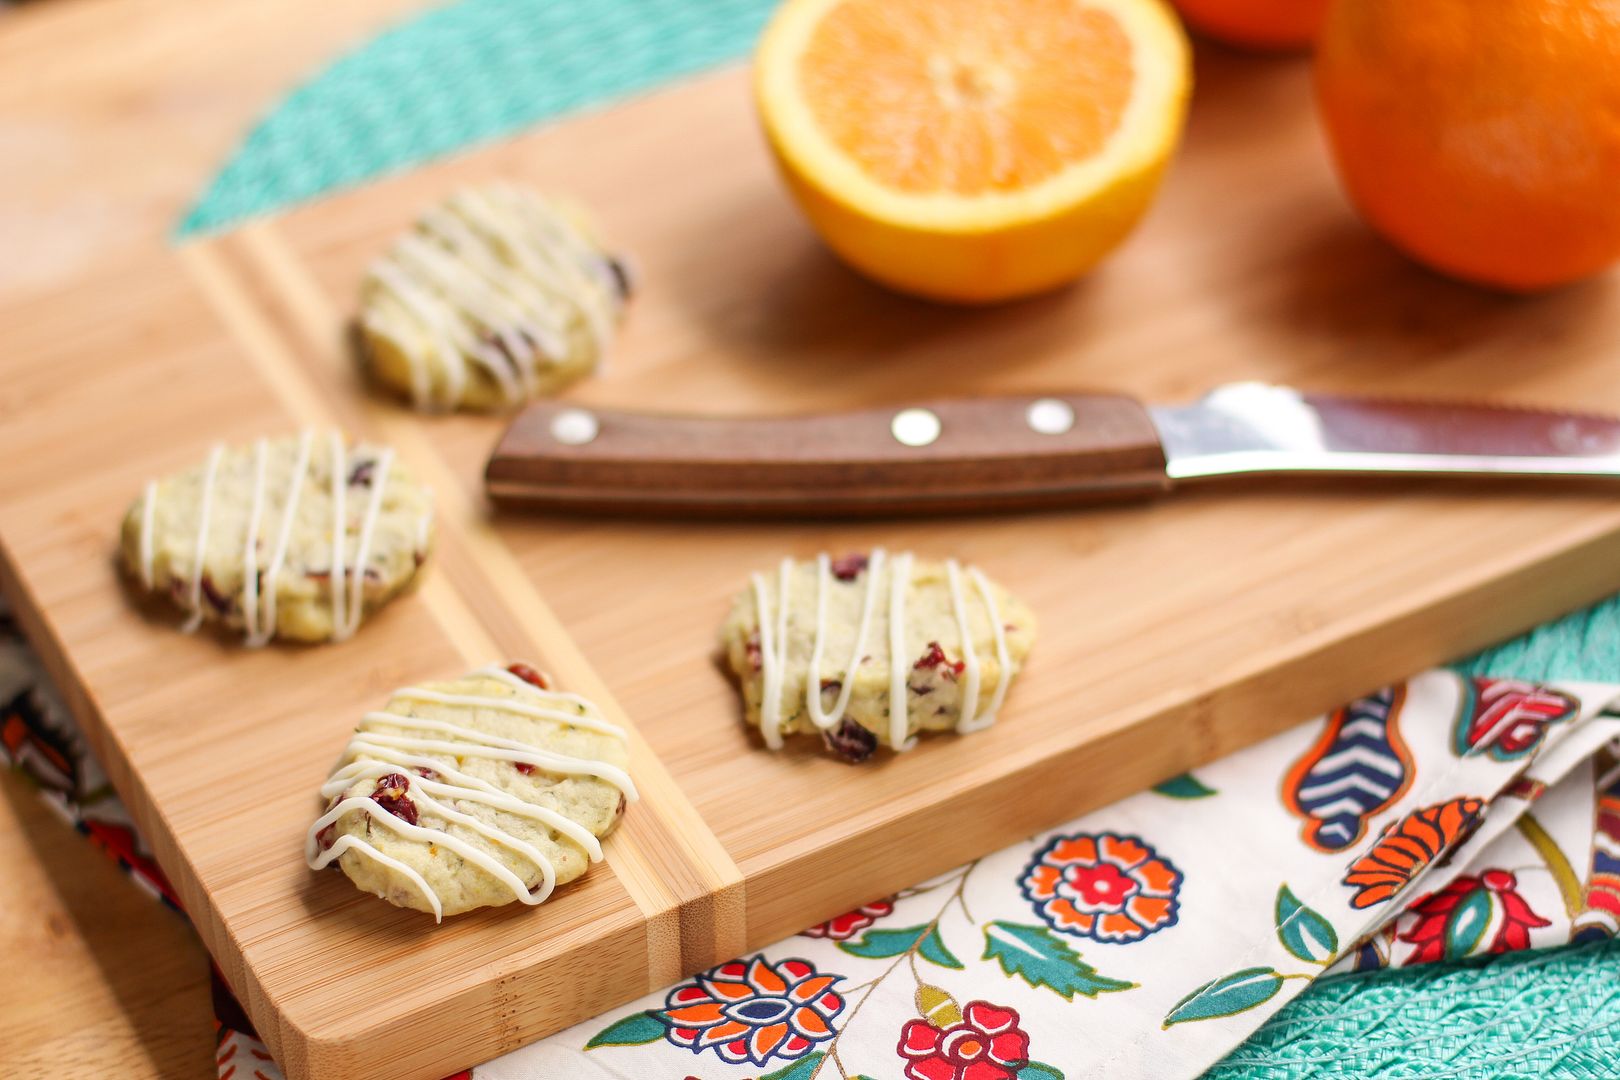
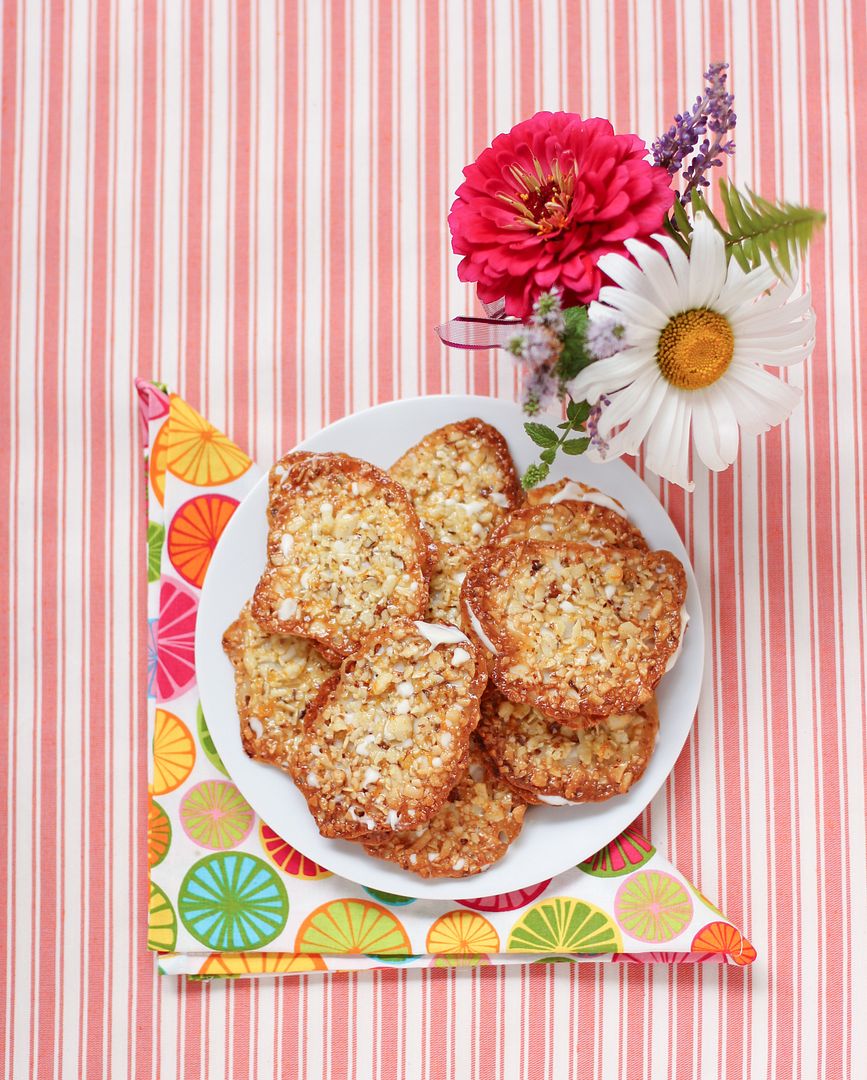
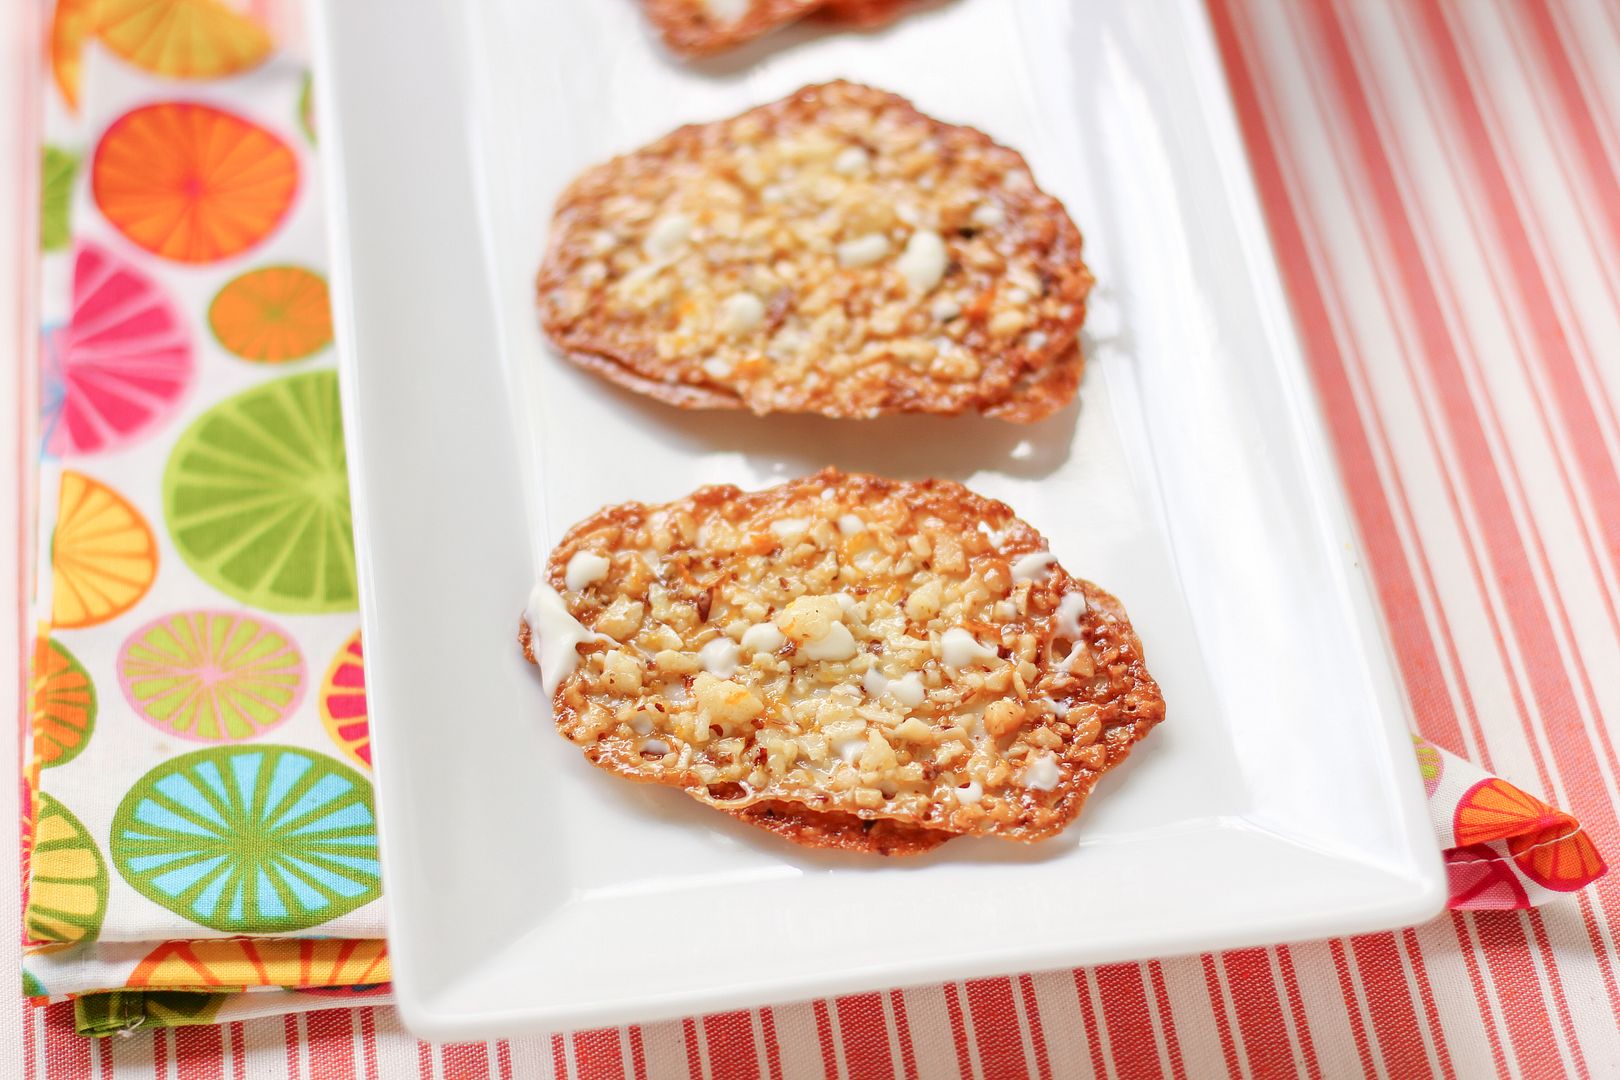
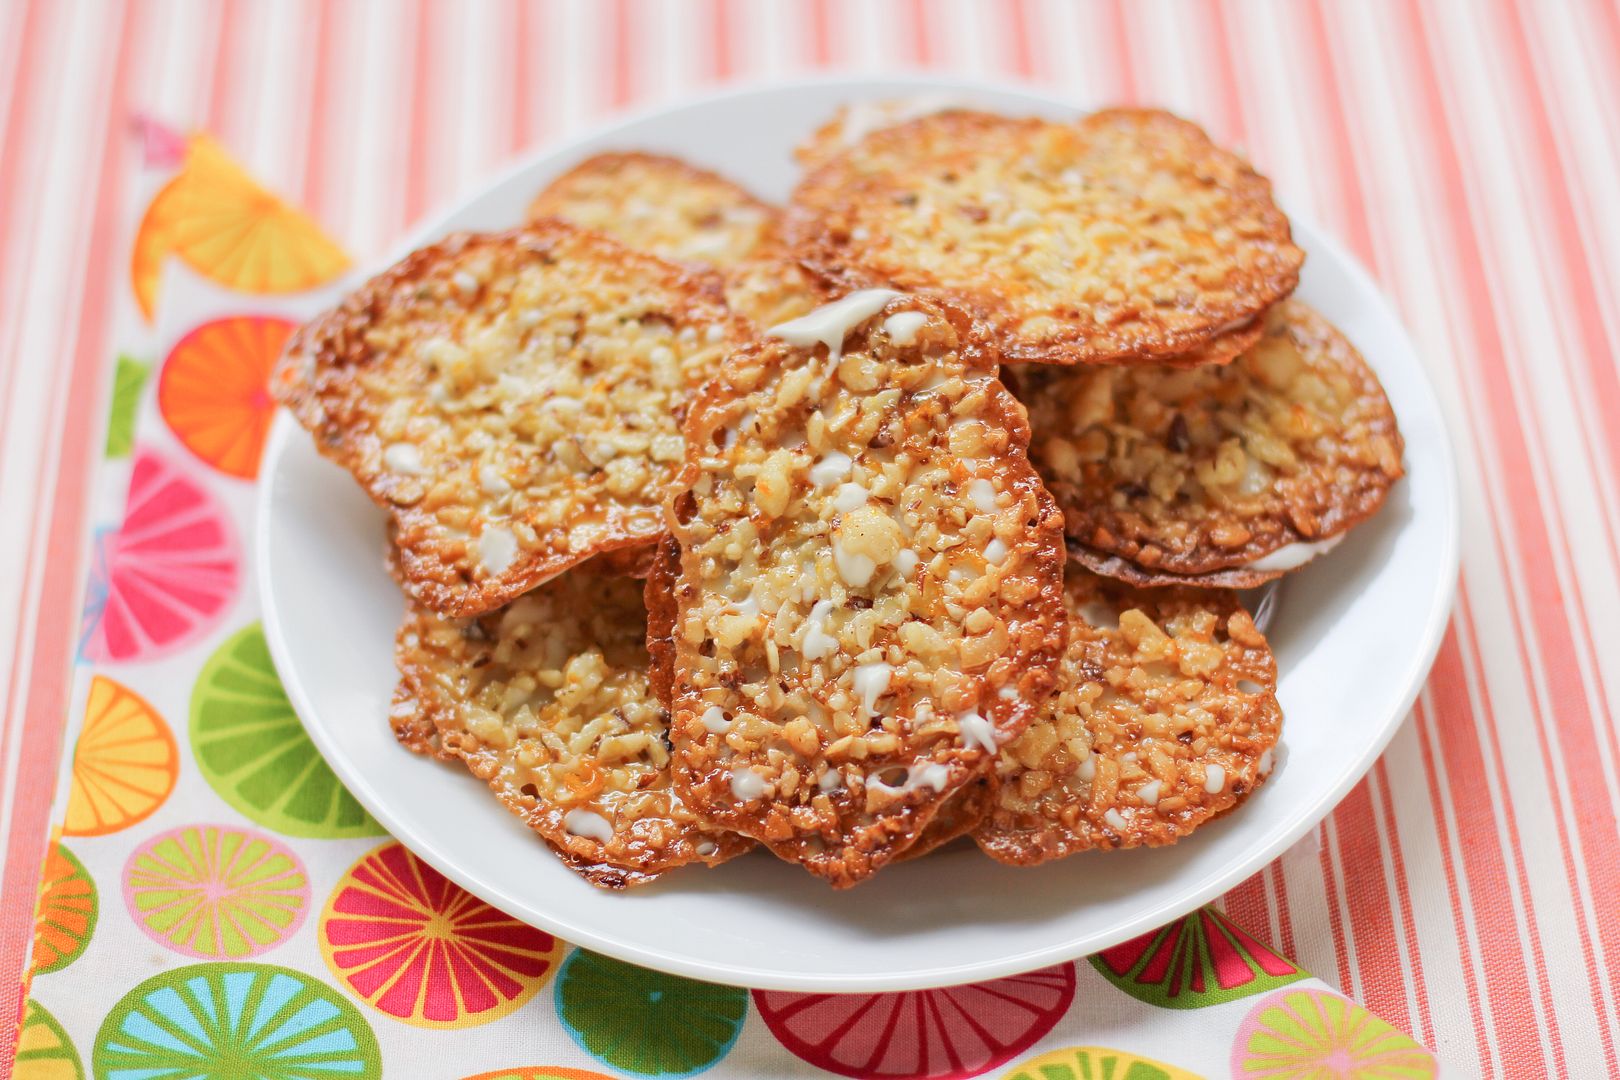
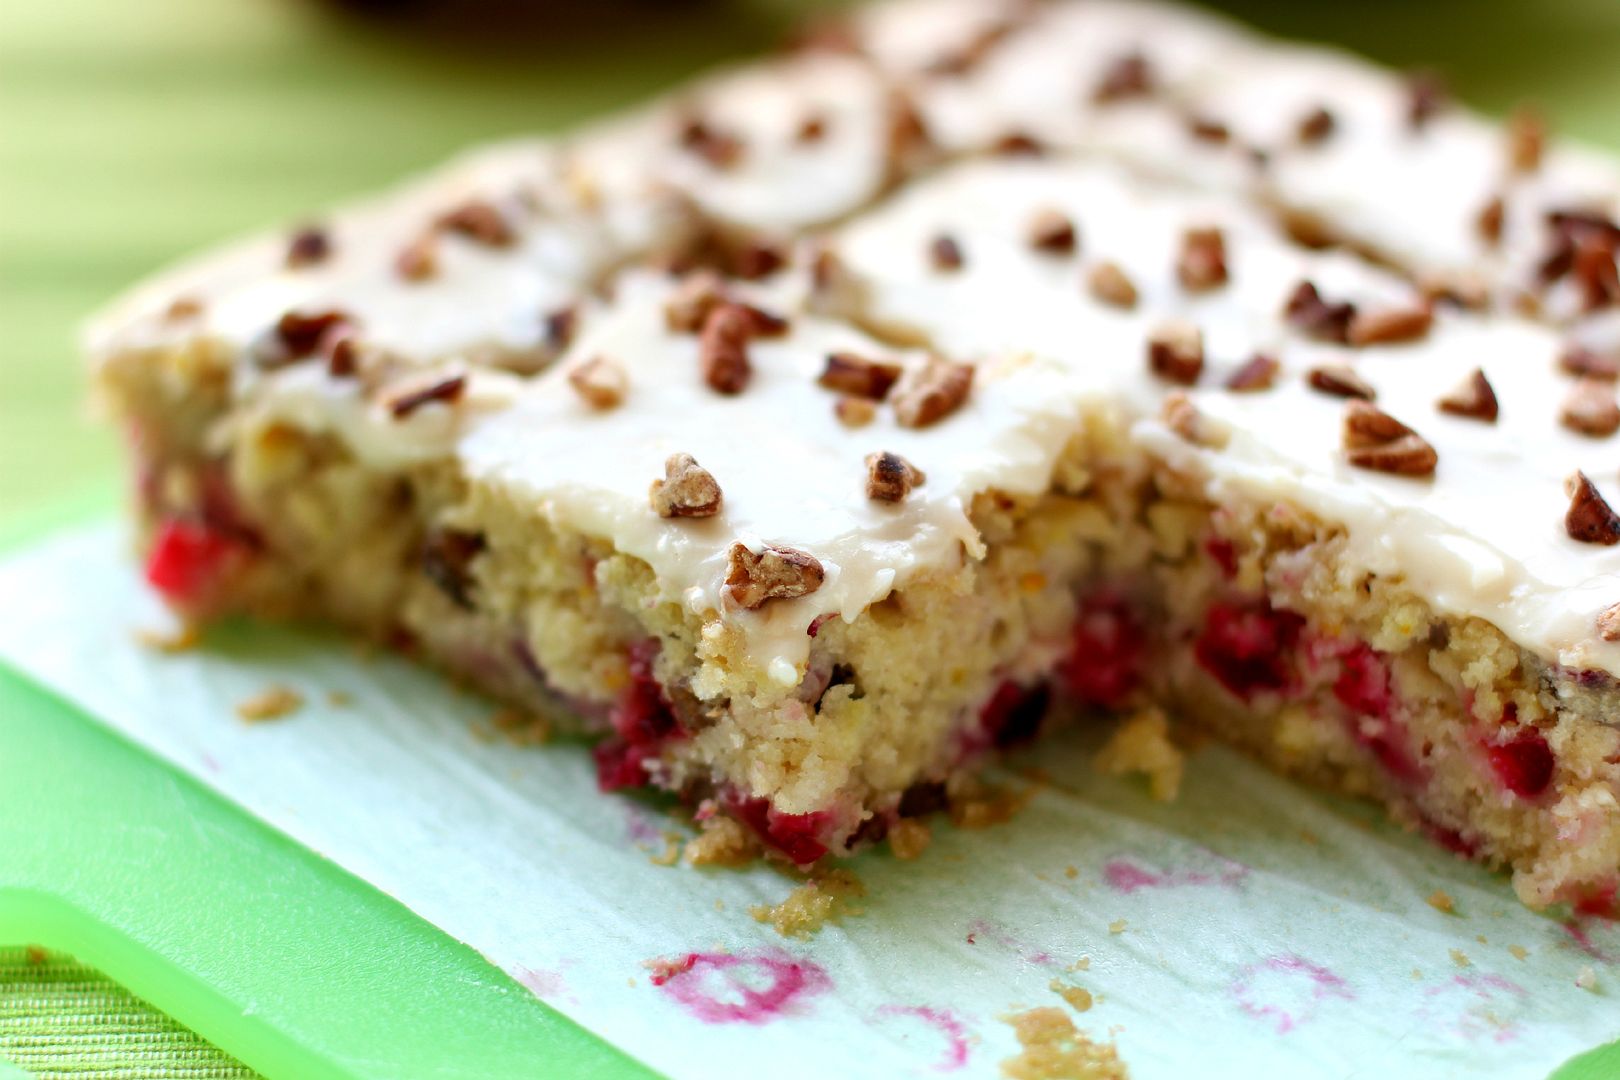
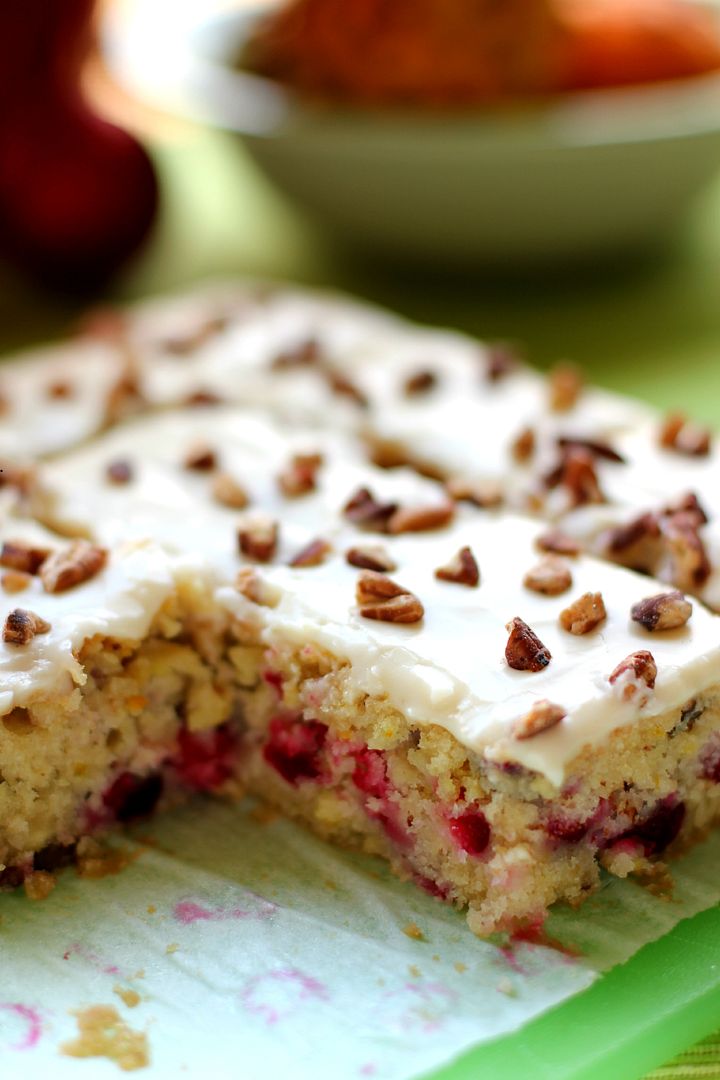
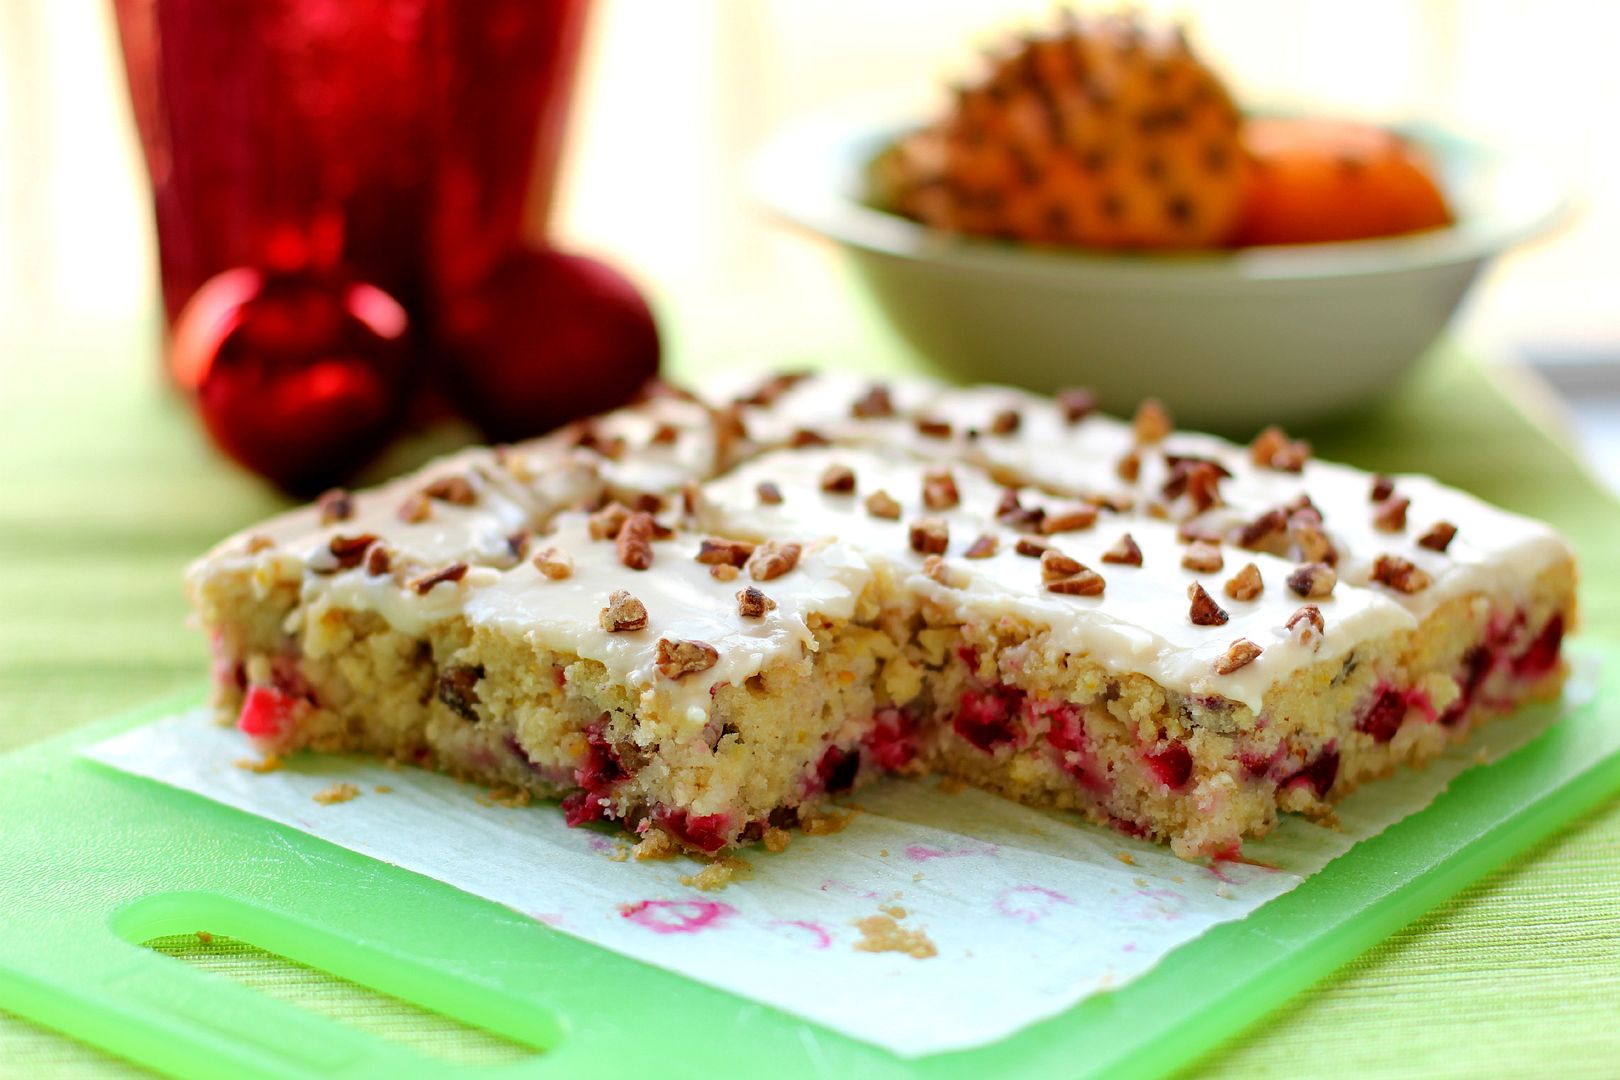
Thyme Orange Cranberry Shortbread Cookies
Recipe by: Willow Bird Baking
Yield: two logs of about 15 cookies each
These are some amazing cookies. Buttery, delicate shortbread is already delicious, but the addition of orange zest, cranberries, and thyme make these shortbreads particularly special. They’re not too sweet, but a drizzle of white chocolate sweetens them up. They’d be perfect for tea, snacking, or a dessert. It’s also easy to bake a log of them and keep the second log in the freezer for unexpected company!
Ingredients:
2 cups all-purpose flour
1/4 teaspoon salt
2 1/2 teaspoons crushed dried thyme
3/8 cup powdered sugar
1 cup (2 sticks) butter, at room temperature
1 1/2 tablespoons finely grated orange zest (about the zest from one orange)
1/4 cup freshly squeezed orange juice
1/2 cup dried cranberries, finely chopped
about 1/2 cup white chocolate chips
Directions:
In a large bowl, whisk together the flour, salt, and dried thyme. In a separate large bowl, cream together the butter, orange zest, and powdered sugar 2-3 minutes or until pale, light, and fluffy. Mix in the orange juice. Beat in the flour mixture and then stir in the cranberries by hand to be sure everything is combined.
Use a sheet of wax paper to roll the dough into a 1 1/2-inch wide log (if you’re having trouble, chill the dough for a bit in the fridge before rolling it). Wrap plastic wrap or foil around the logs and freeze them for 20 minutes until firm (you can also double-wrap them and leave them frozen for up to 3 weeks at this point. When you’re ready to bake, just use a serrated knife to cut the cookies and bake as usual. It make take a few minutes longer since they’ll be baking from frozen, but just keep an eye on them.) While they cookies are freezing, preheat the oven to 350 degrees F and place the rack in the center. Prepare a baking sheet with parchment paper or a silicone baking mat.
Use a serrated knife to slice each log into 1/4-inch slices and place these about 1 inch apart on the prepared baking sheet. Bake until golden, about 8-10 minutes, rotating once halfway through baking. Let the cookies cool for a couple of minutes on the pan before transferring them to a cooling rack to cool completely. In the meantime, melt white chocolate according to package instructions (usually half-power, in small increments, stirring often) and spoon it into a plastic zip-top bag with a tiny corner cut off. Set cookies on wax or parchment paper and squeeze the melted chocolate from the zip-top bag over them in a zig zag design. Let them dry. Store them in an airtight container separated by leaves of parchment or wax paper for up to a week.
If you liked this post, please:
–Subscribe to Willow Bird Baking
–Follow Willow Bird Baking on Twitter
–Follow Willow Bird Baking on Facebook


)