Milan Cookies

Saying that I love to try new recipes and techniques is an understatement. Even when I’m making a tried and true dessert that I’ve made repeatedly, I always have a crazy urge to try a new decorating technique or another twist. It was a wonderful decision, therefore, to join The Daring Bakers.

Each month, one of the Daring Bakers is responsible for hosting a challenge that they issue to all of the others. Bakers complete the challenge and everyone posts their results on the 27th of the month. This is my first month in the group, and I can already tell I’m going to love it.

The July Daring Bakers’ challenge was hosted by Nicole at Sweet Tooth. She chose Chocolate Covered Marshmallow Cookies and Milan Cookies from pastry chef Gale Gand of the Food Network (to see my Mallows, go to this post).
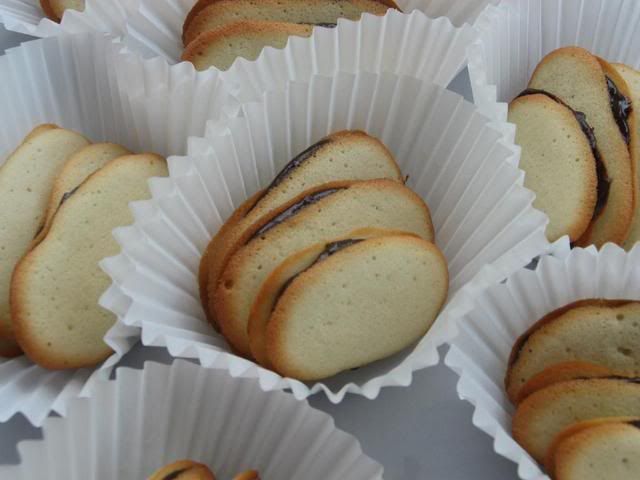
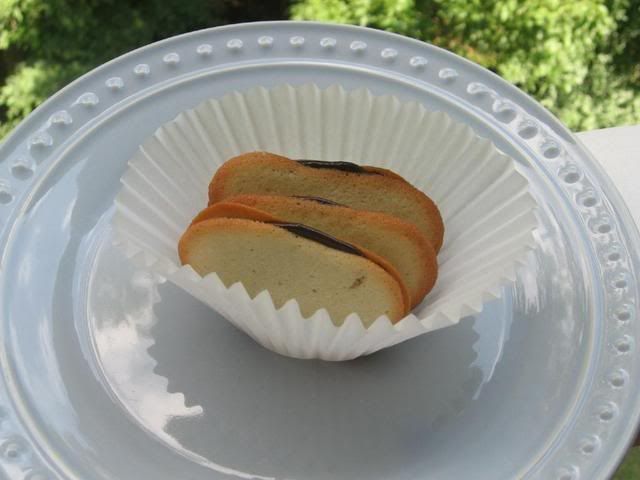
First and foremost, I think the Daring Bakers will encourage me to try recipes I might not otherwise consider. These Milan Cookies, for example, aren’t something I would have decided to try on my own, but they are delicious and sophisticated. I can picture them being served at tea; they’re so prim in their little paper bowls! The cookie filling is a thick ganache with a hint of orange zest that complements the slightly citrus flavor of the cookie itself. Everyone who tried these loved them!

Just a hint: I had some lemon curd frozen from my Lemon Burst Fairycakes, so I spread it on a cookie and gave it a taste. It was heavenly! You could even sandwich some lemon curd between two cookies and dip them in ganache! Clearly, these cookies have inspired me.
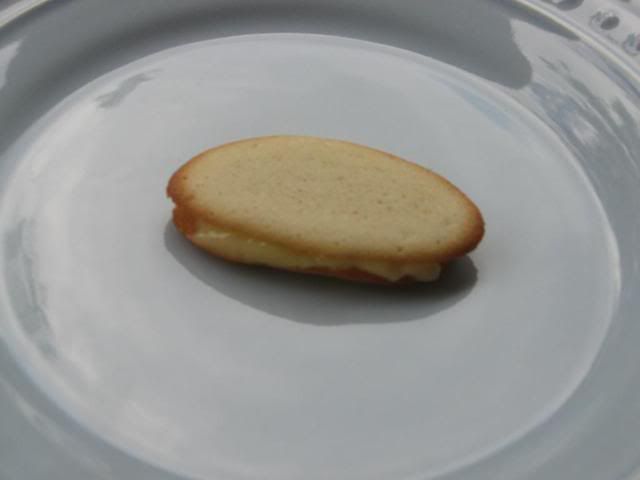

Milan Cookie with lemon curd filling in the place of ganache.

This recipe is from Gale Gand and Food Network, but of course, I tweaked some things. Changes to the recipe are marked in italics below. I hope you enjoy these cookies, and be sure to send me a photo and/or leave me a comment if you make them! I’d love to see your results!
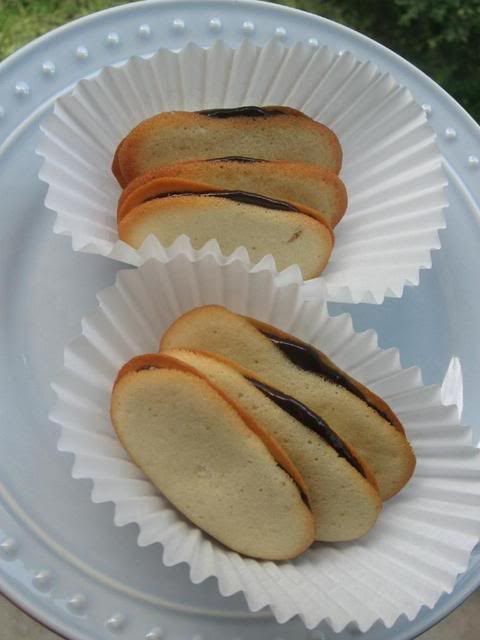
Milan Cookies


Recipe By: Gale Gand (slightly tweaked — changes in italics)
Yields: about 50 sandwich cookies

Ingredients:
12 tablespoons butter, softened
2 1/2 cups powdered sugar
7/8 cup egg whites (from about 6 eggs)
2 tablespoons vanilla extract
2 tablespoons lemon extract
1 1/2 cups flour
Cookie filling, recipe follows

Cookie filling ingredients:
1/2 cup heavy cream
8 ounces semisweet chocolate, chopped
1 orange, zested

Directions:

Cream the butter with a paddle attachment then mix in the sugar. Add the egg whites gradually and then mix in the vanilla and lemon extracts. Add the flour and mix until just incorporated. With a small (1/4-inch) plain tip, pipe thick 2-inch sections of batter onto a parchment-lined sheet pan (note: it’s easier to pipe onto parchment if you “glue” it to the pan using some nonstick cooking spray), spacing them 2 inches apart as they spread. Bake in a preheated 350 degree oven for 7-8 minutes or until light golden brown around the edges. Let cool on the pan.

Cookie Filling: In a small saucepan over medium flame, scald cream. Pour hot cream over chocolate in a bowl. Whisk to melt chocolate, add zest and blend well. Set aside to cool (the mixture will thicken as it cools). Spread a thin amount of the filling onto the flat side of a cookie while the filling is still soft and press the flat side of a second cookie on top. Repeat with the remainder of the cookies.

NOTES on storage from Audax Artifex: Let cookies cool completely before storing them, or the residual heat will produce steam that will soften the cookies and accelerate spoilage. Separate layers of cookie with wax paper or foil.

In a dry climate, keep unfilled cookies crisp by storing them in a loosely covered container, such as a cookie jar without a snug lid. In a damp, humid climate, store in a tightly covered container.

Also keeping the unfilled cookies in an air tight container with a muslin bag of salt or bicarbonate of soda – this will absorb the dampness keeping your cookies crisp.

All of that said, I will tell you, my cookies got soft. We actually enjoyed them that way, so don’t fret if yours aren’t as crisp on day 2. Many of the Daring Bakers also tried fun combinations — chocolate Milan cookies with chocolate mint ganache, plain Milan cookies with no citrus, etc. So do some experimenting!

Process Photos:
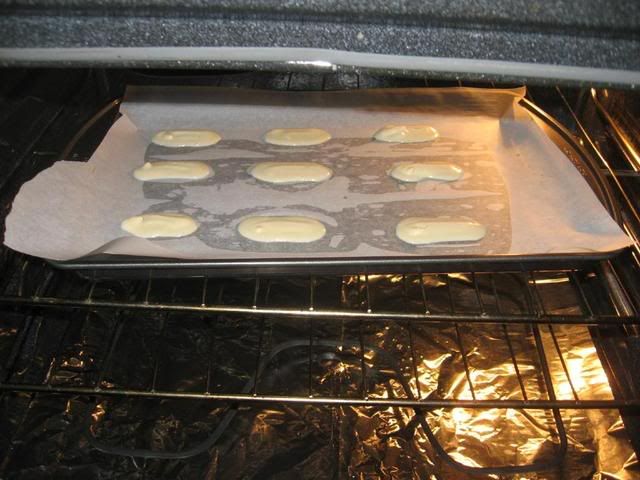

Baking in the oven.
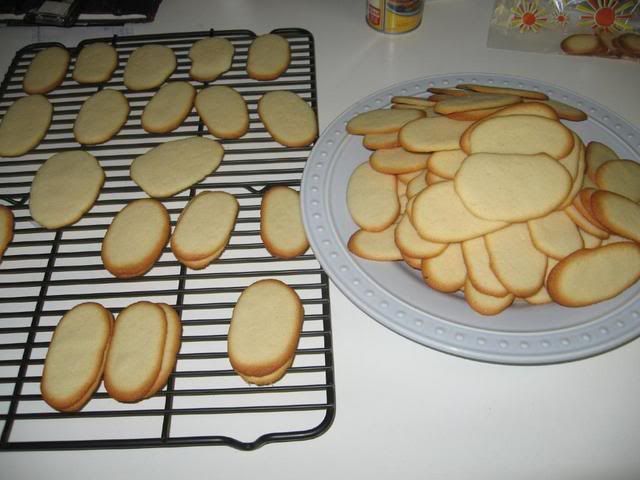


Cooling off (here you can see that a few were quite
wonky! To reduce the number of crooked cookies,
quickly and confidently pipe a thick, straight line.)
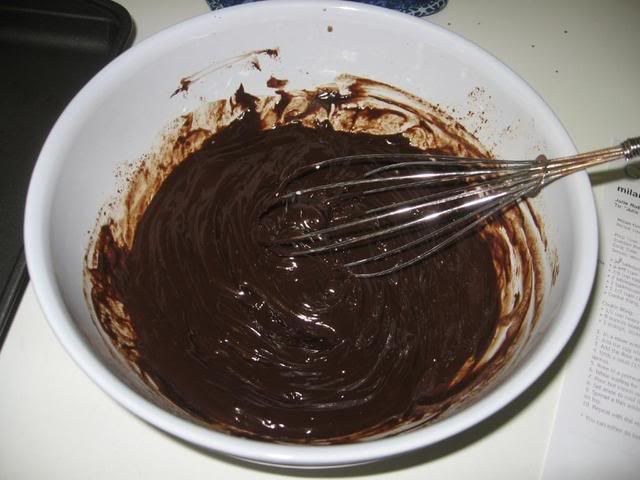


Mixing cookie filling.
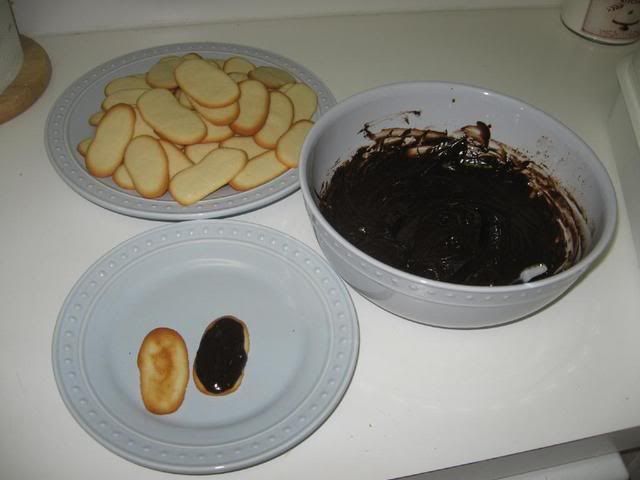


The sandwich construction station!
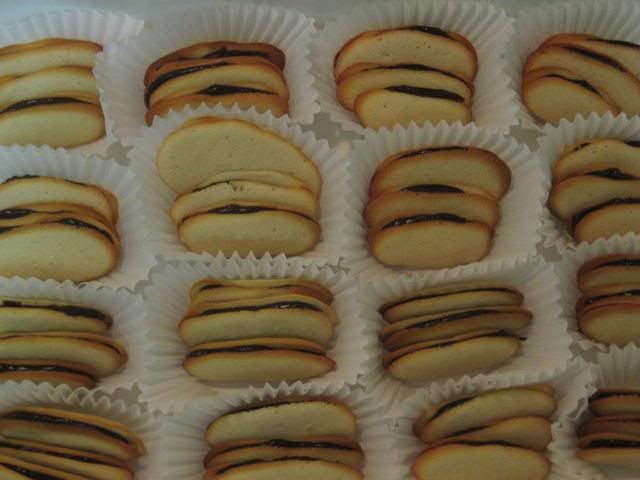


LOTS of cookies!
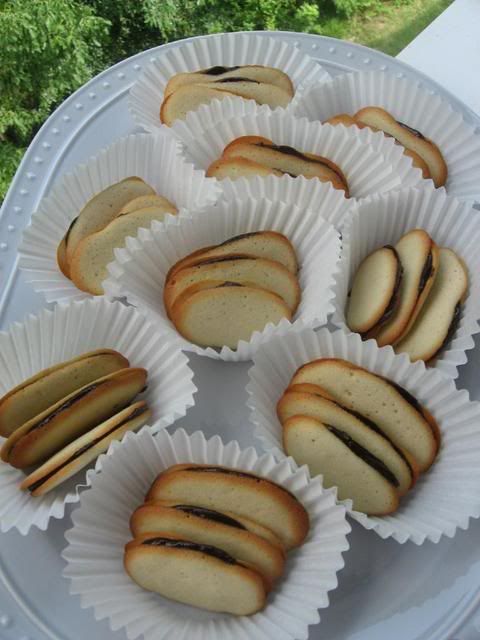


Enjoy!

Visit the Daring Bakers (temporary) Blogroll to see more of these treats from amazing bakers!

Since I mentioned challenges, what’s the most challenging recipe you’ve tried?

Mallows

As I mentioned in my previous post, the July Daring Bakers’ challenge was hosted by Nicole at Sweet Tooth. She chose Chocolate Covered Marshmallow Cookies and Milan Cookies from pastry chef Gale Gand of the Food Network. While the Milan cookies were delicious and dainty, the Mallows were scrumptious and indulgent. They were two very different types of cookies, but I learned from each recipe and enjoyed the variety! If I had to choose a favorite, though — and you know I do — it would be these Mallows.


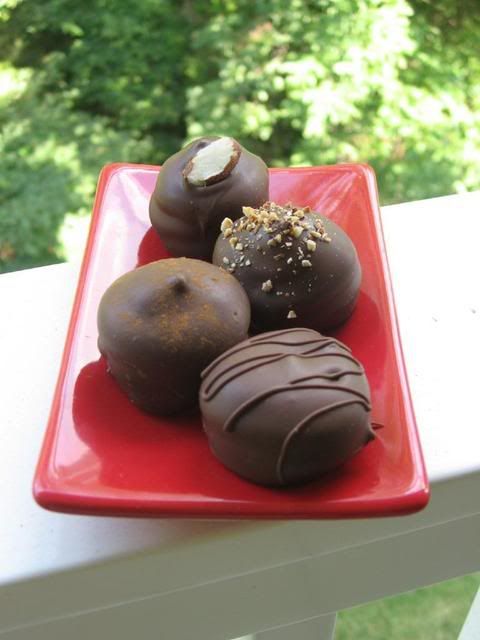
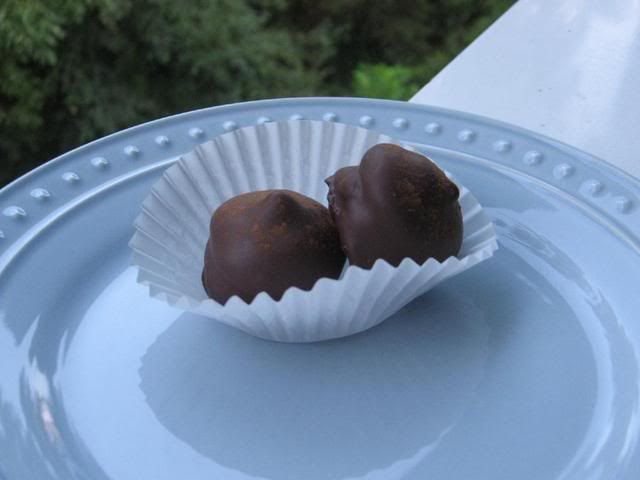
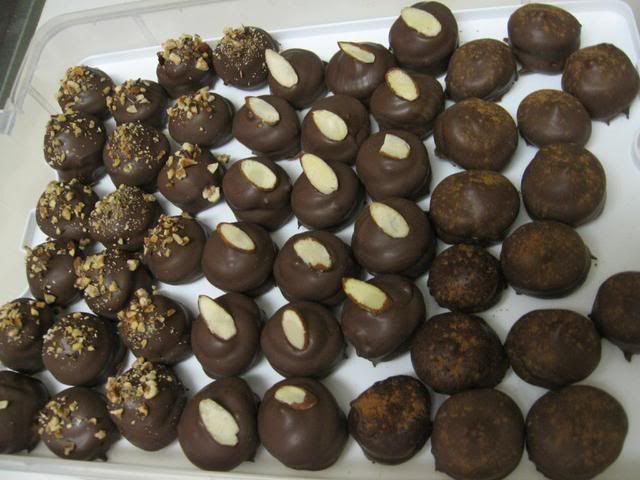
Four types of Mallows (from back): Almond Mallows, Hazelnut Mallows, Cinnamon Mallows, and Plain Mallows

Mallows are chocolate-covered, marshmallow-topped cookies. The wonderful thing about these Mallows (besides the amazing flavor) is how versatile they are. Homemade marshmallows are very easily flavored and customized, so I was able to make four Mallow “flavors” with hardly any more trouble than just making one. I chose Almond, Hazelnut, and Cinnamon Mallows in addition to the plain.


Almond Mallows

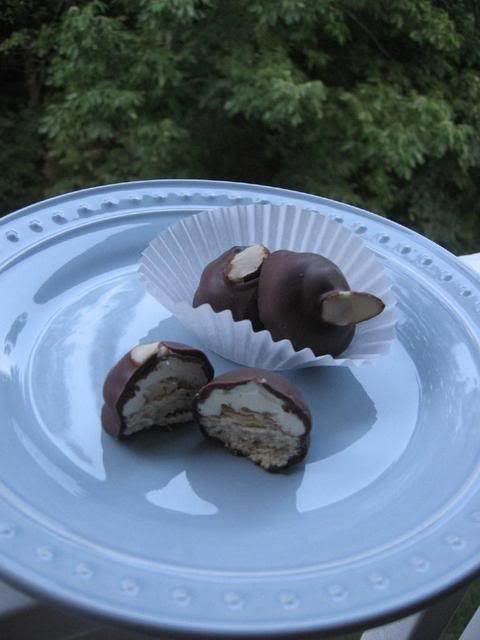
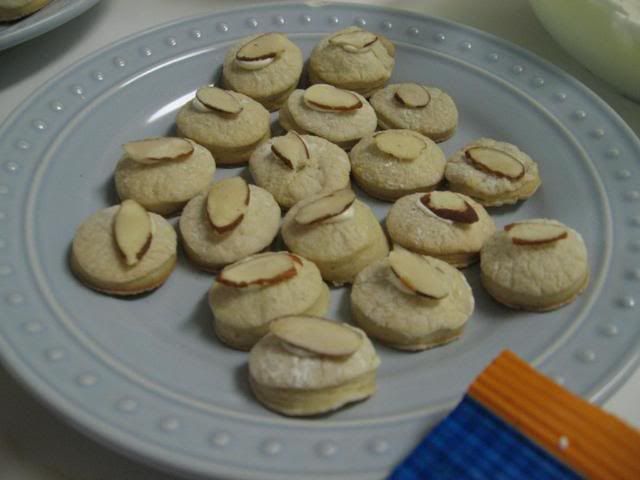
Almond Mallows have an almond sliver between the cookie and marshmallow, and another atop the cookie. In addition, their marshmallows are flavored with vanilla, almond, and butter flavorings. The marshmallow is as rich as a buttercream frosting, and so tasty! I bet this version would also be delicious with some creamy almond butter piped on under the marshmallow.


Hazelnut Mallows

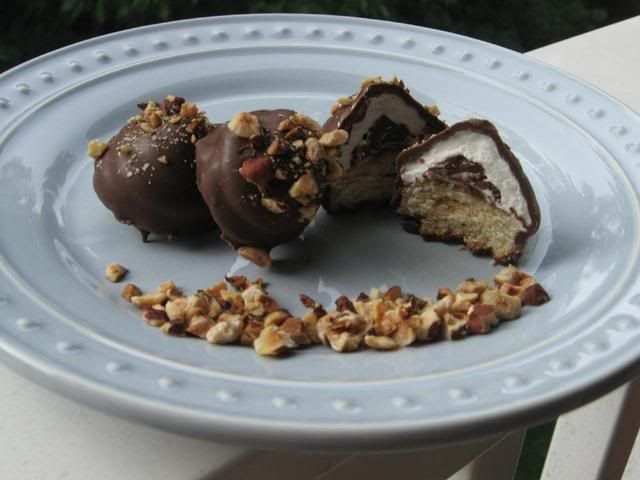
Hazelnut Mallows (my favorite!) have Nutella piped on under plain marshmallow, and are topped with toasted hazelnuts.


Cinnamon Mallows

Cinnamon Mallows have cinnamon and nutmeg flavored marshmallow, and a light dusting of cinnamon and cocoa powder on top.

Enjoy experimenting with flavors! Different sorts of nuts, spices, and extracts are all tools for tweaking your mallows. Some Daring Bakers piped a bit of jam or nut butter below their marshmallows for an added surprise. Use food coloring to denote different flavors of marshmallow. There’s a lot of room for creativity here.


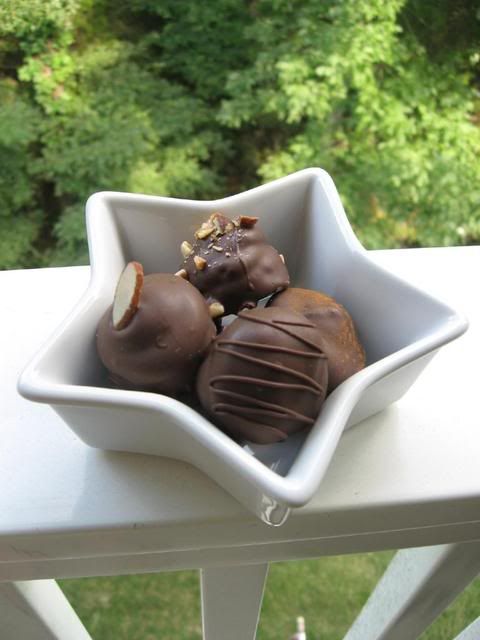
All four types of Mallows again (from left): Cinnamon Mallows, Almond Mallows, Plain Mallows, and Hazelnut Mallows

Gale Gand’s original recipe seemed to need some tweaking, since Daring Bakers typically ended up with — I kid you not — hundreds of cookies, and only enough marshmallows to cover around 50. I’ve adjusted the recipe below to hopefully yield the correct amounts! Also, Gand’s original recipe called for melting semisweet chocolate and vegetable oil to make your coating. After reading that about half of the Daring Bakers’ were having trouble with their chocolate not setting — especially those who live in warm or humid climates — I decided not to take a chance with it. Instead, I used my beloved CandiQuik dipping chocolate, which dries in literally minutes! You can probably find this at Lowes Food or SuperTarget. A friend of mine over at Barbara Bakes uses Ghiradelli dipping chocolate, which is another option.

Enjoy playing with your Mallows! My family and friends loved these cookies, and I hope yours will too.

Mallow Cookies


Recipe By: Gale Gand (tweaked quite a bit!)
Yields: about 80 small (bite-sized) Mallows

Cookie Ingredients:
1.5 cups all purpose flour
1/2 cup white sugar
1/2 teaspoon salt
3/8 teaspoon baking powder
1.5/8 teaspoon baking soda (this is an odd measurement — eyeball it as best you can!)
1/4 teaspoon ground cinnamon
6 tablespoons unsalted butter
1.5 eggs, whisked together (to get half an egg, crack it into a separate cup and lightly beat it; then discard 1.5 tablespoons and add the rest to the recipe)
Dipping chocolate (I used 2 bags of chocolate CandiQuik)

Homemade Marshmallow Ingredients:
1/4 cup water
1/4 cup light corn syrup
3/4 cup (168.76 grams/5.95oz) sugar
1 tablespoon powdered gelatin
2 tablespoons cold water
2 egg whites , room temperature
Flavoring (either Plain, Almond, or Cinnamon)

-Plain = 1/4 teaspoon vanilla extract
-Almond = 1/8 teaspoon vanilla extract, 1/8 teaspoon almond extract, 1/8 teaspoon imitation butter flavoring, and 4 drops of yellow food coloring (optional).
-Cinnamon = 1/4 teaspoon vanilla extract, 1/4 teaspoon cinnamon, and a pinch nutmeg

Directions:

Begin by making cookies:
1. In a mixer with the paddle attachment, blend the dry ingredients.
2. On low speed, add the butter and mix until sandy.
3. Add the eggs and mix until combine.
4. Form the dough into a disk, wrap with clingfilm or parchment and refrigerate at least 1 hour and up to 3 days.
5. When ready to bake, grease a cookie sheet or line it with parchment paper or a silicon mat.
6. Preheat the oven to 375 degrees F.
7. Roll out the dough to 1/8-inch thickness, on a lightly floured surface. Use a 1 1/2 inches cookie cutter to cut out small rounds of dough (see my tips for rolling out dough, below).
8. Transfer to the prepared pan and bake for 8 minutes or until light golden brown. Let cool to room temperature.

While cookies are cooling, make your marshmallows:
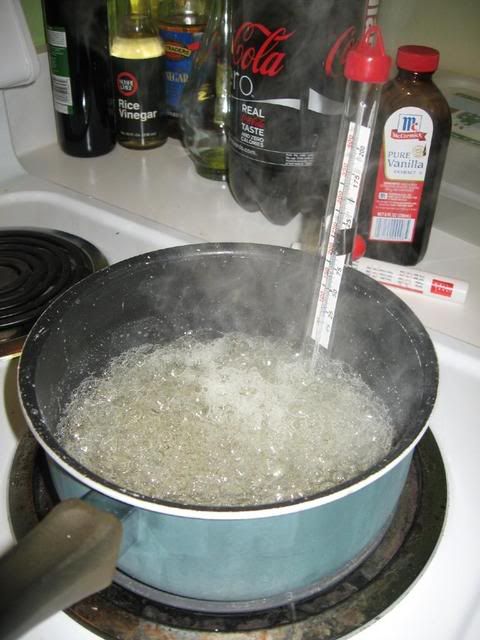
1. In a saucepan, combine the water, corn syrup, and sugar, bring to a boil until “soft-ball” stage, or 235 degrees on a candy thermometer (though soft ball stage can be eyeballed with a simple cold water test, I love having a candy thermometer around. Mine even has a line marked “soft-ball stage”).
2. Sprinkle the gelatin over the cold water and let dissolve.
3. Remove the syrup from the heat, add the gelatin, and mix.
4. Whip the whites until soft peaks form and pour the syrup into the whites.
5. Add the flavoring of your choice and continue whipping until stiff (it will take around 15 minutes, so I hope you took your vitamins this morning!). Note: You can also separate the marshmallow into multiple bowls and make multiple flavors, but if you do, reduce the amounts of the ingredients so they don’t overpower the smaller volume they’re flavoring.
6. Transfer to a pastry bag.

Now to finish the cooled cookies:
1. Pipe a “kiss” of marshmallow onto each cookie. Let set at room temperature for 2 hours.
2. Line a cookie sheet with parchment or silicon mat and cover with a cooling rack — this will be your drying rack!
3. Melt dipping chocolate according to package instructions. I like to set my bowl of chocolate in a larger bowl of hot water to keep it melted while I work. Just be careful not to let the water touch the chocolate, or it will seize and you won’t be able to work with it.
3. One at a time, gently drop the marshmallow-topped cookies into the hot dipping chocolate (see my video demonstration below!).
4. Lift out with a fork and let excess chocolate drip back into the bowl. Now’s the time to add toppings if you wish, while the coating is wet. For a chocolate squiggle, let coating dry and use a ziplock of CandiQuik with the corner cut off to drizzle over cookies.
13. Place on the prepared pan and let set at room temperature until the coating is firm, about 10 minutes. Store in an airtight container at room temperature (unless you’re in a very hot environment and notice melting, in which case, store in fridge).

Note: if you don’t want to make your own marshmallows, you can cut a large marshmallow in half and place on the cookie base. Heat in a preheated 350-degree oven to slump the marshmallow slightly, it will expand and brown a little. Let cool, then proceed with the chocolate dipping.

Julie’s tips for rolling, gathered from various internet sources, my mother, and some lovely friends during a moment of panic:

  • Work with small batches (about 1/3 of the dough) at a time, while keeping the rest chilling in the refrigerator.
  • You can coat your workspace in equal parts confectioners’ sugar and flour if you’re worried about using too much flour (which can cause dough to get dry/tough).
  • Roll dough immediately from the refrigerator, turning it often and redusting lightly with flour mixture to prevent sticking.
  • If you don’t have a cool metal counter or marble slab (which I don’t), set some frozen vegetables out on your counter for a bit before you roll to cool it off. Then dry your workspace and roll. You can also refrigerate or freeze your rolling pin for a few minutes.
  • Have a sheet pan in the freezer. If you sense your dough is getting sticky/warm, put a sheet of wax paper on the dough and press the frozen sheet pan on top to cool it down quickly.

The One Minute Dipping Demonstration!
[youtube=http://www.youtube.com/watch?v=dvyI3i4nYLY&hl=en&fs=1&rel=0&color1=0x2b405b&color2=0x6b8ab6&border=1]

Process Photos!


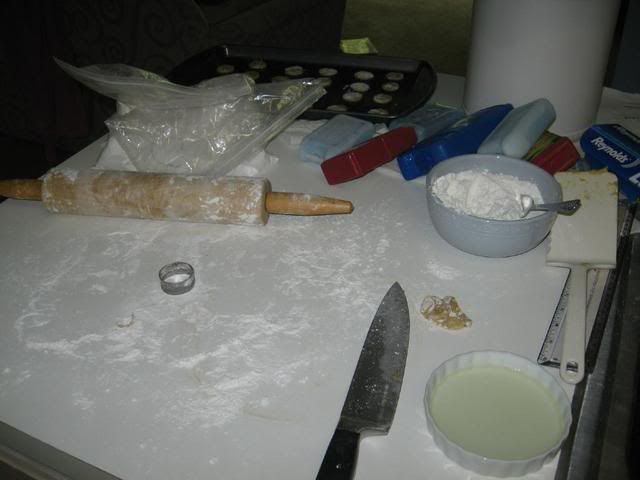
Ready to roll!


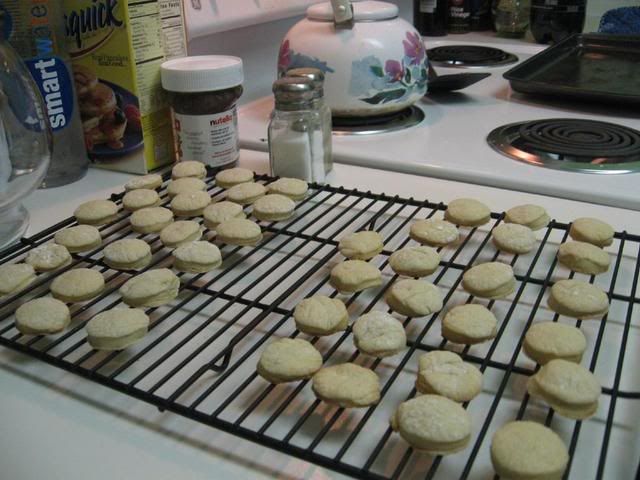
Fresh from the oven and not so pretty.


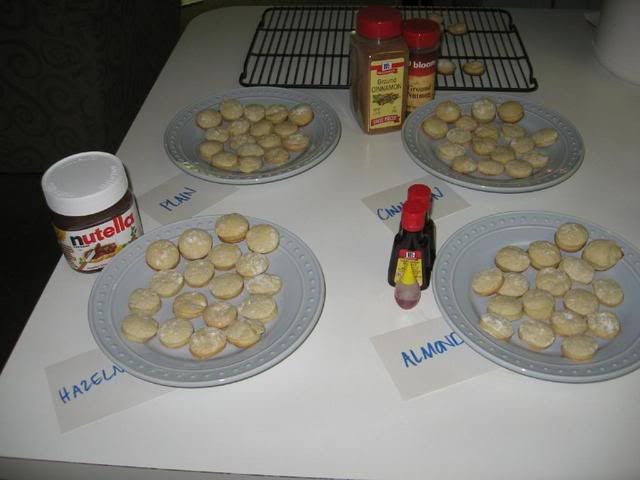
Getting organized to make my four types of Mallows (and not confuse them!)


Is it soft-ball stage yet? (notice my faithful Coke Zero in the background!)


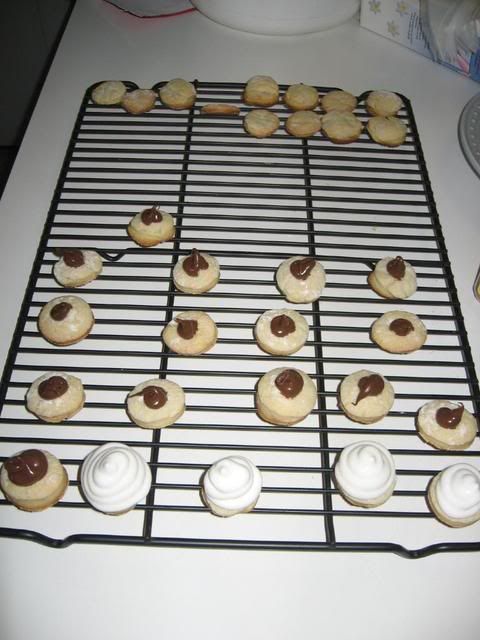
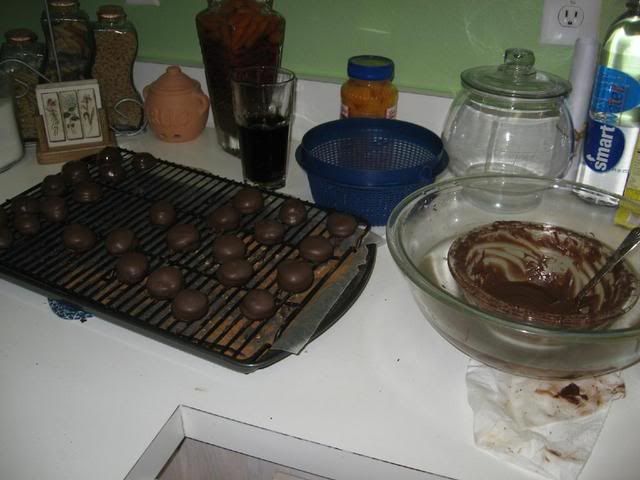
Piping Nutella filling onto my Hazelnut Mallows. The more you can fit, the better!


For Almond Mallows, I used a bit of the almond marshmallow mixture to “glue” an almond sliver on the cookie before piping my marshmallow.


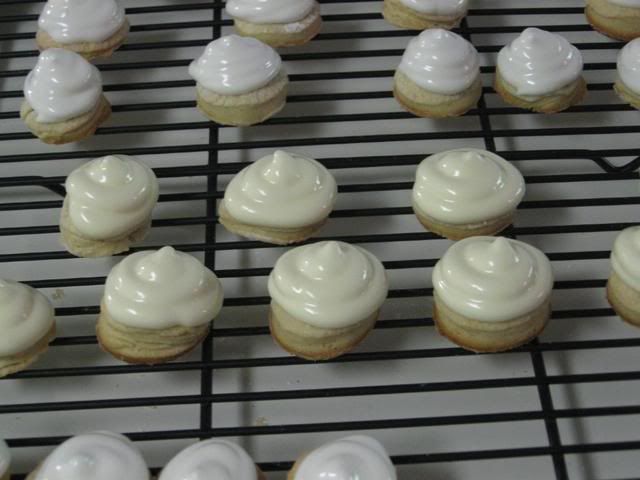
Marshmallows of all flavors piped on.


Dipping — see video above for a demonstration!


Finished!


Mmm! Have one of each!

Visit the Daring Bakers (temporary) Blogroll to see more of these treats from amazing bakers!

Baking to Freeze: Introduction!

New babies are such a joyous occasion, but the stress of getting used to a new, totally dependent little person in your life is sure to be a bit overwhelming. I’m so excited for my friend, A., who is expecting her new little one any day now (I’m sure it’s a girl, though we don’t actually know yet). She’s already so organized and has been nesting for months, but I wanted to do something to help her through the first busy days. What better than to do something I love (baking!) to support her as she adds to her family? I decided to make and freeze some dinners (and dessert, of course) for her to pop in the oven after Baby comes.

I’ve always loved the idea of giving friends gifts of food. Beyond merely supplying a need, personal, handmade gifts of food also supply warmth and affection. Sitting down to a hot meal is always satisfying and pleasant, and even moreso when it also represents the bond of friendship. It’s an intimate way to share a tiny piece of the load your friends are carrying. It’s lovely to be able to do something to help, and I hope the food turned out lovely for her.

The first step of creating A.’s meals was scouring the internet for which dishes would freeze well, thawing and baking instructions, and packaging tips. After all that searching around, I thought it might be nice to create a “one-stop” post on Willow Bird Baking about creating frozen meals. Hopefully this will be helpful for those of you with expectant friends, new neighbors, or even friends going through times of grief. Using this post, you ought to be able to bake one (or both) of two freezer-friendly casseroles and a batch of frozen cookie dough, print labels/thawing instructions, and get tips on preparing products for the freezer.

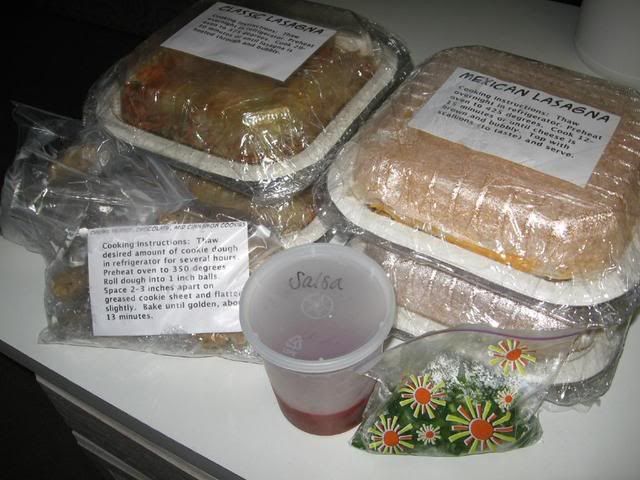
Now, onto the food! I chose two lasagnas for my freezing escapade. One is a Mexican Lasagna, which folks joke is neither Mexican, nor a lasagna! It’s very easy to throw together. The other is a Classic Italian Lasagna, which is Italian and is lasagna, and is much more time consuming. It’s a labor of love. Which casserole you choose really depends on your goal: if you want a quick and easy recipe, choose the former, but if you enjoy making more complex recipes, choose the latter (or both). I personally hadn’t made a “real lasagna” before, so I wanted to give it a shot! Finally, I chose to make some cookie dough for a dessert, since it freezes very well. Martha Stewart’s Chunky Peanut, Chocolate, and Cinnamon Cookies sounded hearty and delicious. Because of the large quantities of food, I decided to keep half and give half. That way the baking does double duty, and A.’s freezer doesn’t get overbooked!


LOTS of food!

Click on the recipe below that you’re interested in baking (or baking to freeze!) to find the recipe, printable labels, and thawing instructions:

Recipe #1: Mexican Lasagna

Recipe #2: Classic Italian Lasagna

Recipe #3: Chunky Peanut Chocolate Cinnamon Cookies

Finally, here are some great tips for freezing casseroles, to which I would add the following:

  • Consider packaging: disposable baking dishes are a kindness, since they won’t need to be returned. Make sure all of the dishes you’re preparing will fit in the freezer when packaged and wrapped!
  • Label your meals: In addition to the name of the dish, include instructions on thawing/baking, a “date packaged” and “good until” date, and the recipes (this will allow friends to calculate nutrition information, peruse ingredients, and even make the dish again, if they wish). I’ve included PDF labels for each of the dishes below, so feel free to download and print them. The labels can be cut out and glued on 4×6 index cards to make them sturdier.
  • Wrap food better than you think you need to. Double layers of plastic wrap, pack things in ziplock bags, etc.

Baking to Freeze: Chunky Peanut Chocolate and Cinnamon Cookies

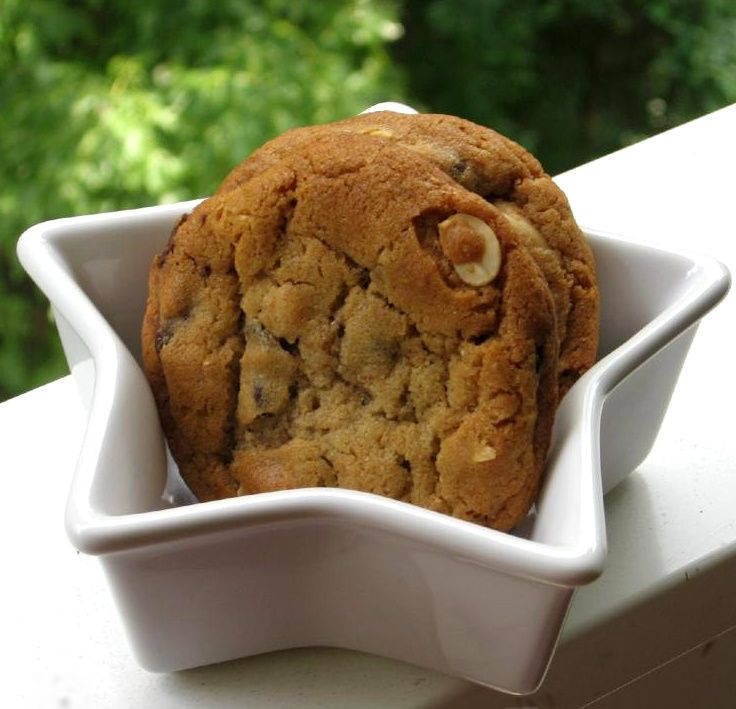
Chunky Peanut, Chocolate, and Cinnamon Cookies are the third and final recipe in my “baking to freeze” series (see the introduction post here, if you missed it!). These cookies taste festive: cinnamon and spice, along with crunchy peanuts and rich chocolate chips.


Ziplock of Chunky Peanut, Chocolate, and Cinnamon Cookie dough partitioned into 4-cookie logs, with thawing/baking instructions.


Cookies after baking.


Baking to Freeze Recipe #3: Chunky Peanut, Chocolate, and Cinnamon Cookies


Recipe by: Martha Stewart
Yields: About 40-50 cookies

2 cups all-purpose flour
1 teaspoon baking soda
1 teaspoon salt
1/2 teaspoon ground cinnamon
3/4 cup (1 1/2 sticks) unsalted butter, softened
1/2 cup smooth peanut butter
1 cup packed light-brown sugar
1/2 cup granulated sugar
2 large eggs
1 1/2 cups semisweet chocolate chips
2/3 cup roasted, salted peanuts, coarsely chopped
2 teaspoons pure vanilla extract

Directions:
Preheat oven to 350 degrees. Whisk together flour, baking soda, salt, and cinnamon in a medium bowl. Put butter and peanut butter in the bowl of an electric mixer fitted with the paddle attachment; mix on medium speed until combined, about 2 minutes. Add sugars; mix 2 minutes. Mix in eggs. Gradually add flour mixture; mix until just combined. Fold in chocolate chips, peanuts, and vanilla with a mixing spoon until well distributed. Refrigerate dough until it is slightly firm, 15 minutes. If freezing, roll into logs using wax paper. Double wrap logs of cookie dough (in desired portions) in plastic wrap and seal in a ziplock bag. Freeze for up to 6 weeks.

Roll dough into 1-inch balls. Space balls 2 to 3 inches apart on baking sheets lined with parchment paper. Flatten slightly. Bake until just golden, about 13 minutes. Transfer cookies to wire racks to cool. Can serve with ice cream.

Thawing Instructions: Thaw desired amount of cookie dough in refrigerator for several hours. Preheat oven to 350 degrees. Roll dough into 1 inch balls. Space 2-3 inches apart on greased cookie sheet and flatten slightly. Bake until golden, about 13 minutes.

Click here to download thawing/baking instruction labels and recipe card to include with this dish.

Preview:

Baking to Freeze: Classic Italian Lasagna

Classic Italian Lasagna is the second recipe in my “baking to freeze” series (see the introduction post here, if you missed it!)

This recipe could quite literally take you all day to make, but if you’re like me and you love a culinary challenge, go for it! If you’d rather cut out a bit of the labor, you can substitute a jarred spaghetti sauce of your choice for the tomato sauce.

Pay special attention that you season each part of the lasagna well (the pasta, the sauce, the meat, the ricotta mixture).


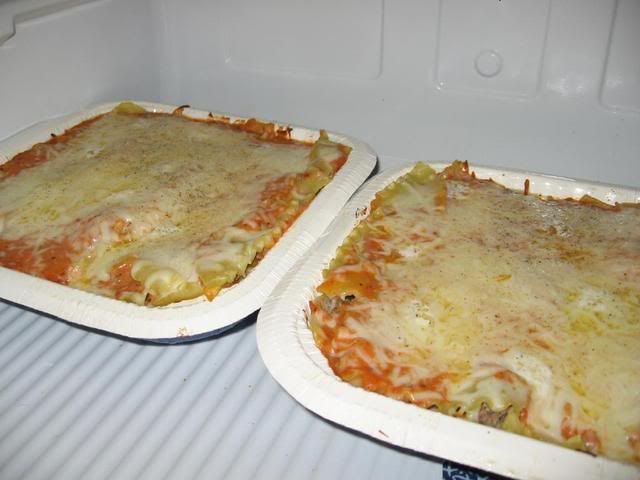
Cooling off in the fridge before freezing! My first real lasagna!


Baking to Freeze Recipe #2: Classic Lasagna


Recipe by: Adapted from Giada DiLaurentis, with tomato sauce by Tina
Yields: About 6-8 servings

Ingredients:

Quick Tomato Sauce:
olive oil
1 onion, diced
3-4 cloves garlic, minced
1 heaping teaspoon diced shallots
1 large can tomato puree
1-2 teaspoons sugar (to taste)
1-2 teaspoons basil (to taste)
Pinch of oregano
Pinch of thyme
Salt and pepper

Béchamel Sauce:
5 tablespoons unsalted butter, plus 2 tablespoons for the lasagna
1/2 cup all-purpose flour
4 cups whole milk at room temperature
Pinch freshly grated nutmeg
1 1/2 cups tomato sauce, recipe follows (I would add more for a bolder tomato flavor)
Salt and white pepper

1/4 cup extra-virgin olive oil
1 pound ground chuck beef
Salt and pepper
1 1/2 pounds ricotta cheese
3 large eggs
1 pound lasagna sheets, cooked al dente
2 packages (10 ounces each) frozen chopped spinach, thawed and squeezed dry
3 cups shredded mozzarella
1/4 cup freshly grated Parmesan

Directions:
Make quick tomato sauce: Sautee onion, garlic, and shallots in olive oil for 5-10 minutes. Add a large can of tomato puree and all spices and herbs. Let sauce simmer for at least 20 minutes.

Make béchamel sauce: In a 2-quart pot, melt 5 tablespoons of butter over medium heat. When butter has completely melted, add the flour and whisk until smooth, about 2 minutes. Gradually add the milk, whisking constantly to prevent any lumps from forming. Continue to simmer and whisk over medium heat until the sauce is thick, smooth and creamy, about 10 minutes. The sauce should be thick enough to coat the back of wooden spoon. Remove from heat and add the nutmeg and tomato sauce. Stir until well combined and check for seasoning. Set aside and allow to cool completely.

In a saute pan, heat extra-virgin olive oil. When almost smoking, add the ground beef and season with salt and pepper. Brown meat, breaking any large lumps, until it is no longer pink. Remove from heat and drain any excess fat. Set aside and allow to cool completely.

In a medium sized bowl, thoroughly mix the ricotta and eggs. Season with salt and pepper. Set aside.

Into the bottom of a 13 by 9-inch baking dish (disposable oven-proof baking dishes are wonderful for freezing in), spread 1/3 of the béchamel sauce (NOTE: if you’re freezing the lasagna but don’t have a disposable baking dish, line a glass baking dish with foil and leave the ends hanging over the dish. Assemble your lasagna in the dish and bake. Then, after you’ve cooled, you can freeze the casserole, pull it out using the ends of the foil, and store it in a large ziplock bag. When you’re ready to thaw and bake, you can use the original dish). Arrange the pasta sheets side by side, covering the bottom of the baking dish. Evenly spread a layer of all the ricotta mixture and then a layer of all the spinach. Arrange another layer of pasta sheets and spread all the ground beef on top. Sprinkle 1/2 the mozzarella cheese on top of the beef. Spread another 1/3 of the béchamel sauce. Arrange the final layer of pasta sheets and top with remaining béchamel, mozzarella and Parmesan cheeses. Cut the remaining 2 tablespoons of butter into 1/4-inch cubes and top lasagna.

Line a large baking sheet with aluminum foil. Place lasagna dish on top, cover and put on the middle rack of the oven and bake until top is bubbling, about 30 minutes. Remove cover and continue to bake for about 15 minutes. (If freezing, bake for 30 minutes covered, remove cover and bake for 5 more minutes. Cool to room temperature and wrap well — double up layers of plastic wrap. Store in freezer for up to 3 months).

Thawing Instructions: Thaw overnight in refrigerator. Preheat oven to 375 degrees. Cook 20-30 minutes or until lasagna is heated through and bubbly.

Pictures of the process:


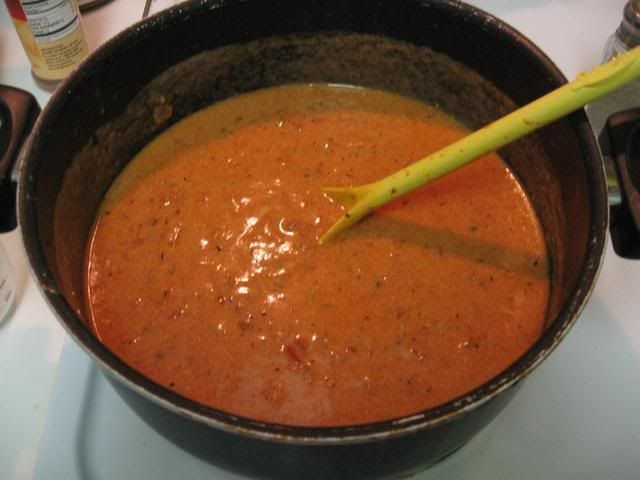
Béchamel sauce with tomato sauce mixed in.


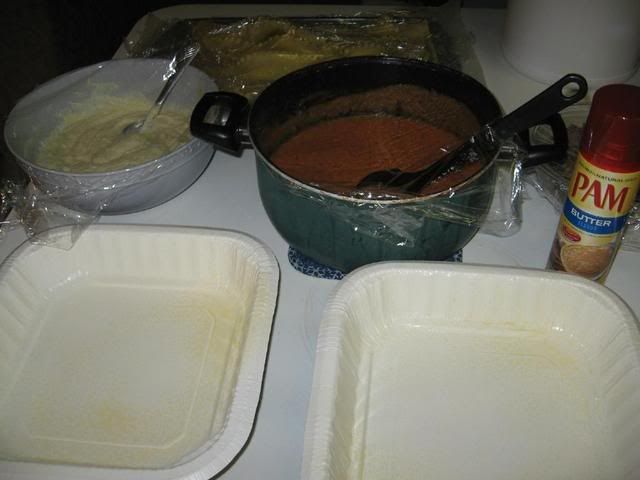
Lasagna assembling about to begin.


Lasagnas ready for the oven (and an interested Byrd in the background).


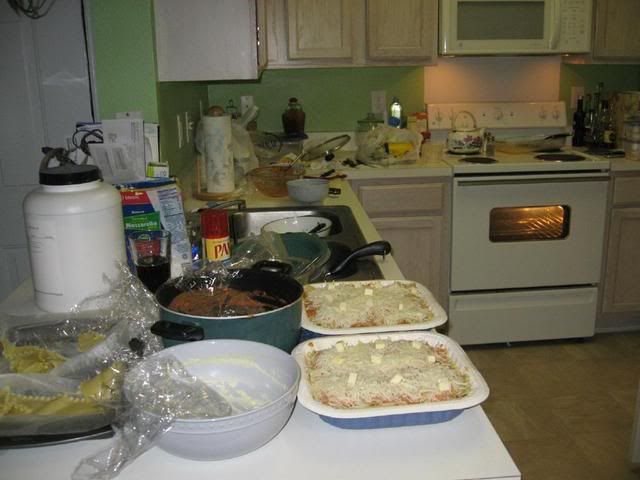
Yeah . . . that’s my usually tidy kitchen after a full day of lasagnaing (during which I think I used almost every dish and utensil I own — and most of my roommate’s as well). And I’m a clean-as-you-go person, too, but what can I say?


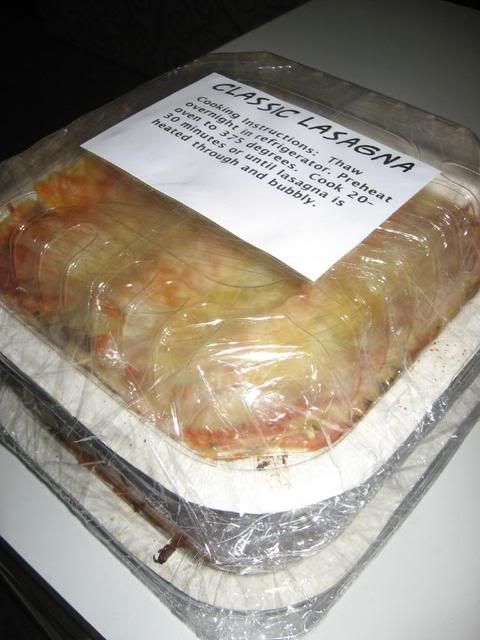
All packaged and ready!


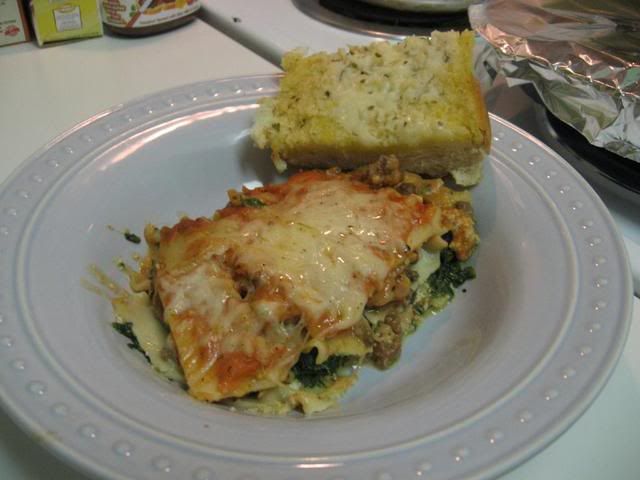
A nice plate of lasagna and cheesy garlic bread after reheating!

Click here to download thawing/baking instruction labels and recipe card to include with this dish.

Preview:

1 121 122 123 124 125 127