Apple, Brie, and Toasted Pecan Panini (& Voting Now Open in Project Food Blog Round 4!)

Willow Bird Baking is a contestant in Project Food Blog, a contest comprised of a series of 10 challenges to find the next food blog star. Voting for Challenge #4 is now open! To vote for my Croissant Tutorial to win this round, register for a Foodbuzz account. Once you’re registered, sign in and go to my Croissant Tutorial entry here. To vote, click the heart next to the words “Vote for this Entry.” I am so grateful for your support!

A few of years ago, back when I was still working in a developmental neuroscience lab (sounds fancy, but you can think of it as “playing with tadpole neurons”), I was given a travel stipend to head to San Diego for a conference. To put this trip in perspective for those of you who are jet-setters, I had never in my life been west of Missouri. Even that 12-hour Missouri trip had always been taken by car; I had only been on a plane once when I was 8 years old. I was also 22 years old and poor, so the last thing I expected was to suddenly be able to fly off to beautiful California for a visit.

Apart from being terrified of the plane, I was over the moon about traveling 2,500 miles away from everything familiar. I traced the distance on maps and looked through photos of the city, trying to get a grasp on the journey I was about to embark upon. My awesome sister, Sarah, volunteered to fly out and show me around, since she loves the city.

Every part of that trip was incredible: walking into the raspberry scented hotel lobby each night and seeing the lights of downtown all around my window, walking past flowers that seemed overwhelmed by their own huge blooms, eating pastries above the surf in La Jolla — and the HILLS! Hills like I’d never seen, rolling all around with houses creeping stealthily up their sides and staring off into the Pacific Ocean.

My sister rented a convertible and even though it was November, we drove with the top down to Coronado Island. We stopped into a little restaurant, Cafe 1134, for lunch. We weren’t expecting much, but ordered some panini. As we each took our first bites, our eyes met, and we realized we had just walked into something special. These were no ordinary panini. These were extraordinary panini: warm, melty, amazing! Even after a fancy seafood dinner, pasta in Little Italy, breakfast by the shore, and an Indian feast in La Jolla, we both still think of those panini as one of the best meals we ate in San Diego.

They’re just sandwiches, right? Wrong! They can be transcendental.

What perfect, amazing timing for this post. I’m so excited to share with you that I’m about to embark upon my second journey to the West Coast. I’ve just been chosen as the Nature’s Pride Bread Ambassador and awarded a trip to San Francisco.

How fitting is it that, just as I’ve discovered I’ll be returning to California, I’ve also found another transcendental panini — this time from my own kitchen, with my own homemade croissants! My sister Sarah isn’t going to believe me when I say that these are as good (if not better) than the panini at Cafe 1134, but perhaps I’ll make her a believer with a bite!

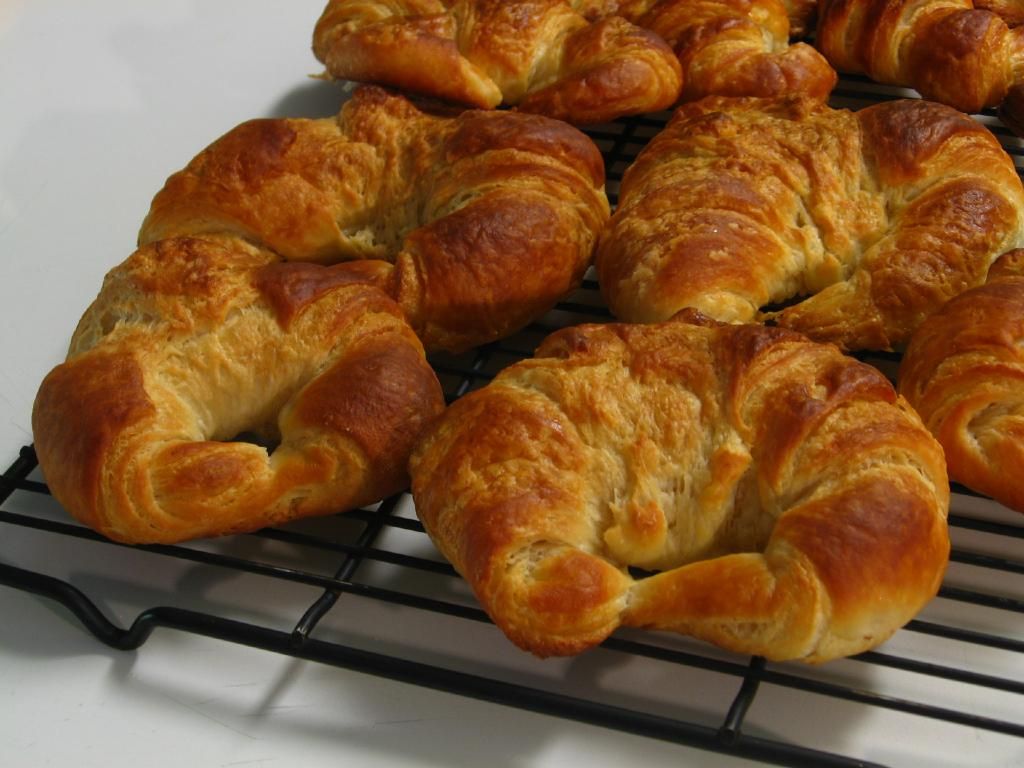
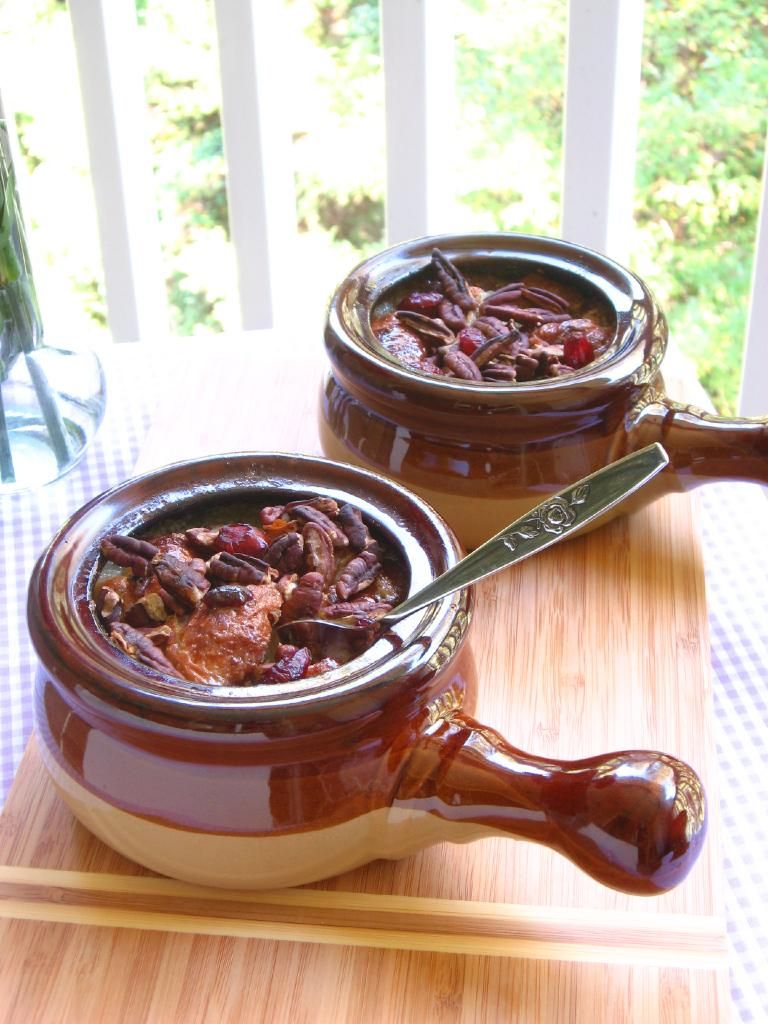
Everything about this panini is incredible. The buttery, fresh croissants embrace crisp apples, creamy brie, toasted pecans, bright rosemary, and a drizzle of sweet honey. The flavors melt and meld into a gorgeous medley of sweet and savory. I swooned. I devoured. I wished I hadn’t frozen the rest of the croissants.

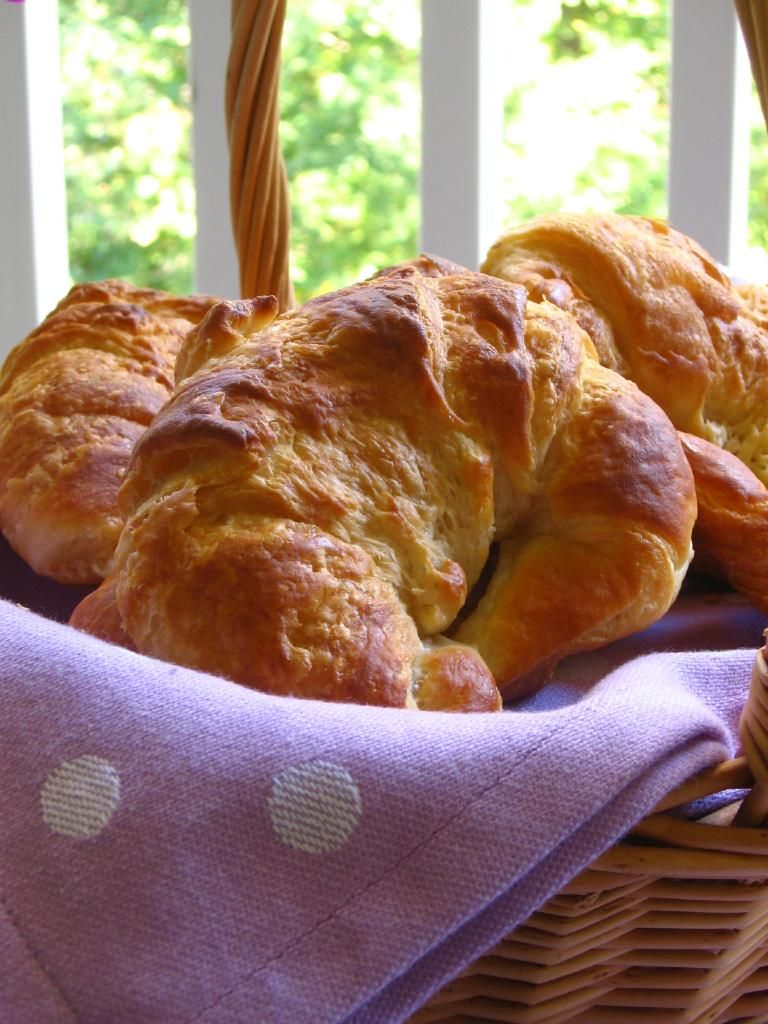
Have you made your croissants yet? I’ll let you in on a little secret: I tried “handmade” croissants from a Charlotte bakery, and scout’s honor, homemade was about a billion times better. That being said, making these panini is an urgent matter. Even if you have to pick up some croissants from your local bakery to try this, you should do so as soon as possible!

What are your special travel memories? What food reminds you of your trip?

Apple, Brie, and Toasted Pecan Panini


Recipe by: Willow Bird Baking
Yield: 3 panini

Ingredients:
3 big croissants (preferably homemade!)
1 large apple (I use Gala), cored and sliced relatively thin
2 teaspoons chopped rosemary
1 8-ounce round of brie, sliced
1/2 cup pecans, chopped
honey for drizzling

Directions:
Toast the pecans: Place nuts in a dry skillet over medium-high heat and stir constantly. Once they begin to toast (when you start to smell them), shake pan to ensure all sides of the nuts are toasted evenly and none of them burn. Pour out onto a plate to cool while you assemble the sandwiches.

Preheat panini press to medium and spray with cooking spray. Slice croissants open and layer brie slices, apple slices, a small handful of nuts, a generous pinch of the chopped rosemary, and one more slice of brie on top. Drizzle with honey and replace the top of the croissant. Grill on panini press for a few minutes, checking periodically, until cheese is starting to melt and croissant is toasted. I finish mine in the microwave for about 15 seconds to get the cheesy nice and melty. Serve warm.

If you liked this post, please:
Subscribe to Willow Bird Baking
Follow Willow Bird Baking on Twitter
Follow Willow Bird Baking on Facebook
Give this post a thumbs up on StumbleUpon


ShareOther ways to share this post with friends!

Homemade Croissant Phototutorial

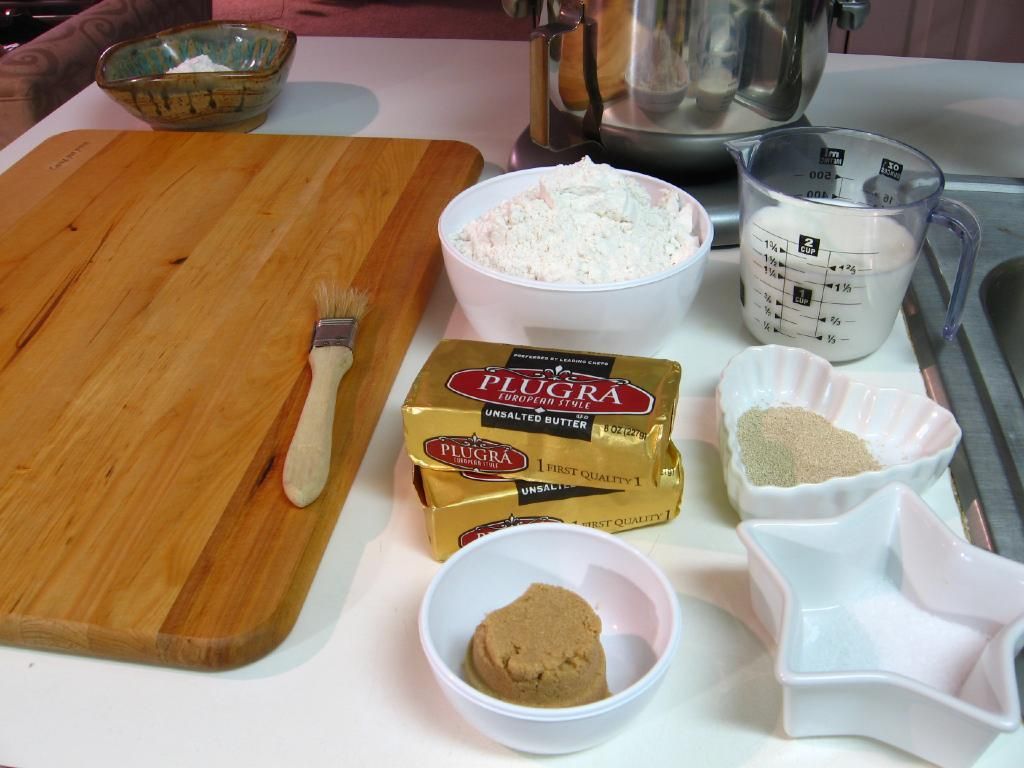
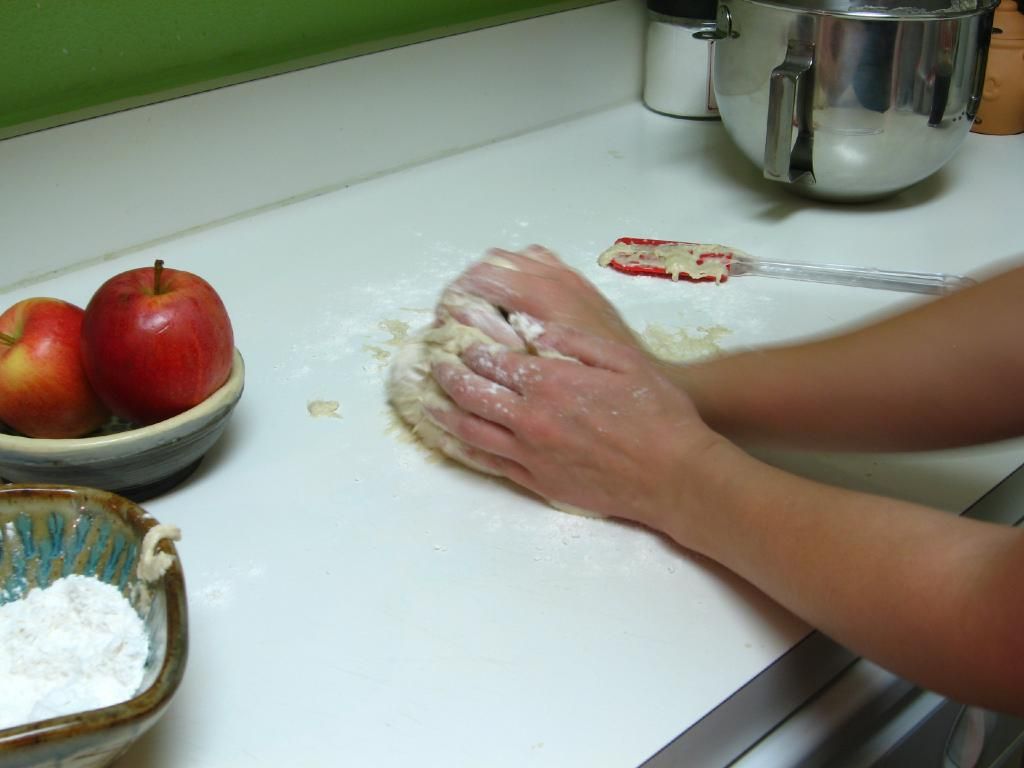
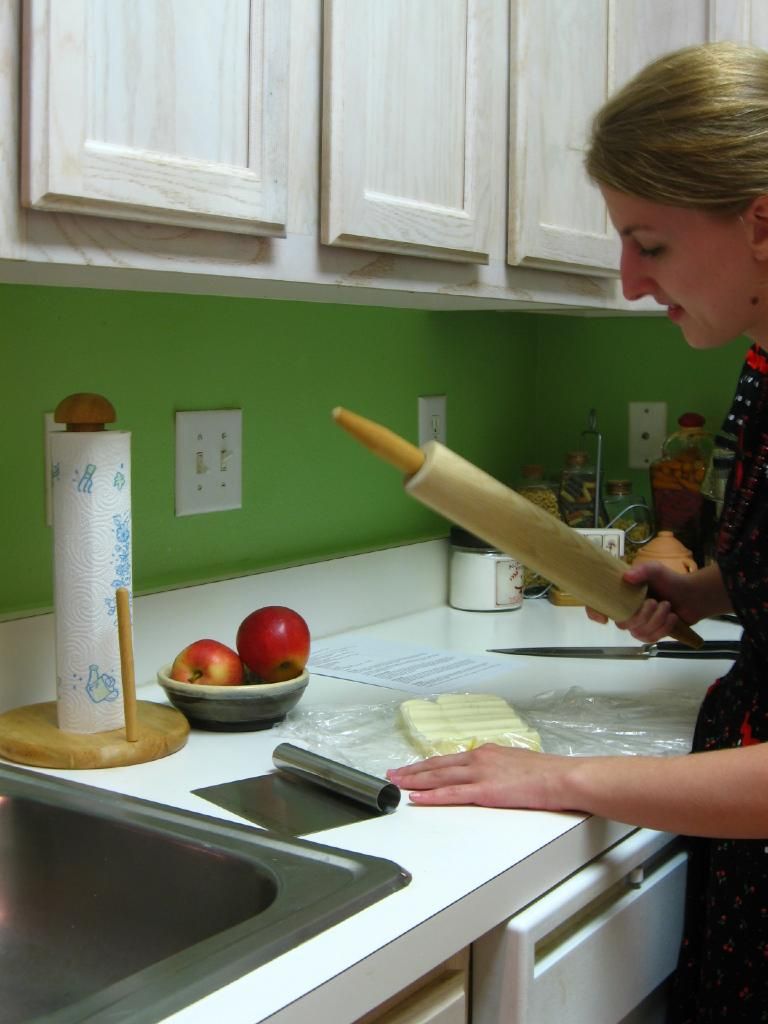
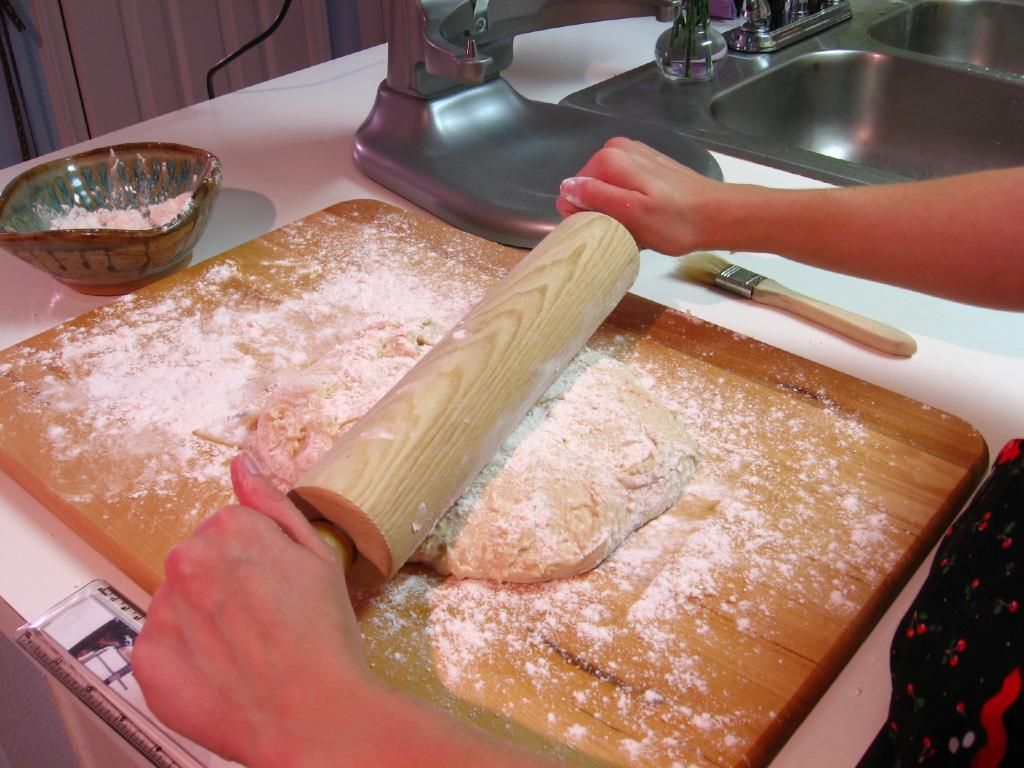
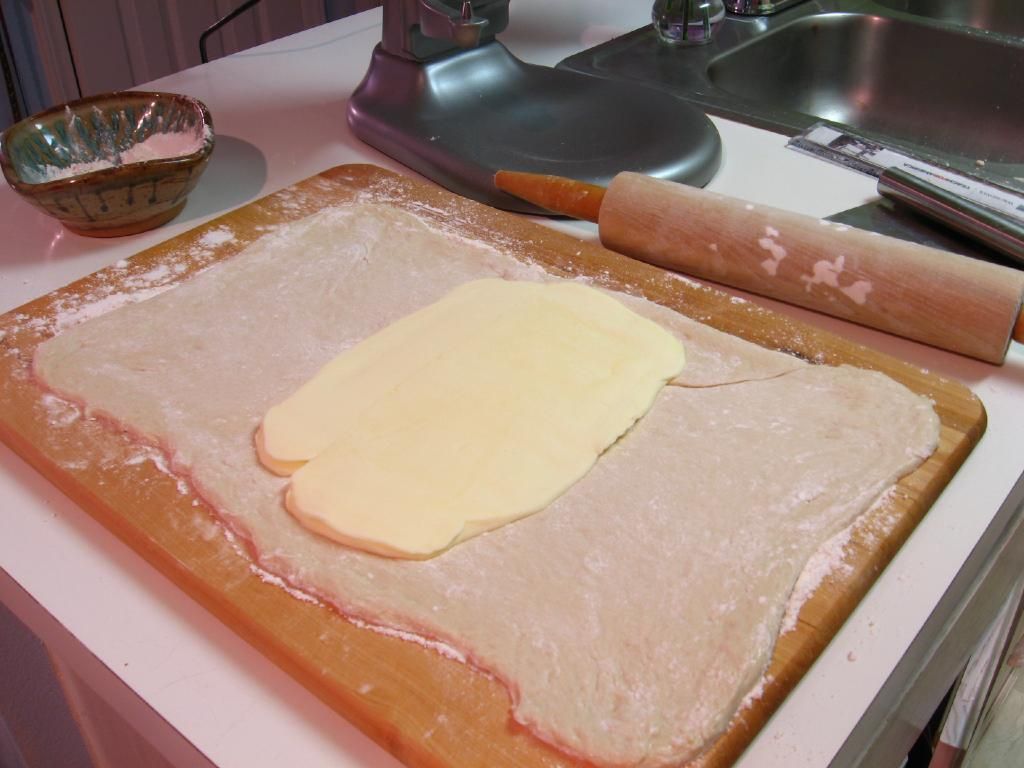
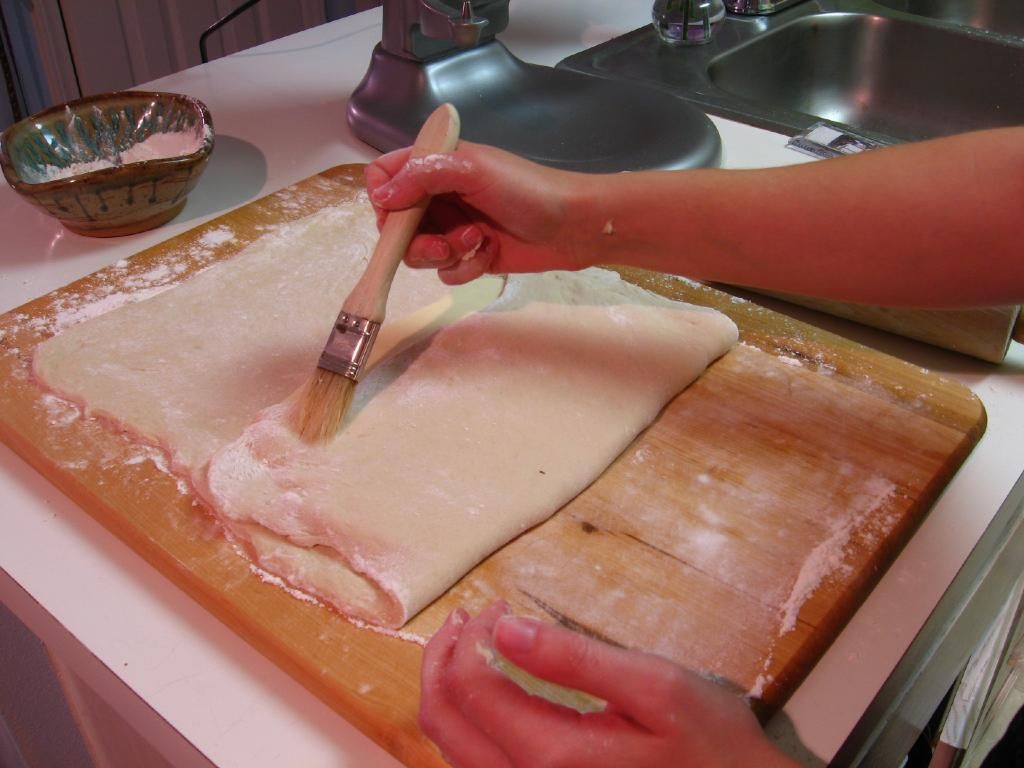
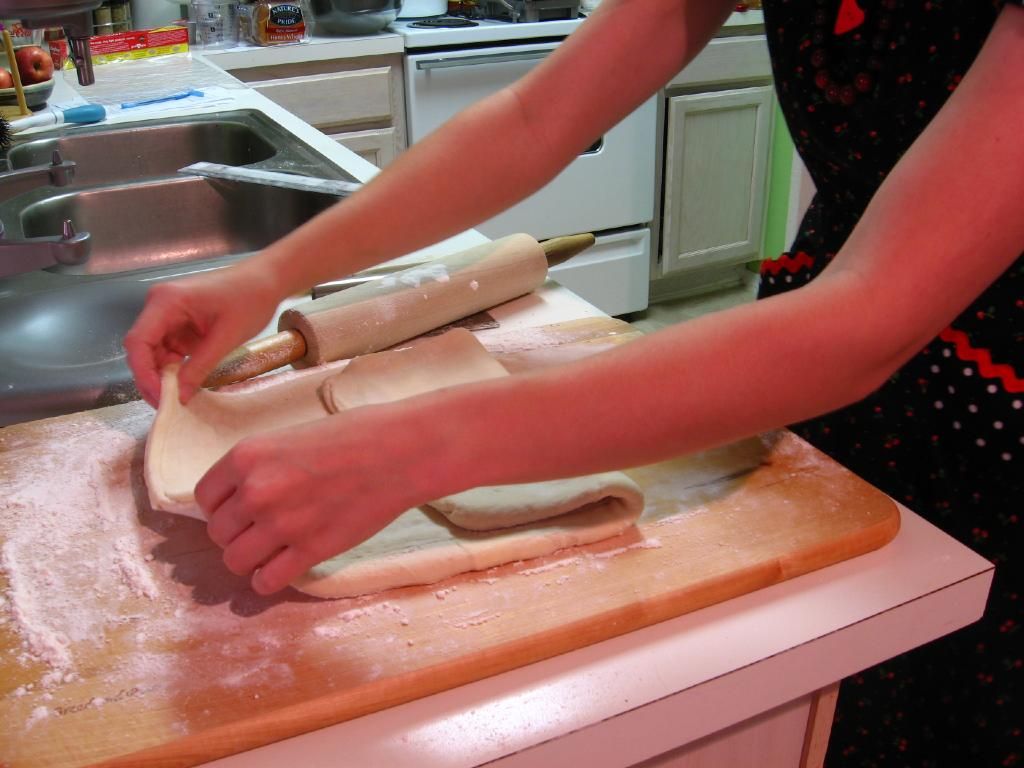
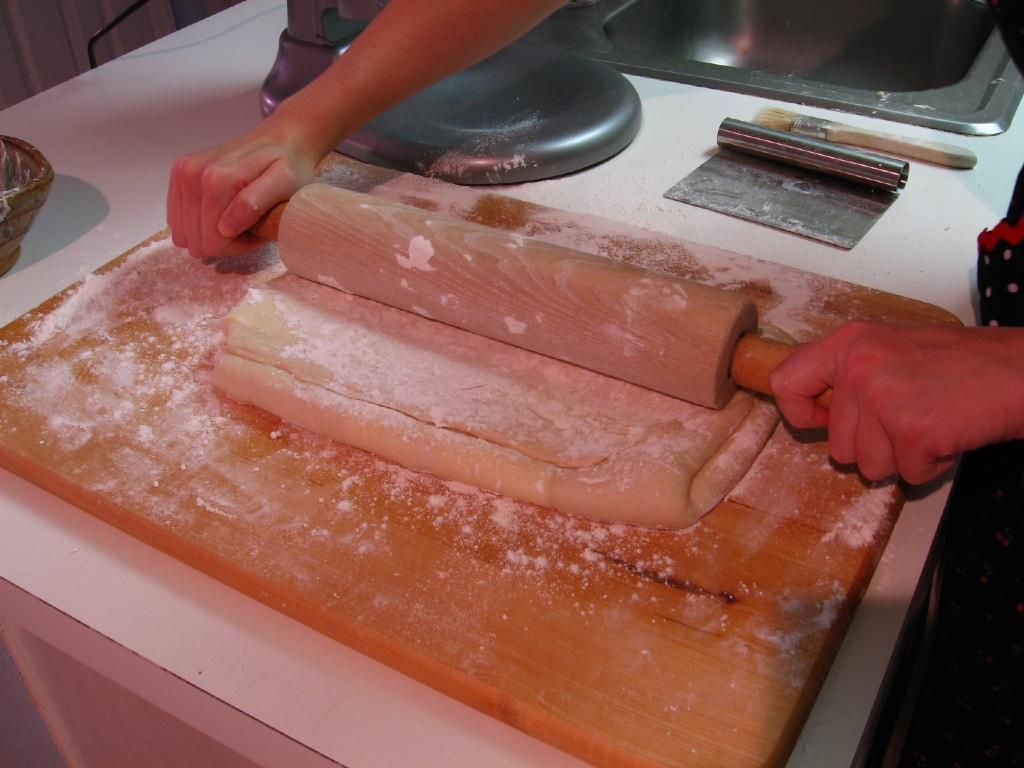
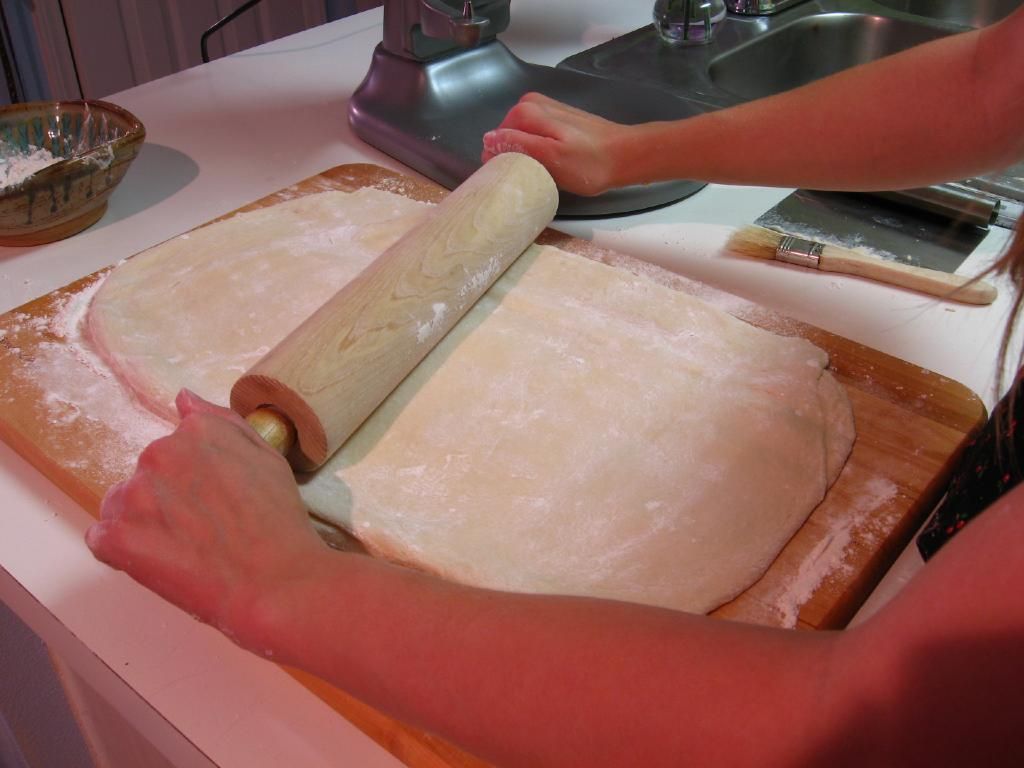
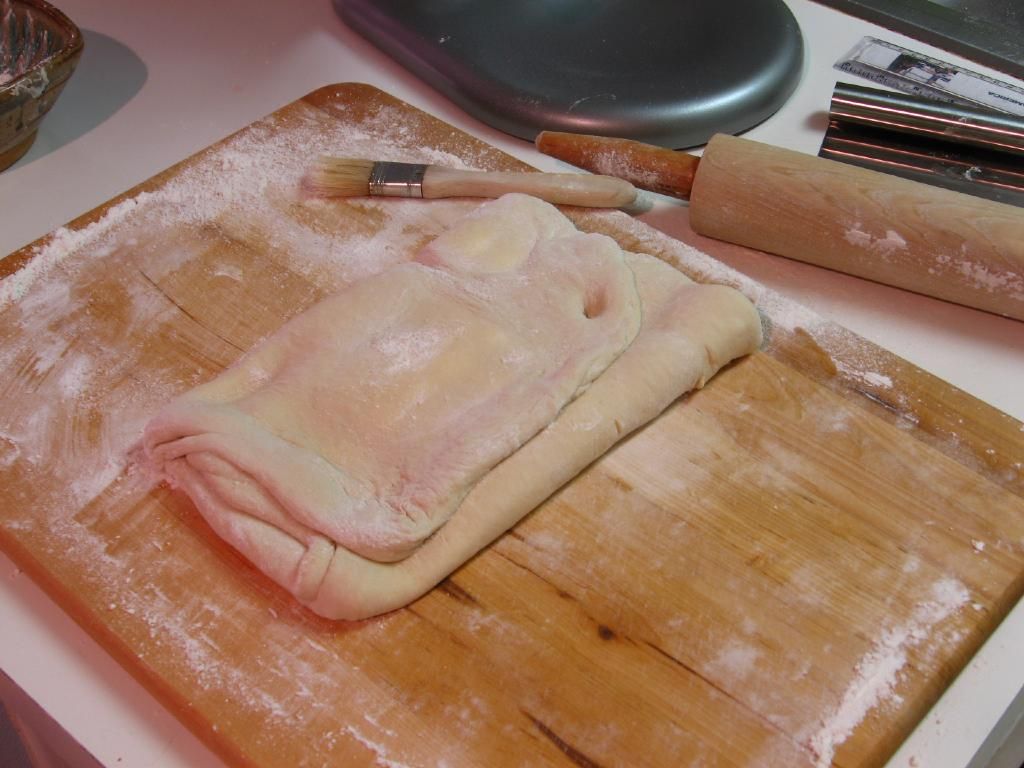
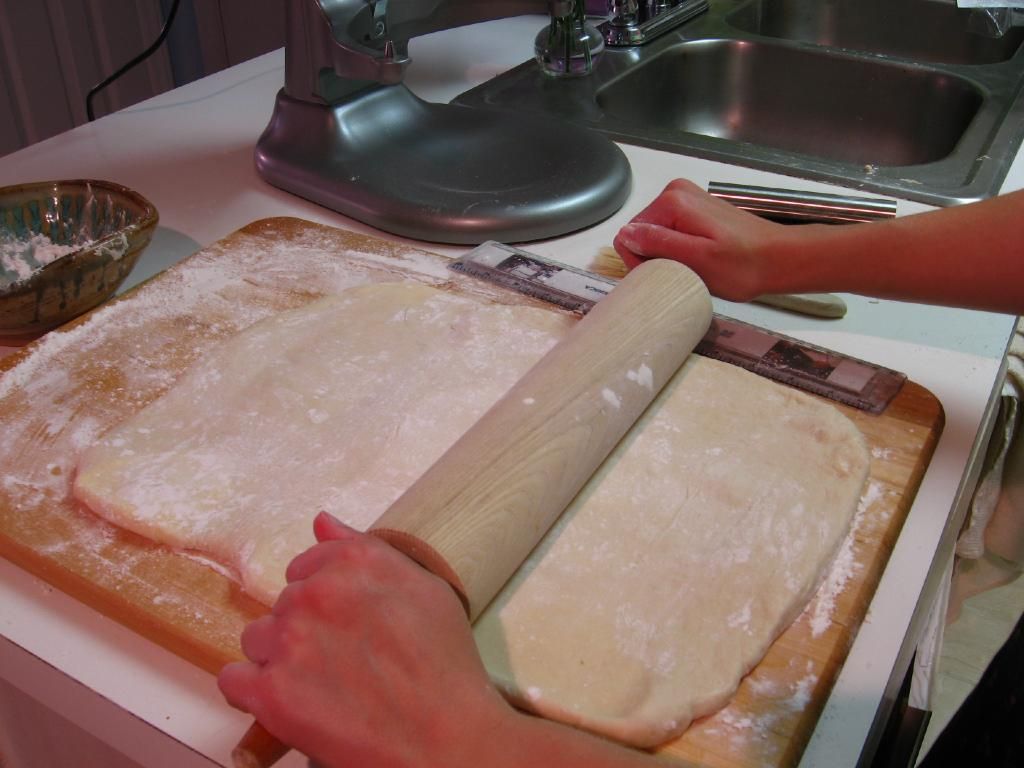
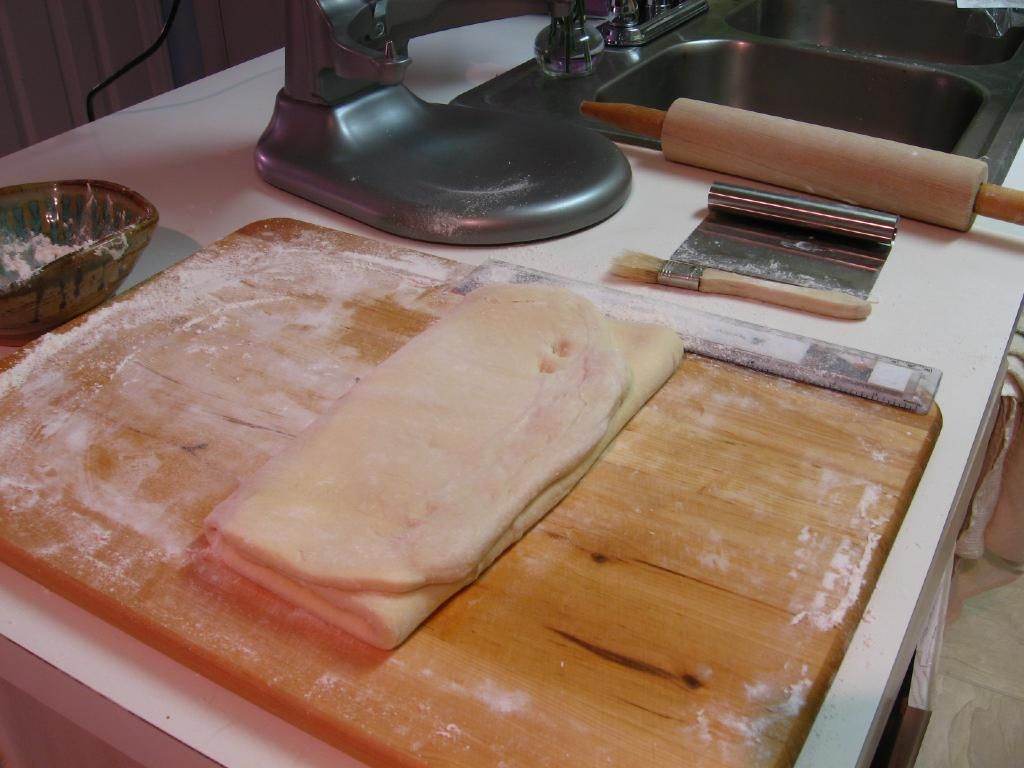
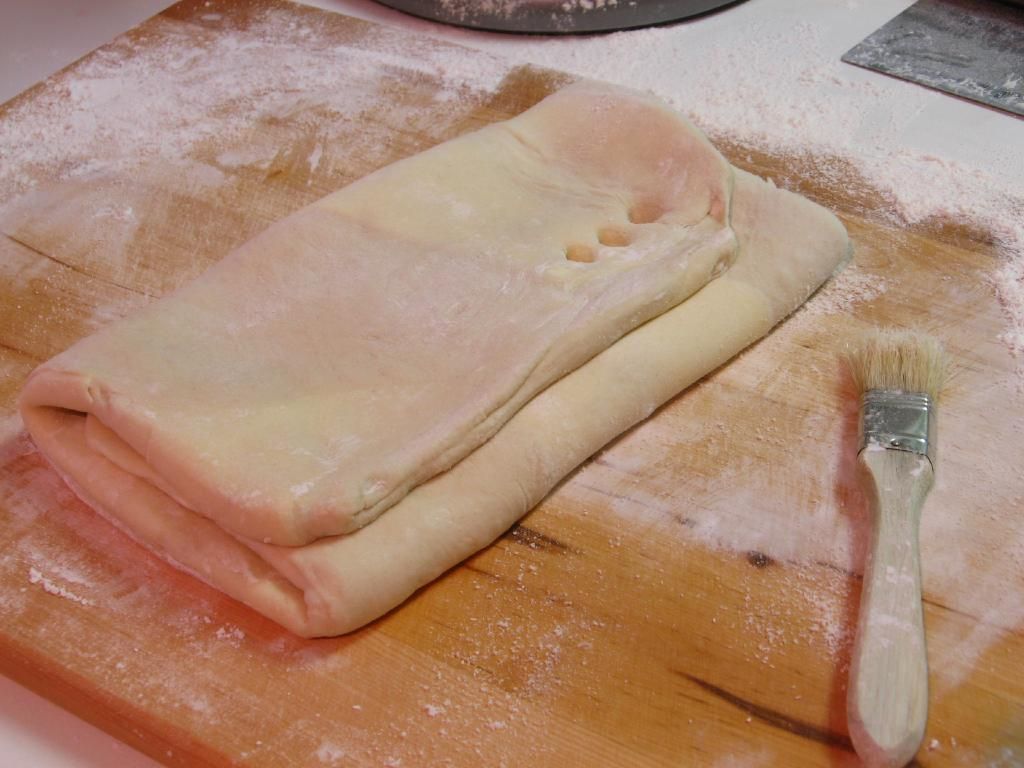
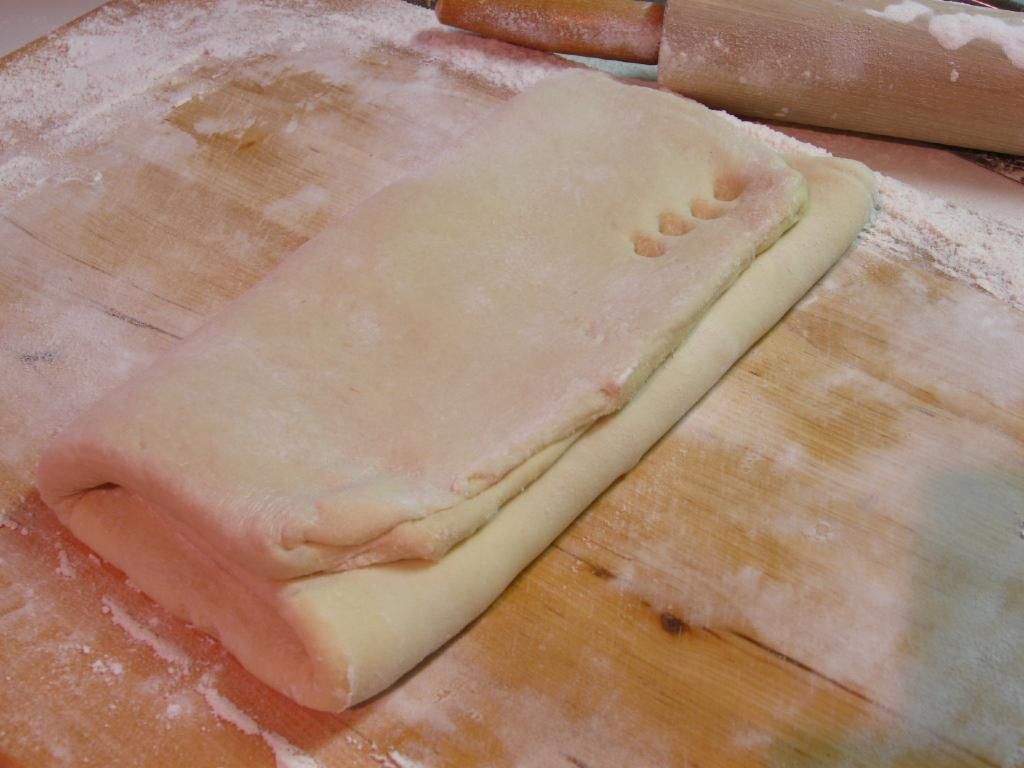
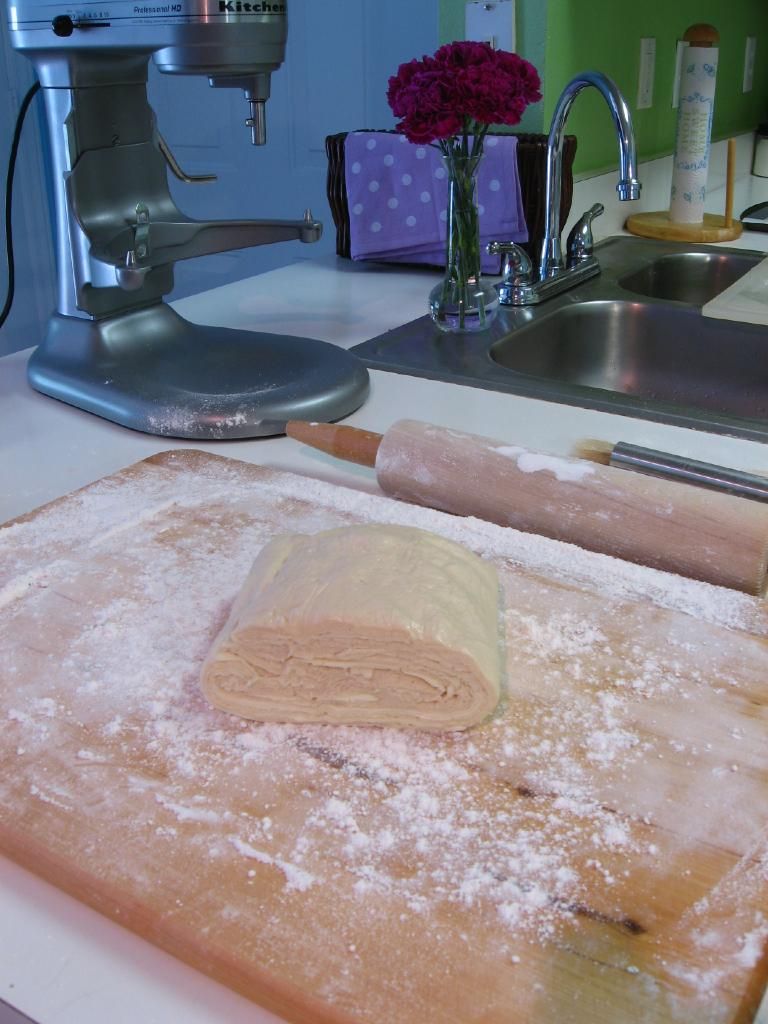
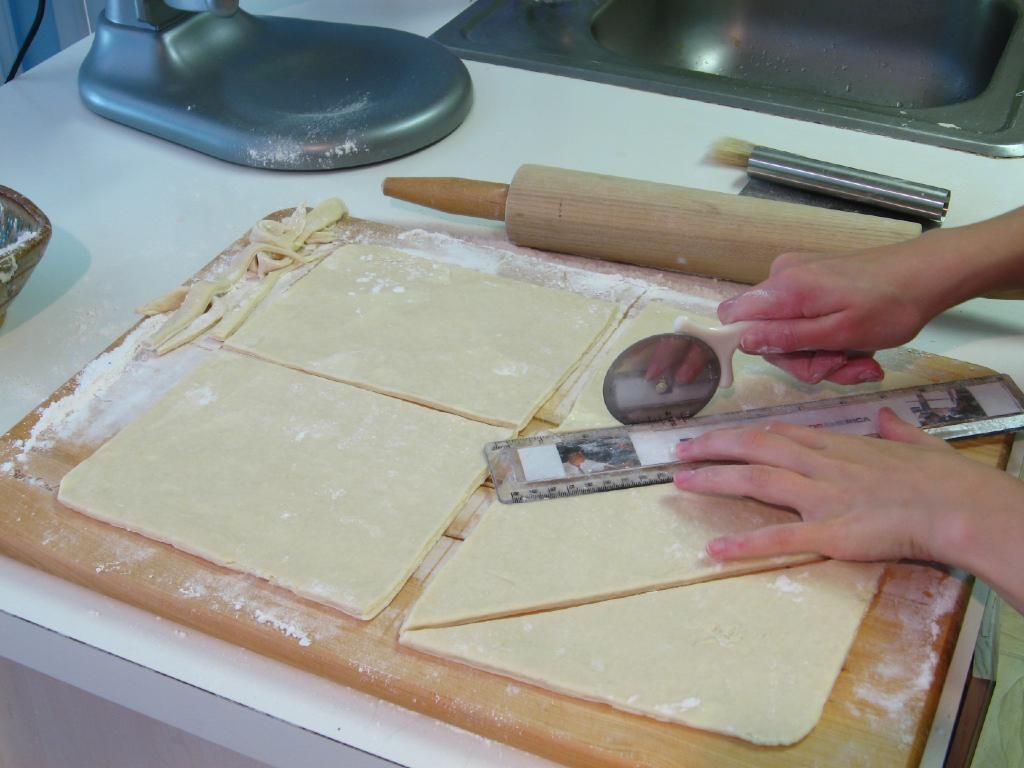
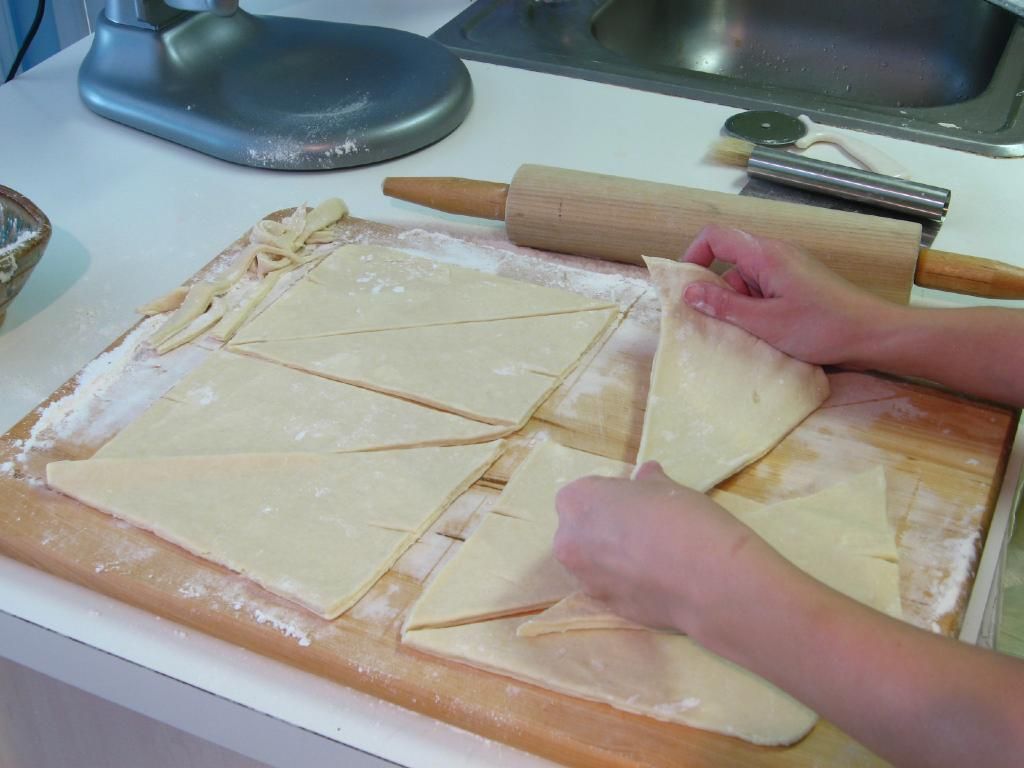
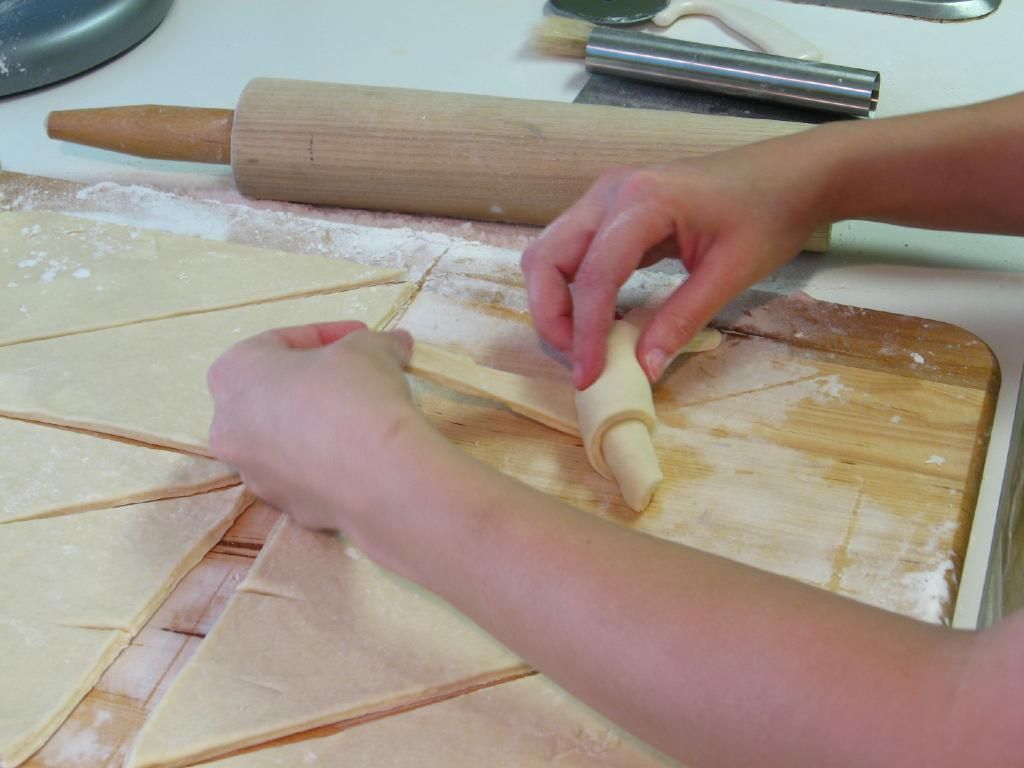
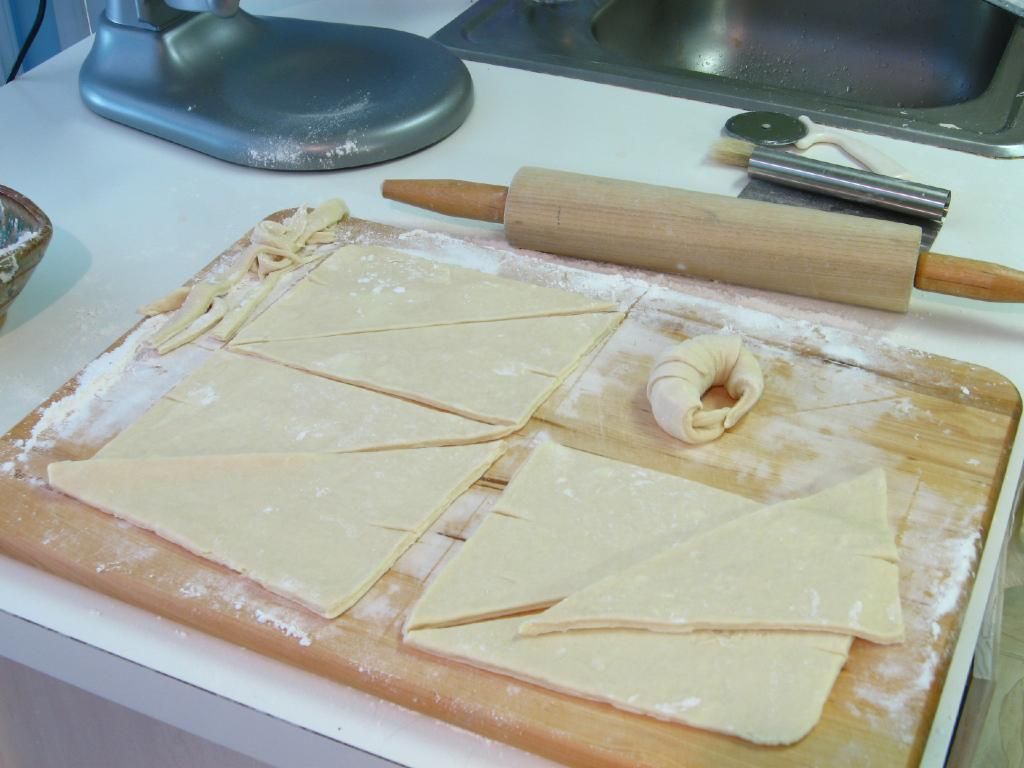
Croissants are not just pastries to me. They’re not just two days worth of work, careful rolling, and dough laminating. They’re not just butter-laden, flaky bits of heaven.

Croissants represent the mission of Willow Bird Baking: to inspire home cooks to build their kitchen confidence by repeatedly tackling challenging new recipes. In July, I issued the Croissant Challenge where I asked home cooks who had never made homemade croissants before to whip up a batch. Many croissant newbies jumped at the challenge and became Croissant Masters (see their work here: page 1, 2, 3). Their enthusiasm confirmed for me that successfully taking on a challenging recipe can be an exhilarating, satisfying, galvanizing experience.

Thank you so much for voting me through to Project Food Blog Challenge #4 to create a phototutorial. Now it’s time for me to turn the tables on you — because I’m not only completing a challenge, I’m issuing a challenge.

Will you join the proud group to have mastered croissants? No matter your skill level or experience, you can do it, and I’m here to help. If you’re willing to commit to croissant, leave a comment below! Let’s walk through my (slightly ridiculous) version of the process together.


Willow Bird Baking is a contestant in Project Food Blog, a contest comprised of a series of 10 challenges to find the next food blog star. Voting for Challenge #4 is now open! To vote for this Croissant Tutorial, register for a Foodbuzz account. Once you’re registered, sign in and go here. To vote, click the heart next to the words “Vote for this Entry.” I am so grateful for your support!


If you liked this post, please:
Subscribe to Willow Bird Baking
Follow Willow Bird Baking on Twitter
Follow Willow Bird Baking on Facebook
Give this post a thumbs up on StumbleUpon

ShareOther ways to share this post with friends!

Voting Now Open for Project Food Blog Round 3!

Thank you so much for voting for Willow Bird Baking in the first two rounds of Project Food Blog, a contest comprised of a series of challenges to find the next food blog star. Because of you, WBB is one of only 200 blogs competing in round 3! I’m so grateful and humbled by your outpouring of support. Now it’s time to ask for your help again. Voting for Project Food Blog Round 3 is now open!

Voting is incredibly easy! To vote, you need a Foodbuzz account, which only takes a few seconds to sign up for, I promise. Once you have an account, sign in and go to my official challenge entry here. To vote, click the heart next to the words “Vote for this Entry.”

Writing this blog is a joy and a passion each and every day. Thank you for joining in the fun!

xoxo, Julie

P.S. Ethan and I were joking about on the possibility of garnering votes by including photos of sweet grandmothers and puppies in our posts. Whatever works, y’all:


My beautiful Grandma Mabel and my sweetie pie pup Byrd. If you need to see more, I have a lovely Grandma Peggy as well : )

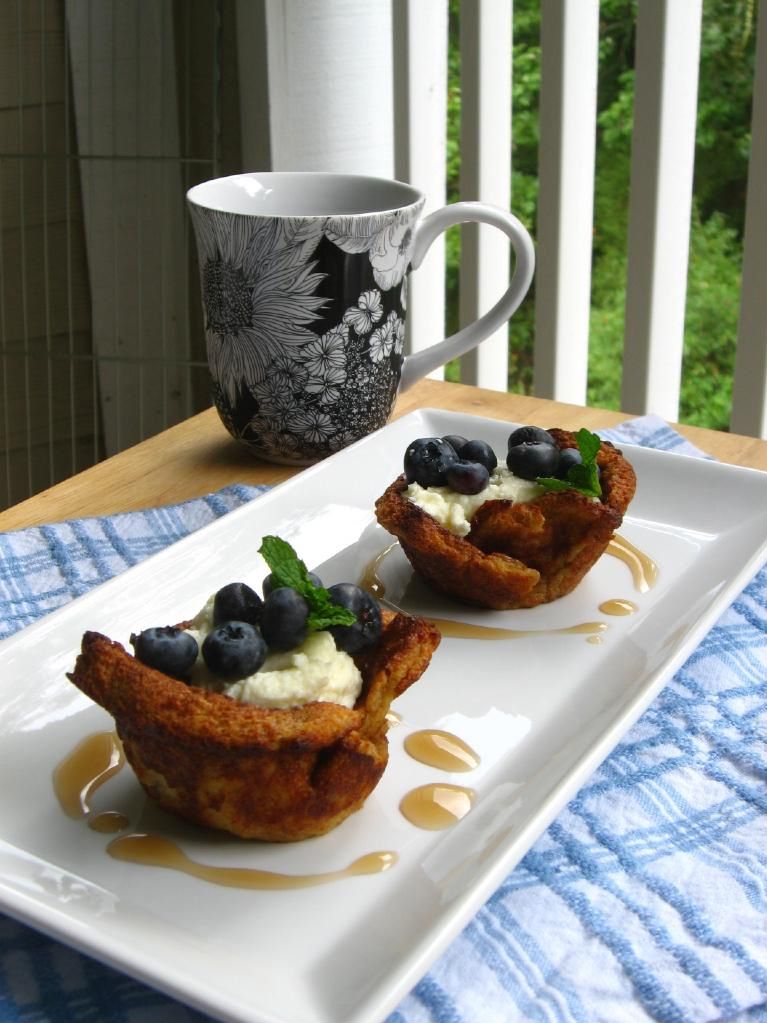
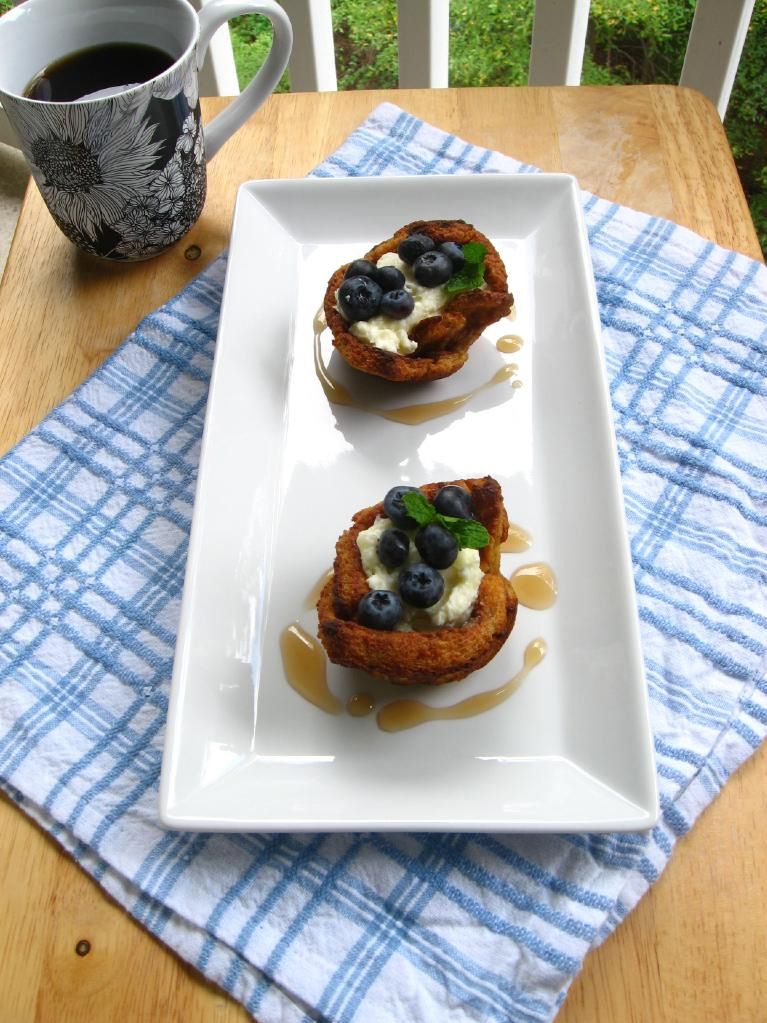
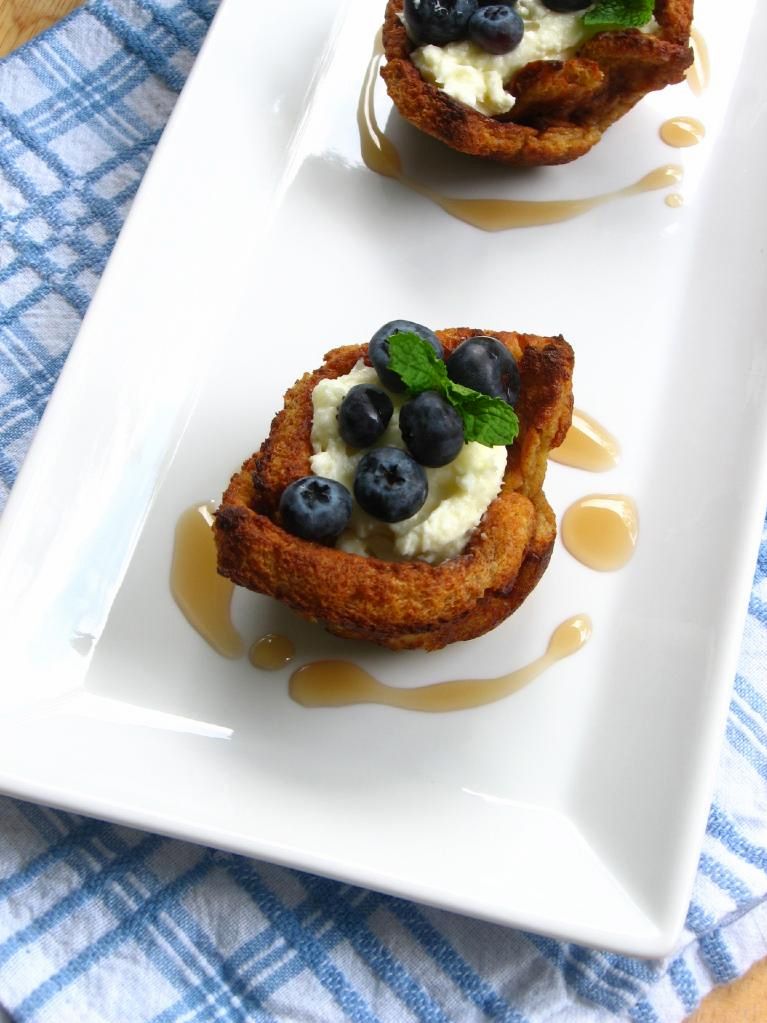
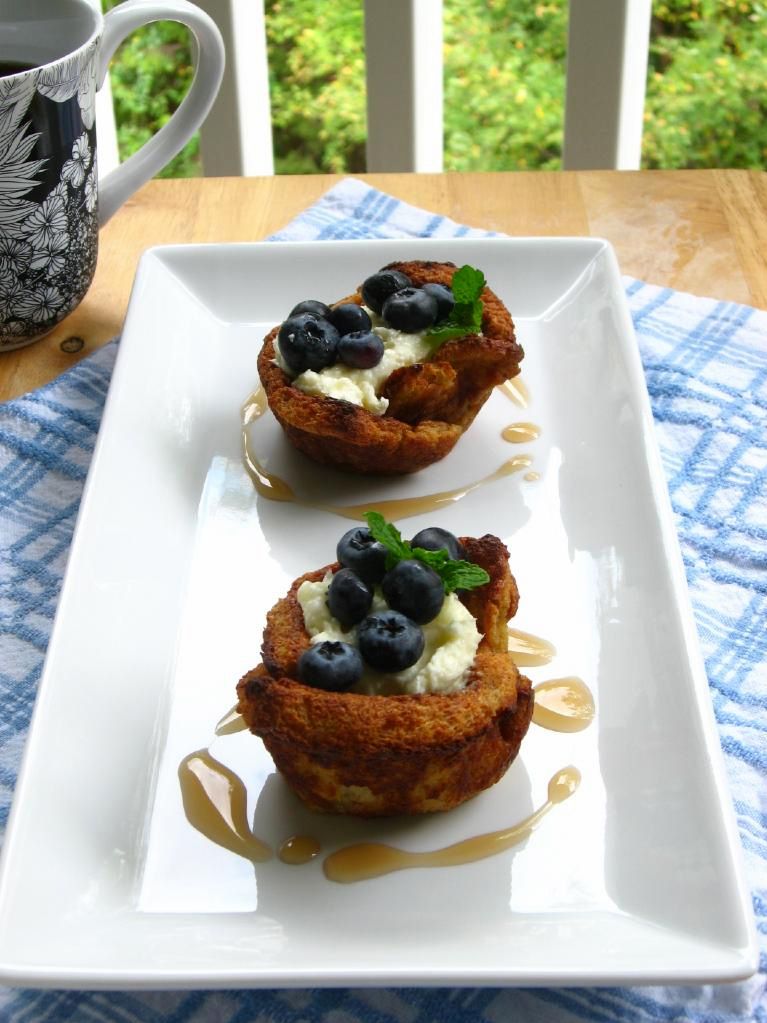
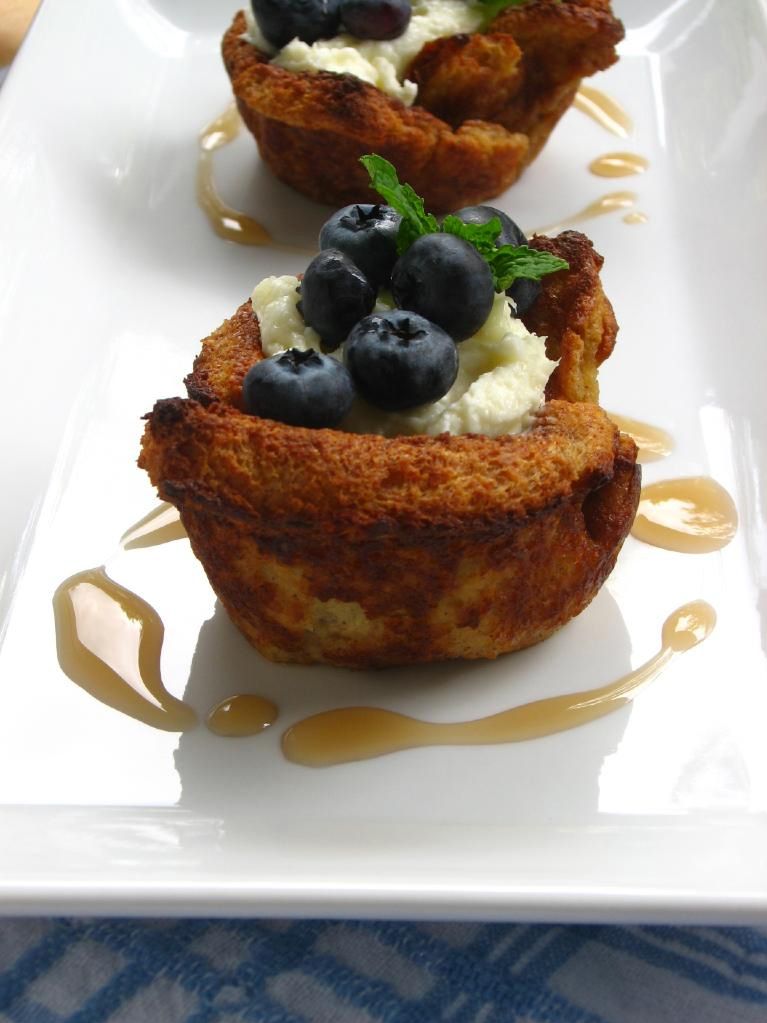
Blueberry Stuffed French Toast Bowls

This is a two-post kind of day, y’all. You don’t mind, do you?

Good. Because this recipe involves some of my favorite things: French toast, blueberries, and cream cheese. Oh my goodness, I love cream cheese.

Nature’s Pride bread is an official sponsor of the Foodbuzz Blogger Festival this year, and as such, they issued a challenge to Featured Publishers to create a recipe using their products. I want to go to San Francisco as much as anyone, so I decided to give it a go. I pondered and brainstormed and debated and considered until, finally, I decided that I couldn’t think of a creative recipe and I gave up.

What? Don’t look at me like that! I was planning a ginormous dinner party, after all; cut me some slack!

It bothered me, though. When I was picking up supplies for the dinner party, I stuck some marshmallow cream and peanut butter in my basket, thinking perhaps I’d make a chocolate-covered fluffernutter. It still didn’t seem original enough, however, and in the shower this morning before church, I had almost convinced myself to give up again — when it hit me.

I’d already thought of and rejected stuffed French toast because sandwich bread is sliced too thin to cut open and stuff. Someone did it last year with two slices of bread, but I wouldn’t want to replicate something that had been that’d already been done.

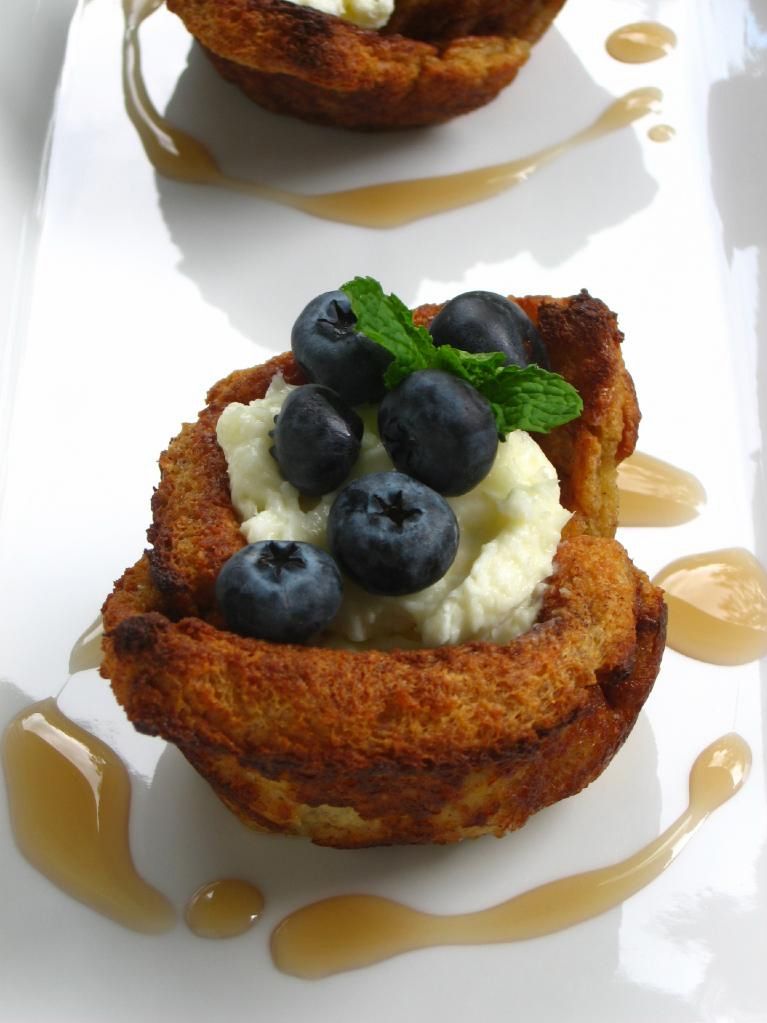
Sometime between shampooing and conditioning, I realized that I could bake French toast into sweet little breakfast cups and fill them instead of stuffing them. They’d be topped with fresh berries with some maple syrup on the side for drizzling or dipping. Suddenly, a breakfast star was born.

There were still some obstacles — like how to create the French toast cups. In my first attempt, I dipped the bread into the custard and placed it uncooked into the muffin tin. I can’t really even describe the outcome, but they were something like soggy, bulbous custard balloons. Not San Francisco-worthy.

But my second attempt? Save me a seat on the trolley, because they were amazing! In this version, I cooked my French toast completely before cooling it and baking it into French toast cups. I then filled it with the sweetened cream cheese filling and berries to finish the dish.

Here’s hoping I win a trip to San Francisco to schmooze with some of my food blog faves, and that YOU make some stuffed French Toast Bowls immediately! Mike just polished off the last one for dessert, and if his reaction is any indication, you won’t regret it.

Blueberry Stuffed French Toast Bowls


Recipe by: Willow Bird Baking, with inspiration from Alton Brown
Yield: 8 bowls, or about 4 servings

Ingredients:
1/2 cup heavy cream
1/2 cup milk
3 large eggs
2 tablespoons honey, microwaved for 20 seconds (but not while still IN THE BEAR, y’all!)
1 teaspoon cinnamon
1/4 teaspoon salt
8 slices day-old or stale sandwich bread (I used Nature’s Pride Honey Wheat Bread)
4 tablespoons butter
2 8-ounce packages cream cheese, room temperature
4 tablespoons sugar
blueberries
maple syrup, for serving

Directions:
Preheat oven to 400 degrees F. In medium bowl, whisk together the milk, cream, eggs, honey, cinnamon, and salt (this step can be done the night before and refrigerated). When you’re ready to cook your French toast, pour this mixture into a cake pan or pie dish.

Prepare your bread: remove crusts and roll with a rolling pin to slightly flatten. Dip the bread into your custard mixture for about 8-10 seconds on each side before carefully removing it with a spatula to a cooling rack over a sheet pan. Allow excess moisture to drain off of the slices for 1-2 minutes.

Melt 1 tablespoon of butter over medium heat in a skillet. Put 2 slides of bread at a time into the pan to toast gently to golden brown (about 2-3 minutes per side). Remove the French toast to a cooling rack to cool completely. Repeat with all slices of bread.

While French toast cools, make your stuffing mixture by combining cream cheese and sugar into a bowl and mixing until fluffy. (When I tasted this at first, it was grainy, but then the sugar seemed to dissolve. I was going to suggest using confectioners’ sugar instead, but since the graininess was completely gone when we ate it, I don’t think there’s a need). Set aside.

Take each piece of cooled French toast and gently tuck into the well of a greased muffin tin, forming a bowl. Bake at 400 degrees F for 10-12 minutes, watching carefully. Pull them out of the oven and allow the bowls to cool in the pan for at least 10 minutes. Remove them to cool on a cooling rack (the first time I did this, they started to fall apart because I pulled them out of the oven too soon, so I baked them a little longer and they were perfect). Once cool, fill them with the cream cheese mixture, top with berries, and serve with maple syrup for dipping.

Note: As part of Foodbuzz’s Tastemaker program, I received a coupon for a free package of Nature’s Pride Bread. But, um, actually I left it in my mailbox, so I bought this loaf with my own money. So I don’t know why I’m telling you this. Except that I may snag the coupon now and use it for another loaf to make hummus sandwiches. Ahem.

If you liked this post, please:
Subscribe to Willow Bird Baking
Follow Willow Bird Baking on Twitter
Follow Willow Bird Baking on Facebook
Give this post a thumbs up on StumbleUpon


ShareOther ways to share this post with friends!

Elevated Americana: A Celebration of 39 Years

Over a decade ago, my dad sat down to write out his memories. The resulting document sits in an pale green folder on my bookshelf now as one of my most treasured possessions. In it, he describes the cocoa paste sandwiches his mom packed for lunch each day, the novelty of the canned biscuits his Grandma made, and how his dad got laid off most winters from his construction job and resorted to hauling wood for meager pay.

Under a section called, simply, Vivi, he describes at the hot summer night at Gooch’s, a little soda shop in the tiny town of Piedmont, Missouri, where he drove up and saw my mother for the first time.

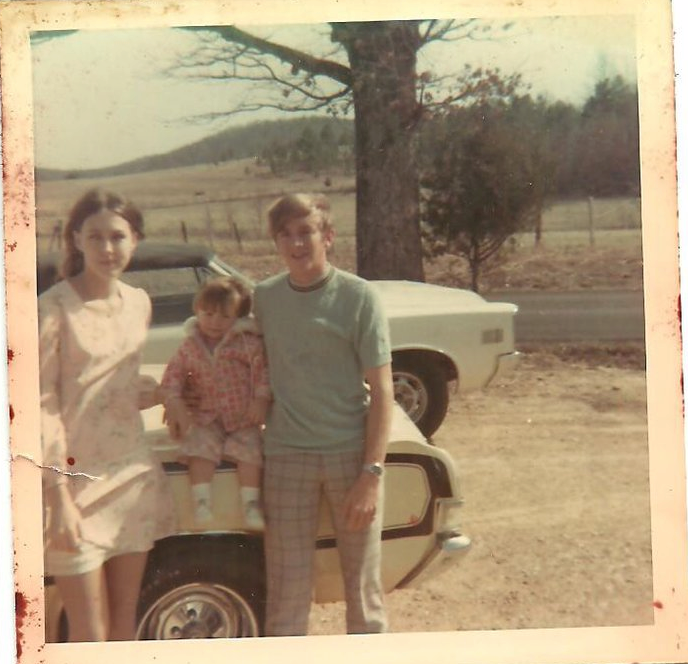
I saw a beautiful blond, tanned girl that I had not seen before. She was very pretty, and I caught her eye as soon as I drove in. After asking around, I found out she was Vivian Roberts and was in town visiting her cousins. I quickly asked her out . . . I knew I was in love, the moment I saw her.


Mom and Dad

It sounds like the beginning of a fairy tale, but my parents’ youth was harder than it should have been — especially for my mom. Daddy was poor, but mom was living a nightmare. Her dad was an abusive alcoholic. It wasn’t long after my parents’ first date that he took my mom and their family back to Kansas City. Dad describes the difficult time that followed:

We wrote letters to each other every day. I called her when it was possible. Kansas City was a good 6 hour drive from Piedmont. Viv was living in a rough situation and her dad treated her like dirt. It seemed like we would never be together. We both prayed for a solution.

The solution came in an unexpected way. My mom’s dad came home after drinking one night and beat her badly, tearing out fistfuls of hair. After getting a sobbing phone call from her, Daddy got in his Torino and made the 6 hour drive in 4 hours to pick her up and bring her back to Piedmont to live with her grandmother. Finally in the same city, Dad says, “I was in heaven. I could date Viv, and see her every night. I fell quickly and deeply in love with the girl I wanted to marry.” They were married shortly thereafter at the First Church of the Nazarene in Piedmont, my mother only 16 years old.

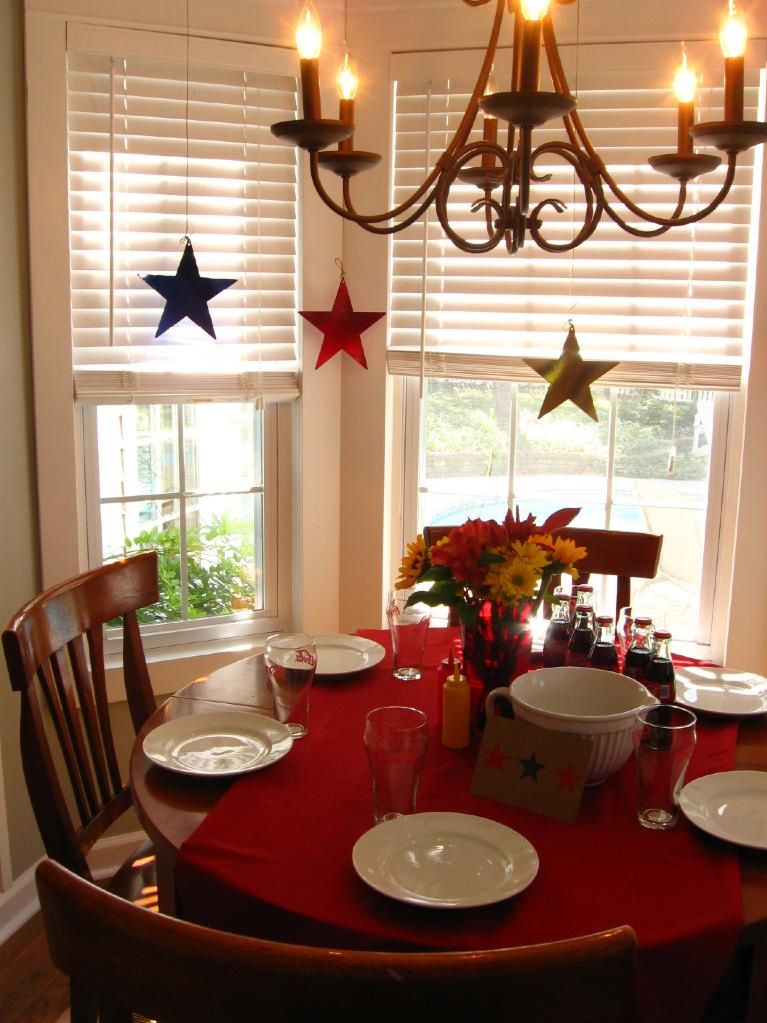
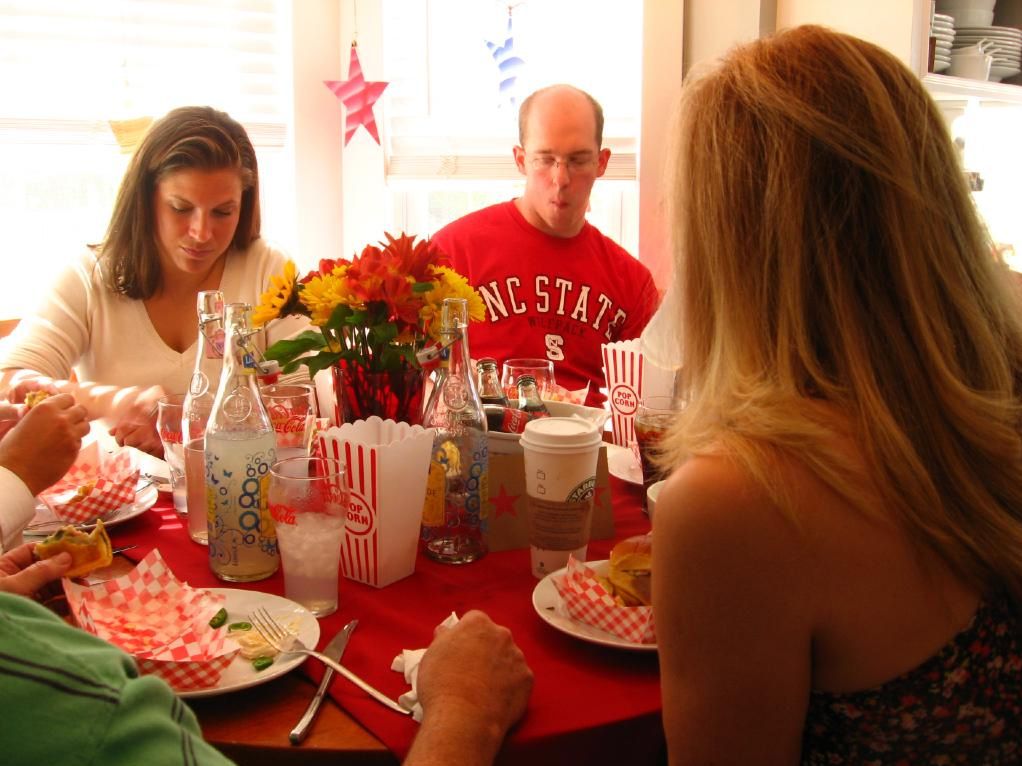
The third challenge in Project Food Blog, a competition to find the next food blog star, was to create a luxury dinner party. It just so happens that this challenge fell on my parents’ 39 year wedding anniversary. Thank you so much for voting in the first two challenges to get me to this point, where I had the privilege of creating a special meal to honor my parents’ marriage.

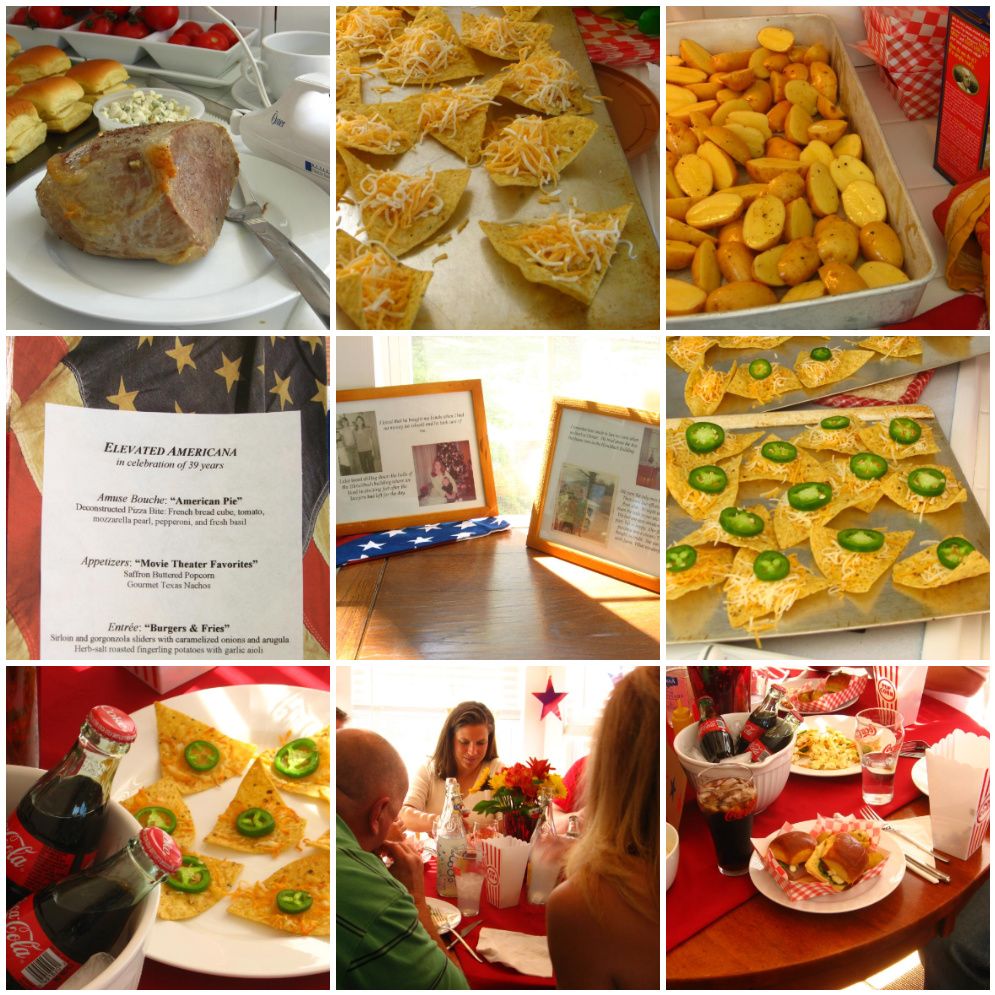
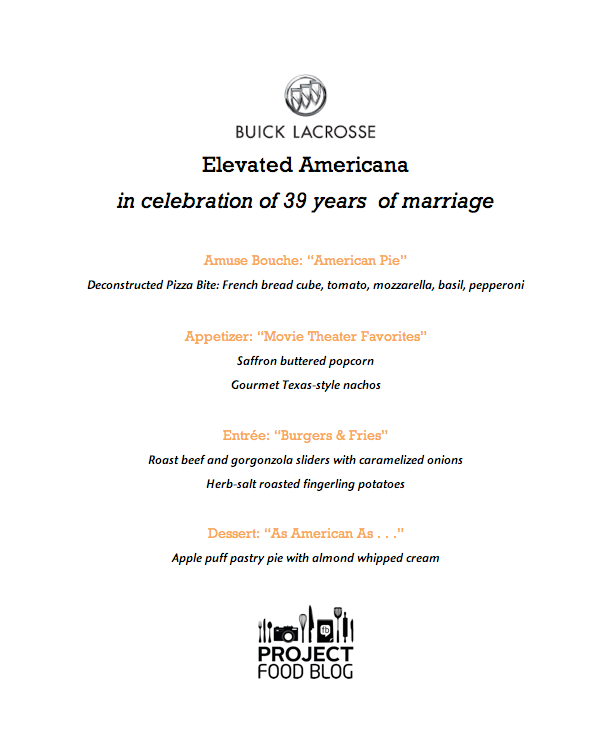
I wanted to take that night at Gooch’s soda shop and my parents’ memories from growing up in the 1960s and elevate them by creating luxury versions of several classic American dishes. My four course menu featured all-American favorites such as pizza, popcorn, nachos, burgers and fries, and of course, apple pie — fancied up, but still retaining their classic charm.

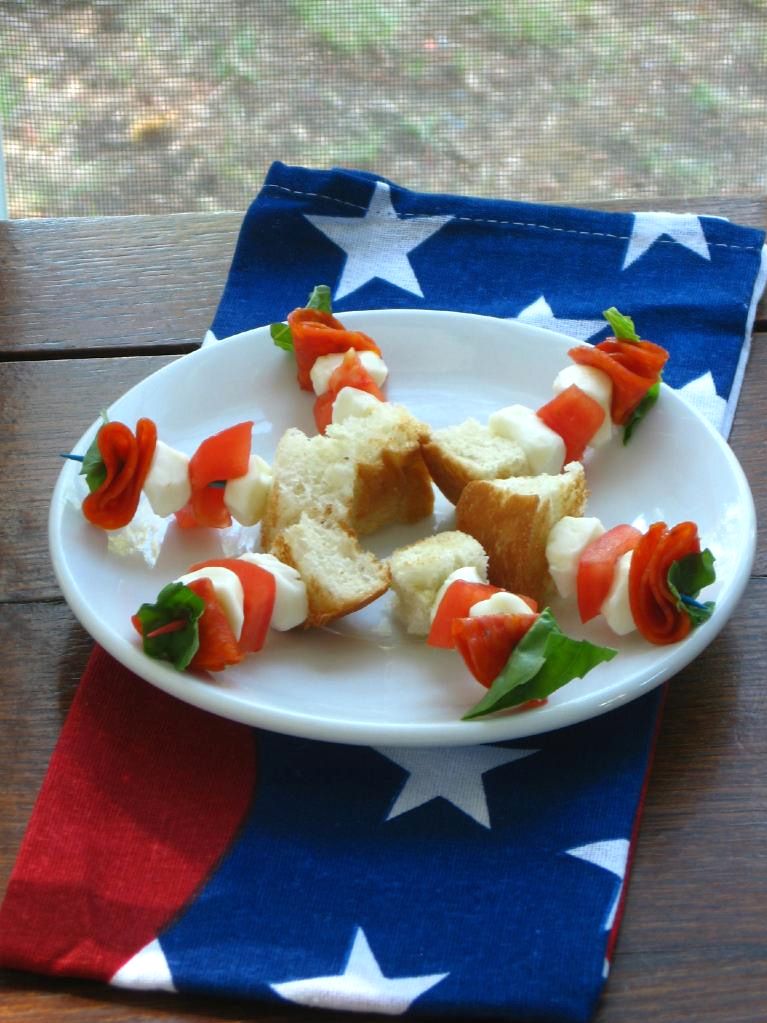
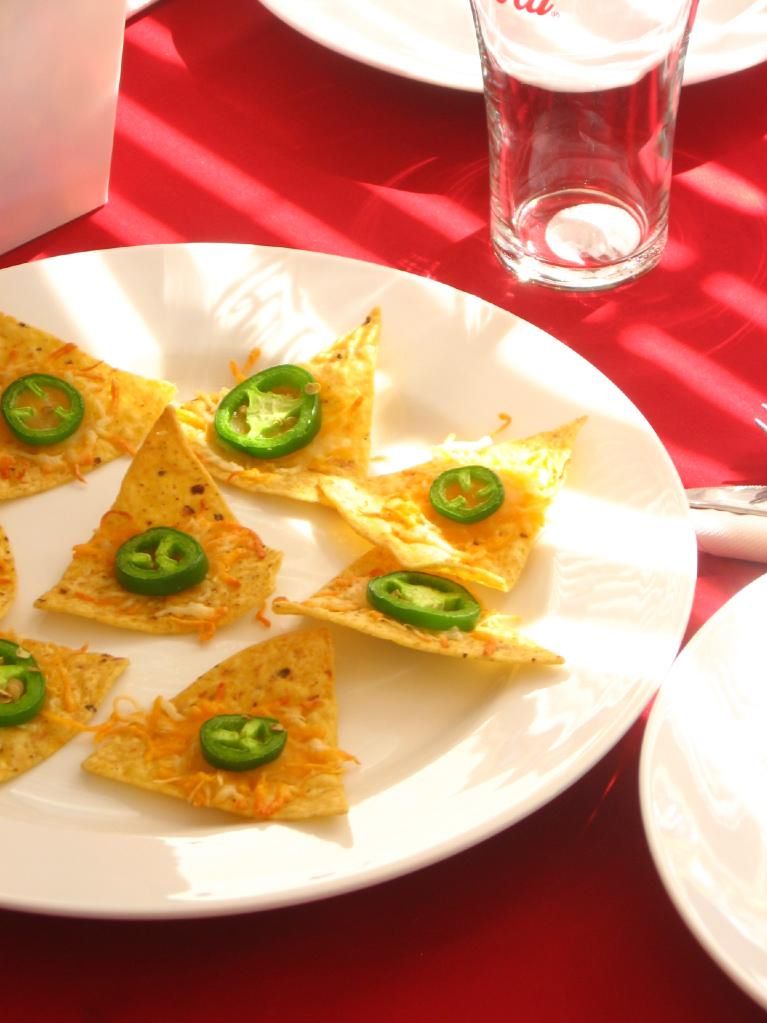
The amuse bouche truly amused my bouche — each component sung in the bite to produce a harmony that tasted exactly like a fresh Margherita pizza. The appetizers, though, were disappointing. Food blogs represent genuine, real people who are dancing through kitchen highs and lows along with their readers — so I’m not afraid to tell you when things don’t work out. My Saffron Buttered Popcorn only carried the lovely saffron flavor in certain bites and my nachos were dry. Nevertheless, we trekked on to the main course and were rewarded for our diligence!

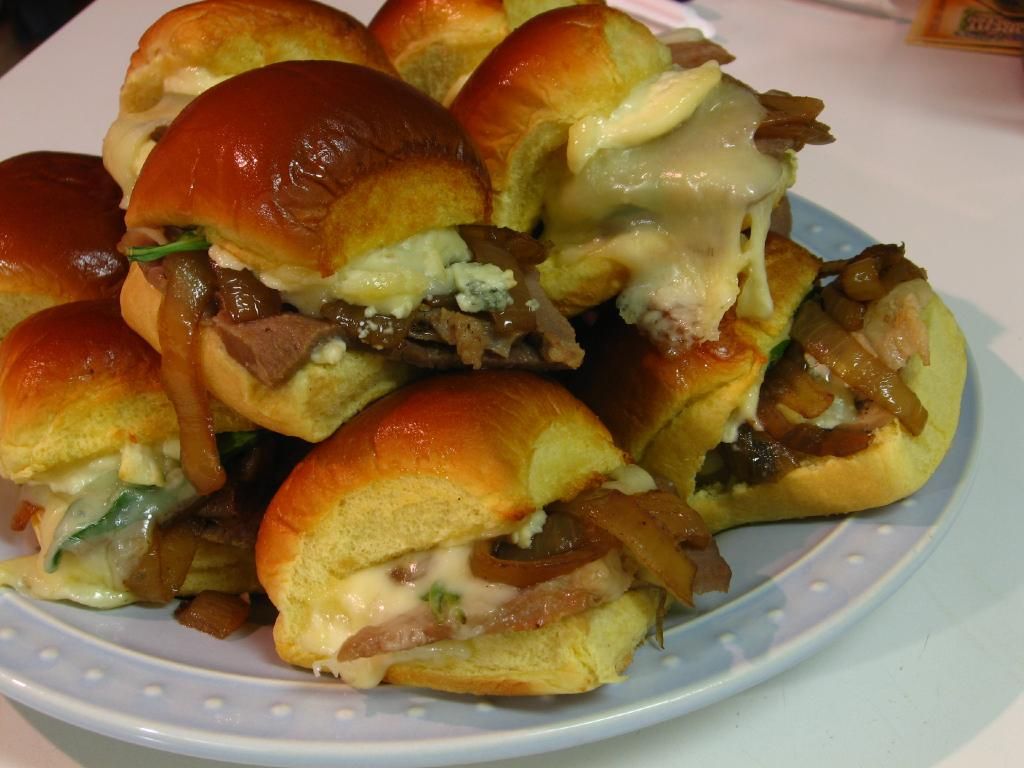
Served in sweet diner trays (download the template here, print them on cardstock, cut, fold, and glue together. Adapted from Bakerella‘s smaller version), the “burgers and fries” were leagues above your standard diner fare.

The roast was perfectly cooked, juicy, and flavorful, and every accompaniment pulled its weight to make the sliders a true indulgence. I actually forgot the caramelized onions on my dinner party version (they were sitting in a container right behind me, too!), but remade the sliders that evening with them included just to taste. They were dynamite with and without the onions! The herb-salt roasted fingerling potatoes carried a hint of fresh lemon with every bite — delicious.

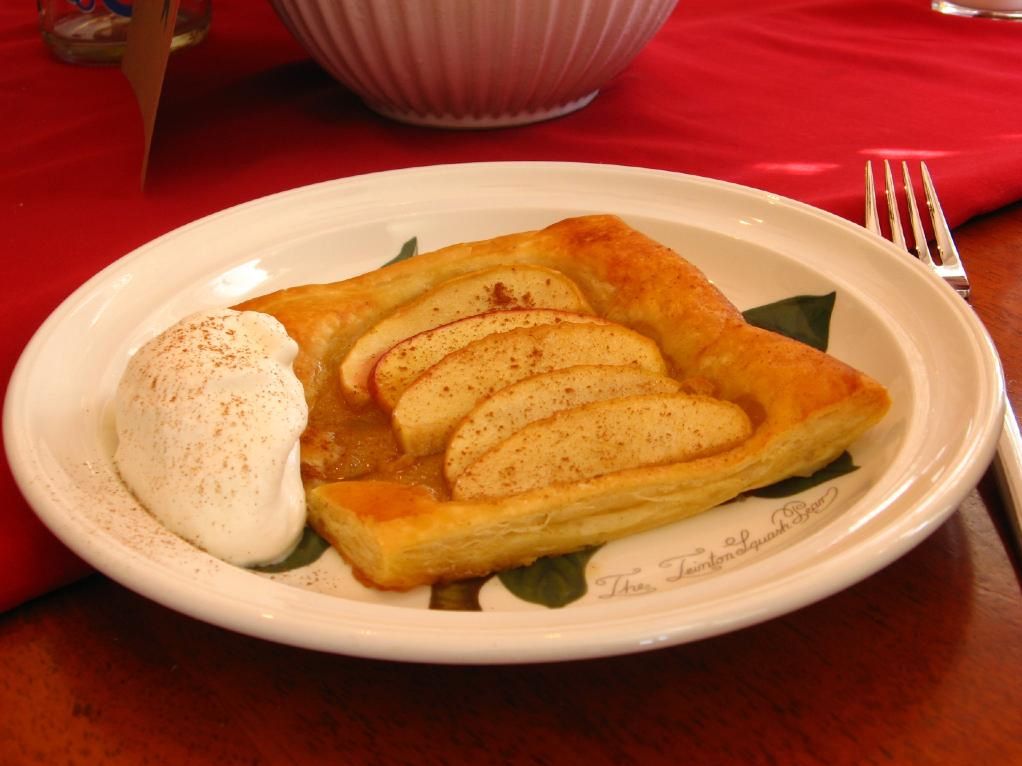
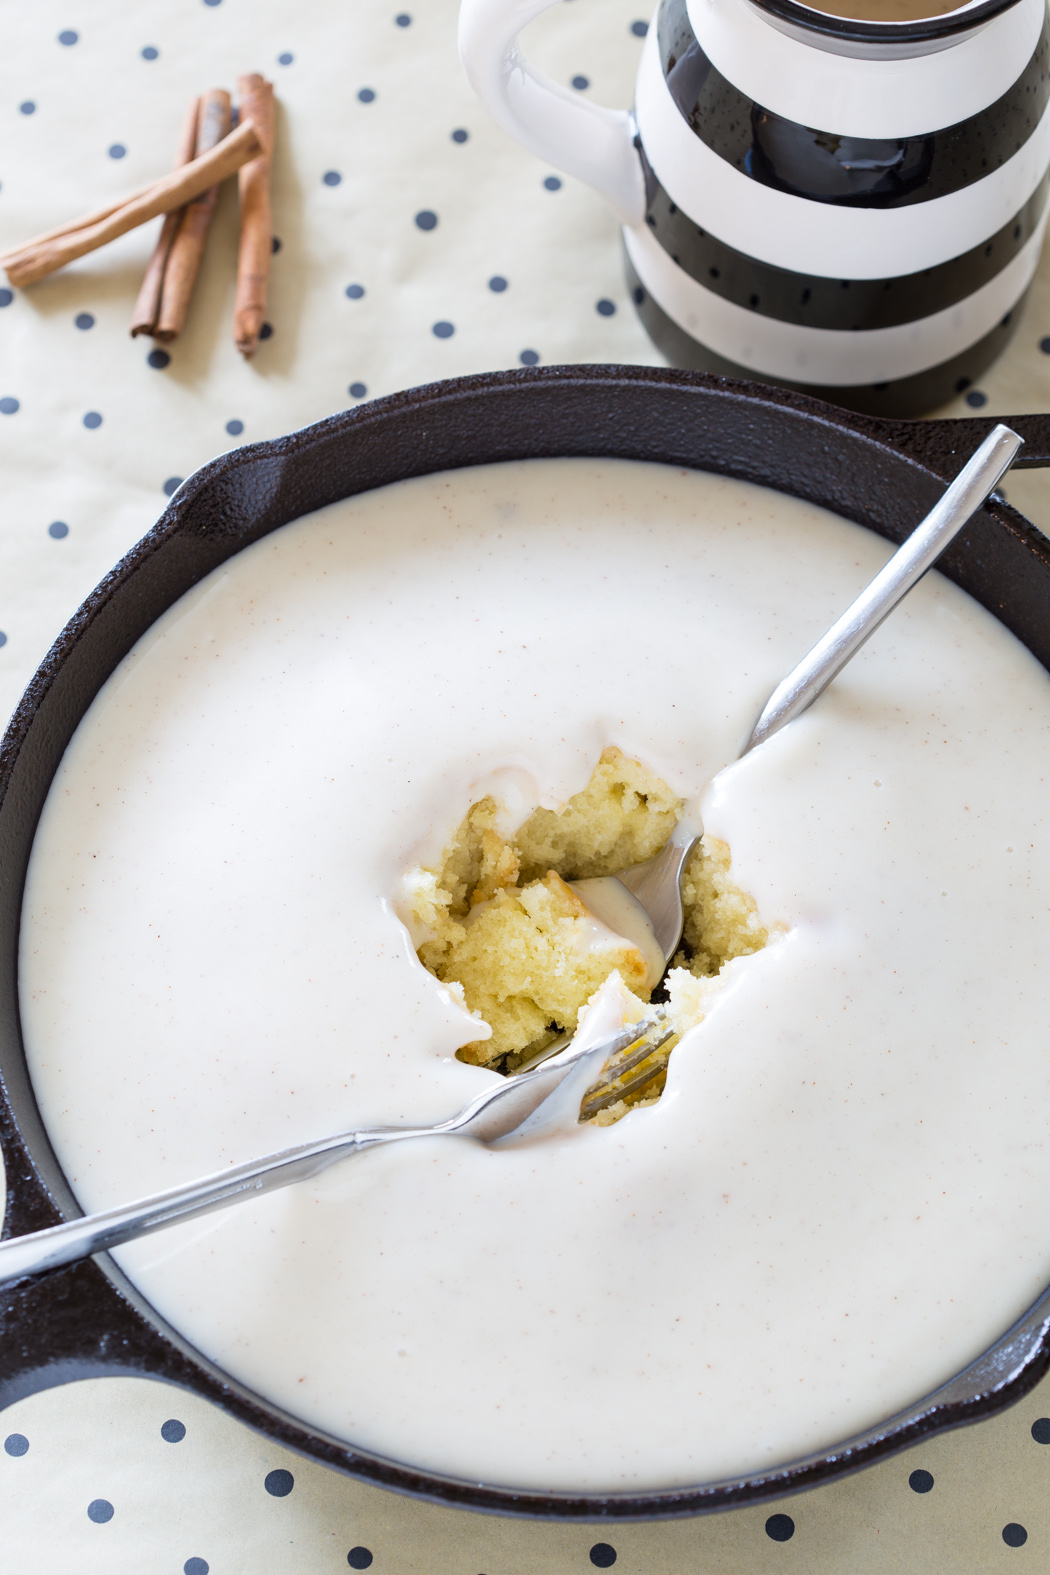
After a break for conversation, guests sat down to a fresh, light apple puff pastry tart. While everyone loved the tart, the consensus was that the star of dessert was the freshly whipped almond cream on top.

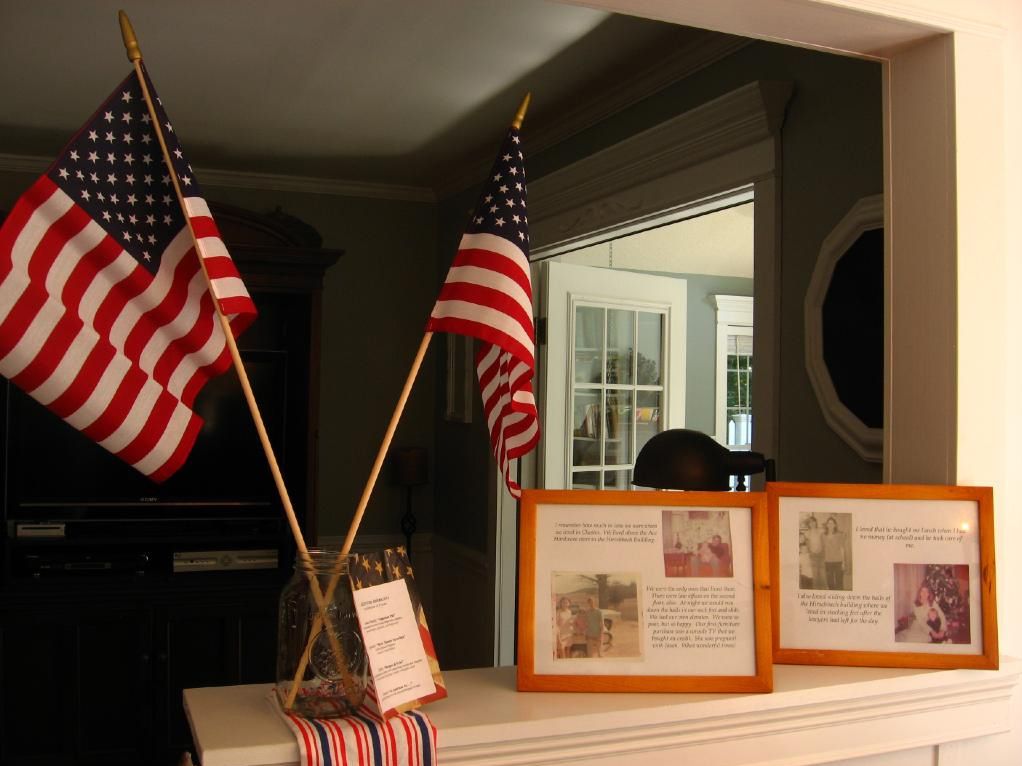
The food was good, the company was fabulous — but my favorite part of dinner was watching my parents read the quotes I had framed for them. A few days before the party, I’d asked each of them to tell me their favorite memory together, but to keep it a secret from each other. Imagine my surprise and delight (I’ll admit, there were a few happy tears) when they both emailed me the exact same memory.


Memories sent by mom and dad and framed for the party.

It was of a time when, according to Daddy, they were “so poor but so happy.” Mom was pregnant with my oldest sibling, Jason, and they lived above a hardware store next to some law offices. At night, after the lawyers had gone home, they would slide through the hallways in their stocking feet, laughing together. It’s a memory that, along with a love as strong as my Grandpa’s lumber-hauling hands and as sweet as my mom’s teenage smile, still unites them after 39 years.


Then and now.

Note: Voting for Round 3 is now open! Please log into your Foodbuzz.com account (or register if you don’t yet have one), go here, and click “Vote for this Entry.” Thank you!

Fancy Beef Sliders


Recipe by: Willow Bird Baking, with roast beef adapted from Simply Recipes and slider technique by Annie’s Eats
Yields: ~30 sliders

Roast Beef Ingredients:
3 to 3 1/2 lbs of Boneless Rump Roast (pick an end cut with a lot of fat marbling)
Olive oil
8 slivers of garlic
Salt and pepper


Slider Ingredients:
potato slider buns (or dinner rolls of your choice)
baby arugula
Swiss cheese, sliced
Gorgonzola cheese
2 sweet onions
2 tablespoons balsamic vinegar
3 tablespoons olive oil for caramelizing onions
melted butter

Directions:
Prepare the roast beef: Preheat oven to 375 degrees F. Let roast sit out for an hour before cooking so that it begins at room temperature. When ready to begin, rinse the roast and use a sharp knife to cut 8 small incisions over the surface, inserting a sliver of garlic into each. Rub the roast with olive oil and season both sides with salt and pepper. Place roast in baking dish with lid (or you can use Elise’s on-the-rack method) and bake for 30 minutes at 375 degrees.

After 30 minutes, turn heat down to 225 degrees F and continue cooking uncovered until a meat thermometer reads 140 degrees (Elise says this takes 2-3 hours, but for me, it was more like 1.5 hours. I was nervous that I might need to slow it down, but it came out perfect. So just keep an eye on it). Remove roast from the oven and tent with foil. Let rest at least 15 minutes before slicing into very thin slices. Increase oven temperature to 400 degrees F at this point, in preparation for the sliders.

While the roast cooks, caramelize your onions. Heat a large skillet over medium-high heat and add the oil. When it’s hot, add the onions and stir so that they all come into contact with the bottom of the pan. As they start to brown, stir them every 15-30 seconds. Add balsamic vinegar and stir. Continue to brown for 10-20 minutes until they’re well caramelized.

In the meantime, prepare slider assembly line. Set out baby arugula, Gorgonzola cheese, Swiss cheese, and mayonnaise. Set slider buns onto a baking sheet. On each bun, place roast beef and all the toppings, including caramelized onions. Brush tops of sliders with melted butter and bake at 400 degrees F for about 10 minutes, or until melty. Serve warm.


Sliders with caramelized onions added!

Tips for Creating a Special, Affordable Dinner Party:

  1. Pick a personal theme. Think of a special memory, book, or food — something that resonates with your guests of honor. Plan your party around that theme. In this case, Gooch’s soda shop was the foundation of my party plan.
  2. Get creative with your resources. I decorated my table with a curtain panel that was $3 cheaper than an actual tablecloth. A local dollar store provided fun popcorn containers and drinking glasses. I picked recipes with simple ingredients and used a few luxury items (saffron, Gorgonzola) to elevate them. I also created many party decorations out of paper.
  3. Plan ahead. A week before the party, I made a list of all groceries and planned out prep work for each day. I also wrote a detailed plan of party day, including what times to prep, bake, and photograph each dish.
  4. When possible, choose dishes that can be prepared ahead of time. I didn’t follow my own advice this time, but the beauty of many desserts and appetizers is that they can be prepared in advance and refrigerated until served. You’ll have more fun if there are only a few things to prepare at the last minute.

If you liked this post, please:
Subscribe to Willow Bird Baking
Follow Willow Bird Baking on Twitter
Follow Willow Bird Baking on Facebook
Give this post a thumbs up on StumbleUpon

ShareOther ways to share this post with friends!

1 100 101 102 103 104 127