cookies

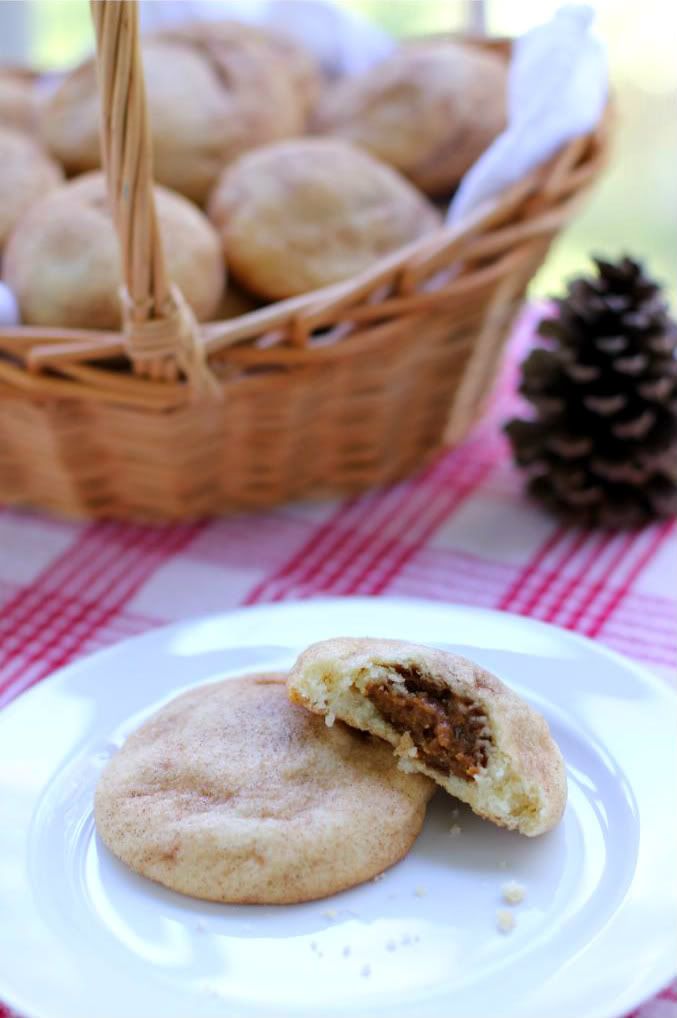
Pumpkin Cheesecake Stuffed Snickerdoodles

A few evenings ago I was driving home on Harris Boulevard straight into the hot-gold sunset. The windows were rolled down — enough so that the tepid autumn air rushed into the car across my forehead, but not enough to assault me with a face full of blonde tangles. My favorite 80s song tumbled out of the speakers and vibrated the swirling air around me.

I acquiesced: okay, fall.
I’m a summer girl. Cold air feels like a heavy restraint: every trip outside with Byrd involves shrugging on two coats, two pairs of pajama pants, a scarf, and some mittens. I have to wrangle her into her snuggie (what? don’t act like you don’t own a dog snuggie) and wrap her in my scarf. It feels like I’ve doubled in weight as I lumber down the stairs like an abominable snowperson (with an abominable — but adorable — little snowdog in my arms).

It’s harder to move. The ice-edged air is harder to breathe. It takes longer to get up the gumption to do something as simple as take a walk.

Besides the discomfort, there’s that slate winter sky. Every day is a sloshy gray, and the sky seems lower somehow. Some summer days breeze in with mountainous clouds; their enormity makes the ocean of blue sky seem endless. In winter, though, the clouds form a heavy wool blanket that seems to sit just overhead. All summer we drift about in miles of free space; all winter we’re squashed like heavily-clothed little bugs.

I dislike winter so strongly that even on the most oppressively hot days this summer, I refused to complain. Sweat? Okay. Sunburn? No problem. Heat stroke? I’ll deal. Because the alternative is disgusting, wet, despicable, muddy, gray, depressing winter.

Facebook friends pined all summer for cooler weather and it was all I could do to avoid responding, “If you wish away my summer, I will find a way to haunt you all. winter. long.”
I dislike winter so strongly that every year, I initially dislike fall. Fall is a premonition of winter’s evil, marching stolidly across the globe toward us, indifferent to our terrified screams–

Okay, well that’s a little much. But fall means winter’s coming, and that makes me sad. Instead of accepting the advent of cooler air, I hang on to summer as long as possibly.
Others get out their boots while I stubbornly continue wearing my bohemian beach flip flops. I wear tiny sundresses, budging in my resolve only to slip on a sweater with a scowl when the temperature drops to 40 degrees each evening. I heat my house like the tropics and continue wearing my beloved nightgowns. I eat ice cream sundaes.

But every year, things start to happen that weaken my resolve. I’ll realize that I can light my fir tree and cinnamon spice candles at the same time and make my apartment smell like Christmas. I’ll see that the Southern Christmas Show (only my favorite event of the year!) is coming to town. I’ll remember the awesome sweater I was sad to put away last spring.

And finally, most importantly of all, I’ll realize there’s a whole new season of recipes to be created. Y’all know I bake anything and everything with pumpkin as soon as the first can hits the shelf. I love apples and nuts and cranberries, but there is no ingredient that winterizes the summery cockles of my heart (wait, that doesn’t sound like a good thing?) as much as that gourd.

Eventually there comes a moment when I accept the inevitable. Jamming out in my car a few evenings ago, I finally welcomed fall. And you know, I might have even been a little joyful to do so.

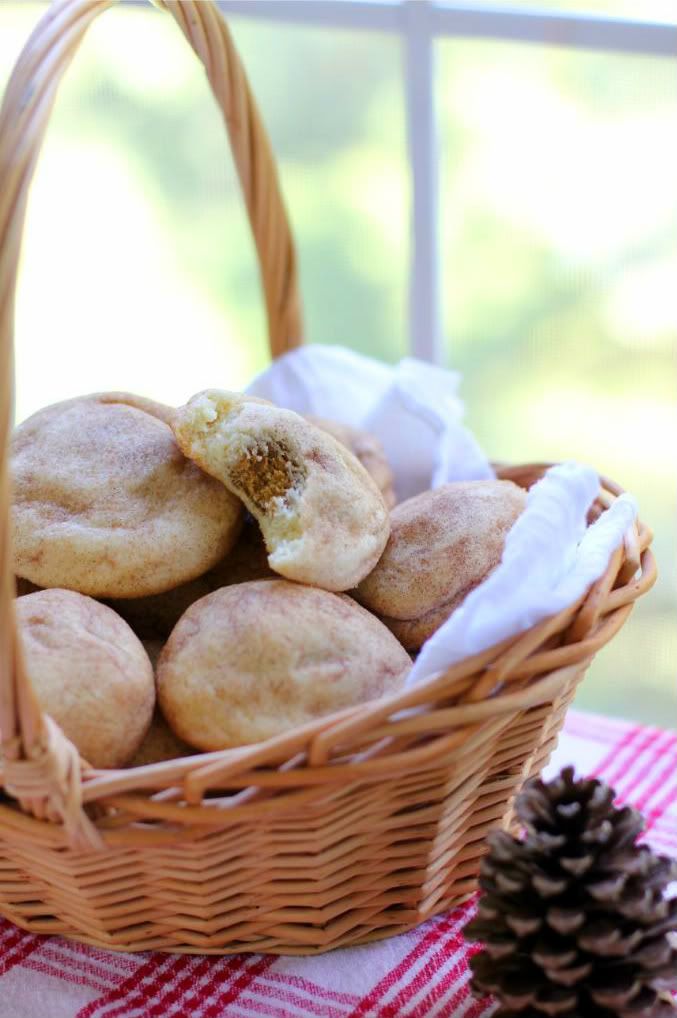
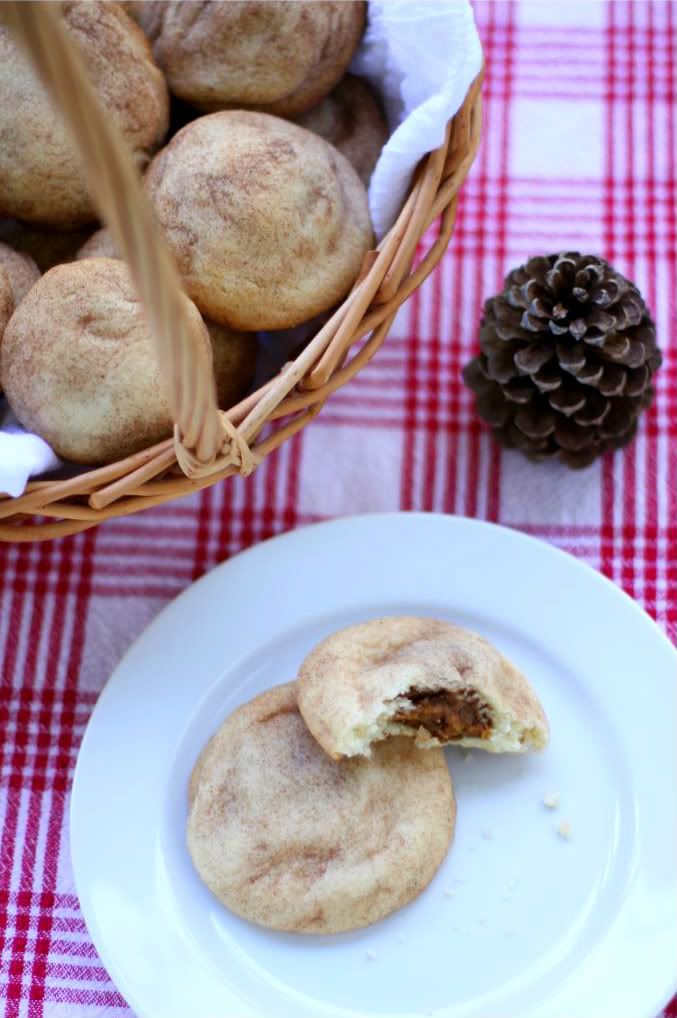
Whether you’re still having trouble accepting the change of seasons or not, these cookies will make you joyful. I don’t say this often because it totally ruins your street cred if you just throw it out there about every recipe you create, but these cookies are one of the best things I’ve ever made. Warm snickerdoodles are already the cinnamony, sugary bees’ knees, but when you stuff them plumb full of an autumn-spiced pumpkin cheesecake mixture, they become otherwordly. Who needs summer?

What’s your favorite season?

Pumpkin Cheesecake Stuffed Snickerdoodles


Recipe by: Willow Bird Baking, cobbled together from Whole Foods (filling) and Sunset, 1998 (via Bakergirl) (cookies)
Yield: about 30-35 large cookies

Make these cookies as soon as you can — they are incredible! Warm, cinnamon-sugar snickerdoodles surround a creamy ball of pumpkin cheesecake spiced with graham cracker and gingersnap crumbs. These cookies are crumbly, buttery, melt-in-your-mouth nuggets of autumn love. Sure, they have a lot of fat and a lot of sugar — so reserve them for a special occasion. But don’t skimp! They’re worth it. Also, while the cookies look fancy, they’re quite simple to make. Store leftovers in an airtight container in the fridge and heat them for 20-30 seconds or so before serving them with a tall glass of milk.

Snickerdoodle Ingredients:
1 cup butter, softened
1 cup vegetable oil
3/4 cup granulated sugar
1 cup powdered sugar
2 large eggs
4 1/4 cups all-purpose flour
1 teaspoon baking soda
1 teaspoon cream of tartar
1/2 teaspoon salt
1/2 cup granulated sugar + 1 tablespoon cinnamon for rolling cookies

Filling Ingredients:
2 cups white chocolate chips (about 10 ounces)
1 cup pumpkin puree
1 1/2 cups finely ground gingersnaps
1 1/2 cups graham cracker crumbs
4 tablespoons powdered sugar
1/2 teaspoon ground cinnamon
Pinch of orange zest (I used a dash of orange extract)
1 (8-ounce) package cream cheese, softened

Directions:
First, make the pumpkin spice truffle filling. Melt the white chocolate chips in the microwave on half power. Start with 1 minute and stir. Continue to heat the chocolate in 15 second intervals, stirring well after each to aid the melting, until it is smooth (be careful not to overheat). Set this aside to cool slightly. In the meantime, mix the pumpkin, gingersnap and graham cracker crumbs, confectioners’ sugar, cinnamon, orange zest or extract, and cream cheese together. Add the white chocolate and mix well until thoroughly combined. Transfer the mixture to the refrigerator to chill and firm up. In the meantime, make the snickerdoodle dough.

Mix together the butter, vegetable oil, granulated sugar, powdered sugar, and eggs in a large bowl. In a separate large bowl, whisk together the flour, baking soda, cream of tartar, and salt. Add the flour mixture into the butter mixture in 3-4 additions, mixing until just combined between each. Place the finished dough in the refrigerator to chill. While the cookie dough chills, roll pumpkin mixture into balls and place the balls on a wax paper lined baking sheet. Cover, and freeze until firm (about 1 hour).

In a small bowl, whisk together 1/2 cup granulated sugar and cinnamon. Preheat oven to 375 degrees F. Take a few pumpkin balls out of the freezer at a time to work in small batches (so they stay firm). Scoop out about a tablespoon of chilled cookie dough. Press a frozen pumpkin cheesecake ball into the center, then cover with another bit of dough, working the dough around the whole ball. Roll in cinnamon-sugar and place on a greased baking sheet. Repeat the process, placing cookies 3-4 inches apart. If cookie dough gets too soft, re-chill it for a bit and continue working. I made sure to stick it back in the fridge during any downtime (like when the cookies were in the oven).

Bake for 12-15 minutes, or until edges are slightly browned. Let the cookies cool on the pan for a few minutes before removing them to a cooling rack to cool completely.

If you liked this post, please:
Subscribe to Willow Bird Baking
Follow Willow Bird Baking on Twitter
Follow Willow Bird Baking on Facebook
Give this post a thumbs up on StumbleUpon


ShareOther ways to share this post with friends!

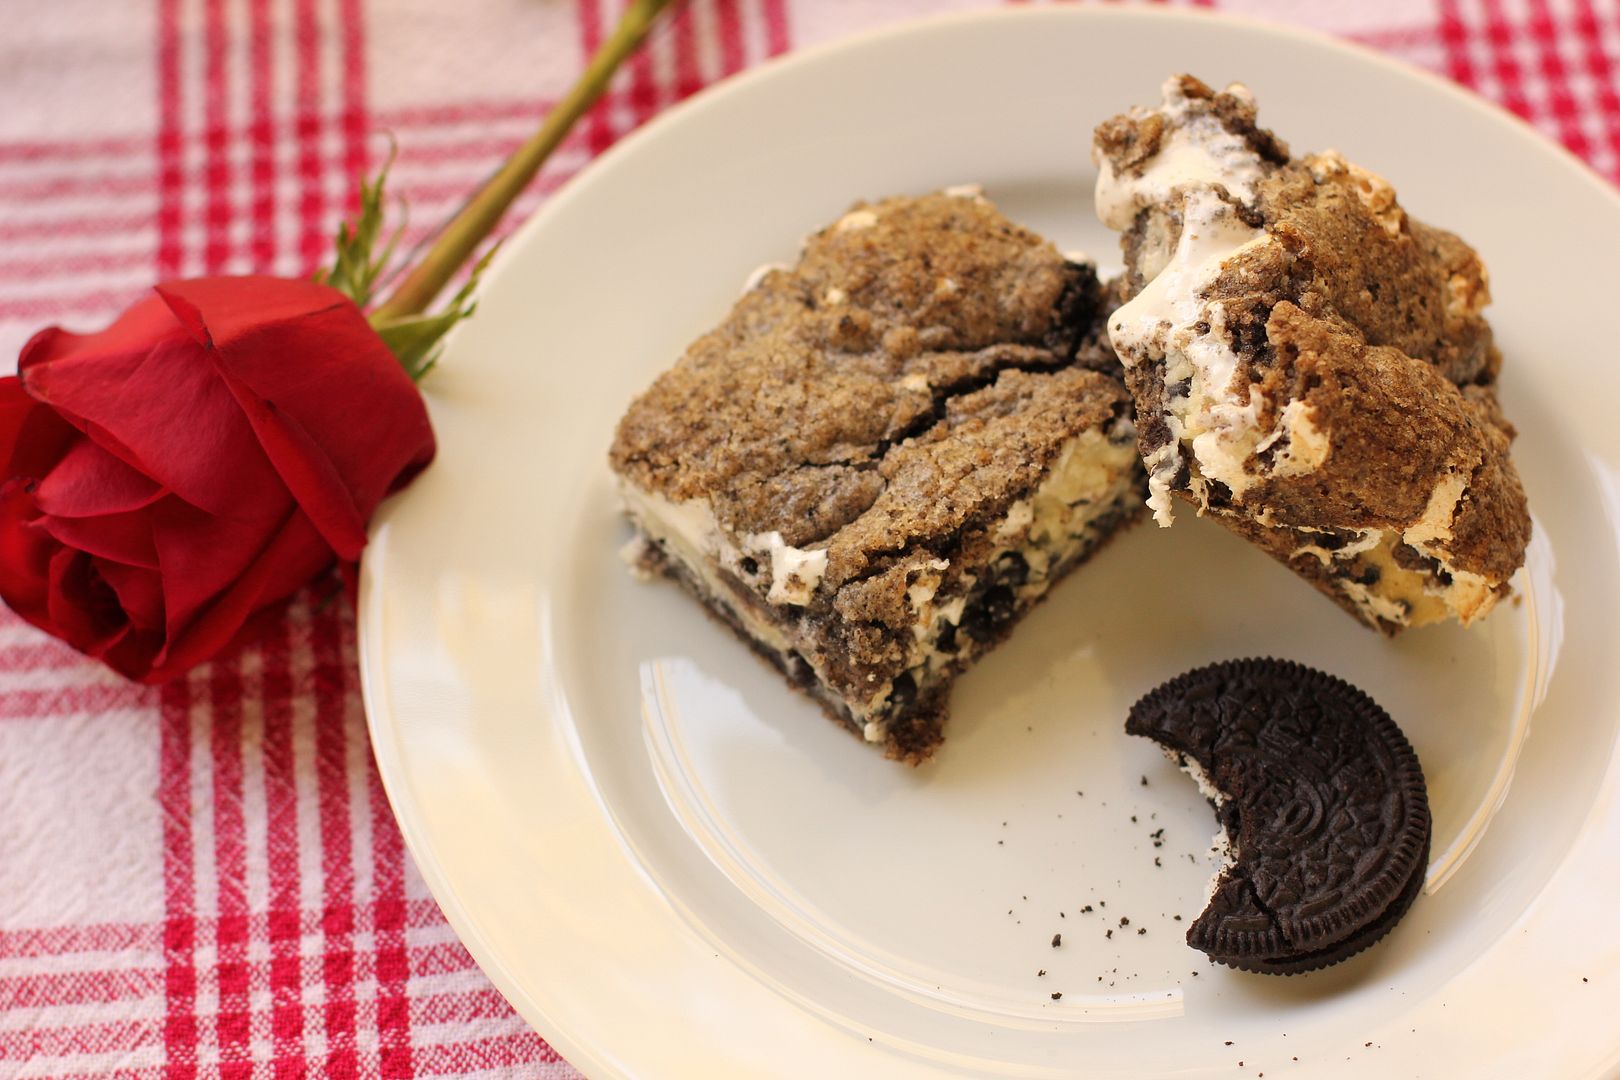
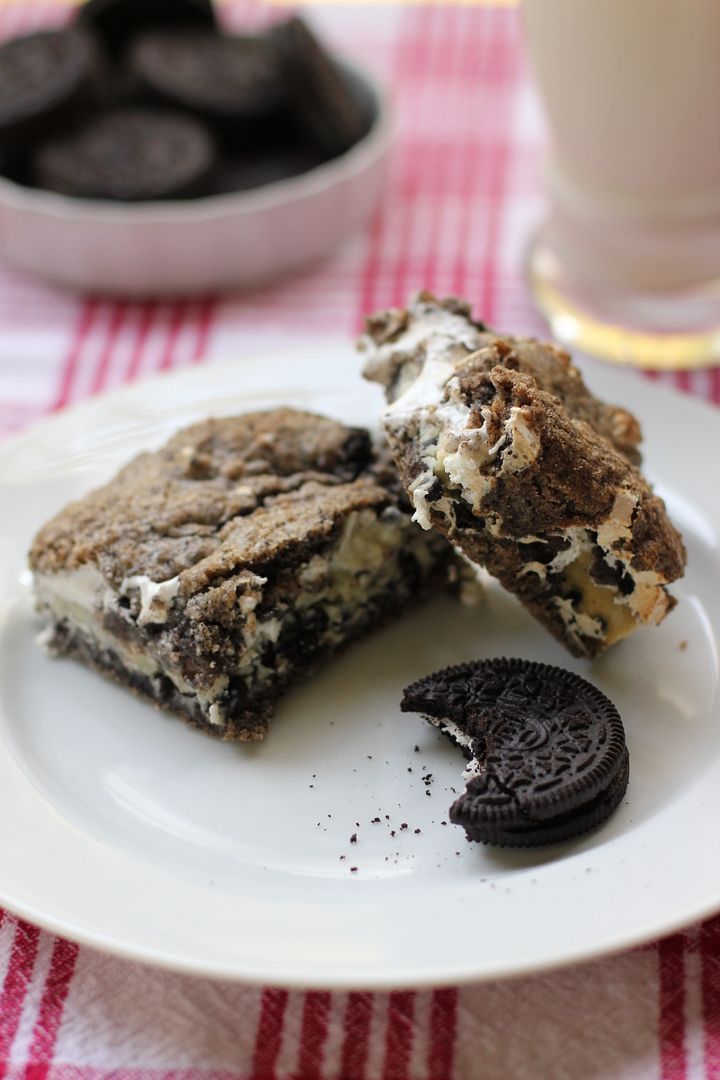
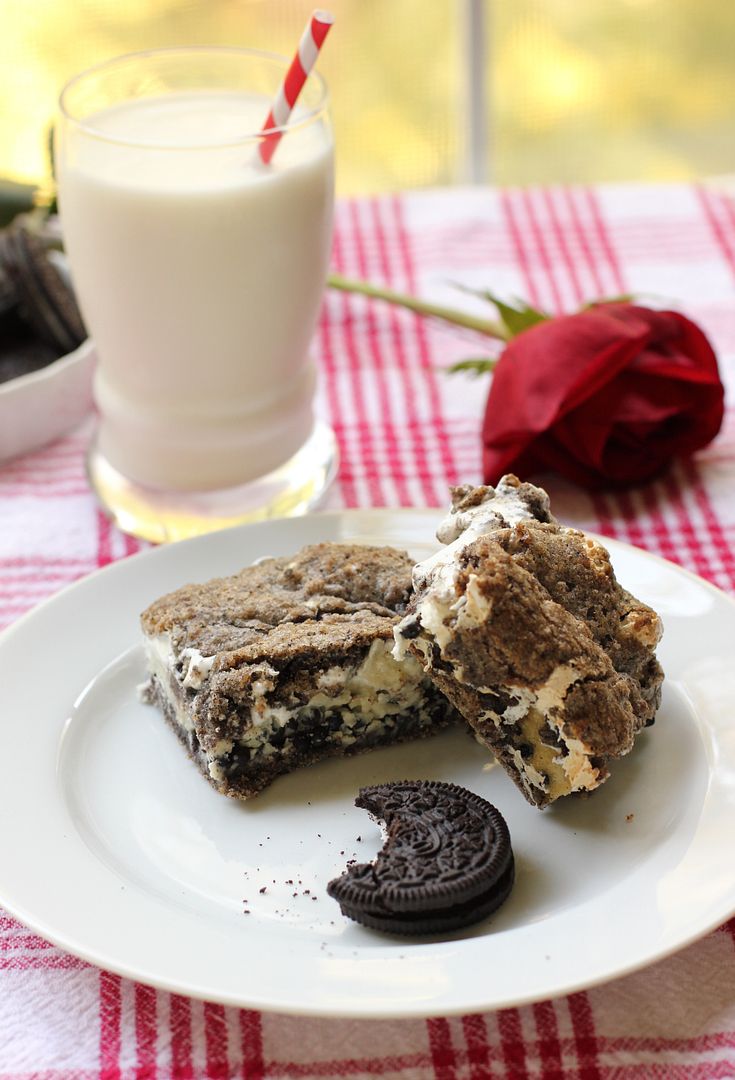
Gooey Cookies & Cream Bars

On top of a sheet of felt-and-glitter tabletop snow, wooden blades were spinning, propelled by steam from tiny candles. Below the windmill but carved from the same light wood, tiny German townspeople busied themselves preparing for a wooden winter. I stood there for a few minutes, watching the delicate dance of the Christmas Pyramid: wood and fire, fuel and hunger.

It was my first visit to Mike’s great-aunts’ house, and thankfully, I was just in time to see their earnest and intricate Christmas display. Rose and Martha had been adding to their holiday collection over the course of many years and many travels, and their home now good-naturedly bore its heavy load of cheer.

Along with the Christmas Pyramid, a yuletide scene adorned every available surface in the house. The sturdy 1950s countertop in the kitchen boasted a full Christmas village. Warm orange lights glowed from miniature, snowy-silled windows. Plastic children, round with winter wool and red-nosed beneath fur caps, constructed snowmen in the yard. Figurines of all shapes and sizes skated on a mirrored glass pond thanks to tiny unseen magnets. And, in my favorite tableau, kids posed with St. Nick before a toy camera that gave a CLICK-FLASH! every few seconds as if snapping their photo.

The entire house was busy with whirring, chirruping, chiming, ringing. Understated carols rung out at regular intervals from mysterious origins. I would turn my head to find the source only to see a Christmas train, a Christmas snowman, a Christmas door hanging, a pudgy Christmas Santa statue, lights, bells, snow — Christmas chaos!

Imagine yourself as a child. Imagine that one day you really did get to step through your mirror, like you’d always dreamed might be possible. All it took was a little shimmy, a heel click or two, maybe a wink, and you were finally allowed to flow right through the glass. Imagine that when you stepped in, you stepped straight into a world of candy and jolly Santas and benevolent holiday rabbits and secret gardens and fairies and talking animals.

The joy of this house was that same joy. Walking into the door of this house was like walking into a fantastic place you knew existed somewhere, but could never seem to find as a child.

If the house was a Christmas fairyland, Rose and Martha were the magnificent queens of the domain. Martha was lovely, humble, and meticulous, welcoming and distributing presents. And Rose was mischievous, adventurous, and excited, whispering sly comments and shaking gifts. Together, what a pair.

They weren’t just wonderful on Christmas, either, and not just the first time I met them. We would celebrate their birthdays together at a boisterous gathering at Trio, one of their favorite restaurants. Folks from far and wide would turn up and share stories of the things they’d accomplished.

Both were teachers that poured out their time and energy for their students. Rose spent 11 years in night school to earn her degree in History. She then spent several more years learning about computers as she taught, creating a computer lab for her elementary school students. Rose and Martha traveled around the world together, sometimes preferring a foreign country, and sometimes heading to Chetola, a beloved spot in the North Carolina mountains, instead.

It was hard to believe things could ever be difficult for Rose. It seemed impossible that her pure fire-engine gumption couldn’t propel her through just about anything, including health problems and age and, good grief, probably a wall of fire and a mountain of steel at that.

She did slow down, though. At one point she broke a bone and had to recover in a nursing home, and I remember going to see her and realizing her gumption was willing, but her body demanded rest. When you see a pillar of strength and realize it’s fragile, it shakes you. Your whole frame of reference starts to bend just a bit.

Rose’s bone slowly healed. She went home and continue living her beautiful life. We went to dinner and a basketball game with her and Martha months later — her beloved UNCC 49ers — and though she had grown more frail, we could still see the spark of her heart.

This past Saturday, though, just hours before Mike was planning on visiting her, Rose passed away. The book of Greek myths he planned to take and read to her still sits where I tucked it quietly away once I heard. There’s nothing I can say to fully eulogize this sort of burning life. I wish, instead, you could’ve heard Martha’s strong voice at Rose’s funeral singing Amazing Grace with unexpected verve.

And I hope that Rose feels just now as if she’s stepped, finally, through a looking glass. I hope the real presence of Christ is stronger even than the joy of a billion Christmas wonderlands on a billion countertops. I hope she feels like, finally, she’s home.

Gooey Cookies & Cream Bars


Recipe by: Willow Bird Baking, inspired by S’mores Bars
Yield: About 12 bars

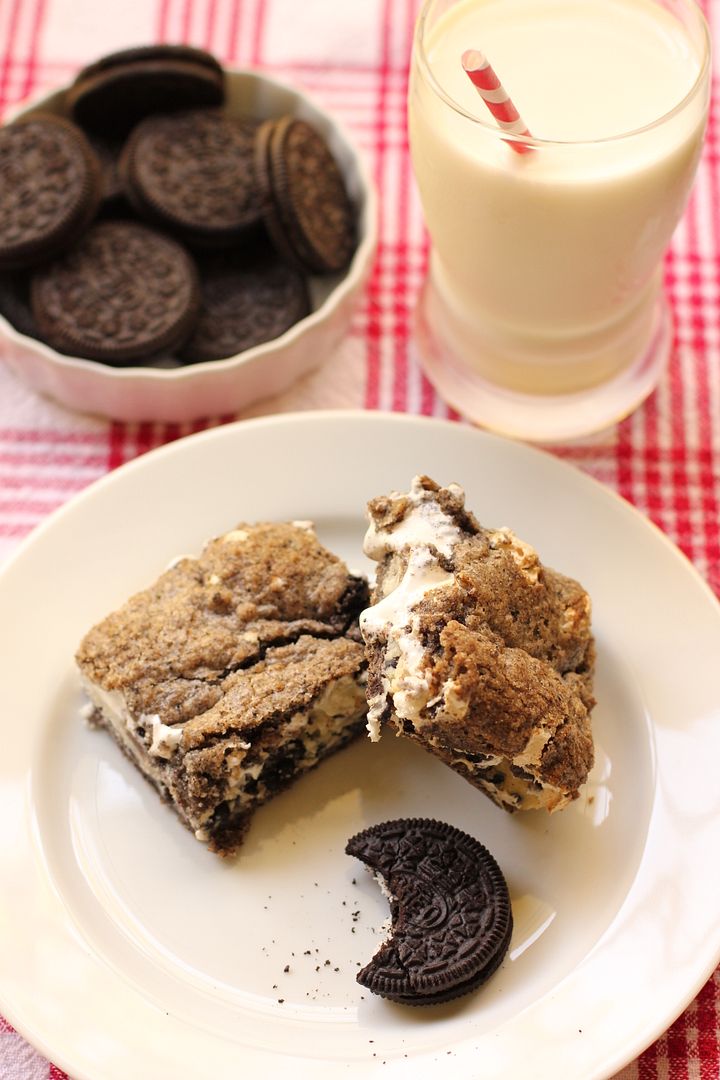
I made these Gooey Cookies & Cream Bars as a treat for Mike, ditching a previous plan involving pumpkin (which he’s not fond of). I’m so glad I did. They’re rich and heavenly, crunchy and gooey, and altogether full of warm niceness for a cool autumn day. Apart from tasting amazing, they’re super quick and simple — something I value more and more lately. Heat up one or two of these and enjoy them with some cold milk.

Ingredients:
1/2 cup butter, room temperature
1/2 cup plus 2 tablespoons sugar
1 large egg
1 teaspoon vanilla extract
1 1/3 cups all-purpose flour
3/4 cup chocolate sandwich cookie crumbs (i.e. crumbs of about 10 Oreos)
1 teaspoon baking powder
1/4 teaspoon salt
2 king-sized Cookies ‘n Cream candy bars (e.g. Hershey’s)*
1 1/2 cups marshmallow creme
*can substitute a regular white chocolate bar if these are unavailable where you live!

Directions:
Preheat the oven to 350°F. Grease an 8-inch square baking pan and create a foil sling: tear off 4, 16-inch long pieces of aluminum foil and fold them in half. Situate two side-by-side in the pan, covering the bottom of the pan to the edge (they will overlap). Situate the other two strips in the same manner, but perpendicular to the first. The overhanging foil of the sling will make it easy to remove the bars from the pan after baking and cooling. Grease the foil as well.

Cream the butter and sugar together in a large bowl until fluffy and pale yellow (2-3 minutes). Beat in the egg and vanilla. In a small, separate bowl, whisk together the flour, cookie crumbs, baking powder and salt. Add the dry ingredients to the butter mixture and mix until just combined. Divide the dough roughly in half, placing half the dough in your prepared pan and the other half in the fridge to chill until you’re ready for it.

Use the back of a spoon sprayed with cooking spray and to press and spread the dough in the pan until it covers the bottom of the pan in an even layer. Place the Cookies ‘n Cream bars side by side over the dough (if they fit; if not, break them and arrange) such that you have a full single layer of chocolate (about 1/4 inch thick). Glop on marshmallow creme and use a greased offset spatula to spread it evenly across the candy bars. Take the remaining dough out of the fridge and place it on top of the marshmallow layer (to do so, take a small handful at a time and flatten it into a “shingle” in greased fingertips. Lay these side by side over the top. They’re a little sticky so it takes some fiddling, but just clean your fingers off if the dough starts sticking to them too much and continue).

Bake for 25 to 30 minutes or until lightly browned. Let cool completely in pan before gently using the overhang of the foil sling to lift the bars out of the pan and place them on a cutting board to slice. When ready to serve, heat each bar in the microwave for about 25-30 seconds. Store extras in an airtight container. Enjoy!

If you liked this post, please:
Subscribe to Willow Bird Baking
Follow Willow Bird Baking on Twitter
Follow Willow Bird Baking on Facebook
Give this post a thumbs up on StumbleUpon

ShareOther ways to share this post with friends!

Soft Sugar Cookies and Cookie Decorating with Freedom School

This is a love letter. Not the kind William wrote to me in third grade on the inside of a teddy bear greeting card — though that one was nice. Not the sort Abélard wrote Héloïse. In fact, not a romantic letter at all. But a love letter nonetheless.

It’s a love letter, first, to the kids of the world. It’s also a love letter to the communities that care for those kids. It’s a love letter to every person who encounters those kids and tells them, “You can be a teacher. You can be a businessperson. You can be an artist. You can be a chef. You can be a scholar. You are a scholar!” It’s a love letter to Freedom School.

Freedom School is a Children’s Defense Fund program designed to offer summer and after-school enrichment to at-risk kids. The Freedom School Partners in Charlotte are working to “improve academic achievement, reduce dropout rates, and inspire the love of reading” — things that can literally change a child’s life. Staff and volunteers for the program become friends, mentors, cheerleaders, teachers, and role models for these kids, serving them every day and motivating them to accomplish their life goals.

When my friend Kevin asked if I’d be willing to host a cookie decorating workshop for the kids, I gladly agreed. Eliminating the achievement gap for at-risk kids and letting them know they’re important is dear to my heart. Beyond that — and perhaps you’ve had the blessing of realizing this as well — any time I give myself in service, I receive so much more than I offer. This time was no exception.

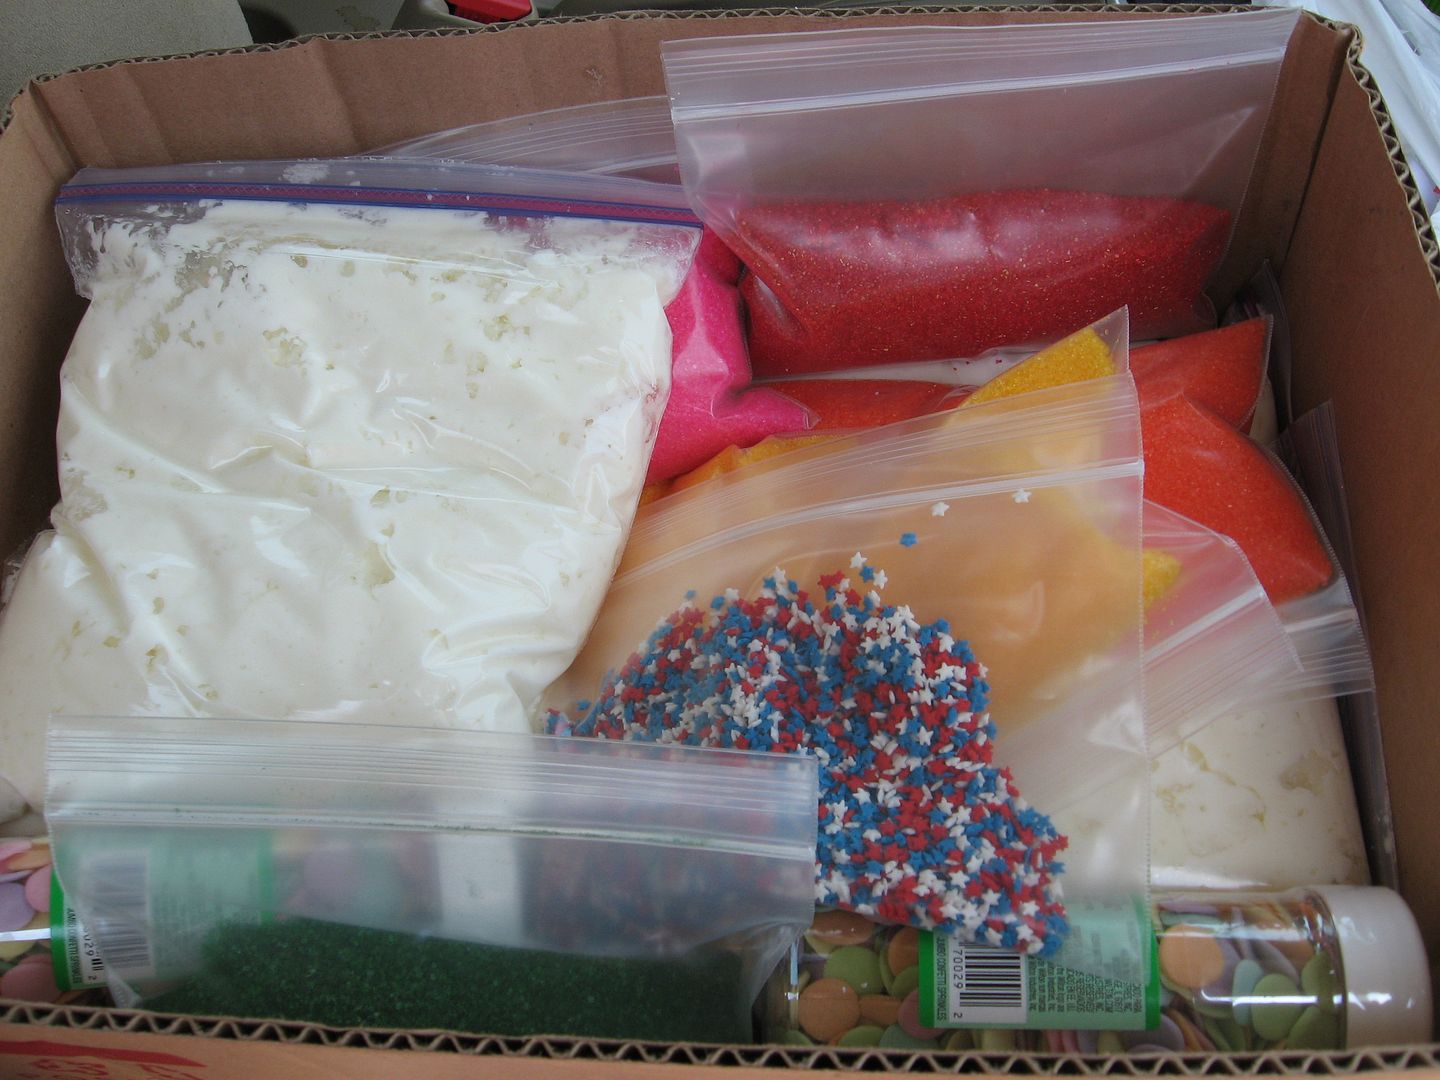
One thing I received was an unbelievable flood of support from people who also love kids. My friends Mary, Katie, and Taylor offered to bake cookies or help the kids decorate. Polka Dot Bake Shop, home to some outstanding Charlotte cupcakes, donated 5 quarts of buttercream frosting and a dazzling array of colored sugars and sprinkles.


Box of goodies from Polka Dot Bake Shop

Most overwhelming, Amelie’s French Bakery, a well-beloved Charlotte institution, stepped in and offered to pay for all the other supplies and donate the use of their commercial kitchen for the preparation of dozens of cookies. I seriously cried when I read their email.

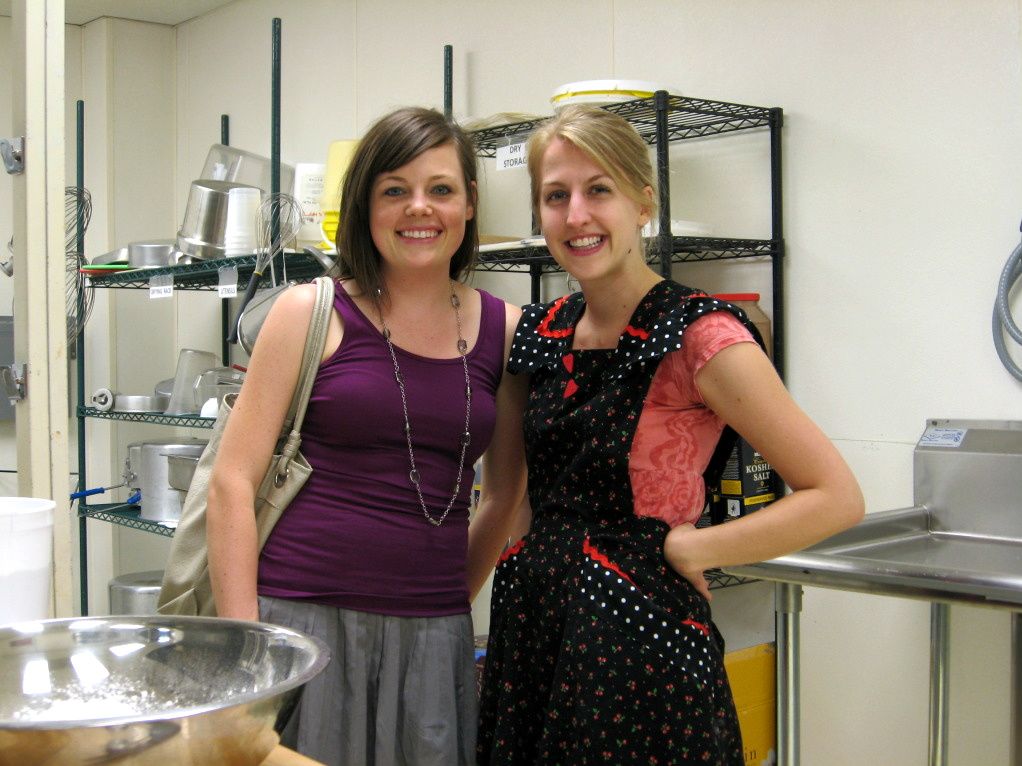
The owner, Lynn, worked with me and Mary for almost two hours. She’s an extremely busy person and could have been off doing hundreds of other things, but instead she was in the kitchen with us, washing our dishes as we baked.


Mary and I working in Amelie’s production kitchen.

There are awesome people in the world, y’all. I’ve vowed to be an Amelie’s customer for life (not that that’s a sacrifice — please go taste one of their salted caramel brownies before you waste time marveling at my loyalty.)

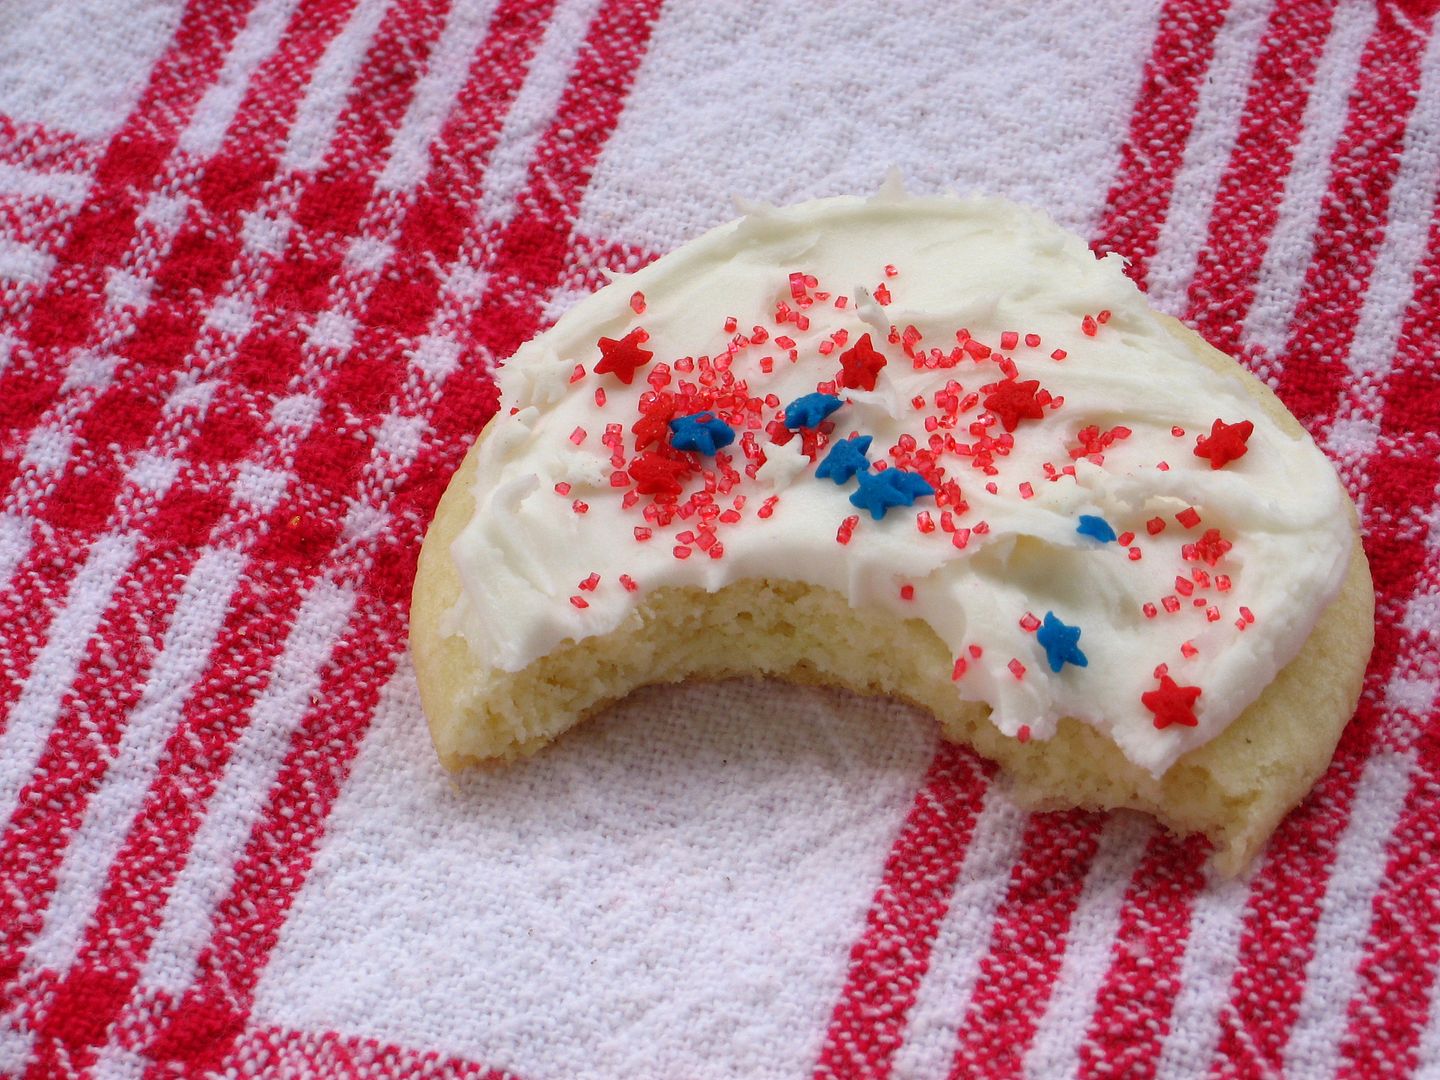
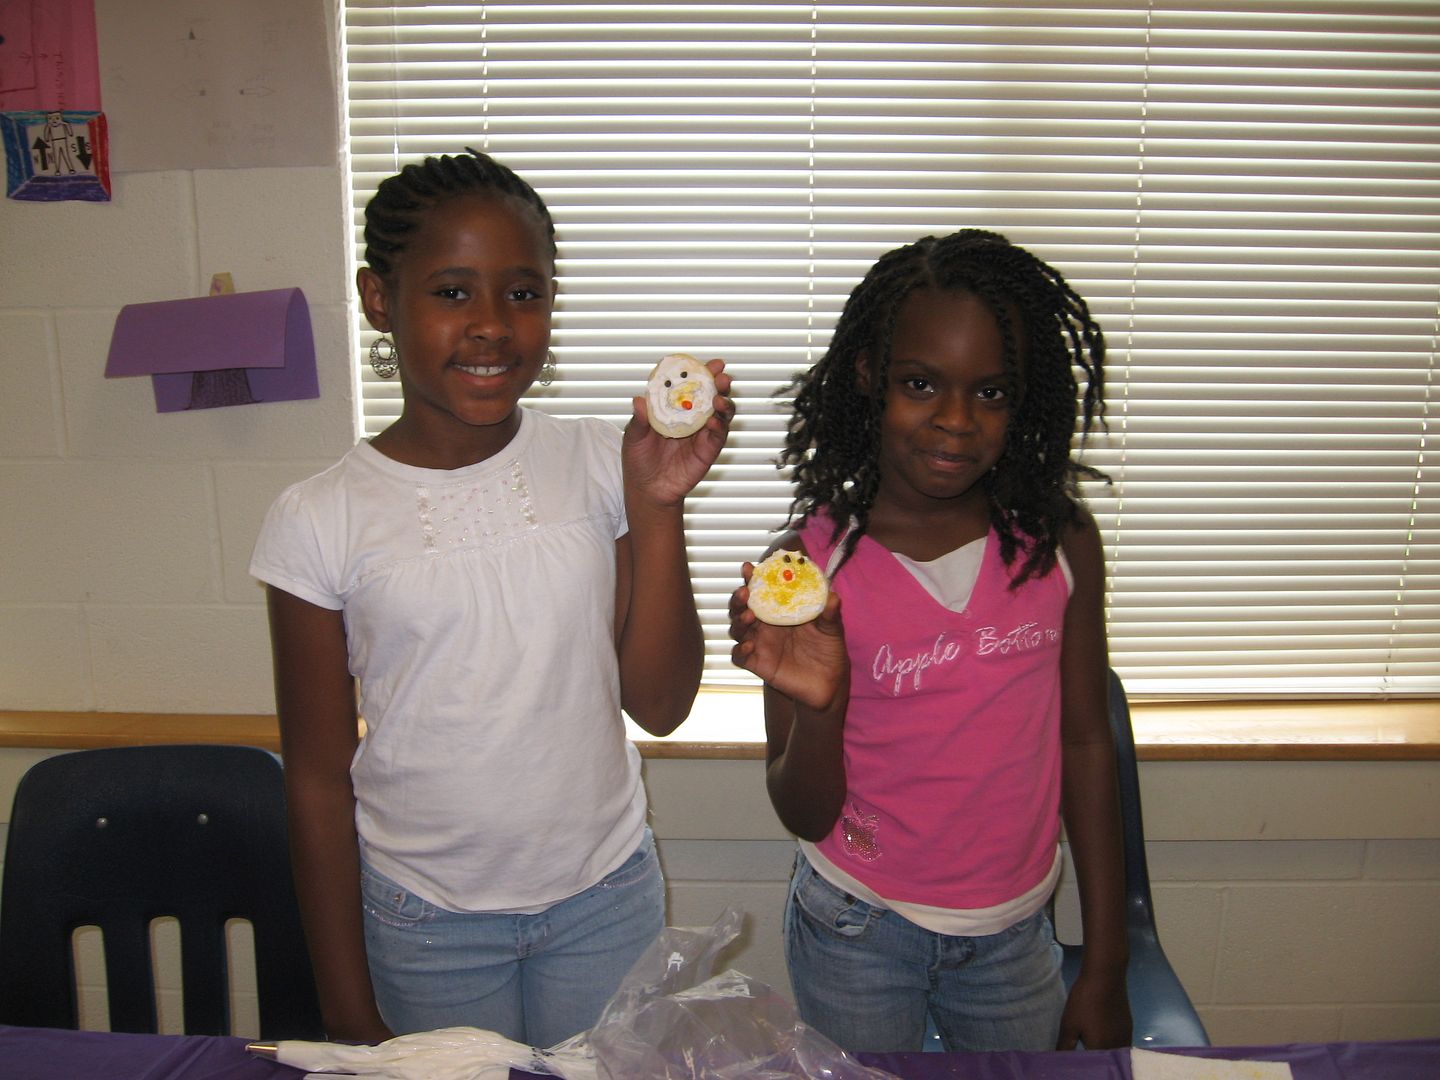
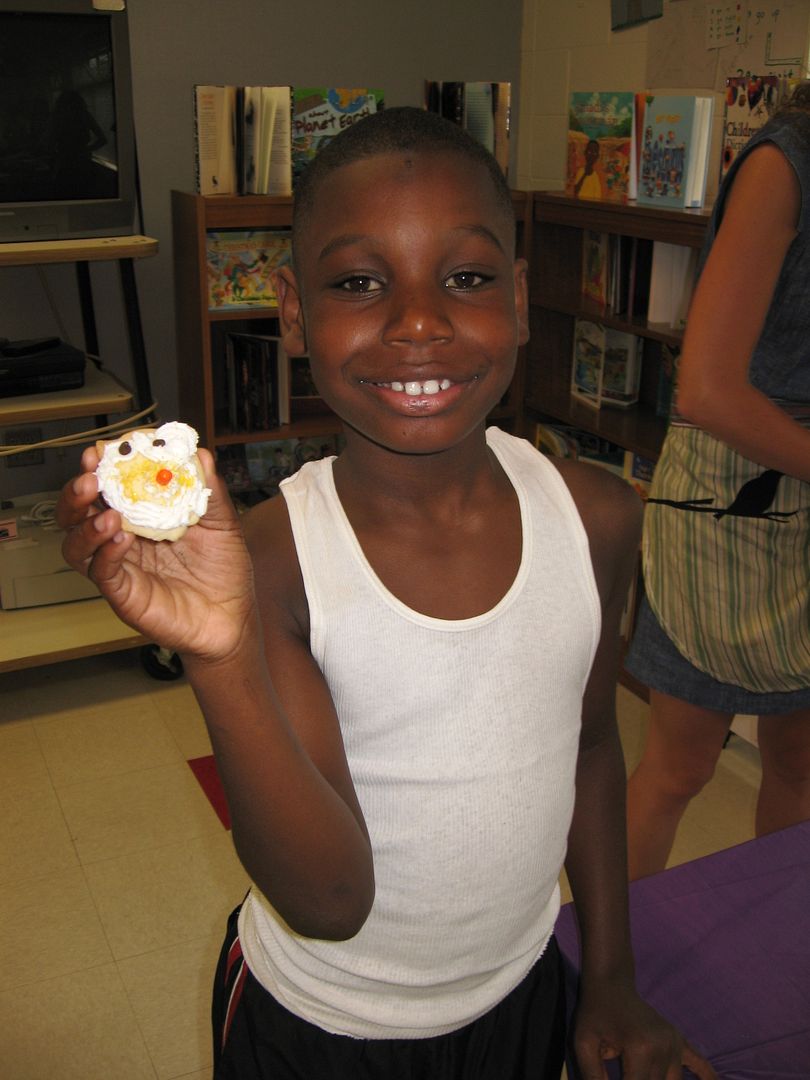
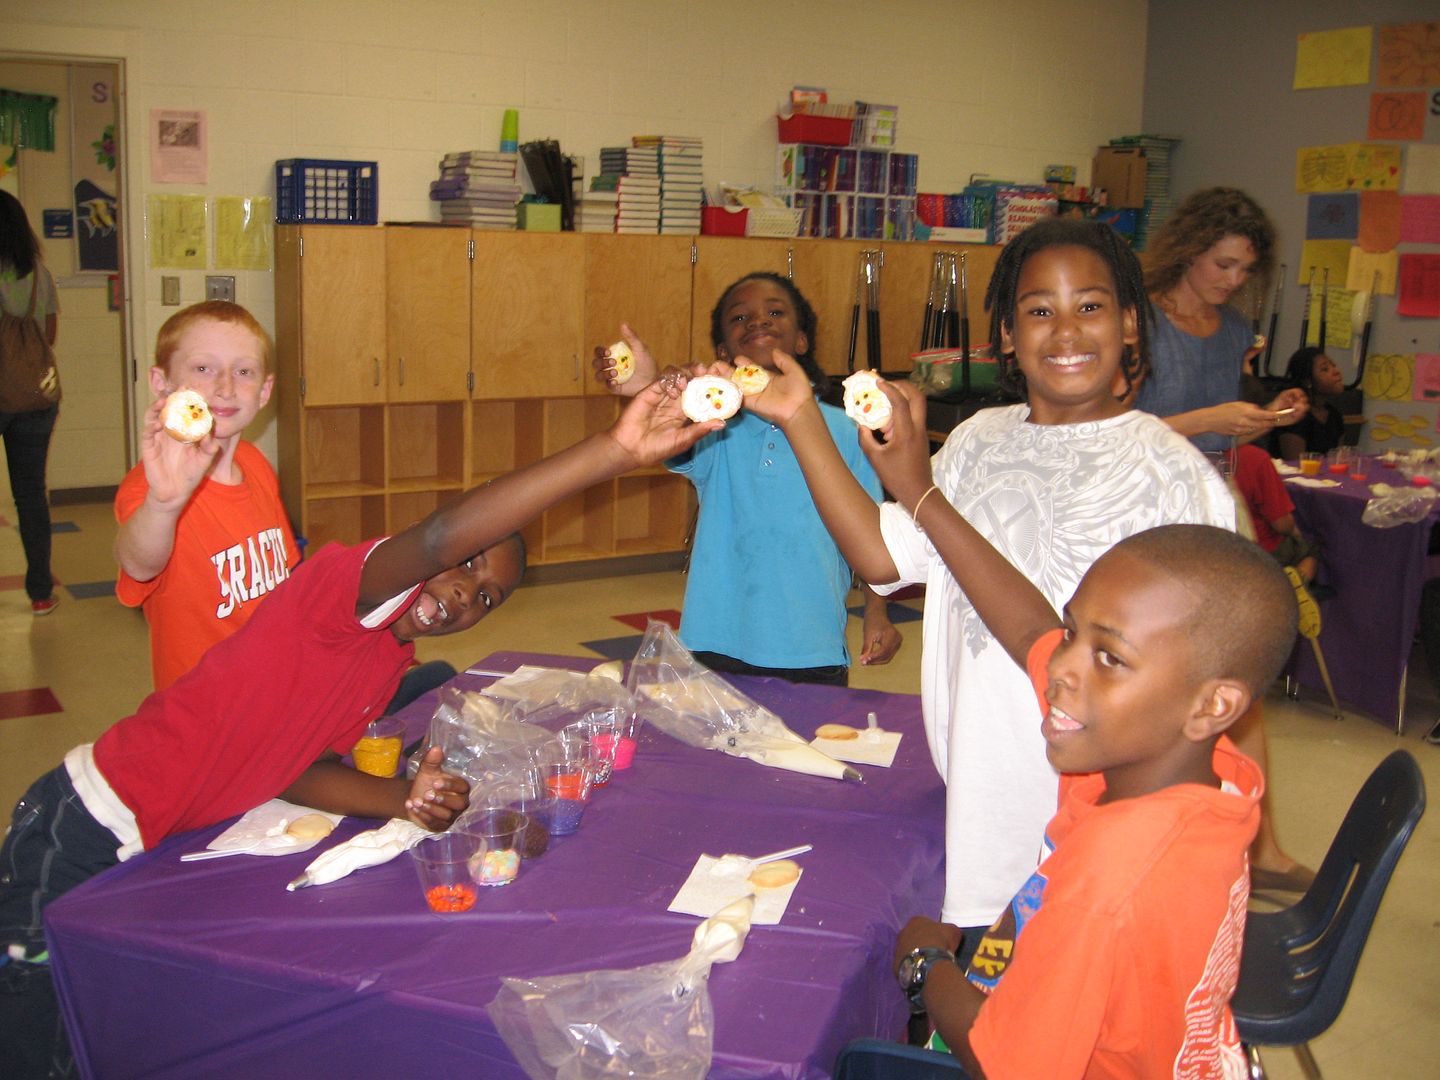
All of these beautiful people’s efforts culminated in a fantastic day! Upwards of 40 kids got to hear about becoming bakers and pastry chefs, learn how to use a pastry bag, and exercise their creativity. Each child decorated a duckie cookie (using some yellow sanding sugar, mini chocolate chips, and an orange tic tac beak) and then went wild on their own personal creations.

Katie and Taylor took on the most important role: while I led the workshop, they were on the front lines, encouraging the kids, listening to their stories and opinions (honey bun, anyone?), and building their self-confidence.


What was humbling throughout the day is how the kids themselves were dying to be of service — “Can I set out those sprinkles? Can I help pass out the spoons? Can I give everyone a napkin?” Here we were visiting and trying to serve them, and their precious little hearts just wanted to serve us. I stood back a few times during the fun to look around and just appreciate their joy.

When it comes down to it, this is a love letter to God: thank you for letting me serve your children. Thank you for modeling self-sacrificial service for me in the first place. Thank you for giving me these opportunities to be amazed by others’ generosity, to see the goodness in children, and to decorate duck cookies with friends.

Oh, and I can’t forget! This is a love letter to SugarBelle, the sugar cookie queen. Her soft, buttery sugar cookies were the base for all of our fun. I can’t wait to use this recipe a thousand times over for all sorts of cookie experiments — it’s such a nice dough and doesn’t need to be refrigerated. I love it when dough behaves and produces tasty results!

Have you served in a way that was a learning experience for you, or that left you with a beautiful memory? What service do you want to commit to doing for others?

Soft Sugar Cookies


Recipe by: The Sweet Adventures of SugarBelle
Yields: 2 – 2 1/2 dozen cookies

Ingredients:
1 cup (two sticks) butter, softened
1 1/2 cups confectioner’s sugar
1 egg
2-3 teaspoons flavoring (e.g. vanilla or almond extract)
2 1/2 – 2 3/4 cups all-purpose flour
2 teaspoons baking powder
1 teaspoon salt

Directions:
Preheat oven to 400 degrees F. Sift together the flour, baking powder, and salt (I like to sift it onto a sheet of wax paper that I can then pick up both sides of and use to funnel the dry ingredients). Set aside.

Cream together butter and confectioners’ sugar for a few minutes. Mix the egg and flavoring in a separate bowl and add it to the butter mixture once its fully creamed. When the egg is incorporated (you may need to scrape down the sides of the bowl throughout the process), add the dry ingredients little by little. SugarBelle says she can tell the dough is ready when most of it sticks to the paddle. It should have a little give but should not stick to your fingers. I had to add a little more flour to my initial 2 1/2 cups to achieve this — maybe about 1/8 cup more. Let the dough sit for a few minutes after mixing (no need to refrigerate — I LOVE this dough!)

Dust a counter with flour and roll out the dough to about 1/4 inch thick, lifting your corners and turning the dough initially to make sure it’s not sticking. Cut out shapes and place on a parchment lined baking sheet. Bake for 7-8 minutes (watch carefully to determine the best time in your oven). Let cool completely before frosting (SugarBelle says she prefers decorating day-old cookies, which is what we did, and they were still soft and lovely.)

P.S. You can find a place to donate to Freedom School on their website!

If you liked this post, please:
Subscribe to Willow Bird Baking
Follow Willow Bird Baking on Twitter
Follow Willow Bird Baking on Facebook
Give this post a thumbs up on StumbleUpon


ShareOther ways to share this post with friends!

Coffee Mousse Filled Double Chocolate Chunk Cookie Sandwiches

Last weekend I spent 48 hours with 14 of my seventh graders. At camp. Doing campy things (pun intended).

That probably sounds like a unique form of teacher-torture, but it was actually a fantastic experience, and one I’m planning on telling you all about. For now, though, I just want to tell you about highs and lows.

Highs and lows is a game we played while sitting in one of those kumbaya campfire circles you may remember from the summers of your childhood. Each student listed a high from the day — some accomplishment or moment of frolicking they particularly enjoyed — and a low — something they would change if they had fancy superhero rewind powers.

This may sound strange, but listening to them recite their lows was encouraging. If you’ve ever been close to a seventh grader for a prolonged period of time, you know that they can lapse into sarcasm and negativity about as quick as you can say, “Do your homework.” At other times, though, they can be pretty special little people to be around.

I heard a few people say, “I can’t think of any lows.” A couple commented on minor annoyances like bugs or pollen. One was sad his team didn’t get to float their raft because of the rain, but even that was qualified with, “but I really enjoyed the process of building it anyway.” What cool kids.

Their highs were even better. They were proud of how everyone had worked as a team, enthusiastic about spending time with their classmates, excited that one team’s makeshift raft had made it to the dock and back without disintegrating. All in all, the circle was a sweet, s’more-punctuated time — even without joining hands or braiding daisies into each other’s hair (though that would’ve been fun).

I’m a thoroughly reflective person — a trait happily amplified by my profession — and there’s been quite a lot to digest in my life beyond the campgrounds lately. Perhaps that’s why my thoughts turned today toward the highs and lows game — mountains and valleys, waterfalls and mud puddles. I’ve been trying to revisit the campfire in my mind to catalog and categorize recent events.

My lowest low this week was disconnecting from a good friend. I’ve been seeing a boy for awhile now who was special to me during my own middle school years, but I realized recently that things weren’t going to pan out. I’m trying to be all Joy-the-Baker about this and say, “Oh, boys come and go like brownie recipes,” but I think you must need curly hair and adorable freckles to pull that off, ’cause it’s not working for me. I guess I’ll stick to unattractive moping.

There are other, more mundane lows. My basil plant is looking droopy. The weather’s been rainy and chilled. A cloud bank today on the horizon reminded me of unreachable mountains, somber moments.

But:

-Today my sweet friend and coworker Ashley brought me a happy hippo.
-I just bought two of the sweetest sundresses ever from Target.
-I literally own at least 5 jars of On the Border salsa at this very moment.
-My family is healthy.
-I’m watching a bit of Kings of Pastry each evening.
-I found out a local cupcake truck is selling a version of one of my cupcake recipes, which they’ve named after the blog.
-Flippin’ SAVEUR listed Willow Bird Baking as one of the “50 More Food Blogs You Should Be Reading.”

Such soaring highs! I’m so grateful for those.

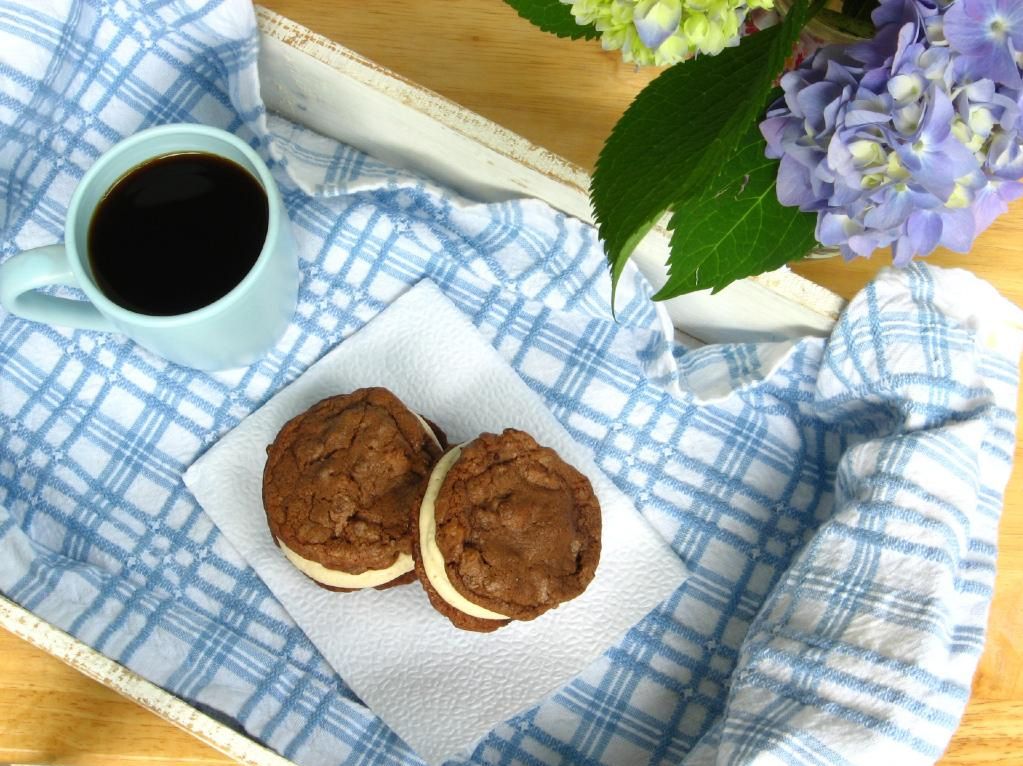
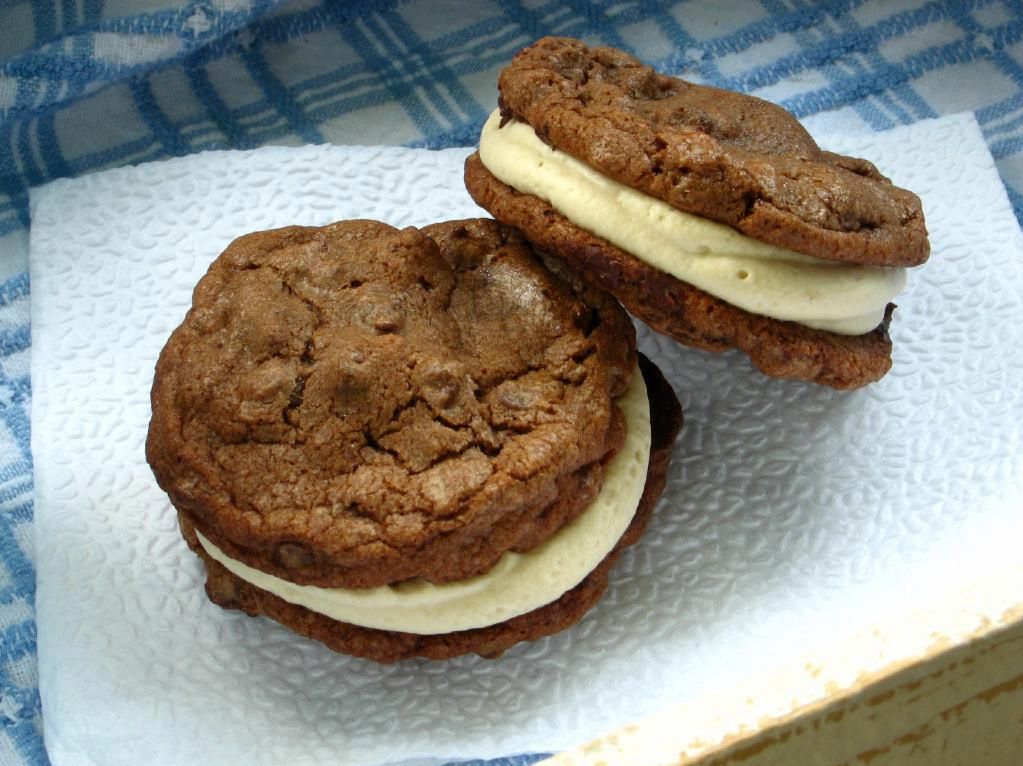
Another sorely needed high came in the form of these sweet little sandwich cookies. Driving home with Ashley, who bravely co-chaperoned the camping trip, I started brainstorming ways to use the coffee mousse I’m now enamored with. We thought of a gorgeous roulade, filled cupcakes, and lots of other things, but then Ashley mentioned how she loved to invent new cookie recipes. Cookies are so simple, so quick, so satisfying — everything I needed after a rough and tumble couple of days.


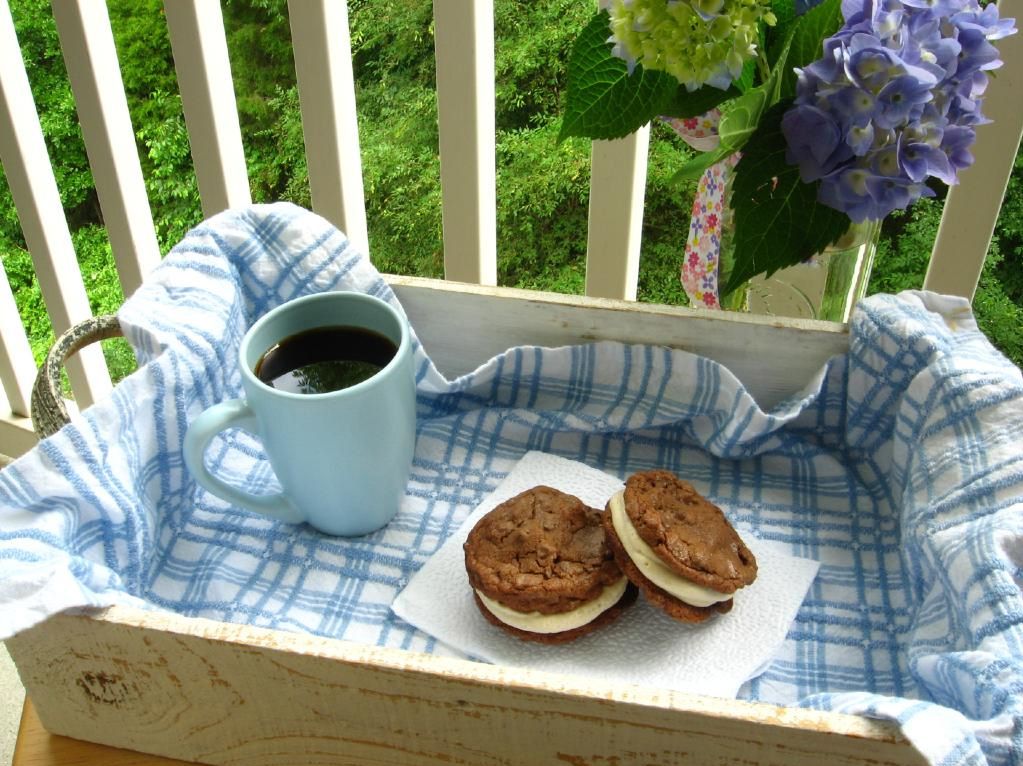
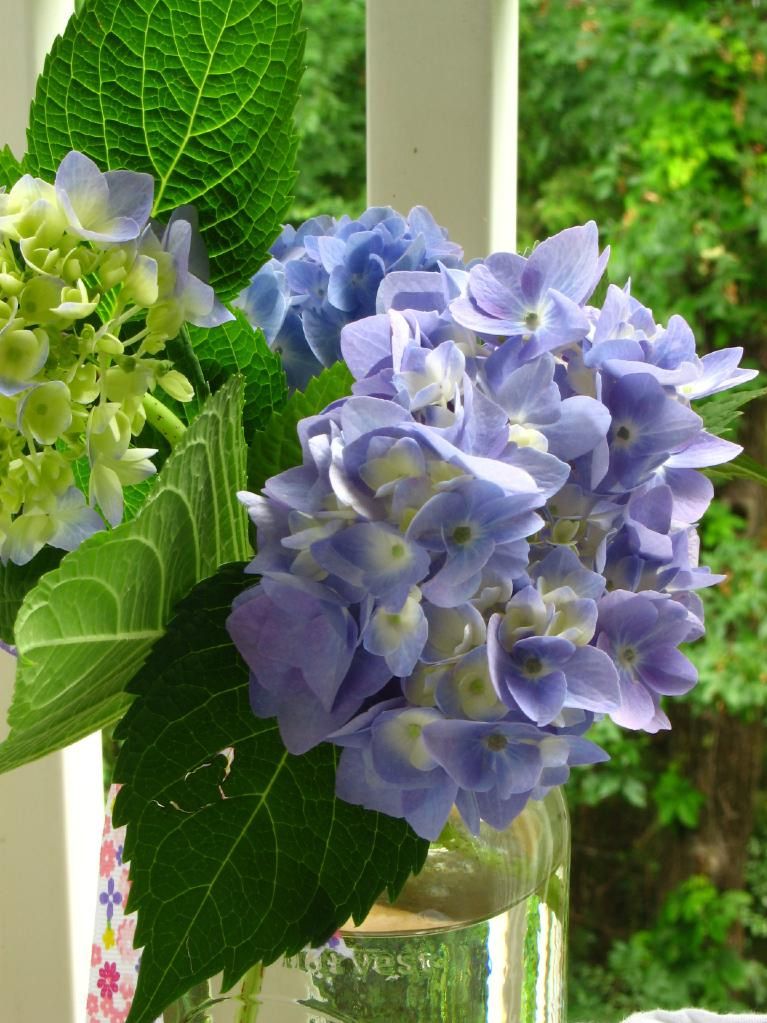
Mom’s hydrangea bushes are blooming — another high!

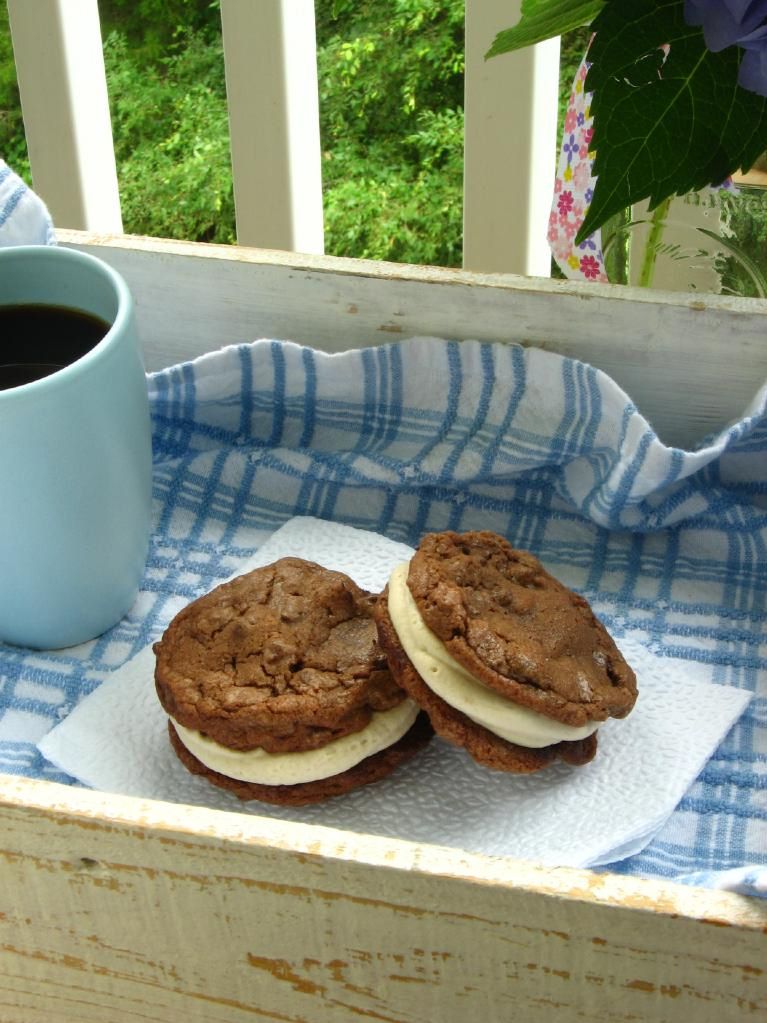
They’re also delectable, particularly when the words double chocolate are involved. These little sandwiches turned out rich and indulgent, with the perfect balance of flavors (sweet chocolate combined with the bitter, matte flavor of coffee) and textures (voluminous cream between chunky cookies).

For me, there’s also something simple and childlike about the experience of eating a cookie sandwich. It reminds me of pulling an Oreo or an Oatmeal Cream Pie like a treasure from a Care Bears lunchbox. And if that sort of memory isn’t a high, I don’t know what is.

What are your highs and lows lately?

Coffee Mousse Filled Double Chocolate Chunk Cookie Sandwiches


Recipe by: Cookies adapted from Cathy Lowe, mousse adapted from coffee pastry cream by Rebecca Franklin
Yield: About 48 cookies or 24 sandwiches

Cookie Ingredients:
2 1/4 cups flour
1 teaspoon salt
1 teaspoon baking soda
2 sticks butter, softened
1 cup granulated sugar
1 cup packed brown sugar
2 large eggs, beaten
1 tablespoon vanilla
1/2 cup unsweetened cocoa
1 cup semisweet chocolate chips
1 cup bitterweet chocolate chips (I love Ghirardelli)
1 cup chopped pecans (optional)

Coffee Mousse Ingredients:
1 ¼ cups whole milk
2 teaspoons instant coffee granules
3 egg yolks
5 tablespoons granulated sugar
1 tablespoon all-purpose flour
2 tablespoons plus 2 teaspoons cornstarch
1 teaspoon pure vanilla extract
1 cup whipping cream
1 teaspoon gelatin

Directions:
Make the cookies: Preheat oven to 375 degrees. Whisk together flour, salt, and baking soda in a medium bowl. In a large bowl, cream the butters and both sugars together for a couple of minutes until fluffy. Add egg, vanilla and cocoa and mix. Gradually add flour mixture and mix until combined. Add chocolate chips and pecans, stirring until they’re evenly distributed.

Drop the dough by tablespoonfuls onto a greased baking sheet or one covered with parchment paper or a silicone baking mat. Bake for 8-10 minutes and cool on the pan for a few minutes before transferring to a cooling rack.

Make the mousse: While cookies are baking and cooling, make the mousse. Whisk together the egg yolks, sugar, flour, and cornstarch until the mixture is completely smooth and set aside. Place the milk in a saucepan and sprinkle gelatin over it. Let it soften for 2 minutes before adding the coffee granules and setting the saucepan over low heat. Heat until it’s just hot enough to steam, stirring the gelatin in to dissolve.

Once the milk is steaming, add half of it, whisking constantly, to the egg mixture to temper the eggs (this ensures they won’t cook when you add them to the hot mixture). Add the milk and eggs back into the hot milk and continue stirring, and heat it for 1-2 minutes, until the custard reaches 170 F on a digital thermometer and is very thick. Remove from the heat, stir in the vanilla extract, and set the pan in a bowl of ice water, stirring every few minutes. Cool completely in this manner.

In the meantime, whip the cream in a chilled bowl until it holds stiff peaks. When the coffee mixture is cool, mix about 1/3 of the cream into it to loosen and lighten it. Then fold the rest of the cream in gently. Chill the mousse for at least 30 minutes before using.

Assemble the sandwiches: Turn half of the cookies upside down on the cooling rack. Pipe or dollop a good amount of cream onto these cookies and place the other cookies on top of them. Serve immediately or refrigerate in an airtight container.

P.S. One of my high school cooking students had the idea to try this coffee mousse with bacon and it was fantastic! Have I mentioned that I love my students?

If you liked this post, please:
Subscribe to Willow Bird Baking
Follow Willow Bird Baking on Twitter
Follow Willow Bird Baking on Facebook
Give this post a thumbs up on StumbleUpon

ShareOther ways to share this post with friends!

Rich Ice Cream and Coffee Cheesecake

I don’t love coffee. If I wanted something scalding, bitter, and hard to swallow, I’d google the Carolina Panthers’ season record. Ha ha.

Yeah, that’s one of those jokes that’s kind of more sad than funny. Oh well.

My mother (yes, of cross stitching birthday party fame) used to feel certain that I would acquire an affinity for coffee as I got older. Periodically she would test this hypothesis, urging me to take a sip from her cup or buying me something frothy and caramely at Starbucks, only to find that things weren’t unfolding as she anticipated.

What can I say? Coffee is gross.

I could load it up with sugar and cream (and donuts — can you do that?) and probably choke it down, but if I’m going to ingest that many calories, I’d rather just have some dessert.

Paradoxically, despite my antipathy towards coffee in its beverage form, I’ve always loved coffee-flavored confections. Coffee ice cream was my absolute favorite treat as a little girl, for instance. Coffee also plays an Oscar-worthy supporting role in Coffee Cookie Dough Fudge Cheesecake, one of my current faves. I adore the coffee-brownie combination in my Ice Cream Cupcakes. You get the idea.

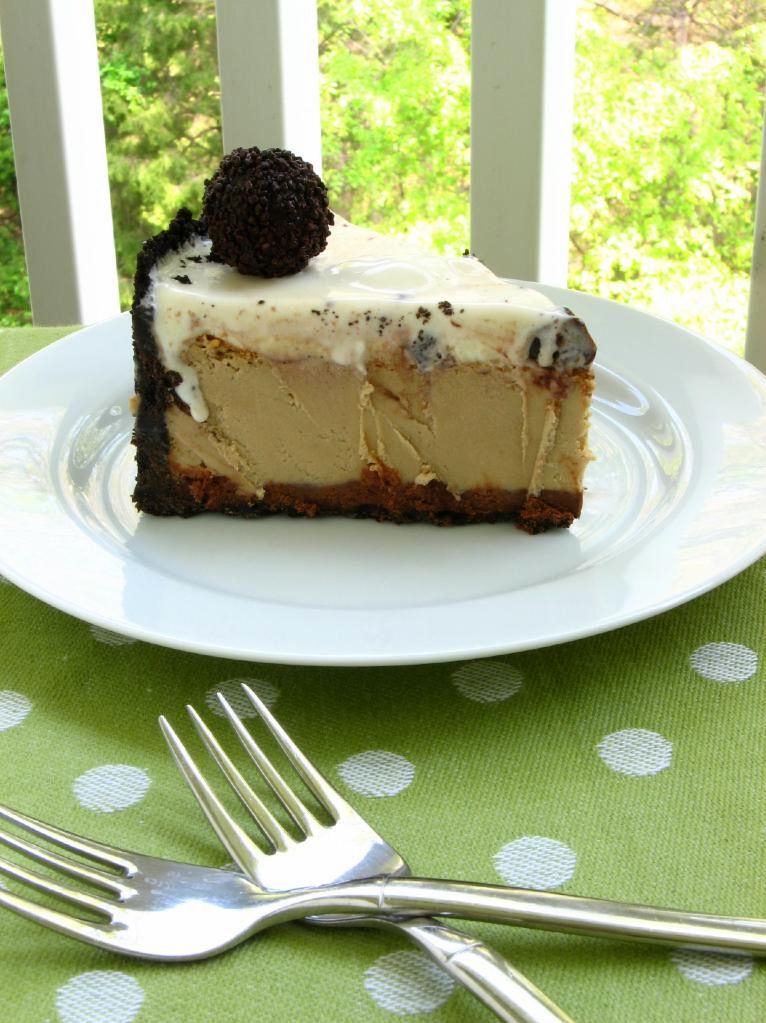
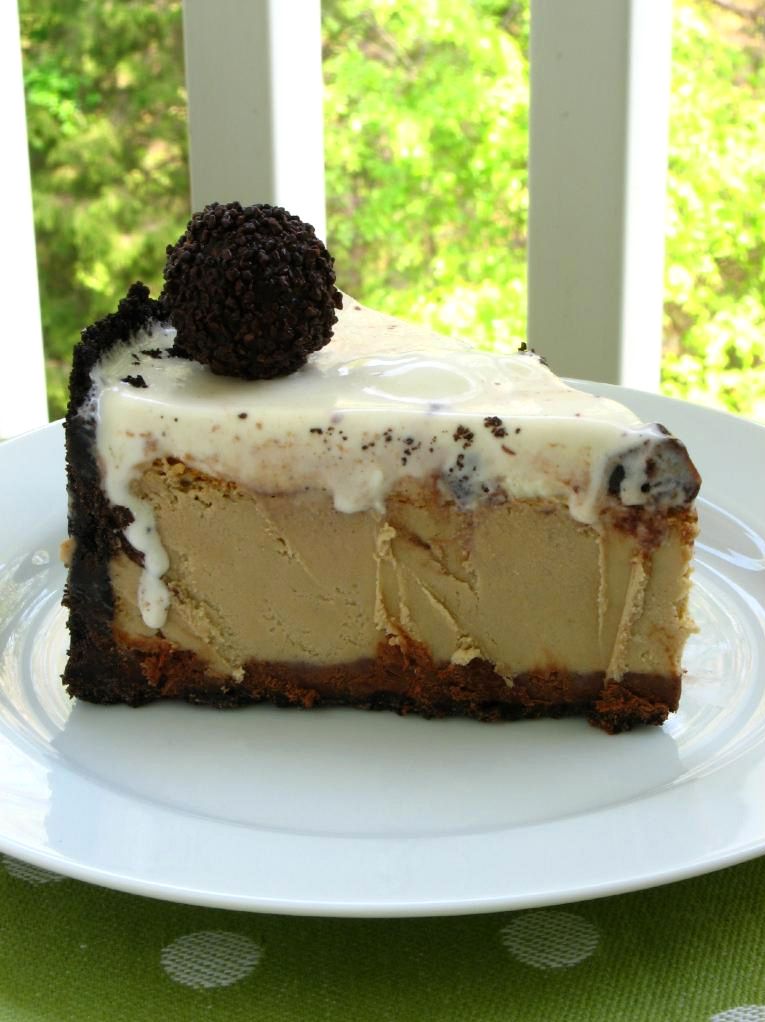
And besides all those things, I’m in love with this cheesecake. IN LOVE. Like, buy it a ring, get down on one knee, drag it to the altar kind of love. It might be one of the best cheesecakes I’ve ever made. Basically: swoon.

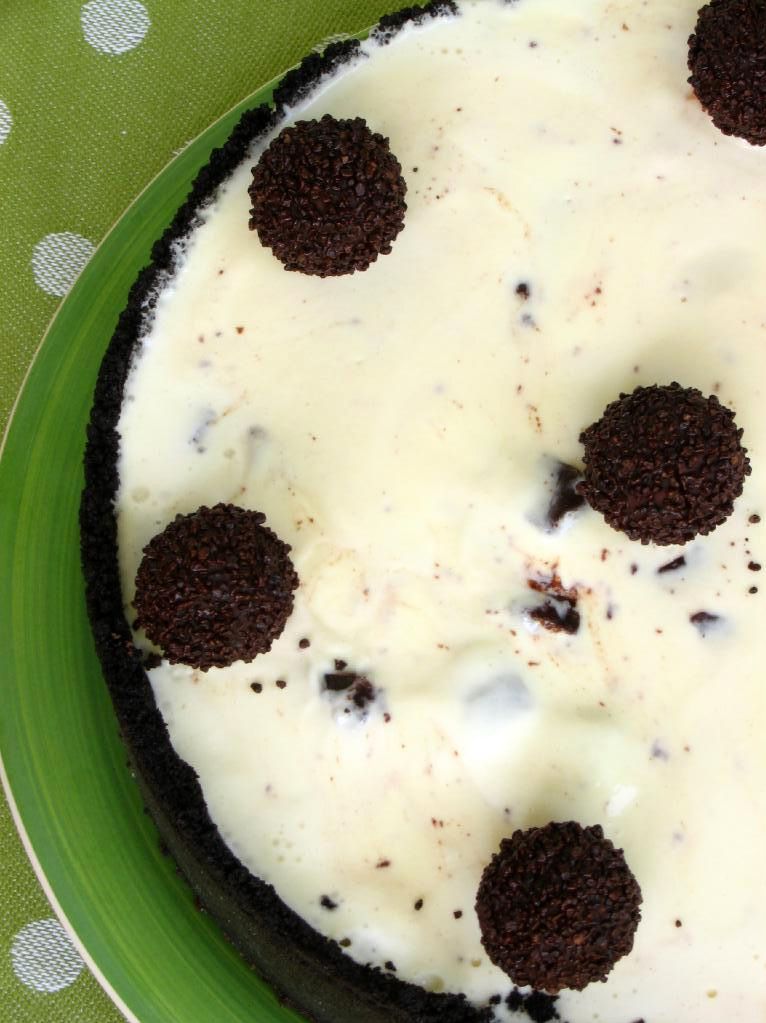
For one thing, it has the perfect ratio of rich coffee cheesecake to cold ice cream (oh, and did I mention the layer of fudgy ganache in there as well?). For another thing, the ice cream flavor I chose rocked the Casbah.

I considered coffee or chocolate ice cream, but decided that might be too rich. I also knew I wanted brownie chunks. Ben & Jerry’s makes a Cheesecake Brownie ice cream that fit the bill (how perfect is that, seriously?)

Apart from inspiring a matrimonial sort of adoration in me, this cheesecake is one of the easiest I’ve ever put together. It’s as simple as baking and cooling your cheesecake, softening up your favorite ice cream, and spreading it on top. Freeze the whole thing until it’s firm, cut it with a hot knife, and then call up the preacher. That’s about how it goes.

What ice cream flavor would you like to spread all over your coffee cheesecake?

Rich Ice Cream and Coffee Cheesecake


Recipe by: Willow Bird Baking
Yields: 15 servings

Crust Ingredients:
37 chocolate sandwich cookies, finely processed into crumbs
6 tablespoons unsalted butter, melted and cooled
Small pinch of salt

Ganache Ingredients:
3/4 cups heavy cream
10 oz. bittersweet or semisweet chocolate, finely chopped (I combined both)

Filling Ingredients:
3 (8 oz.) packages cream cheese, at room temperature
1 cup sugar
1½ tablespoons all-purpose flour
1 tablespoons instant coffee granules
2 teaspoons vanilla extract
1½ teaspoons mild-flavored (light) molasses
3 large eggs

Topping:
Ice cream of your choice (I used Ben & Jerry’s Cheesecake Brownie ice cream)
dark chocolate candies of your choice for decorating (I used Ferrero Rondnoir)

Directions:
To make the crust, butter a 9-inch springform pan. Combine the chocolate cookie crumbs, melted butter and salt in a small bowl. Toss with a fork to moisten all of the crumbs. Press into a thin layer covering the bottom and sides of the springform pan (at least 3 inches up the sides). I did this using a smooth glass to press crumbs into place.

Bring the cream to a simmer in a medium saucepan. Place the chocolate in a medium bowl. Once the cream reaches a simmer, pour the cream over the chocolate and let stand 1-2 minutes. Whisk in small circles until a smooth ganache has formed. Pour 1.5-2 cups of the ganache over the bottom of the crust (if you have leftover, save it for eating or decorating with later). Freeze until the ganache layer is firm, about 30 minutes.

Preheat the oven to 350˚ F and position a rack in the middle of the oven. In the bowl of an electric mixer fitted with the paddle attachment, beat the cream cheese and sugar on medium-high speed until well blended. Beat in the flour. In a small bowl, combine the coffee granules, vanilla and molasses, stirring until the coffee dissolves. Add to the cream cheese mixture and beat until well incorporated, scraping down the sides of the bowl as needed. Beat in the eggs one at a time, scraping down the bowl between each addition.

Pour the filling over the cold ganache in the crust. Enclose the bottom of the springform pan in tightly wrapped foil and place it in a baking dish. Fill the baking dish with hot water about halfway up the cheesecake pan, careful not to let the moisture touch the cheesecake. Bake until the top is lightly browned, puffed and cracked at the edges, and the center moves only very slightly when the pan is lightly shaken, about 1 hour. Transfer to a wire cooling rack. Let cool at room temperature for at least 30 minutes. Transfer to the refrigerator and let cool at least 3 hours, until completely chilled and set.

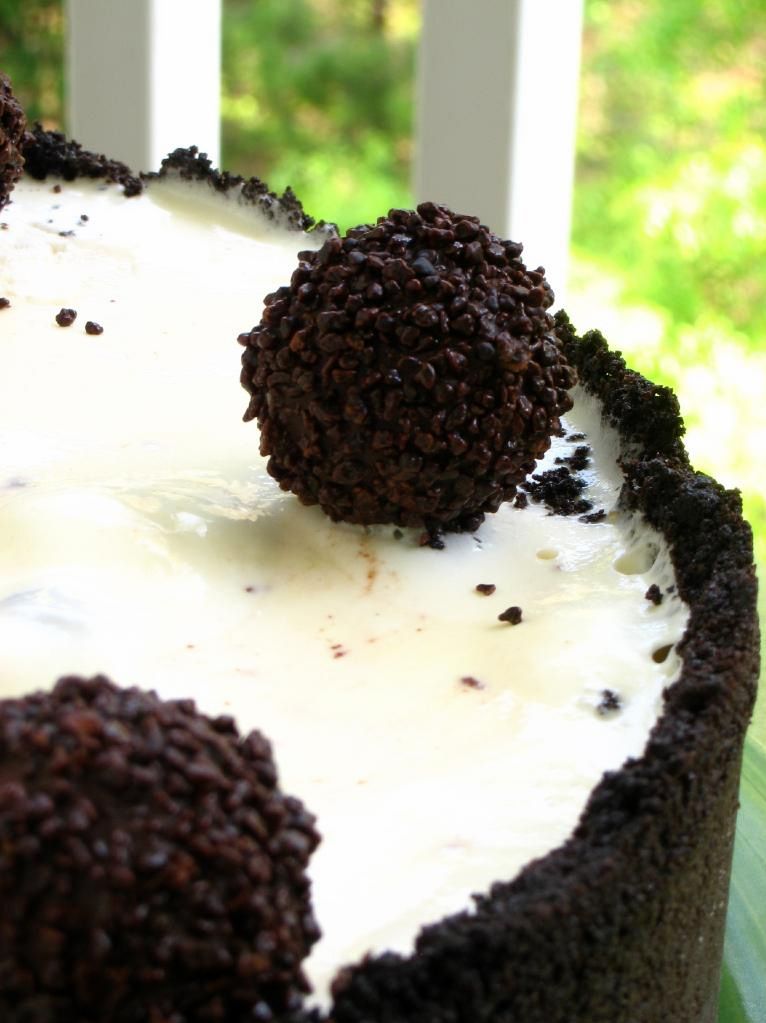
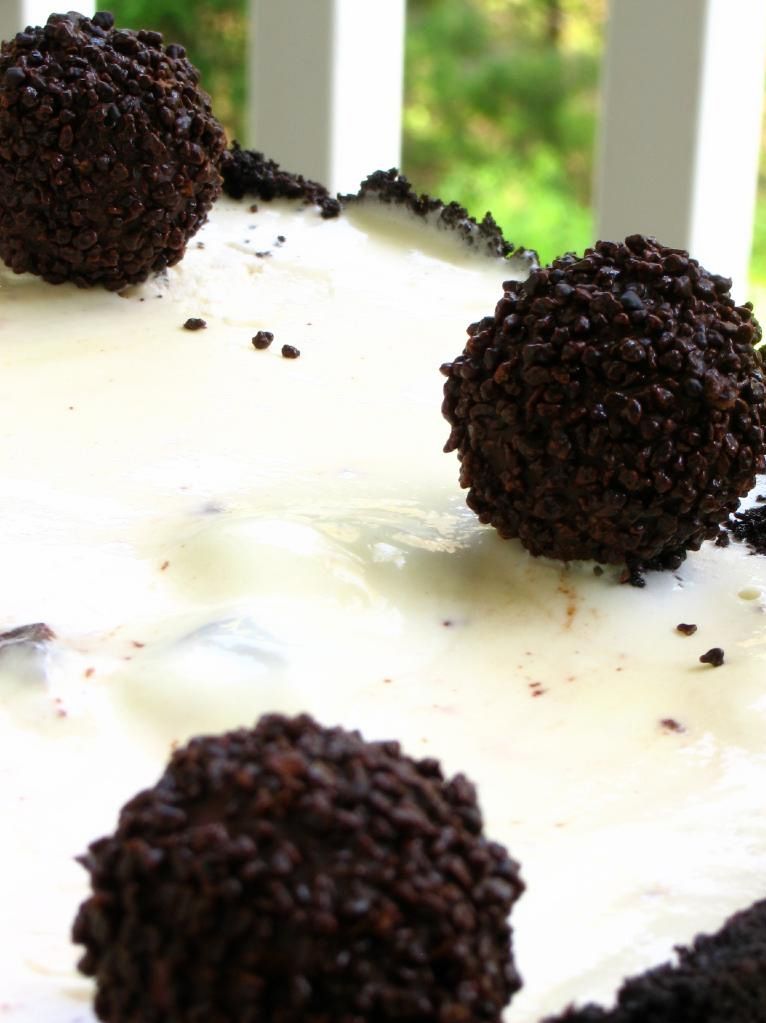
Soften ice cream of your choice (I used Ben & Jerry’s Cheesecake Brownie ice cream) for 10-15 minutes or until soft enough to spread. Scoop out a few big scoops onto the top of your cheesecake and spread with an offset spatula or the back of a spoon. Add more ice cream until it’s flush with the top of your crust. Freeze cake until solid (overnight is best). Decorate with dark chocolate candies of your choice (I used Ferrero Rondnoir). Slice with a knife held under hot water to serve. Keep in freezer when not serving — it melts quickly.

If you liked this post, please:
Subscribe to Willow Bird Baking
Follow Willow Bird Baking on Twitter
Follow Willow Bird Baking on Facebook
Give this post a thumbs up on StumbleUpon

ShareOther ways to share this post with friends!

1 6 7 8 9 10 11