chocolate

How to Make 27+ Cheesecakes and Look Awesome While Doing It

…or at least, feel like you look awesome while doing it?

Thank you so much for voting me into Project Food Blog Round 7 — I’m so grateful for your support! Challenge #7 was to create a video tutorial. I think you guys know by now that I’m a little obsessed with soupedup cheesecakes, so without further ado (okay, with a little more further ado), I’m about to show you how to create flippin’ awesome cheesecakes.

LIGHTS

What went into creating this video? Lots and lots of planning — dozens of pages worth! Lots and lots of time — 35+ hours worth! And lots and lots of fun — probably more than I should’ve had. Ahem. You’ll see.

CAMERA

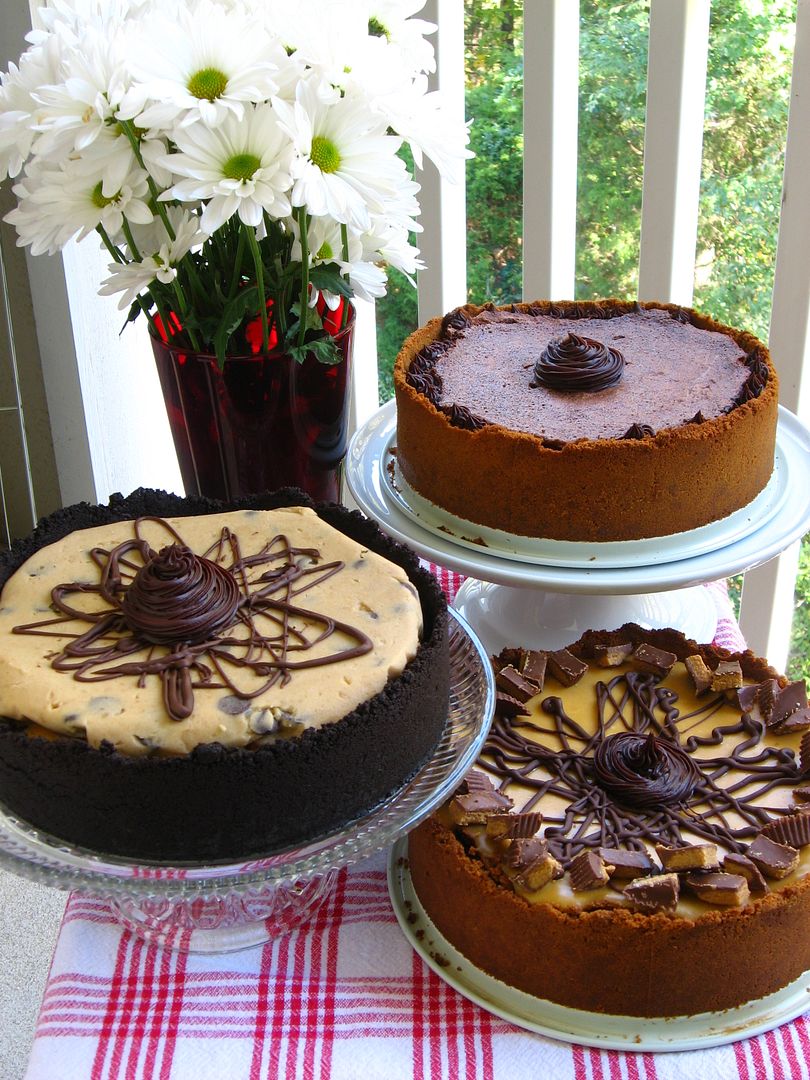
Cheesecakes are incredibly customizable. In the video below, I’ll show you 3 different crusts, 3 different fillings, and 3 different toppings. By mixing and matching these components, you can feasibly create over 27 different cheesecakes! So, um, if you ever need 27 different cheesecakes . . . I got ya covered.

ACTION

Enough of the suspense! What do you get when you combine stop-motion animation, a music video, some ridiculousness, and a whole lotta cheesecake? Watch and see.

http://www.youtube.com/watch?v=7Dj3msQYjOQ&fs=1&hl=en_US&color1=0x402061&color2=0x9461ca

(please click here to see bigger version)

You can print the recipes for these cheesecakes here: Coffee Cookie Dough Fudge Cheesecake, Caramel Fudge Brownie Cheesecake, Chocolate Peanut Butter Bliss Cheesecake.

(Note: Voting is now open! I would so appreciate if you’d take a moment to pop over and vote for me by clicking the heart on this page once you’re signed into your Foodbuzz account. Registering for a Foodbuzz account is quick, easy, and free if you don’t have one already! Thanks, y’all!)

THE BLOOPER REEL

…wherein I prove that I’m basically tone deaf, drop my brownie layer in the floor, yell a lot at my piece-of-crap hand mixer, and eat bacon.

http://www.youtube.com/watch?v=a4D3hOu0DOM&fs=1&hl=en_US&color1=0x402061&color2=0x9461ca

(please click here to see bigger version)

STRIKE THE SET

After the video camera was tucked away, the tripods were folded up, and my smudgy lipstick had faded, there was still one itty bitty order of business to attend to. What the heck does one do with three cheesecakes?! Turns out there was something awesome to do with them!

My friend Carol has a heart the size of Jupiter. She’s worked with children with special needs for several years now, and recently, while browsing Reece’s Rainbow, a website that connects orphans with special needs to adoptive homes, she laid eyes on Quinton. Quinton is a tiny, precious baby boy in Eastern Europe with Downs Syndrome. At first, Carol half-jokingly asked her husband if they could adopt him. As time went on, though, it became clear that neither she nor her husband could stop thinking about Quinton.

They posted his picture on her refrigerator and decided they were going for it. They’re currently beginning the process to bring him home! This miracle is not without a cost — it will take thousands of dollars. I decided my huge, decadent cheesecakes were perfect for a little fundraising. I gave two of them away in return for donations to Quinton’s fund. I can’t tell you what an honor it is to be a tiny part of Carol’s journey — and how humbling it is to see other friends donating their time, goods, services, energy, and love to them! Little Quinton is already changing our lives. Would you like to help as well? You can see Quinton and donate to his adoption fund here.

ROLL THE CREDITS

A big thank you to: ALL Willow Bird Baking readers who have been so supportive, Sarah for the use of her camera, Kim for loaning me a second tripod, Byrd for being willing to hang out with me while I edited video for about a decade, Royalty-Free Music, Carol for already being an amazing mommy even though her little one is still across the world, my 7th grade students for inspiring my stop-motion animation, and everyone who helped me eat cheesecake!

P.S. – Did you have a chance to see my Teaser Video?
P.S. 2 – Dear Coworkers, if you make fun of me about this, no more cheesecake for you!

If you liked this post, please:
Subscribe to Willow Bird Baking
Follow Willow Bird Baking on Twitter
Follow Willow Bird Baking on Facebook
Give this post a thumbs up on StumbleUpon


ShareOther ways to share this post with friends!

Homemade Hot Chocolate & Marshmallows (Voting Now Open in Project Food Blog Round 6!)

Willow Bird Baking is a contestant in Project Food Blog, a contest comprised of a series of 10 challenges to find the next food blog star. Voting for Challenge #6 is now open! To vote for my special birthday picnic to win this round, register for a (free) Foodbuzz account. Once you’re registered, sign in and go to my round 6 entry here. To vote, click the heart next to the words “Vote for this Entry.” I am so grateful for your support!

Part of the Project Food Blog Round 6 challenge was to prepare a beverage to take with you on your road trip. Lemonade was the first thing that came to mind, but I quickly nixed it. Mike’s not big on lemons (I know, crazy!), and this meal was all about him! But all Mike drinks is water, and that didn’t seem very creative. I scanned my memory banks for some help.

Help came in the form of a memory I mentioned in my picnic post: a memory of a previous road trip Mike and I had taken to Gatlinburg and Sevierville, Tennessee. We’d gone so that I could introduce Mike to the apple orchards that my family has loved for years.

I wanted him to eat apple fritters and fried apple pie for breakfast, see the aviary in the middle of the Apple Barn restaurant full of flippant finches, walk by the creek with me while we waited to be seated for dinner. I wanted him to taste the sausages with peppers and onions from the street vendors in downtown Gatlinburg, bite into his first funnel cake, and ride the terrifying (to me — everyone else seems downright calm!) tramway up the mountain to see the black bear habitat. All the things I’d loved as a child.

When we arrived, I broke out some hot chocolate mix that I’d packed, but little did we know we’d have access to a fireplace! When we saw it, we were thrilled — for some reason, it seemed like the most romantic thing in the world to sit by a fireplace and drink hot chocolate. I still have the mugs we picked up from a corner drugstore to mix our cocoa in.

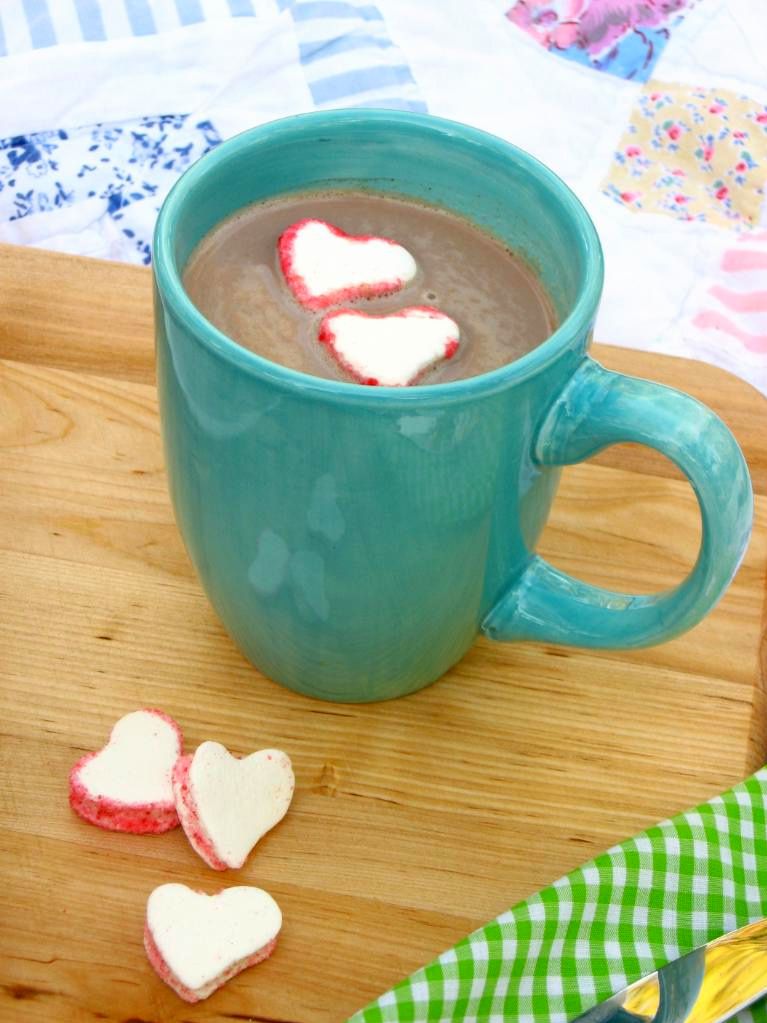
This memory decided it. I found a simple recipe for hot chocolate mix, heated some milk, and mixed the two in a thermos before packing it snugly into my Project Food Blog cooler. Two mugs and two spoons went into my box of dishes to cart along. I tucked homemade marshmallows (one of those amazing recipes that looks fancy but is actually quite simple) into a bag to add sweetness and fun to our nostalgic drink.

Now to share the memories with you! As the weather cools, I hope you’ll mix up your own hot chocolate, find your own fire somewhere, and enjoy a special night with family.

Reminder: Have you entered to win the cute chalkboard giveaway yet? If not, head on over and enter!

Homemade Hot Chocolate with Marshmallows


Recipe by: adapted from Martha Stewart (hot chocolate) and Joy of Baking (marshmallows)
Yield: about 31 servings of cocoa mix

Hot Chocolate Ingredients:
1 cup + 2 tablespoons + 2 teaspoons cups sugar
2/3 cup + 1 tablespoon + 1 teaspoon cocoa
1 teaspoon table salt
Whole milk for serving (you’ll need 1 cup warm milk per each 2-tablespoon serving of cocoa mix)

Marshmallow Ingredients:
1/3 cup cold water, divided
1 1/4-ounce envelope unflavored gelatin
2/3 cup granulated white sugar
1/3 cup light corn syrup
pinch salt
2/3 teaspoon pure vanilla extract (I eyeballed this measure – you can also add other flavorings and extracts here)


Directions:
Make marshmallows the day before you plan to serve your hot chocolate. Spray a 9-inch cake pan with cooking spray, line the bottom with parchment, spray again. Place about 3 tablespoons powdered sugar into the pan and shake it around to coat.

Place about 3 tablespoons of cold water into the bowl of your electric mixer (with whisk attachment) and sprinkle gelatin over the water to soften for about 15 minutes.

While the gelatin softens, place sugar, corn syrup, salt, and remaining water into a heavy saucepan over medium heat. Stir until the sugar dissolves and the mixture boils, and then cover the saucepan with a lid for three minutes to allow sugar crystals to dissolve. Remove lid and attach a candy thermometer to the saucepan. Turn heat up to high and let the mixture boil without stirring until it gets to 240 degrees F (after about 10 minutes). Remove from heat.

Immediately, with your mixer on low, pour the hot syrup in a thin stream down the side of the mixing bowl into the gelatin. Slowly increase the speed to high and beat for about 10 minutes, until the mixture is triple its original volume, thick, and stiff (like marshmallow cream). Add vanilla extract and/or any flavorings and beat about 30 seconds longer.

Using a spatula sprayed with cooking spray, spread mixture into your prepared cake pan. Smooth as best you can into a smooth layer. Sift 2 tablespoons powdered sugar over the top of the mixture and let marshmallows stand and dry uncovered about 12 hours.

When set, slide marshmallow disc out onto cutting board (use a greased knife to loosen it from the pan if it’s stuck). Use a cookie cutter sprayed with cooking spray to cut out shapes of marshmallows. After cutting each shape out, you can use a damp finger to make the sides sticky and dip the shapes in colored sanding sugar to create a fun border (I just mixed regular sugar with a few drops of red food coloring). Alternatively, Shake the marshmallows in a bowl of powdered sugar to coat them and then shake off excess. Store the marshmallows in an airtight container at room temperature for up to 2 weeks.

To make hot chocolate, heat 1 cup of milk in a microwave-safe mug until hot and mix in 2 tablespoons of cocoa mix. You can also heat large batches of milk over medium-low heat in a saucepan (being careful not to let the milk boil) to make cocoa in bulk. Serve with marshmallows on top!

If you liked this post, please:
Subscribe to Willow Bird Baking
Follow Willow Bird Baking on Twitter
Follow Willow Bird Baking on Facebook
Give this post a thumbs up on StumbleUpon


ShareOther ways to share this post with friends!

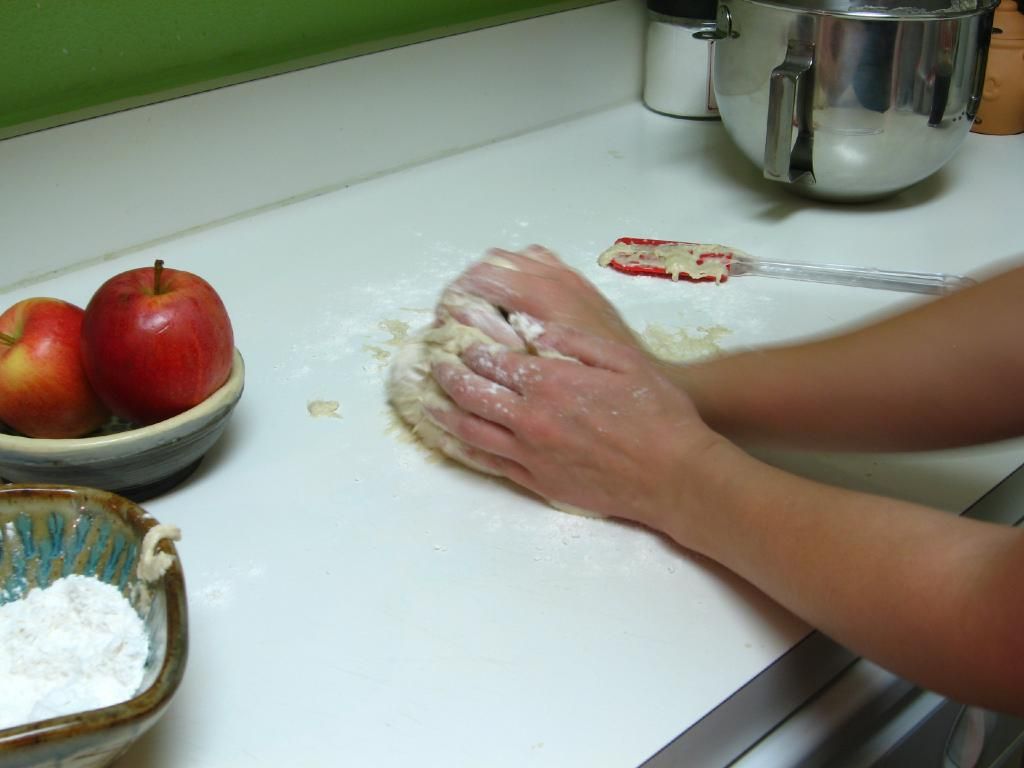
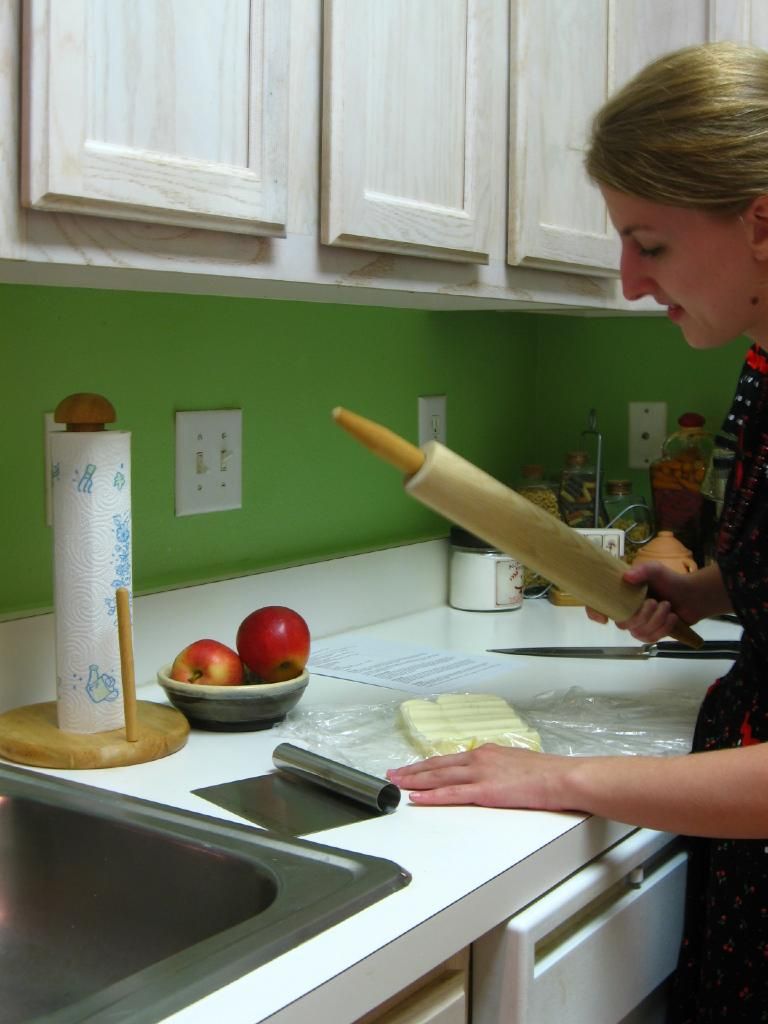
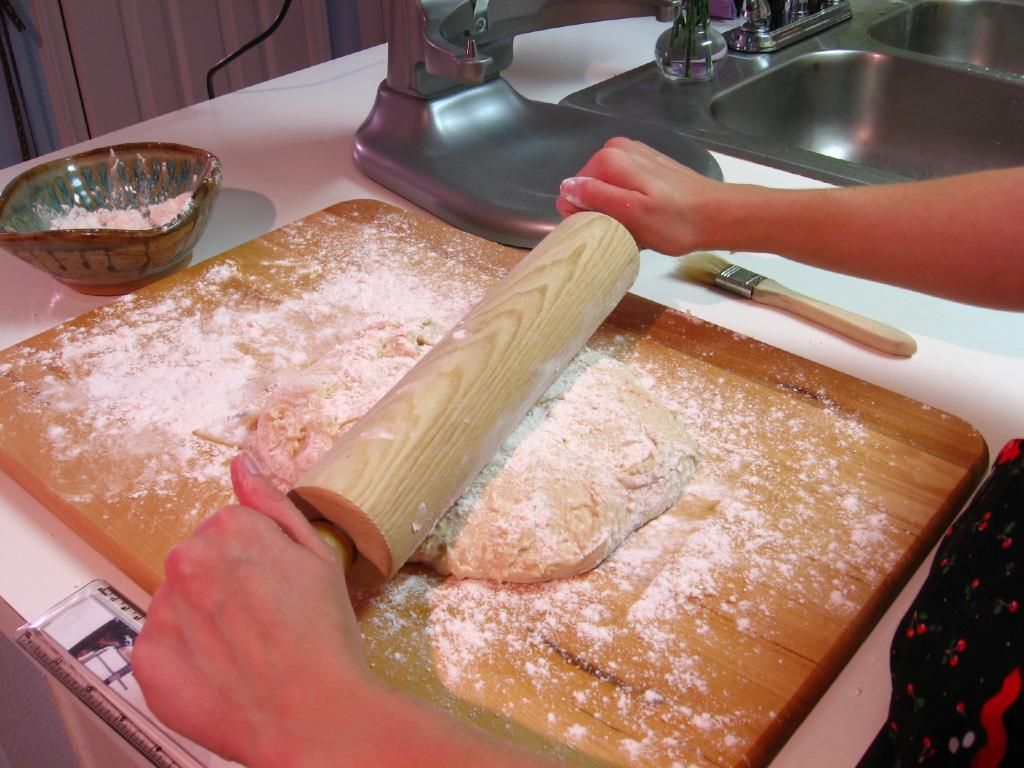
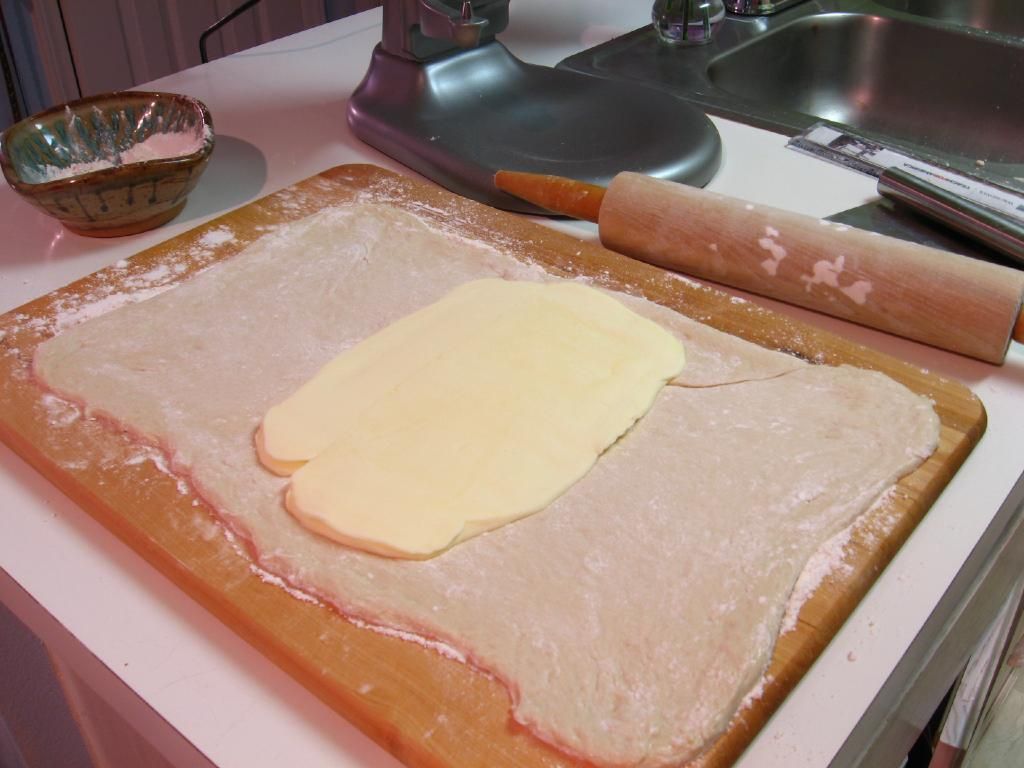
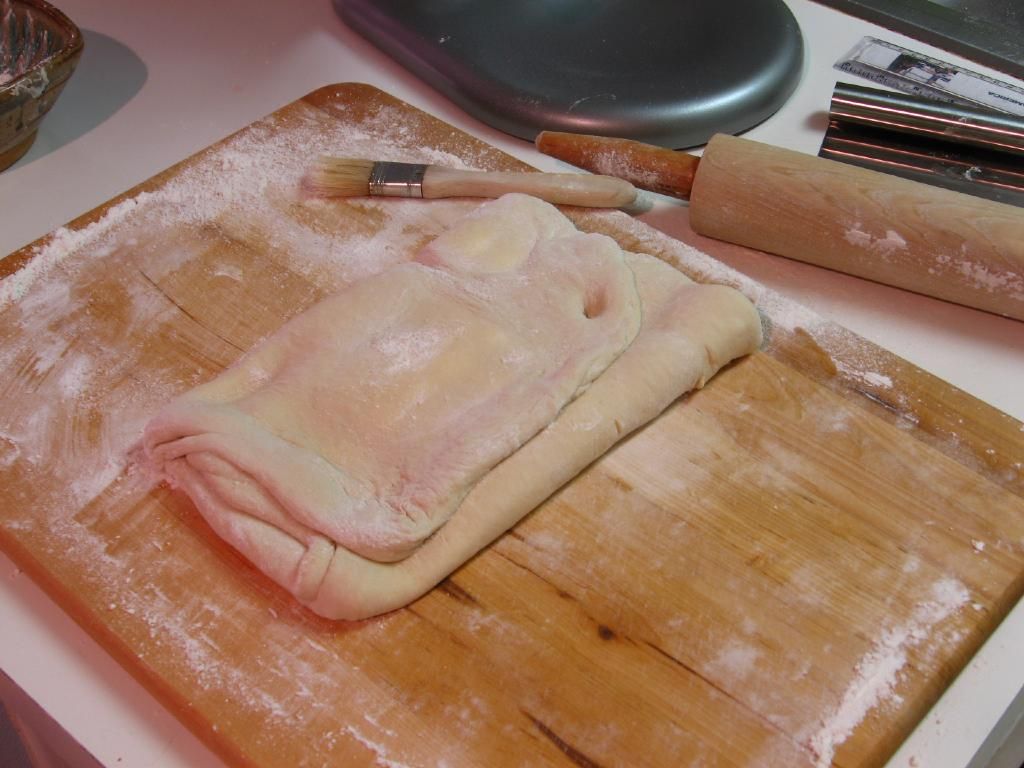
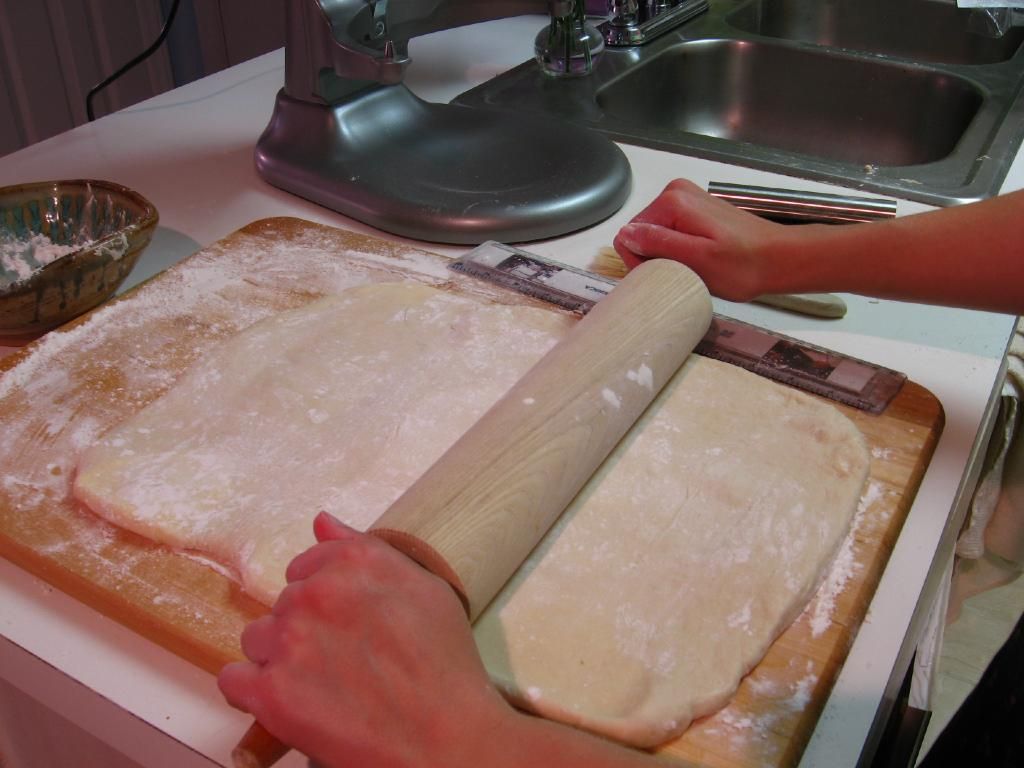
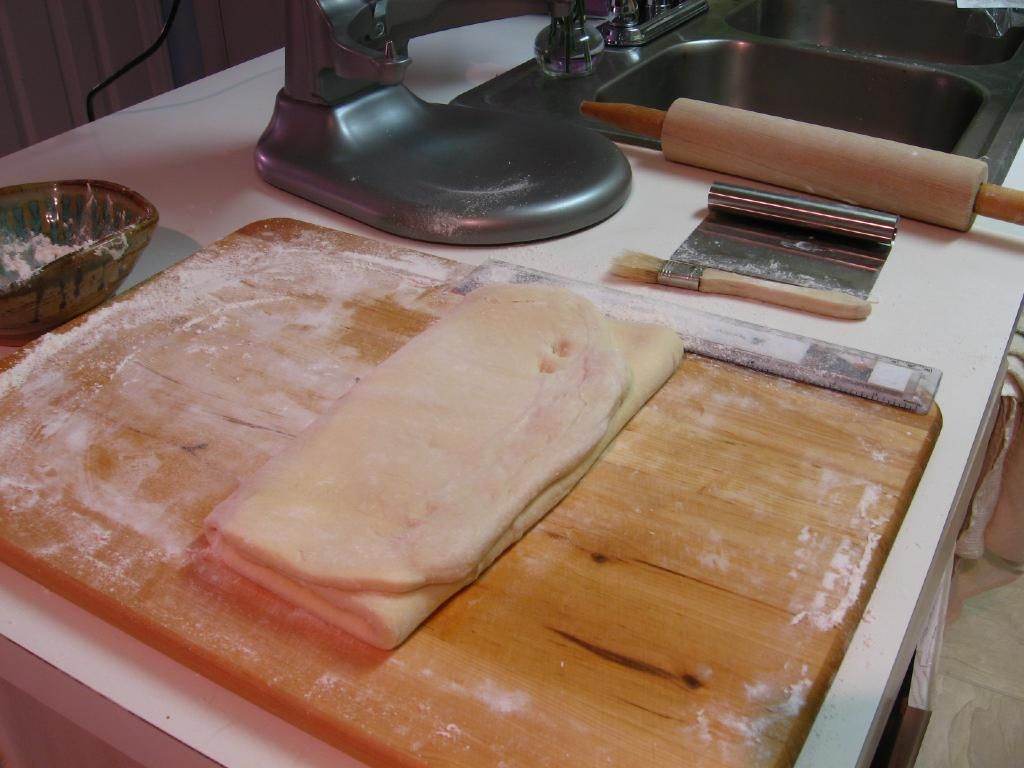
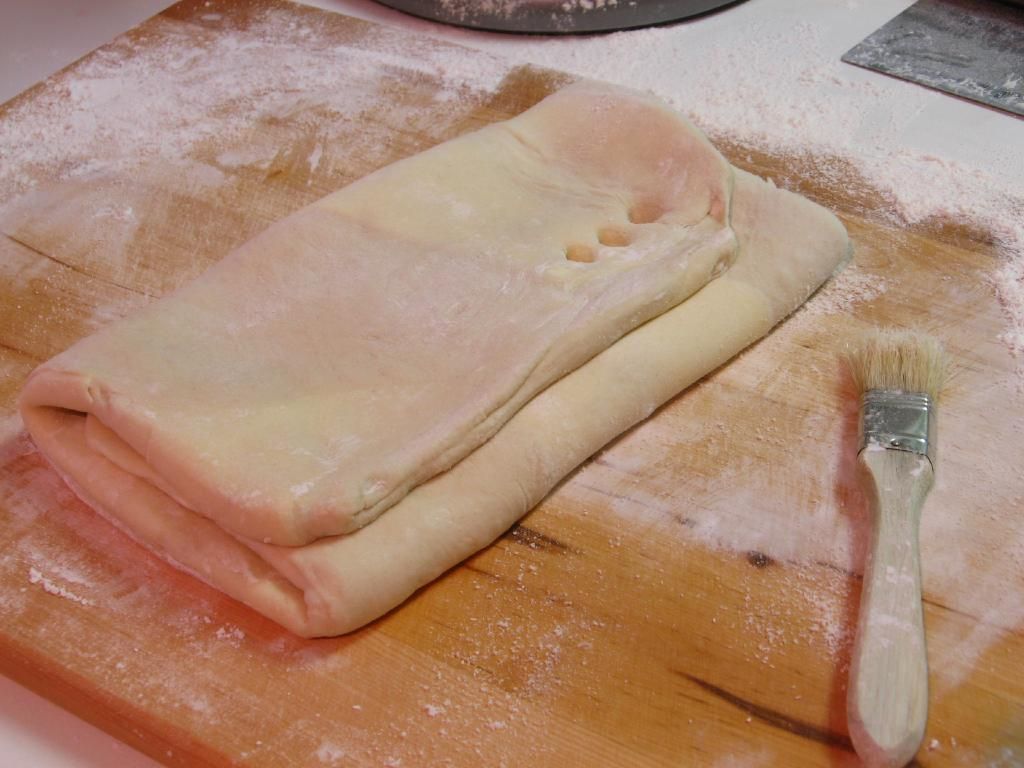
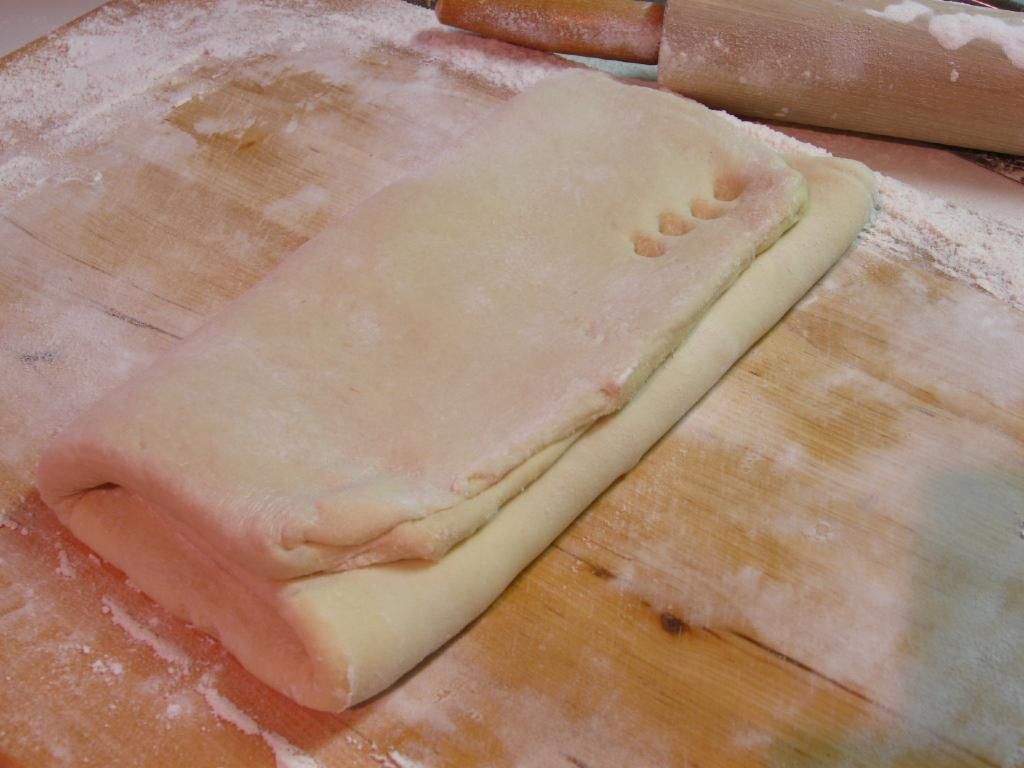
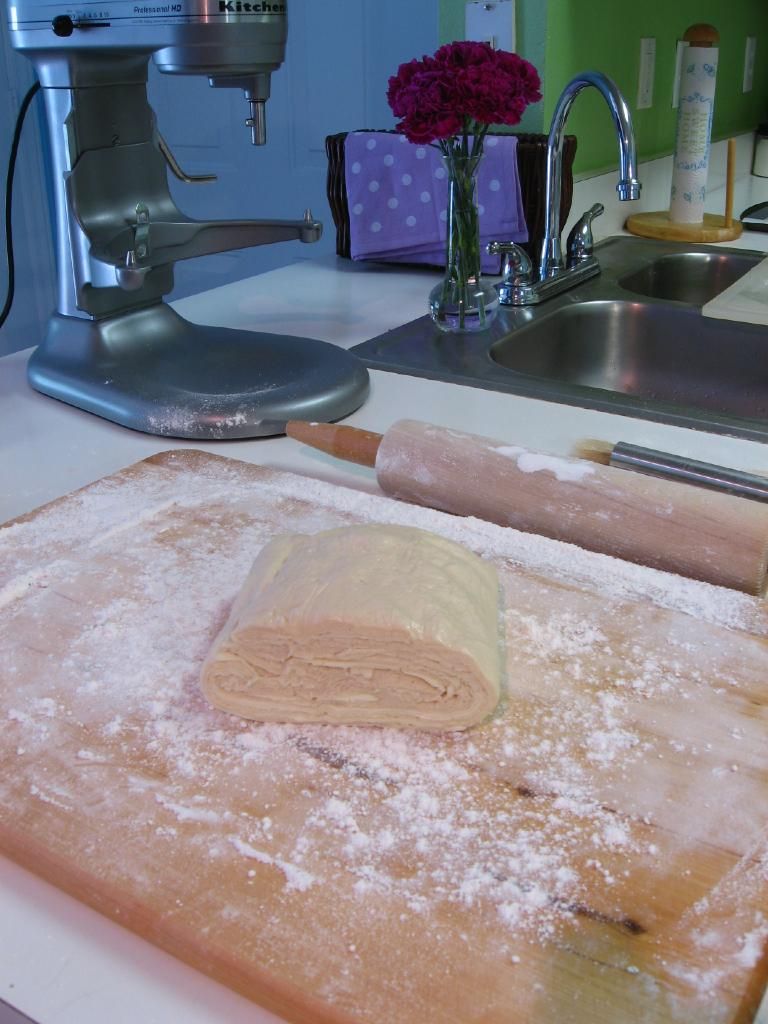
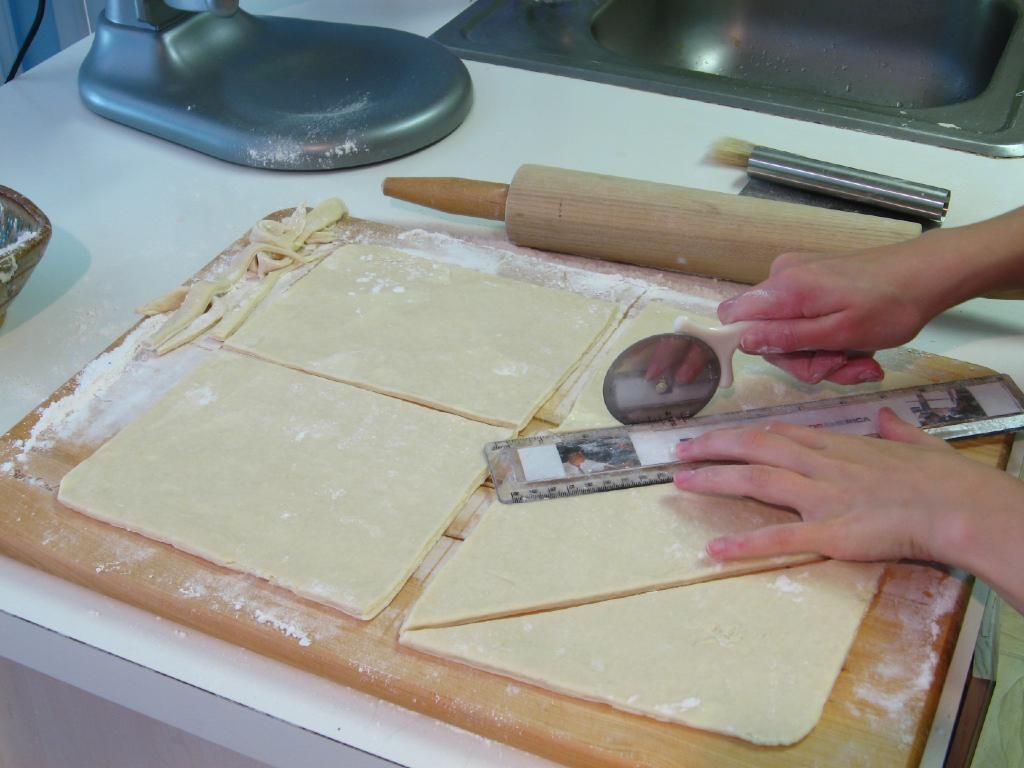
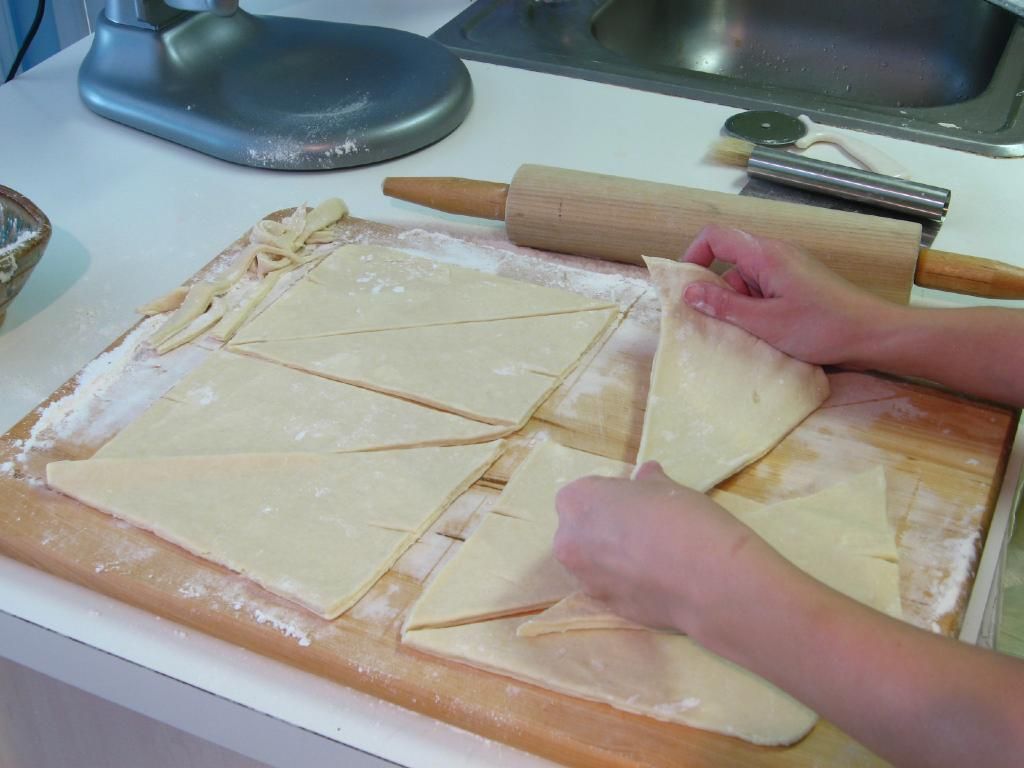
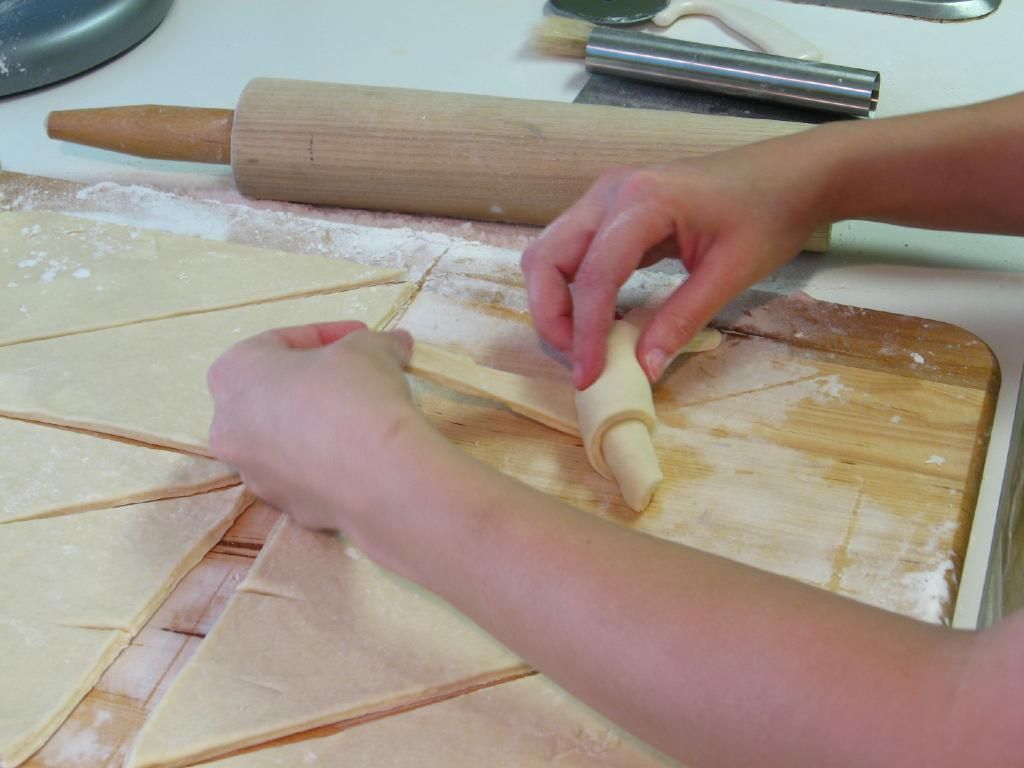
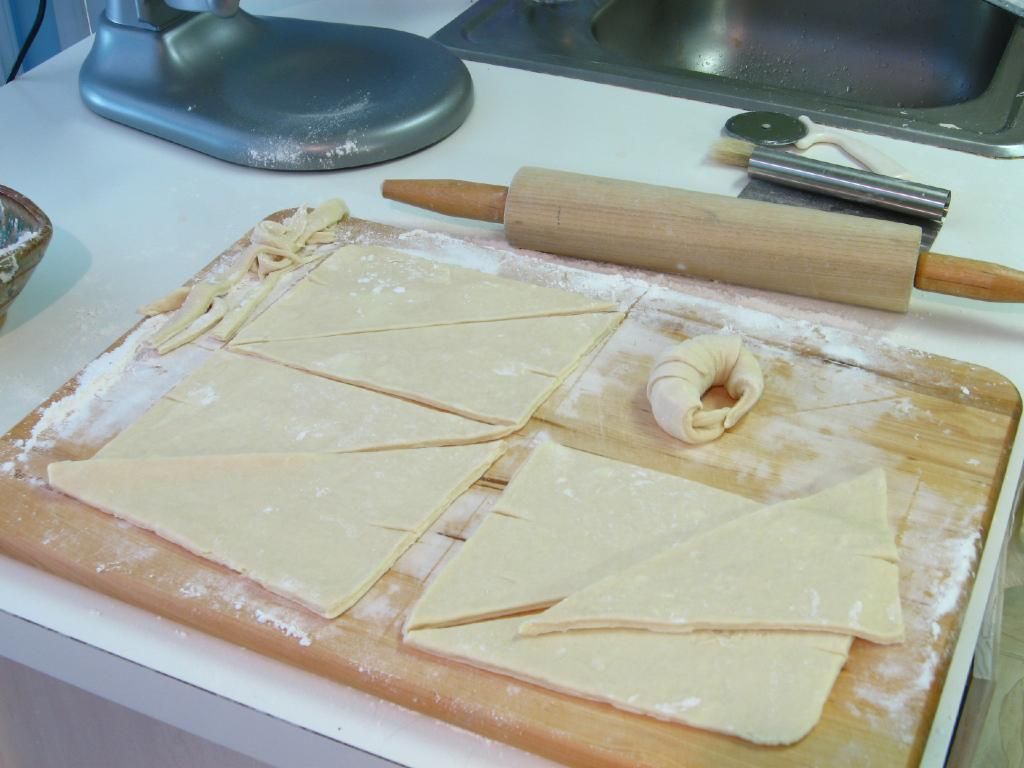
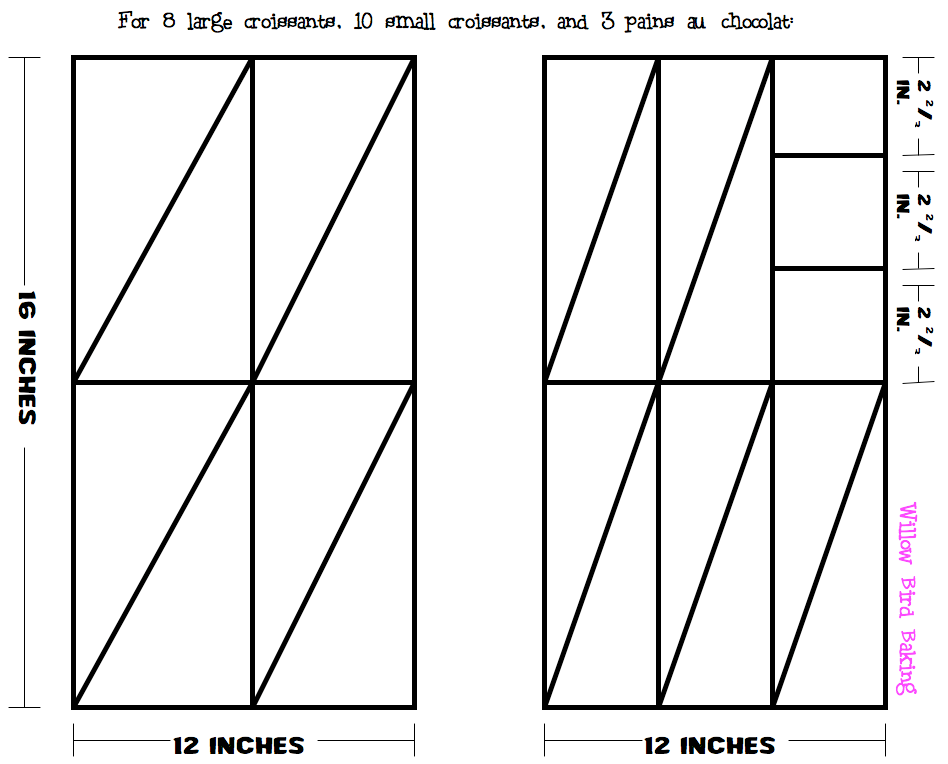
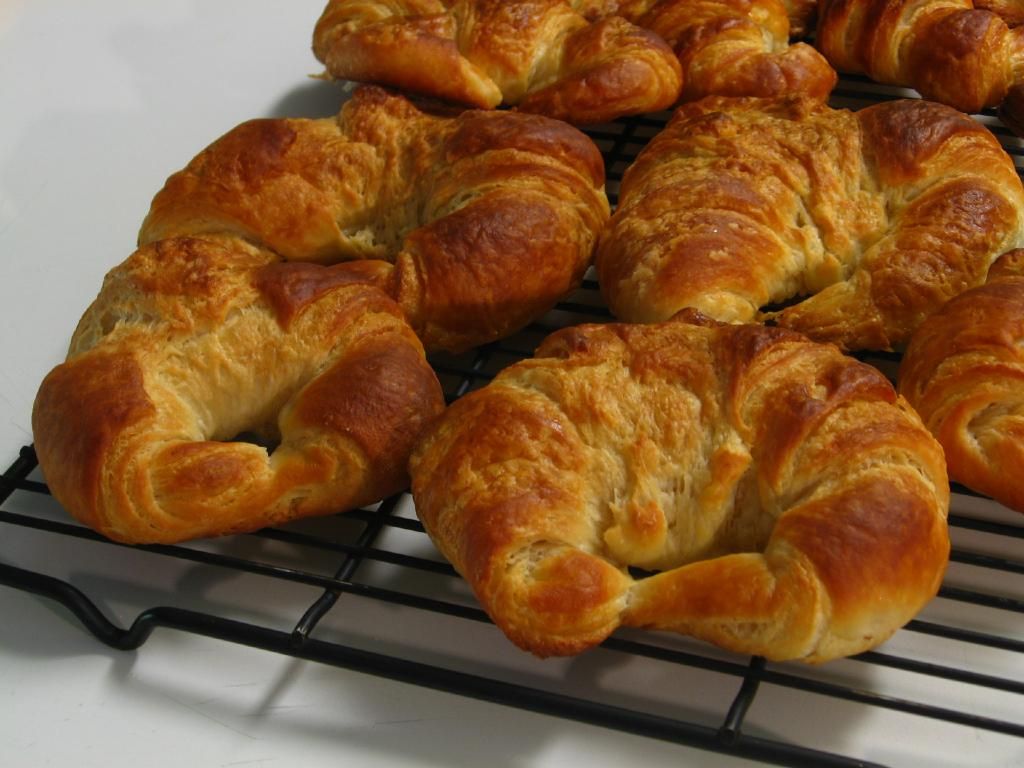
Homemade Croissant Phototutorial

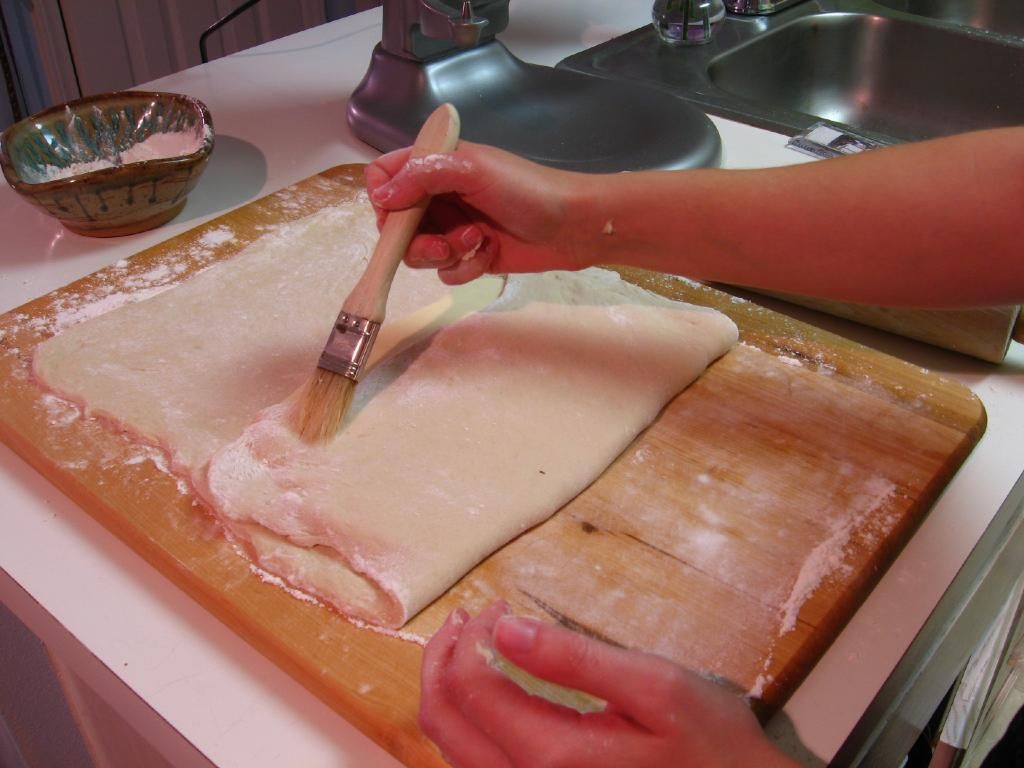
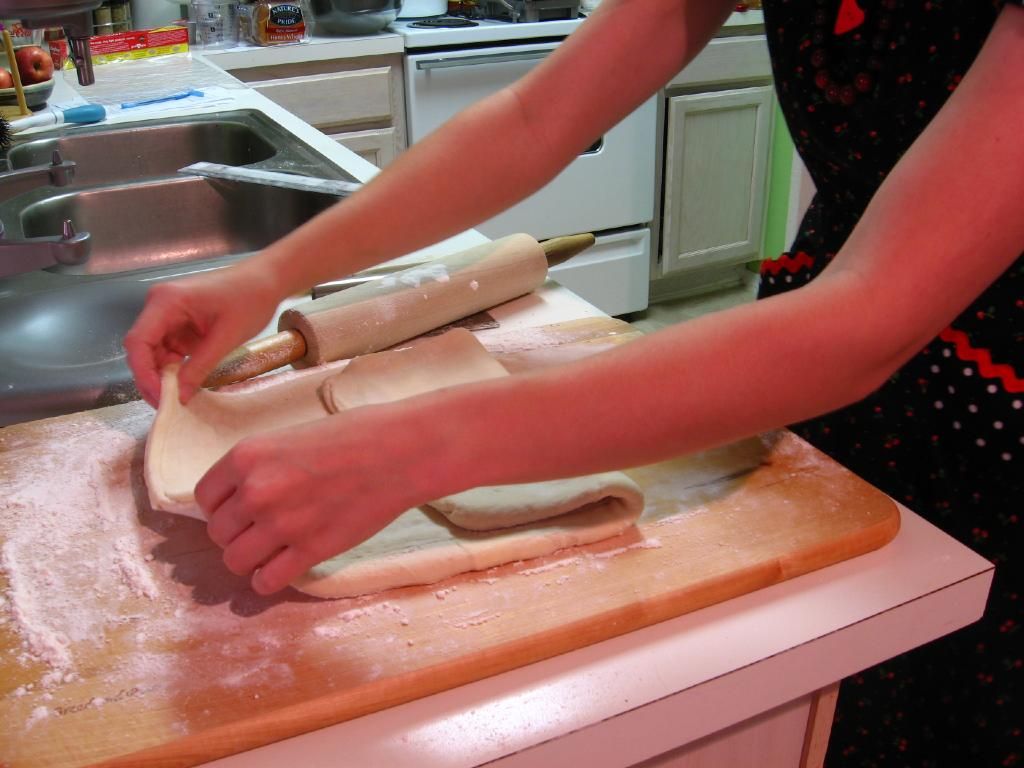
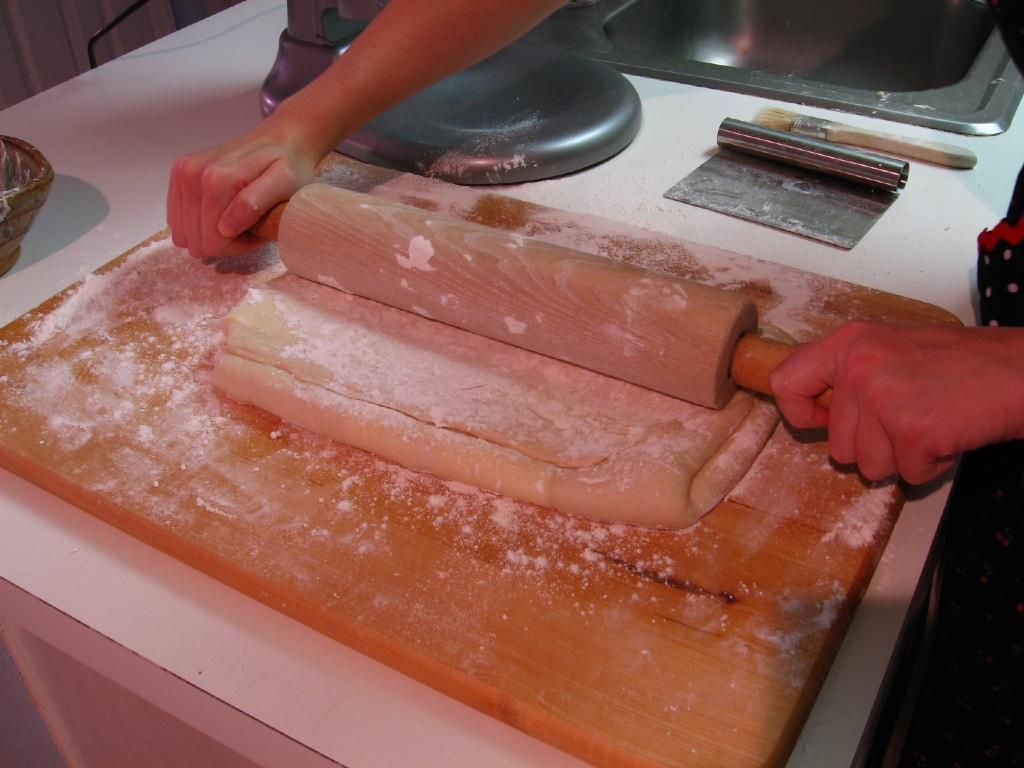
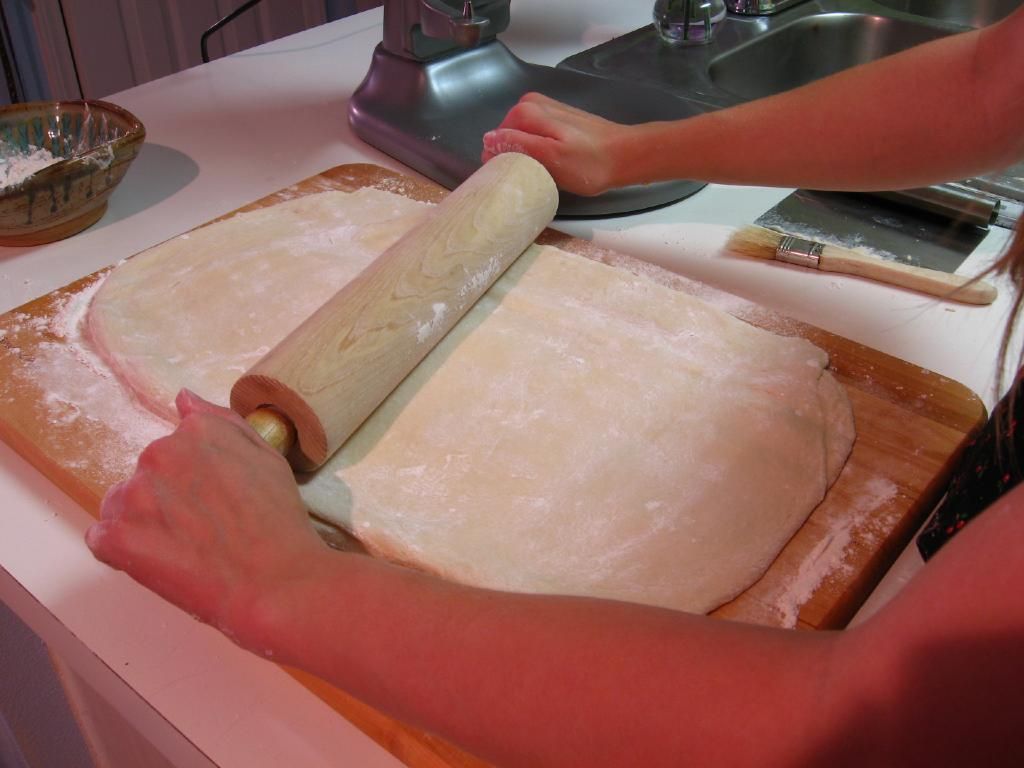
Croissants are not just pastries to me. They’re not just two days worth of work, careful rolling, and dough laminating. They’re not just butter-laden, flaky bits of heaven.

Croissants represent the mission of Willow Bird Baking: to inspire home cooks to build their kitchen confidence by repeatedly tackling challenging new recipes. In July, I issued the Croissant Challenge where I asked home cooks who had never made homemade croissants before to whip up a batch. Many croissant newbies jumped at the challenge and became Croissant Masters (see their work here: page 1, 2, 3). Their enthusiasm confirmed for me that successfully taking on a challenging recipe can be an exhilarating, satisfying, galvanizing experience.

Thank you so much for voting me through to Project Food Blog Challenge #4 to create a phototutorial. Now it’s time for me to turn the tables on you — because I’m not only completing a challenge, I’m issuing a challenge.

Will you join the proud group to have mastered croissants? No matter your skill level or experience, you can do it, and I’m here to help. If you’re willing to commit to croissant, leave a comment below! Let’s walk through my (slightly ridiculous) version of the process together.


Willow Bird Baking is a contestant in Project Food Blog, a contest comprised of a series of 10 challenges to find the next food blog star. Voting for Challenge #4 is now open! To vote for this Croissant Tutorial, register for a Foodbuzz account. Once you’re registered, sign in and go here. To vote, click the heart next to the words “Vote for this Entry.” I am so grateful for your support!


If you liked this post, please:
Subscribe to Willow Bird Baking
Follow Willow Bird Baking on Twitter
Follow Willow Bird Baking on Facebook
Give this post a thumbs up on StumbleUpon


ShareOther ways to share this post with friends!

Assorted Donut Muffins and Project Food Blog: Vote Now!

Willow Bird Baking is a contestant in Project Food Blog, a contest comprised of a series of challenges to find the next food blog star. If you missed it, my first challenge post explains why I blog, and what makes WBB special. Voting for Challenge #1 is now open! To vote, register for a Foodbuzz account. Once you’re registered, sign in and go here. To vote, click the heart next to the words “Vote for this Entry.” I am so grateful for your support!


At this point, just about all of us have either made Donut Muffins, eaten Donut Muffins from a generous friend, bookmarked a recipe for Donut Muffins, drooled over photos of Donut Muffins, or cursed the day Donut Muffins were invented as we kicked our scales across the bathroom.

I was in the “bookmarked the recipe” category for way too long. Every time I’d see another Donut Muffin post pop up in my Google Reader, I’d admonish myself for not having made them yet. They’re billed as warm, pluffy cake-donut-like muffins that have soaked up butter before being coated in cinnamon and sugar. It’s basically criminal that I hadn’t made them until this past weekend. But don’t worry — I made up for lost time.

What’s the fun of donuts? The taste, definitely — but also the puff of powdered sugar, the jam centers, the colorful sprinkles, the melty chocolate, the sticky glaze. A major component of what makes donuts so fun is the assortment. Even though I have a favorite donut, I always buy a few kinds so that I can pick through the box excitedly, tasting different combinations and flavors. So why make just one sort of Donut Muffin? Especially when it’s so easy to make a few kinds?

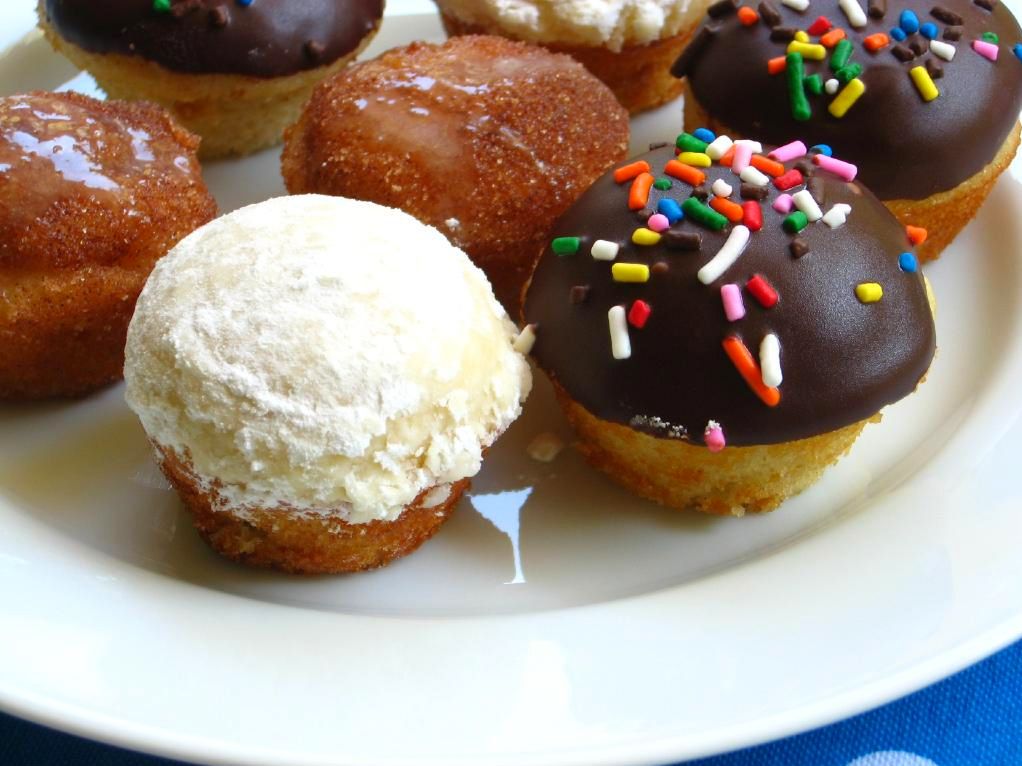
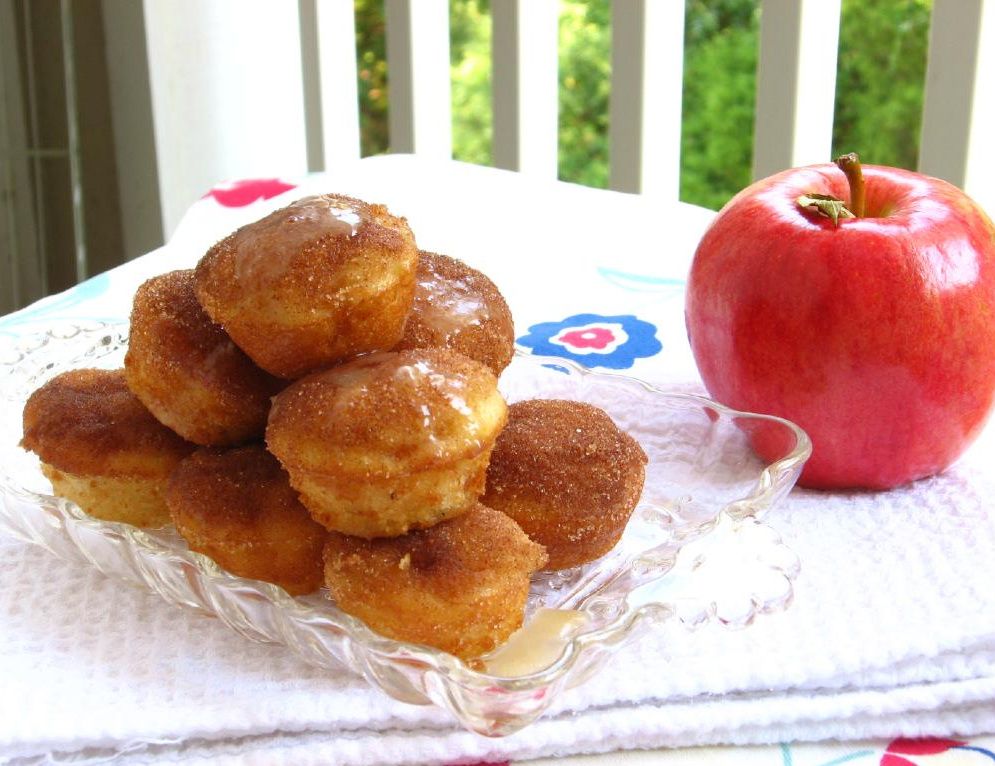
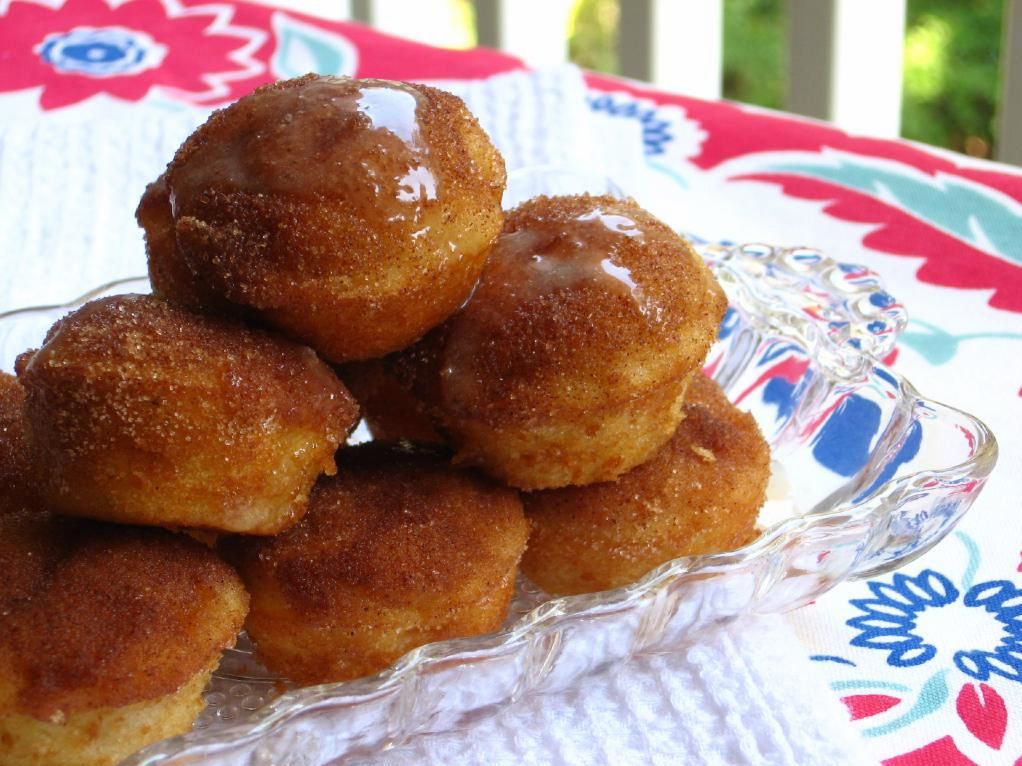
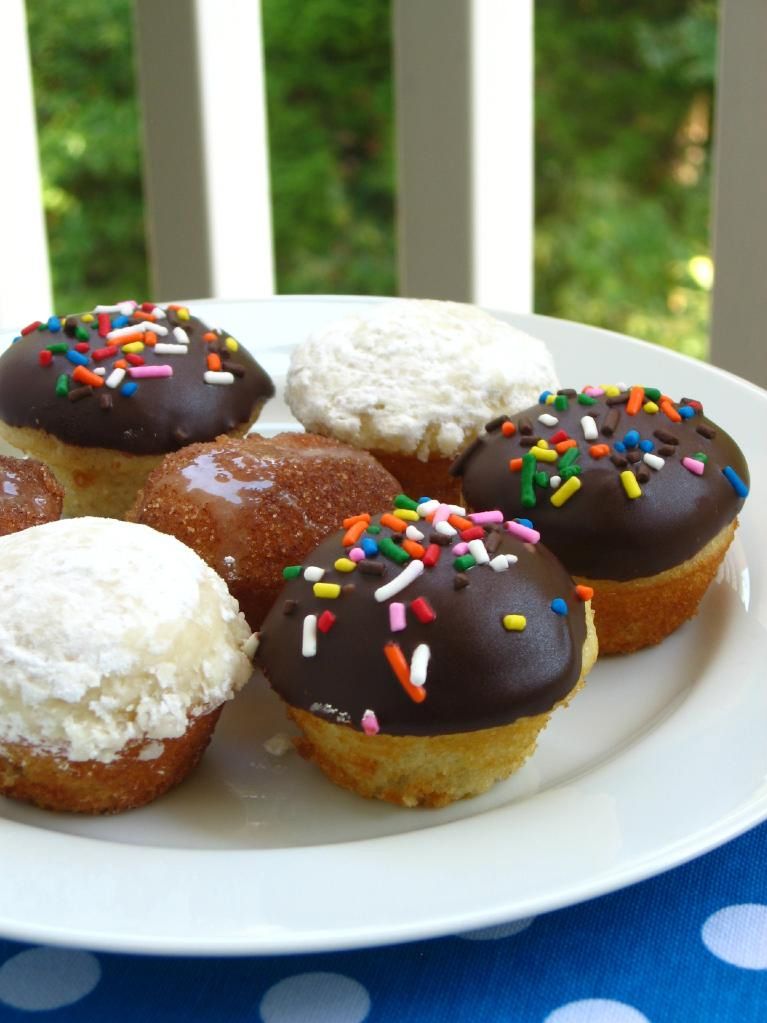
In my Donut Muffin assortment: Caramel Apple Donut Muffins, Jam-Filled Powdered Sugar Donut Muffins, and of course, Chocolate Sprinkle Donut Muffins.

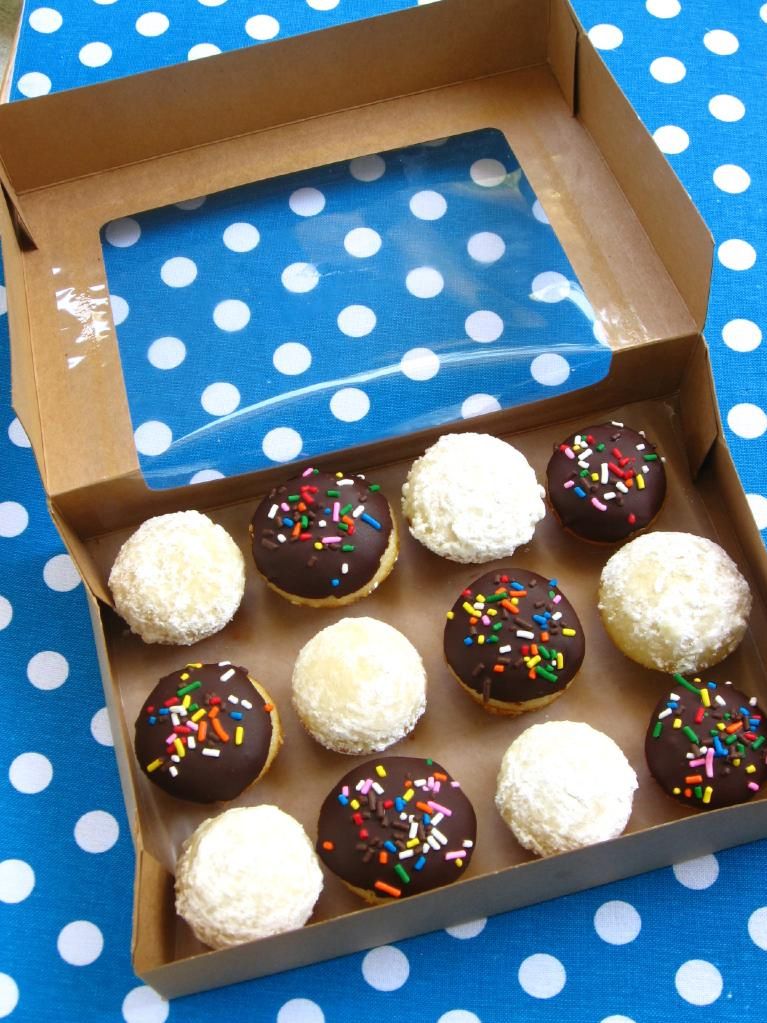
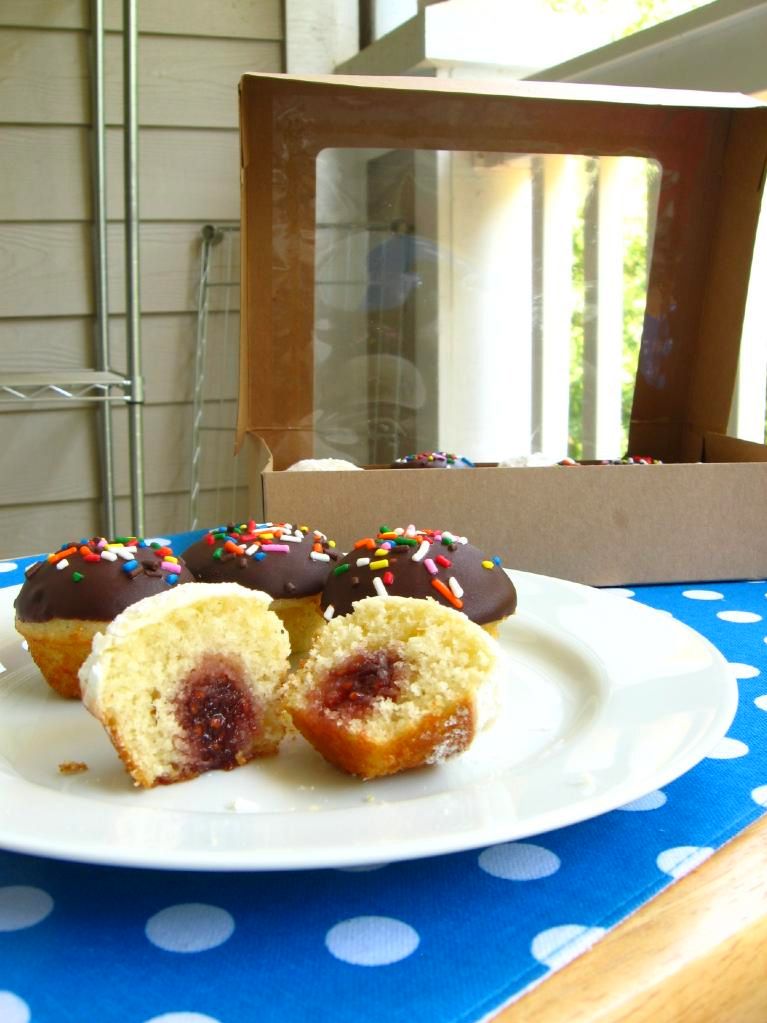
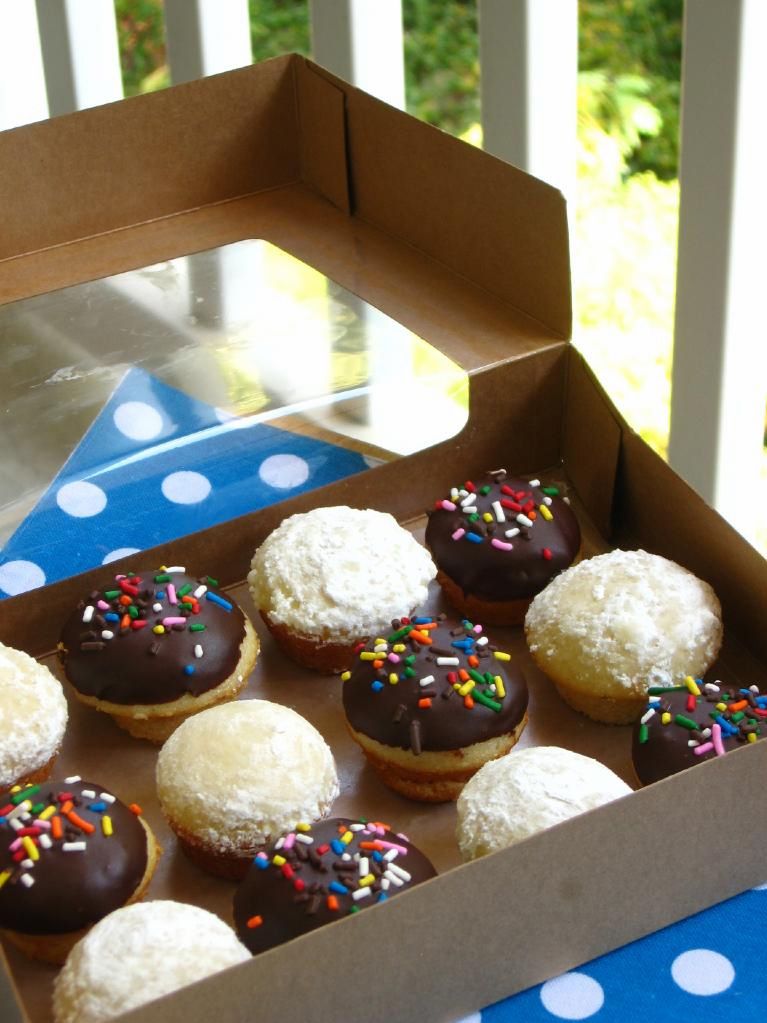
You start out by making the batter like normal, but then separate a third of it to add diced apples to. After baking all the muffins up, the apple donut muffins get coated in cinnamon, sugar, and a caramel glaze. Another 1/3 of the batch gets coated with powdered sugar and filled with raspberry jam. The final 1/3 gets a bath in melted chocolate and some sprinkles. I bought a box of bakery cookies just to have a cute little “donut box” to put them in (no clue what I’m going to do with those cookies)!

The Chocolate Sprinkle Donut Muffins were good — but next time I’ll fill them with whipped cream or pastry cream for more donuttiness (that is a Merriam-Webster-certified real word, y’all. Okay, it’s not. Not even close). The Jam-Filled Powdered Sugar Donut Muffins were delicious little jammy bites. But the Caramel Apple Donut Muffins . . . they were OUT OF THIS WORLD. Like, OUT OF THIS GALAXY. Like, OH MY GOODNESS. My roommate had to sit down when she took her first bite, and she insists they’re the best thing I’ve ever made. Are you dicing apples yet? Good.

When they’re warmed up slightly, full of apply, buttery, cinnamon-sugary goodness, and coated with the buttery caramel glaze, these fluffy Caramel Apple Donut Muffins are analogous to the donuts you’d drive across town for. Sure, you want the assortment — and I ate plenty of the other two tasty flavors — but these are the ones you’d keep coming back for.

By the way, are you afraid of caramel? That’s probably because you’ve been using recipes with directions that say things like “look for an amber color,” or, even better, a “dark amber color.” I don’t know about you, but I think “amber” is pretty subjective. What gives? We stopped using terms like “low oven” and “slow oven” in recipes long ago in favor of fancy little things called oven temperatures. It’s time we switched over our sugar recipes to include temperatures as well. Caramel is nowhere near as frightening with a candy thermometer, y’all. You’ll be glad to see I’ve provided temperatures for your caramel sauce below, since I’m not feeling prehistoric.

What’s your favorite kind of donut? I think mine changed with my first bite o’ Donut Muffins! The recipe below shows you how to make all 3 kinds at once, but feel free to make just one sort if you’re feeling decisive.

Assorted Donut Muffins


Recipe by: Willow Bird Baking, adapted from the base recipe by Buns In My Oven. Caramel sauce by Martha Stewart.
Yield: 36 mini-muffins or 18 regular muffins

Batter Ingredients:
3/4 cup sugar
1 large egg
1 1/2 cups all purpose flour
2 tsp baking power
1/4 tsp salt
1/4 tsp ground nutmeg
1/4 cup vegetable oil
3/4 cup milk (low fat is fine)
1 tsp vanilla extract

Extras for Chocolate Sprinkle Donut Muffins:
melted chocolate
sprinkles
whipped cream (if desired, for filling)

Extras for Caramel Apple Donut Muffins:
2 tablespoons melted butter, for dipping
1/4 cup sugar mixed with 1 1/2 teaspoons cinnamon
1/4 apple, peeled and diced (I used a Gala apple)
caramel sauce (recipe below)

Extras for Jam-Filled Powdered Sugar Donut Muffins:
raspberry jam (or flavor of your choice)
about 3/4 cup powdered sugar, sifted
melted butter leftover from Caramel Apple Donut Muffins

Directions:
Prepare two mini-muffin pans by spraying with cooking spray. Preheat the oven to 350 degrees F. Beat sugar and egg together in a large bowl until fluffy. In a smaller bowl, whisk together flour, baking powder, salt, and nutmeg. Pour dry ingredients into wet ingredients and stir until combined. Add vegetable oil, milk, and vanilla extract and mix. Separate 1/3 of mixture into separate bowl and fold in diced apples (these will be the Caramel Apple Donut Muffins). Pour all batter into prepared muffin tins, filling each about 3/4 full. Bake for 13-15 minutes until tester comes out clean.

Let cool in the pan for a few minutes before removing onto a cooling rack (if muffins are extremely delicate and difficult to remove, you may need to bake them a minute longer — mine weren’t quite done enough. On the cooling rack, separate the donut muffins into 3 batches: the apple muffins, 1/2 of the plain muffins, and the other half of the plain muffins. These will be your three types of donuts.

For the Caramel Apple Donut Muffins: Melt the butter in the microwave and mix the cinnamon and sugar in a separate bowl. When the muffins are cool enough to handle, dunk the tops into the melted butter and then into the cinnamon-sugar mixture. Let dry/cool on cooling rack as you prepare caramel sauce (as directed in recipe below). Store caramel in fridge and drizzle on heated Apple Muffins right before serving.

For the Chocolate Donut muffins: When the muffins are cool enough to handle, dunk the tops into the melted chocolate. Add colorful sprinkles. You could fill these with pastry cream or whipped cream using a narrow pastry tip inserted into the bottom of the muffin if you wanted a cream-filled donut muffin.

For the Jam-Filled Powdered Sugar Donut Muffins: When the muffins are cool enough to handle, dunk the tops into the leftover melted butter and then into sifted powdered sugar. When donuts are cool, fill them with raspberry jam using a small pastry tip jabbed into the bottom of the muffin. Be careful not to overfill and burst your muffin (that should definitely be a more popular idiom than ‘burst your bubble,’ don’t you agree?) You may have to re-powder tops before serving if you keep these overnight, since some of the powdered sugar dissolves.

NOTE: Store all your muffins in an airtight container in the fridge.

Caramel Sauce Ingredients:
3/4 cups sugar
1/8 cup water
1/2 cup heavy cream
1/8 cup creme fraiche or sour cream
1/4 teaspoon pure vanilla extract
Pinch of coarse salt

Directions:
NOTE: This makes more caramel than you need, but I don’t reduce the recipe because it would make it difficult to use a candy thermometer, a tool that I believe is absolutely crucial in preparing caramel. I know you can find something else to spoon caramel sauce over — and this is truly delectable caramel.

Prepare a bowl set in an ice-water bath. Place sugar and water in a saucepan and heat over medium-high heat until it boils and the sugar is dissolved. Throughout this process, use a wet pastry brush to wash down the sides of your saucepan often to prevent crystal formation. Reduce the heat to medium and cook until the mixture reaches 345 degrees on a candy thermometer (begin swirling gently when you see hints of amber, so the sugar cooks evenly), about 5-7 minutes. Immediately remove from the heat and add cream carefully (the mixture will bubble up) while whisking constantly. Return mixture to medium heat until it boils and sugar melts.

Remove from heat, and pour into the bowl set in your ice-water bath. Let the caramel cool, whisking often, for 10 minutes before whisking in creme fraiche, vanilla, and salt. Cover and refrigerate at least 2 hours before serving over Caramel Apple Donut Muffins. Can store in the refrigerator for up to 5 days.

If you liked this post, please:
Subscribe to Willow Bird Baking
Follow Willow Bird Baking on Twitter
Follow Willow Bird Baking on Facebook
Give this post a thumbs up on StumbleUpon


ShareOther ways to share this post with friends!

Chocolate Peanut Butter Bliss Cheesecake and Project Food Blog

I have something important to tell you.

In a world that boasts thousands upon thousands of food blogs, I have to tell you what makes my little corner of the web something special.

Foodbuzz is hosting Project Food Blog, a competition to crown the next food blog star. Willow Bird Baking is a contestant, and the first challenge isn’t a challenge for me at all. It’s simply to tell you why I’m here, and what I stand for — something I’ve been convicted of over and over again.
Listen, I cook accessible food. I try to take lovely photos. I write in tune with my personal life — sometimes laughing, sometimes crying, always eating. Those things are special, but they’re not what makes me unique.

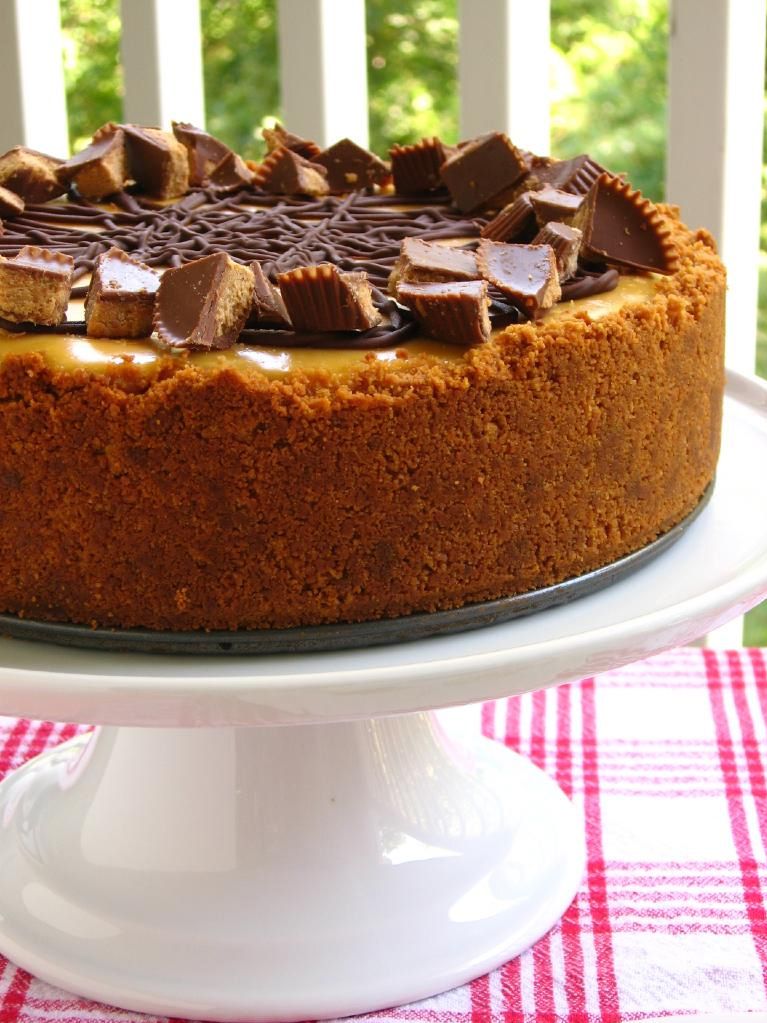
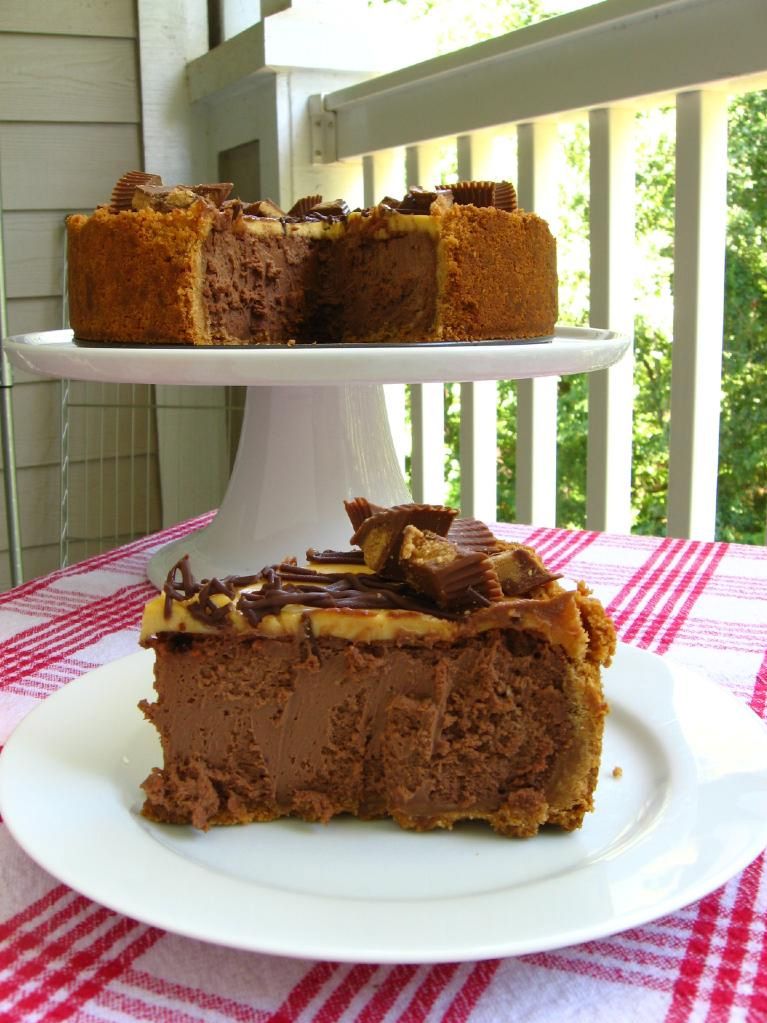
What really makes me unique are two things: Chocolate Peanut Butter Bliss Cheesecake, and a stranger’s 91-year-old grandfather.
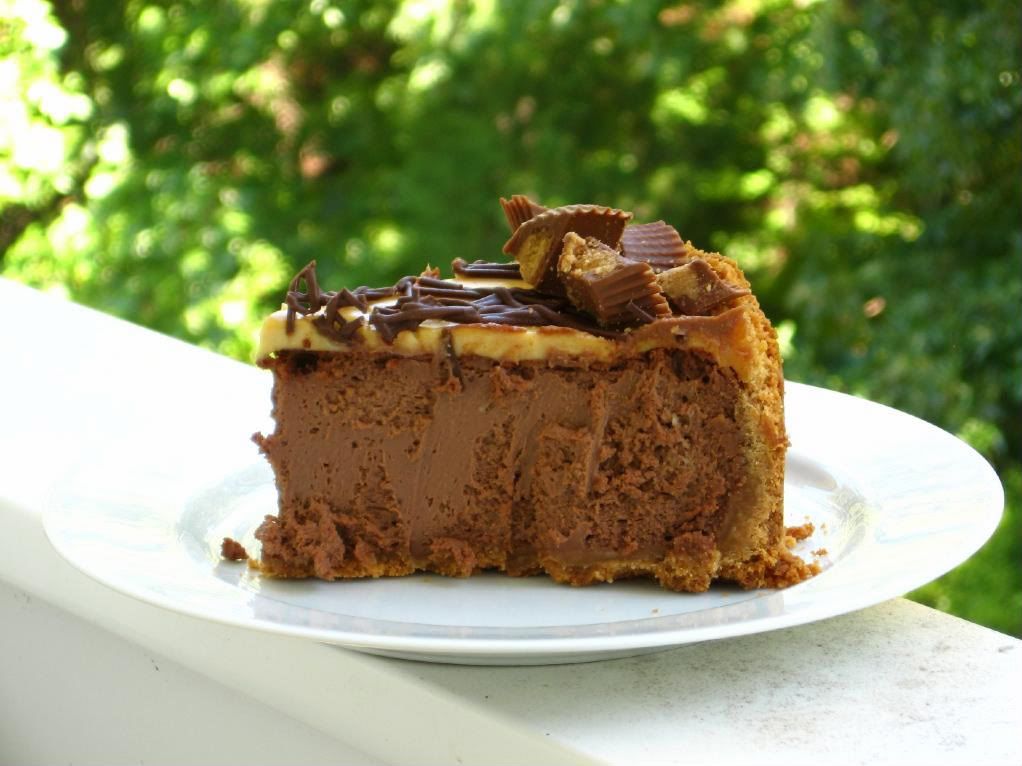
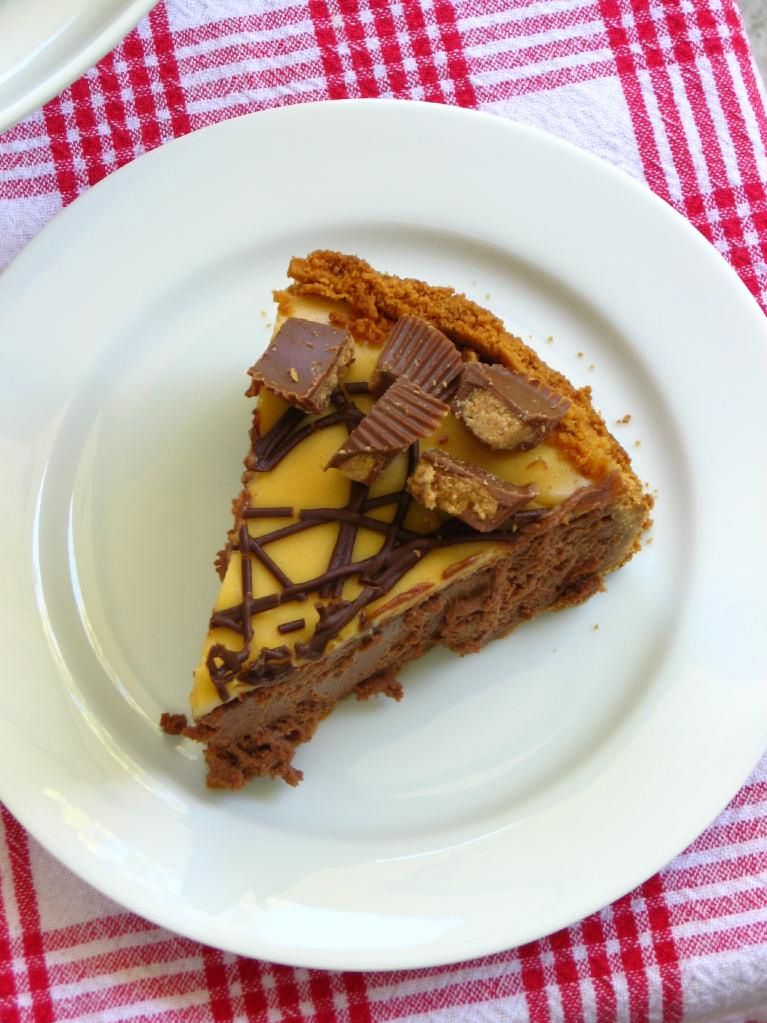
This rich cheesecake was more than just a cheesecake. It was an experiment. It was a gift. It was an experience. It embodies what makes Willow Bird Baking unique:

1. I believe in creativity. I dream of combining individual desserts into super desserts, mixing dessert with breakfast, and drizzling caramel all over everything. Maybe a few dollops of cookie dough, too? I’m constantly creating and improving food. Over the past year, it’s been so rewarding to see photos and read accounts of how your creativity was sparked by a recipe here!

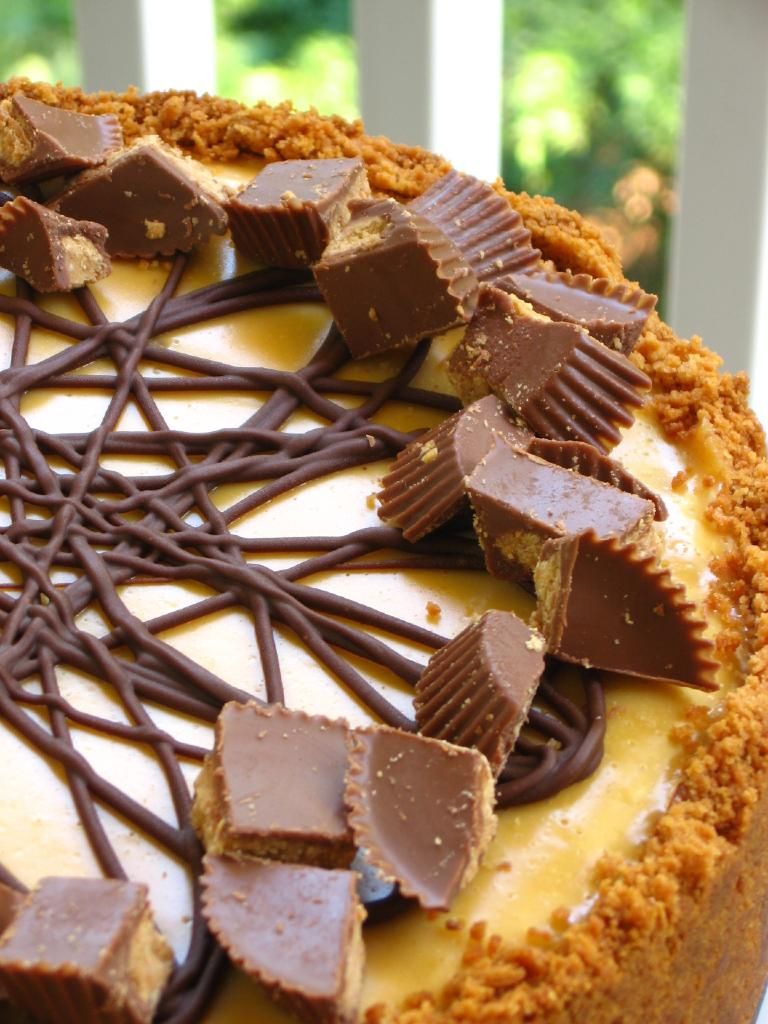
This cheesecake was born of my desire to innovate. A peanut butter sandwich cookie crust instead of an chocolate sandwich cookie crust? Sure! I’m smitten with fun ideas. Sure enough, with a creamy chocolate cheesecake slapped into that crust and a cool, soft peanut butter mousse spread on top, it was the best peanut butter and chocolate dessert combo I’d ever tasted.
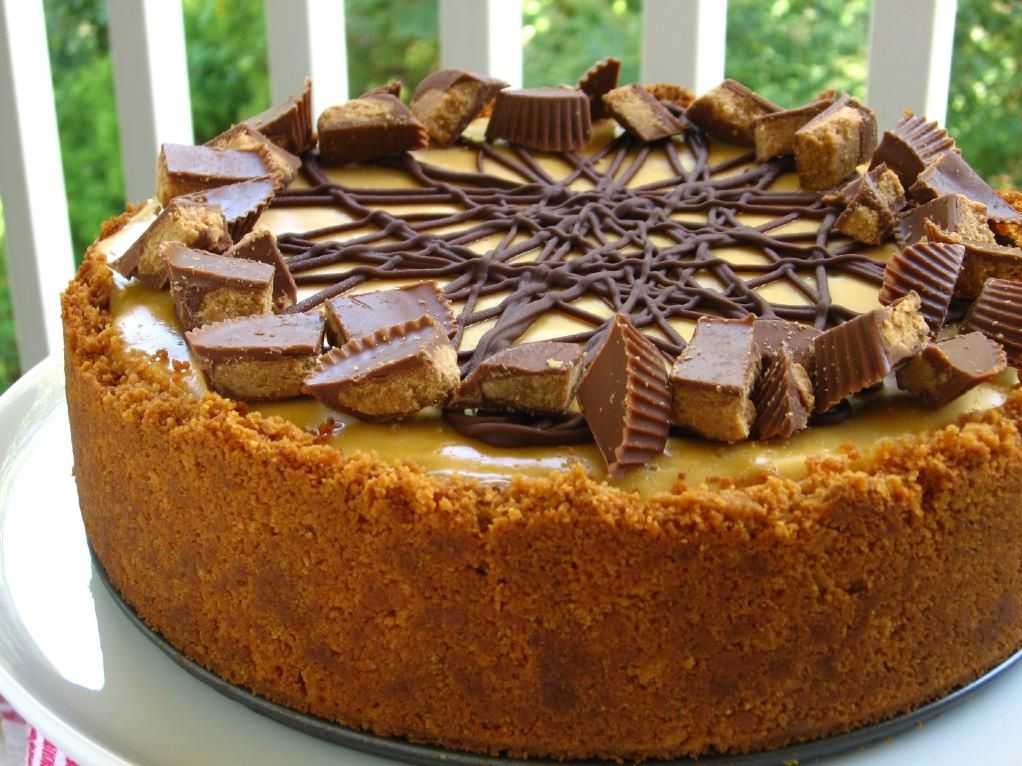
2. I believe in challenging yourself. Like any home cook, I have family recipes I love to make, but I’m also adamant about the value of trying new things. Especially fancy things that make you want to say, “Oh, that’s lovely, but I could never do that.”

My culinary journey was one of continually tackling challenging recipes, and with every puffy puff pastry or foot-ed macaron, I felt proud of myself. It’s an incredible feeling to know that by encouraging you to take on these challenges as well, I can give you that sense of pride and accomplishment. For instance, the Croissant Challenge on Willow Bird Baking inspired 17 readers to make homemade croissants in their own kitchens for the very first time — and many more have committed to do so! I have never had a prouder blogging experience than seeing those beautiful croissant pictures roll in.

3. I believe in cooking impressive meals for those you love. This Chocolate Peanut Butter Bliss Cheesecake was made on a whim. Mike was coming to visit and I knew I wanted to make him dessert, but having just started teaching with a heavier load than usual, I was exhausted. I decided to make some simple bar cookies and began gathering supplies in the grocery store.

Somewhere near the butter aisle, though, I realized that we only get so much time to show our love to the special people in our lives. After imagining his face upon seeing a ridiculous surprise cheesecake in the fridge, I replaced the bar cookie ingredients and set about gathering cheesecake supplies. I worked all evening to create this recipe for him. It was so worth the effort to see him enjoying each bite, and I think it did more for my heart than it did for his.

You can have take-out days. We all do that. But every now and then, you need a recipe that you can set in front of your family to say, you are so important to me. I’ve got those for you.
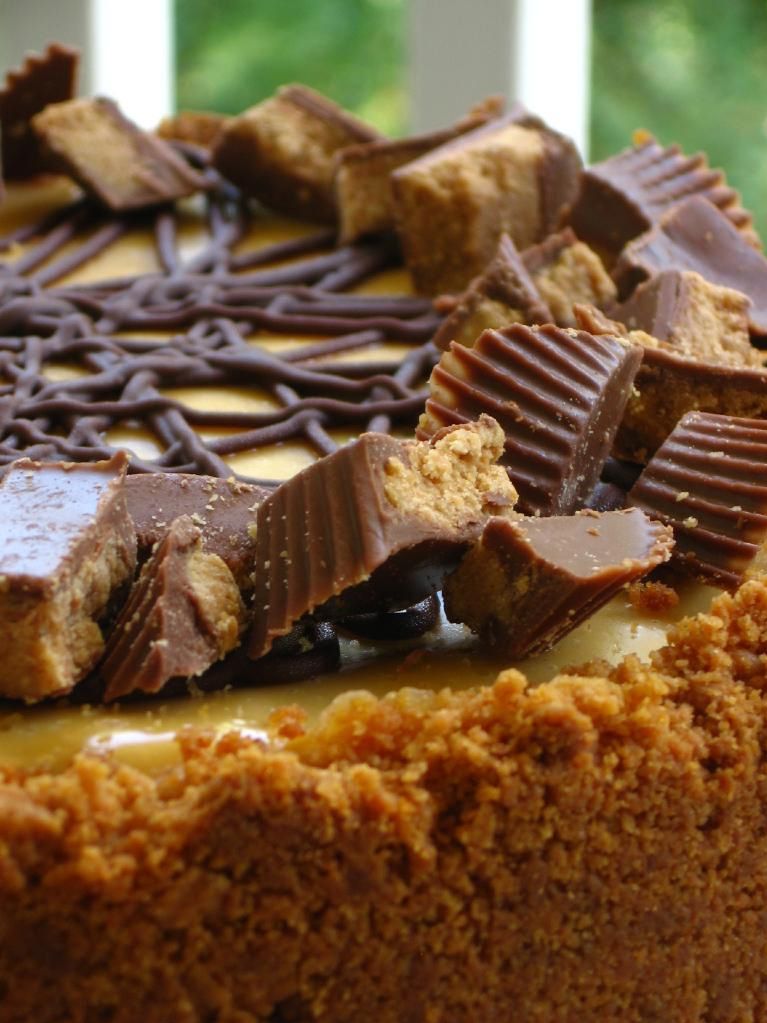
Speaking of sharing love through food, there’s one last story to tell: the story of how a stranger’s 91-year-old grandfather reminded me of my blogging purpose.

Almost a month ago, I went to explore a blog post that had linked to my Peach Cobbler Cupcakes.

What I found was Songs of the Self, a blog by Jessica, a mom from Georgia. The post recounted how she’d made the Peach Cobbler Cupcakes for her grandfather’s 91st birthday party. As I read about her experience, I saw a photo that gave me pause — one of her husband helping her to sprinkle streusel on each cupcake and smiling for the camera.
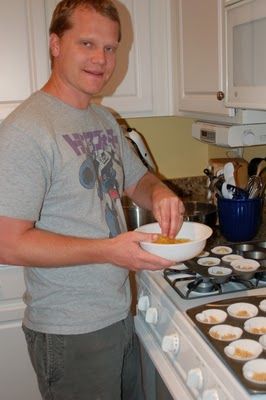

photos used with permission by Jessica

I don’t know why it hit me like it did, but suddenly I was reading through tears. I realized that this was a family somewhere, working together to make a recipe that I created, following each little direction. The post from the next day shows the birthday party: her sweet grandfather in a silly party hat blowing out candles, her grandmother laughing, her tiny daughter Olivia representing the youngest generation.

At the end of her post, Jessica noted, “My cupcakes were beyond a hit! Everyone ranted and raved about them! …Yippee for crafty me!” Being able to participate in her special occasion in some meaningful way, and especially knowing that my recipe had a part in making her feel proud of herself reminded me of why I blog. As I closed her post with a filled heart, I thought of my friend Maranda’s proud post after making her first batch of homemade croissants — a post that inspired a similar effect in me.
The truth is, I blog to create a virtual communal table. Come sit, bake, eat, learn, and enjoy. Come try new things within a comfortable web of support. Come forgive yourself for your flaws, laugh at your kitchen flops, and ponder your life with a popsicle in hand.

Perhaps most of all, come and eat some Chocolate Peanut Butter Bliss Cheesecake. I saved a piece just for you.
Please take a look at my Project Food Blog profile and consider voting for Willow Bird Baking on September 20, 2010. Thank you so much for your support — you are precious to me!

Chocolate Peanut Butter Bliss Cheesecake


Recipe by: Willow Bird Baking, pieced together from Jerome Chang (peanut butter mousse), Joelen (chocolate cheesecake)
Yields: 15-20 pieces

Crust Ingredients:
1 pack (32) of peanut butter sandwich cookies, processed into crumbs
5 and 1/3 tablespoons butter, melted

Cheesecake Ingredients:
4 packages (8 oz. each) of cream cheese, room temperature
1 cup sugar
1 teaspoon of vanilla extract
4 eggs, room temperature
3 (1oz) squares semisweet bakers chocolate (melted and cooled)

Peanut Butter Mousse Ingredients:
1/2 teaspoon powdered gelatin
2 tablespoons cold water
1 cup heavy cream
2 large egg yolks
1 1/2 tablespoons sugar
3 tablespoons salted smooth peanut butter

Optional decorations:
Reese’s cups
melted chocolate
whipped cream

Directions: Preheat the oven to 350 degrees. For the crust, mix the crust ingredients together and press into bottom and up the sides (about 3 inches) of a springform pan. Set aside.

For the cheesecake: Mix cream cheese and sugar in a large bowl until well blended and creamy. Add the eggs and continue mixing until combined. Add chocolate and continue mixing until combined. Pour mixture into prepared crust and smooth top with a spatula.

Bake for 55 minutes or until center of cake is almost set. The top may crack, but it doesn’t particularly matter, since you’ll be covering it anyway. Let the cake fully cool. When almost cool, place it in refrigerator to chill while you prepare peanut butter mousse.

For peanut butter mousse, dissolve the gelatin over the water in a small bowl and let stand for 5 minutes. In a saucepan over moderate heat, cook the cream until it bubbles around the edges. In another bowl, whisk together egg yolks and sugar. Temper the eggs: pour about 1/2 cup hot cream into the egg yolks slowly while whisking vigorously. Then slowly pour the egg mixture into the saucepan of cream (whisking constantly). Cook over low heat, stirring constantly, until thickened, about 3 minutes. Remove from the heat and whisk in the peanut butter and the gelatin. Place mixture into a wide bowl to allow it to cool for a bit, then chill it for just a little while — not until set, but until it’s not so runny. Pour the mixture onto the top of the pie and refrigerate at least one hour or overnight. You can pipe on melted chocolate and decorate with chopped Reese’s cups, if desired.

When completely chilled, loosen the cake from rim of springform pan by wrapping the pan in warm dishtowels. The remove the springform pan. Refrigerate the cheesecake for one day or overnight before serving. Garnish with fresh whipped cream if desired.
If you liked this post, please:
Subscribe to Willow Bird Baking
Follow Willow Bird Baking on Twitter
Follow Willow Bird Baking on Facebook
Give this post a thumbs up on StumbleUpon


ShareOther ways to share this post with friends!
1 14 15 16 17 18 22