cheese

Tumbleweed Burger

I’m not always a burger fan. I have to be in a mood, and even then, it has to be the right sort of burger with the right sort of fixins. A few weeks ago, I got a hankerin’ — but not for just any burger.

I wanted a burger with flavor the size o’ Texas (can you hear my cowgirl twang?), a mile high and a mile wide, with cheese runnin’ down the sides like the Rio Grande.

Too much? Okay, I’ll stop.

But I wanted a really good burger, y’all. And so I started dreaming. And I reckon this here Tumbleweed Burger (oops, I said I’d stop, didn’t I?) is what I dreamed.

I knew I wanted to season the meat, and dry seasonings are best to ensure you can still form a nice patty. I chose fresh cilantro and my favorite taco seasoning (you can make your own, but I’m not sure you can make it taste as good as this), McCormick’s Cheesy Taco. In case you’re wondering, McCormick’s isn’t compensating me to brag about their seasoning and I had to pay for that little packet o’ love straight out of my own bank account. Worth every penny of $1.09.
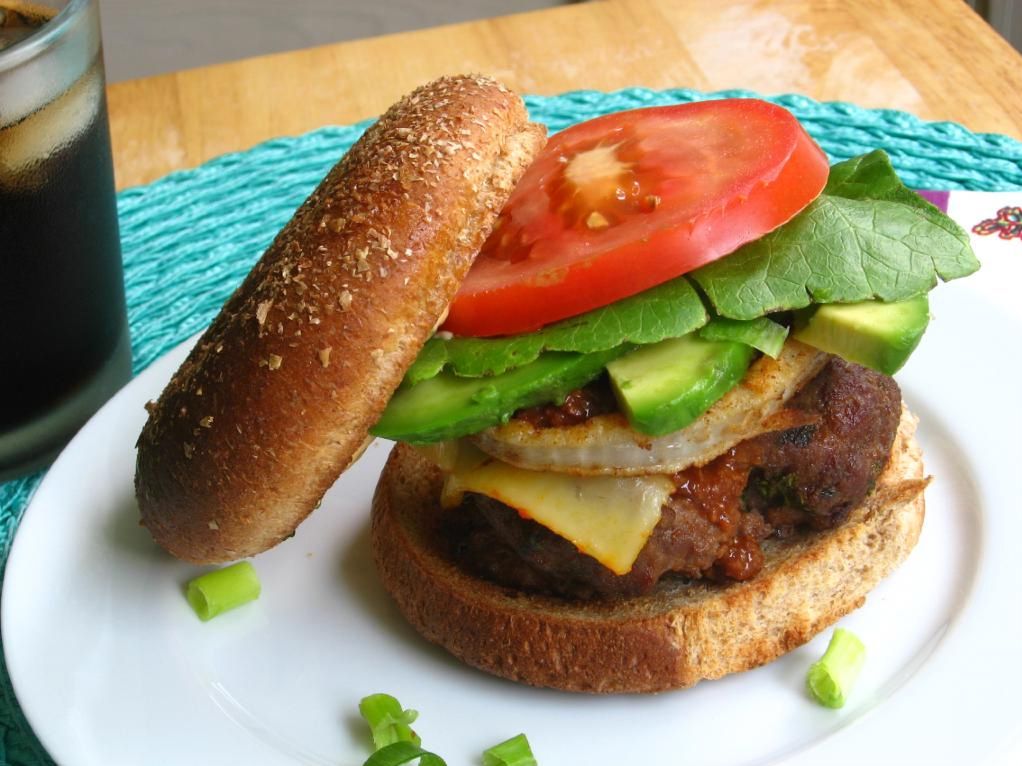
The patties were the best part. They were mouthwateringly juicy, and had such an amazing Tex-Mex flavor. The toppings sent it over the edge: tangy spicy mayonnaise, ripe tomato, dripping hot dog chili, smooth avocado, melty meunster cheese, and crispy fried onions.

Okay, actually, the fried onions might not have made it. They might have burned instantaneously because I didn’t measure the temperature of my oil. There might have only been one fried onion rescued from the carnage. I might have put it on the burger in this photo to salvage my reputation. But I might have too much integrity to let you believe my fried onions worked. So, um. You can skip the fried onions if, like me, you’re not a fan of frying. Or, if you do try them and they work wonderfully, you can email me and gloat (just make sure to tell me how they taste).

Failures happen. But they don’t have to ruin everything!

I served the burgers on Nature’s Pride buns that I was sent (to review, at no cost to me) as part of Foodbuzz’s Tastemaker program. They were 100% whole wheat, which was nice nutritionally and aesthetically — there’s something about brown bread that just feels tasty to me! I thought they were perfect for the burger once they were buttery and toasty.


Dad said he thought the avocado slices would be better served on the side — I tried it both ways and couldn’t decide!

Now I have to let you in on a little secret. My goal on Willow Bird Baking is to encourage you to get in the kitchen and make something you never dreamed you could make. I do it all the time, and sometimes fail, but when I succeed, I feel like I’ve “leveled up” in my kitchen confidence; I want you to feel that too. None of that is the secret, though. The secret is . . . this was the first time in my life I’d made a burger.

That shouldn’t shock you — most of the dishes I post are first tries for me — but maybe it does, since maybe everybody on the planet has made a burger before. I might not mention it at all, except that maybe there’s someone out there who also has a secret, who also hasn’t given burgers a shot. Maybe you thought you needed a grill, or just weren’t sure how to go about it. Maybe you thought they’d turn out tough. Maybe you gave up and went to a fast food drive-through instead.

If that’s you (I won’t tell anybody), I want you to make this burger! I’ve included detailed instructions below, and I’ve tested it out for you — I promise it’s a tasty one! What have you got to lose? Tell me, readers: are you a burger master, a burger beginner, or somewhere in between?

Tumbleweed Burger


Recipe by: Willow Bird Baking (spicy mayonnaise adapted from White on Rice Couple)
Yields: 6 burgers

Ingredients:
1.5 pounds ground beef
4-6 tablespoons taco seasoning (I use McCormick’s Cheesy Taco and highly recommend it)
1/4 cup cilantro, chopped
6 slices muenster cheese
hamburger buns
butter for toasting buns

Spicy Mayonnaise Ingredients:
3 tablespoons mayonnaise
1 tablespoon sriracha (chile sauce)
1 teaspoon lemon juice
fresh cilantro to taste

Burger toppings:
fried onion rings, if desired
hot dog chili (I used Texas Pete brand, warmed in the microwave)
tomato, avocado, romaine lettuce, chopped green onions

Directions:
Mix ground beef, taco seasoning, and cilantro and form into 6 patties (handling as little as possible, so you don’t toughen the meat). Broil for around 9 minutes until checking for doneness by splitting one of the thickest patties in half and examining the meat. You want them to be slightly pink in the middle (see how to tell if a burger is done). Place muenster cheese on each patty to melt when you pull them out of the oven.

While broiling, melt butter in a skillet and toast buns (alternatively, brush melted butter onto buns and broil them to toast, keeping a close watch so as not to burn them).

Assemble the burger: Mix spicy mayonnaise ingredients together. Spread generously onto toasted bun, topping with cooked burger, fried onion rings, avocado slices, tomato slice, a leaf of romaine lettuce. Enjoy!

If you liked this post, please:
Subscribe to Willow Bird Baking
Follow Willow Bird Baking on Twitter
Follow Willow Bird Baking on Facebook
Give this post a thumbs up on StumbleUpon


ShareOther ways to share this post with friends!

Chocolate Pavlovas with Chocolate Mascarpone Mousse

Don’t laugh.

You’re going to laugh, aren’t you? You’re already laughing, AREN’T YOU?! Okay, clearly I’m a little sensitive about this, but . . . I’ve been going to Jazzercise classes. I know, I know . . . cue the comments about leg warmers, sideways ponytails, and off-shoulder Mickey Mouse t-shirts. Perhaps you’ve conjured up a picture of me in gigantic, neon hoop earrings with poofy bangs dancing around a la Flashdance. It’s okay. I can take it.

Because I love Jazzercise. I LOVE IT. It’s a dance exercise class that includes cardio, small weights, and stretching. I’ve been to two classes, and the pattern seems to be rocking out for 30 minutes (i.e. until I feel like I’m about to die), making the small weights and stretching exercises that last for about 15 minutes a total relief.

Before this, I was a sedentary lump (albeit a lump that did eat healthily throughout the week), so it’s no surprise that I’m the least coordinated person on the planet. Like, less coordinated than your Great Aunt Ida who uses a walker to get around and can’t really see anymore. Like, she would laugh me off the dance floor. So I’m typically the one flailing around in the back of the Jazzercise class two steps behind everyone else and sashaying in the wrong direction. I only wish I were joking!

The good news is, I still love it. I laugh at myself the whole time, sweat a lot, and wonder with slight discomfort if I’m jiggling in an unattractive way. As one of the instructors told me after my first class, “We’re all moving the wrong way at some point!” I just keep jabbing and kicking and pliéing and sashaying and wriggling and whatever else I’m supposed to do until the class is over and I feel like a champ. Albeit a champ with poofy bangs.

Another reason to love my new foray into the exercise world is being able to reflect upon my healthy movement while eating things like rich Chocolate Pavlovas with Chocolate Mascarpone Mousse and Mascarpone Cream. I can now make comments to myself like, “Oh yeah, I totally Jazzercised this off. No problem,” or, “I’m sure we’ll be sashaying these calories off tomorrow.”

With so much Secret Gardening going on, you may have assumed the Daring Bakers challenge fell by the wayside this month. Fortunately, that was not the case! The June 2010 Daring Bakers’ challenge was hosted by Dawn of Doable and Delicious. Dawn challenged the Daring Bakers’ to make Chocolate Pavlovas and Chocolate Mascarpone Mousse. The challenge recipe is based on a recipe from the book Chocolate Epiphany by Francois Payard.

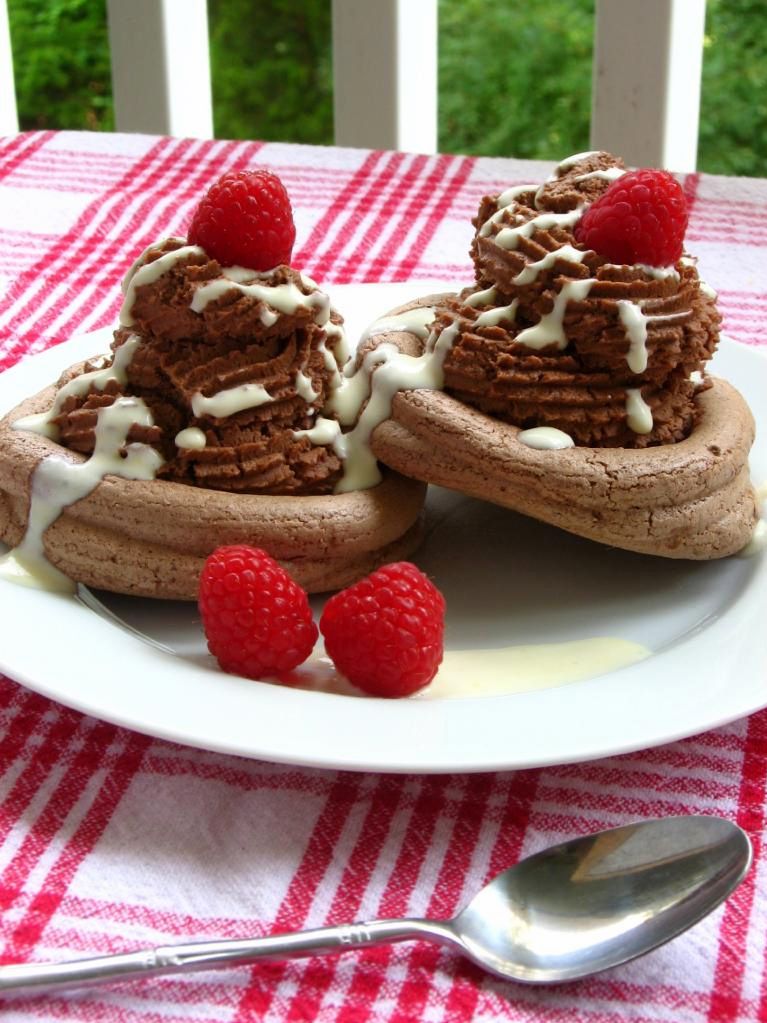
These pavlovas are not the sort with the marshmallowy interior, but are more crisp throughout, like meringue cookies. They’re topped with a decadent, fluffy chocolate mascarpone mousse and a drizzle of mascarpone cream made with heavenly Crème Anglaise. I opted to leave out orange flavorings suggested by the original recipe, because I typically don’t like citrus meddling with my chocolate. The result was perfect. Make your pavlovas small, because these components all together make for an extremely rich, luscious dessert. You’re going to need a glass of milk. And a nap. And some Jazzercise.

But it’s worth it! Mike and I loved this dessert. The combination of crisp and smooth textures was fantastic. It was messy to eat, but simple to make, and a joy to taste! As Daring Bakers challenges go, this challenge had very few, “Uh-oh, this recipe’s about to fail!” moments — a huge plus for me in this busy month. I made my chocolate pavlovas look like little Soda Shop ice cream sundaes for added fun. Scrounge up your best chocolate and enjoy the cool mousse and crisp pavlova on a hot summer evening.

In the meantime, tell me, what’s your favorite exercise routine? Jazzercise? Zumba? Treadmill? Channel surfing?


Gorgeous flowers from a student’s parents’ garden.

Chocolate Pavlovas with Chocolate Mascarpone Mousse


Recipe by: Adapted from Chocolate Epiphany by Francois Payard
Yields: About 8-10 servings depending on the size of your pavlovas

Chocolate Pavlova Ingredients:
3 large egg whites
½ cup plus 1 tbsp (110 grams) white granulated sugar
¼ cup (30 grams) confectioner’s (icing) sugar
1/3 cup (30 grams) cocoa powder

Chocolate Mascarpone Mousse Ingredients:
1 ½ cups (355 mls) heavy cream
9 ounces (255 grams) good chocolate, chopped (I used bittersweet Ghiradeli chocolate chips)
1 2/3 cups (390 mls) mascarpone
pinch of nutmeg

Mascarpone Cream Ingredients:
1 recipe crème anglaise (see below)
1/6 cup (120 mls) mascarpone
1/6 cup (120 mls) heavy cream

Crème Anglaise Ingredients:
1/3 cup whole milk
1/3 cup heavy cream
1/3 vanilla bean, split or 1 teaspoon pure vanilla extract
2 large egg yolks
2 tablespoons sugar

Directions:
Make chocolate pavlovas: Place a rack in the center of the oven and preheat to 200º F (95º C) degrees. Line two baking sheets with silpat or parchment and set aside.

Put the egg whites in a bowl and whip until soft peaks form. Increase speed to high and gradually add granulated sugar about 1 tbsp at a time until stiff peaks form (the whites should be firm but moist.) Sift the confectioner’s sugar and cocoa powder over the egg whites and fold the dry ingredients into the white (this looks like it will not happen. Fold gently and it will eventually come together.)

Fill a pastry bag with the meringue. Pipe the meringue into whatever shapes you desire. Alternatively, you could just free form your shapes and level them a bit with the back of a spoon. Bake for 2-3 hours until the meringues become dry and crisp. Cool completely. You can make these ahead of time and store in an airtight container for up to 3 days.

Make the Crème Anglaise: While the pavlovas are baking (unless you made them ahead of time), whisk together the egg yolks and sugar until the mixture turns pale yellow.

Combine the milk, cream and vanilla in a saucepan over medium high heat, bringing the mixture to a boil. Take off the heat. Pour about ½ cup of the hot liquid into the yolk mixture, whisking constantly to keep from making scrambled eggs. Pour the yolk mixture into the pan with the remaining cream mixture and put the heat back on medium. Stir constantly with a wooden spoon until the mixture thickens enough to lightly coat the back of a wooden spoon. Do not overcook.

Remove the mixture from the heat and strain it through a fine mesh sieve into a bowl. Cover and refrigerate until the mixture is thoroughly chilled, about 2 hours or overnight.

Make the chocolate mascarpone mousse: While the pavlovas are baking or cooling, put ½ cup (120 mls) of the heavy cream in a saucepan over medium high heat. Once warm, add the chocolate and whisk until melted and smooth. Transfer the mixture to a bowl and let sit at room temperature until cool.

Place the mascarpone, the remaining cup of cream and nutmeg in a bowl. Whip on low for a minute until the mascarpone is loose. Do not overbeat, as the mascarpone will break. Mix about ¼ of the mascarpone mixture into the chocolate to lighten. Fold in the remaining mascarpone until well incorporated. Refrigerate until you’re ready to assemble your pavlovas.

Make the mascarpone cream: Slowly whisk the mascarpone into the Crème Anglaise. Put the cream in a bowl and beat with electric mixer until very soft peaks are formed. Fold the cream into the mascarpone mixture.

Assemble your pavlovas: Pipe the mousse onto the pavlovas and drizzle with the mascarpone cream over the top. Dust with confectioner’s sugar and add fresh fruit if desired.

P.S. – Now that I’ve posted my Daring Bakers challenge, check back soon for Secret Garden recipes!

P.S. 2 – Make sure to stop by and see other Daring Bakers’ creations!

If you liked this post, please:
Subscribe to Willow Bird Baking
Follow Willow Bird Baking on Twitter
Follow Willow Bird Baking on Facebook
Give this post a thumbs up on StumbleUpon

ShareOther ways to share this post with friends!

Santa Fe Breakfast Bake

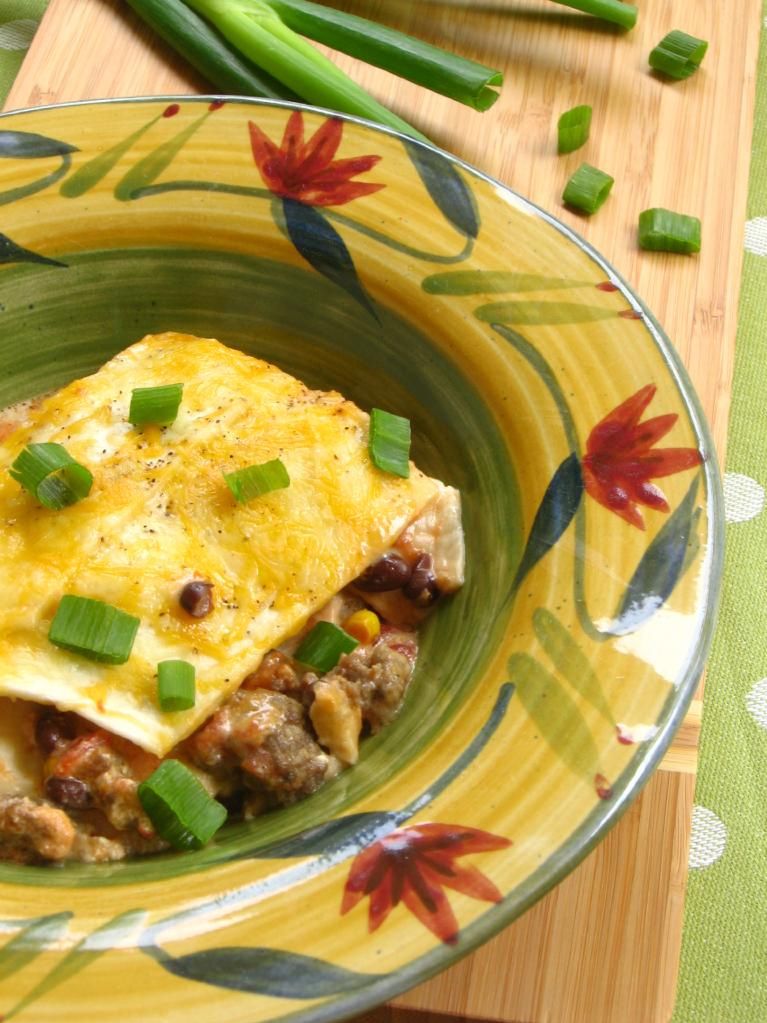
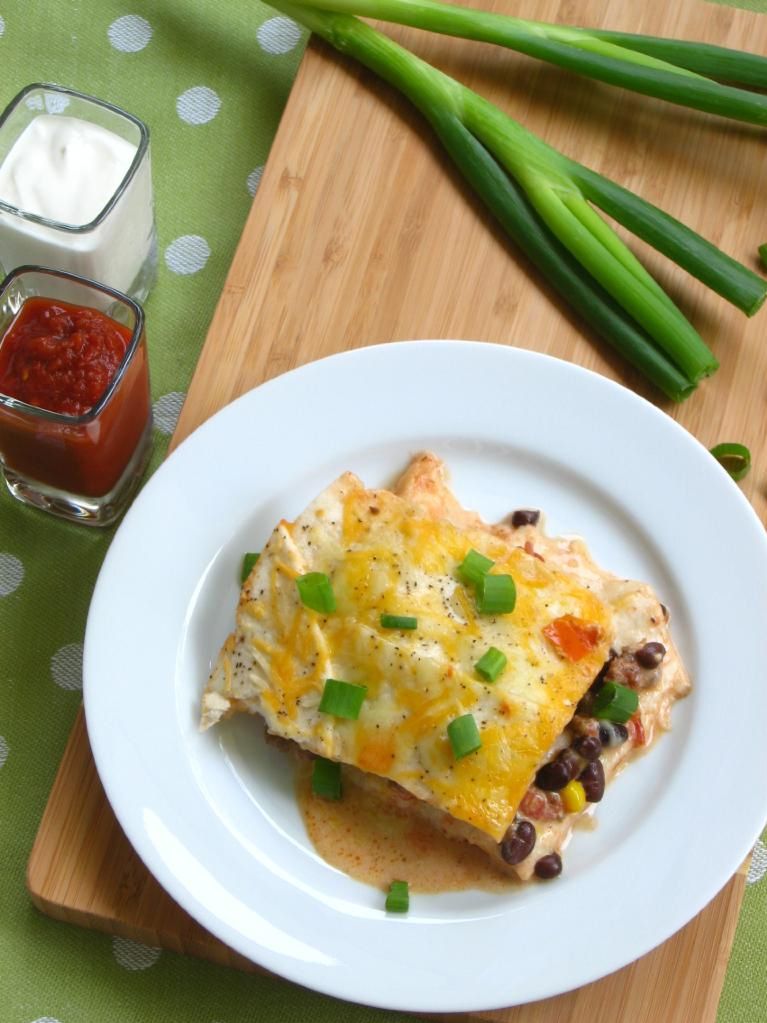
Mike and I love eating Sunday brunch together after church while watching nerdy television shows (Star Trek: Deep Space Nine, anyone?). Typically by Sunday, though, I’ve already cooked up a storm (a hurricane!) and don’t feel like cooking anything else. This means “brunch” for Mike may consist of some prepackaged Indian food from the grocery store. But every now and then, I have to change it up.

Making him a fresh meal for brunch is so rewarding. Imagine expecting your girlfriend to walk in with a reheated, vacuum-sealed pouch o’ chickpeas. Now imagine her sauntering in with a steaming hot plate of freshly-made brunch instead. I get lots of brownie points! Or in this case, egg points.

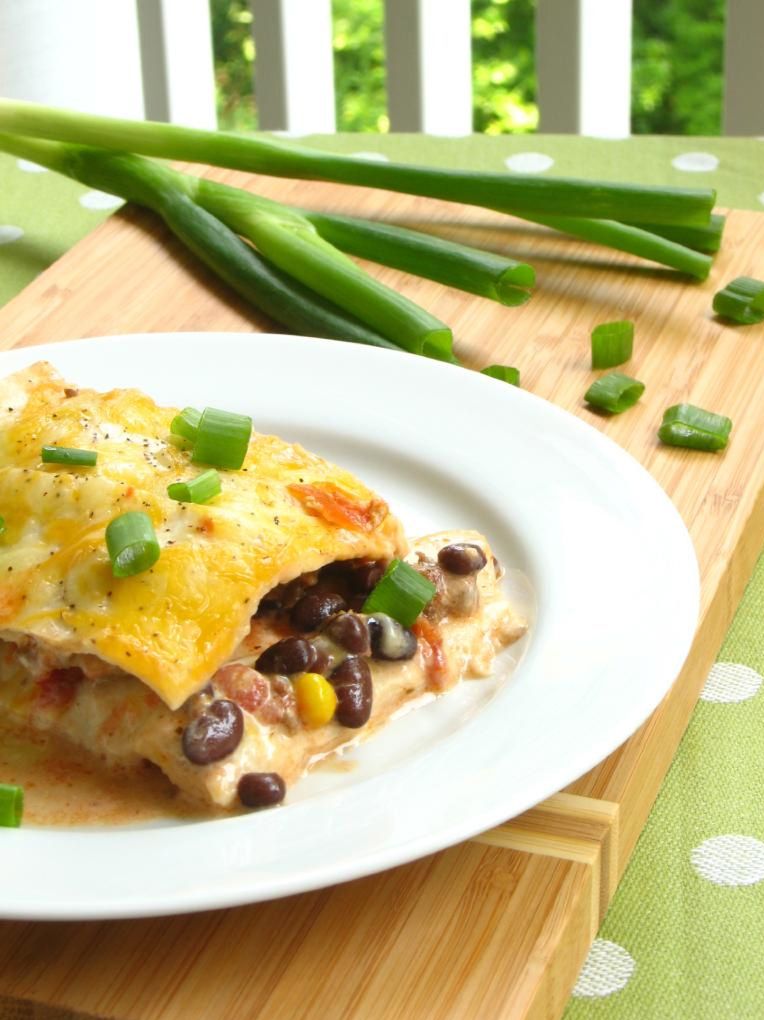
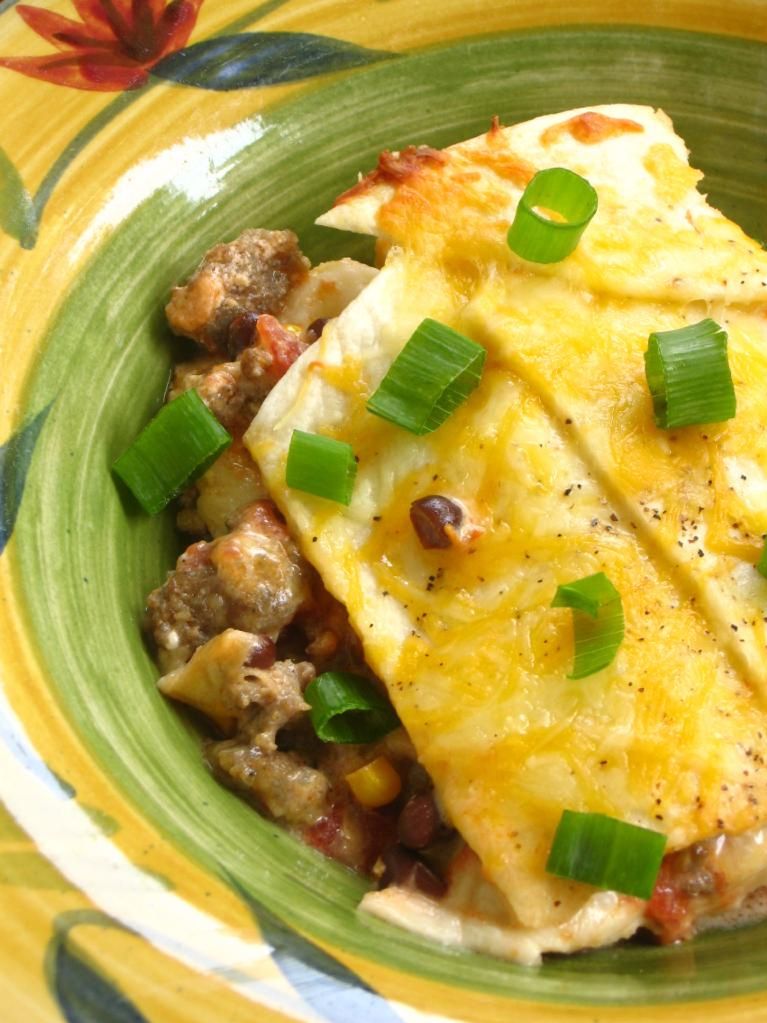
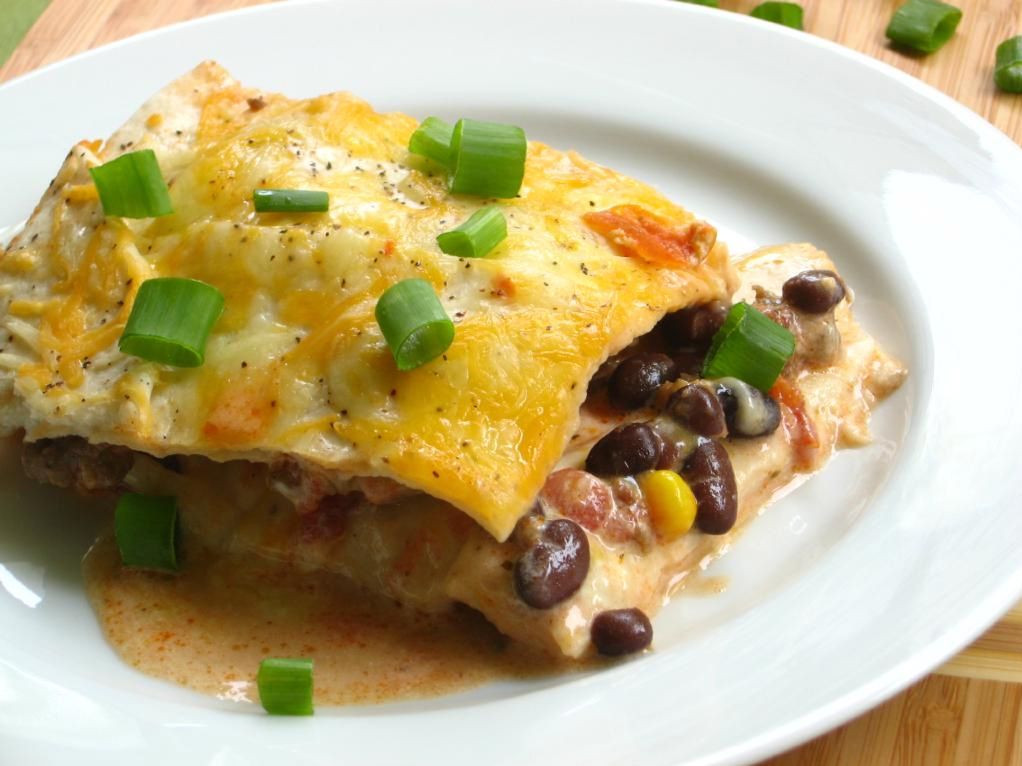
I saw this Santa Fe Breakfast Bake recipe a few days ago and was immediately enamored with how convenient it was. You throw everything together the night before and then just pop it in the oven in the morning. Talk about a stress-free breakfast! Besides the convenience, it seemed very similar to the Mexican Lasagna Mike and I both love — except now in breakfasty form!

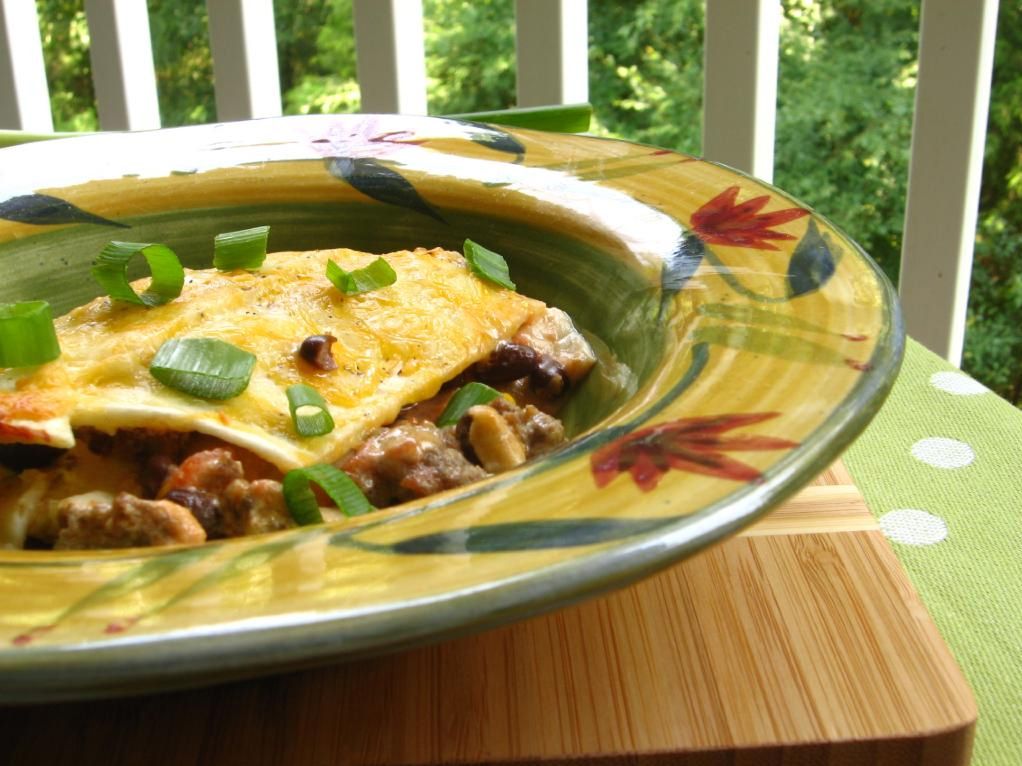
I wanted a bit more “oomph,” so I added some sausage and corn to my version. The result was a lovely brunch that Mike had three huge helpings of! The golden cheese on top, spicy sausage, and hearty black beans and corn were a stick-to-your-ribs, comforting combination.

The only downside is that the casserole (as is common with egg casseroles in my experience) was a bit soupy in the bottom of the dish. I ladled out the “soup” into my first serving and after that the casserole had a nice texture. It was even great upon reheating, as Mike found out when he devoured the leftovers!

We served this with a big spoonful of salsa and sour cream. It’d also be delicious with some sliced avocado. If you love Tex-Mexy breakfasts and brunches like huevos rancheros and migas, I’m betting you’ll love this casserole too! Enjoy!

Santa Fe Breakfast Bake


Recipe by: Adapted from Summer in the Country
Yields: About 6 servings

Ingredients:
1 pound pork sausage
1 cup salsa
1 cup canned black beans, drained & rinsed
1/2 cup frozen corn kernels
8 corn or flour tortillas, cut into 1-inch strips
1 cup shredded mexican-style cheese
1 cup sour cream
1 cup milk
2 eggs, beaten
2 egg whites, beaten
1/2 tsp salt
1/4 cup green onions, thinly sliced

Directions:
Brown sausage and drain, discarding grease. Combine salsa, sausage, beans, and corn; set aside. Place one-third of tortilla strips in a lightly greased 11×7 baking dish. Top with 1/3 cup cheese and one cup salsa mixture. Repeat layering with one-third of tortilla strips, 1/3 cup cheese and remaining salsa mixture, ending with remaining tortilla strips. Whisk together remaining ingredients except green onions. Pour egg mixture over tortilla strips; sprinkle with remaining cheese. Cover with foil and chill overnight.

In the morning, preheat oven to 350 degrees F. Remove dish from refrigerator and let sit at room temperature for 10 minutes. Keep covered and bake for 20 minutes. Uncover, and bake for an additional 15 minutes or until lightly golden. Top with green onions and serve with salsa, sour cream, and avocado slices as desired.


Share Share this post with friends!

Pasta Carbonara

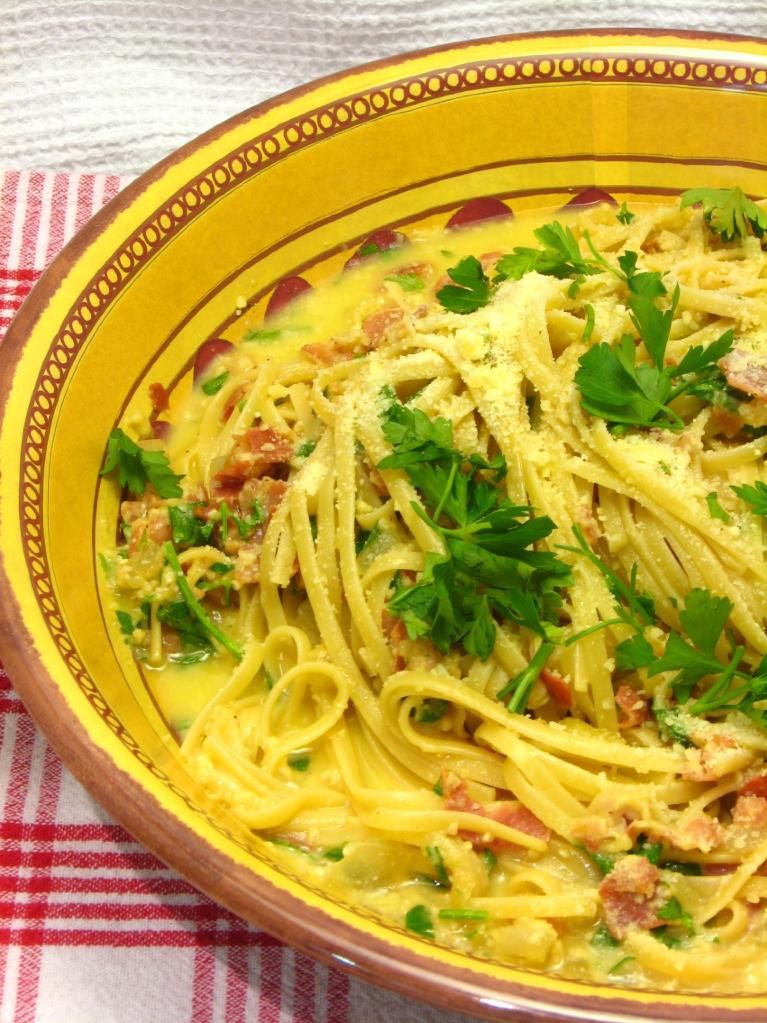
I’ve been so antsy to share this recipe with you! It’s one of those I-put-a-bite-in-my-mouth-and-suddenly-my-eyes-widened-to-the-size-of-Pluto dishes. One of those I-stared-at-Mike-impatiently-waiting-for-him-to-take-a-bite-and-have-Pluto-sized-eyes dishes! One of those I-could-eat-a-Pluto-sized-bowl-of-this-stuff dishes!

I’ve been trying to redeem myself for Mike’s terrible birthday dinner disaster for awhile now. Sure, I’ve made some delectable things since then, but I knew my penance wouldn’t be truly complete until I made him some really good pasta.

I went hunting on my favorite places to hunt for recipes: Tastespotting and Foodgawker. I’m so visual when it comes to food — seeing a dish gives me a better idea of how it’ll taste than looking at ingredients lists — and I find the mini-descriptions on these sites force bloggers to succinctly convey how amazing a dish is. You’ll find some captions that say things like, “pretty good,” or emphasize the ease of a dish, and others that convey the kind of emotion I wanted to elicit from Mike with my pasta dish: “WOW, this is good!”

This recipe was one of the WOW ones I came across. The photo of the dish was submitted by Kate of Framed, who called it “extra special.” That — combined with her charge to throw out all your other carbonara recipes — gave me confidence. I’m not going to lie, something about her blog’s exuberant header photo probably also made be feel exuberant about linguine! Regardless of the reasons, I decided that this was the recipe I’d been searching for!

As if you needed any more encouragement to make this pasta, the original recipe is straight from Pioneer Woman’s site (a Pastor Ryan recipe, for those of you who follow her posts). P-Dub has never steered me wrong, and on top of that, she’s coming to Charlotte this Friday for a book signing! What a perfect time to make a meal from her blog.

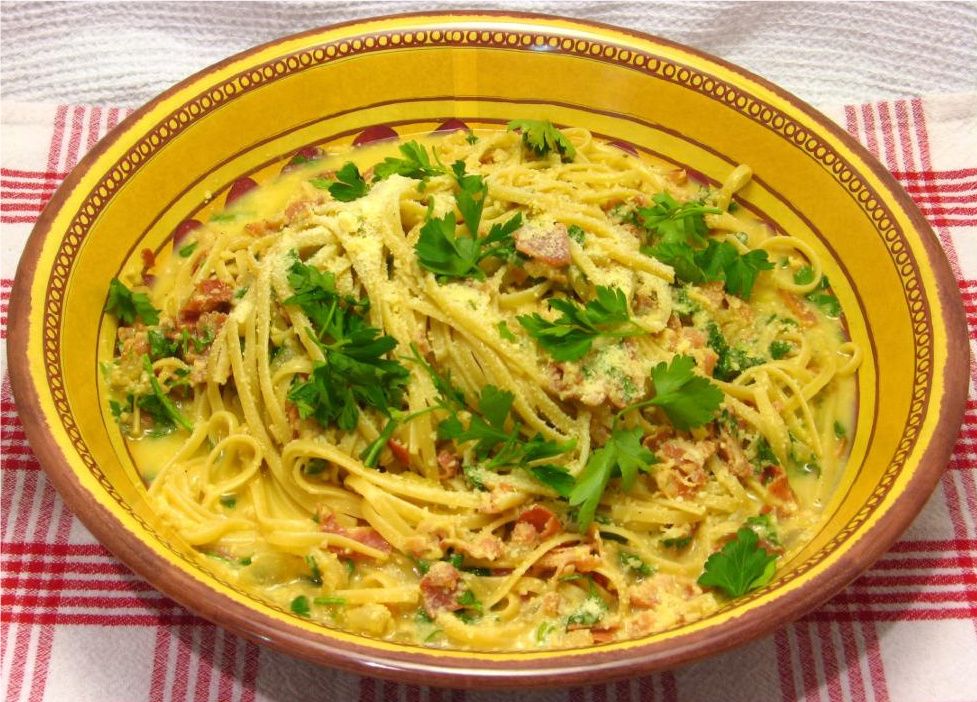
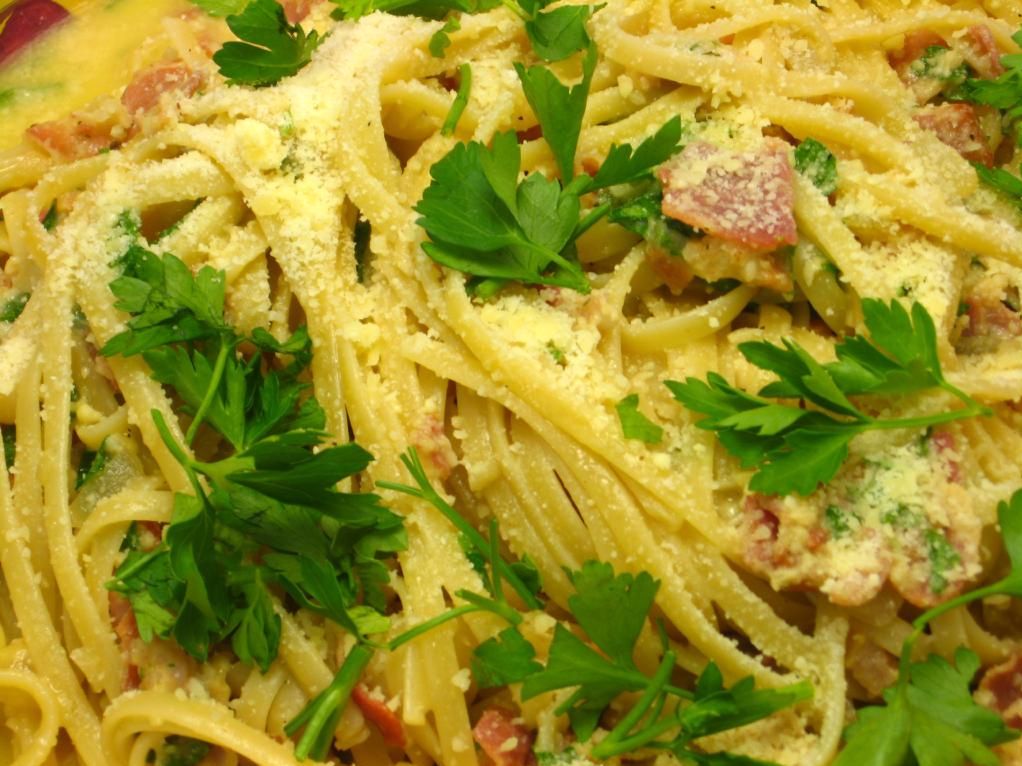
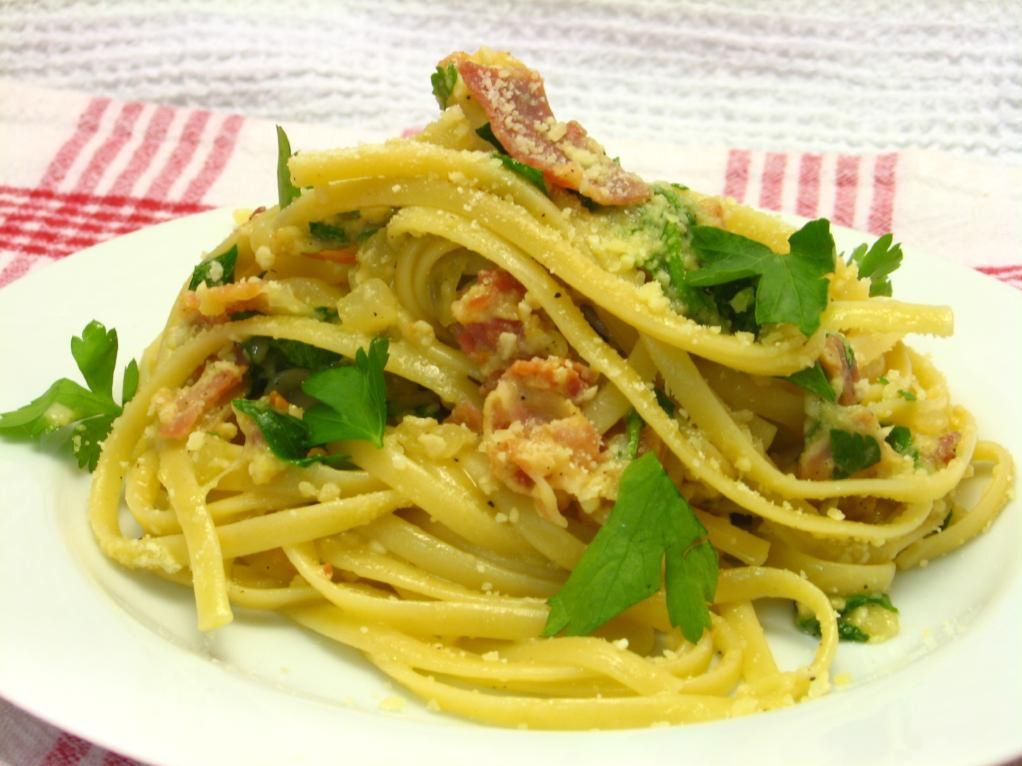
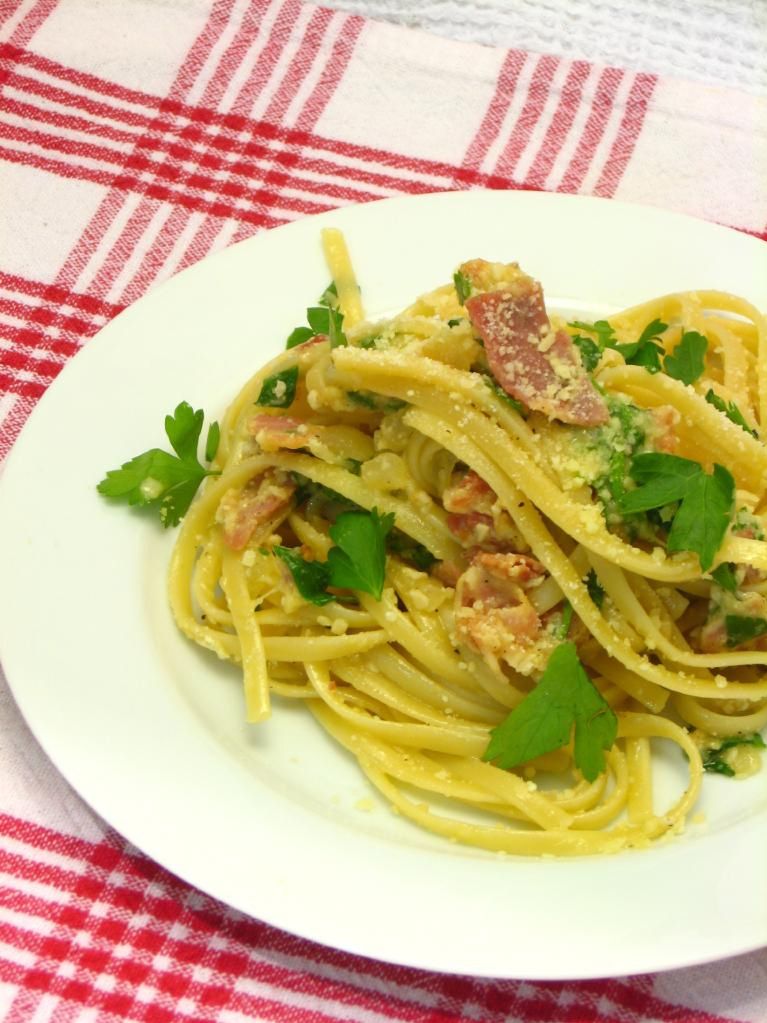
I guess the only thing left to tell you about is the most important part: the taste. The last time I ate pasta carbonara was in Little Italy in San Diego, so the creamy, rich, buttery sauce and the salty punch of the pancetta was a wonderful memory. I have to say, though, this rendition was even better than the one I remember. Bunches of torn parsley add a fresh note to the otherwise deep and indulgent pasta.

One flavor I noticed that stood out was the wine, so pick a good one — but don’t ask me how to do that! I picked my wine because it was white and had a penguin on the bottle. I got lucky, though, because it tasted perfect in the sauce. It was a Pinot Grigio, in case you want to replicate my random choice.

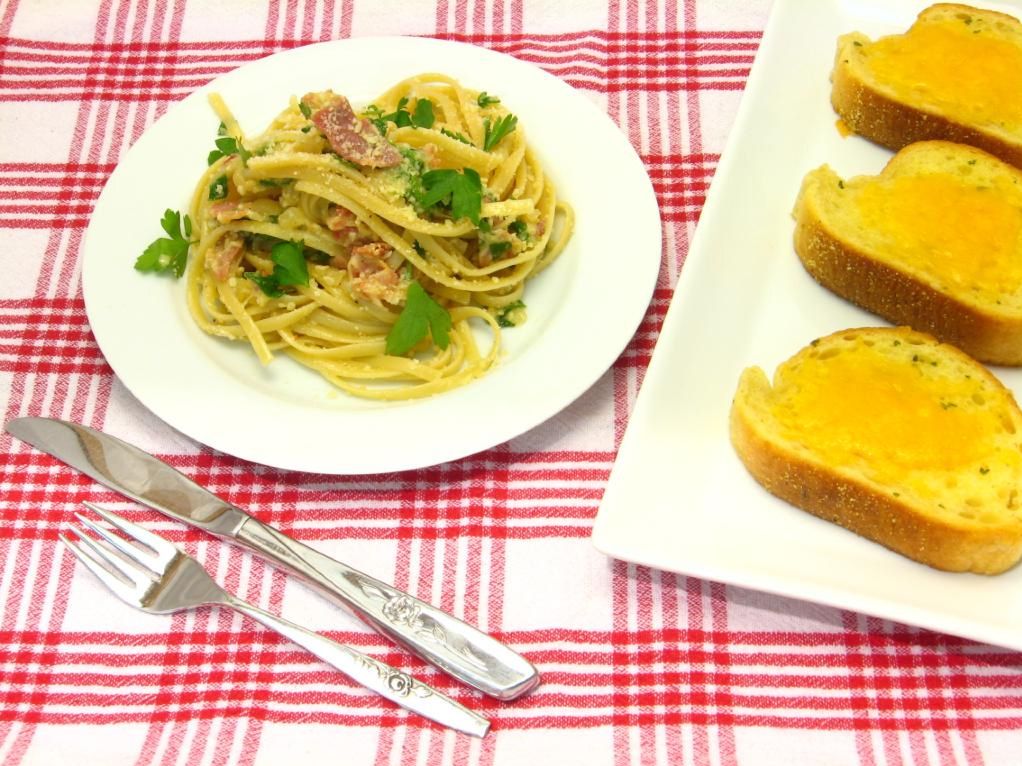
We paired our pasta with some cheesy garlic bread, and it was such a great combination. Actually, I considered making some big homemade garlic croutons to top the pasta itself, which would have been delectable if you want to give it a go. Make this as soon as you can manage to throw some linguine into your shopping cart. Bon Appétit!

Pasta Carbonara


Recipe by: Slightly adapted from Pioneer Woman’s blog by Framed
Yields: about 4 servings, if you’re us — perhaps 6 servings for normal folk.

Ingredients:
1 pound linguine pasta
4 eggs
1 pound bacon or pancetta (I used pancetta)
1 1/2 cups Parmesan cheese
8-12 cloves of garlic, sliced thin
1 large onion, chopped
1 cup chicken stock
1 cup white wine (or substitute another cup of stock)
1/2 stick of butter
1 handful of parsley
1-2 tablespoons black pepper

Directions:
1. Cut bacon into pieces about one inch wide. Cook until browned and crisp and set aside, saving bacon grease in the skillet.

2. Cook linguine in salted water until al dente.

3. Add chopped onions to bacon grease and let them cook down over a medium-high heat for a couple of minutes.

4. After the onions have cooked for a couple of minutes, throw in the garlic. Adding it after the onions have cooked a little will prevent the garlic from burning. After the onion and garlic have cooked for another couple of minutes, remove from the pan with a slotted spoon. Discard the grease.

5. Place the pan back on high heat until it starts to smoke a little. As soon as the pan begins to smoke, pour in the white wine (or chicken stock). Whisk until pan is thoroughly deglazed and all of the brown bits have come off of the bottom of the pan. Add 1 cup of chicken stock. Return onion and garlic to the pan. Let simmer over medium heat.

6. Crack four eggs into a large bowl. Add most of the Parmesan cheese, and roughly chop the parsley, adding it into the eggs as well. Leave a little Parmesan and parsley out for a garnish. Mix well with a fork.

5. Add the cooked hot pasta to the egg mixture and then add the onion mixture. Stir in ½ stick (1/4 cup) of butter and the cooked bacon. Mix it all together well. Pepper to taste. Garnish with parmesan and parsley. Throw out all previous carbonara recipes.


Enjoy!


Share Share this post with friends!

Pioneer Woman’s Macaroni and Cheese

Permit me a few moments of fangirldom: Pioneer Woman is coming to Charlotte in May! Willow Bird Baking reader Jennifer M. told me about it a few days ago and my family’s been all abuzz since then. I was bummed that she didn’t swing by this-a-way on her last book tour, so I’m pleased as a plum that she’ll be here this time around. My mom, dad, and I are already planning to make some t-shirts, grab some dinner, and make a night out of going to see her. Mike has politely declined, citing the possibility of standing in line for hours. His loss!

In the meantime, I’ll make some macaroni from the PW blog. I was not actually in the market for a new macaroni and cheese recipe (except I would like to get the one Mike’s mom makes . . . mmm!). I have an old family favorite that I could eat every day. It’s more custardy than creamy, though, and Mike’s a creamy guy. So I thought I’d give the P-Dub’s recipe a whirl. (Can I call her that?? To her face? What do you SAY to Pioneer Woman, anyway?? Probably something gushy punctuated with a nervous laugh. We’ll see!)

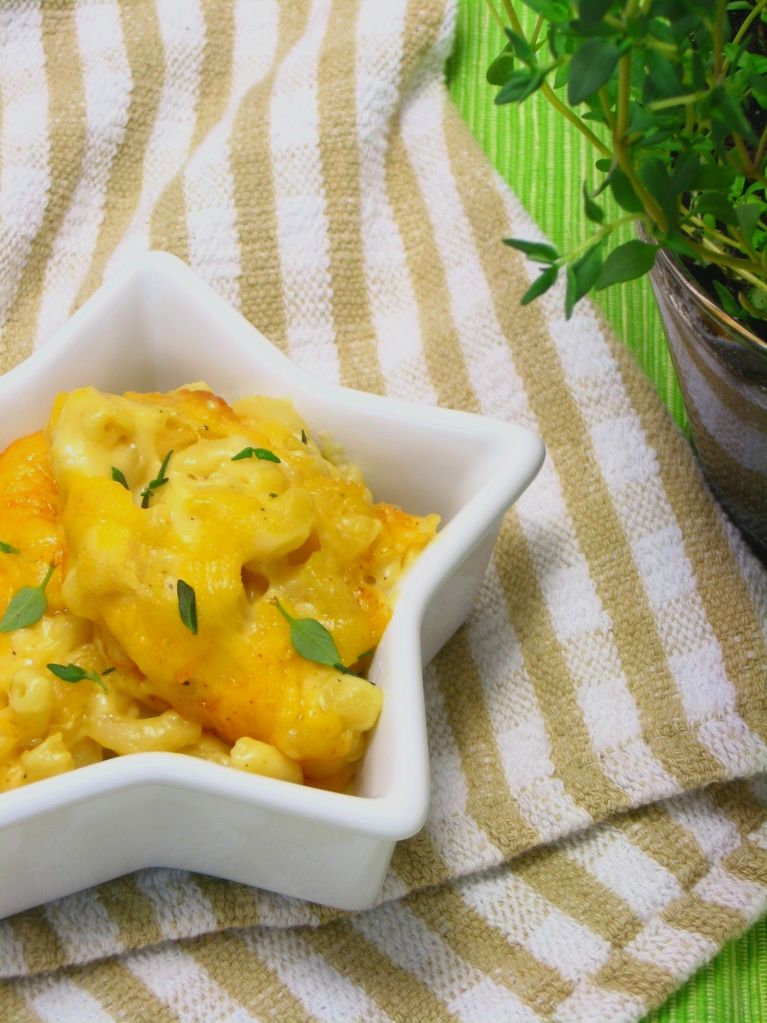
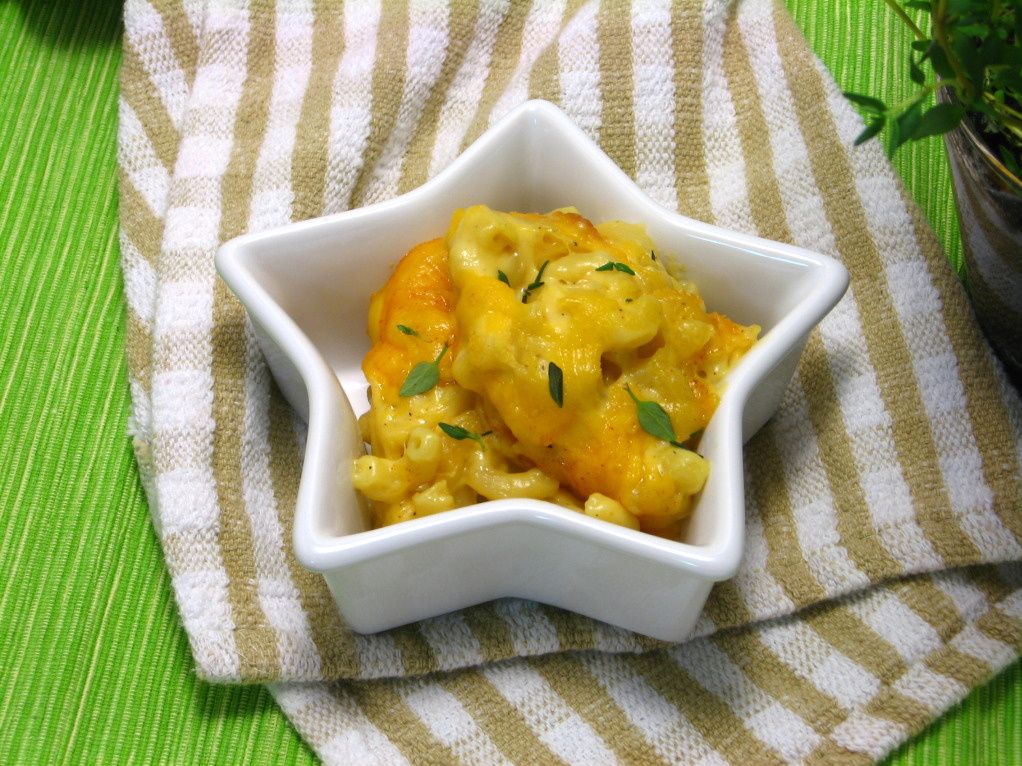
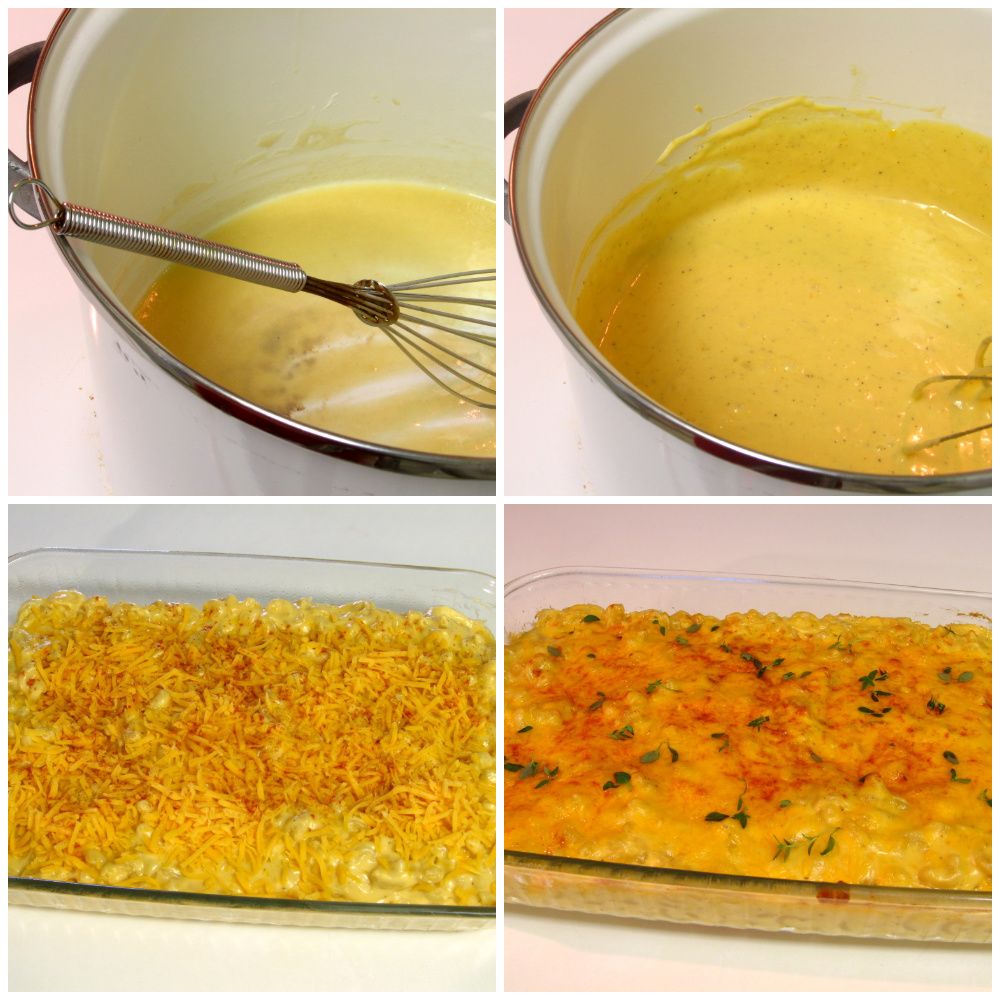
Mmm, and is this mac and cheese creamy! It starts with a roux (cooked flour and butter), but actually isn’t that fussy. You add in some milk, dry mustard, and spices of your choice, cook until thickened, add your cheese, and voila: a rich, thick, creamy cheese sauce in which to dunk those little noodles up to their elbows (get it?). The creamy macaroni then goes into a baking dish, is topped with cheese, and bakes for 20-25 minutes. Pretty simple, very luxurious.

If you’re a creamy macaroni and cheese fan, this recipe’s for you. Just don’t undersalt! Pioneer Woman charges you with this command at least three times in her post, but I still undersalted mine. Go for it with that salt shaker! You don’t want to feel like you just took in a gulp of ocean or anything, but you do want to enhance the great flavors of the dish.

Pioneer Woman’s Macaroni and Cheese


Recipe by: Adapted from Pioneer Woman
Yields: 9 x 13 in. pan of baked macaroni (4 to 8 servings)

Ingredients:
4 cups dried macaroni
¼ cups (1/2 stick or 4 tablespoons) butter
¼ cups all-purpose flour
2-½ cups whole milk
2 teaspoons (heaping) dry mustard, more if desired
1 whole egg, beaten
1 pound cheese, grated
½ teaspoons salt, more to taste
½ teaspoons seasoned salt, more to taste
½ teaspoons ground black pepper
Optional spices: cayenne pepper, paprika, thyme

Directions:
Preheat oven to 350 degrees F. Cook macaroni until very firm. Macaroni should be too firm to eat right out of the pot (about 5 minutes). Drain.

In a small bowl, beat egg.

In a large pot, melt butter and sprinkle in flour. Whisk together over medium-low heat. Cook mixture for five minutes, whisking constantly. Don’t let it burn.

Pour in milk, add mustard, whisk until smooth, and turn heat up to medium-high. Cook for five minutes until very thick. Reduce heat to low.

Temper eggs: Take 1/4 cup of the sauce and slowly pour it into beaten egg, whisking constantly to avoid cooking eggs. Whisk together till smooth. Pour egg mixture into sauce, whisking constantly. Stir until smooth.

Add in cheese and stir to melt.

Add salts and pepper. Taste sauce and add more salt and seasoned salt as needed! DO NOT UNDERSALT (Would you believe I still undersalted mine, even with this warning? Don’t undersalt the macaroni and cheese, y’all!)

Pour in drained, cooked macaroni and stir to combine. Serve immediately (very creamy) or pour into a buttered baking dish, top with extra cheese and a sprinkle of paprika, and bake for 20 to 25 minutes or until bubbly and golden on top.


Enjoy!

P.S. Looking for something adorable for Easter? How about Chocolate Chickie Cake Balls or Lemon Burst Fairycakes?


Share Share this post with friends!

1 11 12 13 14 15 16