Willow Bird Baking is the namesake of my darling little noodle (read: poodle), Byrd. As I sit here writing this post (and listening to the cooing of mourning doves outside my window), she is at the veterinary hospital recovering from a double knee surgery. Judging by her exuberance about riding in the car yesterday morning, she wasn’t really expecting it.

Apparently both her little kneecaps were popping out of place, and she couldn’t do some of her favorite things (fetching, jumping) without limping. Poor puppy pumpkin. The vet tech just called and said she is standing, but won’t try to walk, and won’t eat a thing. No wonder, since she’s in a strange place without her mama. We go pick her up at 12:30 today, so keep us in your prayers.

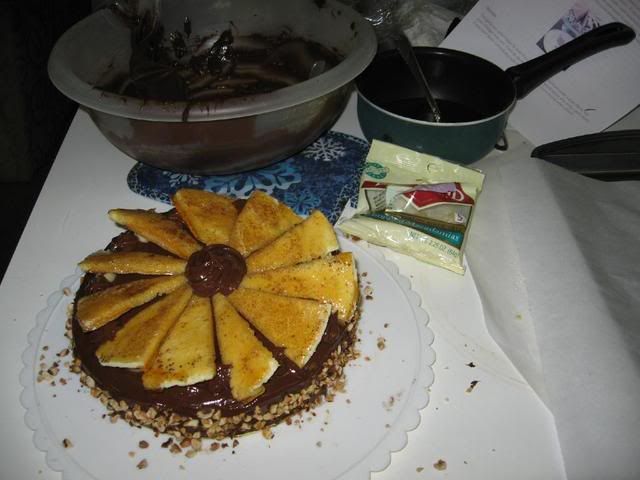
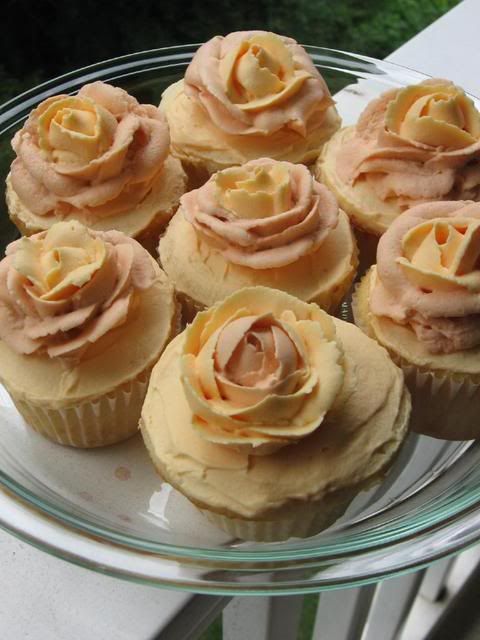
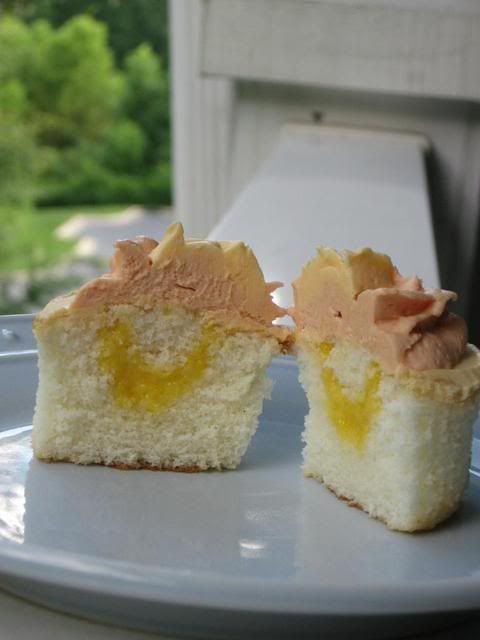
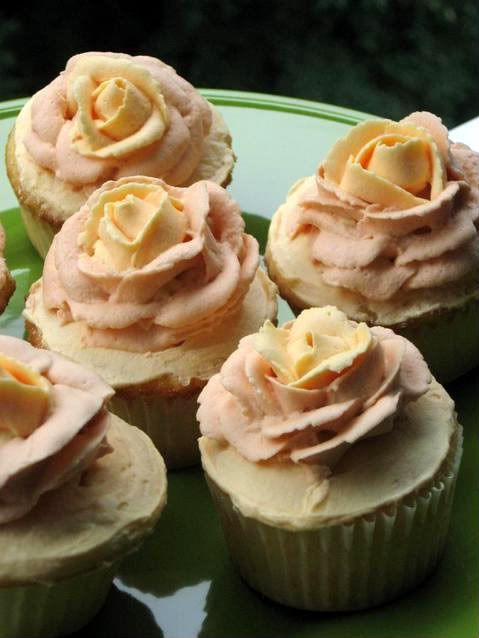
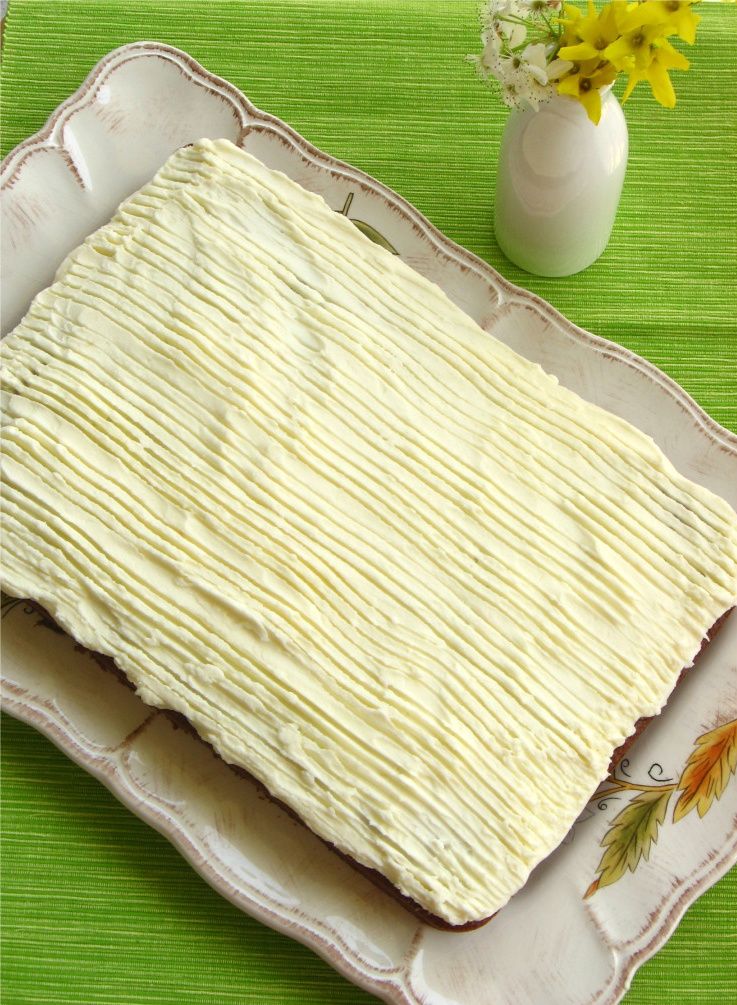
Get it? It’s decorated to look like a lemon.
Because of this unexpected $2,400 surgery, my finances have not been my friends lately. I’ve been cutting back: we haven’t been eating out, I’ve been trimming my grocery budget, and the last time I got my hair cut or colored was last August — I’m about ready to pick up some scissors myself. In addition to limiting my spending, another issue needed to be addressed: waste!

I’ve been a bad steward of my kitchen for too long. Buying a bag of cheese with the best intentions, but letting it mold. Buying a bag of fresh herbs, using them once, and letting them brown in the back of my fridge. Buying expensive ingredients (hello, pancetta, I’m talking to you) with the intention of using every last hunk, only to open my fridge drawer a month later and guiltily remember that broken resolution.

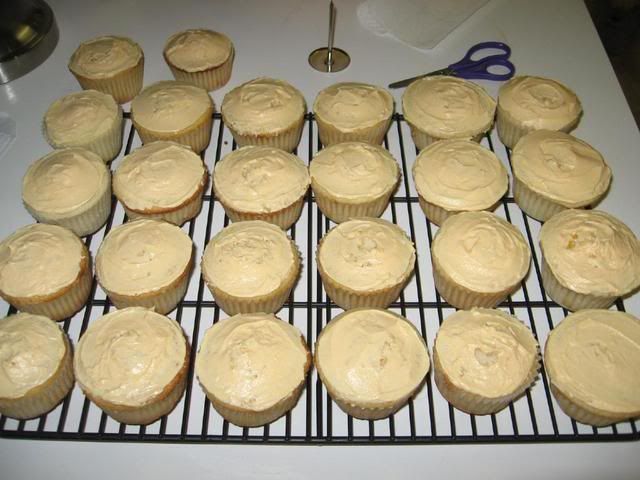
So, I’ve been trying to be better. Leftover creams, frostings, and doughs from one pastry become the basis for the next. I survey the fridge for unused ingredients before deciding what to make for Saturday dinner. It’s not perfect, but it’s better than it was!
This past weekend, leftover raspberry curd, nine egg whites left from making the curds, and some extra lemons provided my inspiration.

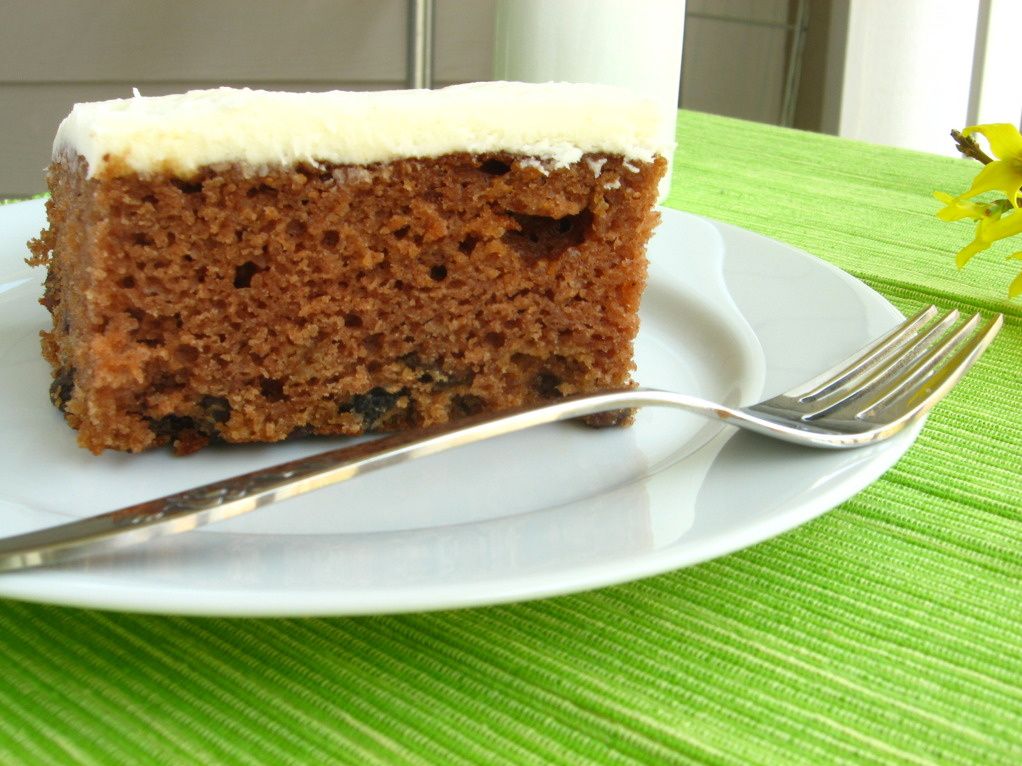
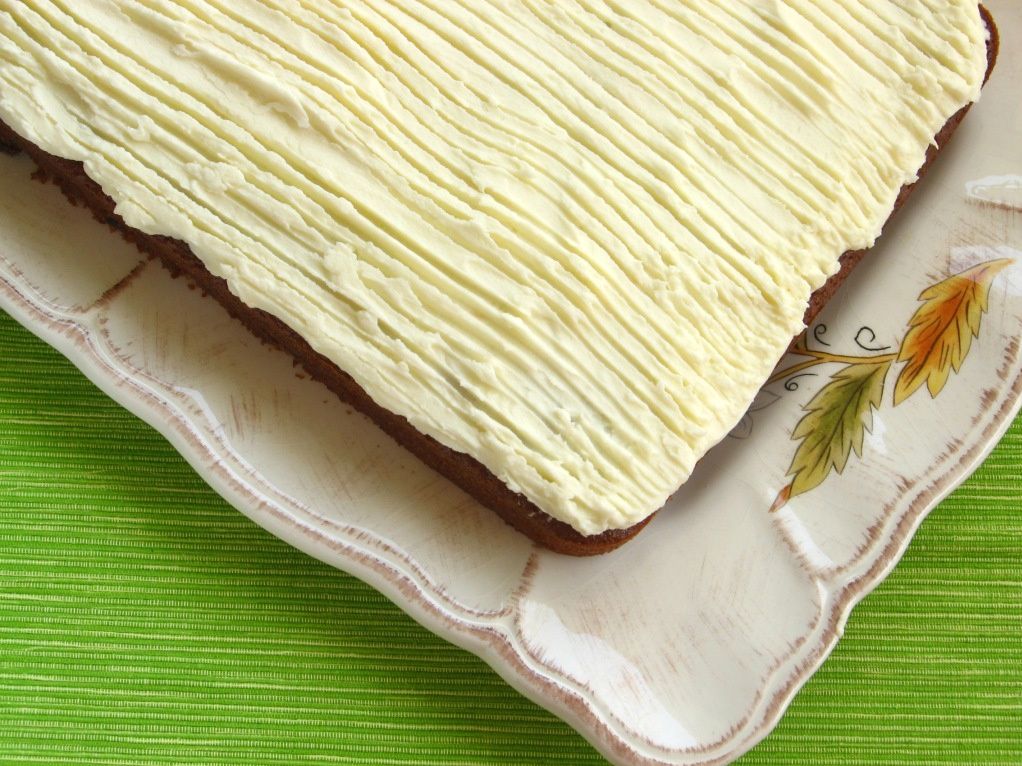
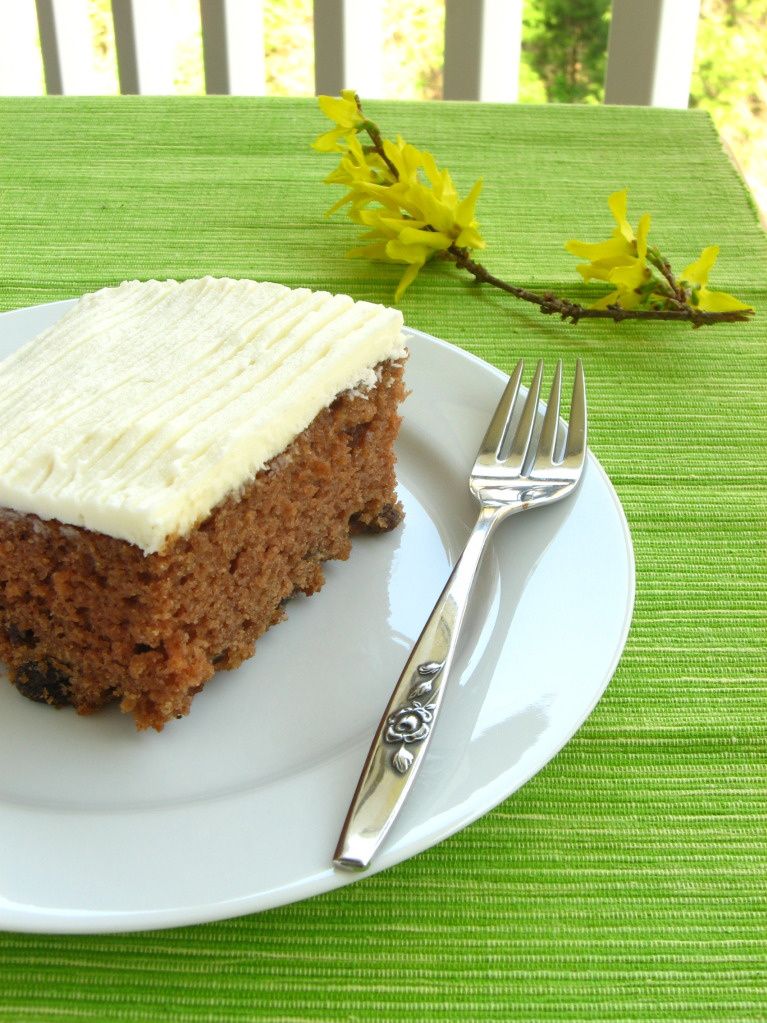
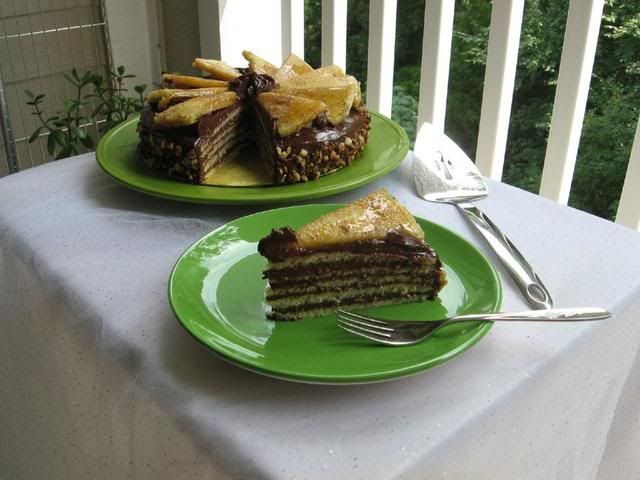
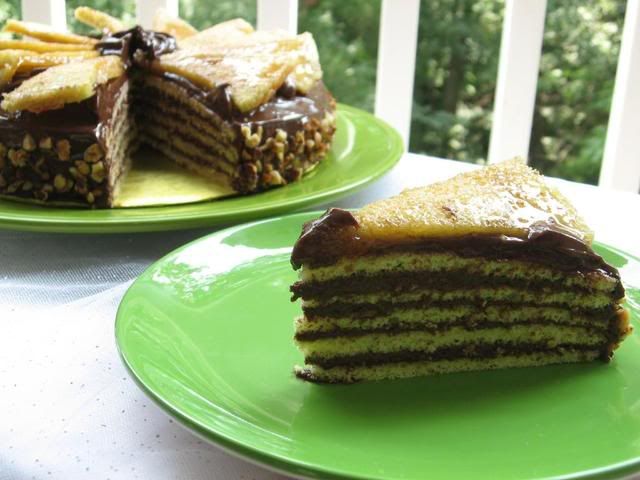
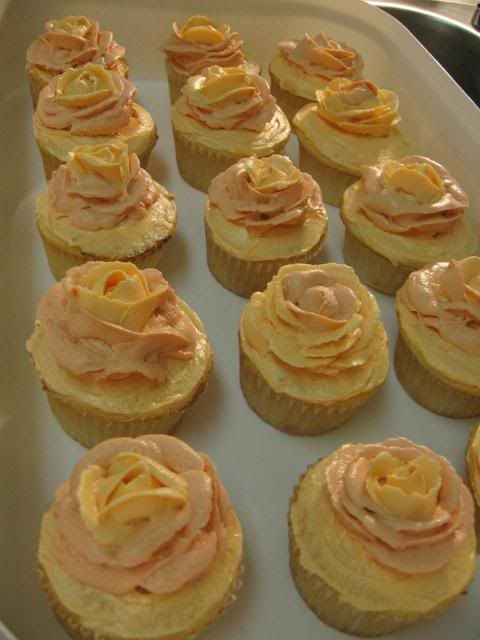
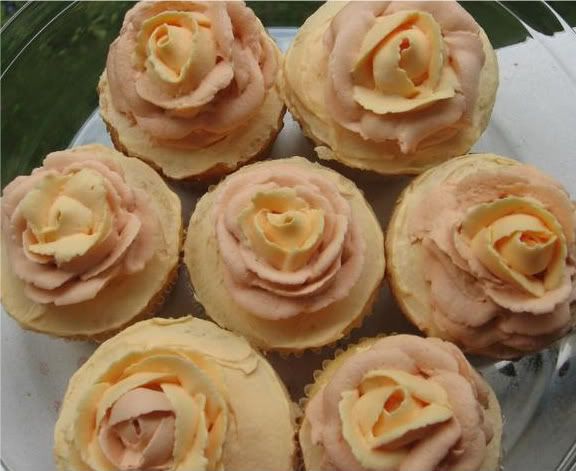
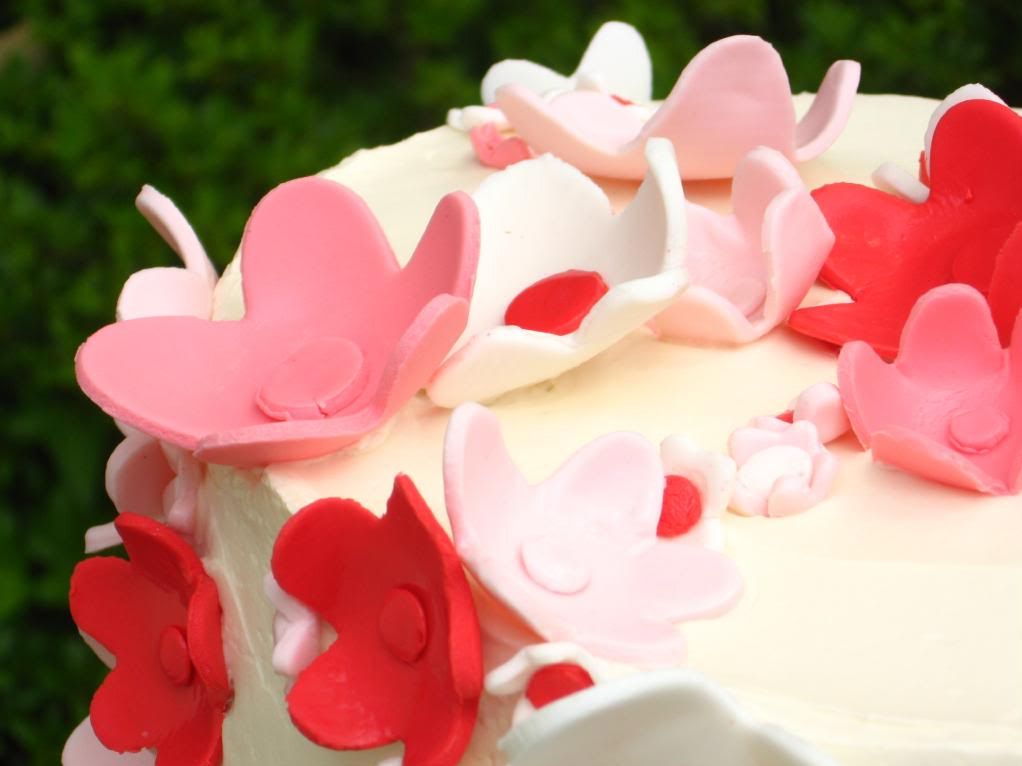
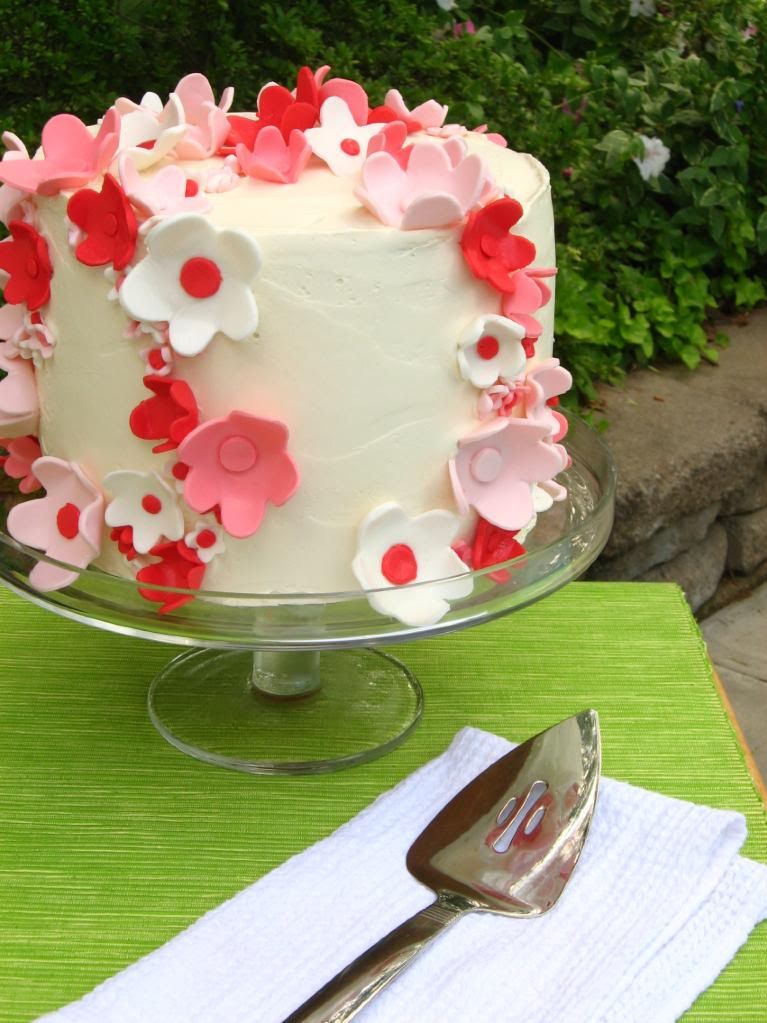
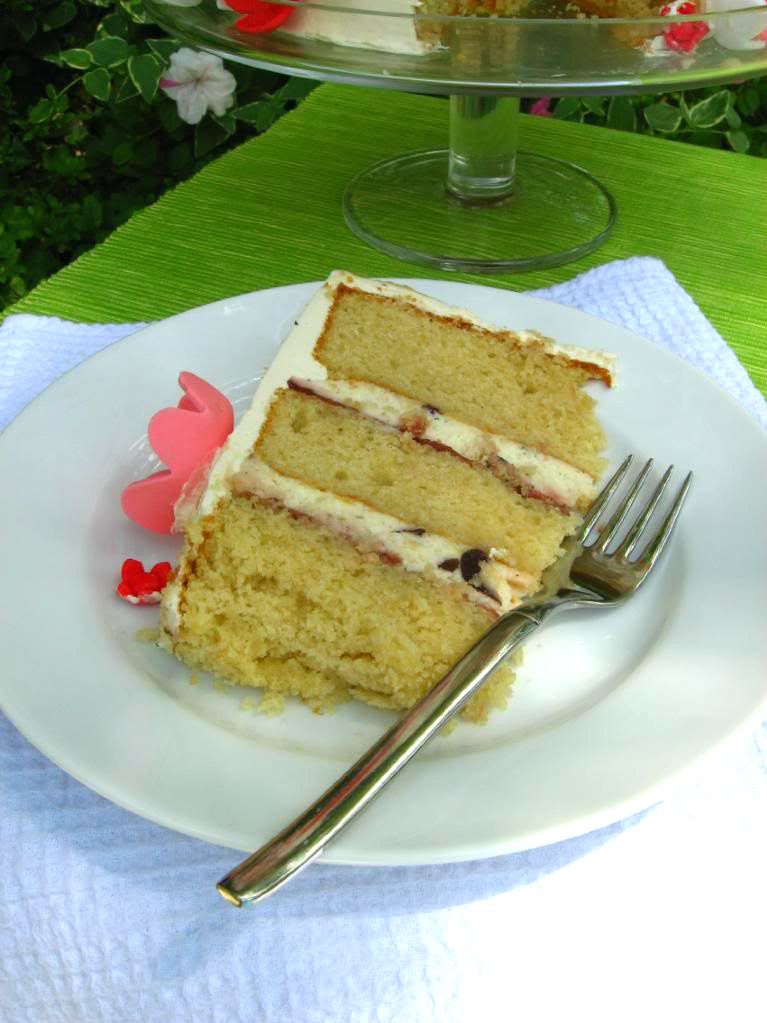
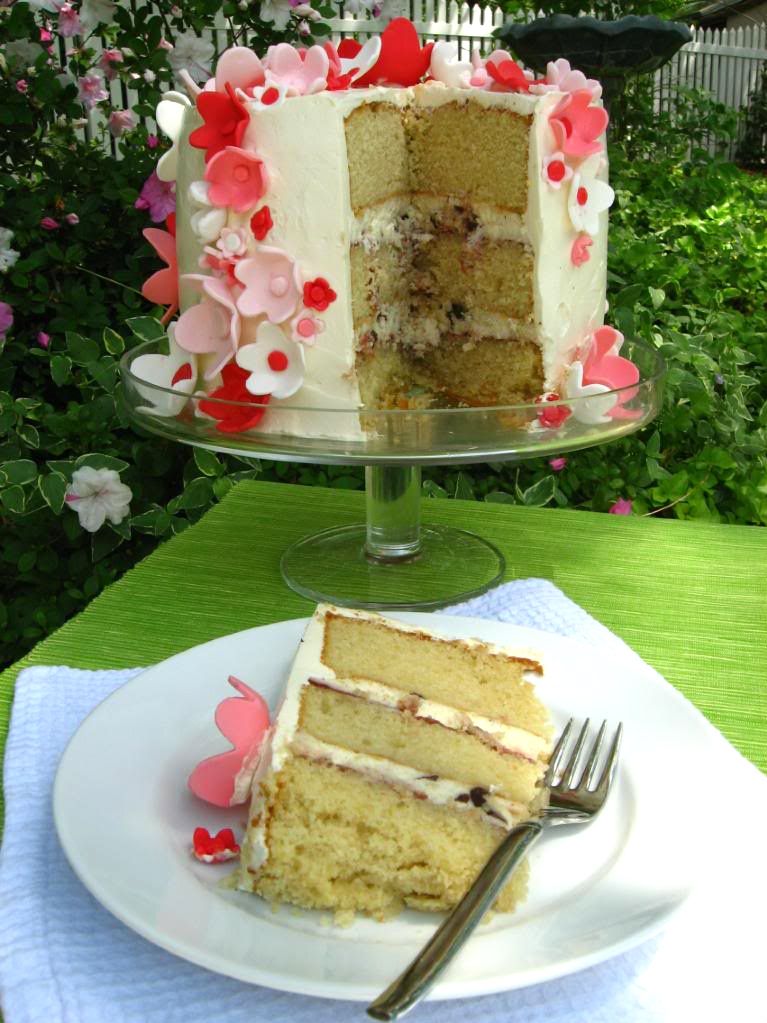
After buying only some butter, some fresh raspberries, and some white chocolate bark, I whipped up this cool, bright, summer dessert: Lemon Raspberry Cake. The cake itself is my favorite white cake recipe because it’s moist with the perfect crumb. Each layer is brushed with lemon syrup for moisture and tang before being coated in a luxurious raspberry curd. The frosting is rich and decadent, and even the white chocolate decorations added a nice dimension to the overall flavor of each slice.

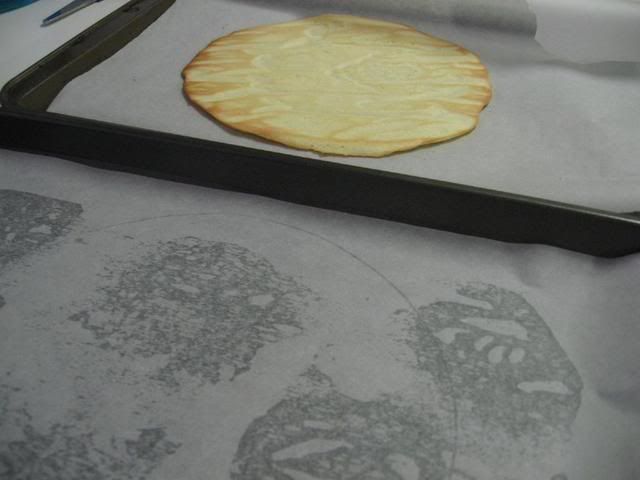
My “lemon” decoration broke as I was trying to release it from the wax paper I piped it on, so I pieced it together on top of the cake. It’s a little crooked! I’m sure you can do better. I also completely forgot the poppy seed until I made the third cake layer (I mixed it separately), so you’ll notice that only my middle layer has the seeds. Oh well! Crooked citrus or not, seeds or not, we all loved the refreshing taste of this layer cake! Happy eating!

Lemon Raspberry Cake
Recipe by: compiled from adaptations of The Way the Cookie Crumbles (white cake), Notes from my Food Diary (frosting and raspberry curd), Bon Appétit (lemon syrup)
Yields: 12 servings
Cake Ingredients:
3 3/8 cups cake flour, plus more for dusting the pans
1 1/2 cups + 3 tablespoons whole milk, at room temperature
9 large egg whites, at room temperature
3 teaspoons almond extract
1 1/2 teaspoons vanilla extract
2 1/4 cups + 3 tablespoons granulated sugar
6 teaspoons baking powder
1 1/2 teaspoons table salt
18 tablespoons unsalted butter (2 sticks and 2 tablespoons), softened but still cool
1 1/2 tablespoons poppy seed (optional)
Lemon Syrup Ingredients:
1/2 cup sugar
1/2 cup boiling water
1/4 cup fresh lemon juice
Raspberry Curd Filling Ingredients:
1/2 cup (1 stick) unsalted butter
Two 1/2-pints ripe raspberries or one 12-ounce package frozen raspberries, thawed
5 large egg yolks, lightly beaten
3/4 cup sugar
Pinch of salt
2 to 3 teaspoons fresh lemon juice
Lemon Buttercream Frosting Ingredients:
1 cup (2 sticks) unsalted butter, at room temperature
2 tablespoons finely grated lemon zest (I opted for a teaspoon or two of lemon extract instead)
3 cups sifted confectioners’ sugar
3 tablespoons fresh lemon juice
Directions: Make raspberry curd: Melt the butter in a large saucepan over medium heat. Add the raspberries, egg yolks, sugar, and salt and cook, mashing the berries and stirring frequently at first and them constantly at the end, until thickened, about 10 minutes (this took longer for me — about 15+). Pour this mixture through a coarse strainer, pressing to get out the maximum amount of liquid. Add in lemon juice to taste. Allow this to cool and then cover (with plastic wrap touching surface of curd to prevent skin from forming) and refrigerate until ready to use.
For the Cake: Set oven rack in middle position. (If oven is too small to cook both layers on a single rack, set racks in upper-middle and lower-middle positions.) Heat oven to 350 degrees. Spray three 9-inch round cake pans with nonstick cooking spray; line the bottoms with parchment or waxed paper rounds. Spray the paper rounds, dust the pans with flour, and invert pans and rap sharply to remove excess flour. (I brush my pans with Wilton’s cake release, then add the parchment circle and brush again. Be sure the parchment circles reach to the edges of your pan to ensure easily release).
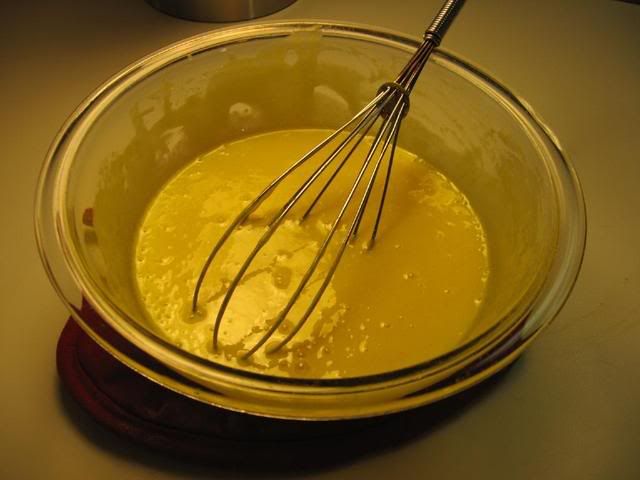
Pour milk, egg whites, and extracts into 2-cup glass measure, and mix with fork until blended.
Mix cake flour, sugar, baking powder, poppy seed, and salt in bowl of electric mixer at slow speed. Add butter; continue beating at slow speed until mixture resembles moist crumbs, with no powdery streaks remaining.
Add all but ½ cup of milk mixture to crumbs and beat at medium speed (or high speed if using handheld mixer) for 1½ minutes. Add remaining ½ cup of milk mixture and beat 30 seconds more. Stop mixer and scrape sides of bowl. Return mixer to medium (or high) speed and beat 20 seconds longer.
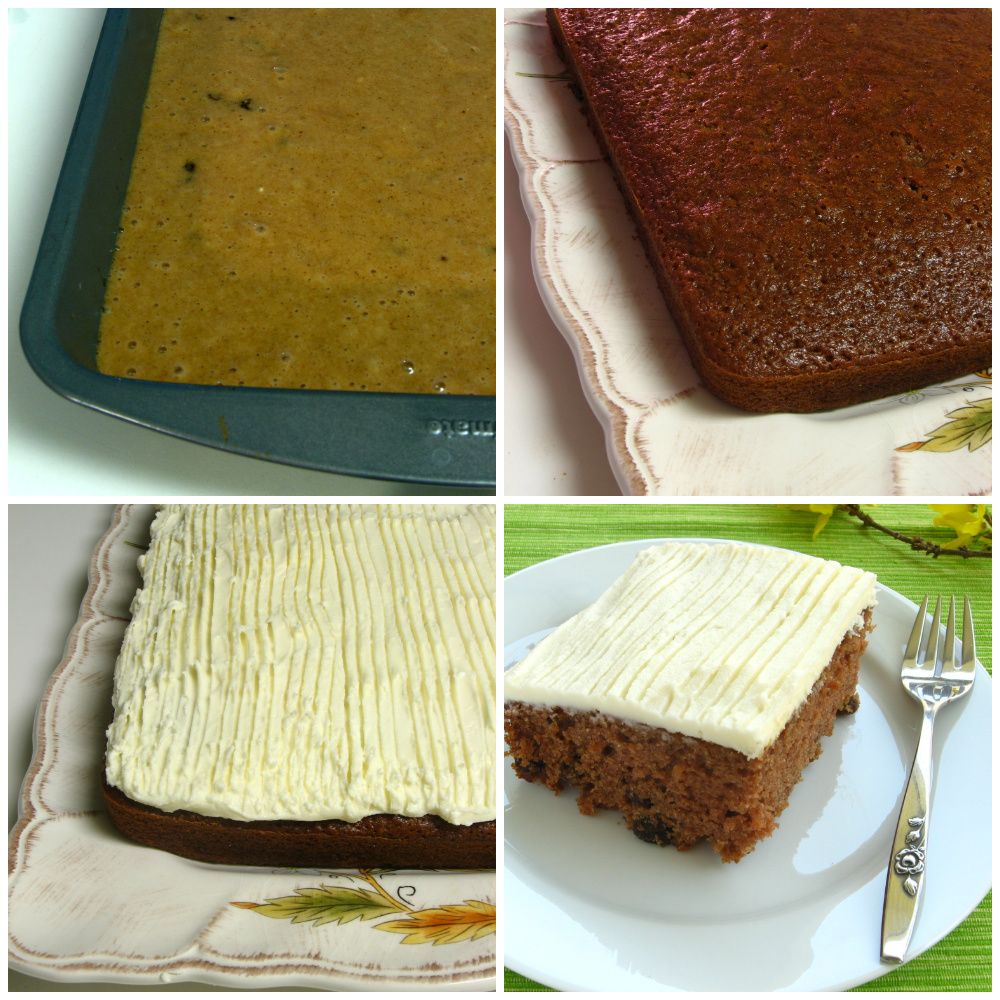
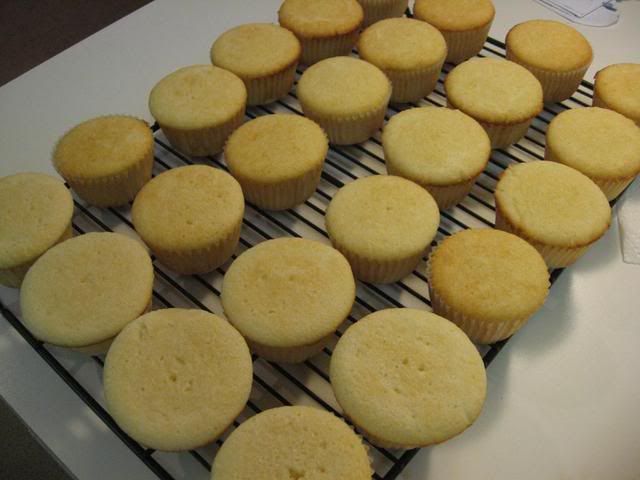
Divide batter evenly between prepared cake pans; using rubber spatula, spread batter to pan walls and smooth tops. Arrange pans at least 3 inches from the oven walls and 3 inches apart. (If oven is small, place pans on separate racks in staggered fashion to allow for air circulation.) Bake until thin skewer or toothpick inserted in the center comes out clean, 23 to 25 minutes.
Let cakes rest in pans for 3 minutes. Loosen from sides of pans with a knife, if necessary, and invert onto wire racks. Reinvert onto additional wire racks. Let cool completely, about 1½ hours.
Make lemon syrup: Place sugar in small metal bowl. Add 1/2 cup boiling water; stir to dissolve sugar. Stir in lemon juice.
Make frosting: Beat the butter and zest with an electric mixer on medium speed in a medium bowl until light and fluffy. Gradually add the sugar and beat until light and fluffy. Add the lemon juice and beat for 1 minute longer.
Assemble the cake: I love Smitten Kitchen’s Layer Cake Tips — especially the one about freezing your layers before working with them. It makes it so much easier.
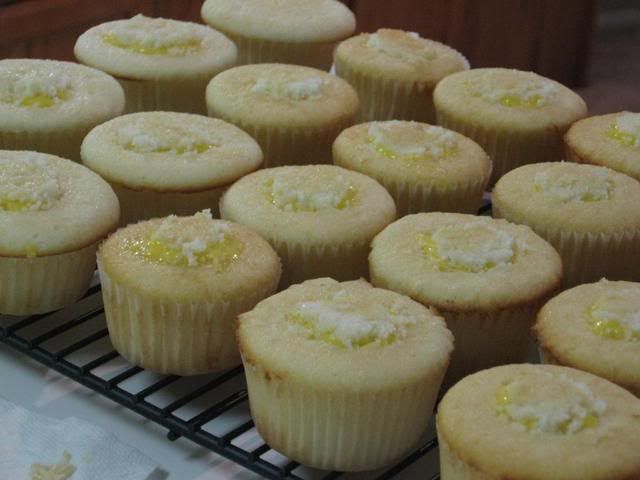
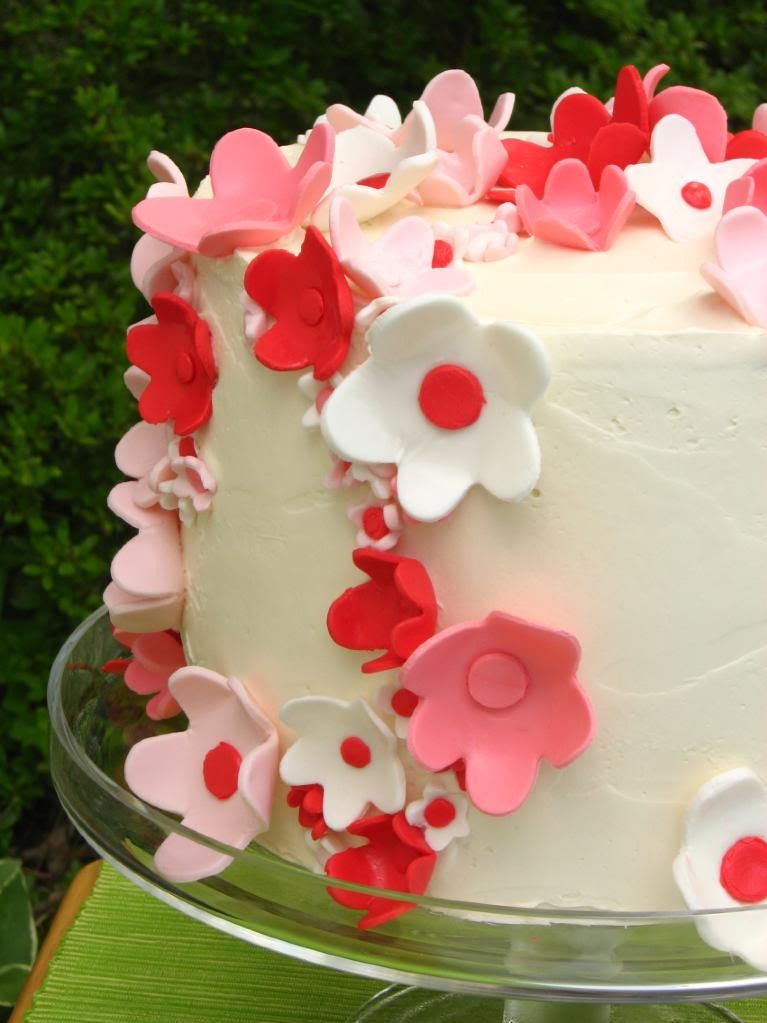
When cakes are completely cool, level each layer using a long, serrated knife. Use a little frosting to attach your bottom layer to a cake board or serving platter. Brush layer generously with lemon syrup. Spread a scant 1/2 cup raspberry curd on the layer (I may have used a little more). Continue building the layers this way, with syrup and curd, until all three layers are stacked. Frost with lemon buttercream frosting. I used white chocolate to create decorations for the sides and top of my cake. Cut into wedges and serve with fresh raspberries. Store in refrigerator.

Enjoy!


 Yay, SPRING!!