cupcakes

Celebrating Cupcakes — and a challenge for you!

Willow Bird Baking’s Cupcake Week has come to an end, but your cupcake fun is just beginning! As a grand finale to a week full of baking, filling, frosting, and eating, I’m handing my middle school cupcake campers’ thinking caps over to you. You’re gonna need ’em. Presenting the Willow Bird Baking Cupcake Challenge!

My goal is to inspire kitchen confidence in home cooks. In my own experience, I’ve gained confidence in two ways. The first is simply trying recipes that stretch my skill level. I’ll find a recipe with a technique I’ve never tried, watch some videos online, read about the technique, and give it a shot! Every success builds my confidence, and every flop provides a funny story. It’s a no-lose situation.

The second way I’ve gained kitchen confidence is by creating my own recipes. Sometimes I do this by combining components of several different recipes, by transforming one dessert into another, or by adding a fun surprise to an existing dessert. No matter how I accomplish it, any time I produce my own unique creation in the kitchen, it’s a huge confidence boost. Giving you that boost is the goal of the cupcake challenge!

Here’s what you do:


-Make your own cupcake! Choose a cake recipe, a filling recipe, and a frosting recipe and put them together to form your own unique creation (see below for lots of helpful inspiration!) Make sure your cupcake has all 3 components!

– Take a photo of your cupcake (we’d love to see a photo of the inside, too!) and email it to me at juruble ‘at’ gmail ‘dot’ com with a few comments about how it went and a link to your blog (if you have one — if you don’t, that’s okay too!).

– Do this before Wednesday, September 7, 2011. In a month, I’ll post all of your cupcake masterpieces here on Willow Bird Baking!

– You can also grab the badge at the bottom of this post if you’d like to let your readers know that you’re participating in the Cupcake Challenge, but it’s optional.

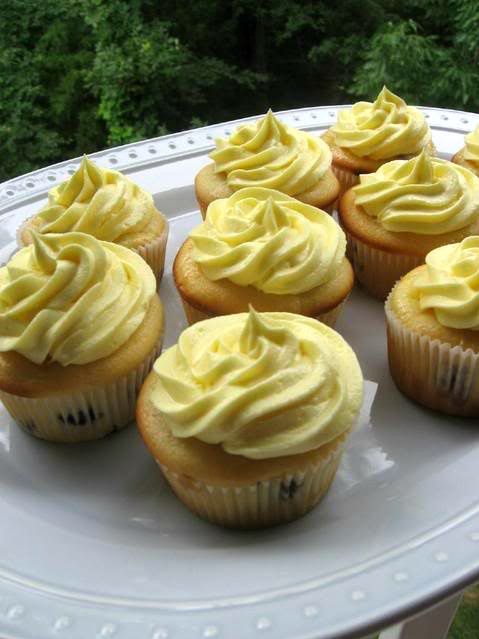
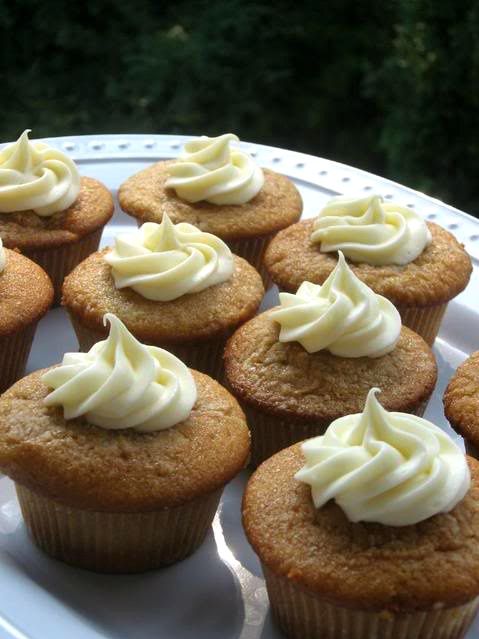
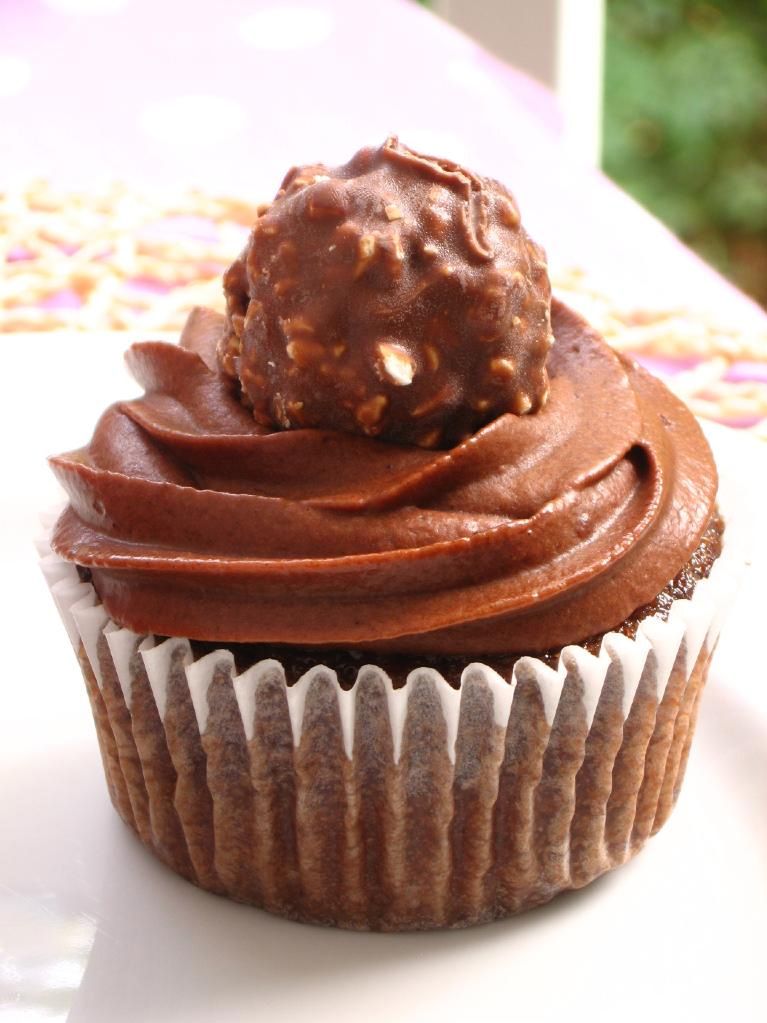
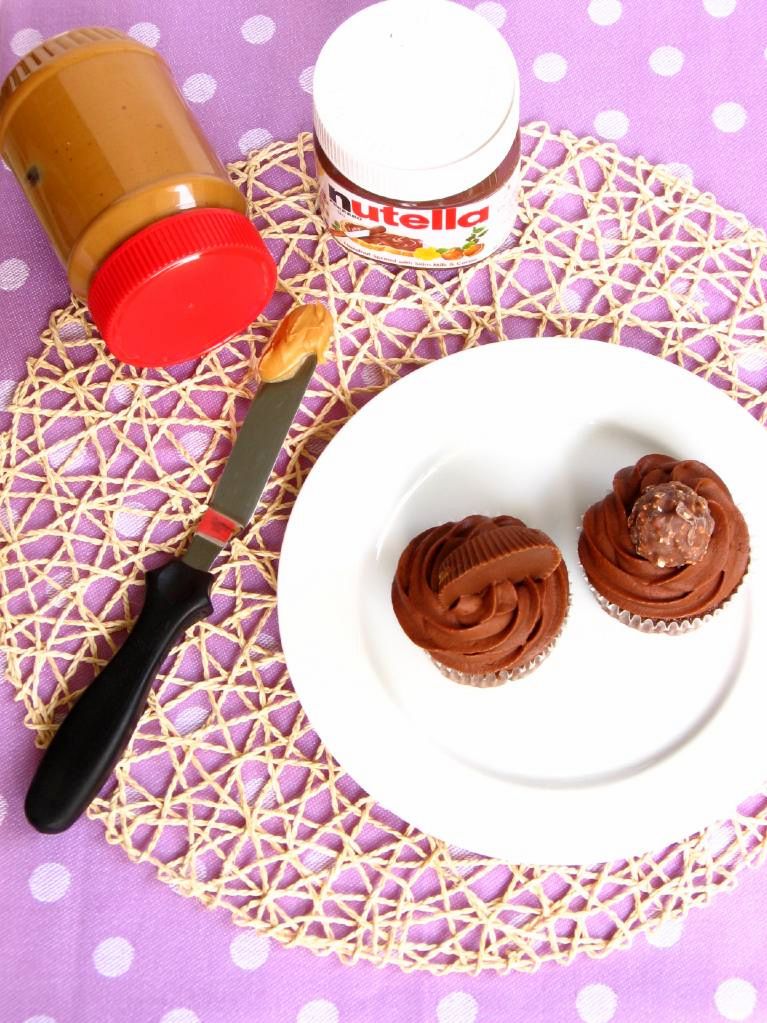
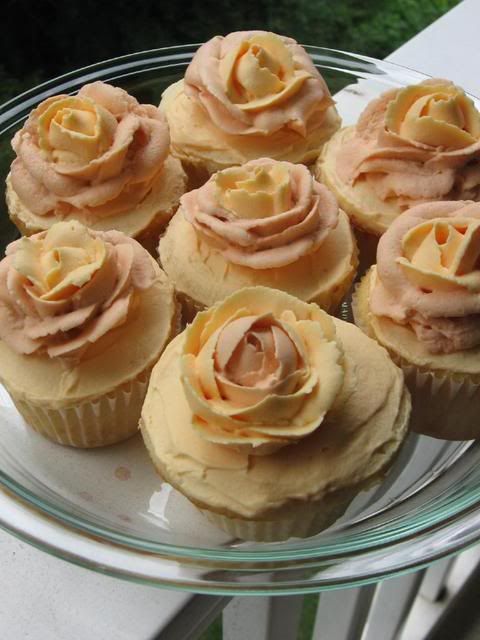
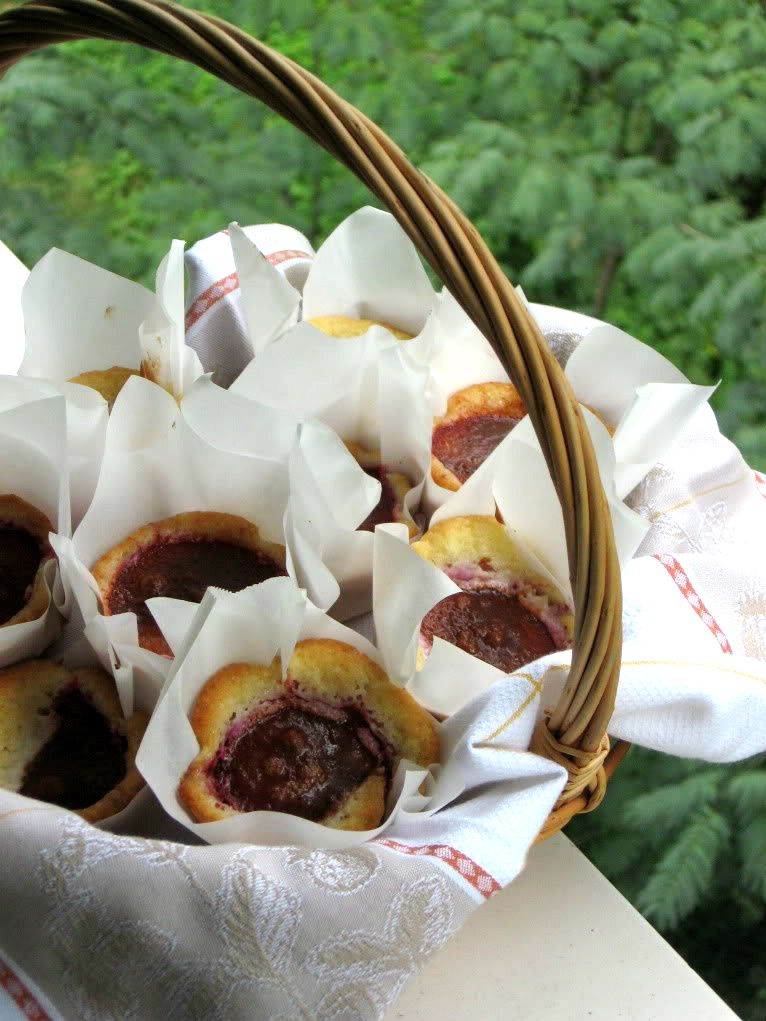
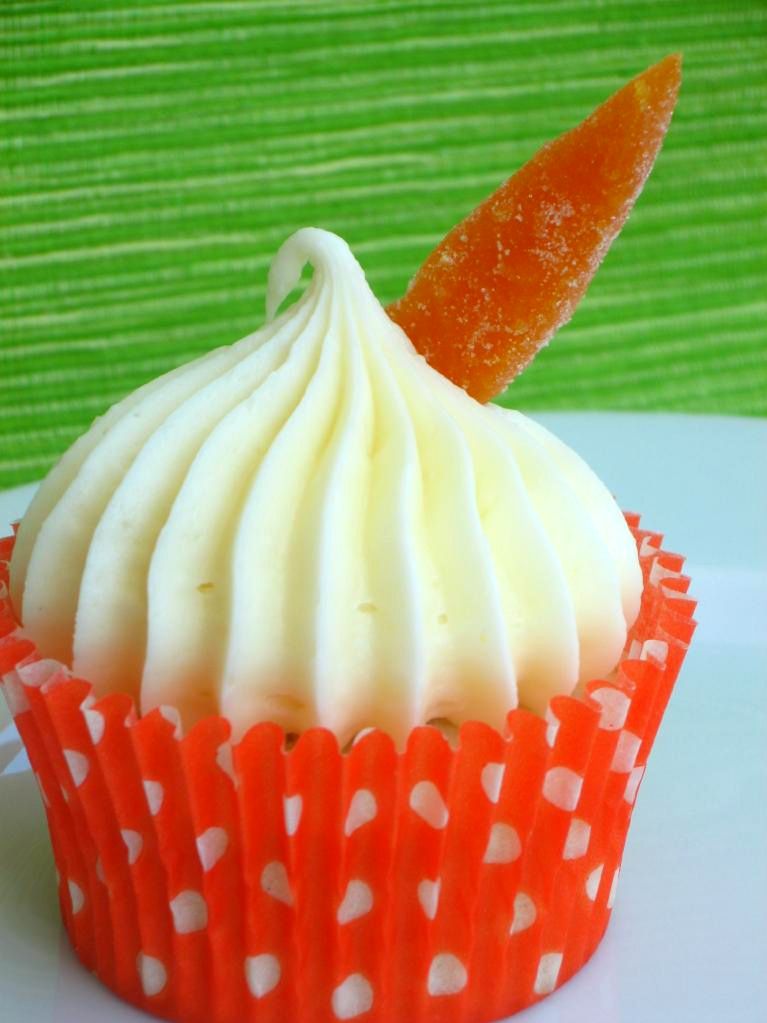
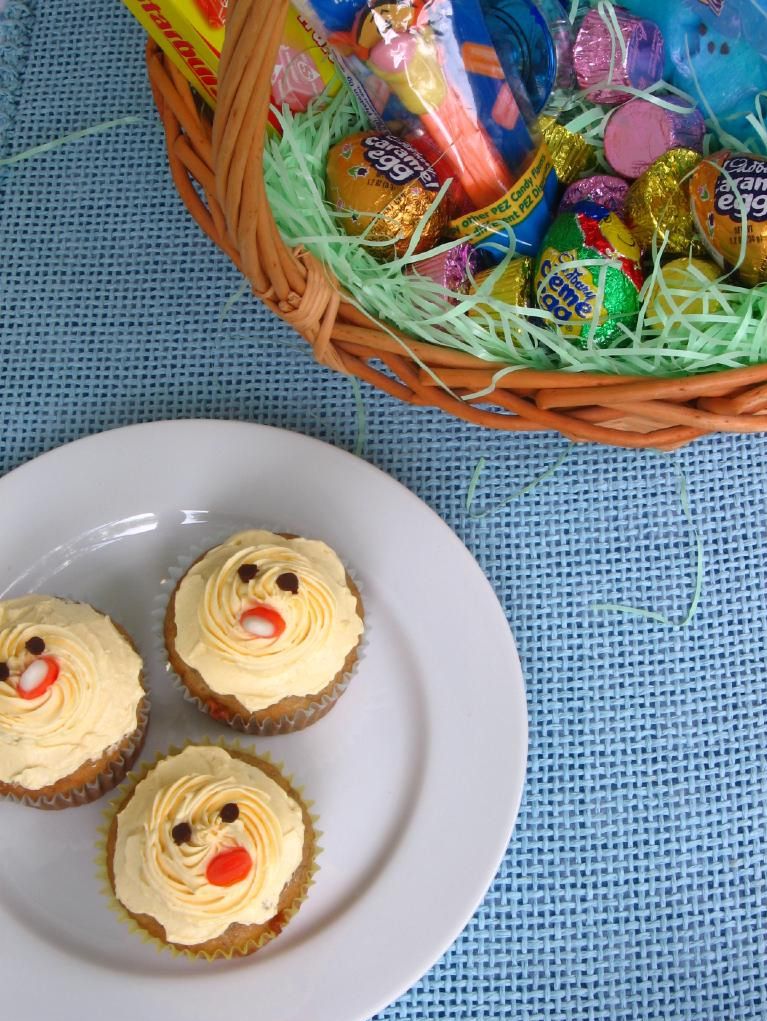
If you’d like to participate, leave me a comment below and let me know! You can use these cupcakes for inspiration!

Willow Bird Baking’s Cupcake Recipes:

1. Blueberry Lemon Cheesecake Cupcakes
2. Strawberry Jam Cupcakes
3. Paula Deen’s Red Velvet Cupcakes with Cream Cheese Frosting
4. Peach Cobbler Cupcakes

5. Peach Lemon Cupcakes
6. Ferrero Rocher Cupcakes 1
7. Ferrero Rocher Cupcakes 2
8. Reese’s Cup Cupcakes

9. Lemon Burst Fairycakes
10. Mango Raspberry Rosecakes
11. Chocolate Cheesecake Stuffed Cupcakes with Ganache
12. Plum and Cream Mini Tortes

13. Clementine Burst Cupcakes
14. Ice Cream Cupcakes
15. Banana Coconut Cream Easter Cupcakes
16. Chocolate Pistachio Cream Cupcakes

17. Banana Split Cupcakes
18. Creamsicle Cupcakes
19. Strawberry & Cream Cupcakes
20. Apple Cinnamon Cream Cupcakes

More Inspiration:

To inspire my students, I gave them this list of cake, filling, and frosting flavors. These are all sweet suggestions, but who says you can’t make a savory cupFAKE? The possibilities probably end somewhere, but I sure don’t know where!

Cake Flavors
chocolate, vanilla, almond, strawberry, orange, lemon, blueberry, peach, carrot cake, hummingbird cake, spice cake, cheesecake, pound cake

Filling Flavors
vanilla mousse, easy pudding mix mousse with any flavor, chocolate mousse, cinnamon mousse, pastry cream, coconut pastry cream, coffee pastry cream, berry/fruit mousse, whipped cream, marshmallow fluff, lemon/citrus curd, jam/jelly, cookie dough, peanut butter, peanut butter mousse, Nutella, other nut butters, frostings, ice cream

Frosting Flavors
chocolate/vanilla/fruit/citrus buttercream, Swiss meringue buttercream, cream cheese frosting, fruit/citrus cream cheese frosting, brown sugar buttercream, whipped cream, 7 minute frosting

Toppings
berries, nuts, sprinkles, sanding sugar, graham cracker crumbs, cookies, cookie crumbs, candy, toasted marshmallows

Finally, here’s a WBB Cupcake Challenge badge if you want to grab it:

If you liked this post, please:
Subscribe to Willow Bird Baking
Follow Willow Bird Baking on Twitter
Follow Willow Bird Baking on Facebook
Give this post a thumbs up on StumbleUpon


ShareOther ways to share this post with friends!

Apple Cinnamon Cream Cupcakes: NOT Back-to-School Cupcakes!

It’s Cupcake Week on Willow Bird Baking! Cupcake Capers was a 5-day summer camp I conducted last week wherein 5 middle school girls learned to bake, fill, and frost cupcakes. We eschewed pedestrian cupcake flavors in favor of creative combinations that I now get to share with you! Every day this week I’ve been posting fun memories and recipes from Cupcake Camp.


No really, they’re not Back-to-School Cupcakes.

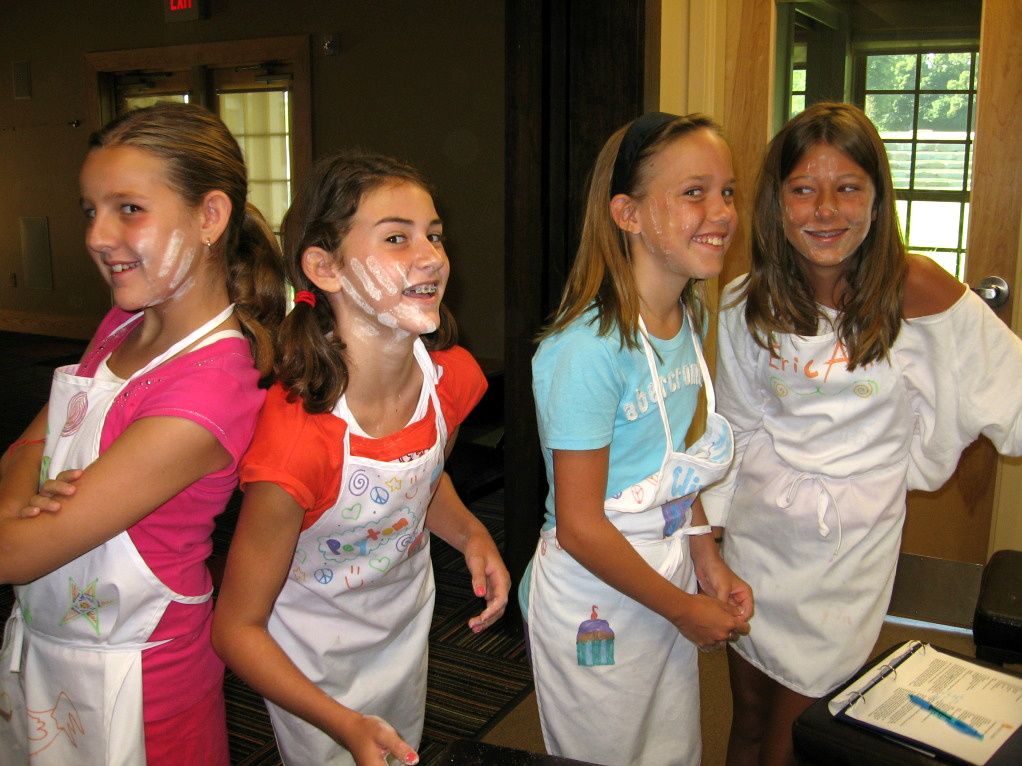
Like all good things, Cupcake Camp had to eventually come to an end. Day 5 arrived and so did the campers, eager to pack in one last day of cake pops and cupcakes. At the end of the day they would finally carry home their aprons, recipe notebooks, and colorful bakery boxes filled with the cupcakes we’d made all week (the ones they hadn’t already devoured, that is) to share with their families.

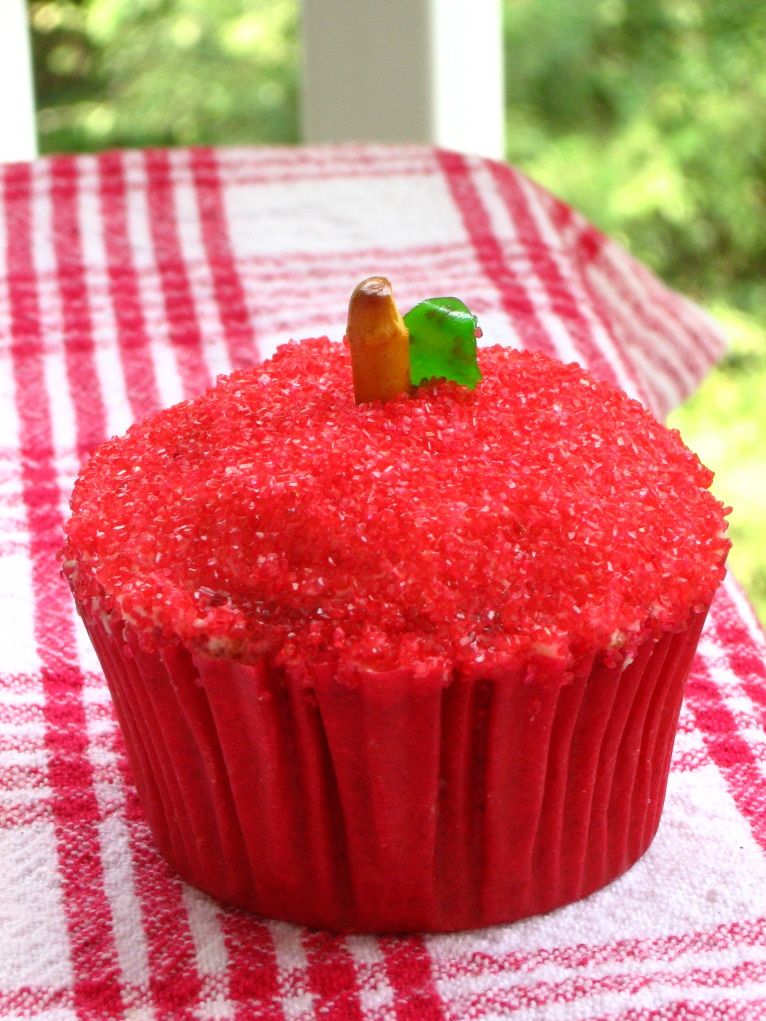
But first, we sat down to complete the cutest decorating job of the week: turning cupcakes into apples! We baked these apple cupcakes in bright red liners to begin creating the effect. Once they were cooled and frosted, we dipped the tops in red sanding sugar, used bits of pretzel for their “stems,” and cut “leaves” from green fruit roll-ups.

These cupcakes weren’t just adorable, though — they were also one of the girls’ favorite recipes all week long. The spice cake, creamy cinnamon mousse, and brown sugar buttercream frosting melded into a delicious preview of fall flavors. Bright smiles broke out all around as the campers first tasted one of their “apples.” Even though they had already ranked their favorite cupcakes, several of them went back and added Apple Cinnamon Cream Cupcakes right at the top of their lists!

After tasting, we sat back and admired our handiwork. Meticulous Mary Rood made the comment that these looked like Back-to-School cupcakes. She’s right, of course. Isn’t it funny how just as soon as August peeks around the corner, stores everywhere roll out the red plaid, apples, mini chalkboards, and school supplies in an array of primary colors? These cupcakes fit right in.

Her comment sunk in for a moment before our summer spirit rebelled. We still have a few weeks of freedom! The temperature still climbs to 100 degrees each day! We still have beach trips, pool trips, and sprints through the sprinkler planned!

I don’t care what the stores might have you believe, it’s still SUMMER! We’ll go back to school when our parents drag us, kicking and screaming, and not one second before!

(Okay, I guess I can’t quite wait until my parents drag me . . . )

So these may look like Back-to-School cupcakes. They may taste like Back-to-School cupcakes. I may have gotten carried away and photographed them surrounded by a bunch of the brightly colored school supplies I just made fun of.

But these are NOT Back-to-School cupcakes. These are IT’S-STILL-SUMMER-AND-I-DON’T-CARE-WHAT-YOU-SAY-LA-LA-LA cupcakes.

Now that we’re clear on that, you should go make them and eat about twenty.

What summer plans do you still have to accomplish before summer ends? Or, for readers on the tail end of winter, what exciting things do you have lined up for the spring?

Apple Cinnamon Cream Cupcakes


Recipe by: adapted from Baked Bree
Yields:about 24-28 cupcakes

Cupcake Ingredients:
2 cups flour
2 teaspoons ground cinnamon
1 teaspoon baking soda
3/4 teaspoon salt
1/2 teaspoon fresh nutmeg
1/8 teaspoon ground cloves
2 sticks butter at room temperature
1 cup sugar
1/2 cups brown sugar
4 large eggs
1 1/2 cups applesauce
1 cup toasted pecans, chopped (optional)

Cinnamon Mousse Ingredients:
1 cup milk
1 cup heavy cream
1 (4 serving) package vanilla Instant Pudding Mix (not Cook & Serve)
1 1/2 teaspoons cinnamon
3/4 teaspoon nutmeg

Brown Sugar Buttercream Frosting Ingredients:
1 stick room temperature butter
1/4 cup shortening
1/3 cup brown sugar
1/2 teaspoon cinnamon
3 cups of powdered sugar (depends on consistency desired)
3 tablespoons of heavy cream (depends on consistency desired)

Directions:
*Note: This recipe makes twice as much mousse as you need for filling the cupcakes. If you want to use half the pudding pack and save the rest for later, just measure it out and do so. Or use the extra mousse for another project (you know, like eating it with a spoon).

Make cupcakes: Line two muffin tins with paper liners. Preheat oven to 350°F. In a medium bowl, whisk together dry ingredients. In a separate, large bowl, cream together butter, sugar, and brown sugar until light and fluffy (several minutes). Add the eggs in one at a time, beating after each addition, and then mix in the applesauce. Finally, mix in the dry ingredients until just combined.

Fill each cupcake liner about 3/4 full of batter. Bake for 15-20 minutes and let cool completely.

Make mousse: To make the cinnamon mousse, combine milk, cream, and pudding mix, and spices in a medium bowl. Beat with a mixer until you reach soft peaks, or a thick whipped cream consistency (this takes a few minutes). Refrigerate mousse until you’re ready to use it.

Make frosting: To make the frosting, beat butter and shortening together until light and fluffy. Add the brown sugar and cinnamon and mix. Gradually add the powdered sugar, 1/2 cup at a time, and alternately add the cream. Adjust these items until desired consistency is reached.

Assemble cupcakes: To fill the cupcakes, use the Cone Method: cut an upside-down cone out of the top of each one. Cut off the tip of the cone (and eat it, if you wish) leaving just the “lid.” Fill the cavity with mousse using a piping bag or zip-top bag with the corner cut off, and then replace the “lid” to give you a relatively smooth surface to frost. Don’t overfill these, or they’ll be hard to frost.

Use the back of a spoon, a knife, or an offset spatula to cover the cupcakes with a layer of frosting. To ensure you don’t accidentally shift your “lid,” use a pretty thick layer of frosting and just gently pull it out toward the sides of the cupcake to achieve full coverage — that way you’re never pulling your spoon/spatula straight up and pulling the lid off. Dip frosted cupcakes into a bowl of red sanding sugar or sprinkles. Add a piece of a pretzel stick for a stem. Add a leaf cut from a green fruit roll up (I made a little indentation in my frosting with the tip of a knife to stick the tip of the leaf into). Enjoy!

All Cupcake Week Recipes:
Day One: Chocolate Pistachio Cream Cupcakes
Day Two: Banana Split Cupcakes and Cake Pops
Day Three: Creamsicle Cupcakes
Day Four: Strawberry & Cream Cupcakes and Cake Pops
Day Five: Apple Cinnamon Cream Cupcakes

If you liked this post, please:
Subscribe to Willow Bird Baking
Follow Willow Bird Baking on Twitter
Follow Willow Bird Baking on Facebook
Give this post a thumbs up on StumbleUpon


ShareOther ways to share this post with friends!

Strawberry & Cream Cupcakes and Cake Pops

It’s Cupcake Week on Willow Bird Baking! Cupcake Capers was a 5-day summer camp I conducted last week wherein 5 middle school girls learned to bake, fill, and frost cupcakes. We eschewed pedestrian cupcake flavors in favor of creative combinations that I now get to share with you! Every day this week I’ll be posting fun memories and recipes from Cupcake Camp.

On Day 4 of Cupcake Camp, things got a little silly. I’ve talked before about the moment toward the end of the school year when teachers realize they’ve controlled their classes as long as they can, and that the powder keg of summer frenzy is about to blow. Turns out cupcake camp has that moment, too!

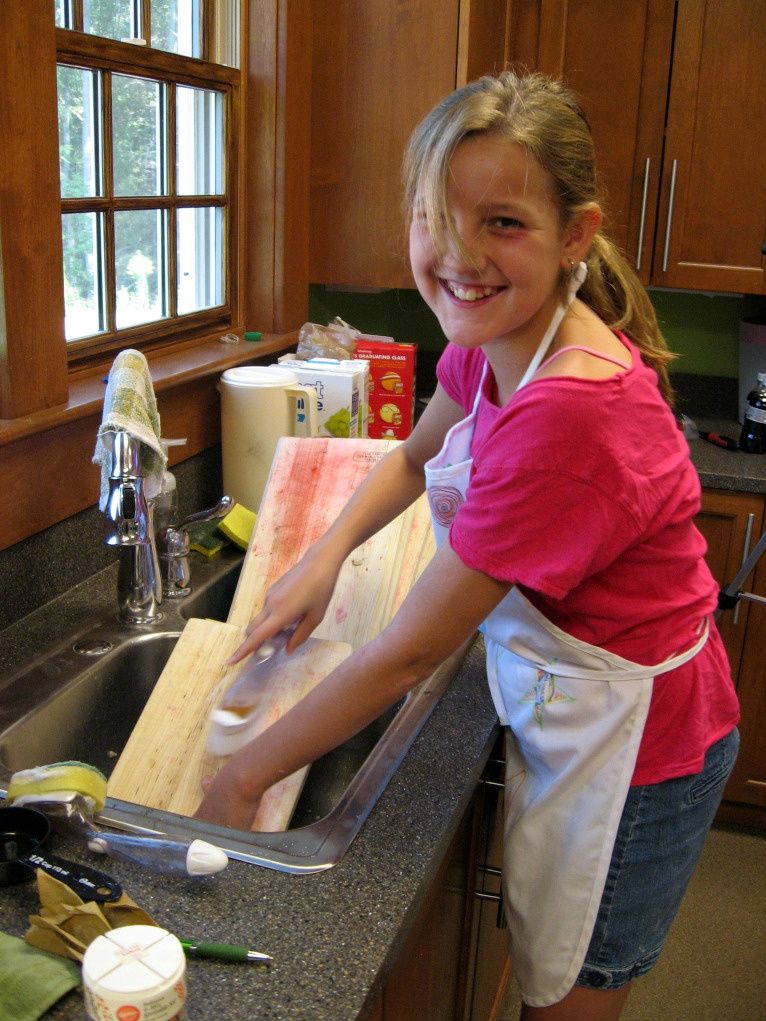
On Day 4, everyone went a little crazy in their own personal ways. Energetic Erica played the Carrot Song until I felt sure I was going to throw a cupcake at someone. Elbow Grease Ella decided she was going to decorate her cupcake with polka dots and then wash every bowl by hand (okay, so her particular method of going crazy happened to be awesome).

Meticulous Mary Rood and I convinced everyone to watch the YouTube video of the sneezing baby panda (no seriously, go watch it). And then there were Pistachio Peyton and Elaborate Elizabeth.

They decided to become architects.

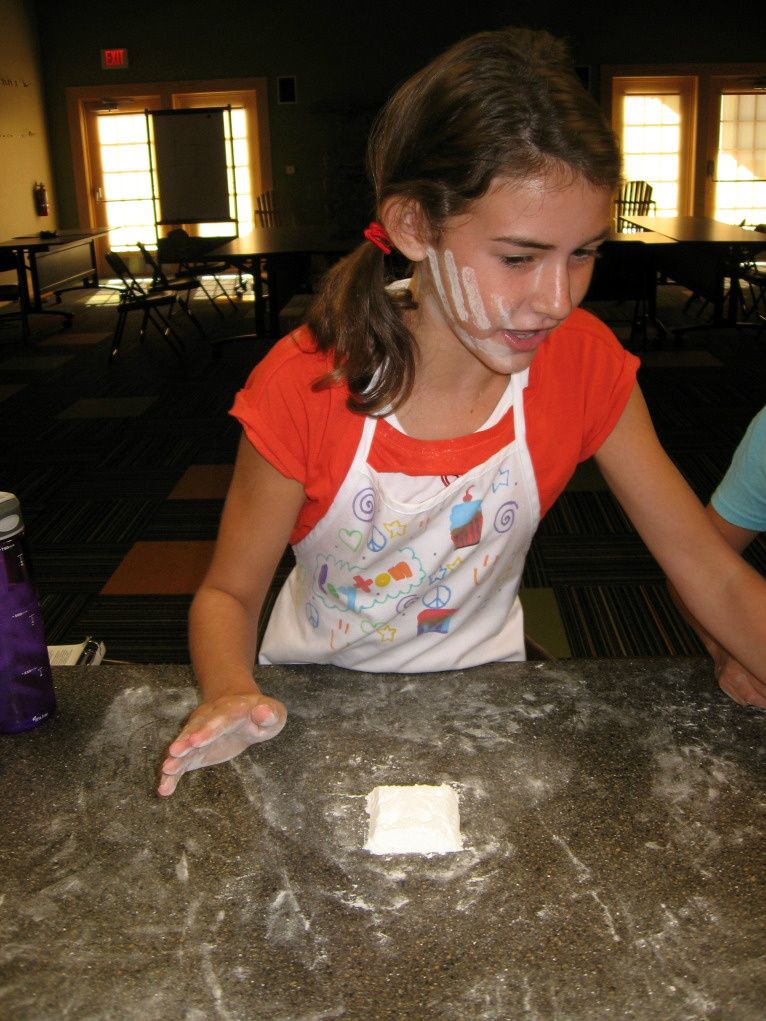
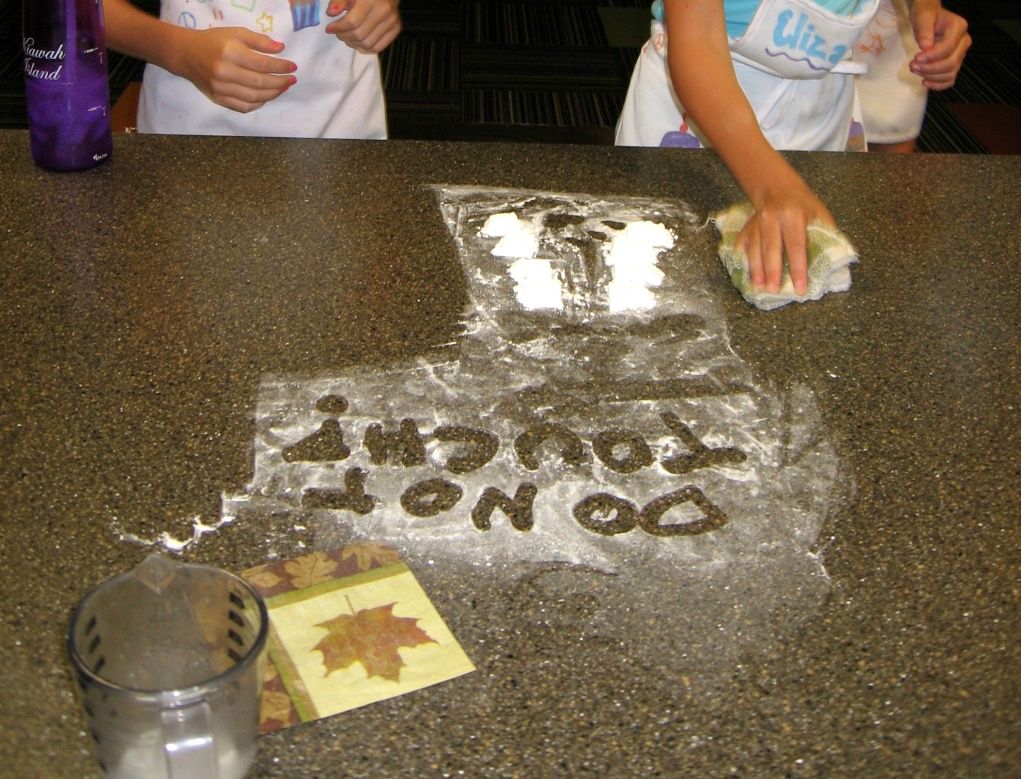
Measuring powdered sugar can get messy. Like, whole-cups-of-powdered-sugar-spilled-on-the-counter messy. Instead of cleaning this up like ordinary children, Pistachio Peyton and Elaborate Elizabeth decided to be extraordinary. They carefully constructed a perfect block of powdered sugar that they then manipulated with a table knife into various shapes and messages. Because, you know, that’s what you do at Cupcake Camp, right?


They may have gotten a little territorial.

I finally convinced the girls to clean off the counters despite their insistence that the powdered sugar sculpture should remain as an eternal (ahem) monument to Cupcake Camp. And believe it or not, in between watching crazy YouTube videos and playing with our food, we actually made some cupcakes!

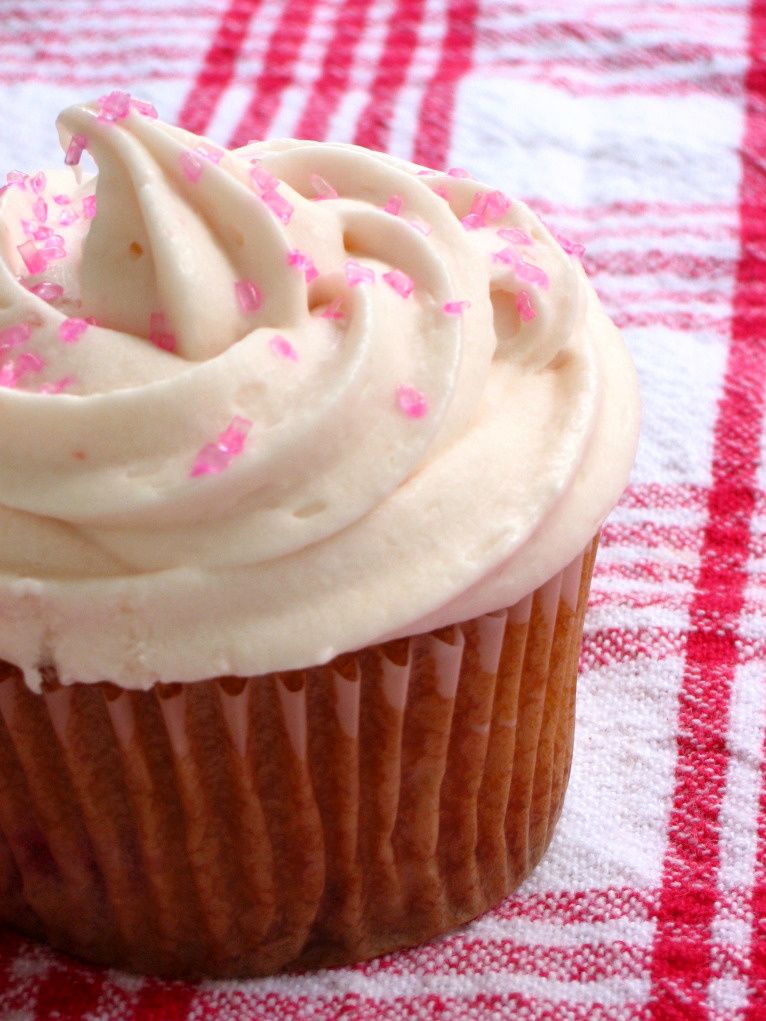
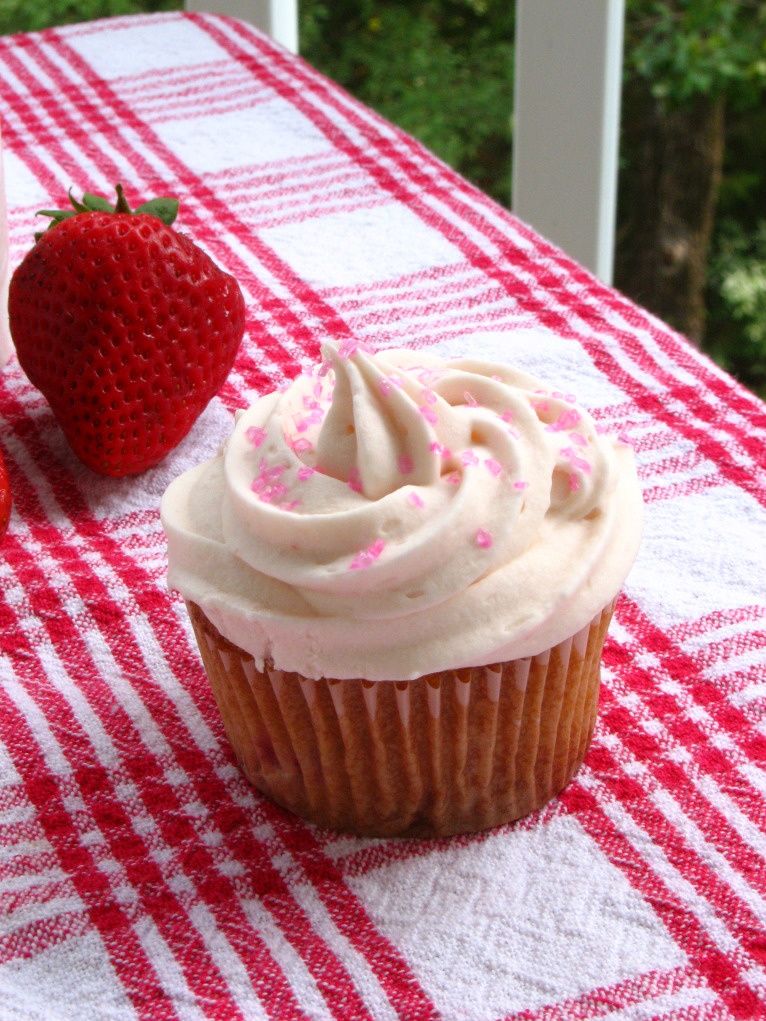
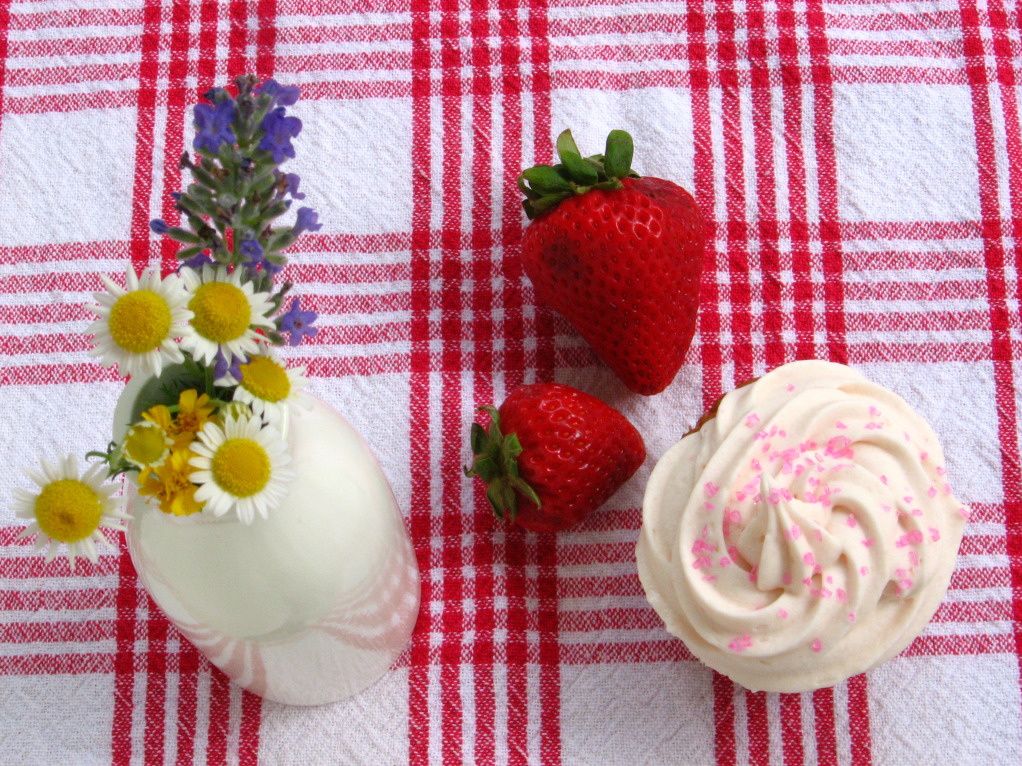
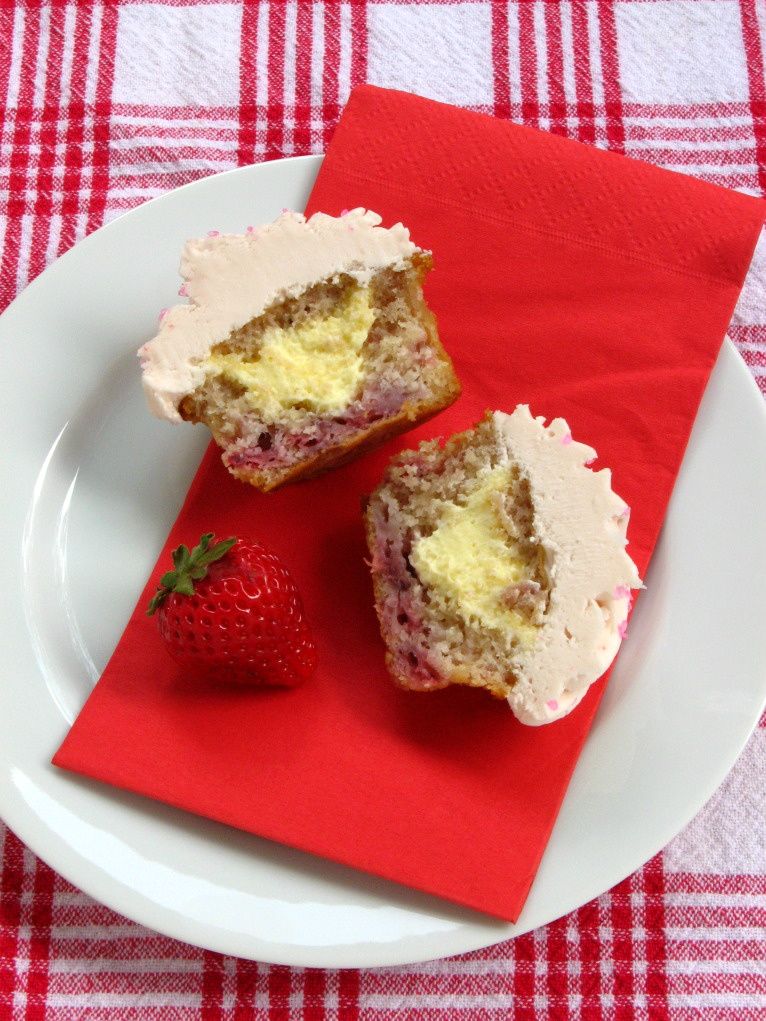
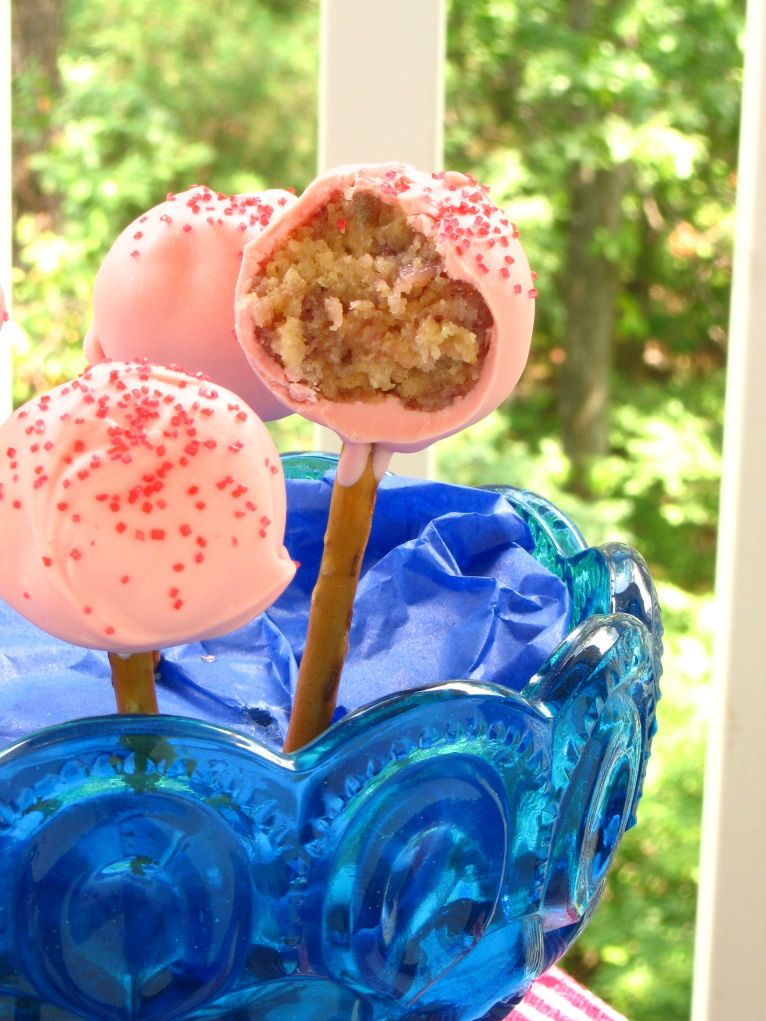
These Strawberry & Cream Cupcakes were the perfect cool, sweet treat for summer. Tender strawberry cakes were filled with easy vanilla mousse and topped with a creamy, delicious strawberry cream cheese frosting. We had leftover cupcakes, too, so can you guess what we did?

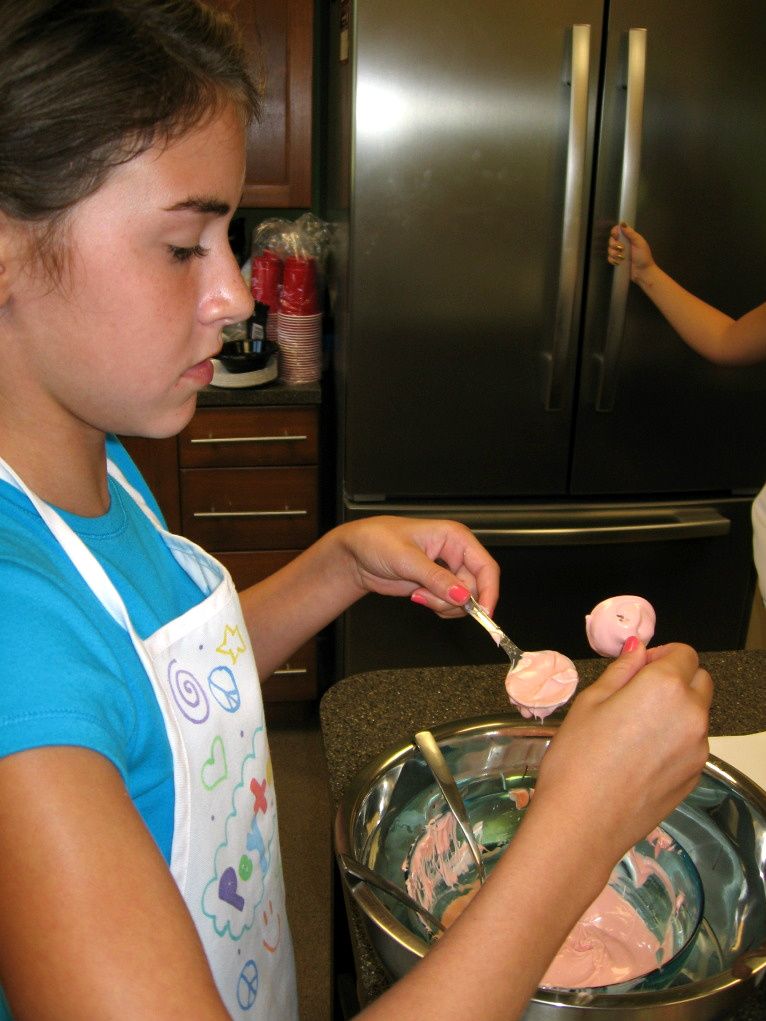
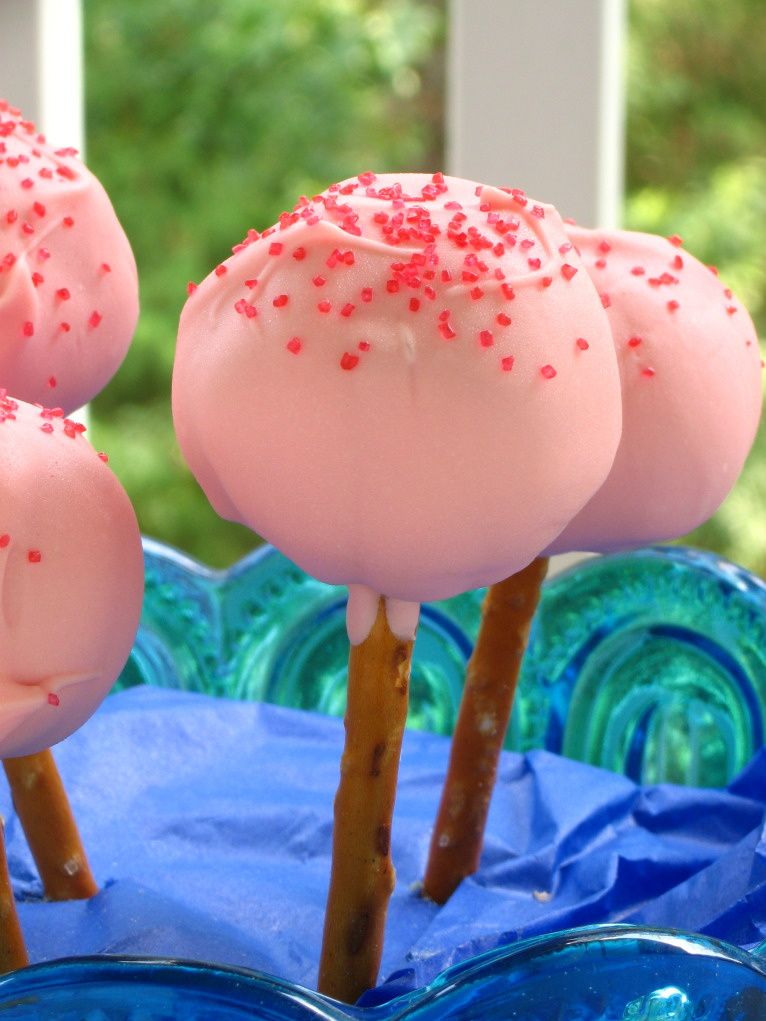
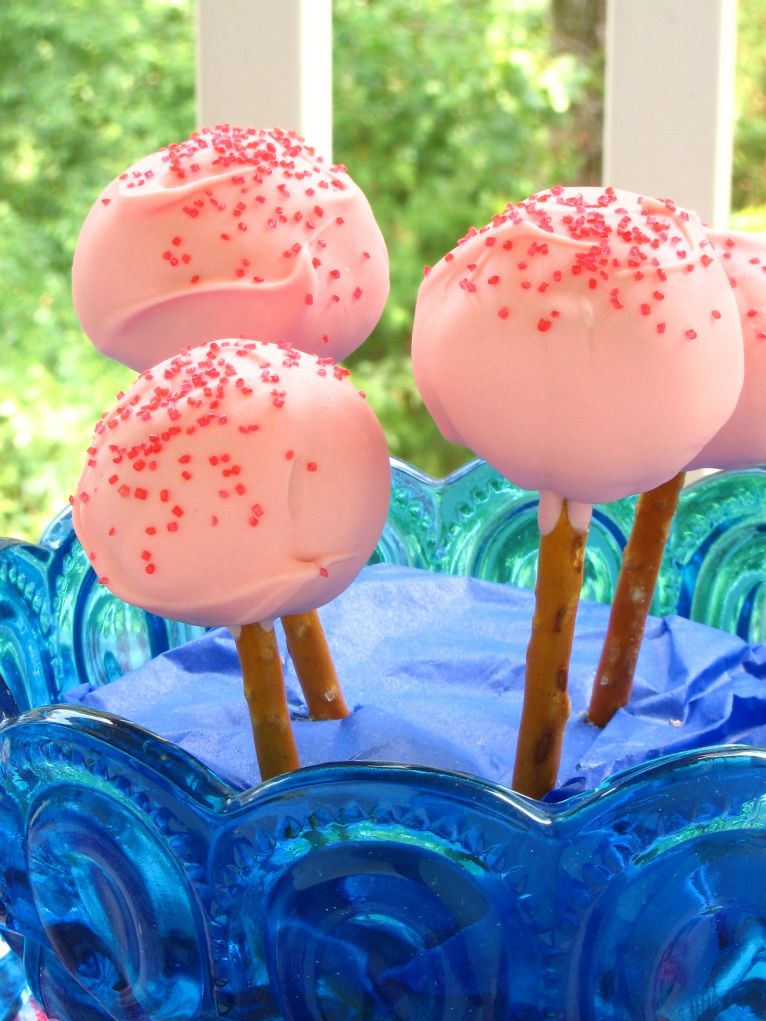
We made cake pops! We crumbled the cupcakes up and mixed them with some of the frosting, rolled them into balls, chilled them overnight, and dipped them in pink candy melts.

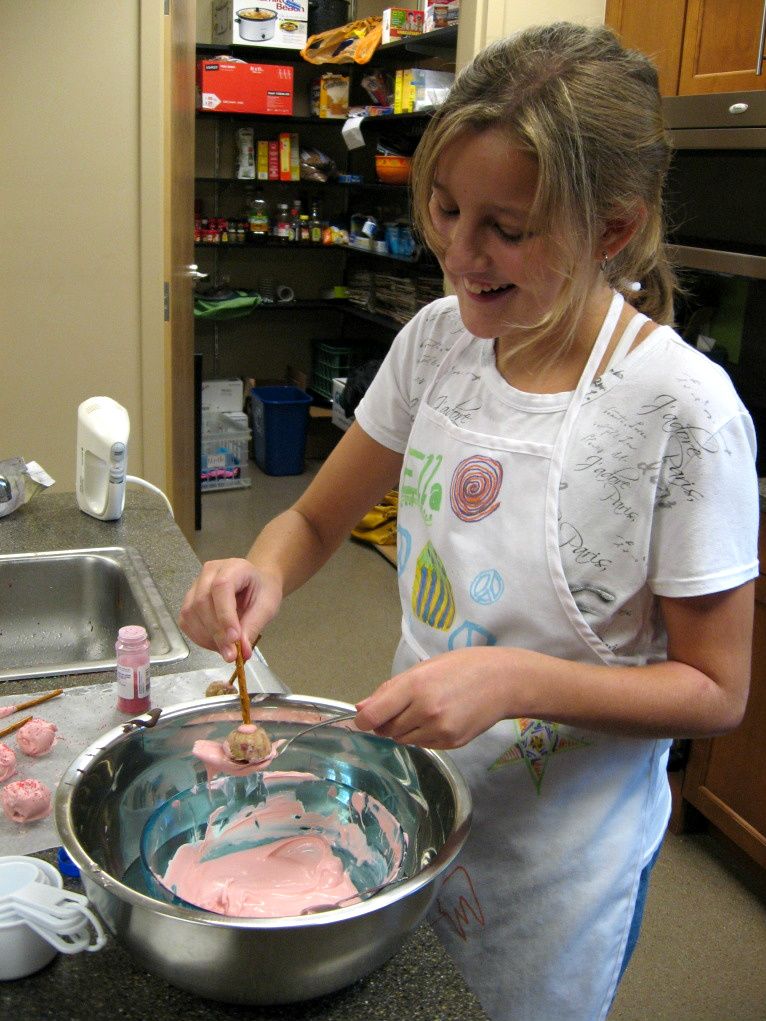
If you’ve ever made cake pops, you know that dipping them is the hardest part (see my video tutorial at the bottom of the recipe). I loved watching the girls develop their own dipping techniques as they got the hang of it.

Pistachio Peyton dipped her pops and then rolled them in the spoon to get full coverage. Elbow Grease Ella used the spoon to drizzle candy melts over her cake pop. Elaborate Elizabeth was a pro at turning cake pops into cake balls if they fell off of their pretzel sticks (I love using these instead of lollipop sticks) by draining them on a couple of forks.

Despite a few inevitable cake pop missteps, the campers all successfully rolled, dipped, and ate! The cake pops were a tasty addition to our cupcake picnic.

With Day 4 complete, the girls dropped off their aprons and recipe notebooks and headed home. I’m pretty sure that I went home and collapsed into a cupcake coma (or maybe just a long nap). One more day left of cupcake camp!

What’s your favorite funny YouTube video?

Strawberry & Cream Cupcakes


Recipe by: adapted from Annie’s Eats
Yields: 18-24 cupcakes

Cupcake Ingredients:
2 ½ cups cake flour
1 teaspoon baking soda
¼ teaspoon salt
½ cup unsalted butter
1 ½ cups sugar
2 eggs
1/3 cup buttermilk
¼ cup oil
1 teaspoon vanilla extract
2 cups chopped strawberries

Vanilla Mousse Filling Ingredients:
1 cup milk
1 cup heavy cream
1 (4 serving) package vanilla Instant Pudding Mix (not Cook & Serve)

Strawberry Cream Cheese Frosting Ingredients:
½ cup strawberries
1 (8-ounce) package cream cheese, at room temperature
1 ½ sticks unsalted butter, at room temperature
4-5 cups powdered sugar, sifted
½ teaspoon lemon juice
1 tablespoon vanilla
pink sanding sugar, if desired

Directions:
*Note: This recipe makes twice as much mousse as you need for filling the cupcakes. If you want to use half the pudding pack and save the rest for later, just measure it out and do so. Or use the extra mousse for another project (you know, like eating it with a spoon).

Make cupcakes: Line two muffin tins with paper liners. Preheat oven to 350°F. Onto a sheet of parchment or wax paper, sift flour, salt and baking soda. Set aside. In a large bowl, cream butter and sugar until light, fluffy, and pale yellow (several minutes). Add eggs one at a time, mixing after each. Scrape down the sides of the bowl as needed. Mix in buttermilk, oil and vanilla. Pick up both ends of the parchment/wax paper and use it to add dry ingredients into the bowl and stir until just combined. Fold in the chopped strawberries (you could toss these with a few tablespoons of the dry ingredients first, if you were worried about them sinking to the bottom).

Fill each liner about 3/4 full of batter and bake for 15-20 minutes, or until a toothpick inserted into the center of several cupcakes comes out with just moist crumbs. Let cool completely.

Make mousse: To make the vanilla mousse, combine milk, cream, and pudding mix in a medium bowl. Beat with a mixer until you reach soft peaks, or a thick whipped cream consistency (this takes a few minutes). Refrigerate mousse until you’re ready to use it.

Make frosting: To make the frosting, puree the strawberries in food processor and then strain them through a fine mesh sieve to remove the seeds. In a separate bowl, beat the cream cheese and butter until fluffy and smooth before adding the lemon juice, vanilla, and sugar (start on the low side with the sugar and add more until the frosting reaches your desired consistency). Add the amount of puree needed to achieve your desired consistency and color (I do this before I’ve added all the sugar, so I can adjust both as needed). This is a loose frosting and benefits from sitting in the fridge for awhile after you make it with a damp cloth covering it.

Assemble cupcakes: To fill the cupcakes, use the Cone Method: cut an upside-down cone out of the top of each one. Cut off the tip of the cone (and eat it, if you wish) leaving just the “lid.” Fill the cavity with mousse using a piping bag or zip-top bag with the corner cut off, and then replace the “lid” to give you a relatively smooth surface to frost. Use a piping bag or zip-top bag to pipe on the frosting. Dust with pink sanding sugar if you wish.

Strawberry & Cream Cake Pops


Recipe by: adapted from Annie’s Eats
Yields: probably around 40-50 cake pops

Cupcake Ingredients:
2 ½ cups cake flour
1 teaspoon baking soda
¼ teaspoon salt
½ cup unsalted butter
1 ½ cups sugar
2 eggs
1/3 cup buttermilk
¼ cup oil
1 teaspoon vanilla extract
2 cups chopped strawberries

Strawberry Cream Cheese Frosting Ingredients:
1/4 cup strawberries
4 ounces cream cheese, at room temperature
6 tablespoons unsalted butter, at room temperature
2-2 1/2 cups powdered sugar, sifted
1/4 teaspoon lemon juice
1 1/2 teaspoons vanilla

Other Cake Pop Ingredients:
pretzel sticks
pink candy melts or candy bark
sprinkles or pink sanding sugar, if desired

Directions:
*NOTE: We made our cake pops with leftover cupcakes, so I’m printing instructions for making them with cupcakes here. I’m not sure how this recipe would work if you tried baking this as a cake to save liners, so I don’t want to recommend that, but let me know if you try it.

Make cupcakes: Line two muffin tins with paper liners. Preheat oven to 350°F. Onto a sheet of parchment or wax paper, sift flour, salt and baking soda. Set aside. In a large bowl, cream butter and sugar until light, fluffy, and pale yellow (several minutes). Add eggs one at a time, mixing after each. Scrape down the sides of the bowl as needed. Mix in buttermilk, oil and vanilla. Pick up both ends of the parchment/wax paper and use it to add dry ingredients into the bowl and stir until just combined. Fold in the chopped strawberries (you could toss these with a few tablespoons of the dry ingredients first, if you were worried about them sinking to the bottom).

Fill each liner about 3/4 full of batter and bake for 15-20 minutes, or until a toothpick inserted into the center of several cupcakes comes out with just moist crumbs. Let cool completely, and then crumble your cupcakes into a large bowl. Set aside.

Make frosting: To make the frosting, puree the strawberries in food processor and then strain them through a fine mesh sieve to remove the seeds. In a separate bowl, beat the cream cheese and butter until fluffy and smooth before adding the lemon juice, vanilla, and sugar (start on the low side with the sugar and add more until the frosting reaches your desired consistency). Add the amount of puree needed to achieve your desired consistency and color (I do this before I’ve added all the sugar, so I can adjust both as needed).

Make cake balls: Mix about 3/4 cup of frosting into your crumbled cake, adding more frosting if the mixture is still too crumbly. You want it to reach a sort of stiff play-dough texture so you can shape it into balls. Prepare a sheet pan with a sheet of wax paper on it. Shape your banana mixture into balls and line them on the wax paper. Chill these in the refrigerator overnight. I don’t freeze mine like some sites suggest, because I find chilling them in the fridge instead reduces cracking after I dip them.

Mount and dip cake balls: After cake balls have chilled overnight, melt your candy melts or chocolate bark according to the package directions. I keep my bowl of candy melts situated in a bigger bowl of hot water to keep them warm and fluid, but be careful no water gets into the melts! To mount each cake ball, take a pretzel stick and dip the end in candy melts. Gently but firmly push the end of the pretzel stick into the cake ball. Put these back on their silicone mat or wax paper to chill. Repeat until all cake balls are mounted and chill for about 30 minutes.

After chilling, you’re ready to dip! Dip each cake ball into the candy melts, using a spoon to help coat them. After dipping, hold your cake ball over the bowl and gently bounce to drain the excess off. Turn the pop as you drain. When well-drained, sprinkle some sprinkles on top and gently place the pop in a foam block to continue drying. I placed mine in the fridge to reduce drying time. Once they’re dry, you’re ready to eat them! These keep great in an airtight container in the fridge.

Never made cake pops before? I made this video tutorial to show you some techniques involved.

All Cupcake Week Recipes:
Day One: Chocolate Pistachio Cream Cupcakes
Day Two: Banana Split Cupcakes and Cake Pops
Day Three: Creamsicle Cupcakes
Day Four: Strawberry & Cream Cupcakes and Cake Pops
Day Five: Apple Cinnamon Cream Cupcakes

If you liked this post, please:
Subscribe to Willow Bird Baking
Follow Willow Bird Baking on Twitter
Follow Willow Bird Baking on Facebook
Give this post a thumbs up on StumbleUpon


ShareOther ways to share this post with friends!

Creamsicle Cupcakes

It’s Cupcake Week on Willow Bird Baking! Cupcake Capers was a 5-day summer camp I conducted last week wherein 5 middle school girls learned to bake, fill, and frost cupcakes. We eschewed pedestrian cupcake flavors in favor of creative combinations that I now get to share with you! Every day this week I’ll be posting fun memories and recipes from Cupcake Camp.

Day 3 of Cupcake Camp was a day several of the campers had been waiting for. It was Creamsicle Cupcake day.

Each day at our cupcake picnic, I’d been asking the girls what they thought of the day’s cupcake and mousse. And each day, like clockwork, a few of them had been ready with the same response: “This one’s good, but I think my favorite is going to be the Creamsicle!”

Meticulous Mary Rood and I discussed this phenomenon in the kitchen before the others arrived one morning. We agreed that it was impressive how certain they were of their favorite before they’d ever tasted it. Some of them had had the cupcakes ranked from favorite to least favorite as soon as Day 2! She wondered aloud if the Creamsicle cupcakes would live up to their expectations.

First thing’s first, though — before we could eat or even decorate our Creamsicle Cupcakes, we had an activity to complete. When all the campers had arrived, I sat them down with a list of cake flavors, filling flavors, frosting flavors, and toppings and gave them 10 minutes to come up with creative cupcake combinations of their own. Anyone can be given a book of fun recipes and whip them up, but I wanted these kids to experience what it’s like to create a new flavor.

Turns out they’re creative geniuses. Pistachio Peyton was dreaming of chocolate when she came up with her Chocolate Dream Cupcake, comprised of chocolate cake, chocolate filling, and chocolate frosting. Elaborate Elizabeth wanted to make a Fruit Punch Cupcake, while Elbow Grease Ella was excited about one covered in cashews. And these are just three examples of the almost 20 ideas they came up with!

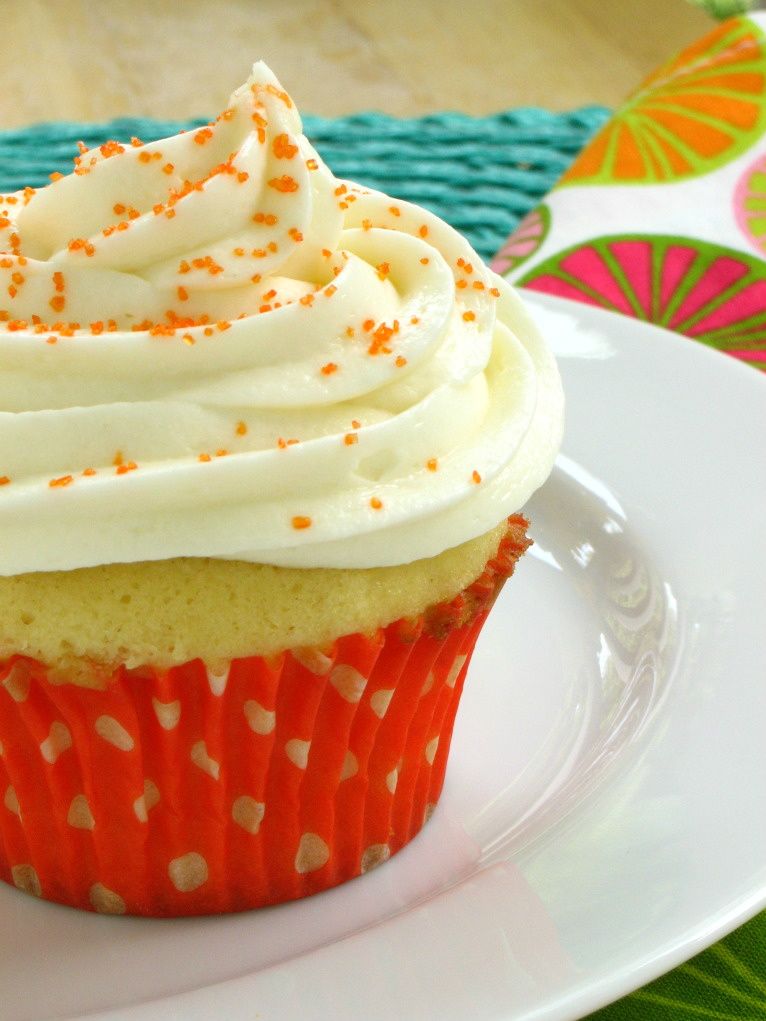
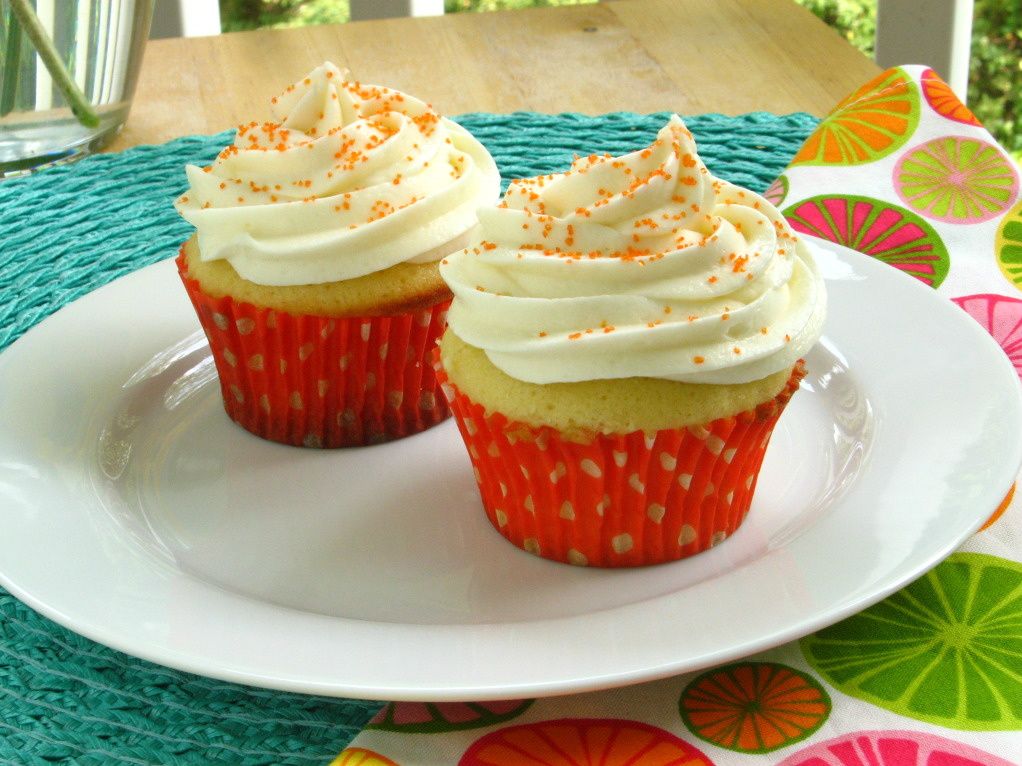
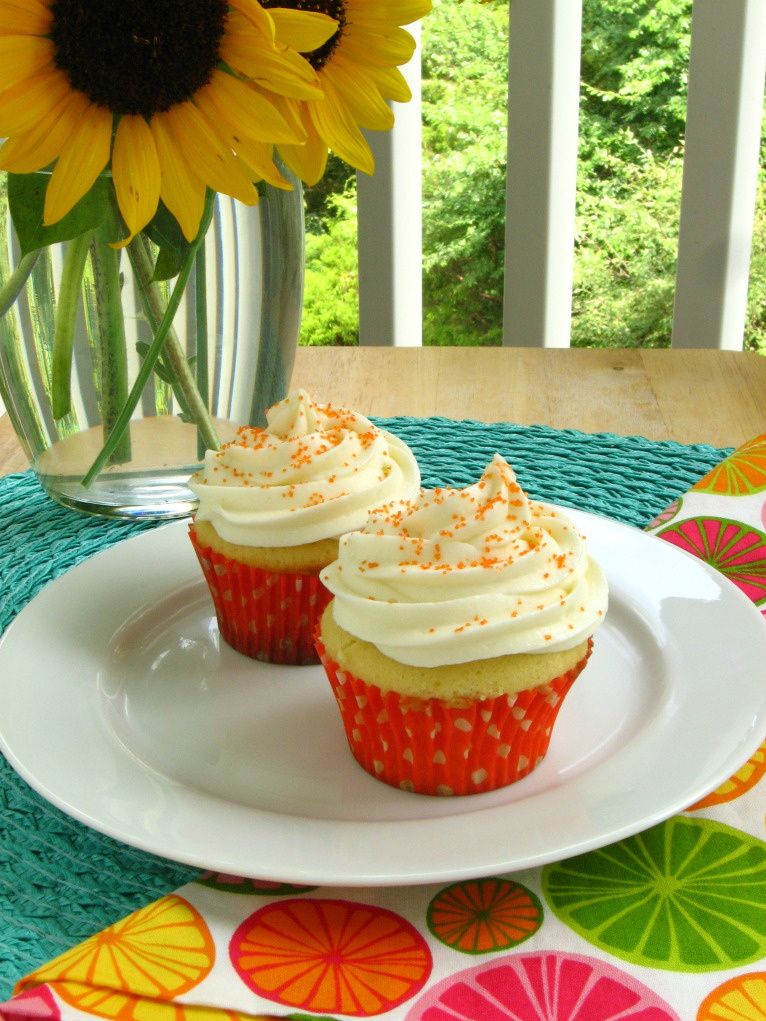
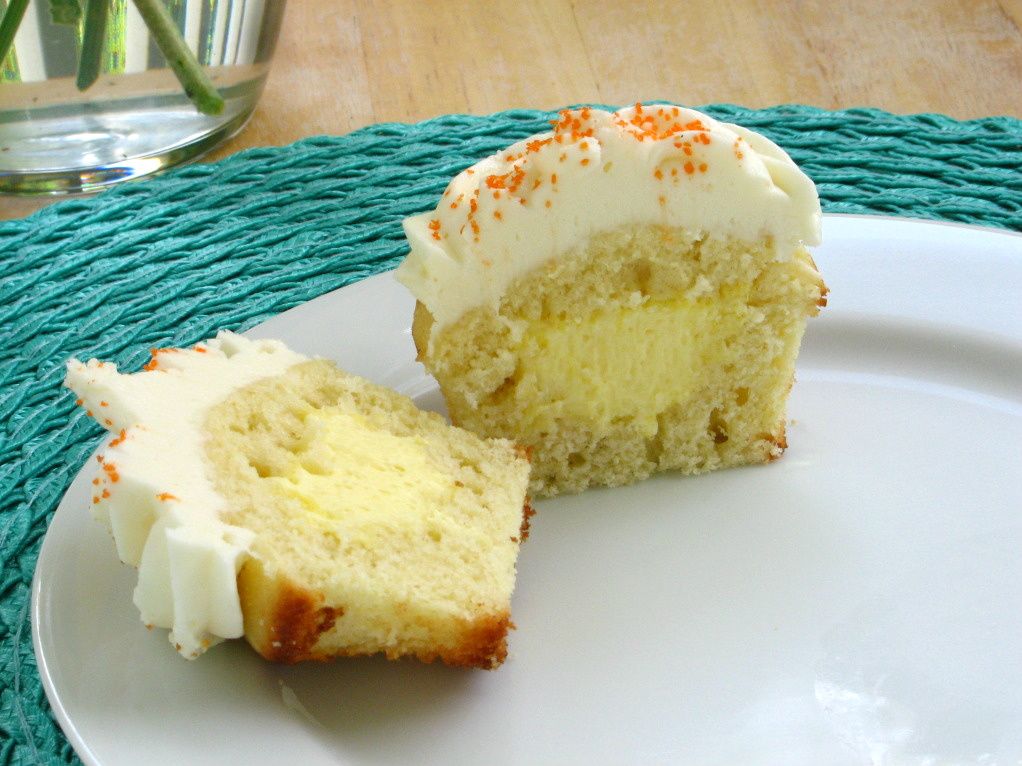
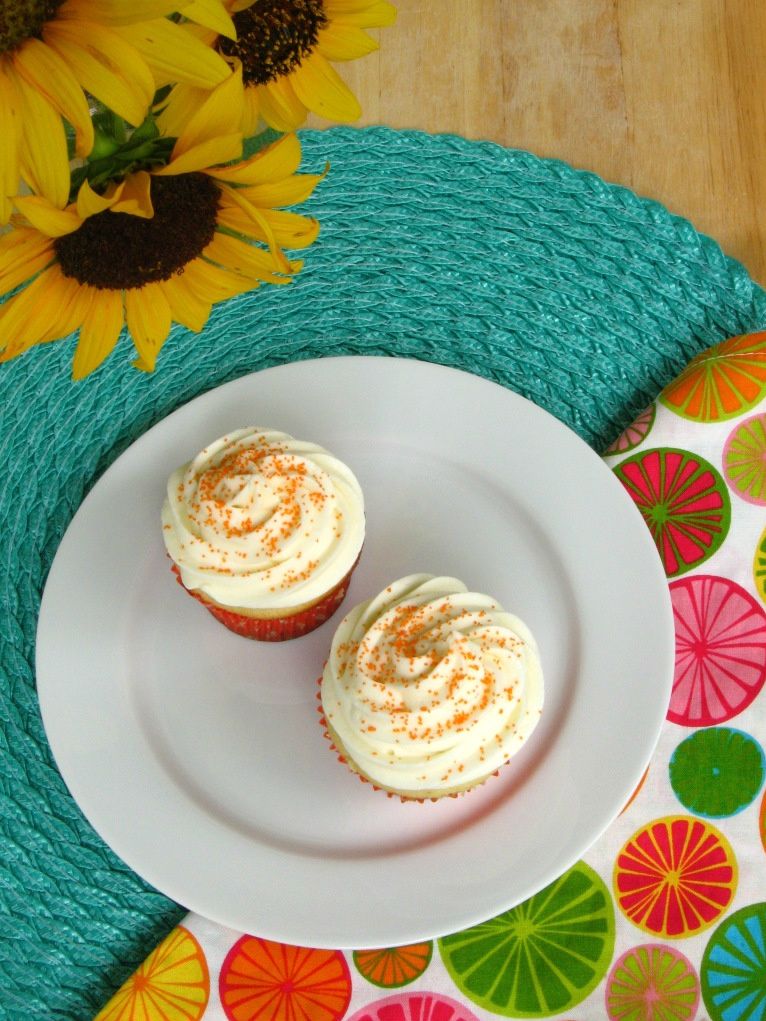
With our brainstorming complete, we set about filling our moist orange cupcakes with the easy vanilla mousse I discussed yesterday. Each camper then frosted their masterpiece with a big swirl of orange cream cheese frosting.

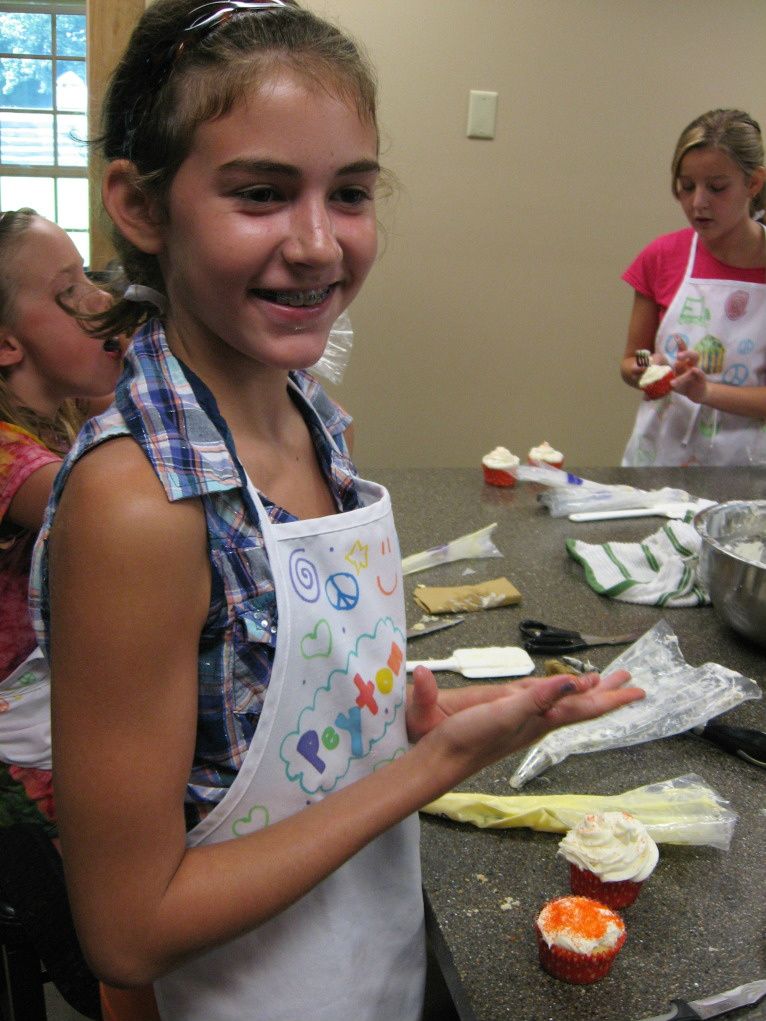
They were thrilled with how their piping skills had improved since Day 1 of camp, and especially with the consistency of the cream cheese frosting, which is soft and easy to pipe. They topped their cupcakes with a dusting of orange sanding sugar before refrigerating them to let the frosting stiffen up.

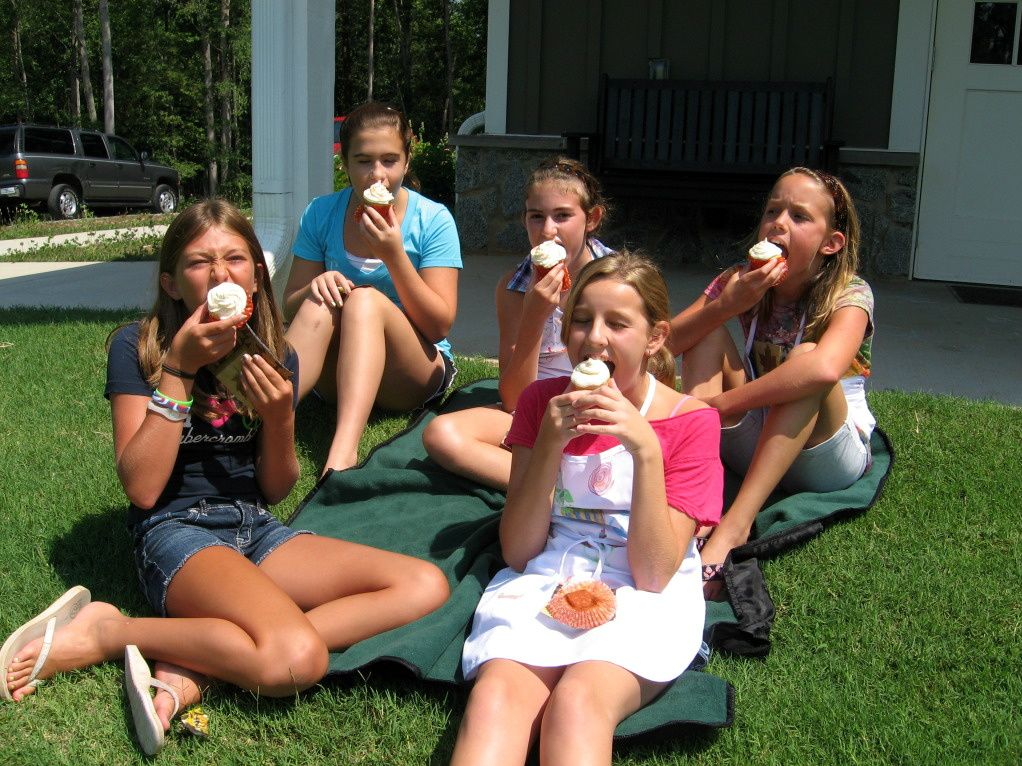
At our cupcake picnic that day, the moment of truth had finally arrived. Everyone peeled off their cupcake papers, eager to see if the Creamsicle Cupcake was as awesome as they’d imagined it to be. Five hungry mouths opened and took five gigantic first bites, and . . . silence.

Lots of silence, and lots of this:

In other words, 10 middle schooler thumbs up! I have to hand it to the girls, they know how to pick ’em. I hope you enjoy these as much as they did!

What creative cupcake flavors can you imagine? Have you made any fantastic cupcake combinations lately?

Creamsicle Cupcakes


Recipe by: adapted from My Baking Addiction
Yields: about 14-16 cupcakes

Cupcake Ingredients:
1/2 cup unsalted butter, room temperature
2/3 cup granulated white sugar
3 large eggs
1 1/2 teaspoon pure vanilla extract
1 1/2 teaspoon of pure orange extract
1 1/2 cups all purpose flour
1 1/2 teaspoons baking powder
1/4 teaspoon salt
1/4 cup milk

Vanilla Mousse Filling Ingredients:
1 cup milk
1 cup heavy cream
1 (4 serving) package vanilla Instant Pudding Mix (not Cook & Serve)

Orange Cream Cheese Frosting Ingredients:
1 8-ounce package of cream cheese, room temperature
1/2 cup (1 stick) butter, room temperature
1/2 teaspoon clear vanilla extract
1 teaspoon orange extract
4 cups confectioners’ sugar
orange sprinkles or sanding sugar, if desired

Directions:
*Note: This recipe makes twice as much mousse as you need for filling the cupcakes. If you want to use half the pudding pack and save the rest for later, just measure it out and do so. Or use the extra mousse for another project (you know, like eating it with a spoon).

Make cupcakes: Line two muffin tins with paper liners. Preheat oven to 350°F. In a small bowl, whisk together the flour, baking powder, and salt. In a separate, medium bowl, cream butter and sugar together until light, fluffy, and pale yellow. Add the eggs in one at a time, beating after each, and then beat in the vanilla and orange extract. Add the dry ingredients in, alternating with the milk, in three additions. Begin and end by adding the dry ingredients. Scrape down the sides of the bowl periodically.

Fill the paper liners about 2/3 full of batter and bake cupcakes for 15-20 minutes or until a toothpick inserted into the center comes out with just a few moist crumbs. Remove cupcakes from the oven and let cool completely.

Make mousse: To make the vanilla mousse, combine milk, cream, and pudding mix in a medium bowl. Beat with a mixer until you reach soft peaks, or a thick whipped cream consistency (this takes a few minutes). Refrigerate mousse until you’re ready to use it.

Make frosting: To make the frosting, cream butter and cream cheese together until fluffy in a large bowl. Add extracts and mix. Add sugar gradually, mixing as you go, and then beat the frosting until smooth and creamy. Cover the bowl with a damp cloth until ready to use.

Assemble cupcakes: To fill the cupcakes, use the Cone Method: cut an upside-down cone out of the top of each one. Cut off the tip of the cone (and eat it, if you wish) leaving just the “lid.” Fill the cavity with mousse using a piping bag or zip-top bag with the corner cut off, and then replace the “lid” to give you a relatively smooth surface to frost. Use a piping bag or zip-top bag to pipe on the frosting. Sprinkle on orange sanding sugar, if desired.

All Cupcake Week Recipes:
Day One: Chocolate Pistachio Cream Cupcakes
Day Two: Banana Split Cupcakes and Cake Pops
Day Three: Creamsicle Cupcakes
Day Four: Strawberry & Cream Cupcakes and Cake Pops
Day Five: Apple Cinnamon Cream Cupcakes

If you liked this post, please:
Subscribe to Willow Bird Baking
Follow Willow Bird Baking on Twitter
Follow Willow Bird Baking on Facebook
Give this post a thumbs up on StumbleUpon


ShareOther ways to share this post with friends!

Banana Split Cupcakes and Cake Pops

It’s Cupcake Week on Willow Bird Baking! Cupcake Capers was a 5-day summer camp I conducted last week wherein 5 middle school girls learned to bake, fill, and frost cupcakes. We eschewed pedestrian cupcake flavors in favor of creative combinations that I now get to share with you! Every day this week I’ll be posting fun memories and recipes from Cupcake Camp.

Day 2 of Cupcake Capers was all about learning to measure ingredients. I set out materials to make vanilla mousse and chocolate buttercream, as well as piles of tools: measuring cups, measuring spoons, liquid measuring cups, and one mysterious table knife.
While the girls listened with rapt attention (okay, they might have been eyeing the sugar and twitching a bit), I explained how to use each tool. When we came to the knife, there were some good guesses about its use in measuring — stabbing your neighbor when she tries to steal the vanilla, measuring butter, etc. I believe it was Meticulous Mary Rood and Energetic Erica who stumbled on its role in measuring flour “and other fluffy stuff,” as I like to say: leveling.
There are debates, believe it or not, about how to measure stuff. The Home Economics classes of your youth probably taught you to spoon ingredients into a measuring cup and then use a table knife to level them. Some folks, though, have resorted to just scooping and leveling. Still others swear by the most accurate and consistent method, measuring everything by weight with a kitchen scale. So I guess I’ll open myself up to major criticism and go ahead and tell you: I cheat. I don’t do any of those. And what’s more, I taught the campers to cheat, too.
See, the point of spooning an ingredient into a measuring cup is to ensure that it’s the right density to measure (i.e., that it’s not packed). This is also why kitchen scales are most accurate — they eliminate the variation caused by how densely an ingredient settles into the measuring cup. But both of those methods are too tedious for me, and my primary goal in the kitchen is to enjoy and challenge myself — not to bore and frustrate myself. My secondary goal is to make impressive, delicious food. My little “cheat” consistently accomplishes both of my goals, so I’m happy with it, even if some foodies would scoff.
I fluff-and-scoop. If you’ve ever watched Barefoot Contessa, you might have seen Ina Garten do it (see, I’m in good company). When measuring flour, for instance, I stick my measuring cup into the canister and “fluff” the flour with it a few times to ensure that it’s not packed. I then lightly scoop a heaping amount into the cup and level it with a table knife. This way the ingredient has an appropriate density in my measuring cup, but I don’t have to fiddle with a kitchen scale or spoon.
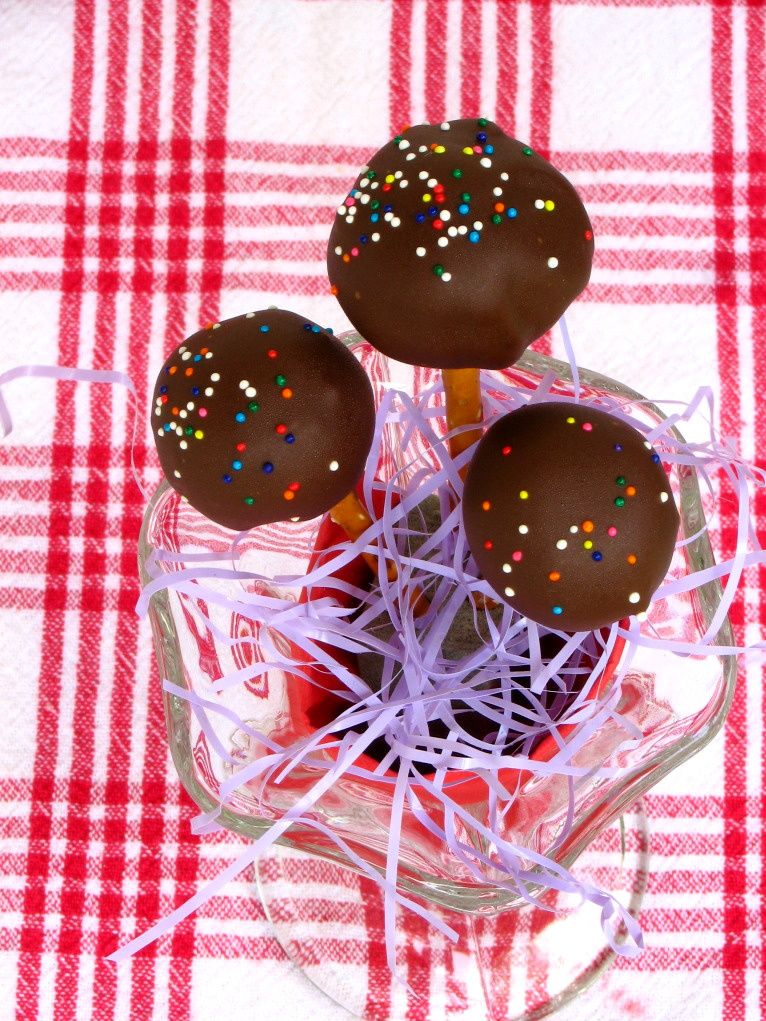
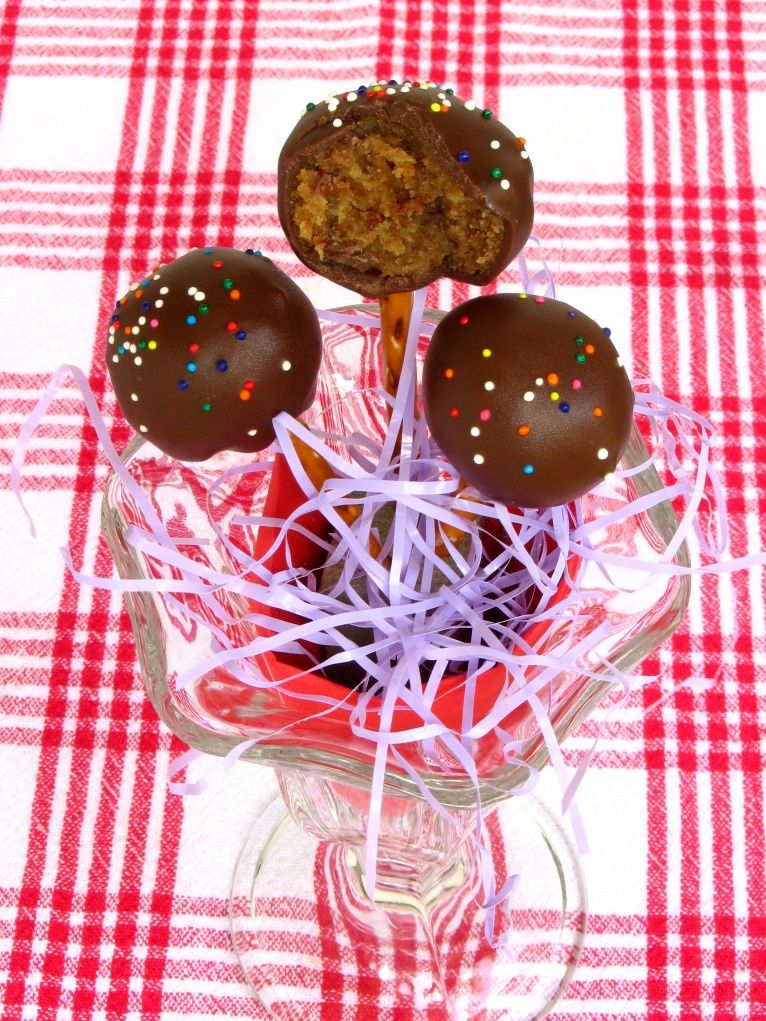
After our measuring lesson, the campers completed the mise-en-place for the chocolate frosting and mousse and set to work making both. I have to tell you about this easy, delicious mousse. It’s kind of a cheat too, actually. Maybe this post should be subtitled, “Ways to Cheat at Cupcake Camp.” The mousse takes advantage of the gelatin in instant pudding mixes, which is activated by agitation, to thicken what would otherwise be a simple whipped cream.
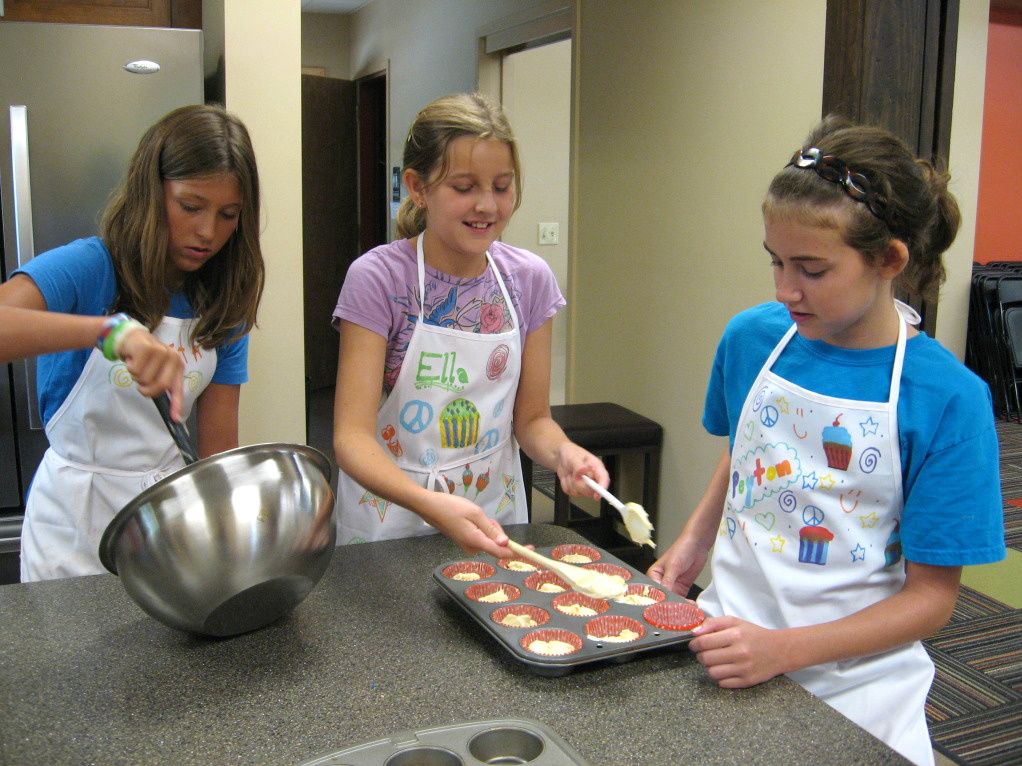
All you do is pick your favorite pudding mix (that’s part of the reason I love it — you can have chocolate, pistachio, butterscotch, cheesecake, white chocolate, banana cream, coconut, etc., etc., etc. mousse in a matter of minutes) and stick it in a bowl with a cup of milk and a cup of cream. You whip the mixture to soft peaks just as you would if you were making regular whipped cream. The pudding mix will thicken it beyond that to a moussey texture perfect for filling cupcakes (or layer cakes — just pipe a border of frosting around the outer edge of your layer before you add it so it doesn’t squish out).
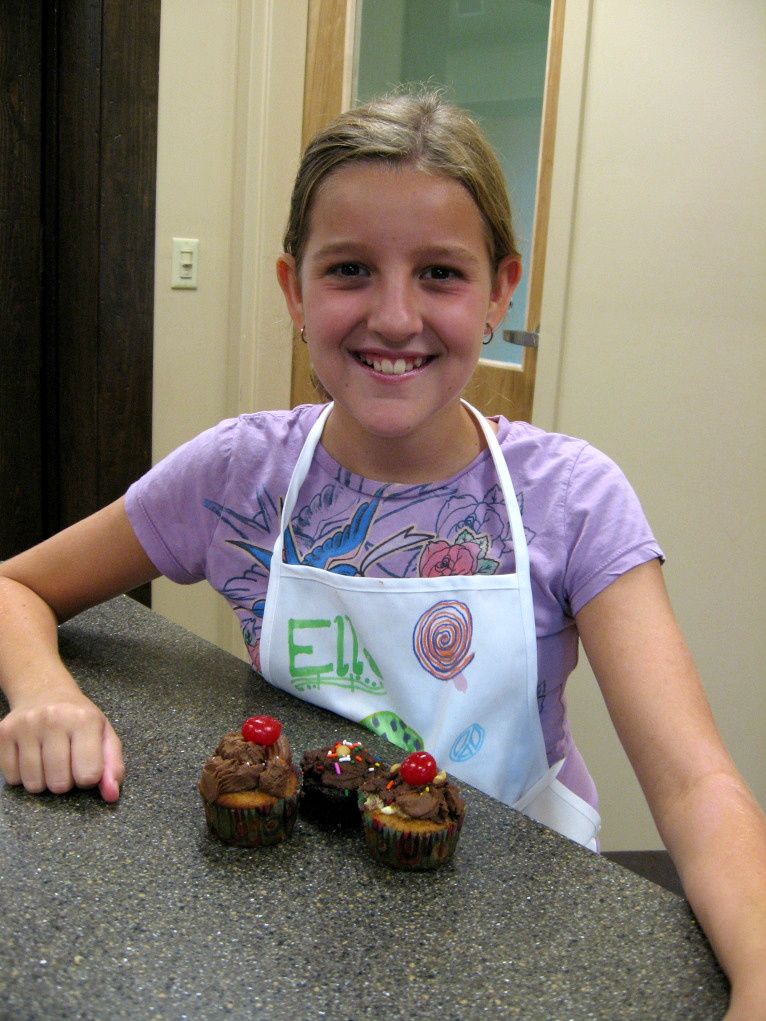
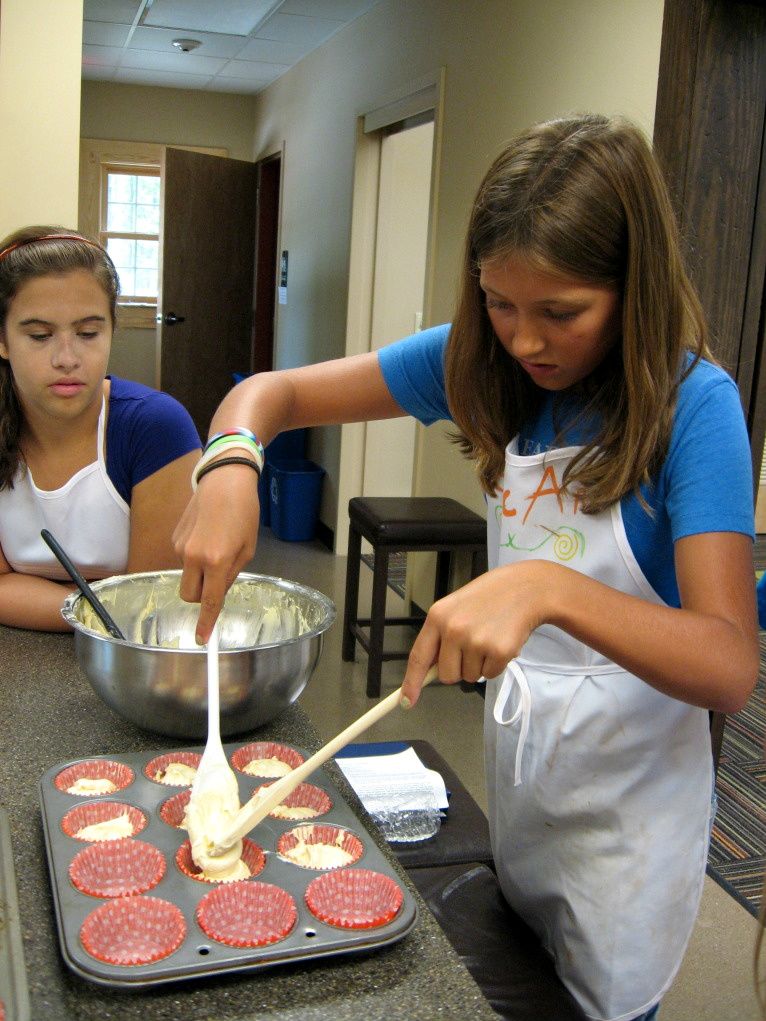
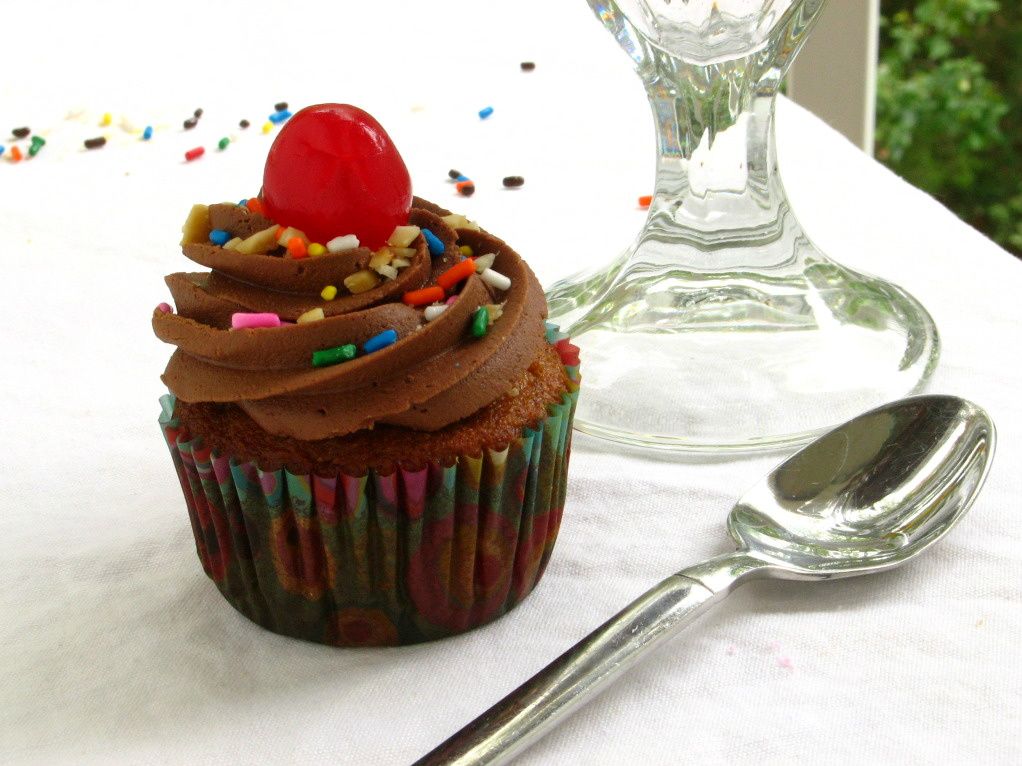
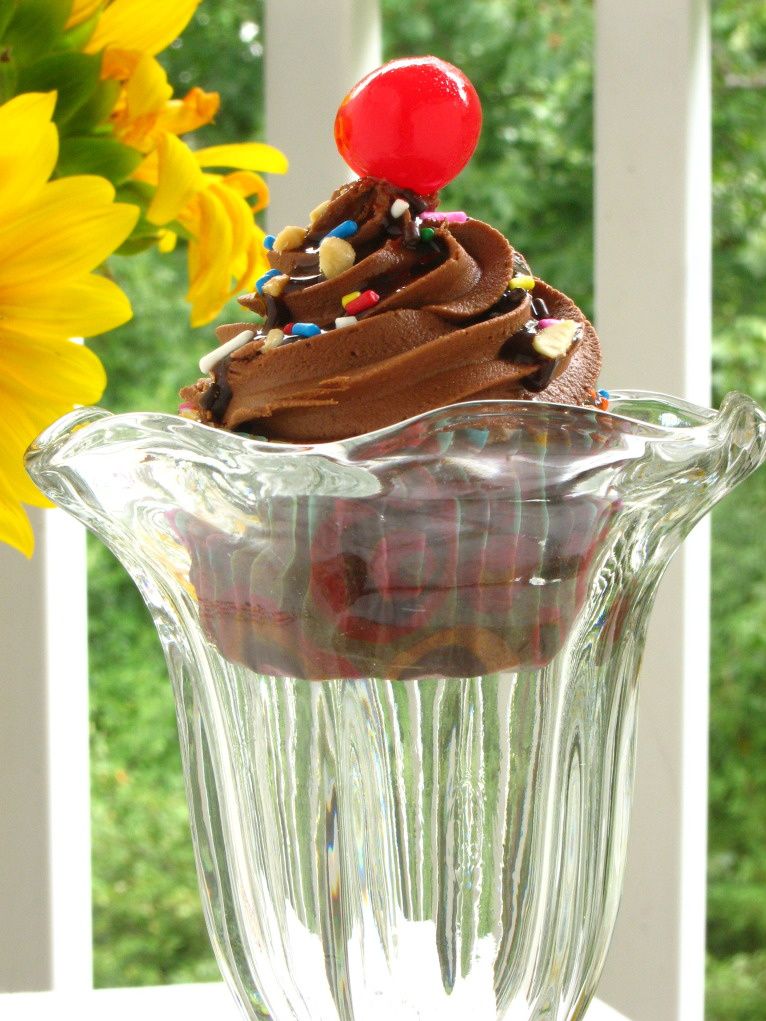
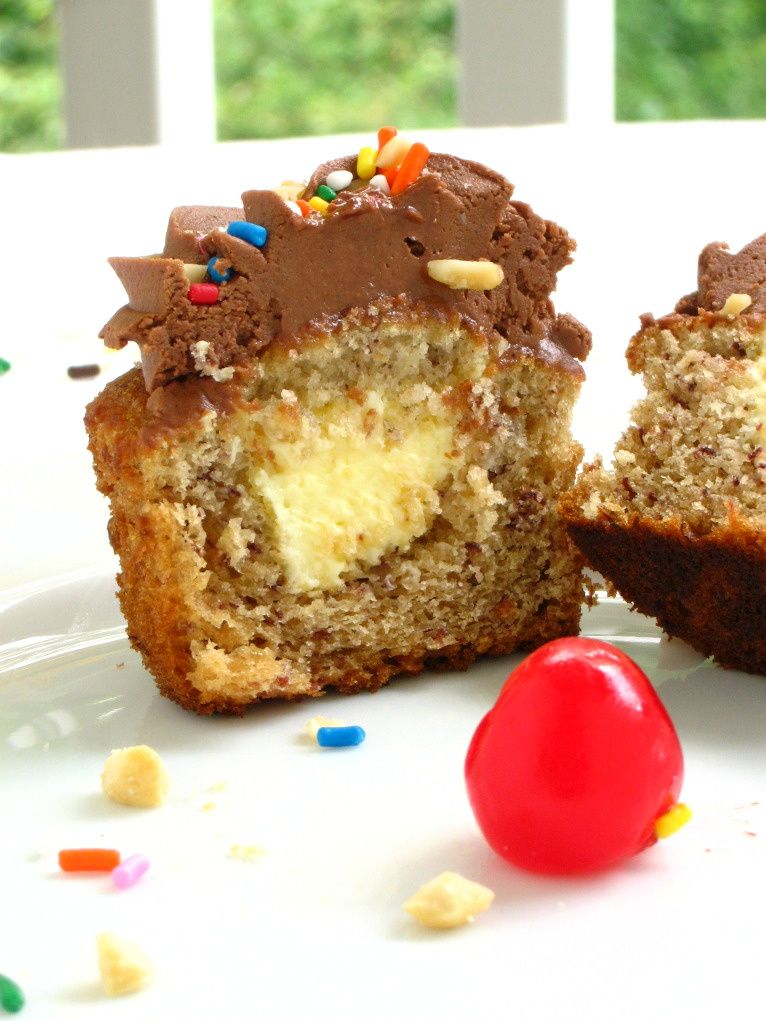
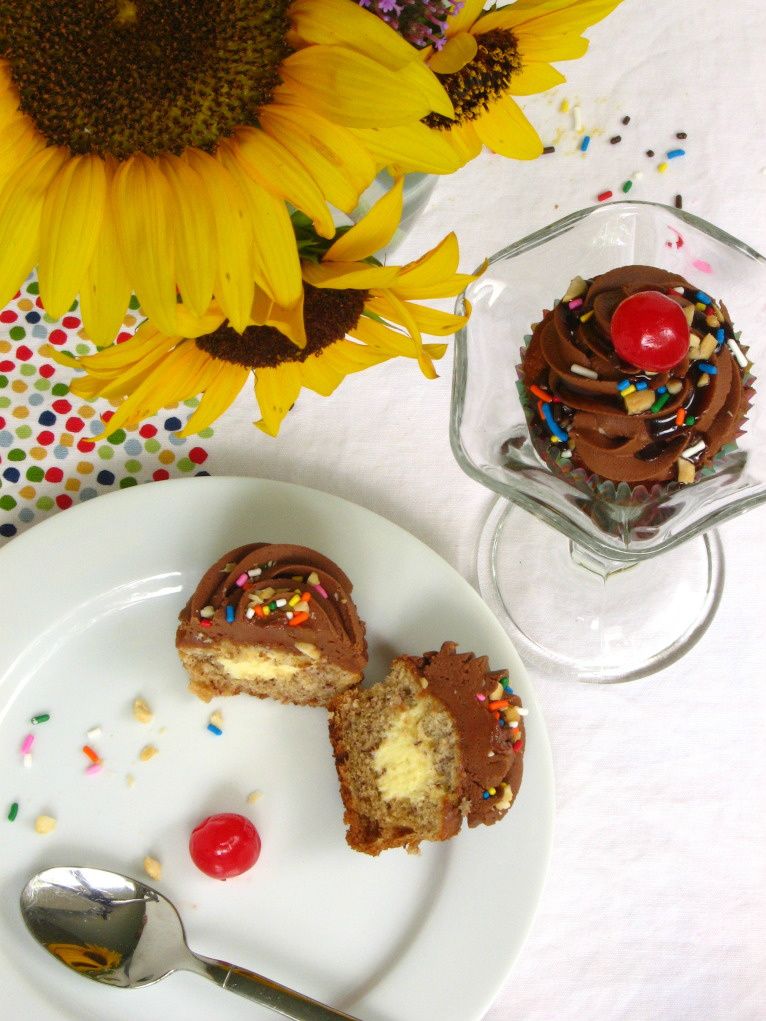
After measuring and moussing, we made Banana Split Cupcakes, which are moist banana cupcakes filled with vanilla mousse and topped with chocolate buttercream, chocolate sauce, peanuts, sprinkles, and a cherry.

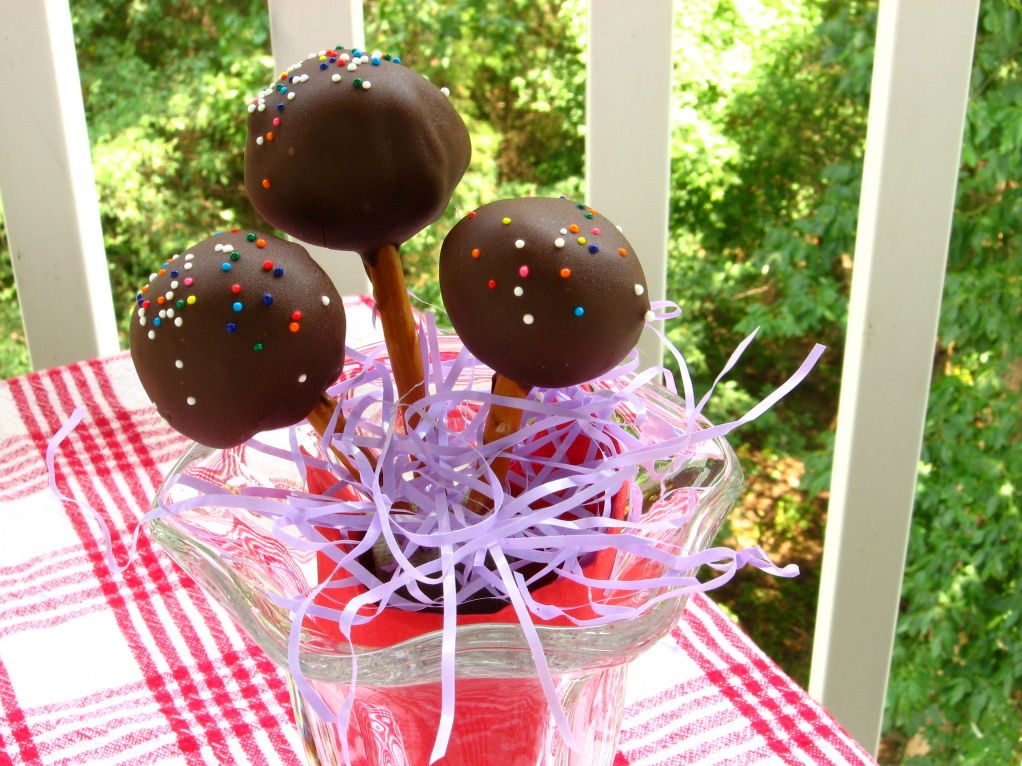
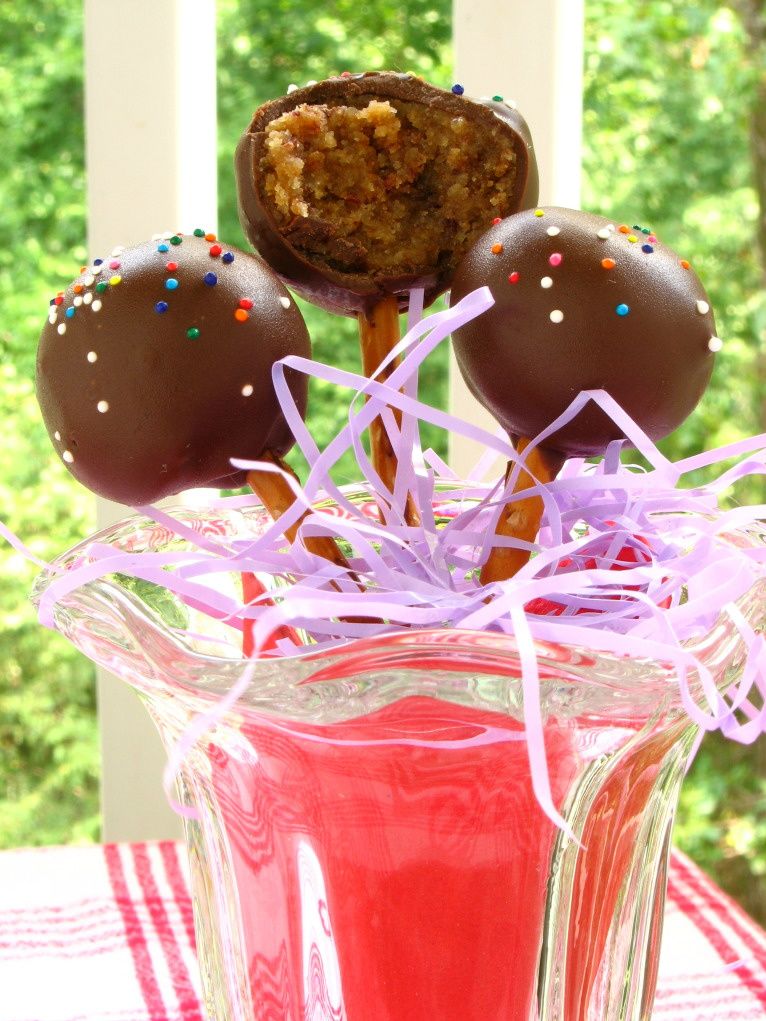
Since we had extra cupcakes, we also made Banana Split Cake Pops by crumbling the banana cake, mixing it with a simple cream cheese frosting, rolling it into balls, chilling them overnight, and dipping them in melted chocolate candy coating. These were so simple, and I almost liked them better than the cupcakes themselves! Instructions for how to make both are included below.

How do you measure dry ingredients?

Banana Split Cupcakes


Recipe by: Willow Bird Baking, adapted from Piggly-Wiggly and Wilton
Yields: 18-24 cupcakes

Cupcake Ingredients:
1 1/2 cups all-purpose flour
1 tsp baking soda
1/4 tsp salt
1 stick unsalted butter at room temp
1 cup sugar
1 tsp pure vanilla extract
1 large egg, preferably at room temp
~2 very ripe bananas, mashed
1/2 cup sour cream or plain yogurt

Mousse Ingredients:
1 cup milk
1 cup heavy cream
1 (4 serving) package vanilla Instant Pudding Mix (not Cook & Serve)

Frosting Ingredients:
1/2 cup solid vegetable shortening
1/2 cup (1 stick) butter, softened
3/4 cup cocoa
1 teaspoon clear vanilla extract
4 cups sifted confectioners’ sugar (approximately 1 lb.)
3-4 tablespoons milk
peanuts, chopped
sprinkles
chocolate sauce
maraschino cherries

Directions:
*Note: This recipe makes twice as much mousse as you need for filling the cupcakes. If you want to use half the pudding pack and save the rest for later, just measure it out and do so. Or use the extra mousse for another project (you know, like eating it with a spoon).

Make cupcakes: Line two muffin tins with paper liners. Preheat oven to 350°F. In a medium bowl, whisk the flour, baking soda and salt together. In a separate, large bowl, beat the butter until creamy. Add the sugar and beat at medium speed until pale and fluffy. Beat in the vanilla, then add the eggs, one at a time, beating for about 1 minute after each egg goes in. Reduce the mixer speed to low and mix in the bananas.

Mix in half the dry ingredients (the mixture may look curdled — just keep mixing), followed by all the sour cream and finally, the rest of the flour mixture. Fill each well of your prepared pan about 1/2 to 2/3 of the way full and rap the pan on the counter to remove bubbles from the batter and smooth the top.

Bake for 25 to 30 minutes, or until a toothpick inserted deep into the center of the cakes comes out clean. Transfer the pan to a rack and cool for 10 minutes before unmolding on the rack. Let cool completely.

Make mousse: To make the vanilla mousse, combine milk, cream, and pudding mix in a medium bowl. Beat with a mixer until you reach soft peaks, or a thick whipped cream consistency (this takes a few minutes). Refrigerate mousse until you’re ready to use it.

Make frosting: To make the frosting, cream shortening and butter together in a large bowl. Mix in cocoa and vanilla. Add in the sugar one cup at a time while beating on medium speed and scraping down the sides of the bowl often. Add milk and beat until the frosting is light and fluffy. Cover the bowl with a damp cloth until ready to use.

Assemble cupcakes: To fill the cupcakes, use the Cone Method: cut an upside-down cone out of the top of each one. Cut off the tip of the cone (and eat it, if you wish) leaving just the “lid.” Fill the cavity with mousse using a piping bag or zip-top bag with the corner cut off, and then replace the “lid” to give you a relatively smooth surface to frost. Use a piping bag or zip-top bag to pipe on the frosting. Top cupcakes with chocolate sauce, peanuts, sprinkles, and a cherry.
Banana Split Cupcakes


Recipe by: Willow Bird Baking, adapted from Piggly-Wiggly
Yields: probably around 40-50 cake pops

Cupcake Ingredients:
1 1/2 cups all-purpose flour
1 tsp baking soda
1/4 tsp salt
1 stick unsalted butter at room temp
1 cup sugar
1 tsp pure vanilla extract
1 large egg, preferably at room temp
~2 very ripe bananas, mashed
1/2 cup sour cream or plain yogurt

Cream Cheese Frosting Ingredients:
1/2 cup (1 stick) butter, softened
1 (8-ounce) package cream cheese, softened
1 teaspoon vanilla
4 cups confectioners’ sugar

Other Cake Pop Ingredients:
pretzel sticks
chocolate candy melts or candy bark (I use CandiQuik)
sprinkles

Directions:
*NOTE: We made our cake pops with leftover cupcakes, so I’m printing instructions for making them with cupcakes here. I’m not sure how this recipe would work if you tried baking this as a cake to save liners, so I don’t want to recommend that, but let me know if you try it.

Make cupcakes: Line two muffin tins with paper liners. Preheat oven to 350°F. In a medium bowl, whisk the flour, baking soda and salt together. In a separate, large bowl, beat the butter until creamy. Add the sugar and beat at medium speed until pale and fluffy. Beat in the vanilla, then add the eggs, one at a time, beating for about 1 minute after each egg goes in. Reduce the mixer speed to low and mix in the bananas.

Mix in half the dry ingredients (the mixture may look curdled — just keep mixing), followed by all the sour cream and finally, the rest of the flour mixture. Fill each well of your prepared pan about 1/2 to 2/3 of the way full and rap the pan on the counter to remove bubbles from the batter and smooth the top.

Bake for 25 to 30 minutes, or until a toothpick inserted deep into the center of the cakes comes out clean. Transfer the pan to a rack and cool for 10 minutes before unmolding on the rack. Let cool completely before crumbling cupcakes into a large bowl.

Make frosting: Make cream cheese frosting by beating butter and cream cheese together until fluffy. Add sugar and vanilla and beat until smooth.

Make cake balls: Mix about 3/4 cup of frosting into your crumbled cake, adding more frosting if the mixture is still too crumbly. You want it to reach a sort of stiff play-dough texture so you can shape it into balls. Prepare a sheet pan with a sheet of wax paper on it. Shape your banana mixture into balls and line them on the wax paper. Chill these in the refrigerator overnight. I don’t freeze mine like some sites suggest, because I find chilling them in the fridge instead reduces cracking after I dip them.

Mount and dip cake balls: After cake balls have chilled overnight, melt your candy melts or chocolate bark according to the package directions. I keep my bowl of candy melts situated in a bigger bowl of hot water to keep them warm and fluid, but be careful no water gets into the melts! To mount each cake ball, take a pretzel stick and dip the end in candy melts. Gently but firmly push the end of the pretzel stick into the cake ball. Put these back on their silicone mat or wax paper to chill. Repeat until all cake balls are mounted and chill for about 30 minutes.

After chilling, you’re ready to dip! Dip each cake ball into the candy melts, using a spoon to help coat them. After dipping, hold your cake ball over the bowl and gently bounce to drain the excess off. Turn the pop as you drain. When well-drained, sprinkle some sprinkles on top and gently place the pop in a foam block to continue drying. I placed mine in the fridge to reduce drying time. Once they’re dry, you’re ready to eat them! These keep great in an airtight container in the fridge.

Never made cake pops before? I made this video tutorial to show you some techniques involved.

All Cupcake Week Recipes:
Day One: Chocolate Pistachio Cream Cupcakes
Day Two: Banana Split Cupcakes and Cake Pops
Day Three: Creamsicle Cupcakes
Day Four: Strawberry & Cream Cupcakes and Cake Pops
Day Five: Apple Cinnamon Cream Cupcakes

If you liked this post, please:
Subscribe to Willow Bird Baking
Follow Willow Bird Baking on Twitter
Follow Willow Bird Baking on Facebook
Give this post a thumbs up on StumbleUpon


ShareOther ways to share this post with friends!

1 2 3 4 8