Valentine’s Day

Valentine’s Day Dessert Recipes from Willow Bird Baking

It’s that time again: Valentine’s Day. You either love it or you hate it, but you have to admit . . . at least it’s an excuse to eat dessert? Here are a few that will definitely score you brownie points with your sweetheart (or your own solitary tummy as you sit on the couch and watch reruns of 30 Rock, thank you very much.)

By the way, I’ve included a difficulty rating after each recipe so you can pick one perfect for your skill level and schedule. And how much you love your partner. JUST KIDDING, just kidding.

1. Gooey Butter Strawberry Shortcake (very easy)
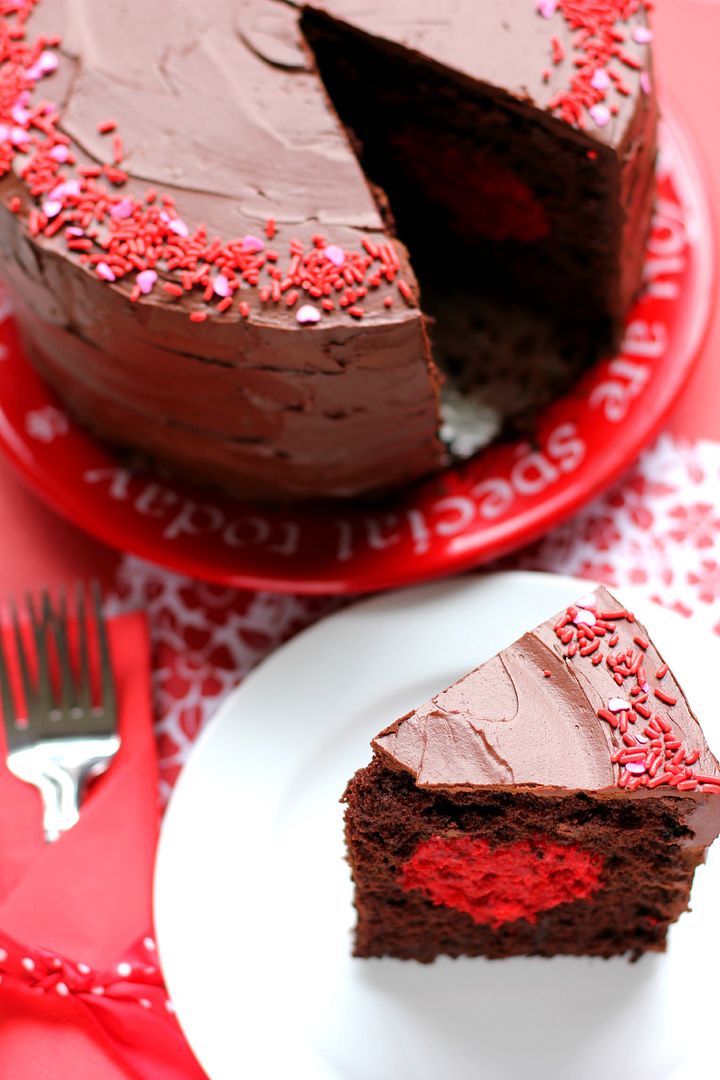
2. Thick Chocolate Cake with a Big Red (Velvet!) Heart (not hard, but probably easier as a 2-day process.)
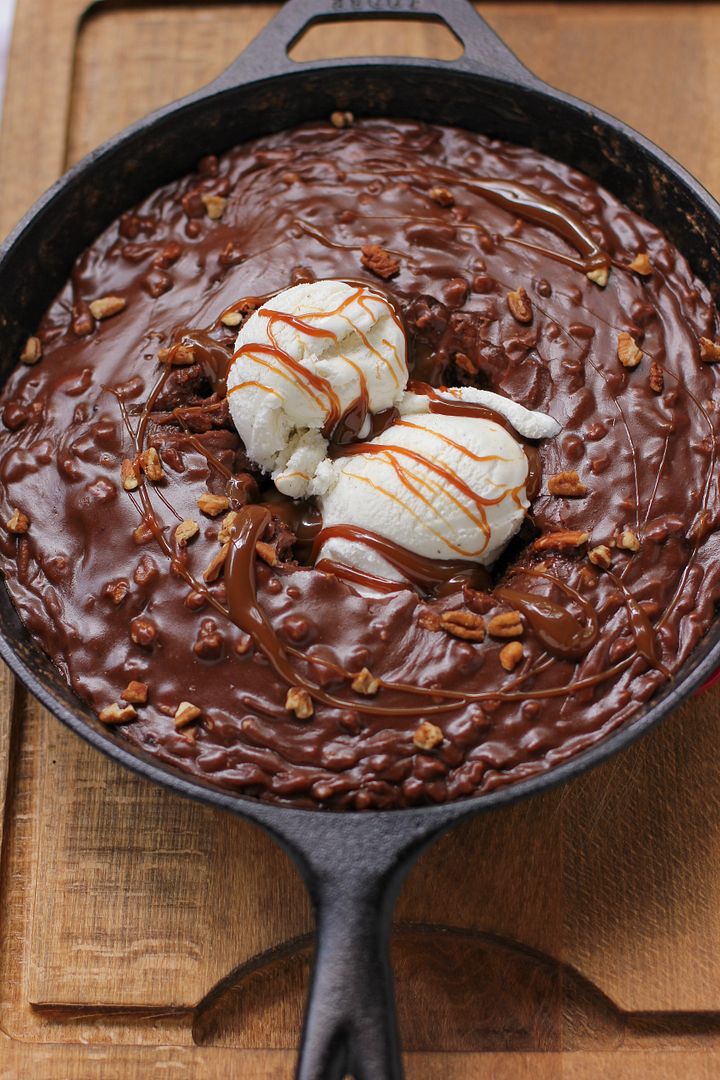
3. Gooey Chocolate Skillet Cake Ice Cream Sundae (very easy)
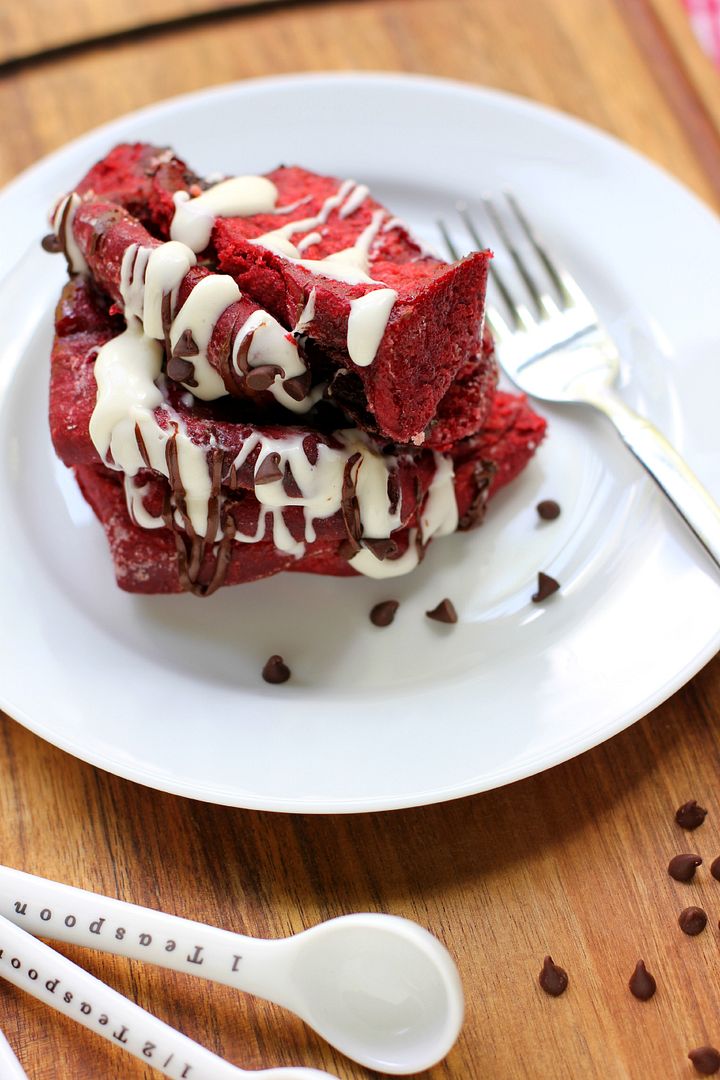
4. Chocolatey Red Velvet Pull-Apart Bread with Cream Cheese Glaze (includes rising time; a 2-day process)


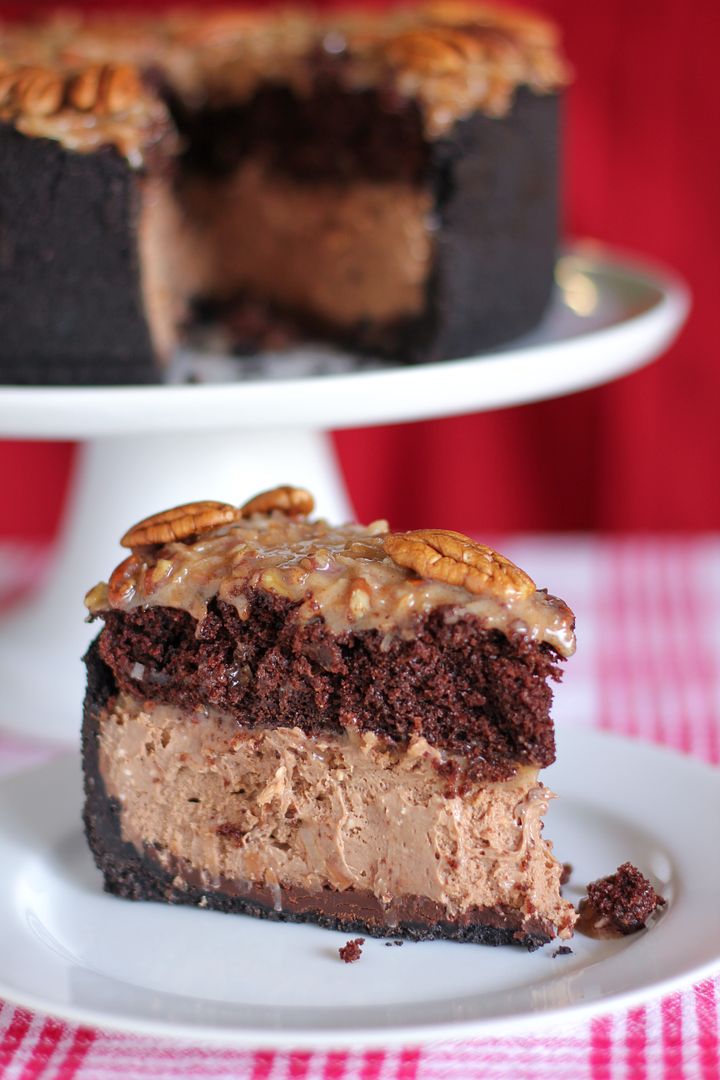
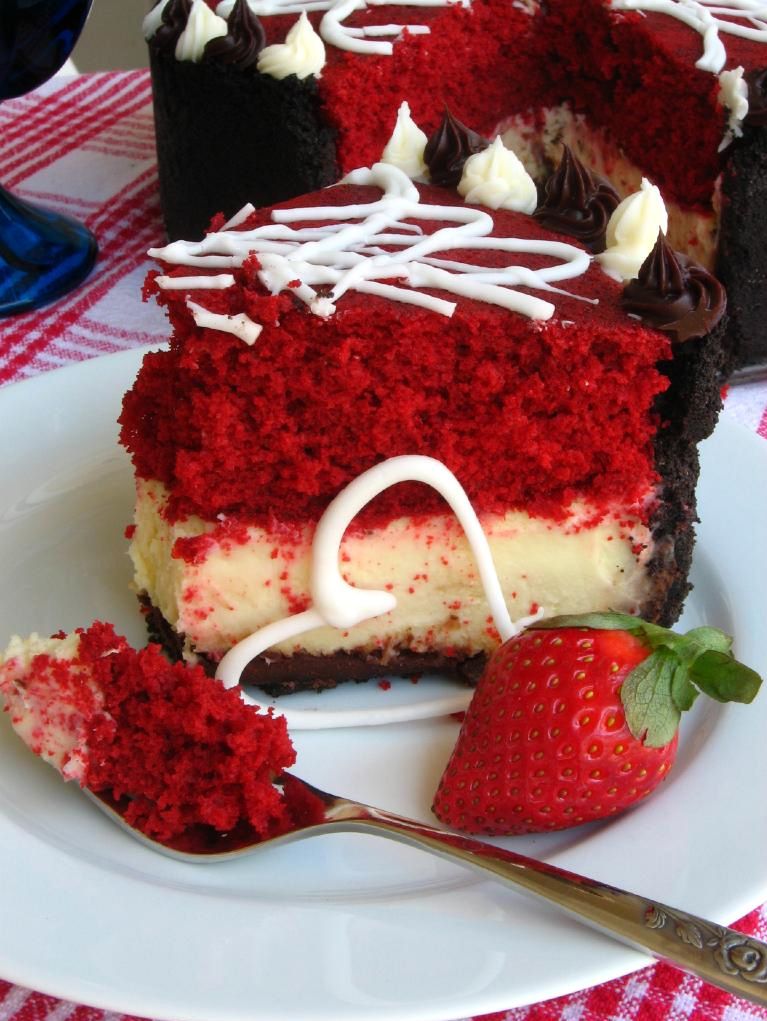
5. German Chocolate Cheesecake (not hard, but probably easier as a 2-day process.)
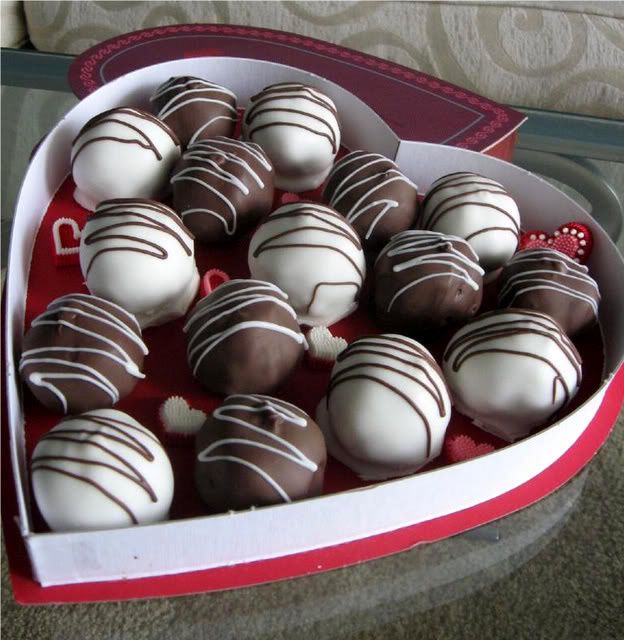
6. Red Velvet Cheesecake-Stuffed Cake Balls (advanced; easier as a multi-day process)
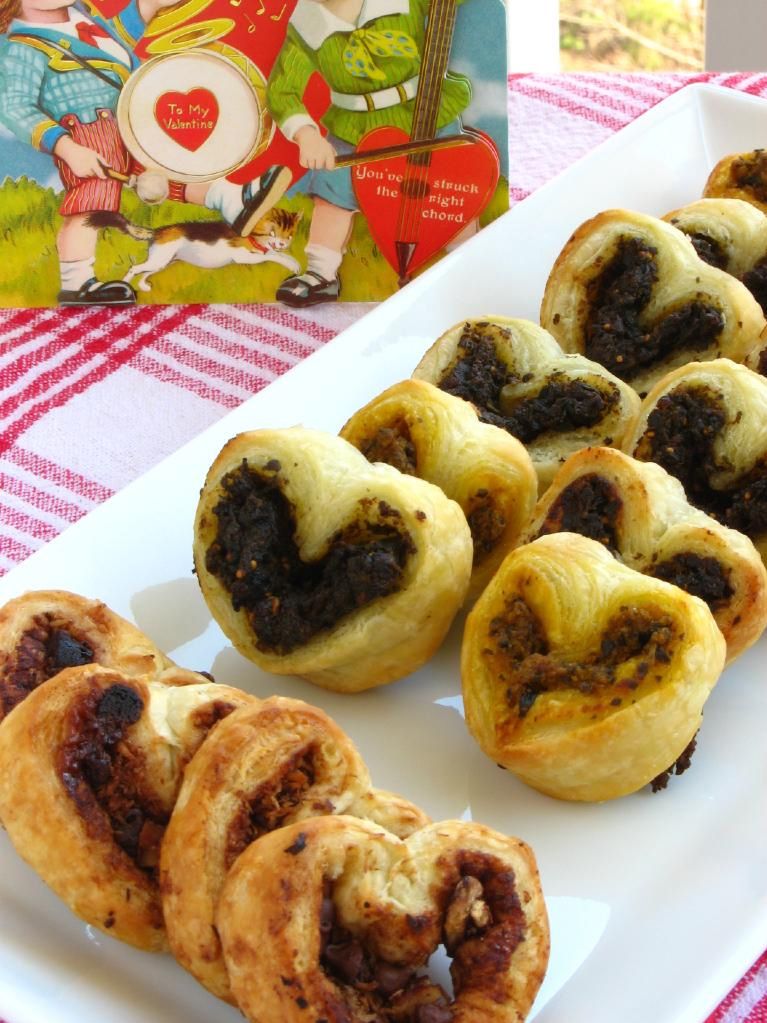
7. Heart-Shaped Palmiers (sweet or savory; very easy)
8. Red Velvet Cheesecake (not hard, but probably easier as a 2-day process.)


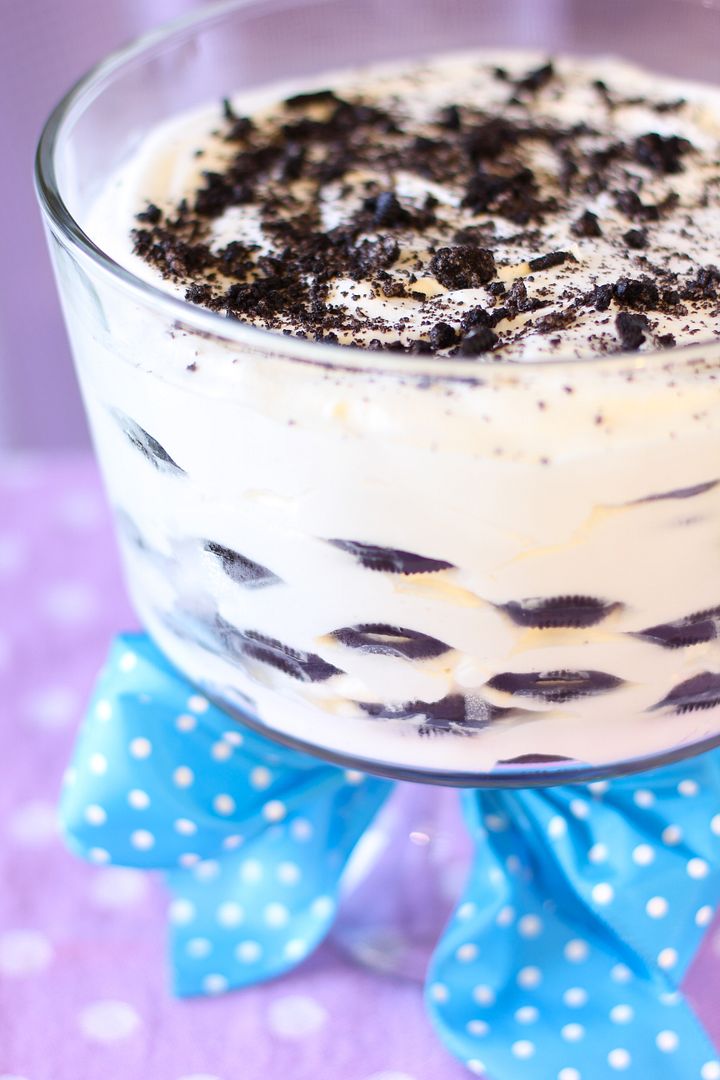
9. Boozy Icebox Cake (very easy)
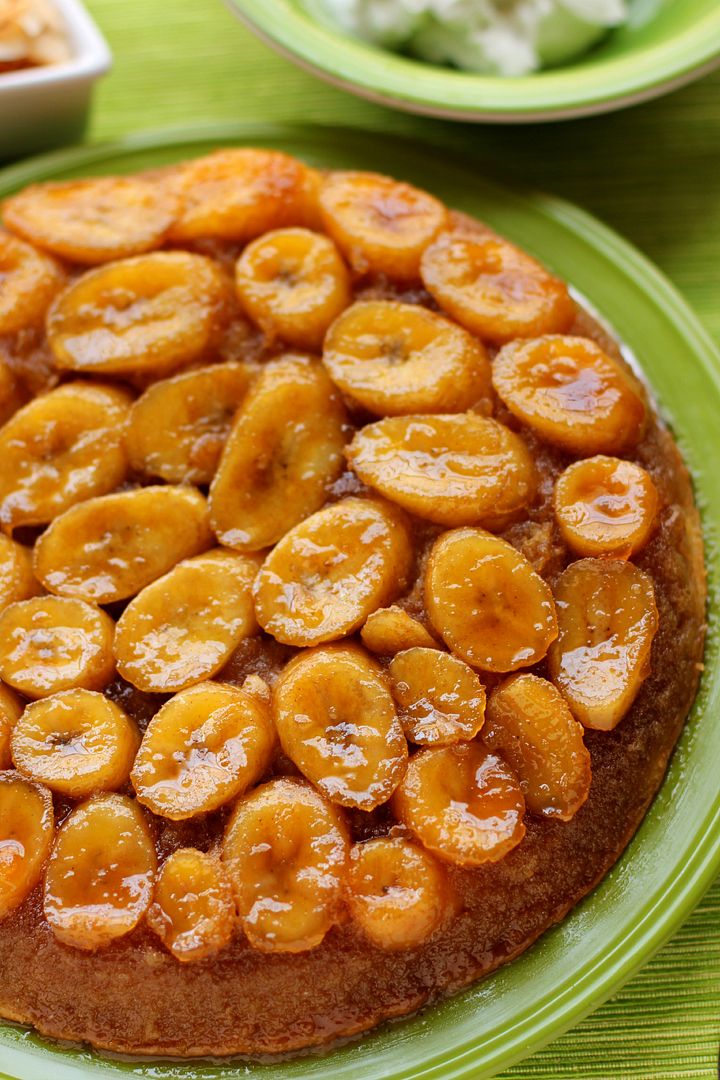
10. Caramelized Banana Upside-Down Coconut Cake & Coconut Whipped Cream (intermediate)
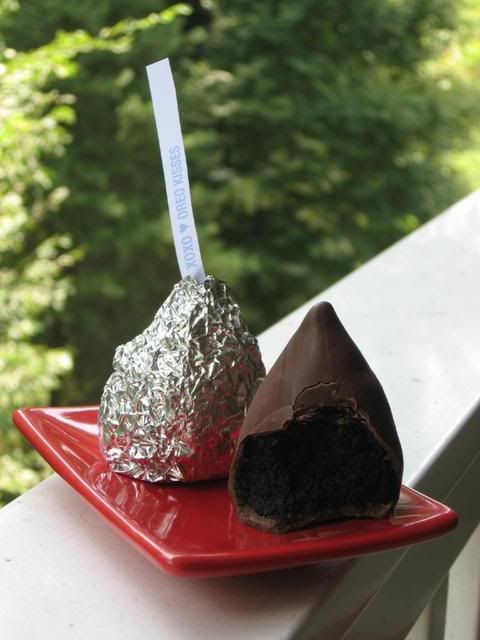
11. Red Velvet and Oreo Kisses (advanced; easier as a multi-day process)
12. Valentine’s Truffle Heart (advanced; easier as a multi-day process)


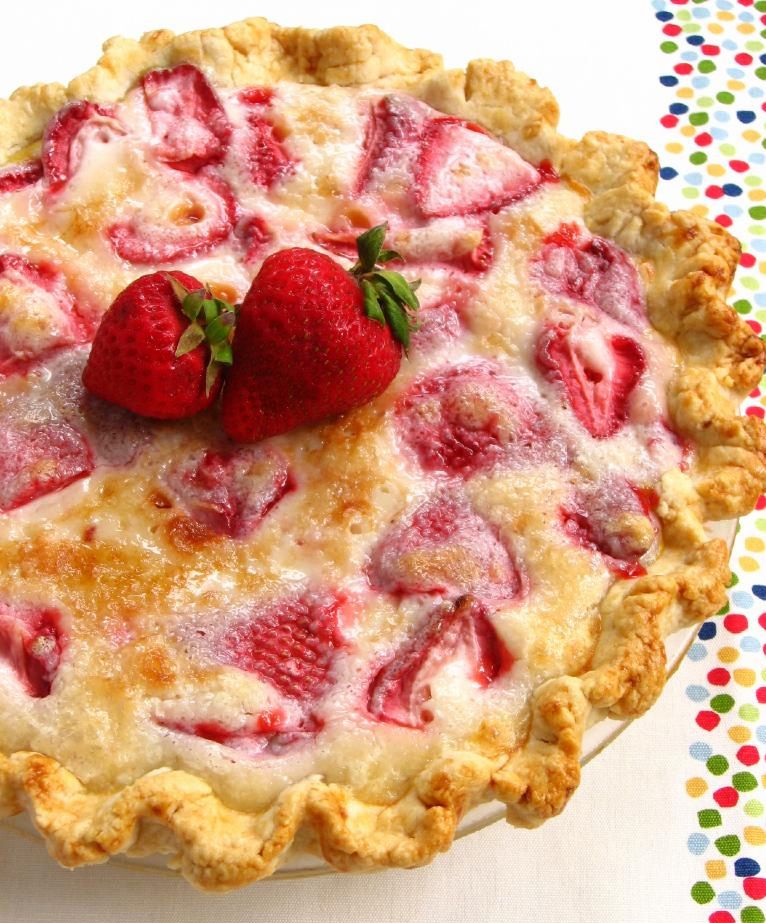
13. Strawberry Sour Cream Pie (very easy)
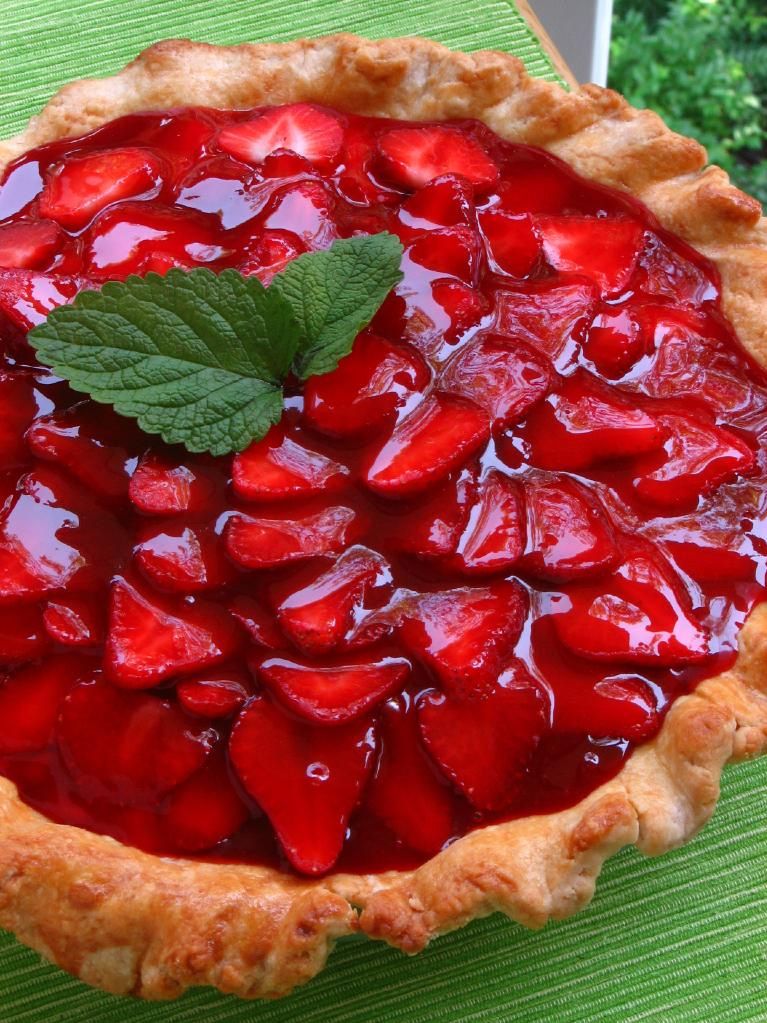
14. (Freshly Picked!) Strawberry Cream Pie (intermediate; multi-step process)
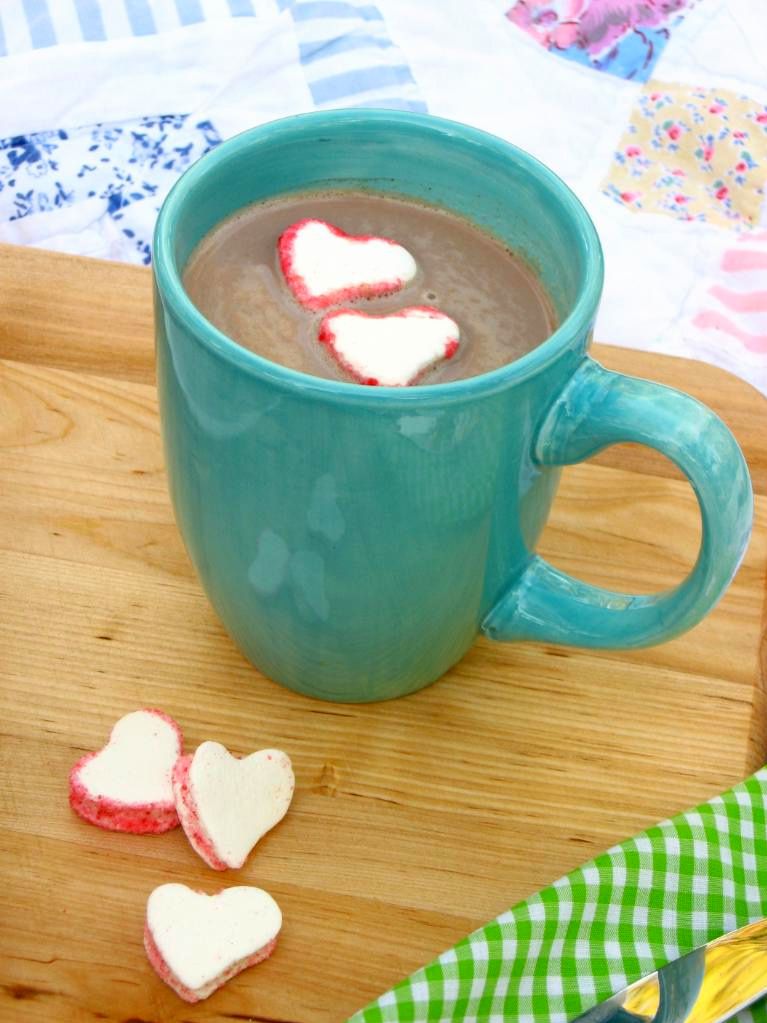
15. Homemade Hot Chocolate & Marshmallows (easy)
16. Red Berry Pie (intermediate)


…and four more for the coconut lover like me:

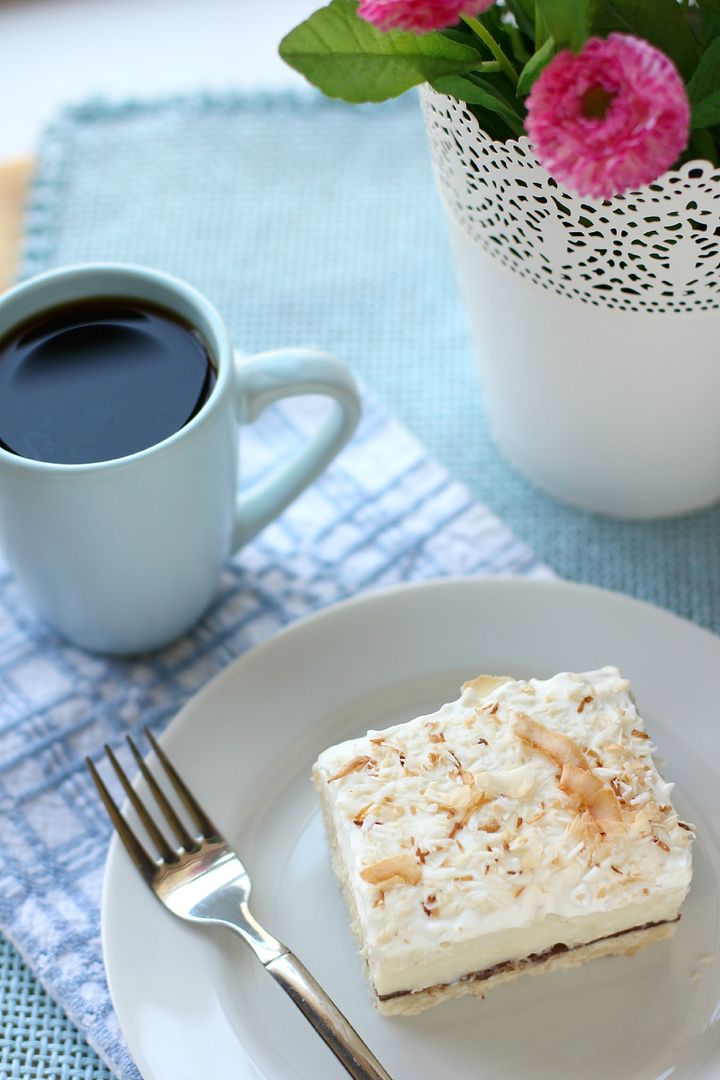
1. Chocolate & Coconut Cream Pie Bars (easy, but do require 30-minutes of stirring)
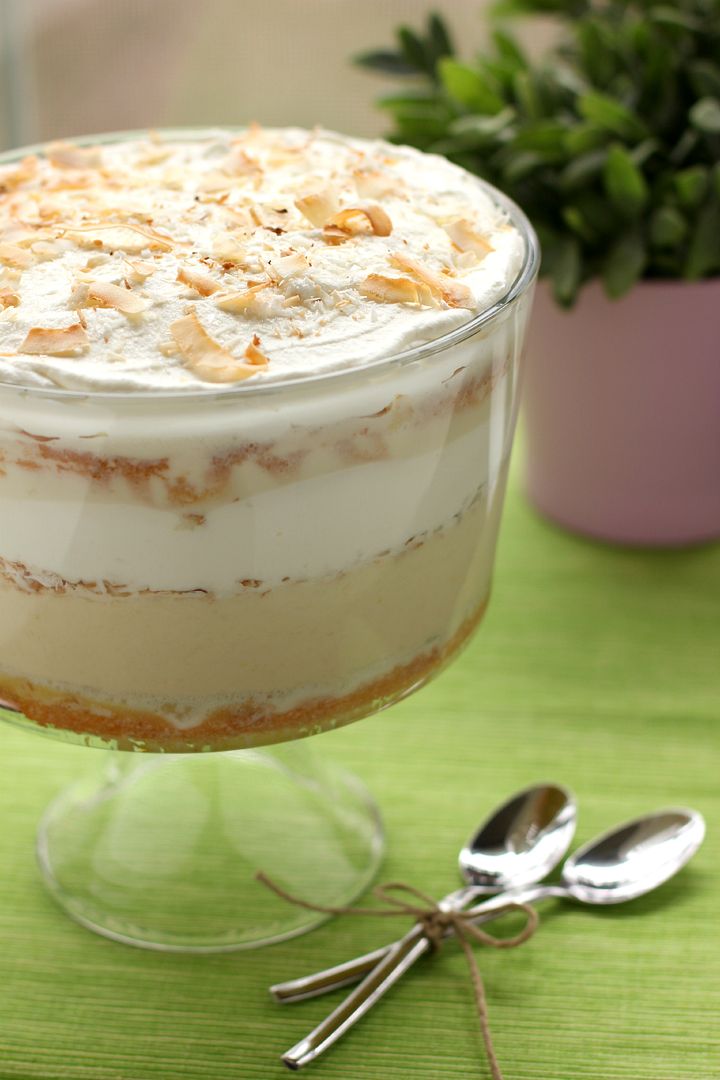
2. Tres Leches Coconut Cake Trifle (intermediate; easier as a multi-day process)
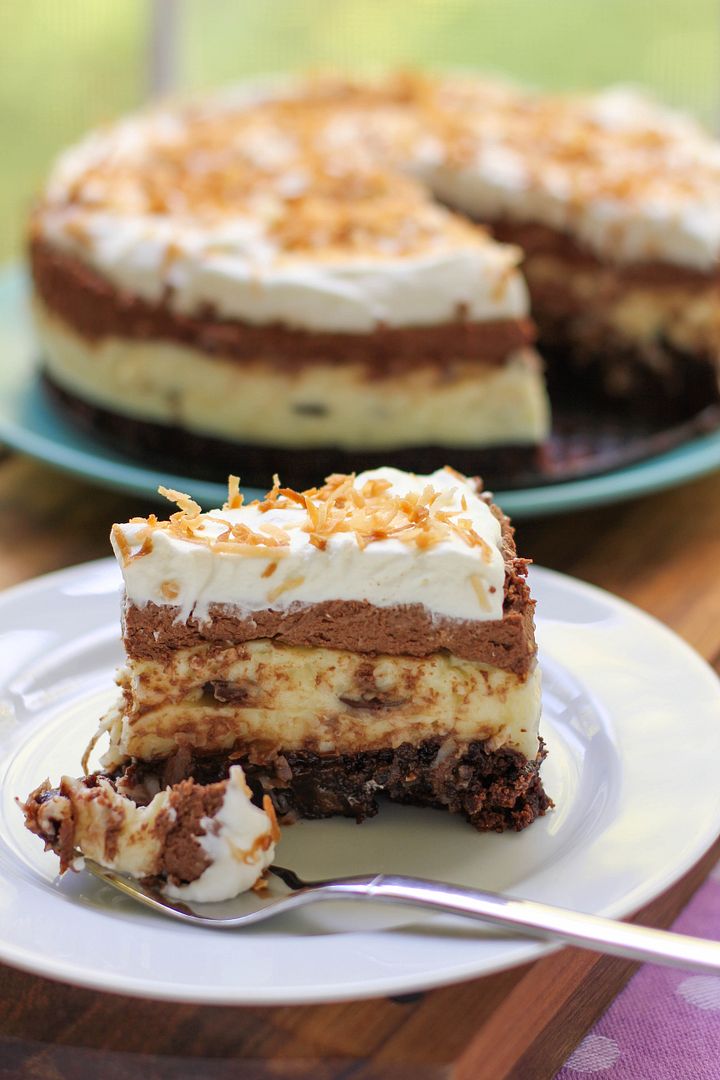
3. Brownie-Bottom Coconut Chocolate Cream Cake (very easy)
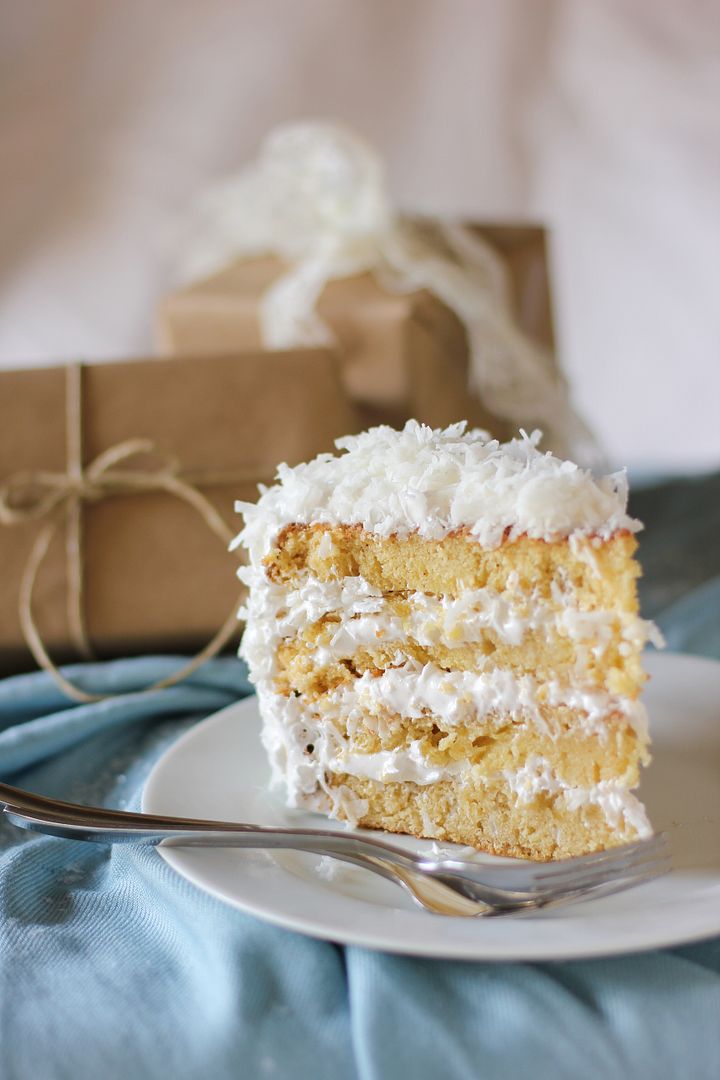
4. Moist Fluffy Coconut Cake (intermediate; easier as a multi-day process)


Happy Valentine’s Day!

Joyce let me borrow some of her keepsake grade school valentines to help wish you a happy Valentine’s Day! Here’s hoping your day is full of food, family, friends, and LOVE <3 . . . and maybe cupcakes.

My favorite:


Billy was apparently the boyfriend from 2nd grade. Too cute!


If you liked this post, please:
Subscribe to Willow Bird Baking
Follow Willow Bird Baking on Twitter
Follow Willow Bird Baking on Facebook
Give this post a thumbs up on StumbleUpon


ShareOther ways to share this post with friends!

Heart-Shaped Palmiers and a Pesto Giveaway

What does it say about me that I have more fun at middle school dances as a grown-up than I ever did as a middle schooler?

Woodlawn’s 7th graders hosted a February dance last night. The theme was BRIGHT COLORS to avoid any romantic drama involving Valentine’s Day, so everyone dressed in their rainbow best.
I waltzed in fashionably late in a magenta and turquoise get-up, danced with a gaggle of my 6th grade students to “Fly Like a G6” (though we sing, “now I’m feelin’ so fly / like a fruitbat,” which we feel more accurately characterizes us), and filmed all the hair-whipping that occurred when “Whip My Hair” came on.

We stopped mid-dance to run outside and play freeze tag. I ditched my heels and joined the math teacher, also named Julie, as “it.” Once our feet and hands were frozen, we all filed back in for more dancing. Julie and I sang a duet of “Ice Ice Baby” at one point, showing our age.

Every now and then I’d have a chaperonely duty to perform: directing cleanup, vetoing a song or two, telling the 6th graders to stop screaming. But in general, the dance was exactly what a middle school dance should be: fun and happy. Why didn’t I have this much fun when I was actually in middle school?
I vividly recall my 7th grade Valentine’s dance. My teachers were apparently not as sensitive to the delicate hormonal phase we were in, so they thought it’d be a great idea to make the dance as sappy as possible. Everything was covered in red and pink, with hearts papering the walls. It looked like cupid had thrown up love and romance on every available surface of the multipurpose room where the dance was held. Not only that, but a table was set up outside the bathrooms where the PTA was selling roses and candy for the suave middle school boys who had come to the dance unprepared for their dates.
Someone had asked me to this particular dance. We’ll call him Jeb, and he was not my type. I told him I would go with him as a friend because I wanted to be nice, but once I arrived at the dance, the middle school social pressure overwhelmed me. I didn’t want to be seen with Jeb, much less have to, like, dance with him and stuff.

Just after walking in, I caught sight of him at the aforementioned table buying a rose for me and I booked it to the girls’ bathroom, where I hid for the majority of the night. Every now and then I’d poke my head out and watch him wandering around quizzically, looking for me in the crowd, and then I’d duck back in to hide some more. Part of me felt guilty, but the part that felt mortified won out.
Jeb moved away shortly thereafter, and I felt so bad for having ditched him at the dance. Thankfully, he returned in high school and I got the opportunity to apologize. I chalk the whole experience up to middle schoolitis, the inflammation of your social nerve. For some reason when you’re a middle schooler, it matters so much what others are thinking about you. You don’t want to dance, because what if people think you dance funny? You don’t want to hang out with certain people, because what if people think you’re like them? You don’t want to wear certain clothes, because what if they send the message that you’re uncool?

Phew, I’m so glad that’s over. And so glad that I, unlike a lot of grown-ups, have a second chance at the middle school dance! Call it one of the perks of being a teacher.
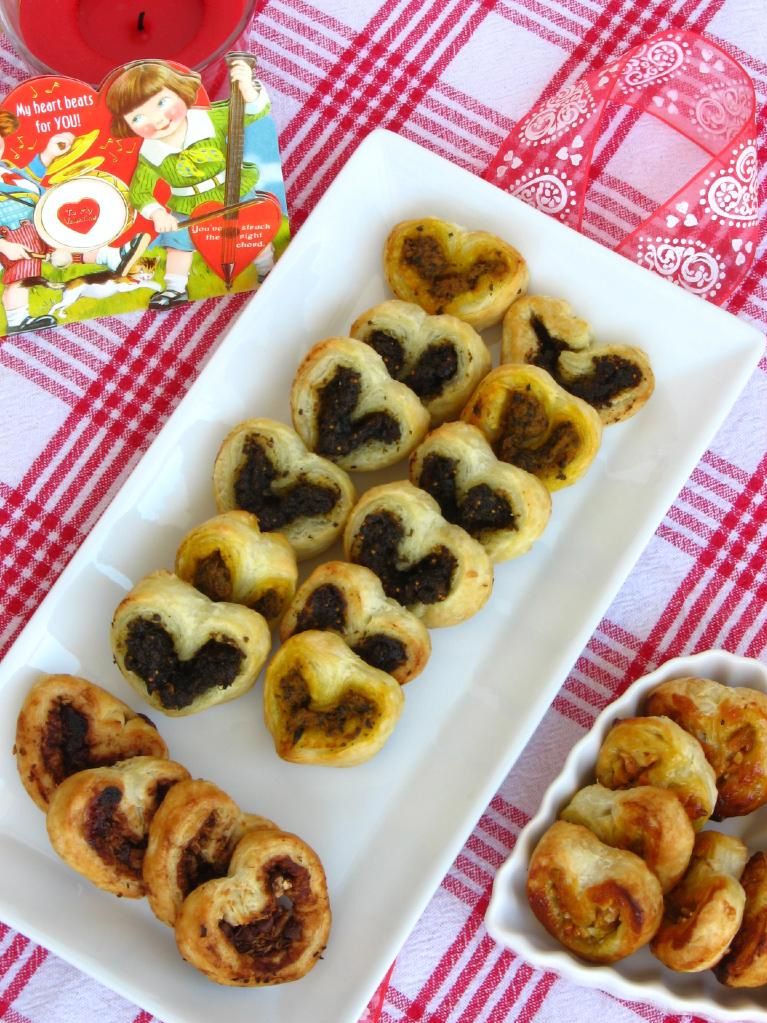
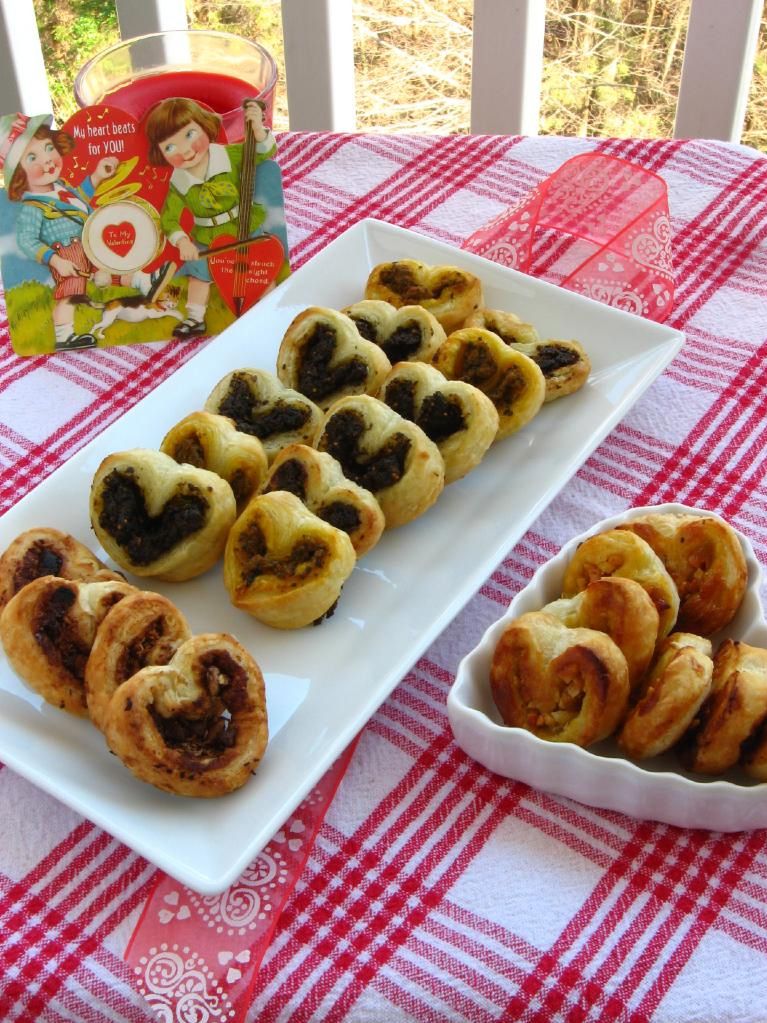
Anyway, after all that fun last night, I didn’t have much time for baking. I knew I wanted to make something sweet and Valentinesy, but it also needed to be quick. Voila: easy heart-shaped palmiers that can be sweet or savory depending on what you spread in them.

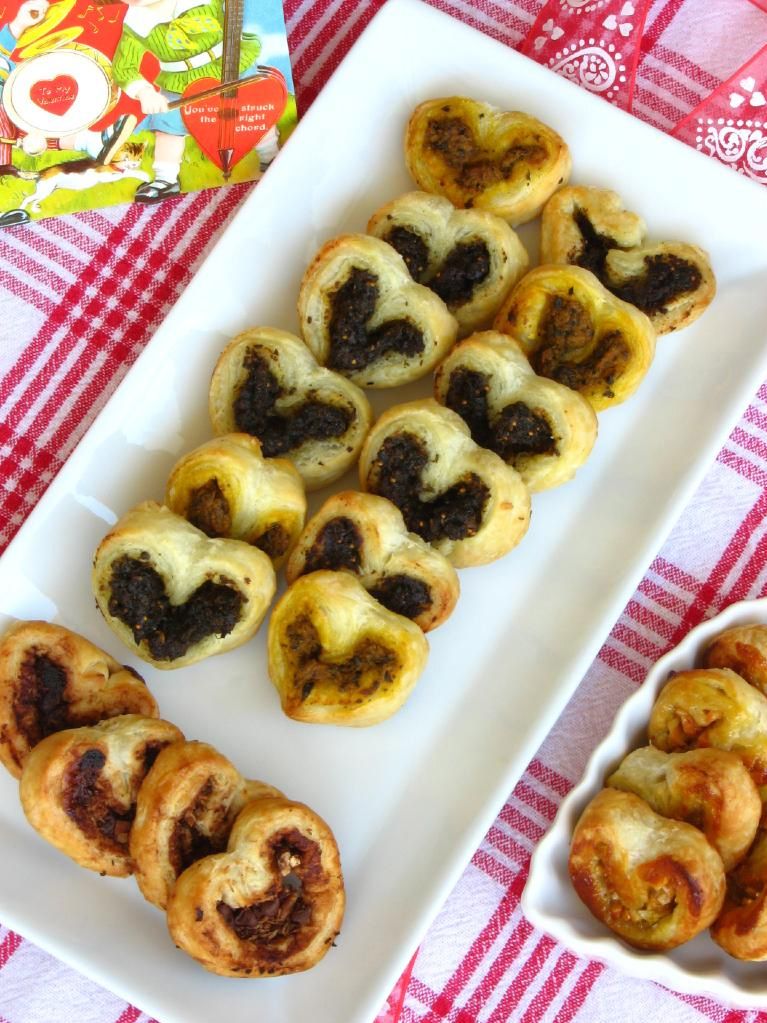
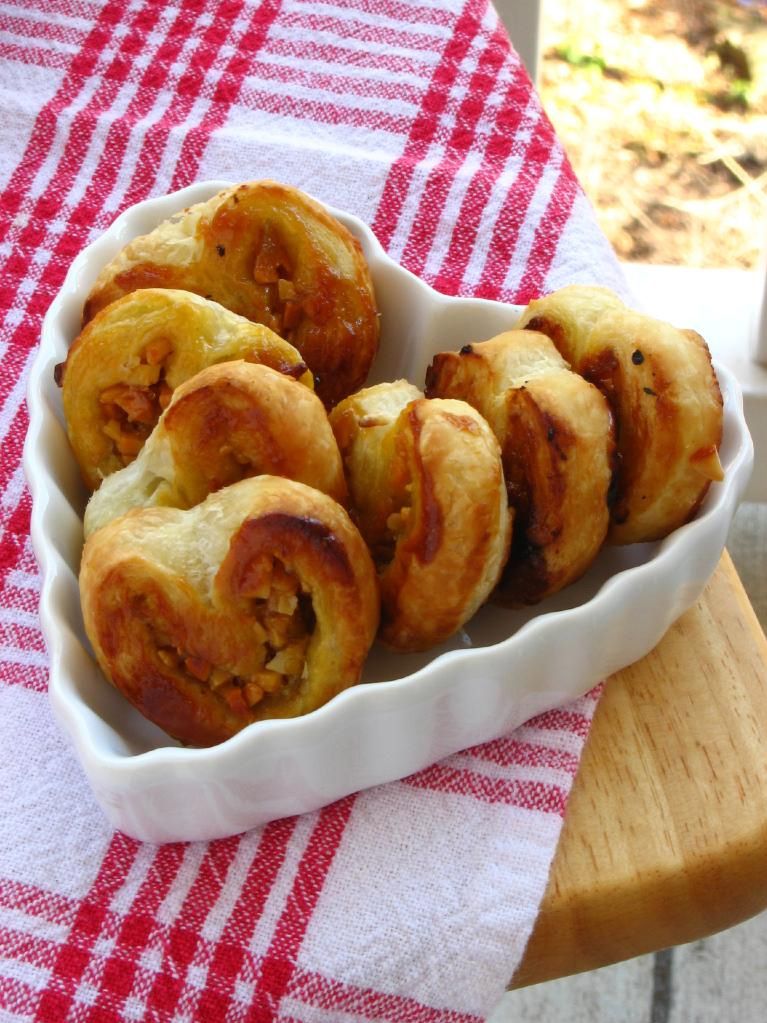
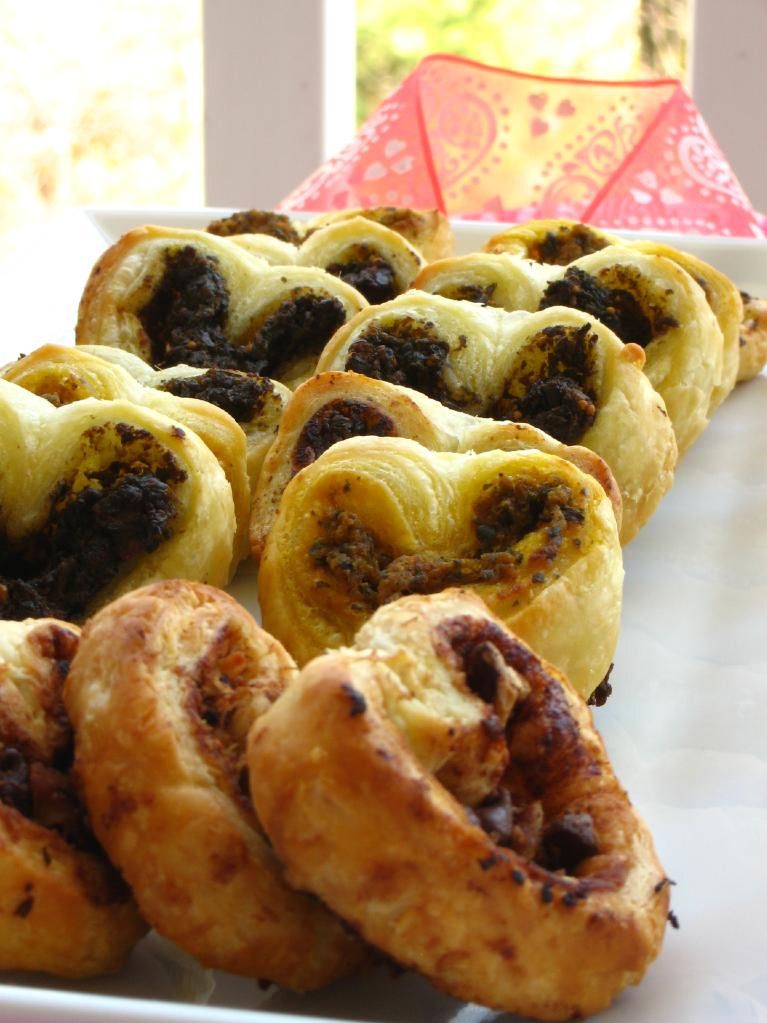
Pestos With Panache by Lauren sent me two pesto flavors to review, Fig & Gorgonzola and Pumpkin Chipotle, so I decided to make two varieties of pesto palmiers. To satisfy my sweet tooth (who’m I kidding? it’s insatiable), I also made Fig Jam & Almond Palmiers and Chocolate, Pecan, & Coconut Palmiers. I love that palmiers are so customizable that you can create a variety of them at once (the method below will inspire you to get creative!), but what I love even more is that you can whip up a batch of these cuties in 20 minutes. Perfect for a last-minute addition to your Valentine’s meal!
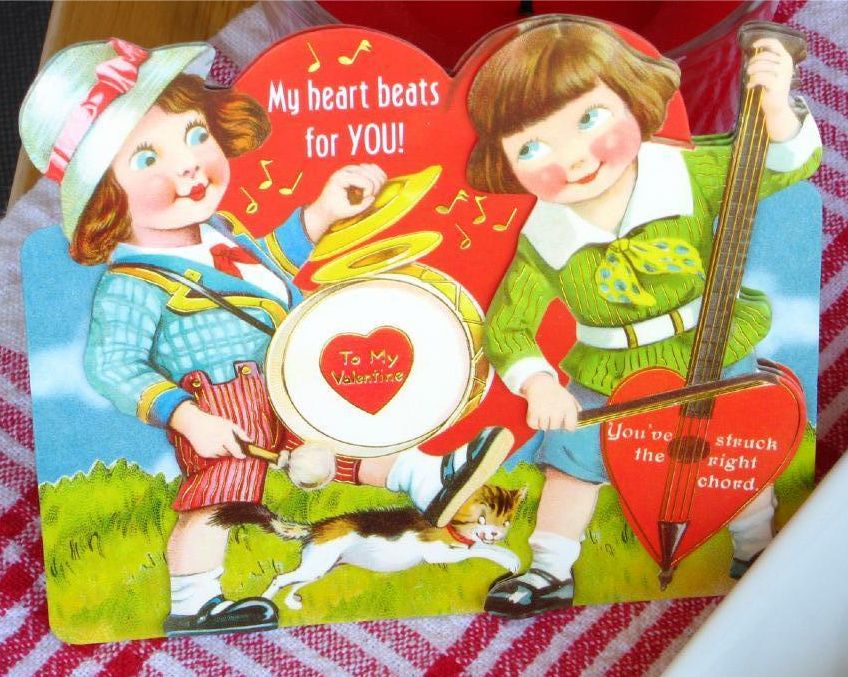

Speaking of Valentines — the Valentine’s Fairy heard my lamentations about not getting any valentines as an adult, so I got this in the mail from my Sunday school teacher, Joyce. Too sweet!

Regarding the pesto, Pestos With Panache by Lauren has all-natural, preservative free products. The pestos keep well in the freezer for up to two years, and the company boasts a number of zany, creative flavors.

I wasn’t wild about the Pumpkin Chipotle Pesto; it combined mild pumpkin with some heat, and it seemed like it would work better in a recipe with bolder flavors to complement it. The Fig & Gorgonzola Pesto, though, was deep and delicious, and I can’t wait to try some of the other fruity flavors. I can imagine lots of creative uses for them, including (of course) palmiers!

Would you like to win two of the fun pesto flavors from Pestos With Panache? They’d love to send one lucky commenter a sample. To enter:

1. Required Main Entry (your other entries won’t count unless you do this one!): Visit Pestos With Panache by Lauren and tell me what 2 pesto flavors you’d love to try.

To get up to five extra entries, do each of the following items (one entry per item). Please be sure to leave a separate comment for each item you complete, or you will not receive the entry for that item. If you already do these things, it still counts (just leave me a comment and tell me so).
2. “Like” Pestos With Panache on Facebook.
3. “Like” Willow Bird Baking on Facebook.
4. Follow Pestos With Panache on Twitter.
5. Follow Willow Bird Baking on Twitter.
6. Tweet the following message: “Just entered to win 2 pesto flavors from @PestosWPanache on Willow Bird Baking! http://su.pr/2diNLK #giveaway @julieruble”

The contest will close at 12 noon (EST) on February 19, 2011, and the winner will be chosen via random.org. In the meantime, make some palmiers!

Heart-Shaped Palmiers


Recipe by: Willow Bird Baking
Yields: 25-28 palmiers

Ingredients:
1 frozen puff pastry sheet, thawed (or use homemade puff pastry!)
sprinkle of flour
moist spread*
toppings**

*you can use pestos, jellies, Nutella, thicker sauces, etc.
**such as cheeses, toasted nuts, chocolate chips, etc.

Directions:
Preheat oven to 425 degrees F. Line two baking sheets with parchment paper. Roll out the puff pastry sheet on a lightly floured surface so that it’s just slightly longer, and then cut it in half horizontally with a pizza cutter. You now have two rectangles of puff pastry.

Spread your pesto, jelly, or other moist spread onto the puff pastry sheets leaving about 1/4-inch border around the edges. Sprinkle toppings on lightly, taking care not to overstuff and make your palmiers difficult to roll. Apart from my two pesto palmiers, I made palmiers spread with fig jam and sprinkled with toasted almonds, and palmiers sprinkled with sugar, cocoa powder, toasted pecans, mini chocolate chips, and toasted coconut. The sky’s the limit in terms of the combinations you can create.

Once you’ve spread and topped your pastry rectangle, grab the long edge and fold it in toward the middle. Repeat with the other long edge, such that they meet in the middle:

Now fold one side of the dough onto the other:

At this point, stick the dough in the freezer on wax paper for about 10 minutes so that it’s easier to cut. Using a sharp knife, cut the log into 1/2-inch slices:

Set each slice on one of the prepared baking sheets with one of the cut sides up. If the knife smooshed them a little, prod them back into shape. Bake at 425 degrees F for 8 minutes before turning the temperature down to 400 degrees F and gently flipping each palmier. Bake for 4-5 minutes extra. Remove the palmiers from the oven and transfer them to a cooling rack. Serve slightly warm.

Note: Pestos With Panache by Lauren provided me with 2 pesto flavors to review at no cost to me and offered to sponsor this giveaway. I’m committed to giving you my honest opinion about any product mentioned on Willow Bird Baking.

If you liked this post, please:
Subscribe to Willow Bird Baking
Follow Willow Bird Baking on Twitter
Follow Willow Bird Baking on Facebook
Give this post a thumbs up on StumbleUpon


ShareOther ways to share this post with friends!

Red Velvet Cheesecake

Every year around this time, I get the urge to build a mailbox.

Don’t look at me like that. I blame my elementary school teachers. At the beginning of almost every February, my teachers would pull out construction paper, glue, stickers, markers, and paint, and we’d all set to work constructing mailboxes. Sure it wasn’t the most glamorous construction job I’ve ever been a part of, but I was very serious about it nonetheless, because this wasn’t just any mailbox — this was a Valentine’s Day mailbox.

On February 14, we’d all bring in our packets of valentines and circulate about the classroom uncomfortably, dropping one in each of the waiting mailboxes. We tried not to pause too long at anyone’s desk or — heaven forbid — make any accidental eye contact, lest it be misinterpreted during this socially charged process.

Secretly, though, I’d probably spent the night before carefully selecting the perfect Strawberry Shortcake Valentine for the boy I liked. One that could be interpreted as being totally casual — plausible deniability in case he had no interest in me whatsoever — but was also slightly on the mushy side, in case he was just waiting for a sign of my interest. If I was appending candy to my valentines that year, I probably spent another eternity choosing the candy heart or chocolate that I thought he’d like the very best.

(Yes, I now realize that the boy I liked, in contrast, had probably spent the night before Valentine’s Day being hounded by his mother to at least write his classmates’ names somewhere on the valentines she’d bought for him, eating most of his valentine candy before it got attached to anyone’s card, and playing a Teenage Mutant Ninja Turtles video game until bed.)

Anyway, when every valentine was passed out and the time had finally come to sit down and empty our mailboxes, I was always breathless with suspense. Imagine the possibilities! Forget bills and junk mail — these mailboxes were carefully crafted to hold L-O-V-E. Every year I fully expected to receive a long letter handwritten by the boy I liked (actually, any boy would’ve done. Or a secret admirer? Yes, please!) detailing the many, MANY reasons he was smitten with me. He might even include a phone number. Maybe a special conversation heart. Maybe an engagement ring! You never know.
Reality was a little disappointing. I’d dump out all the valentines and quickly shuffle through the boring ones — Scooby Doo holding a bunch of flowers and saying, “Rees are for Roo, Valentine!” or Power Rangers crying, “It’s Morphin’ Time, Valentine!” My eagle eyes were looking for two things: candy and handwritten messages. Candy because it would sustain me on my arduous journey toward discovering the love of my life, and handwritten messages from said love.

Was his heartfelt letter to me in this envelope? Nope, a smurf card. How about this one? Nope, an I Love Lucy valentine — you can tell Mom picked those out. How about the envelope with a heart drawn on the front? Nope, that was from my BFF. Thanks a lot for getting my hopes up, girl. Slowly but surely, my stack dwindled. One after another, the valentines were slapped down onto my “read” pile with barely more than a glance. Finally, the fateful moment came when I’d read and dismissed the very last card.

No proposal. No secret admirer. Not even a lousy paragraph about my eyes being like the sun or something. Nothin’. At this point I’d probably look at my crush across the classroom and sigh, appreciating the suave way in which he used his lollipop as a sword to launch attacks against his friend’s ear.

Childhood is rough. Adulthood is a lot better. Yes, there are bills and junk mail in my mailbox now. And unfortunately, I didn’t get to MAKE my mailbox. And, okay, I’m not going to get a pile of colorful valentines, some of which are boasting candy.

But here’s why adulthood rocks. This year, when Christof Van Snufterplucken (names changed to protect the innocent — or lame) doesn’t turn off his video game long enough to write me a love letter about how awesome I am, I can remedy my disappointment in a mature, adult way: by making and eating a ridiculous amount of cheesecake. Red Velvet Cheesecake, to be exact.

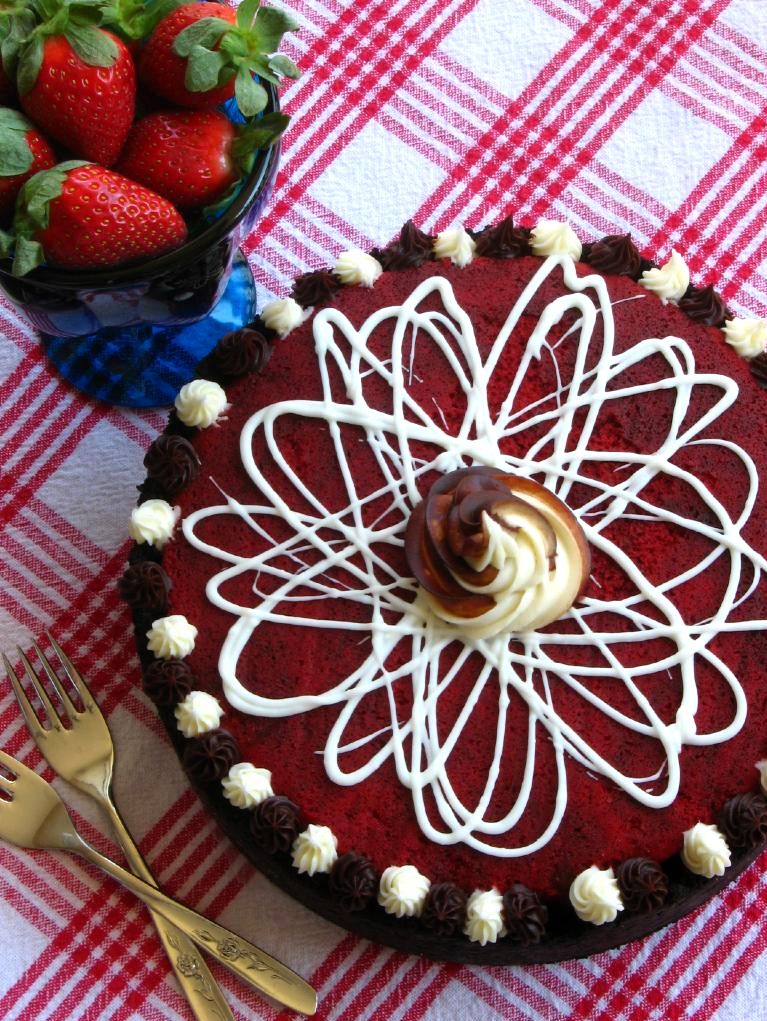
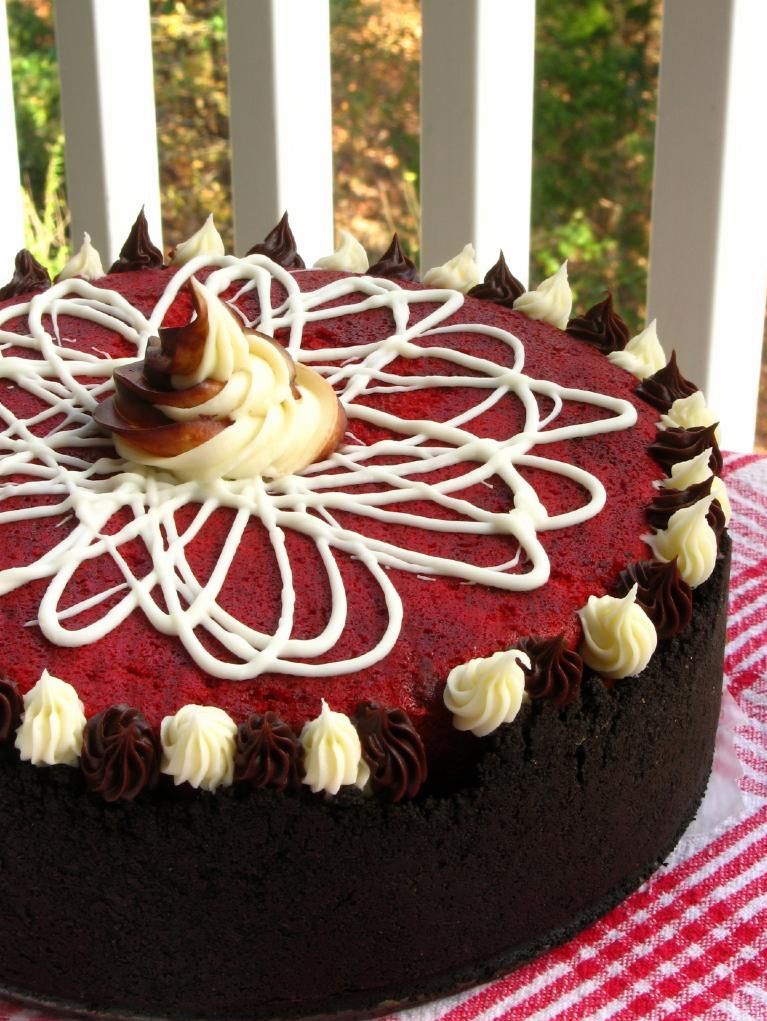
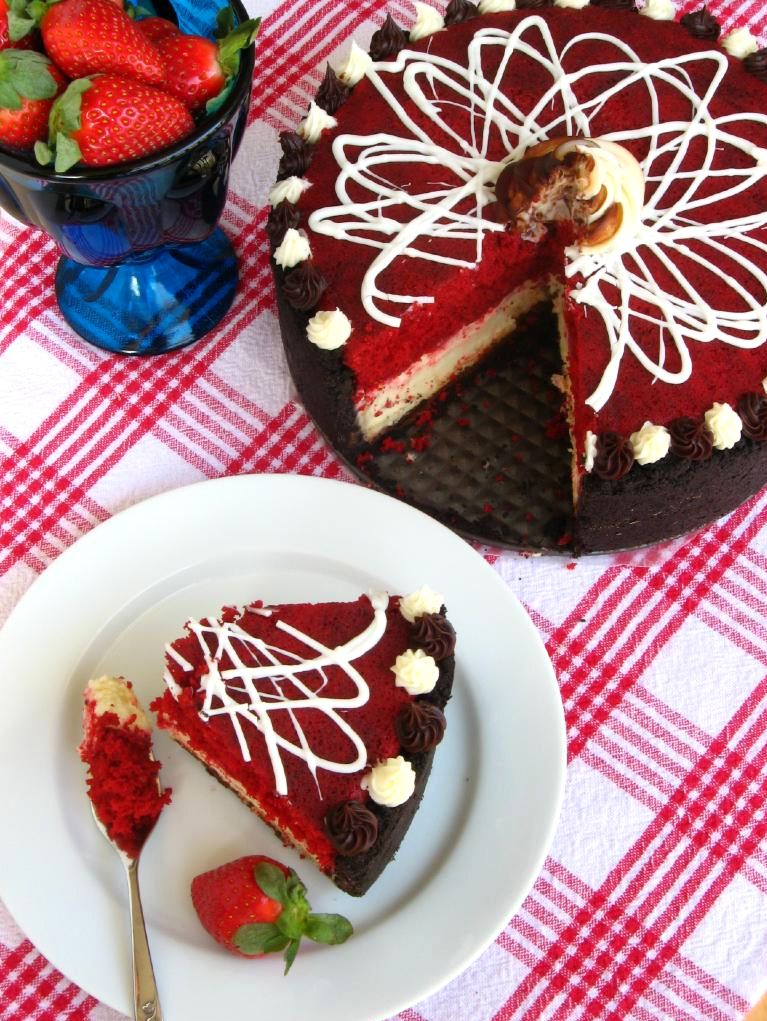
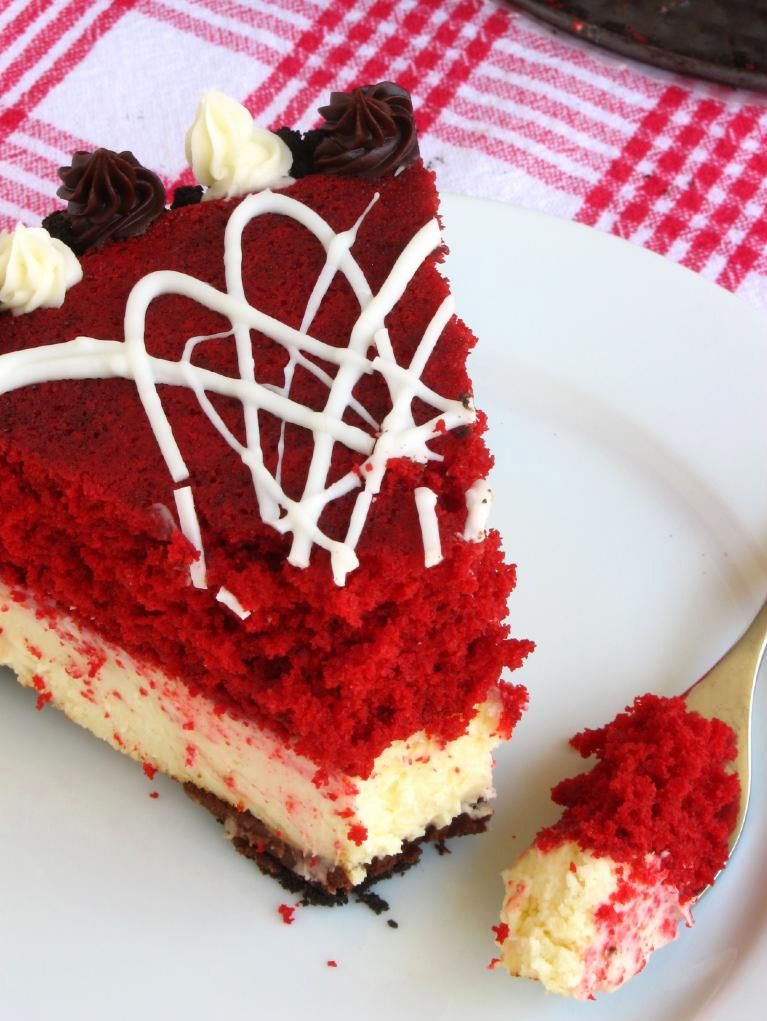
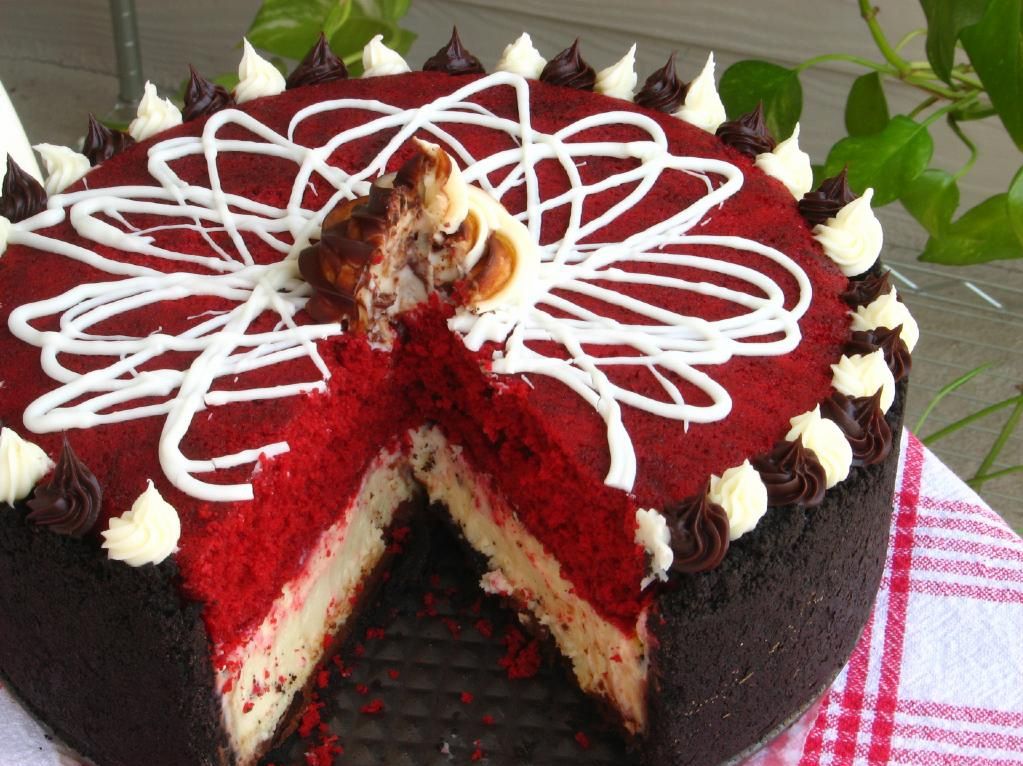
Reader Victoria first gave me the idea for a Red Velvet Cheesecake back in November and I thought it sounded fantastic! She made a beautiful layer-cake-like version, and I went the cheesecake-like route. This ultimate Valentine’s dessert includes an oreo crust filled with layers of ganache, creamy cheesecake, and moist red velvet cake decorated with ganache and cream cheese frosting. Perhaps this is obvious, but apart from being pretty (especially when served with chocolate-covered strawberries and white chocolate hearts), this thing is delicious, indulgent, and yes, romantic. So even if your crush loves radioactive reptilian ninjas more than you, you can have your own little slice o’ love.

Tell me about one of your elementary school crushes. Did you ever receive a fantastic valentine in school?

5 from 1 reviews
Red Velvet Cheesecake
 
Prep time
Cook time
Total time
 
A delicious dessert that combines two of your favorites into one! Note on cheesecake making: Cheesecakes are simple and super customizable. New to cheesecake making? Watch my 6-minute Cheesecake Video Tutorial for visual assistance! Note on scheduling: This cake is easily separated into two days of preparation, and can be prepared ahead of time. On day one, prepare the red velvet cake, cool it, and freeze it. On day two, prepare the cheesecake. You can then assemble and decorate right away, or leave this for day three.
Serves: 14-16
Ingredients
Crust Ingredients:
  • 32 chocolate sandwich cookies, finely processed into crumbs (cream and all – it’ll disappear when you crush them up!)
  • 5 1/3 tablespoons unsalted butter, melted and cooled
  • pinch of salt
Ganache Ingredients:
  • 3/4 cups heavy cream
  • 10 ounces bittersweet or semisweet chocolate, finely chopped (I used half semisweet and half bittersweet chocolate chips)
Cake Ingredients:
  • 1/4 cup vegetable shortening
  • 1 egg
  • 1 tablespoon cocoa
  • 1/4 teaspoon salt
  • 3/4 cups sugar
  • 1/2 teaspoon vanilla extract
  • 1/2 cup buttermilk
  • 1 1/4 cups flour
  • 1/2 teaspoon baking soda
  • 1/2 tablespoon white vinegar
  • 1 ounce red food coloring
Filling Ingredients:
  • 3 (8-ounce) packages cream cheese, at room temperature
  • 1 cup sugar
  • 1½ tablespoons all-purpose flour
  • 2 teaspoons vanilla extract
  • 3 large eggs
Decorative Toppings (optional):
  • 2 ounces cream cheese, at room temperature
  • 2 tablespoons butter, at room temperature
  • 1 cup powdered sugar, sifted
  • white chocolate for drizzling
  • strawberries
Instructions
  1. Make the cake: Preheat oven to 350 degrees F. Line the bottom and the sides of an 9-inch round cake pan with parchment paper, leaving an overhang on two opposite sides to make it easier to lift the cake out of the pan when it’s done. Cream shortening, sugar, and eggs. Make a paste of the cocoa and coloring and add to the shortening mixture. Add salt and vanilla. Add buttermilk alternately with the flour, beginning and ending with flour. Mix vinegar and soda right before using and add to mixture by folding in. Pour batter into the cake pan and bake at 350 degrees for 20-25 minutes, or until a toothpick inserted into the center of the cake comes out clean. Cool completely, cover in wax paper, and freeze for 30 minutes or until firm.
  2. Make the cheesecake: To make the crust, preheat the oven to 350˚ F. Butter a 9-inch springform pan and place it on a baking sheet. Combine the chocolate cookie crumbs, melted butter and salt in a small bowl. Toss with a fork to moisten all of the crumbs. Press into a thin layer covering the bottom and sides of the springform pan (at least 3 inches up the sides).
  3. Bring the cream to a simmer in a medium saucepan. Place the chocolate in a medium bowl. Once the cream reaches a simmer, pour the cream over the chocolate and let stand 1-2 minutes. Whisk in small circles until a smooth ganache has formed. Pour 1 – 1.5 cups of the ganache over the bottom of the crust. Freeze until the ganache layer is firm, about 30 minutes. Reserve the remaining ganache; cover and let stand at room temperature for later decorating.
  4. Preheat the oven to 350˚ F and position a rack in the middle of the oven. In the bowl of an electric mixer fitted with the paddle attachment, beat the cream cheese and sugar on medium-high speed until well blended. Beat in the flour. Add in the vanilla and beat until well incorporated, scraping down the sides of the bowl as needed. Beat in the eggs one at a time, scraping down the bowl between each addition.
  5. Pour the filling over the cold ganache in the crust. Place the springform pan on a rimmed baking sheet. Bake until the top is lightly browned, puffed and cracked at the edges, and the center moves only very slightly when the pan is lightly shaken, about 1 hour. Transfer to a wire cooling rack. Cool at room temperature for at least 30 minutes. Transfer to the refrigerator and let cool at least 3 hours, until completely chilled and set (it’ll sink as it cools).
  6. Assemble topping: Whip room temperature ganache to create a fluffy texture perfect for piping. In a separate bowl, mix together cream cheese, butter, and powdered sugar to make a small amount of cream cheese frosting for decorating.
  7. Assemble the cheesecake: Wrap a warm towel around the outside of the springform pan to help loosen the crust from the sides. Carefully remove the springform. Transfer the cake to a serving platter. Here, you can schmear some ganache on the cheesecake to help the red velvet cake adhere. I didn’t, but it’s a good idea. Then place your red velvet cake layer on top of cheesecake (right side up). If for some reason you seem that your cake layer will stick up beyond your crust, you can use a long serrated knife to reduce its width (freezing it first makes it easier to cut). Decorate top of cake with drizzled white chocolate, piped cream cheese frosting, whipped ganache, and strawberries.

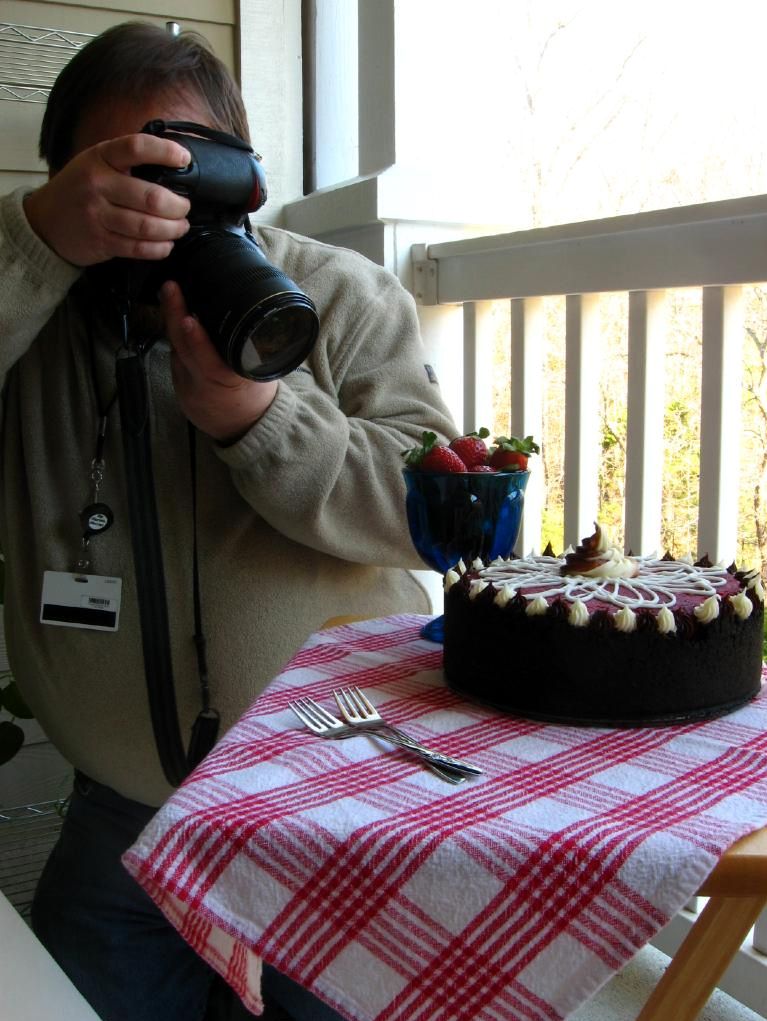
P.S. Who could this photographer be shooting my cheesecake? Find out this coming Wednesday!