Okay, confession: I’m actually starting this post on Thursday, February 8. At this moment, I haven’t taken any photos of this cake yet, because I haven’t even baked this cake yet. I’ve only just drafted the recipe. It could be a total cake flop (or another trifle?) But hopefully, by the time I’m finished with this post in a few days’ time, there’ll be a great big gorgeous cake staring at you from the photographs.
hi.
I also haven’t driven up to Raleigh for my Valentine’s weekend yet, so I may be totally off-base with the following mushiness (I’m a city girl, so I’m unfazed by your aphoristic “counting-unhatched-chickens” nonsense.)
I’m gonna take a stab at predicting the future and tell you (and hopefully confirm for you later): Mike is the best boyfriend ever.
See, Mike is planning (or, by the time you see this, planned — is this getting confusing?) our Valentine’s celebration this year.
I got him a few presents (this novel, and some astronaut ice cream, because who doesn’t want to eat weird space food?)
I also attempted to paint my toenails for the weekend, but if you follow Willow Bird Baking on Facebook, you know that I actually only managed to make my toes look like they’d been gnawed off by a possum. Romantic?
But other than those little details (and, okay, this gigantic cake), it’s all Mike.
Update, Friday, February 9: Mike just emailed me to tell me to bring something nice to wear to dinner, but that’s my only clue so far. I bought him Reese’s hearts to tuck into his present. And Scooby Doo valentines to hide around his apartment, because I am apparently 5 years old.
I finally baked the cake and filled it with red velvet goodness (spiking the cream cheese frosting with amaretto on the fly was a fantastic choice). Hopefully tomorrow morning will find me frosting, photographing, and hitting the road with Byrd (my smaller, fuzzier valentine).
Update, Saturday, February 10: My suspicions were correct — Mike wins at romantic Valentine’s dinners! He took me to fancy schmancy Coquette in Raleigh, where I had gnocci that tasted just like Thanksgiving (how’d they do that?) and he had a mind-blowing cassoulet. The wind chill might’ve been hovering around negative eleventy billion, but the cockles of my heart were as warm as a . . . well, as a cassoulet. Because I ate a bunch of it.
Update, Sunday, February 11: My suspicions were even more correct — Mike wins at awesome Valentine’s surprises! I’ve been wanting to see Hugo since it came out but haven’t gotten a chance. After Mike and I tried but failed to go see it last time he was in Charlotte, I figured I was going to miss it in theaters entirely. But after church today (and some fantastic pizza), Mike drove me to the movies! Hugo was amazing.
Actually, though, the best thing Mike gave me was a card. He knew it was good when I cried for five solid minutes after reading it (and I’ve read it 3 or 4 times since and cried every time.) The best part: “I love you with all my heart. I’m so glad we’re together this Valentine’s.”
If he thinks he’s glad . . . !
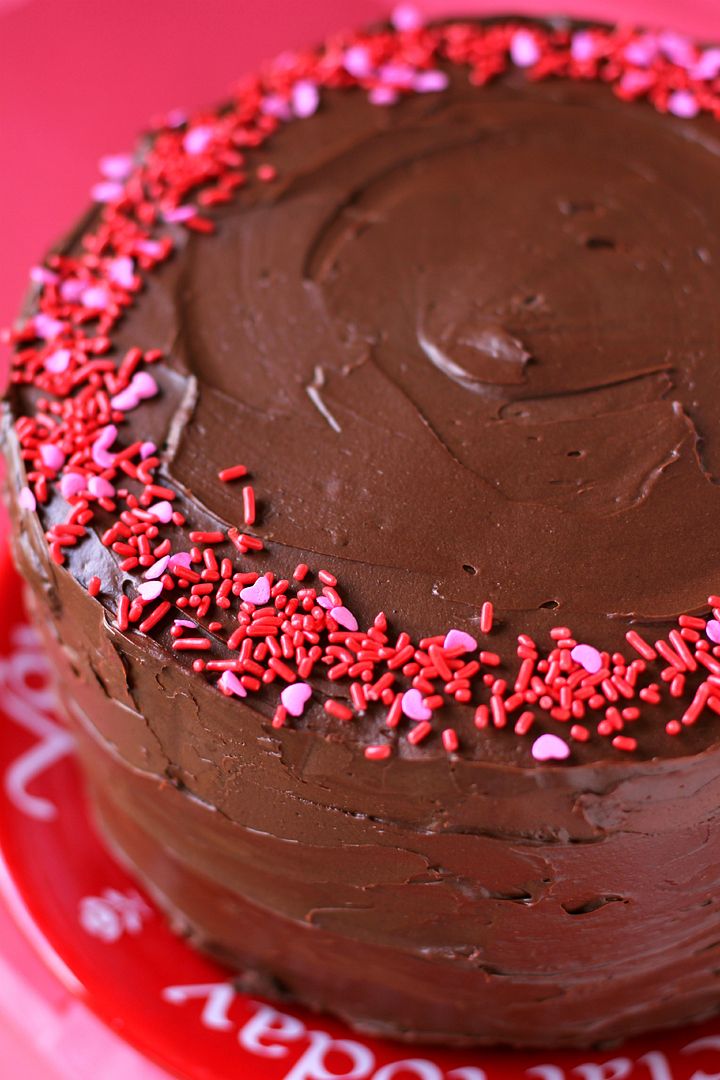
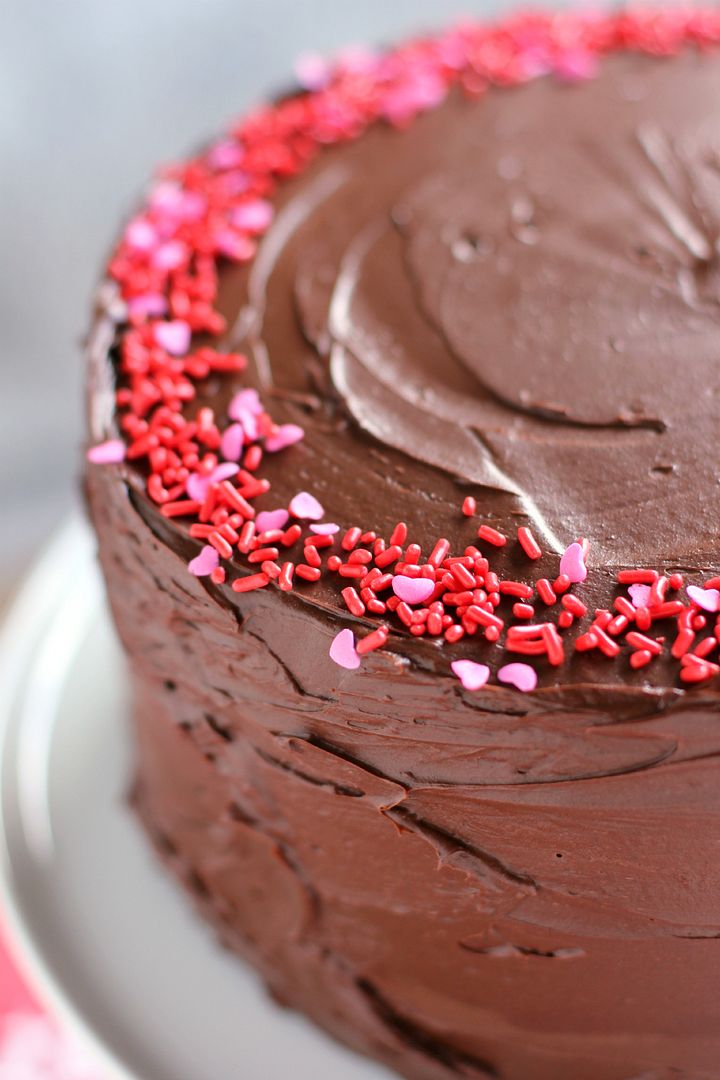
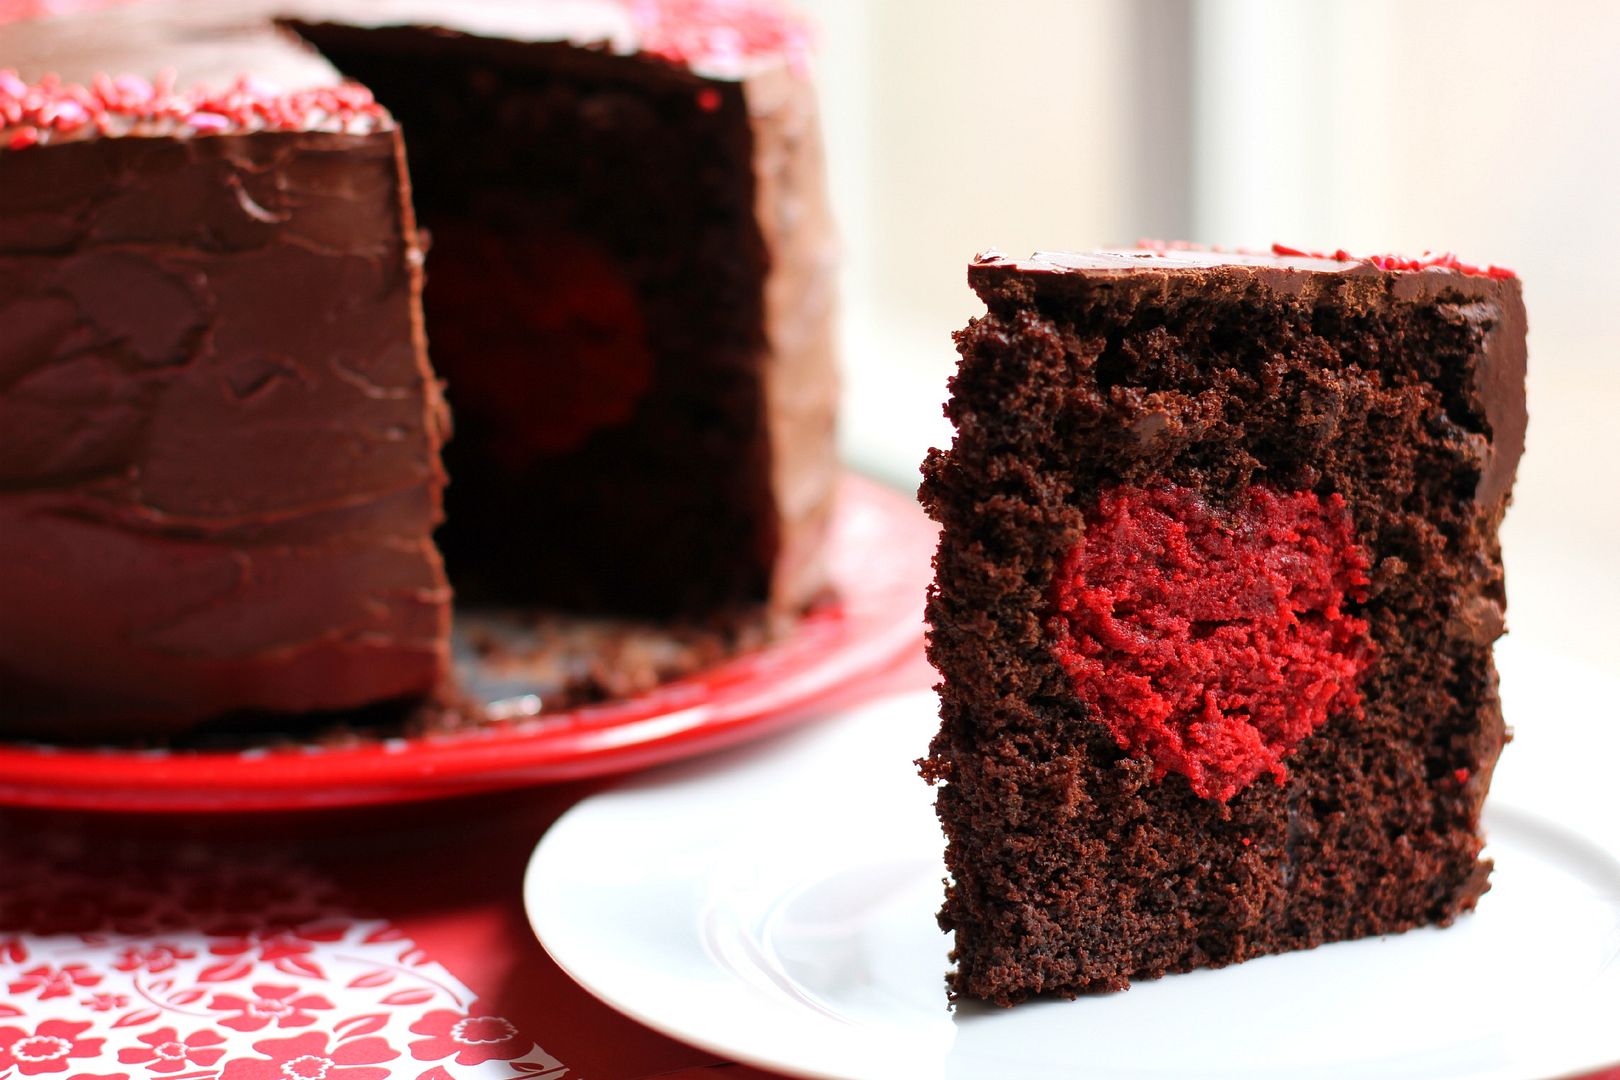
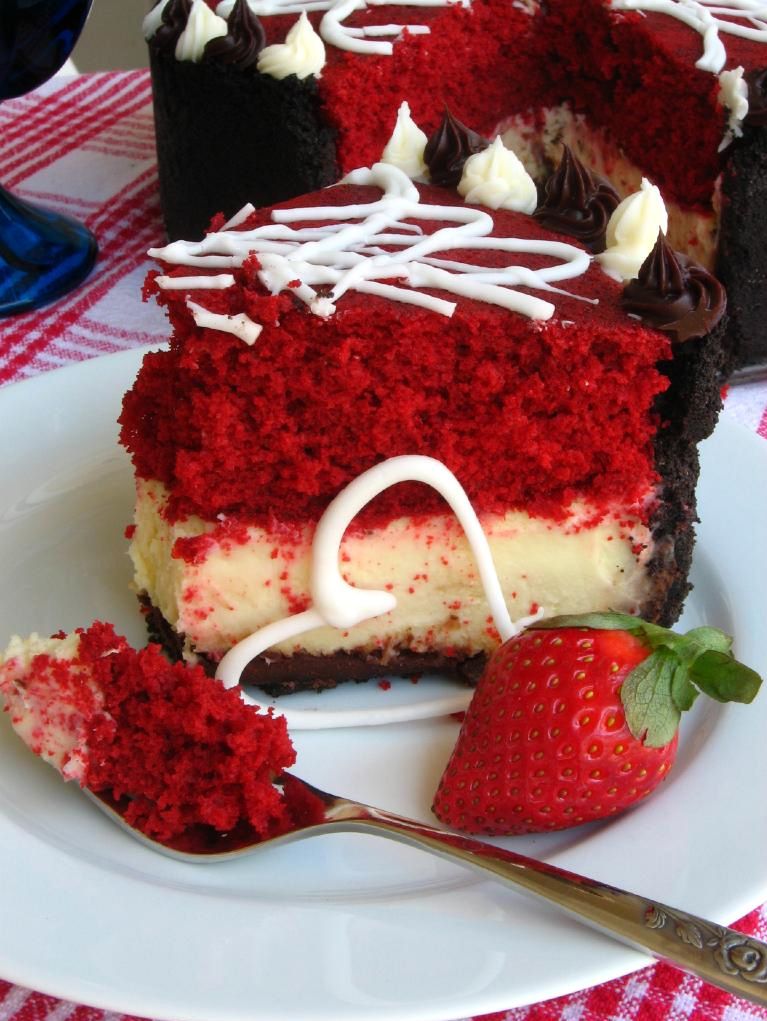
I can now happily report that the cake, also, was a smashing success. It turns out if you combine the best chocolate cake you’ve ever tasted, the best red velvet cake you’ve ever tasted, the best (amaretto!) cream cheese frosting you’ve ever tasted, and the best chocolate frosting you’ve ever tasted, the result will be pretty flippin’ awesome.
What are your Valentine’s plans?
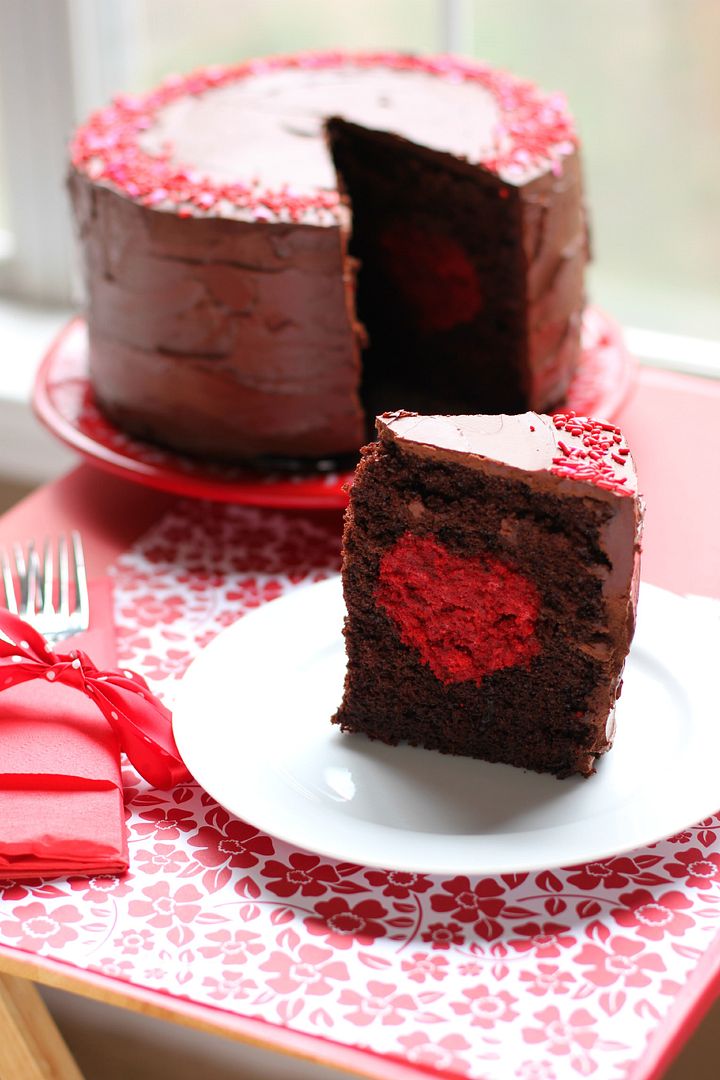
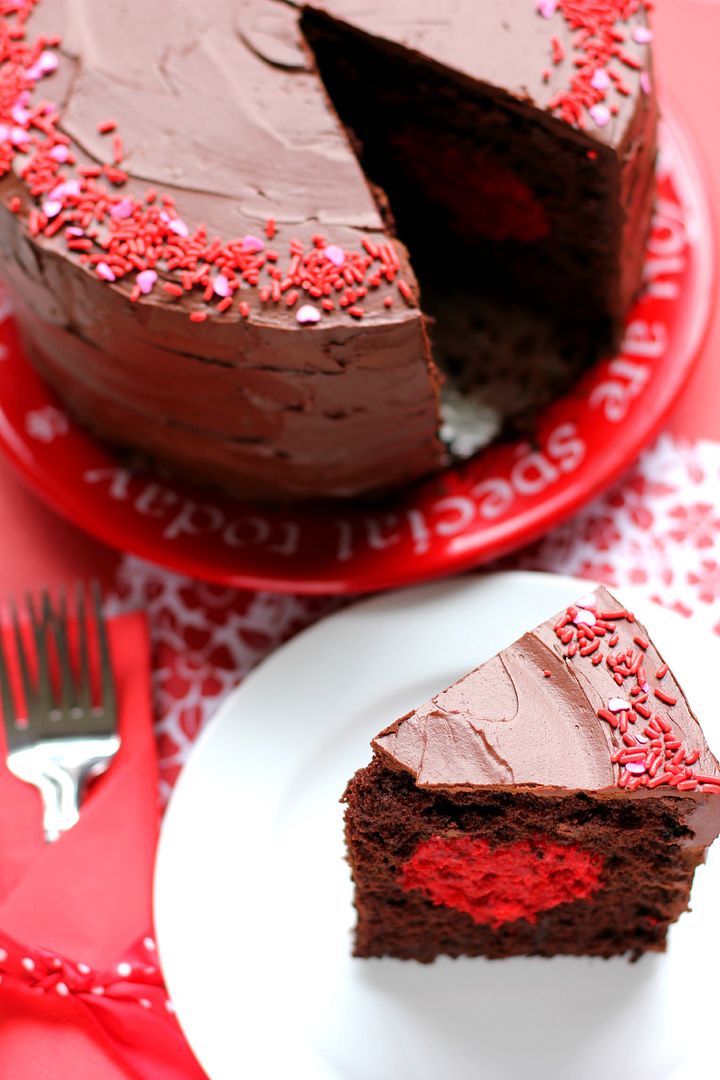
Thick Chocolate Cake with a Big Red (Velvet!) Heart
Recipe by: Willow Bird Baking, using chocolate cake and chocolate frosting recipes adapted from Martha Stewart
Yield: 10-12 slices
This is a capital-D Delicious show-stopper of a fancy schmancy special occasion cake. It’s a labor of love; however, even though it’s a lot of steps, they’re all pretty easy to accomplish! To make this cake (and so many others — it’s been a great investment for me), I used a Wilton Heart Tasti-Fill Pan. You can find this pan online or at Hobby Lobby, Michael’s, and probably AC Moore, if you’re looking for one. Or you can also use this tutorial by Amanda at i am baker to create a heart inside your cake without the pan!
Chocolate Cake Ingredients:
2 1/4 cups all-purpose flour, plus more for pans
2 1/4 cups granulated sugar
1 1/8 cups unsweetened Dutch-process cocoa powder
2 1/4 teaspoons baking soda
1 1/8 teaspoons baking powder
1 1/8 teaspoons coarse salt
3 large eggs, room temperature
1 1/8 cups low-fat buttermilk
1/4 cup plus 3 1/2 tablespoons safflower oil
1 1/8 cups warm water
1 1/2 teaspoons pure vanilla extract
Red Velvet Cake Filling Ingredients:
1/4 cup vegetable shortening
1 egg
1 tablespoon cocoa
1/4 teaspoon salt
3/4 cups sugar
1/2 teaspoon vanilla extract
1/2 cup buttermilk
1 1/4 cups flour
1/2 teaspoon baking soda
1 1/2 teaspoons white vinegar
1 ounce (about 2 tablespoons) red food coloring
Amaretto Cream Cheese Frosting Ingredients:
2 ounces cream cheese, at room temperature
2 tablespoons unsalted butter, at room temperature
1 3/4 cups powdered sugar
1/2 teaspoon vanilla extract
1 tablespoon amaretto or almond liqueur (optional)
Chocolate Frosting Ingredients:
1/4 cup plus 2 tablespoons Dutch-process cocoa powder
1/4 cup plus 2 tablespoons warm water
2 sticks unsalted butter, room temperature
1/2 cup confectioners’ sugar
Coarse salt
1 pound semisweet chocolate chips, melted and cooled
sprinkles
Directions:
NOTE: This cake has a lot of steps, but it’s easy to split up over several days. The cake layers can all be made days in advance (freeze the chocolate ones to make them easier to work with — no need to thaw before you assemble your cake — and stick the red velvet one in an airtight container in the fridge until you’re ready to use it). You can also assemble the cake and refrigerate it the night before you want to frost it (just cover it in the fridge).
Bake red velvet cake: Preheat oven to 350 degrees F and grease a 9-inch square baking pan. Cream together shortening, sugar, and eggs. Mix the cocoa and food coloring to form a paste and add this to the shortening mixture. Add the salt and vanilla extract. Add the buttermilk alternately with the flour, beginning and ending with flour. Mix the vinegar and soda together in a small bowl and immediately fold it into the cake batter. Pour the batter into your prepared pan and bake at 350 degrees for 25-30 minutes, or until a toothpick inserted into the center comes out with just a few moist crumbs. Cool completely. Keep the oven preheated for your chocolate cake.
Make the chocolate cake: Grease the Wilton Heart Tasti-Fill Pan well (You can find this pan at Hobby Lobby or Michael’s, if you’re looking for one, or you can also use this tutorial by Amanda at i am baker to create a heart inside your cake without the pan!). I use Wilton’s Cake Release to grease my pans, but you could also use butter and flour.
Sift the flour, sugar, cocoa, baking soda, baking powder, and coarse salt together in a mixing bowl. Beat the dry ingredients on low until combined before increasing the speed to medium and adding eggs, buttermilk, warm water, oil, and vanilla. Beat about 3 minutes until the mixture is smooth. Divide it among your prepared pans.
Place the pans in the oven and bake until a toothpick inserted in the middle comes out with just a few moist crumbs, about 30-35 minutes. Rotate the pans about halfway through so they’ll bake evenly. Let them cool on a wire rack for about 10 minutes before turning them out onto sheets of wax paper and leaving them to cool completely. Stick them in the freezer so they’ll be easier to work with.
Make the cream cheese frosting: Whip cream cheese and butter until fluffy. Mix in all other frosting ingredients and mix on medium-high speed until combined. When cake is cooled and crumbled, mix the cream cheese frosting in until the mixture has a dough-like consistency.
Make your chocolate frosting: In a small bowl, whisk together the cocoa and warm water. In a separate bowl, beat together butter, confectioners’ sugar, and a generous pinch of coarse salt until pale and fluffy. Gradually beat in the melted chocolate and the cocoa mixture. Let this sit for about 30 minutes before you use it to frost the outside of your cake. (You can assemble the cake while you wait.)
Assemble the cake: Take out your firm-from-the-freezer cake layers and stack them to see if you need to trim the sides with a serrated knife at all. Level them if they need it. Then place them cavity-side up on the counter. Knead your red velvet mixture a bit to make it soft and pliable and pack the cavities of both layers with it, making sure it gets down into the shape of the heart. I smoothed the red velvet mixture level with the back of a spoon.
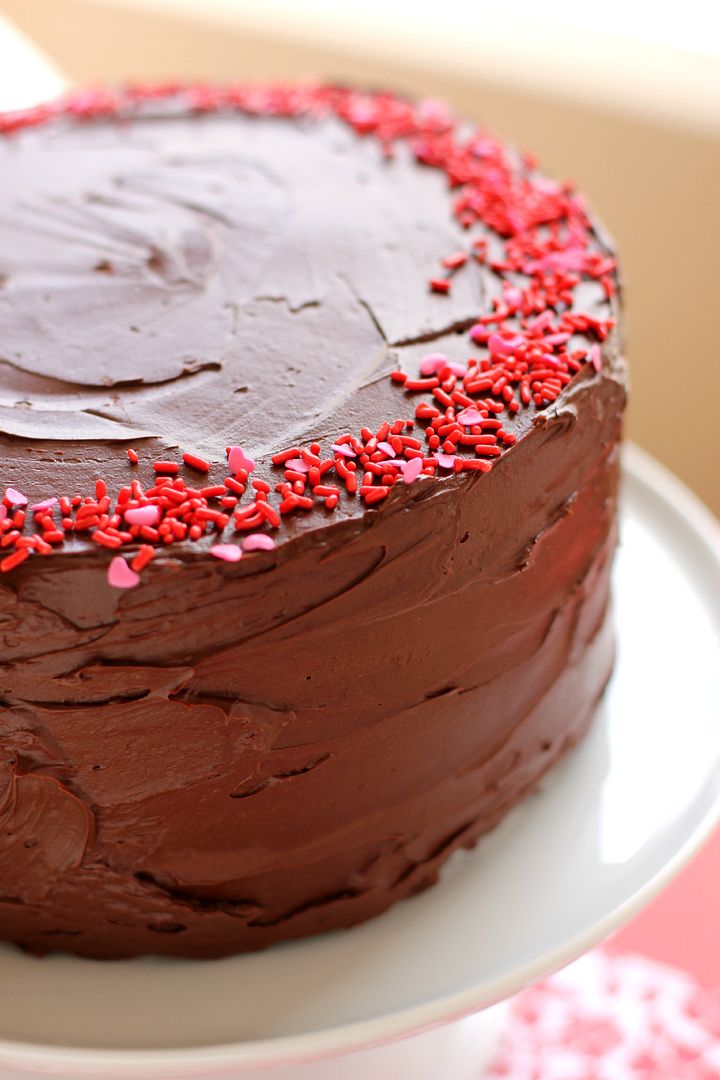
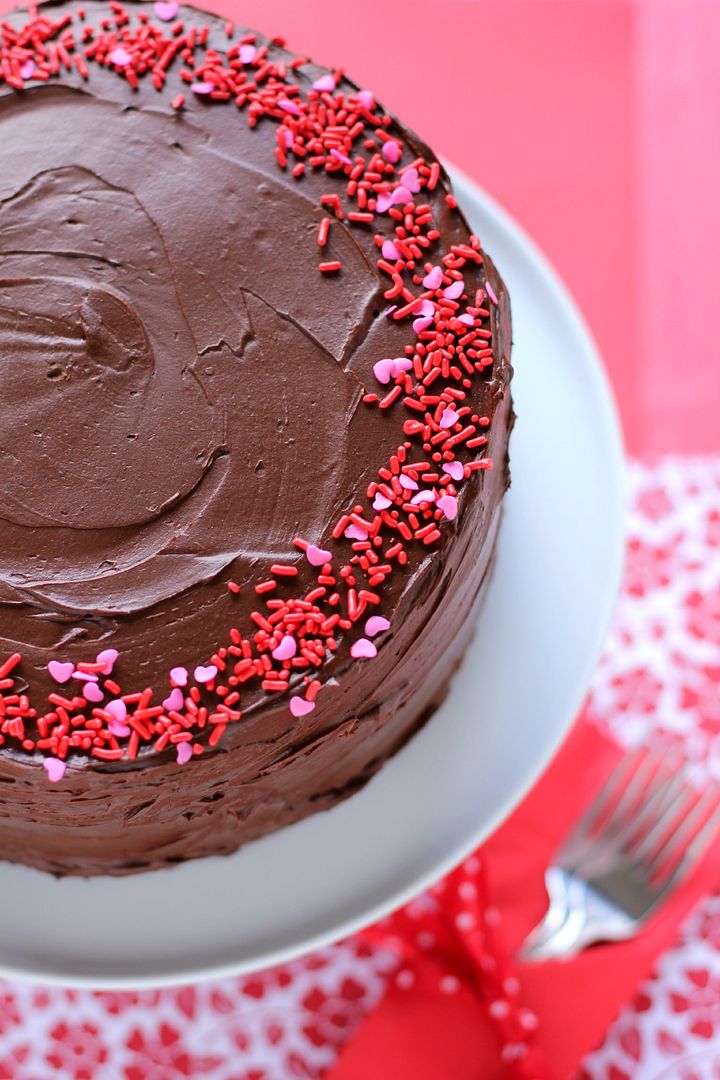
Spread a touch of chocolate frosting on the middle and outside of the cake layer (not on the red velvet heart) as “glue” and then place the cake layers together (filled sides together, of course). Carefully align your heart. Smooth a very skimpy layer of chocolate frosting (the crumb coat) all over the outside of the cake, brushing away any crumbs, and place the cake in the fridge to harden the frosting and secure the crumbs. After chilling for about 20 minutes, remove the cake and frost completely. Decorate with fantastic sprinkles and lots of love. Serve immediately with ice cream or store, covered, in the fridge. If you store it, zap each slice for 20-30 seconds or let it sit out for 20 minutes or so to let the chocolate frosting soften.
If you liked this post, please:
–Subscribe to Willow Bird Baking
–Follow Willow Bird Baking on Twitter
–Follow Willow Bird Baking on Facebook
–Give this post a thumbs up on StumbleUpon
–Pin It


%20Heart%20SURPRISE%20inside%20%3C3)