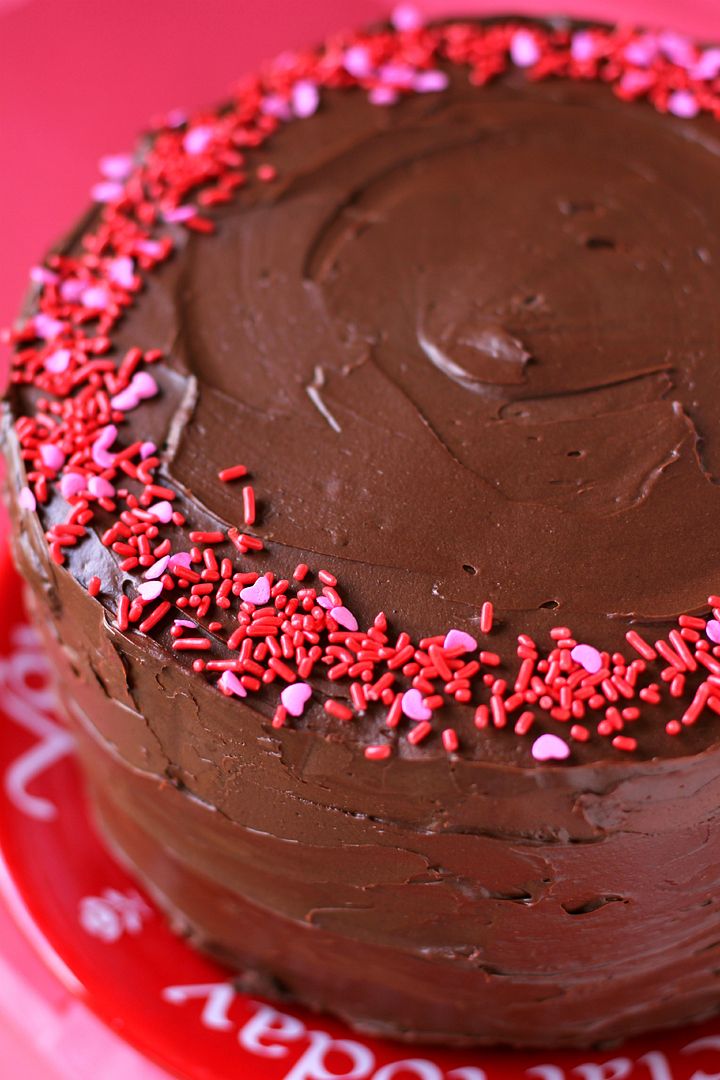
chocolate

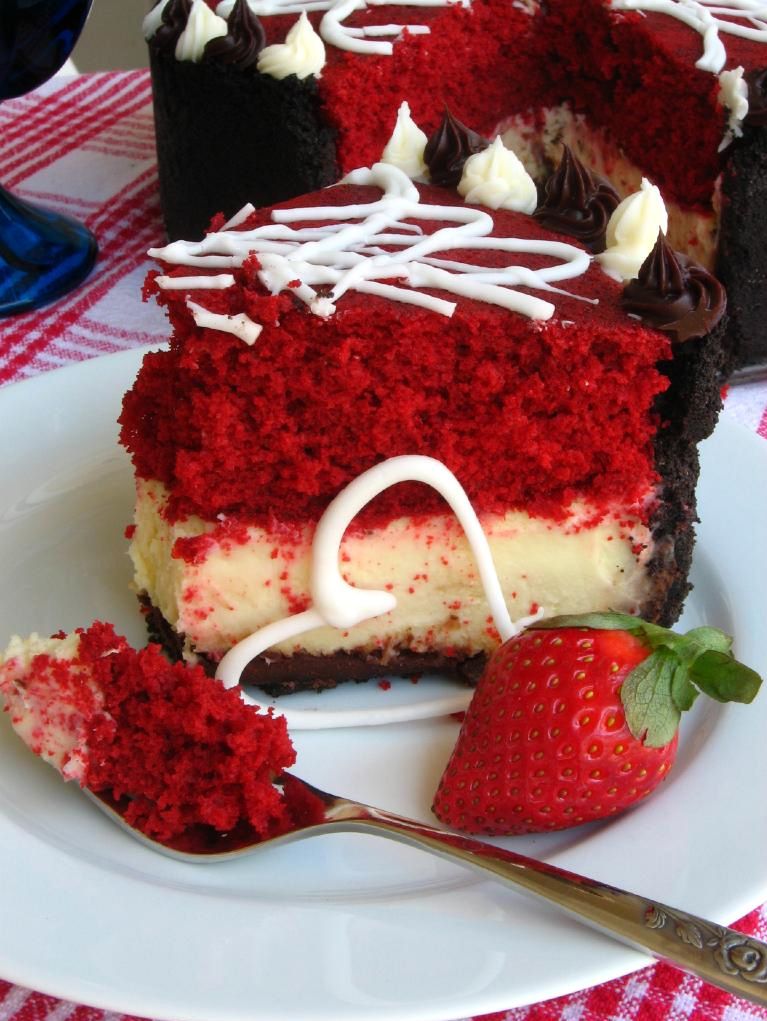
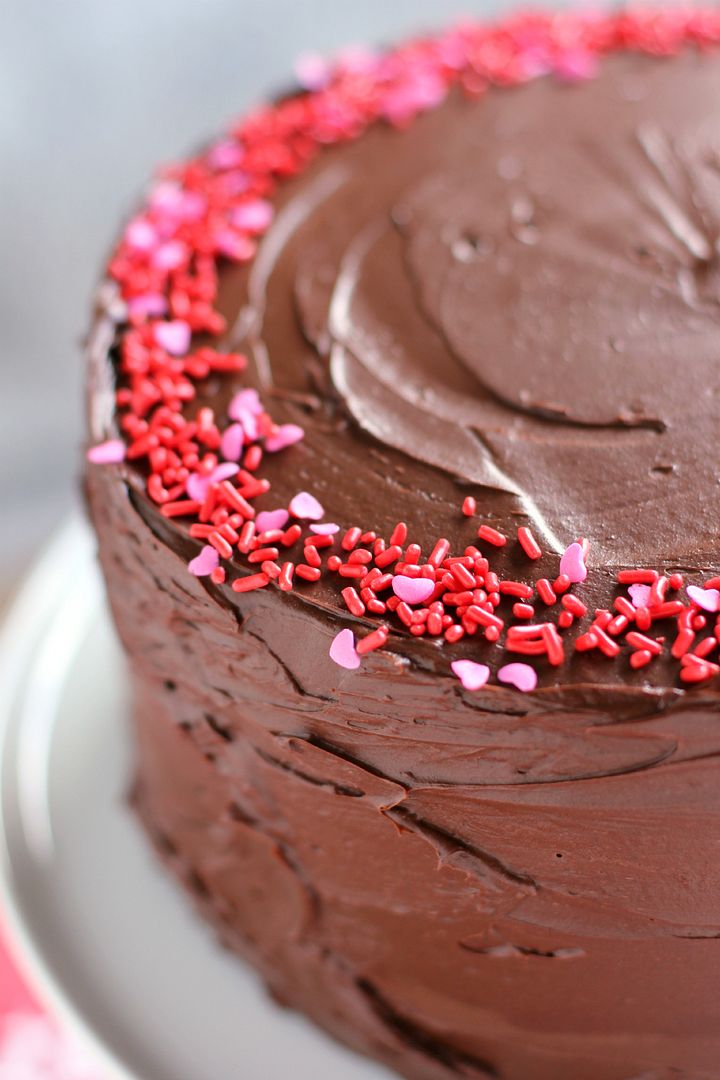
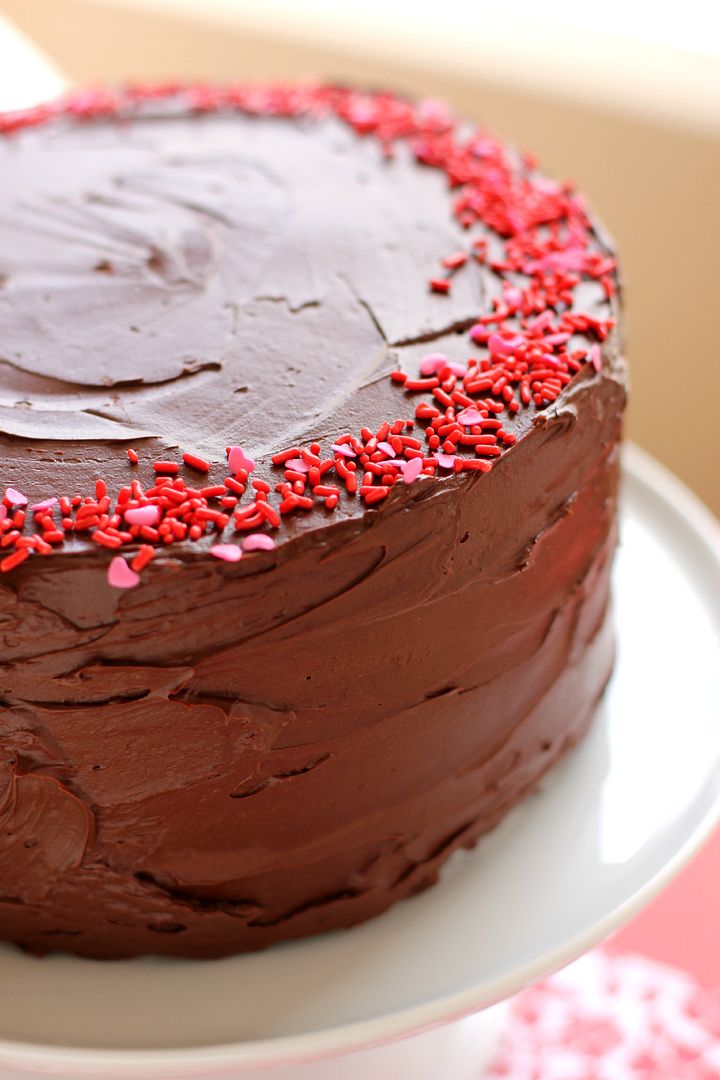
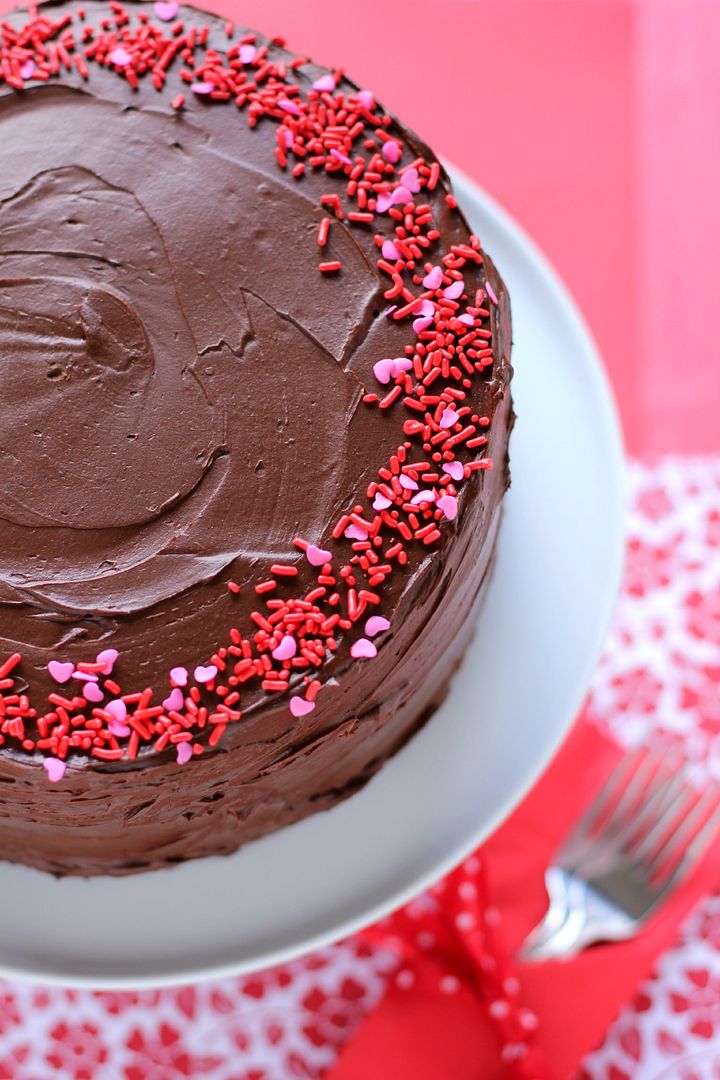
Thick Chocolate Cake with a Big Red (Velvet!) Heart

Okay, confession: I’m actually starting this post on Thursday, February 8. At this moment, I haven’t taken any photos of this cake yet, because I haven’t even baked this cake yet. I’ve only just drafted the recipe. It could be a total cake flop (or another trifle?) But hopefully, by the time I’m finished with this post in a few days’ time, there’ll be a great big gorgeous cake staring at you from the photographs.

hi.

I also haven’t driven up to Raleigh for my Valentine’s weekend yet, so I may be totally off-base with the following mushiness (I’m a city girl, so I’m unfazed by your aphoristic “counting-unhatched-chickens” nonsense.)

I’m gonna take a stab at predicting the future and tell you (and hopefully confirm for you later): Mike is the best boyfriend ever.
See, Mike is planning (or, by the time you see this, planned — is this getting confusing?) our Valentine’s celebration this year.

I got him a few presents (this novel, and some astronaut ice cream, because who doesn’t want to eat weird space food?)

I also attempted to paint my toenails for the weekend, but if you follow Willow Bird Baking on Facebook, you know that I actually only managed to make my toes look like they’d been gnawed off by a possum. Romantic?

But other than those little details (and, okay, this gigantic cake), it’s all Mike.
Update, Friday, February 9: Mike just emailed me to tell me to bring something nice to wear to dinner, but that’s my only clue so far. I bought him Reese’s hearts to tuck into his present. And Scooby Doo valentines to hide around his apartment, because I am apparently 5 years old.

I finally baked the cake and filled it with red velvet goodness (spiking the cream cheese frosting with amaretto on the fly was a fantastic choice). Hopefully tomorrow morning will find me frosting, photographing, and hitting the road with Byrd (my smaller, fuzzier valentine).
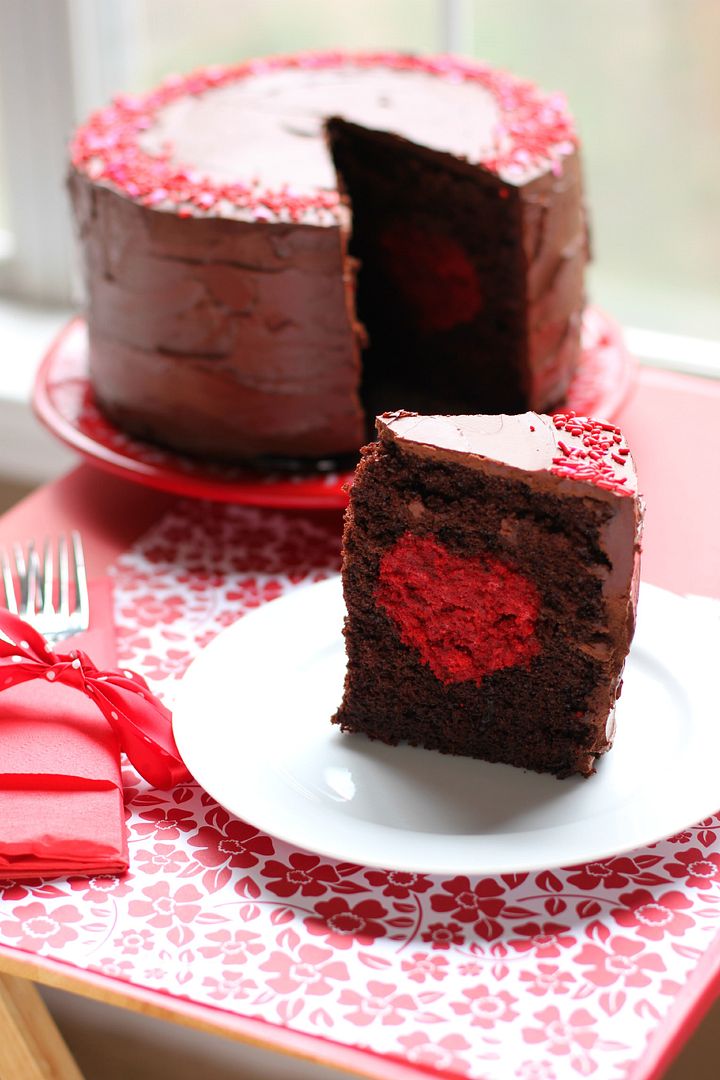
Update, Saturday, February 10: My suspicions were correct — Mike wins at romantic Valentine’s dinners! He took me to fancy schmancy Coquette in Raleigh, where I had gnocci that tasted just like Thanksgiving (how’d they do that?) and he had a mind-blowing cassoulet. The wind chill might’ve been hovering around negative eleventy billion, but the cockles of my heart were as warm as a . . . well, as a cassoulet. Because I ate a bunch of it.
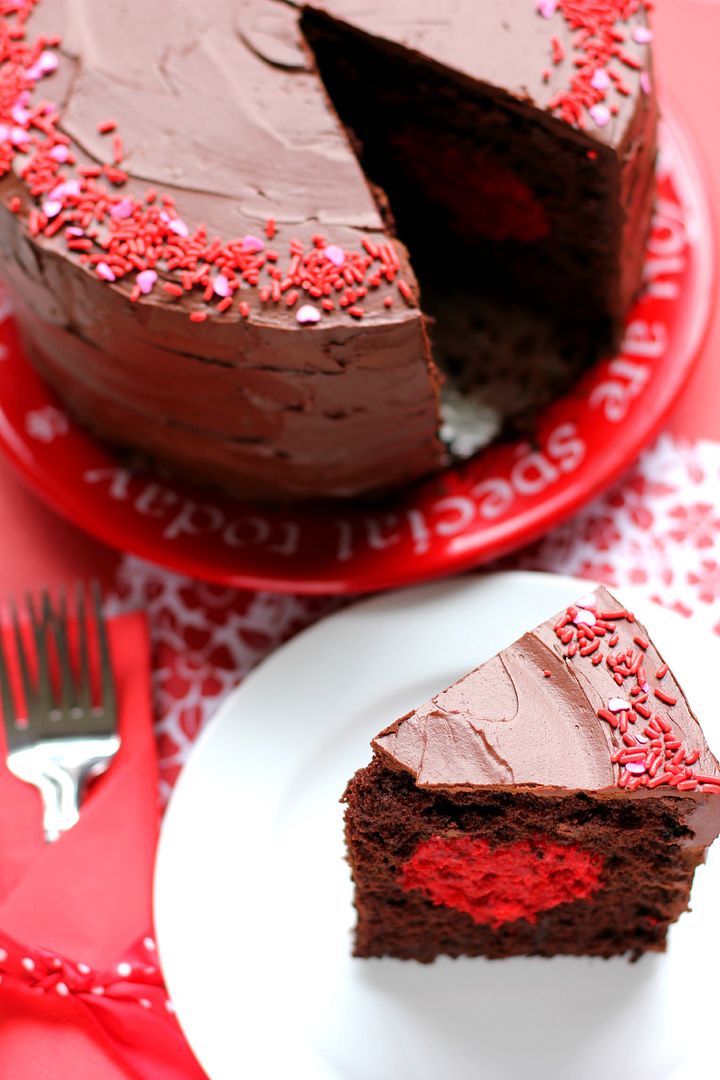
Update, Sunday, February 11: My suspicions were even more correct — Mike wins at awesome Valentine’s surprises! I’ve been wanting to see Hugo since it came out but haven’t gotten a chance. After Mike and I tried but failed to go see it last time he was in Charlotte, I figured I was going to miss it in theaters entirely. But after church today (and some fantastic pizza), Mike drove me to the movies! Hugo was amazing.
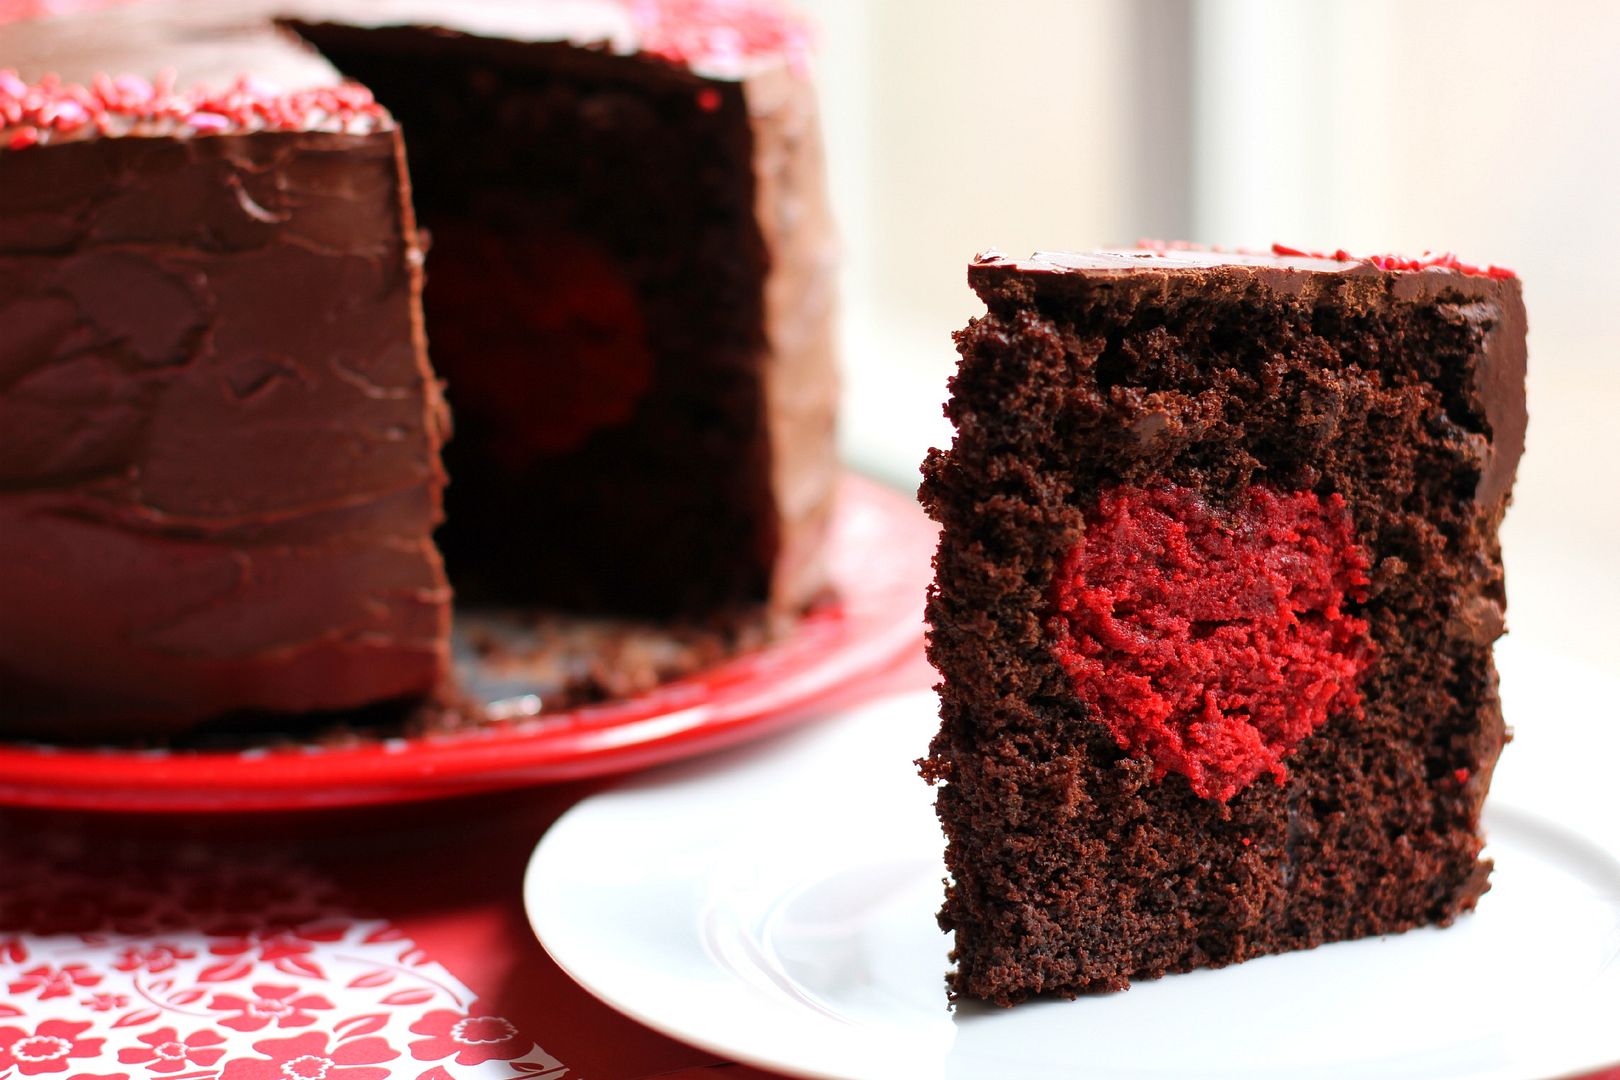
Actually, though, the best thing Mike gave me was a card. He knew it was good when I cried for five solid minutes after reading it (and I’ve read it 3 or 4 times since and cried every time.) The best part: “I love you with all my heart. I’m so glad we’re together this Valentine’s.”

If he thinks he’s glad . . . !

I can now happily report that the cake, also, was a smashing success. It turns out if you combine the best chocolate cake you’ve ever tasted, the best red velvet cake you’ve ever tasted, the best (amaretto!) cream cheese frosting you’ve ever tasted, and the best chocolate frosting you’ve ever tasted, the result will be pretty flippin’ awesome.

What are your Valentine’s plans?

Thick Chocolate Cake with a Big Red (Velvet!) Heart


Recipe by: Willow Bird Baking, using chocolate cake and chocolate frosting recipes adapted from Martha Stewart
Yield: 10-12 slices

This is a capital-D Delicious show-stopper of a fancy schmancy special occasion cake. It’s a labor of love; however, even though it’s a lot of steps, they’re all pretty easy to accomplish! To make this cake (and so many others — it’s been a great investment for me), I used a Wilton Heart Tasti-Fill Pan. You can find this pan online or at Hobby Lobby, Michael’s, and probably AC Moore, if you’re looking for one. Or you can also use this tutorial by Amanda at i am baker to create a heart inside your cake without the pan!

Chocolate Cake Ingredients:
2 1/4 cups all-purpose flour, plus more for pans
2 1/4 cups granulated sugar
1 1/8 cups unsweetened Dutch-process cocoa powder
2 1/4 teaspoons baking soda
1 1/8 teaspoons baking powder
1 1/8 teaspoons coarse salt
3 large eggs, room temperature
1 1/8 cups low-fat buttermilk
1/4 cup plus 3 1/2 tablespoons safflower oil
1 1/8 cups warm water
1 1/2 teaspoons pure vanilla extract

Red Velvet Cake Filling Ingredients:
1/4 cup vegetable shortening
1 egg
1 tablespoon cocoa
1/4 teaspoon salt
3/4 cups sugar
1/2 teaspoon vanilla extract
1/2 cup buttermilk
1 1/4 cups flour
1/2 teaspoon baking soda
1 1/2 teaspoons white vinegar
1 ounce (about 2 tablespoons) red food coloring

Amaretto Cream Cheese Frosting Ingredients:
2 ounces cream cheese, at room temperature
2 tablespoons unsalted butter, at room temperature
1 3/4 cups powdered sugar
1/2 teaspoon vanilla extract
1 tablespoon amaretto or almond liqueur (optional)

Chocolate Frosting Ingredients:
1/4 cup plus 2 tablespoons Dutch-process cocoa powder
1/4 cup plus 2 tablespoons warm water
2 sticks unsalted butter, room temperature
1/2 cup confectioners’ sugar
Coarse salt
1 pound semisweet chocolate chips, melted and cooled
sprinkles

Directions:
NOTE: This cake has a lot of steps, but it’s easy to split up over several days. The cake layers can all be made days in advance (freeze the chocolate ones to make them easier to work with — no need to thaw before you assemble your cake — and stick the red velvet one in an airtight container in the fridge until you’re ready to use it). You can also assemble the cake and refrigerate it the night before you want to frost it (just cover it in the fridge).

Bake red velvet cake: Preheat oven to 350 degrees F and grease a 9-inch square baking pan. Cream together shortening, sugar, and eggs. Mix the cocoa and food coloring to form a paste and add this to the shortening mixture. Add the salt and vanilla extract. Add the buttermilk alternately with the flour, beginning and ending with flour. Mix the vinegar and soda together in a small bowl and immediately fold it into the cake batter. Pour the batter into your prepared pan and bake at 350 degrees for 25-30 minutes, or until a toothpick inserted into the center comes out with just a few moist crumbs. Cool completely. Keep the oven preheated for your chocolate cake.

Make the chocolate cake: Grease the Wilton Heart Tasti-Fill Pan well (You can find this pan at Hobby Lobby or Michael’s, if you’re looking for one, or you can also use this tutorial by Amanda at i am baker to create a heart inside your cake without the pan!). I use Wilton’s Cake Release to grease my pans, but you could also use butter and flour.

Sift the flour, sugar, cocoa, baking soda, baking powder, and coarse salt together in a mixing bowl. Beat the dry ingredients on low until combined before increasing the speed to medium and adding eggs, buttermilk, warm water, oil, and vanilla. Beat about 3 minutes until the mixture is smooth. Divide it among your prepared pans.

Place the pans in the oven and bake until a toothpick inserted in the middle comes out with just a few moist crumbs, about 30-35 minutes. Rotate the pans about halfway through so they’ll bake evenly. Let them cool on a wire rack for about 10 minutes before turning them out onto sheets of wax paper and leaving them to cool completely. Stick them in the freezer so they’ll be easier to work with.

Make the cream cheese frosting: Whip cream cheese and butter until fluffy. Mix in all other frosting ingredients and mix on medium-high speed until combined. When cake is cooled and crumbled, mix the cream cheese frosting in until the mixture has a dough-like consistency.

Make your chocolate frosting: In a small bowl, whisk together the cocoa and warm water. In a separate bowl, beat together butter, confectioners’ sugar, and a generous pinch of coarse salt until pale and fluffy. Gradually beat in the melted chocolate and the cocoa mixture. Let this sit for about 30 minutes before you use it to frost the outside of your cake. (You can assemble the cake while you wait.)

Assemble the cake: Take out your firm-from-the-freezer cake layers and stack them to see if you need to trim the sides with a serrated knife at all. Level them if they need it. Then place them cavity-side up on the counter. Knead your red velvet mixture a bit to make it soft and pliable and pack the cavities of both layers with it, making sure it gets down into the shape of the heart. I smoothed the red velvet mixture level with the back of a spoon.

Spread a touch of chocolate frosting on the middle and outside of the cake layer (not on the red velvet heart) as “glue” and then place the cake layers together (filled sides together, of course). Carefully align your heart. Smooth a very skimpy layer of chocolate frosting (the crumb coat) all over the outside of the cake, brushing away any crumbs, and place the cake in the fridge to harden the frosting and secure the crumbs. After chilling for about 20 minutes, remove the cake and frost completely. Decorate with fantastic sprinkles and lots of love. Serve immediately with ice cream or store, covered, in the fridge. If you store it, zap each slice for 20-30 seconds or let it sit out for 20 minutes or so to let the chocolate frosting soften.

If you liked this post, please:
Subscribe to Willow Bird Baking
Follow Willow Bird Baking on Twitter
Follow Willow Bird Baking on Facebook
Give this post a thumbs up on StumbleUpon
Pin It
Red Velvet Cheesecake-Stuffed Cake Balls

What’s your favorite color?

Alex‘s answer is pink. He’s the son of fellow Charlotte food blogger Julie of Mommie Cooks, and he just celebrated his 6th birthday in style with a gorgeous rainbow cake. Things haven’t all been rainbows lately, though, because Alex was recently informed by some kids at school that boys aren’t supposed to wear pink.

Julie’s post beautifully captures the struggle of a mom trying to empower her kid to hold tight to his unique personality when the world is trying to tuck him into a bright blue mold. It’s hard to explain to a 6-year-old that pink wasn’t always considered “girly.” Or that part of the reason pink is a “girl color” now is so businesses can make more money. Maybe Riley can help explain?

I shared Julie’s post with my 7th grade students, who wrote a reflection on it before we discussed their thoughts. Middle school is a particularly difficult time for finding your own way, so we talk a lot about bullying and how to be ourselves and love others. Given this (and the fact that they’re sweethearts), I wasn’t surprised at all that they were touched by Alex’s story.

Their indignant and protective voices cried, “He can like whatever color he wants to like!” and “He’s just a little boy! Why does it matter what color he wears?” Then someone — I think it was Matt — raised their hand with an idea. “We should all wear pink tomorrow to support him!”

And just like that, a plan was born: the 7th grade “color swap.”

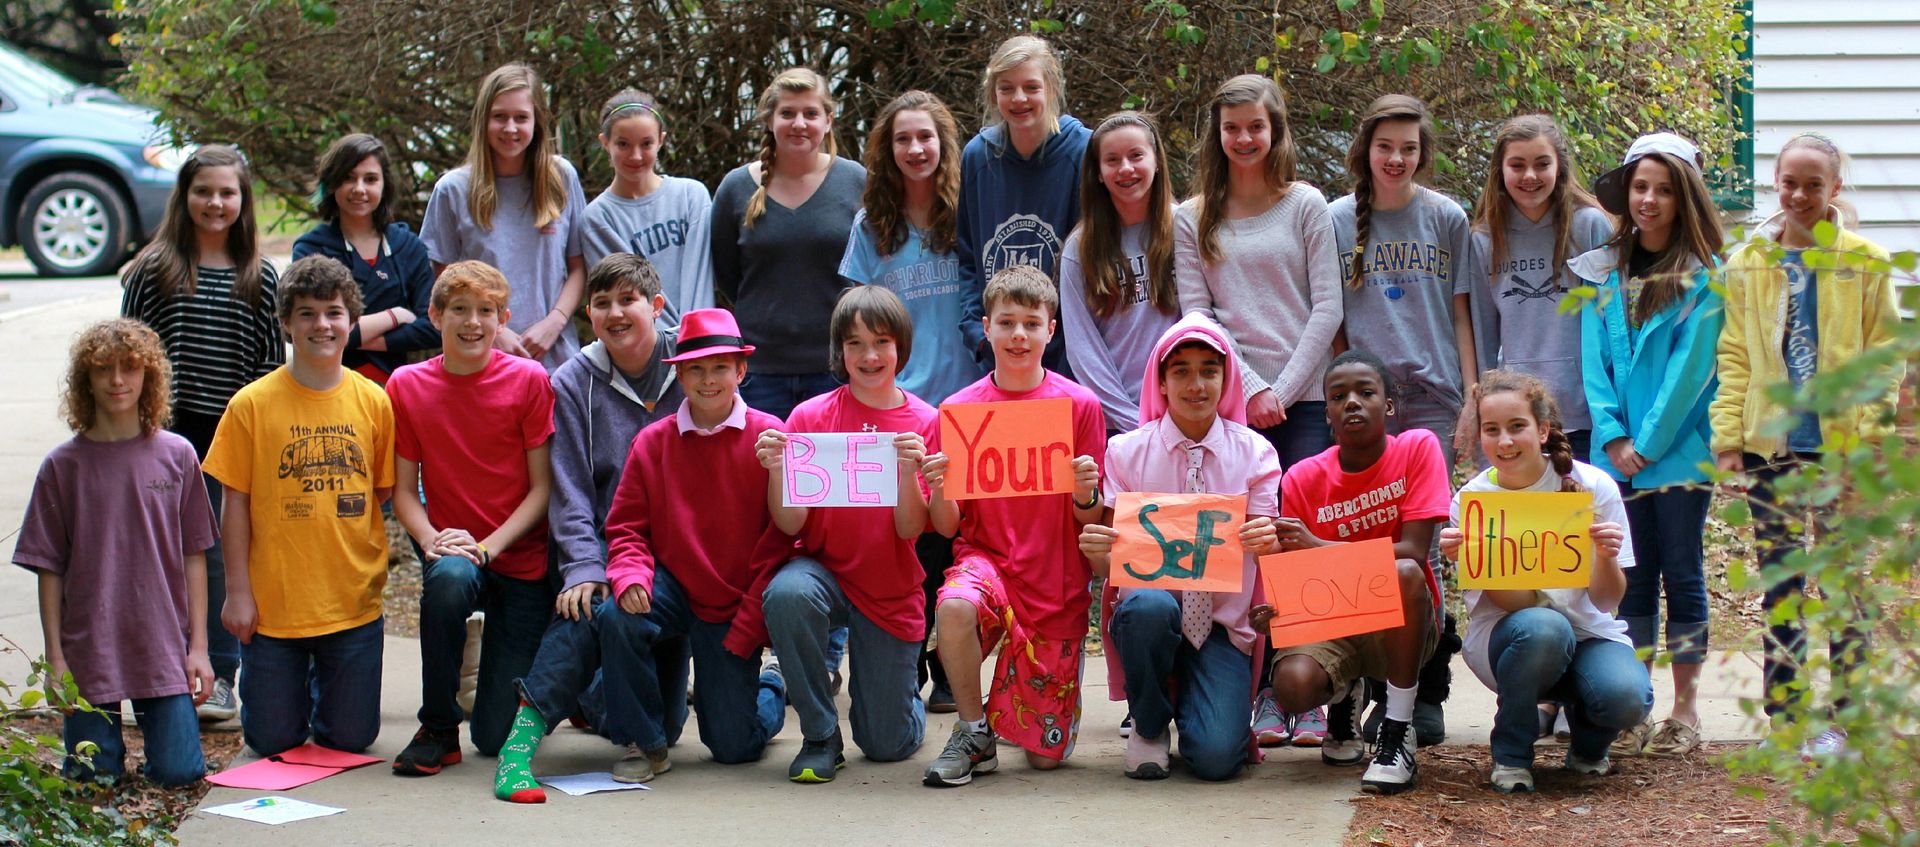
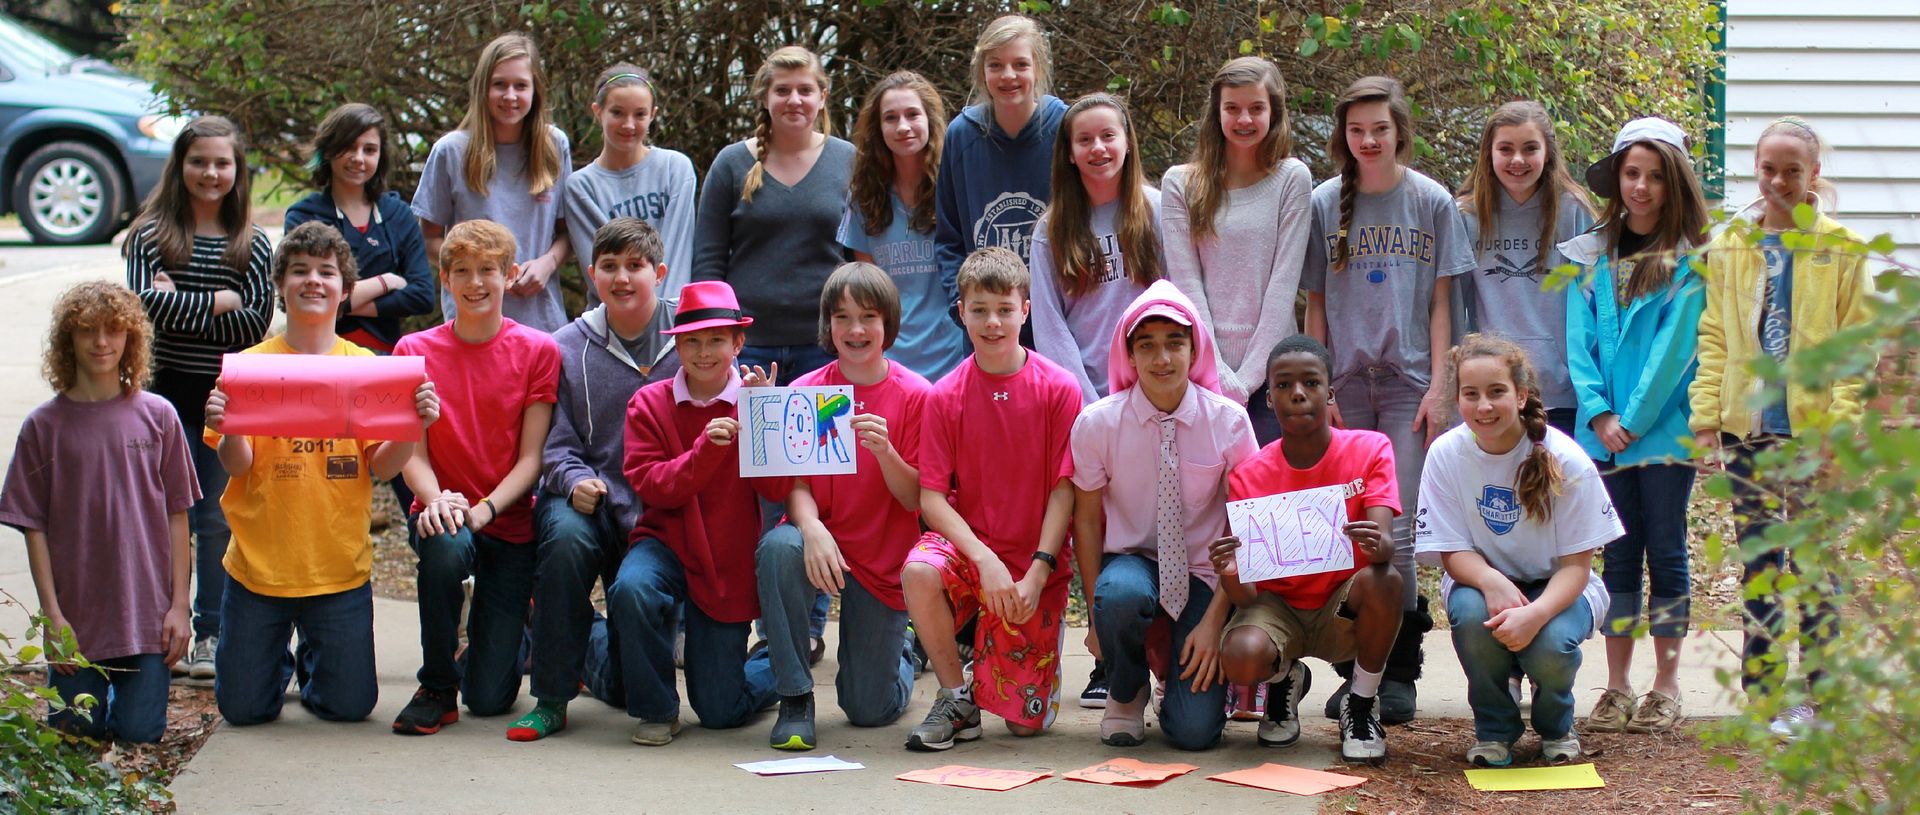
That’s how it came to pass that the 7th grade boys filed into my room this morning in every shade of pink and red. The 7th grade girls donned blues, grays, greens, and browns, complete with sneakers and baseball caps. One boy snazzed his outfit up with a pink tie. Another topped off his ensemble with a pink fedora. Yet another wore cute socks. Their message was clear: colors don’t belong to a certain gender, and you should always be able to be yourself.


The 7th grade. Be yourself, love others!

This Valentine’s Day, don’t limit yourself to celebrating romantic love. Why not celebrate pink for Alex? Find a way this week to be your unique self, or to show support for someone else’s individual choices. Maybe you can find a day to wear pink for all the Alexes of the world, who shouldn’t ever have to conform to an arbitrary idea of normal.

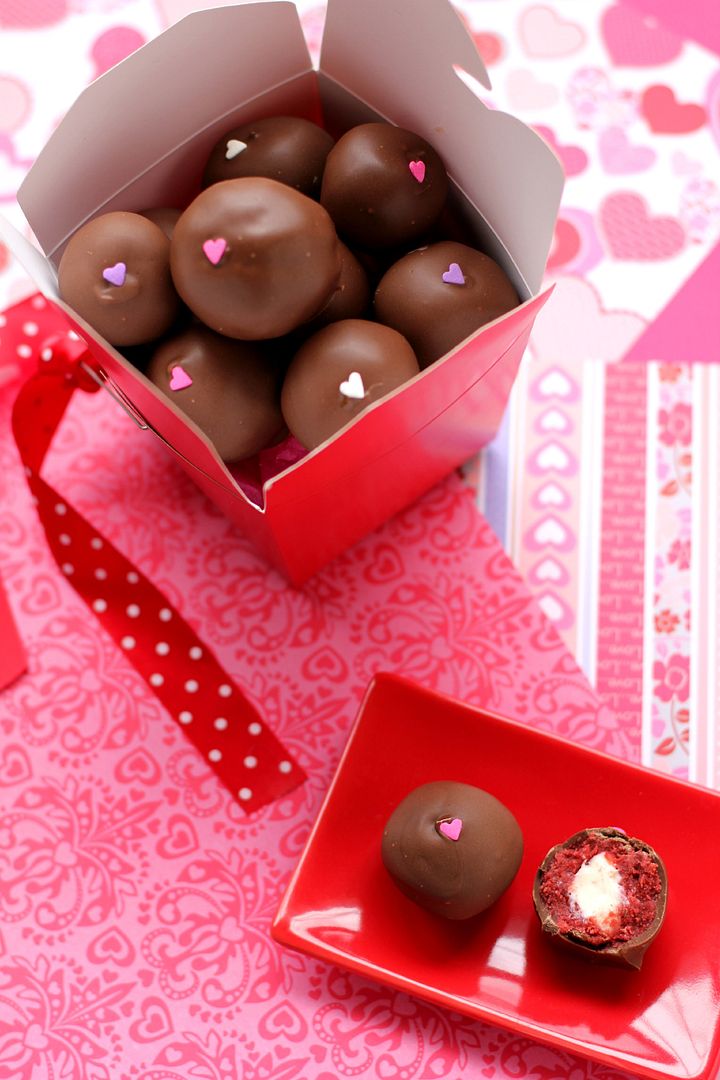
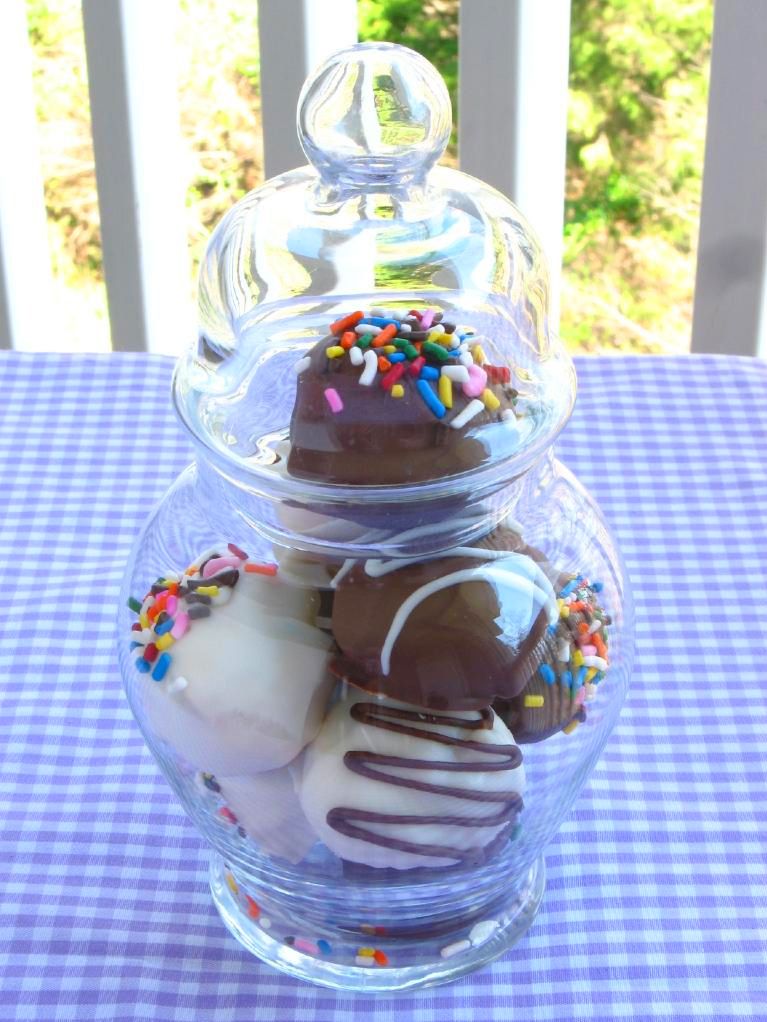
In the spirit of loving yourself and others, here are some Valentine’s Day Red Velvet Cheesecake-Stuffed Cake Balls. Nothing says I love you like cheesecake, red velvet, and chocolate, am I right? And I definitely got some I love yous from the folks who devoured these.

How can you be yourself and love others?

Red Velvet Cheesecake-Stuffed Cake Balls


Recipe by: Willow Bird Baking
Yield: 30+ cake balls

People will seriously swoon when you show up with these cake balls. SWOON, I tell you. Red velvet cake and cheesecake and chocolate?! They’re also, despite looking really fancy, surprisingly straightforward to make. That being said, cake balls and pops are always fiddly the first time you make them and they require a little trial and error (should I dip with a toothpick or a spoon? Should I dry them at room temperature or in the fridge?), but the great thing about them is that they always taste amazing. The “recipe” below is more of a technique than a recipe. I’ve included lots of hints and even have a video tutorial to help you make these cuties! Also be sure to check out Candiquik’s great post on Common Cake Pop Problems.

Cake Ball Ingredients:
Your favorite red velvet cake recipe*, prepared and cooled
Chocolate candy coating (I love Candiquik or candy melts)
sprinkles

Cheesecake Filling Ingredients:
1 8-ounce package cream cheese, softened
2 tablespoons sugar

Cream Cheese Frosting Ingredients:
2 ounces cream cheese, at room temperature
2 tablespoons unsalted butter, at room temperature
1 3/4 cups powdered sugar
1/2 teaspoon vanilla extract

Directions:
*Note: I used a half recipe for these red velvet whoopie pies for my cake balls. They’re delicious as whoopie pies but were too oily for the cake balls, so mine cracked if I didn’t keep them in the fridge. I’d recommend using the red velvet cake recipe I used for these cake balls, which has always worked well for me. It might be more red velvet than you need, so you could try halving it and baking it in a loaf pan, but I haven’t attempted this. What the heck is too much red velvet, anyway?

Make the cheesecake middles: While the cake you chose is baking and cooling, mix all the cheesecake filling ingredients for 3-4 minutes or until fluffy. Fill a plastic zip bag with the mixture and cut off the corner. Pipe the cheesecake mixture into small swirls on a silicone mat or wax paper. Freeze these until firm (mine only took about 45 minutes).

Make frosting: Whip cream cheese until fluffy. Mix in all other frosting ingredients and mix on medium-high speed until combined. When cake is cooled and crumbled, start mixing frosting in. Start with about 1/2 cup of frosting and mash/stir with your fingers, pressing together to feel the texture. You’re looking to reach a playdough-like consistency. I think I used about 3/4 cup of frosting total, but the amount you use will depend on how much cake you have crumbled in your bowl.

Make cake balls: Once your cake mixture is ready and your cheesecake middles are frozen firm, you’re ready to assemble your cake balls! Take a frozen cheesecake middle and pack some cake around it. Roll it into a ball and place it on a silicone mat or wax paper. Continue until all cake balls are rolled. Chill these in the refrigerator overnight. I don’t freeze mine like some sites suggest, because I find chilling them in the fridge instead reduces cracking after I dip them.

Dip cake balls: After cake balls have chilled overnight, melt your candy melts or candy coating according to the package directions. I keep my bowl of candy melts situated in a bigger bowl of hot water to keep them warm and fluid, but be careful no water gets into the melts or they’ll seize!

To dip cake balls, I insert a toothpick into the center and dip them in the candy coating, using a spoon to help coat them. I then hold my cake ball over the bowl, gently bouncing and turning it to drain the excess coating off (letting them drain a good long while — but not long enough to fall off the toothpick — is how I avoid having a huge chocolate “foot”). When well-drained, I gently wiggle the cake ball off my toothpick onto a sheet of wax paper and add any sprinkles. I noticed my cake balls cracking (because I used an oilier cake), so I stuck them in the fridge as soon as they were dry to prevent this (it always helps for some reason). Serve immediately or store in an airtight container in the refrigerator.

VARIATIONS:
-You can leave the cheesecake middles out of this recipe and roll the cake into a solid ball if you want traditional cake pops.
-You can use any flavor of cake (or even a cake mix) for your cake.
-You can add chopped berries to your no-bake cheesecake mixture or even add in chocolate or other flavoring to produce different flavors of cheesecake in the center.
-You can use lollipop sticks or pretzel sticks to make these into cake pops.
-You can decorate with chocolate drizzle instead of (or in addition to) sprinkles.

Alex, this is for you. Be yourself! We think you’re awesome just the way you are.


Rainbows for Alex

If you liked this post, please:
Subscribe to Willow Bird Baking
Follow Willow Bird Baking on Twitter
Follow Willow Bird Baking on Facebook
Give this post a thumbs up on StumbleUpon
Pin It


Shareother ways to share this post with friends

Willow Bird Baking’s Top 11 Recipes of 2011

It was only a couple of hours ago that I realized the big ball drops tonight. Mike and I have no plans besides watching more Star Trek: Deep Space Nine. I haven’t thought of a single resolution yet. You could say I’m unprepared.

But actually, I am ready. I may not have all the trappings quite prepared, but I’m more than ready to send 2011 off with a kiss and a wave. There were lovely parts of this year — my time with my students, my trip to San Francisco, and most of all, my reunion with Mike. But there were also many challenges. I’m thankful for where I am, but so ready to charge forward in 2012 and live a life I believe in. How about you? What are your resolutions, goals, or plans?

To conclude a wonderful year on Willow Bird Baking — a year in which I have so appreciated your every visit and every comment to these pages — here are the top 11 recipes from ’11. Thanks for a fantastic year, y’all!

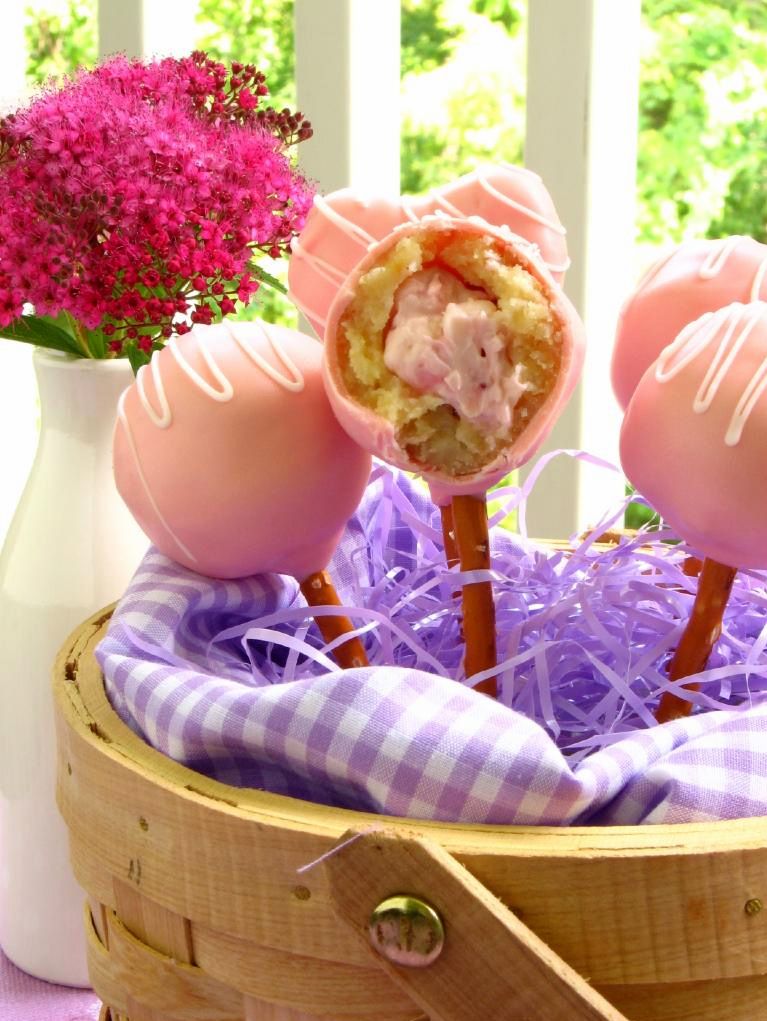
11. Strawberry Cheesecake Stuffed Amaretto Cake Pops (on Pretzel Sticks!)
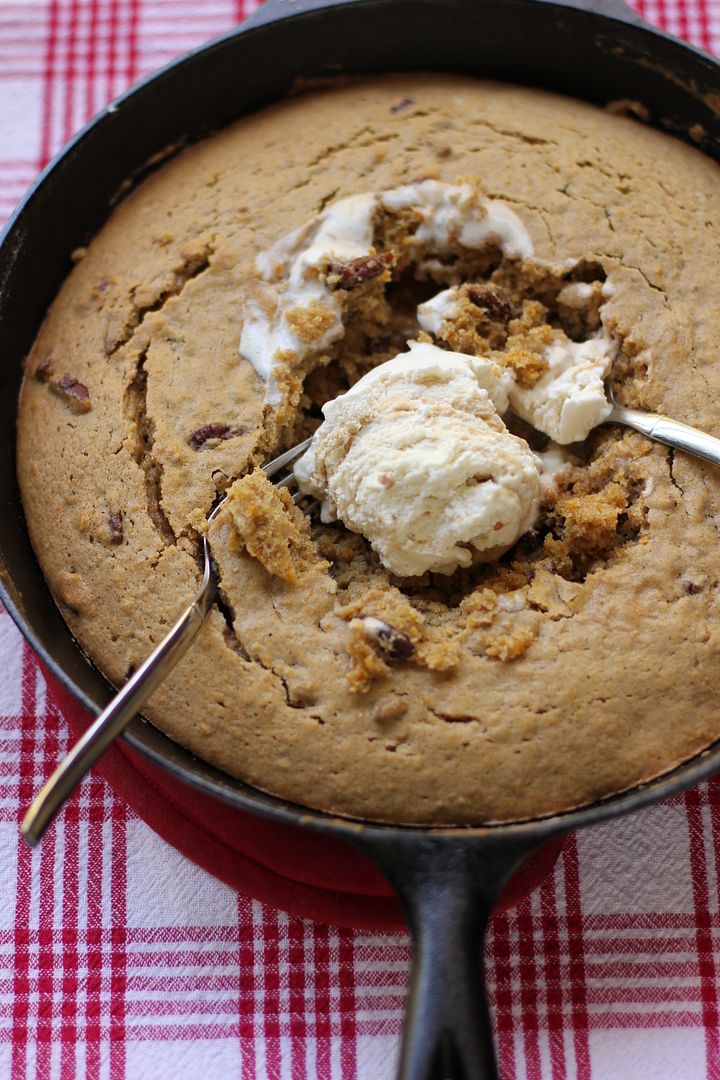
10. One-Skillet Gooey Pumpkin Cookie Cake
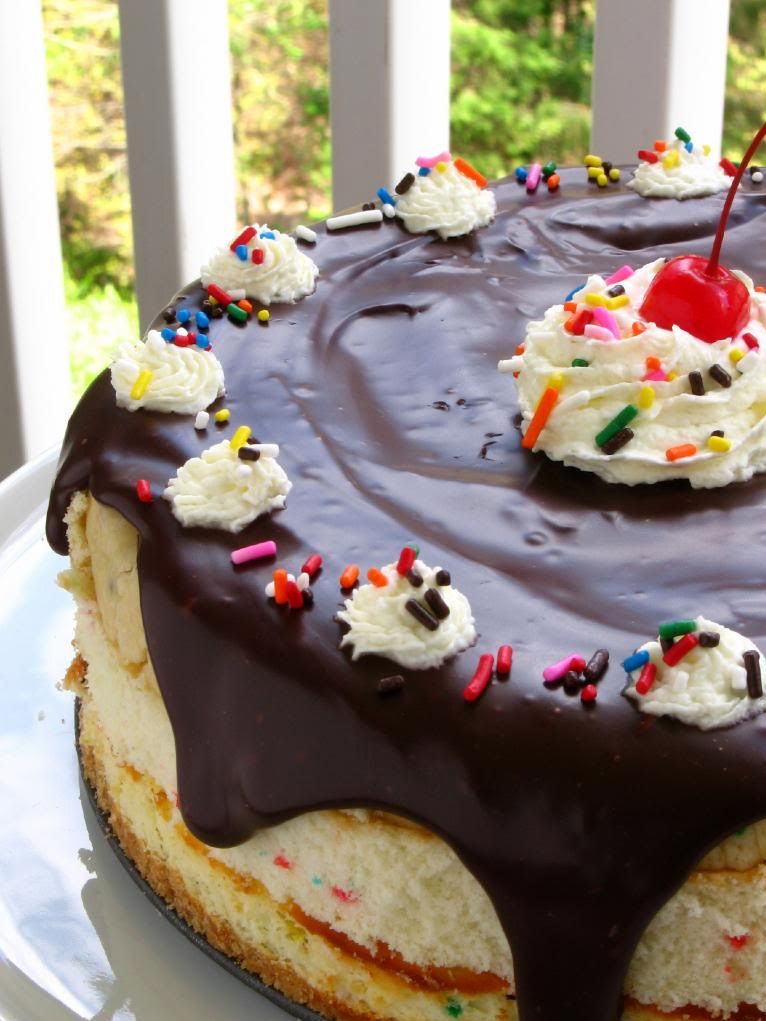
9. Birthday Cake Cheesecake
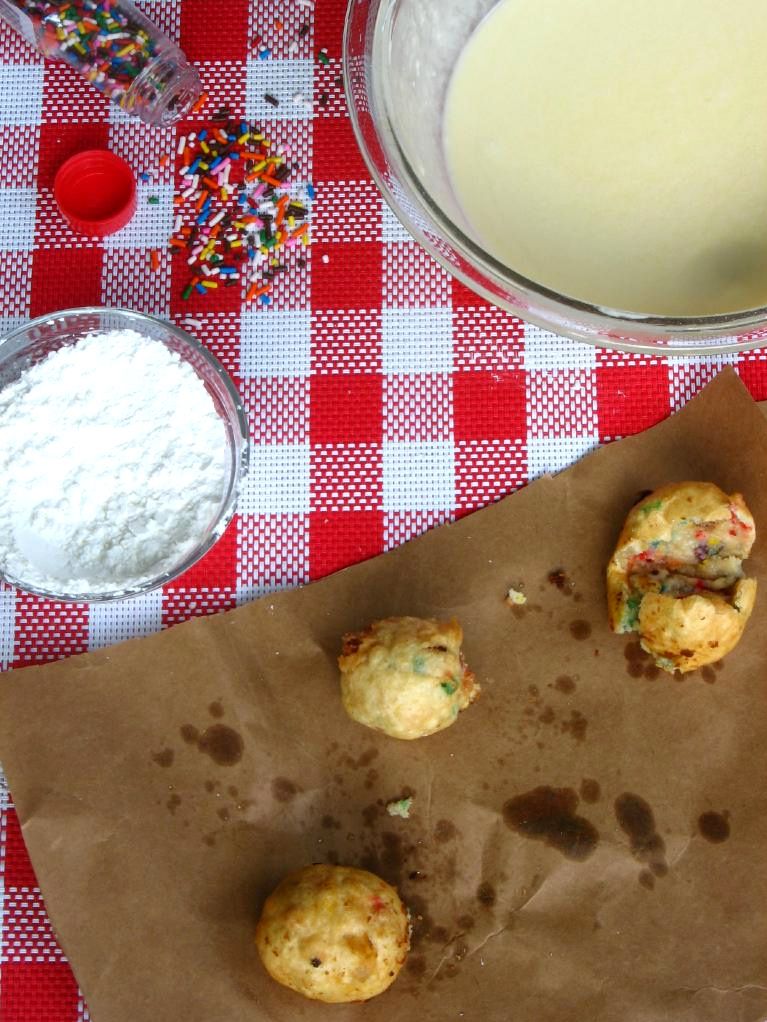
8. Deep Fried Cake Batter Cookie Dough


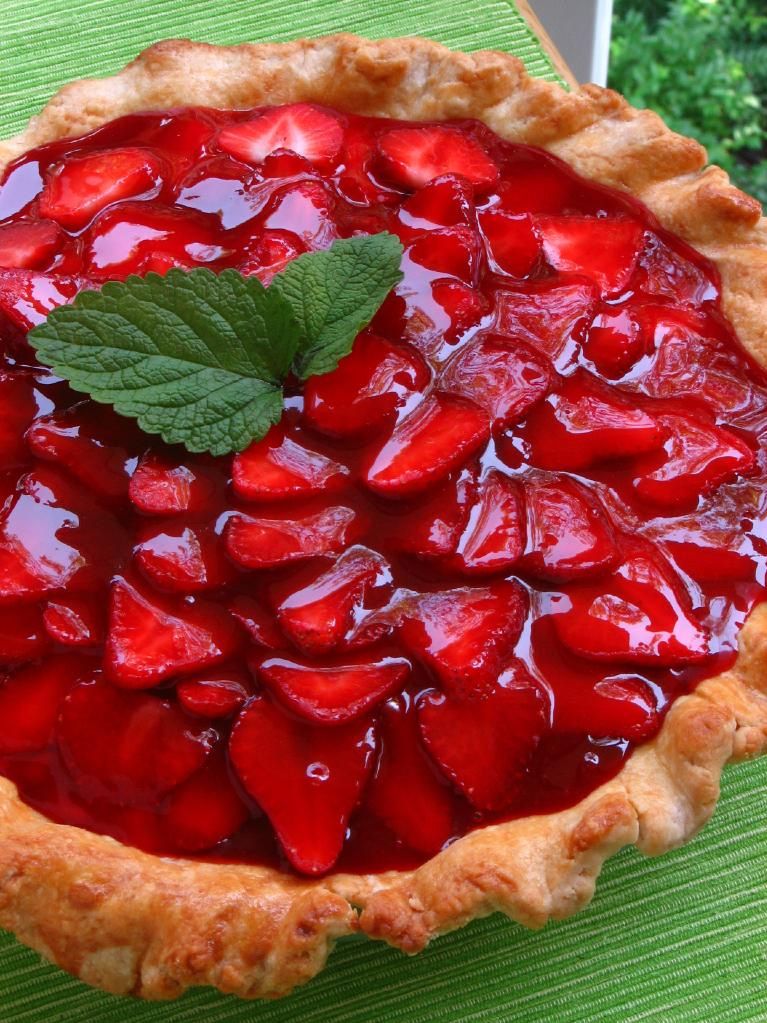
7. (Freshly Picked!) Strawberry Cream Pie
6. Cake Batter Cookie Dough Truffles
5. Salted Caramel Chocolate Trifle
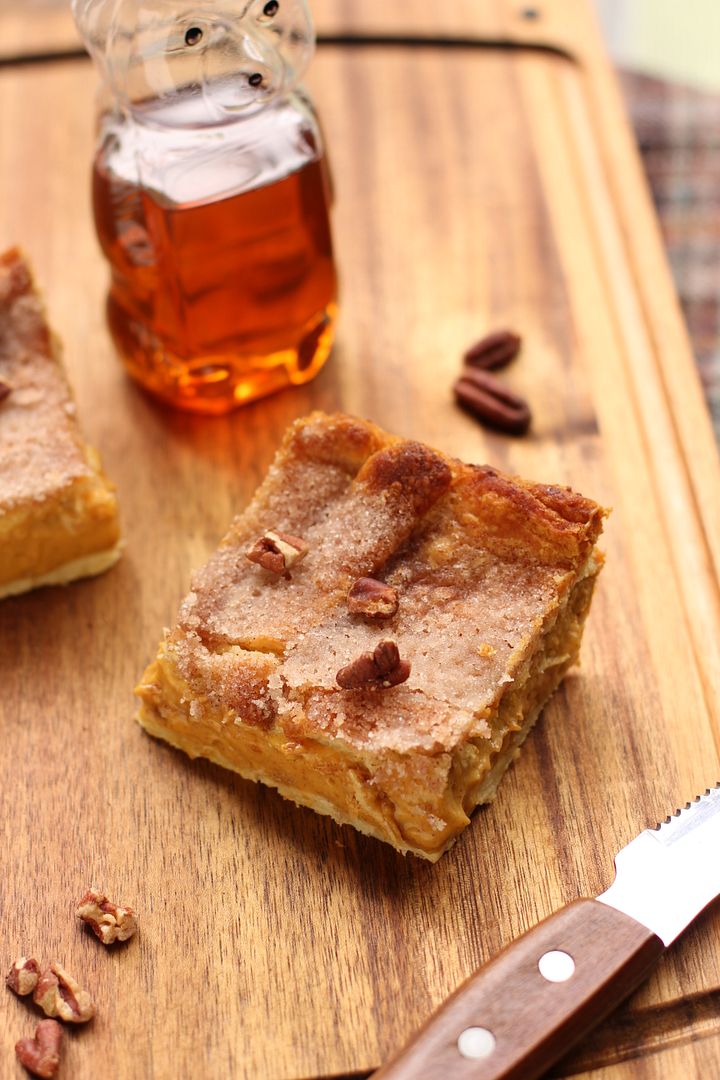
4. Easy Sopapilla Pumpkin Cheesecake Bars


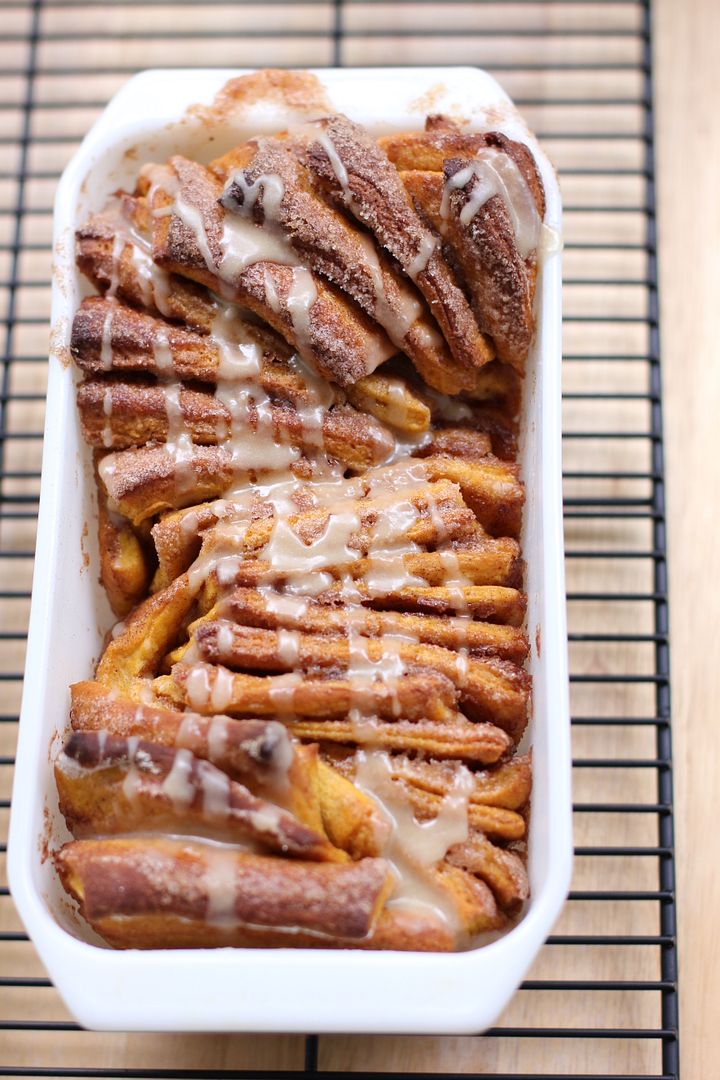
3. Pumpkin Spice Pull-Apart Bread with Butter Rum Glaze
2. Red Velvet Cheesecake

And the top Willow Bird Baking recipe of 2011 is . . .

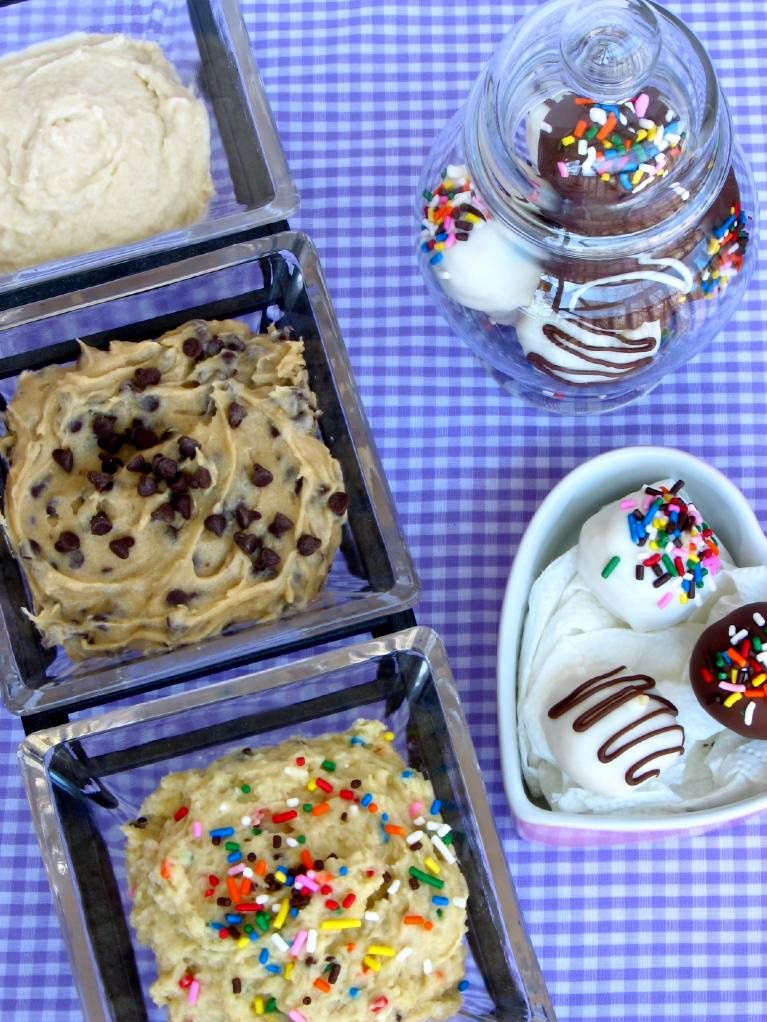
1. Three Safe-to-Eat Cookie Doughs: Chocolate Chip, Sugar, and Cake Batter!

Happy New Year!

If you liked this post, please:
Subscribe to Willow Bird Baking
Follow Willow Bird Baking on Twitter
Follow Willow Bird Baking on Facebook
Give this post a thumbs up on StumbleUpon
Pin It


ShareOther ways to share this post with friends!

Foodbuzz 24×24: The Make-Ahead Holiday Breakfast Party (Recipe: Salted Caramel Mocha Hot Chocolate)

I remember that Christmas morning with all the clarity of the glass icicles adorning our Christmas tree — at least one of which was shattered each year, an inadvertent Christmas tradition. Mom was sitting on the couch in her dramatic floral robe. The scent of coffee — which I loved, despite being averse to the bitter taste — filled the house. The rest of the family was milling about the living room, preparing to distribute the presents.

Suddenly, with a pine needley, jingle-jangly harrrrrumph!, the Christmas tree outright fell on my mother.

I mean, one minute that thing was standing tall, looking regal and festive, and the next it was on her head. She let out a startled cry and flailed from between its branches, sending ornaments and pine needles flying around the room.

Mom will disagree — and okay, my little brother’s First Christmas ornament broke, and that was sad — but this was quite possibly the most hilarious and lively Ruble Christmas morning to date.

Other Christmas mornings were notable too. There was the one where I found, after opening all my gifts, that I hadn’t received the one thing I wanted most: a pedal go-kart. I pasted on a happy face, but I was disappointed. I did have one present left, but it was a card and didn’t look promising.

The card turned out to be from Santa. I scanned it halfheartedly, and realized that it was a set of instructions. I was supposed to head upstairs to my sister’s room. Suddenly, my heart filled with hope. I charged up the stairs eagerly and shot through the door. There, in all its bright yellow glory, was my go-kart!

Other years brought a dose of holiday reality. When I was around 6, I opened my parents’ closet a few days before Christmas to put some clothes away. To my great surprise, I found myself staring at a gigantic dollhouse. I was so stunned that it took me a few moments to realize that this must be a poorly hidden Christmas present.

My tiny heart filled with glee as I briefly surveyed the three-story mansion, complete with furniture, a balcony, and landscaping. I’d always been enamored with miniatures, and now my parents had apparently decided to indulge my dollhouse obsession. I closed the door, thrilled at my discovery and determined to act surprised when I received my gift.

On Christmas morning, I ran downstairs and sure enough, the dollhouse was standing in the living room like a beacon of childhood happiness, boasting a big bow. I squealed joyfully and ran over to it, only to hear my parents call out, “That’s for your sister!

Those four words — so tiny! so brief! — cut me down faster than a fir tree on a Christmas farm.


family photo!

Then there was the Christmas morning I woke up and accidentally stabbed myself in the nose while trying to brush my hair out of my face. My entire family, probably confused but not surprised by the fact that I’d managed to injure myself immediately upon waking, waited patiently while I tried to stop the bleeding.

I couldn’t make this stuff up.


salted caramel.

It’s true; Christmas morning has varied wildly over the years — exciting, disappointing, joyous, dangerous, absurd. One constant that we’ve all come to cherish, though, is Christmas morning breakfast. Every single year, without fail, my mother wakes up early, bakes an egg casserole, and rolls out dough to make fresh cinnamon rolls. While we’re all still counting sugar plums in our jammies, she’s hard at work in the kitchen.

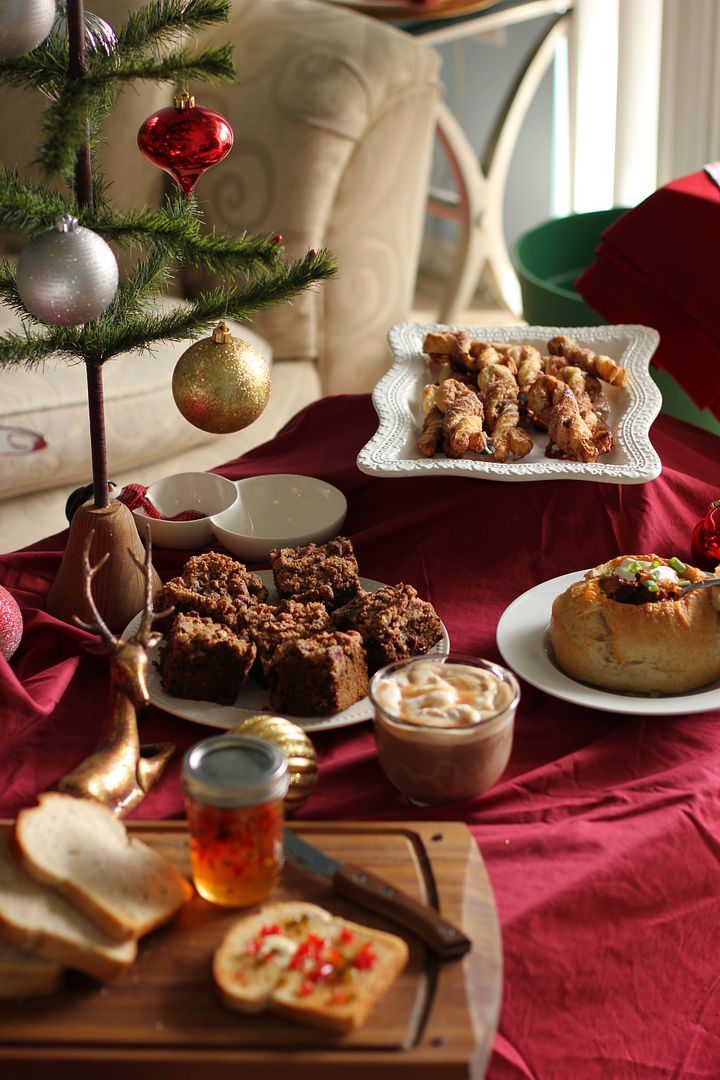
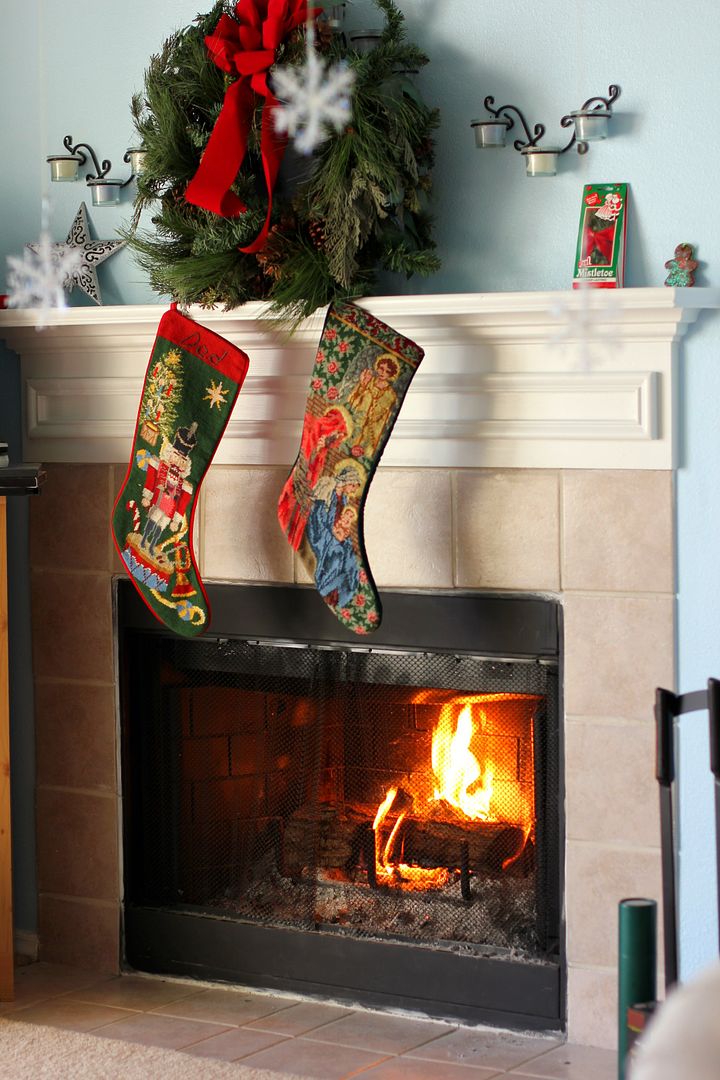
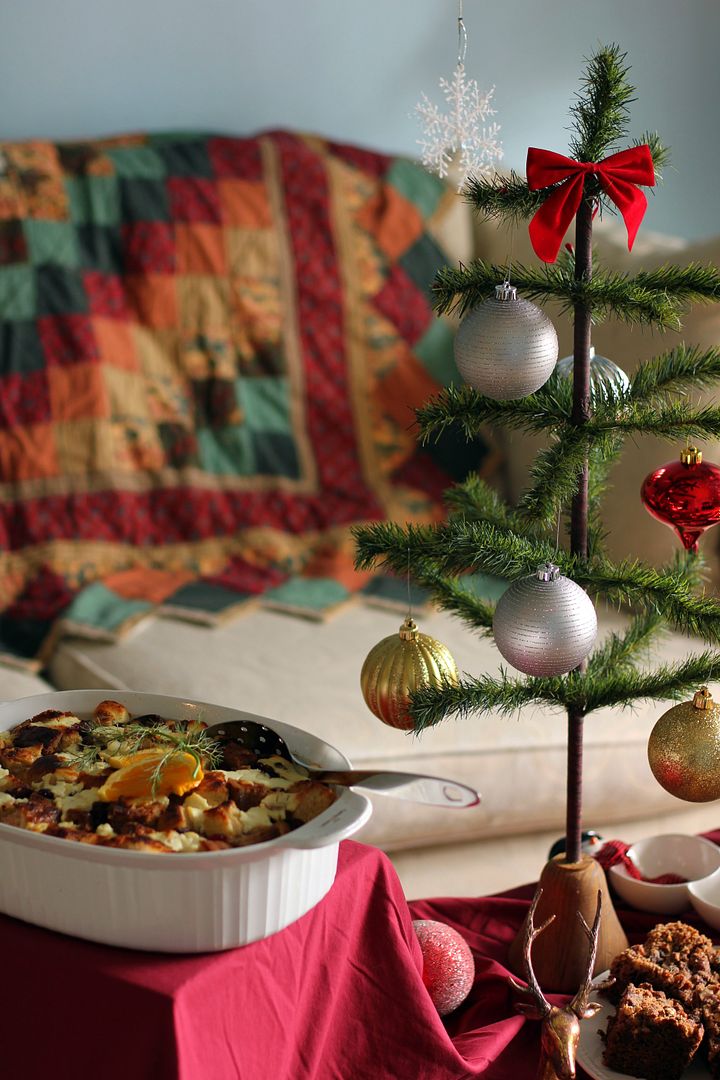
This year, in her honor, I decided to design some recipes specifically for a holiday breakfast — dishes that in addition to being fancy and indulgent, could be prepared almost entirely in advance. To test my menu — that’s my excuse, and I’m stickin’ to it — I threw a Make-Ahead Holiday Breakfast Party, where I decked my halls and created a make-believe Christmas morning.

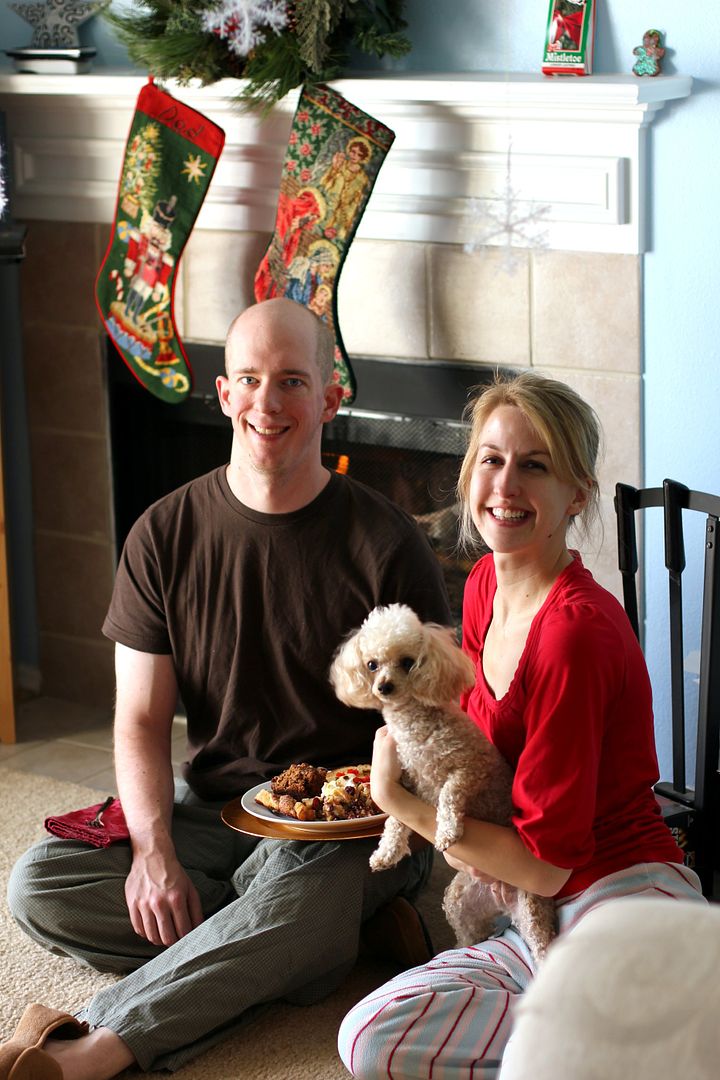
The party turned out to be special even beyond the menu. See, Mike and I have never spent a Christmas morning together, despite being in a relationship for most of the past 12 years.

I’m not complaining. So many families are separated on Christmas morning because of deployment, distance, and even death. Our situation is downright joyful by comparison. We’re separated each year because both of our families have Christmas morning traditions. We spend time with our own parents in the morning before meeting later to enjoy Christmas afternoon together. This year, though, my Make-Ahead Holiday Breakfast Party was the perfect way to create a “Christmas morning” for just us.

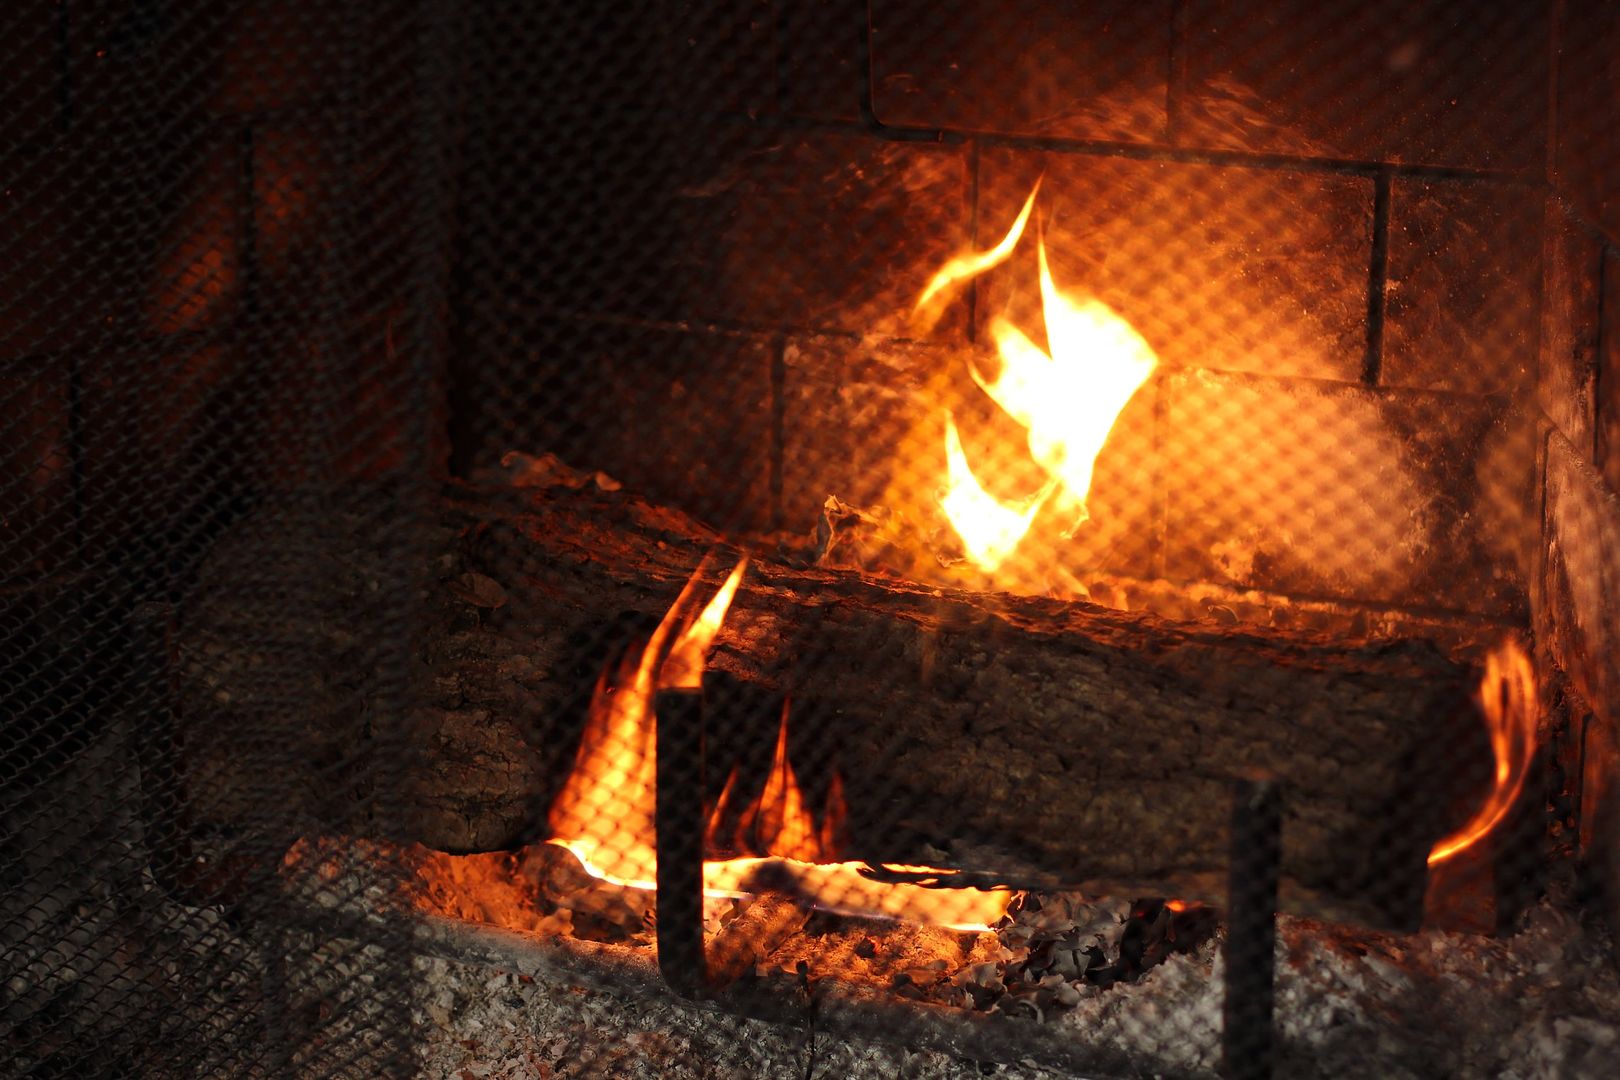
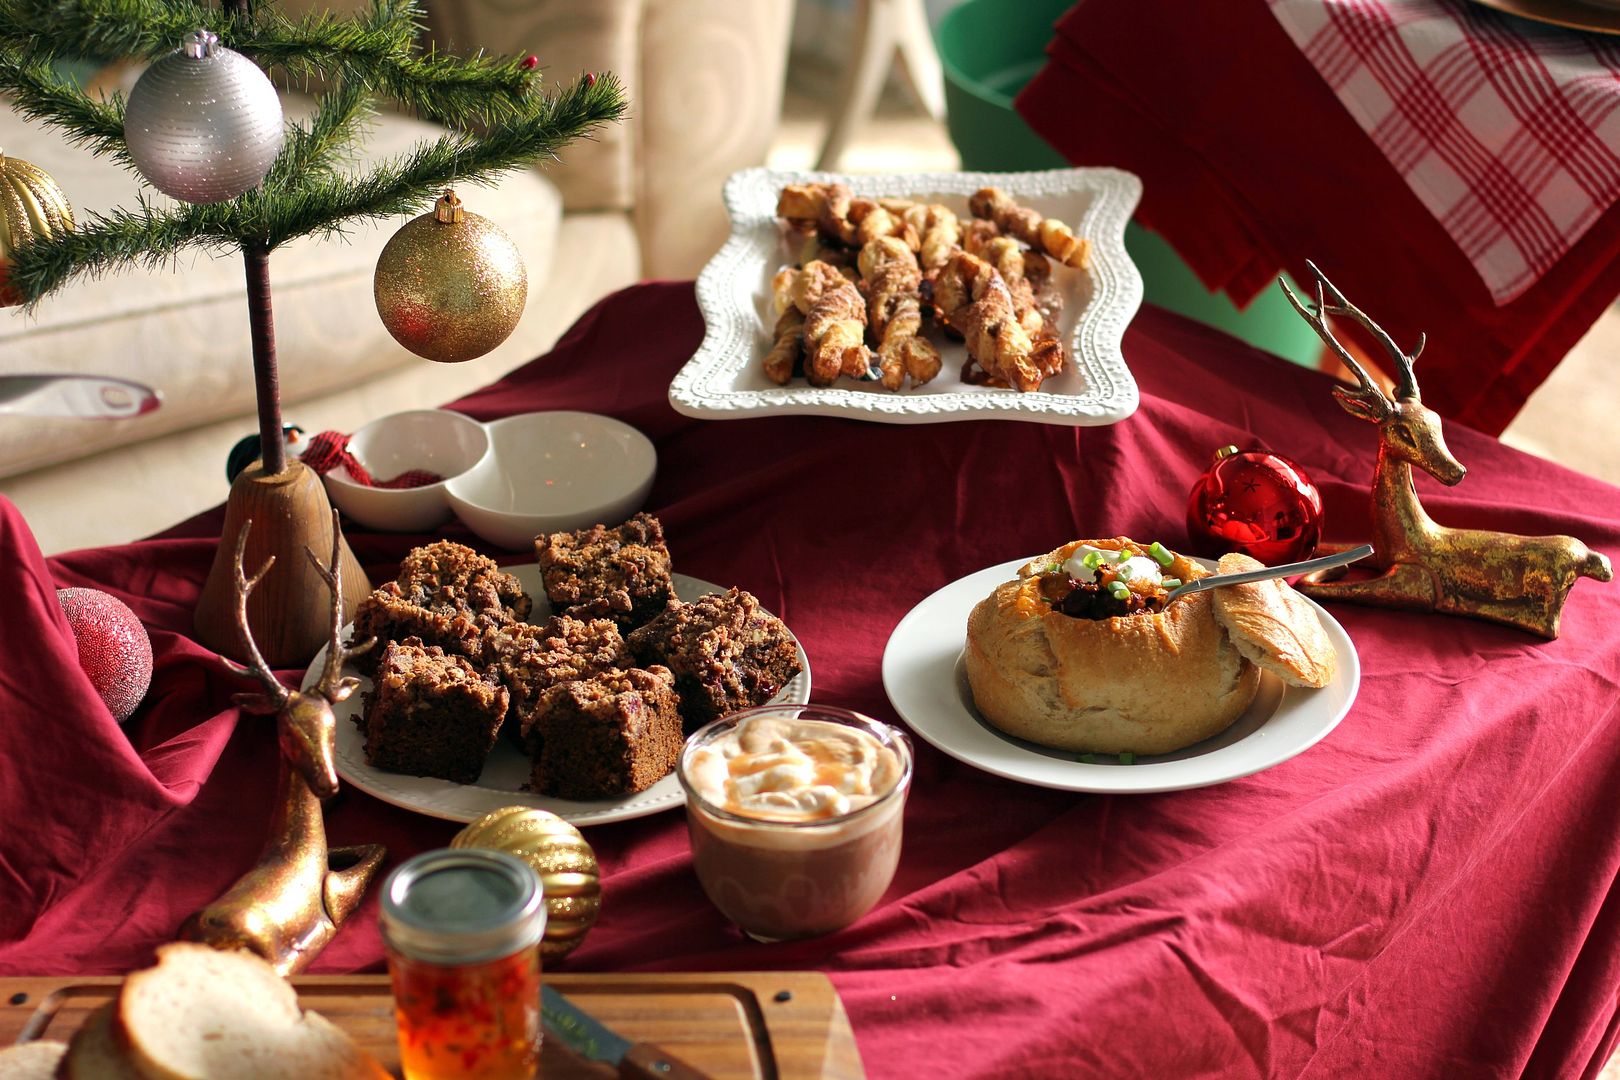
So yesterday morning, we donned our PJs and slippers in true Christmas morning fashion. I lit my first ever fire, put the finishing touches on all of the make-ahead dishes I’d prepared earlier in the week, and we sat down together to eat. Little Byrd sat between us eating her Christmas kibble. Our plates, however, were loaded down with Gingerbread Coffee Cake, Cinnamon Stix with Eggnog Glaze, Savory Bread Pudding with Cranberries and Fennel, Winter Breakfast Chili in Sourdough Bowls, and Buttered Toast with Bright Pepper Jam.

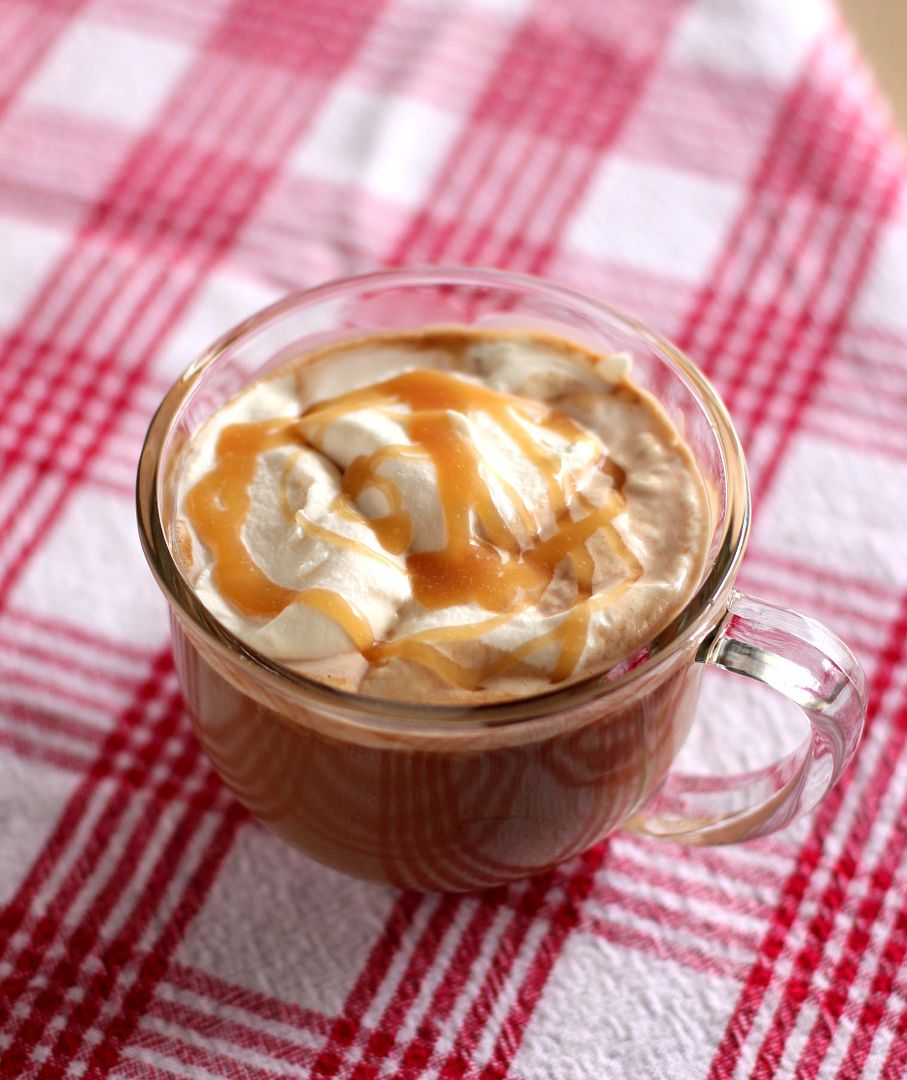
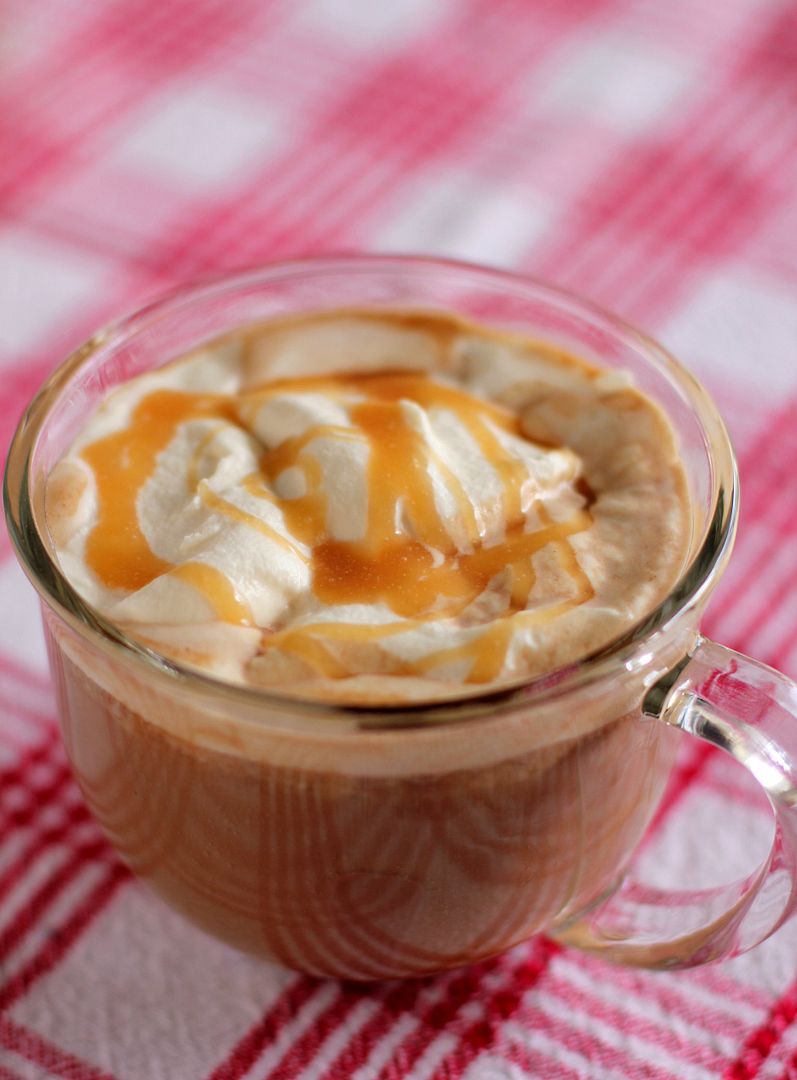
Between bites, we sipped this Salted Caramel Mocha Hot Chocolate. I’m not one for hot breakfast drinks, usually, but I’d make an exception for this thing any day. You coat the mug with hot, buttery salted caramel before pouring in the steaming mocha hot chocolate (where coffee plays a supporting role than the lead). The whole thing is topped with a mess of caramel whipped cream and a caramel drizzle.

I’ll be sharing the other make-ahead breakfast recipes with you throughout the coming weeks as you prepare for the holidays. In the meantime, share your favorite Christmas morning memories. Anyone have any harrowing experience with falling Christmas trees?

Salted Caramel Mocha Hot Chocolate


Recipe by: Willow Bird Baking, inspired by Savory Sweet Life, adapted from Martha Stewart (caramel and cream) and TLC
Yield: 2 big mugs of hot chocolate

I can’t really quantify how buttery, caramelly, chocolatey, and delicious this Salted Caramel Mocha Hot Chocolate is, so let me just say: mmmmmm. I don’t like coffee, but in this recipe it’s there to add richness and balance, and isn’t the dominant flavor. The recipe is designed to be completed mostly in advance, making it lovely for a holiday morning breakfast — or anytime you’re in a festive mood. Also, don’t be afraid of caramel. This recipe includes temperatures, and as long as you use a candy thermometer, you’ll be great!

Mocha Hot Chocolate Ingredients:
1 1/2 cups milk
1/2 cup brewed coffee
2 tablespoons semi-sweet chocolate chips
2 tablespoons bittersweet chocolate chips (I love Ghirardelli 60% cacao)
2 tablespoons sugar

Caramel Sauce and Cream Ingredients:
3/4 cup sugar
1/8 cup water
3/4 cup heavy cream
1/8 cup creme fraiche or sour cream
1/4 teaspoon pure vanilla extract
Pinch of coarse salt

Directions:
1 to 3 days in advance: Make the hot chocolate and the caramel. First, heat the milk, coffee, chocolate, and sugar in a saucepan over medium heat, whisking constantly until it comes to a boil. Remove it from the heat and whisk it to ensure it’s fully combined. Pour it into a bowl and let it cool, stirring periodically, before covering it and refrigerating it.

Make caramel sauce: Prepare an ice-water bath and set a heavy bowl in it. Heat the sugar and water in a medium saucepan over medium-high heat until mixture boils and sugar dissolves (don’t stir at all, or crystals will form and make your caramel grainy). Use a pastry brush to wash down sides of pan often to prevent crystals from forming. When the sugar starts to turn amber, you can swirl a couple of times to ensure it’s caramelizing evenly.

Cook until the sugar turns a dark amber (definitely use a candy thermometer here! You’re looking for it to read about 345 degrees), 5 to 7 minutes more. Immediately remove from heat, and slowly whisk in 1/2 cup cream (reserve the rest of the cream in the fridge). It will bubble up when you do this, so be careful. Return the caramel to medium heat, whisking and heating until the sugar melts completely and the mixture boils.

Remove the pan from the heat and pour the caramel into a bowl set in an ice-water bath. Let the caramel cool, stirring often, for 10 minutes. Whisk in creme fraiche or sour cream, vanilla, and salt. Cover and refrigerate this.

The morning of: Reheat the chocolate mixture in a saucepan over medium heat on the stove (or for a couple of minutes in the microwave), stirring often. In the meantime, whip your remaining 1/4 cup cream in a cold bowl to stiff peaks.

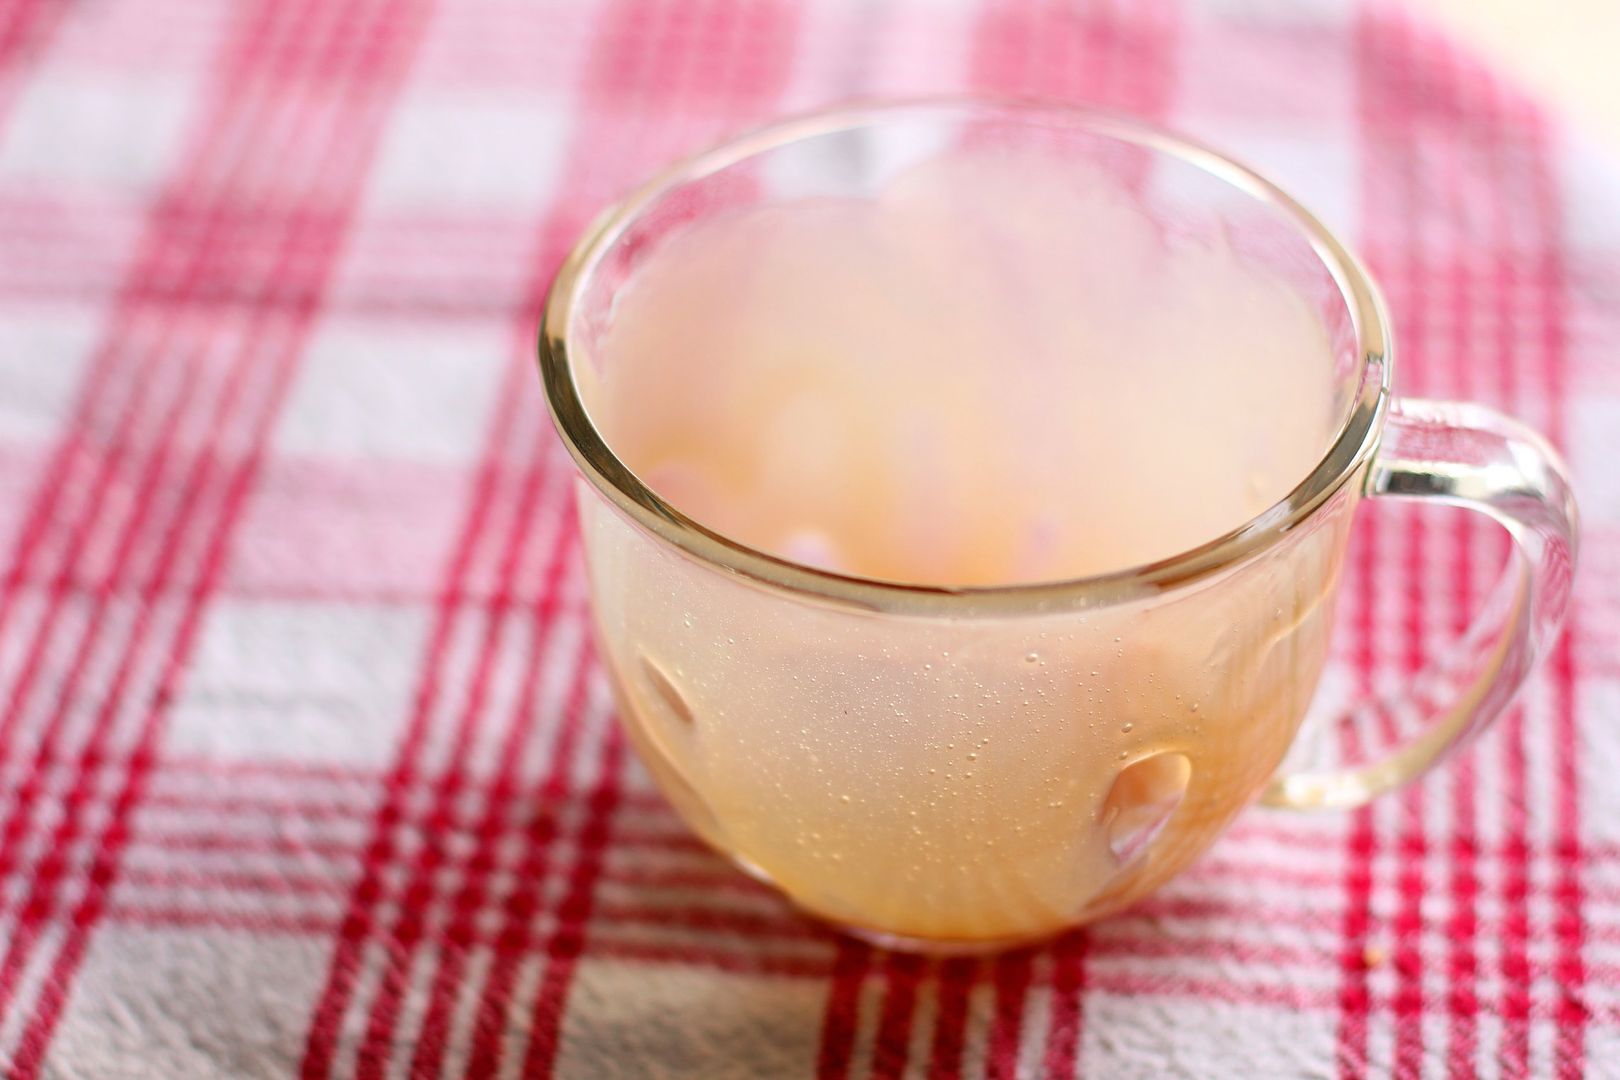
Coat the sides of two mugs with caramel sauce, reserving a little over half of it. Gently fold most of the rest of the caramel sauce into your whipped cream (reserving a little to drizzle on top). Fill caramel coated mugs with mocha hot chocolate. Top with caramel cream and drizzled caramel. Serve immediately.

Note: I received a stipend from Foodbuzz for creating this meal.

If you liked this post, please:
Subscribe to Willow Bird Baking
Follow Willow Bird Baking on Twitter
Follow Willow Bird Baking on Facebook
Give this post a thumbs up on StumbleUpon
Pin It


ShareOther ways to share this post with friends!

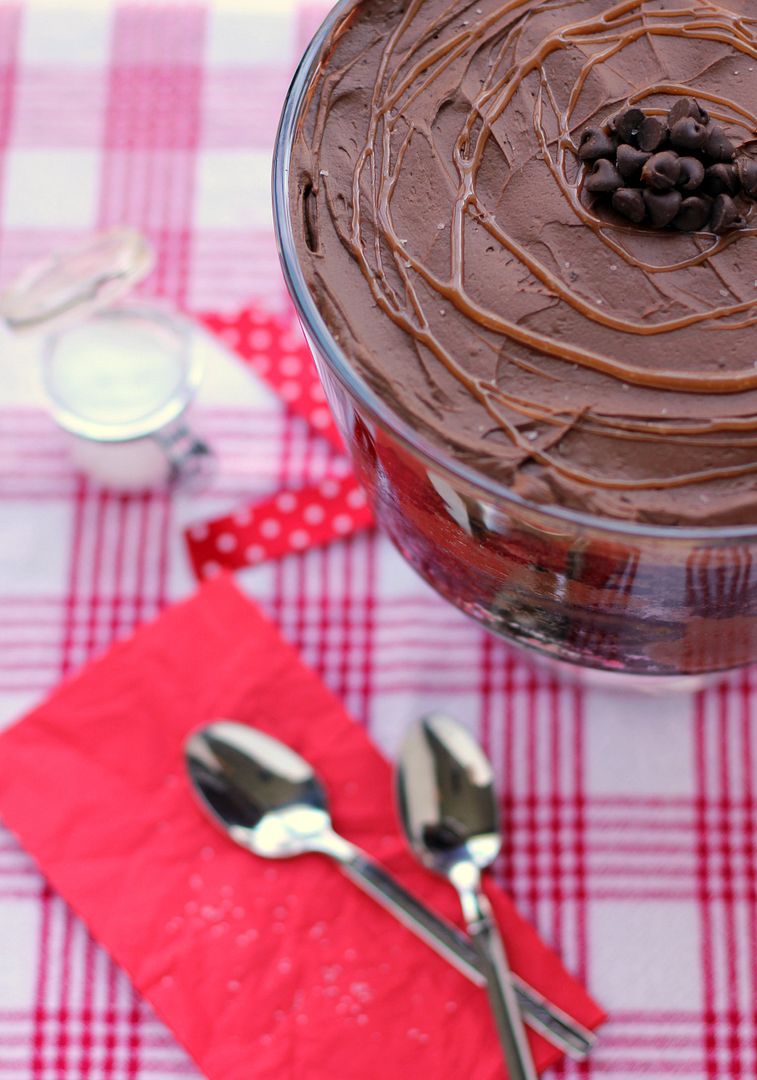
Salted Caramel Chocolate Trifle

The first face to poke through the door of my classroom was that of an older woman. She was followed by one of my 7th grade students, who was followed by a white haired man. “Come in! Find a seat anywhere!” I called as I made last minute adjustments to the position of the projector.

Soon people were pouring into my room. They had arrived for Grandfriends Day, where Woodlawn students invited their grandparents (or grandpeople they’d “adopted”) to eat lunch with them and participate in their classes.

I’m going to go ahead and publicly admit that I was terrified of Grandfriends Day. What activity could I plan that both a 60-year-old and a 12-year-old might enjoy? We usually read novels or tackle projects that take weeks to complete. What concept could I introduce and cover in a meaningful way in 30 minutes?

Thankfully, I learned a trick at the beginning of my teaching career that always serves me well in these types of circumstances: when you’re scared of a new thing, get enthusiastic and give it an honest, earnest try. (This also works with baking, writing, and life in general.) So as the students and their grandfriends filtered into my room, I pasted on a smile.

Once they were all somewhat assembled, I took a deep breath and did something a little ridiculous. I turned on the projector and pressed play on this video (no, really, go watch it). Confusion turned into giggles as Maru the cat repeatedly attempted to gain access to a huge cardboard box. Young and old alike cheered when he finally sprang into its depths. I surveyed the classroom as they watched, concluding that funny YouTube clips were, indeed, a language that spanned the generations.

When the video ended, I posed a question: “What was Maru’s goal?”

“To get in the box!” the class cried in unison.

“Did he accomplish his goal the first time he tried?”

“No!”

“How about the second?”

“No!”

“Did he eventually get in the box?”

“Yes!”

Their enthusiasm was cute. They were still riding the wave of cheer that Maru’s antics had created. I distributed sheets of notebook paper as I issued their assignment: “Write about a time when you, like Maru, had a goal you couldn’t accomplish right away.”

Some dove at their paper with ardor while others thoughtfully drummed fingers or pencils on the desk. A short ten minutes later, though, everyone sat staring at their finished anecdote. I asked for volunteers to share, wholly unsure about the quality of work I was about to receive. I needn’t have been concerned, though. I have great students and, it turns out, they have amazing grandfriends.

One man told of learning to drive a car with a manual transmission and repeatedly killing the engine before finally getting the hang of it. Another told of being determined to get his garden planted despite the rain that threatened to prevent it. A third detailed how he and his construction crew had created a machine that could drive 16 nails a second to accomplish their goals more efficiently.

Two women discussed taking a pottery class and working for months before they produced the bowl or vase they’d envisioned. My students relayed sports goals they’d attempted to accomplish: a back set in volleyball, a backflip in gymnastics. Finally, one of my students raised his hand and asked to read his grandfather’s composition.

His grandfather had worked with a veterinarian as a young man and decided to enter into that profession himself. His application to NC State’s veterinary program, however, was denied. Undeterred, he entered the college for agriculture instead, and — my student articulated the following with great pride — became the first person in his family to graduate from college.

We were all quiet for a minute before one clap — and then another, and then another — began a round of applause for this man’s accomplishment. It was one of those moments (you teachers out there will know just what I mean) when I thought, “Oh, this is why I teach.”

Some folks that day had reached their goal by pushing through the obstacles. Others had used trial and error, learning from their mistakes and adjusting their actions. Still others had created a tool to help them accomplish their objective. That man, though, had courage and flexibility I sometimes lack. Instead of getting discouraged, he changed his goal. He created a path for himself that wasn’t what he’d originally envisioned. The pride his whole family felt at his accomplishment was a testimony to his success.

I wish I’d had that much grace this week when making this Salted Caramel Chocolate Cake. Yes, I said cake, because that’s what this dessert was supposed to be.

My goal was to create a towering chocolate cake drenched in gooey salted caramel and frosted with a smooth, fudgy icing. I saw that goal crumble before my eyes, however, when I opened my refrigerator and found all 6 layers sliiiiiiding down like they were preparing to do the limbo. The skewers I’d added for support were leaning right along with the cake.

I could pretend I handled it well, because this is the internet. For all you know I’m a supermodel who, apart from saving puppies and keeping a perfect house, never loses her temper. In the spirit of honesty, however, let’s just say that there was a solid 30 minutes of angst in my kitchen Wednesday night.

Then somehow I flipped a switch. I stopped trying to restack the layers, grabbed a spoon and my trifle dish (thanks for my trifle dish, Joyce!), and started building this bucket o’ cake. As I worked, my mood improved drastically.

Not only was my trifle pretty, less fuss to frost, and easier to transport, but it was also going to taste every bit as delicious as the cake I’d envisioned. The satisfied faces of my family around the Thanksgiving table the next day confirmed that it was a success.

Your turn: tell me about a time when you had a goal you couldn’t accomplish right away.

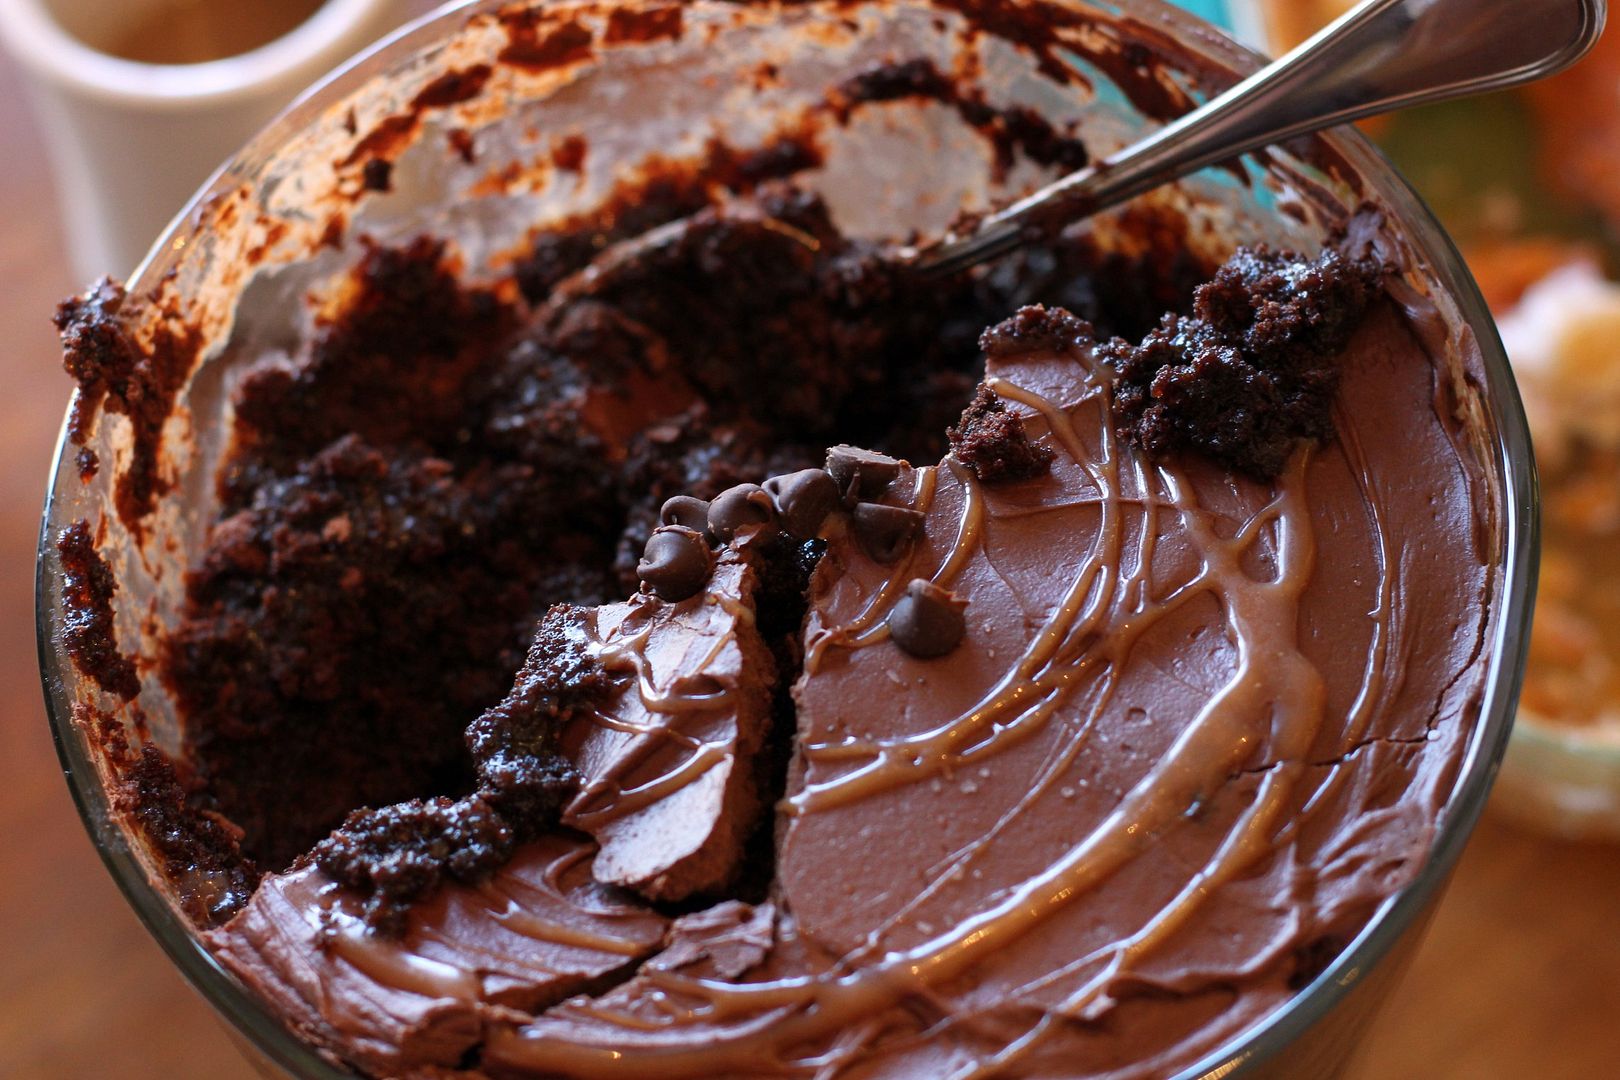
Salted Caramel Chocolate Trifle


Recipe by: Adapted from Martha Stewart
Yield: About a billion servings. Or at least 10-15.

This is actually a recipe for a 6-layer salted caramel chocolate cake. Feel free to attempt the cake and keep the trifle as a backup plan in case it doesn’t work — or just make the trifle from the beginning! Either way, the dessert you end up with will be rich, moist, and covered in the most delicious salted caramel and fudgy frosting. By the way, if you’re scared of making caramel, don’t be — just make sure you use a candy thermometer, which takes the guesswork out of the process.

Cake Ingredients:
3 cups all-purpose flour, plus more for pans
3 cups granulated sugar
1 1/2 cups unsweetened Dutch-process cocoa powder
1 tablespoon baking soda
1 1/2 teaspoons baking powder
1 1/2 teaspoons coarse salt
4 large eggs
1 1/2 cups low-fat buttermilk
1/2 cup plus 2 tablespoons safflower oil
1 1/2 cups warm water
2 teaspoons pure vanilla extract

Caramel Ingredients:
4 cups granulated sugar
1/4 cup light corn syrup
1/4 cup water
2 cups heavy cream
1 teaspoon coarse salt
2 sticks cold unsalted butter

Frosting Ingredients:
1/4 cup plus 2 tablespoons Dutch-process cocoa powder
1/4 cup plus 2 tablespoons warm water
2 sticks unsalted butter, room temperature
1/2 cup confectioners’ sugar
Coarse salt
1 pound semisweet chocolate chips, melted and cooled
flaked sea salt, such as Maldon

Directions:
Note on scheduling: You can make the cake layers a few days in advance. Just wrap them and refrigerate them, and take them out and freeze them the day you’ll be cutting and assembling them (which will make them easier to work with). You can make the caramel up to three days in advance and keep it in the fridge — just let it come to room temperature for a couple of hours before using it. The entire cake can be assembled a day in advance and refrigerated, allowing its flavors to meld.

Make the cake: Cut 3 circles of parchment paper and use cooking spray as “glue” to adhere them to 3 9-inch round cake pans. Then grease the pans and the paper (I use Wilton’s Cake Release, but you could also use butter and flour). Preheat the oven to 350 degrees F.

Sift the flour, sugar, cocoa, baking soda, baking powder, and coarse salt together in a mixing bowl. Beat the dry ingredients on low until combined before increasing the speed to medium and adding eggs, buttermilk, warm water, oil, and vanilla. Beat about 3 minutes until the mixture is smooth. Divide it among the three pans.

Place the pans in the oven and bake until a toothpick inserted in the middle comes out with just a few moist crumbs, about 30-35 minutes. Rotate the pans about halfway through so they’ll bake evenly. Let them cool on a wire rack for about 10 minutes before turning them out onto sheets of wax paper and leaving them to cool completely. Stick them in the freezer if you’re going to make a cake; if you’re going for a trifle, just leave them out.

Make the caramel: Slice your butter into tablespoon chunks and set it back in the fridge for later. In a large saucepan, gently combine the sugar, corn syrup, and water. Once you put it on the heat, you won’t stir it anymore to ensure that the sugar will not crystallize and give you grainy caramel. Put a candy thermometer on the pan and heat it over high heat (no stirring!). Once the mixture starts turning amber around 320 degrees, you can gently swirl it every now and then (not stirring!) to ensure the sugar caramelizes evenly. Heat it until the mixture is dark amber (350 degrees on your thermometer), about 14 minutes. Remove it from the heat.

VERY CAREFULLY and slowly, pour in the cream. The mixture will bubble up and spatter so just be prepared and stand back — flaming sugar is no joke! Once you add the cream, whisk the mixture until it’s smooth before returning it to the heat and cooking until it reaches exactly 238 degrees (I know it sounds weird, but apparently this is crucial for the texture), about 2 minutes. Pour the caramel into a medium bowl and add the salt. Let it cool for about 15 minutes before whisking in the butter 1 tablespoon at a time (you’re definitely going to want to enlist another set of hands here; otherwise your arm will fall off).

Make the frosting: In a small bowl, whisk together the cocoa and warm water. In a separate bowl, beat together butter, confectioners’ sugar, and a generous pinch of coarse salt until pale and fluffy. Gradually beat in the melted chocolate and the cocoa mixture. Let this sit for about 30 minutes before you use it.

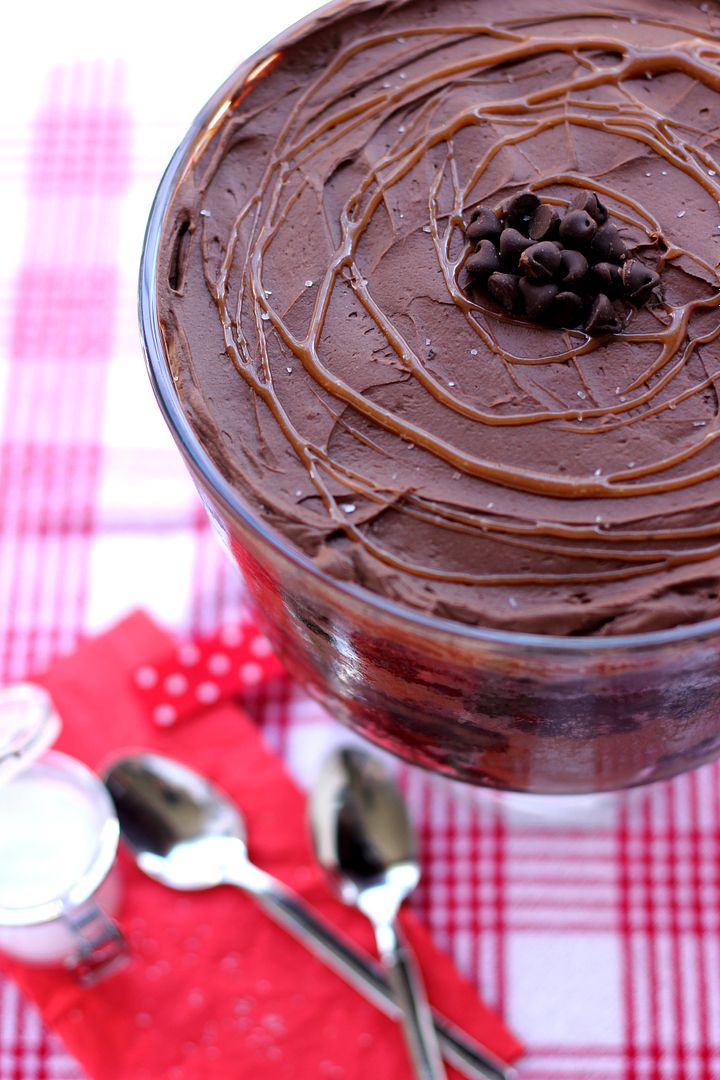
Assemble the cake (or trifle): If you’re making a trifle, simply tear up the cake and alternate layers of cake and 3/4 cup of caramel in your bowl, using a spoon or offset spatula sprayed with cooking spray to help spread the caramel. Do a layer of frosting in the middle of the dish and another layer on top before drizzling with caramel and sprinkling with sea salt.

Alternatively, if you want to try the cake, freeze your cake layers until they’re firmer (this makes them much easier to work with). Use a long serrated knife to level their tops and cut each layer in half. Place one layer on a serving platter and spoon 3/4 cup of caramel on top, using a spoon or offset spatula sprayed with cooking spray to help spread the caramel. Place another cake layer on top and repeat the process, alternating layers of cake and caramel, leaving the top cake layer uncovered. For goodness’ sake, place dowels through your cake (I’d say at least 4), mark them at the height of the cake, remove them, and cut them down to size. Then replace them in the cake. I’d also wrap the entire cake tightly in plastic wrap before chilling it to prevent sliding. Refrigerate it until it’s set (about an hour) before frosting the top and sides of the cake and sprinkling with sea salt.

Serve the trifle or cake: I think this dessert is delicious no matter what, but it’s absolutely out-of-this-world if you heat a serving of it for about 30 seconds before spooning a big hunk o’ vanilla ice cream on top. I didn’t try this with a cake slice, so I don’t know that it’d hold together — another benefit of a messy trifle.

If you liked this post, please:
Subscribe to Willow Bird Baking
Follow Willow Bird Baking on Twitter
Follow Willow Bird Baking on Facebook
Give this post a thumbs up on StumbleUpon
Pin It


ShareOther ways to share this post with friends!

1 9 10 11 12 13 22