other

Ten Willow Bird Coconut Recipes

You guys have probably noticed that I’ve been a little coconut nutty (coconutty?) lately. I hated coconut as a child, so now that I understand its unadulterated deliciousness, I have to make up for lost time. If you’re trying to catch up as well, here’s a round-up of 10 delicious coconut recipes for you to try.

1. Banana Coconut Cream Cakes
2. Banana Coconut Cream Cupcakes
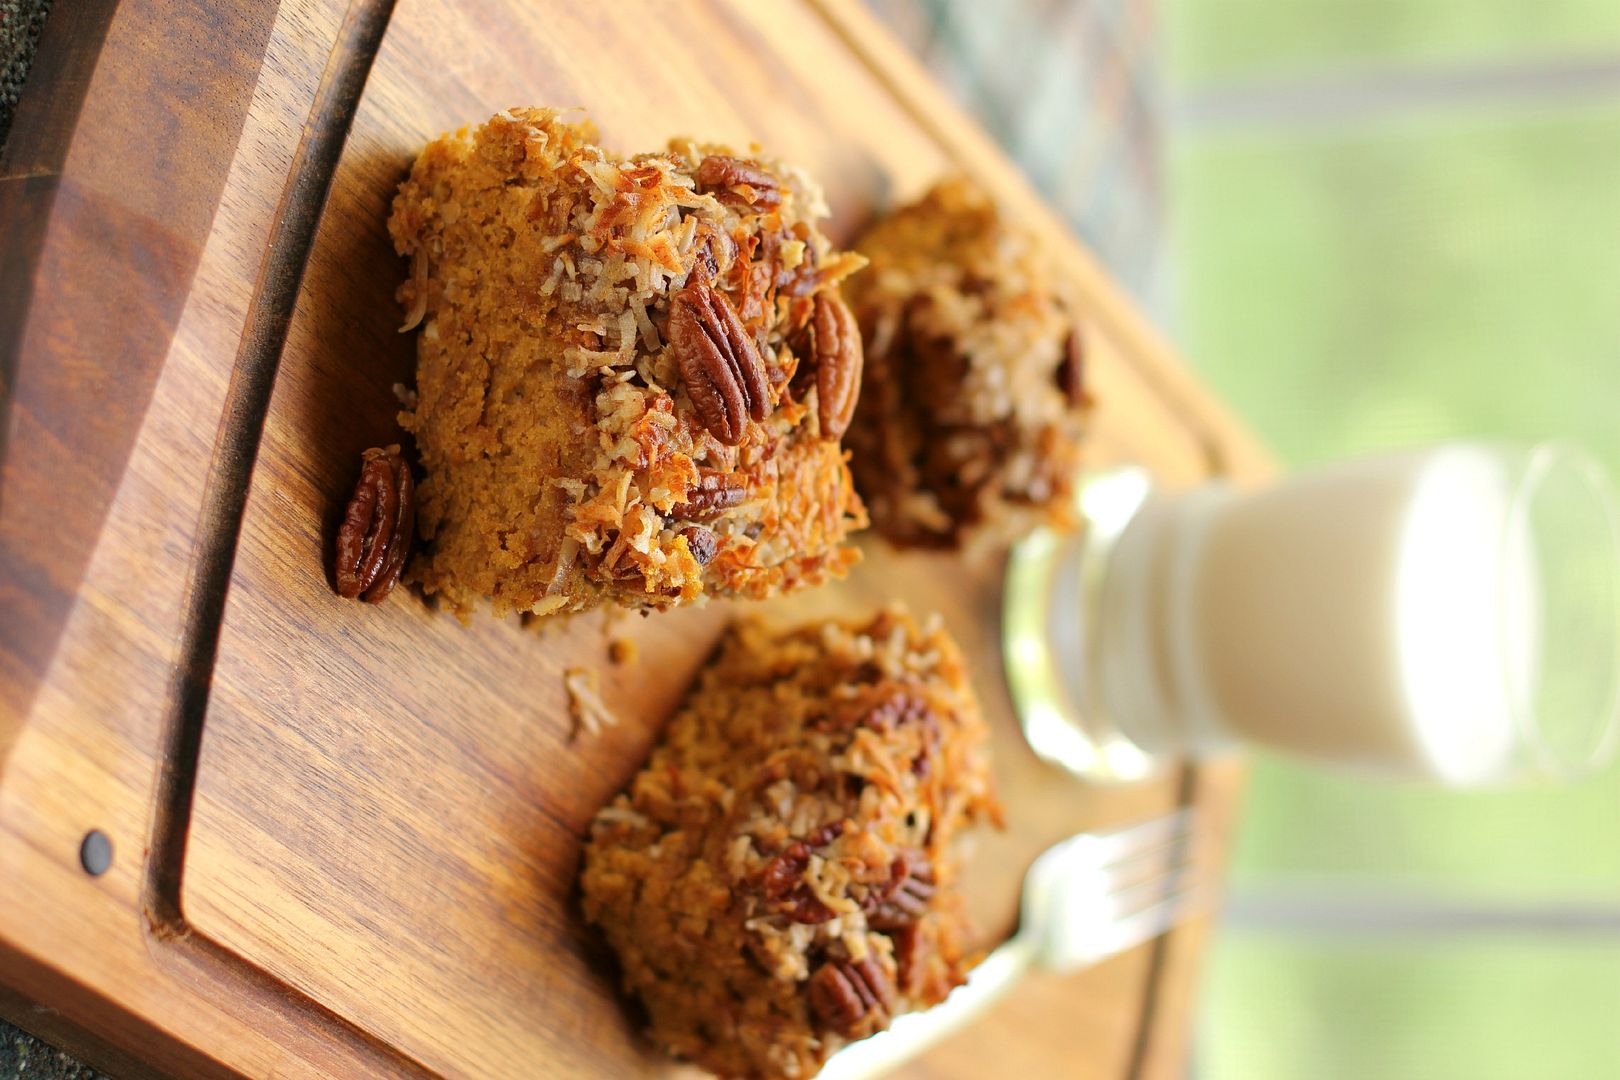
3. Pumpkin Oat Snack Cake with Broiled Coconut Icing
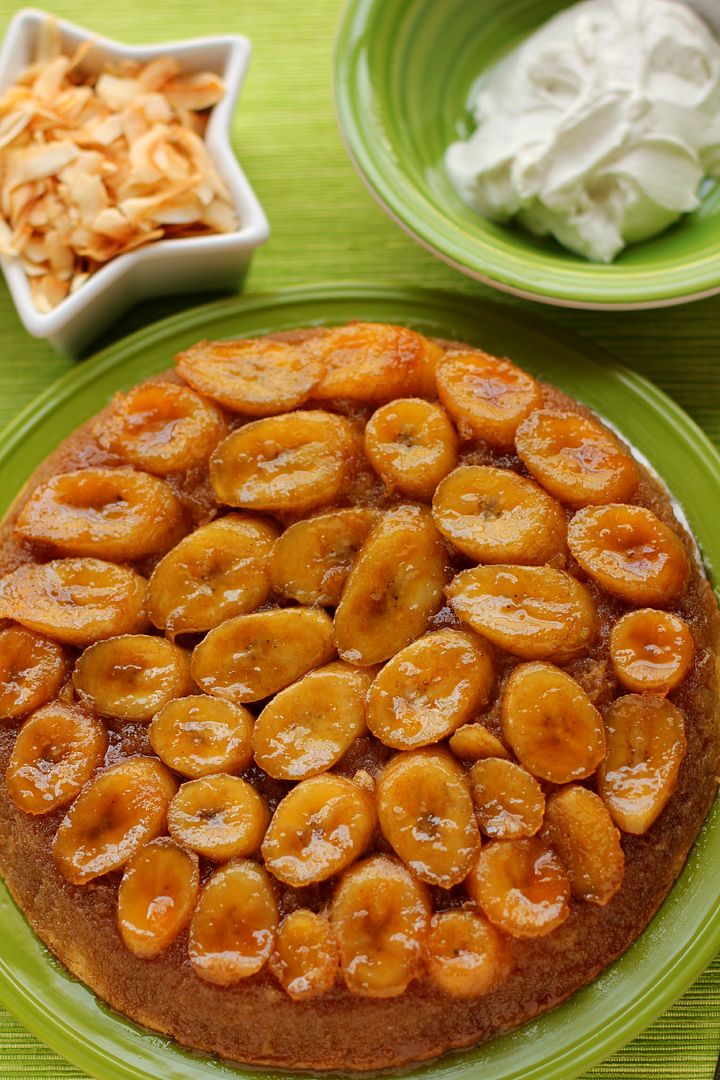
4. Caramelized Banana Upside-Down Coconut Cake & Coconut Whipped Cream


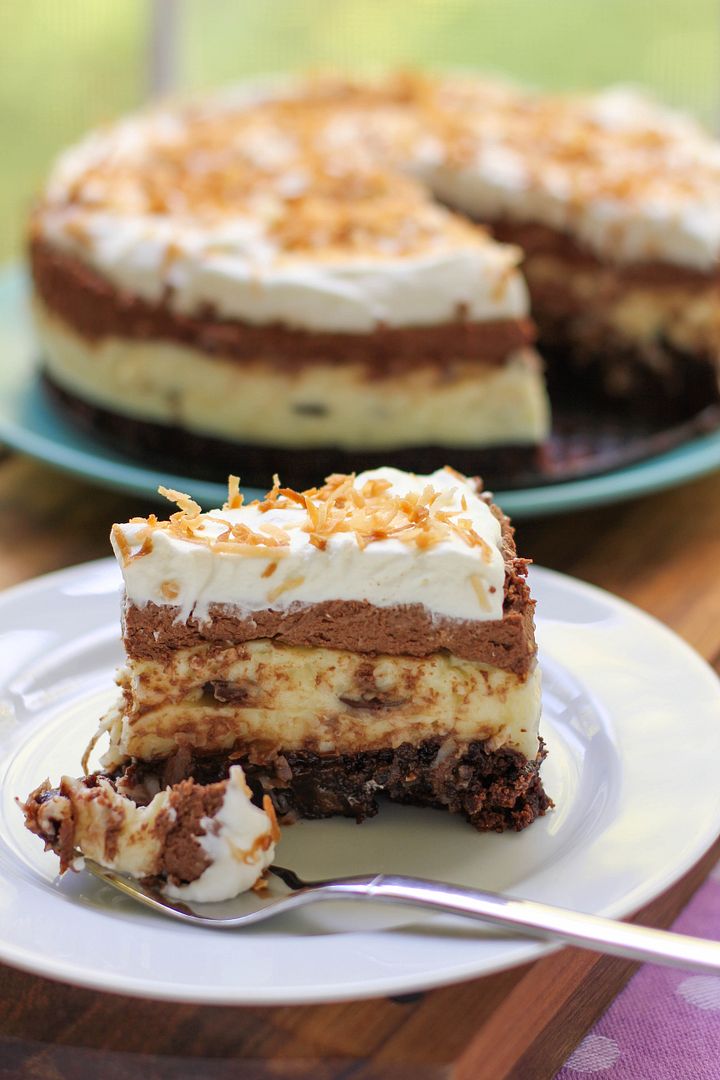
5. Brownie-Bottom Coconut Chocolate Cream Cake
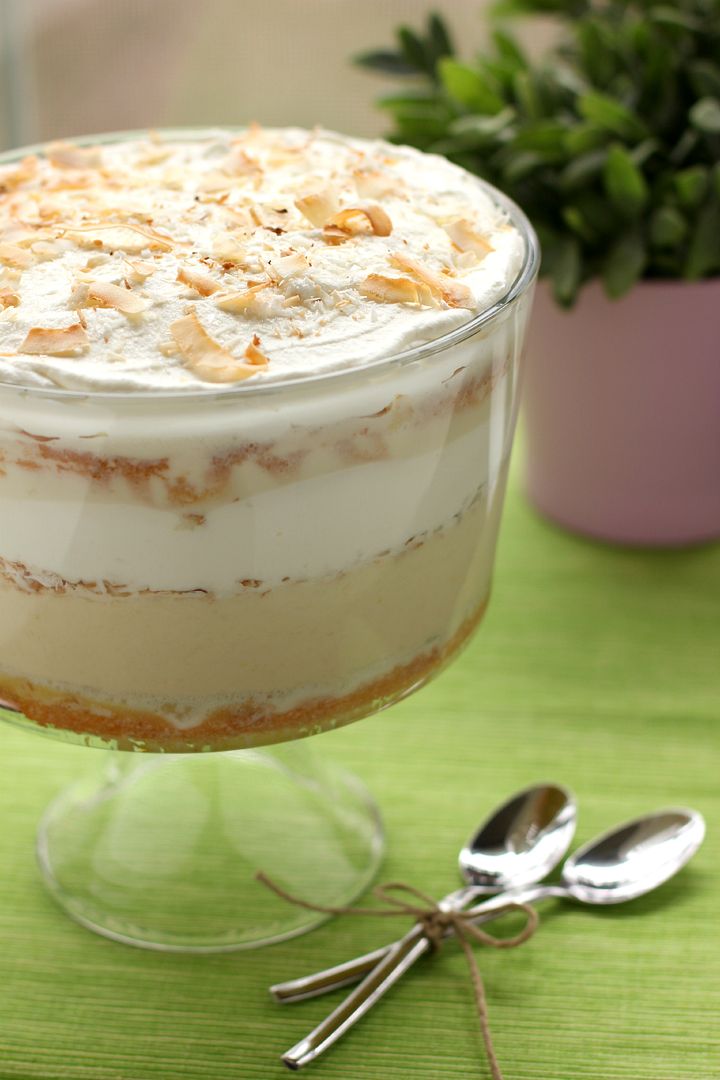
6. Tres Leches Coconut Cake Trifle
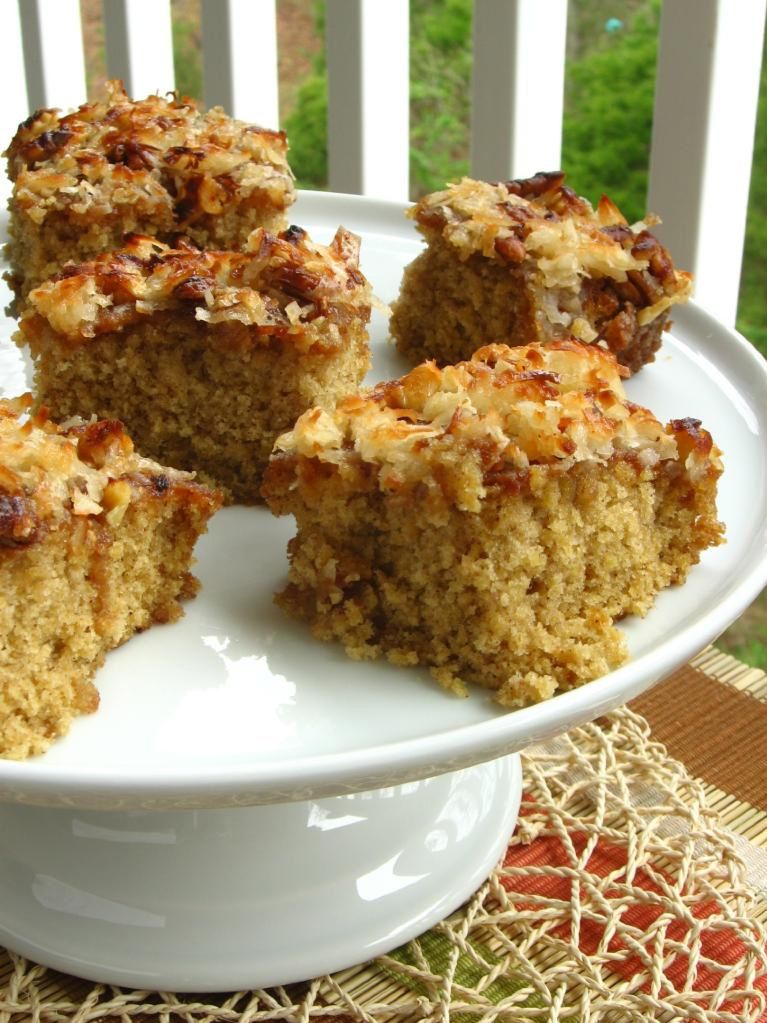
7. Oatmeal Cake with Broiled Coconut Icing
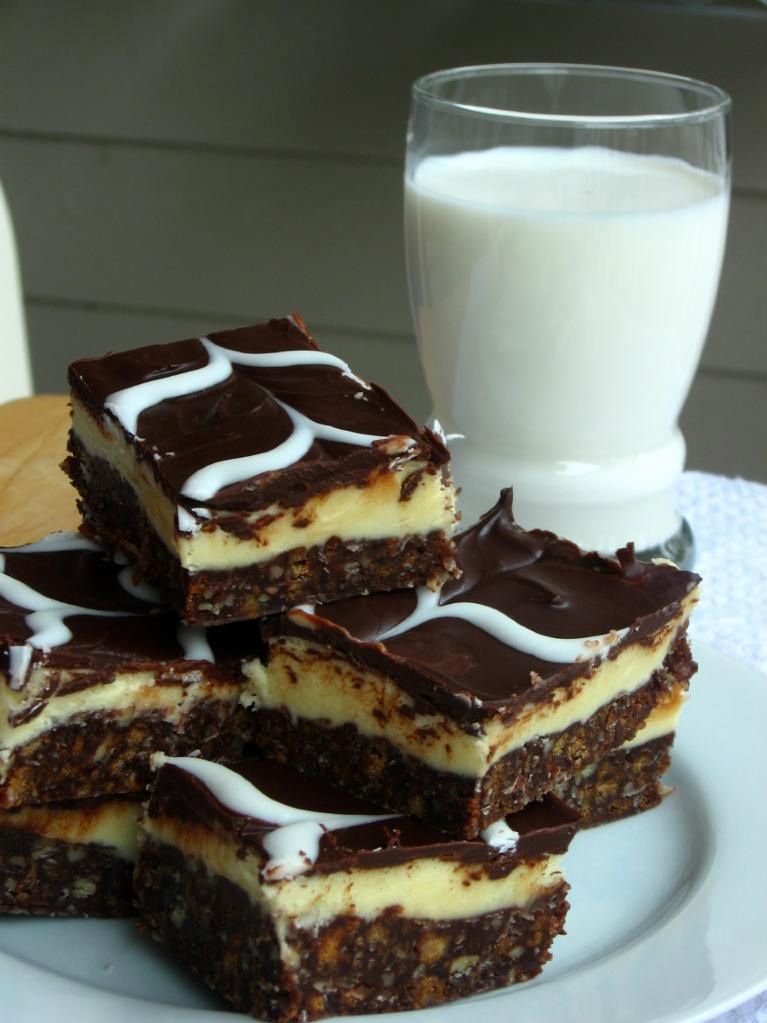
8. Nanaimo Bars


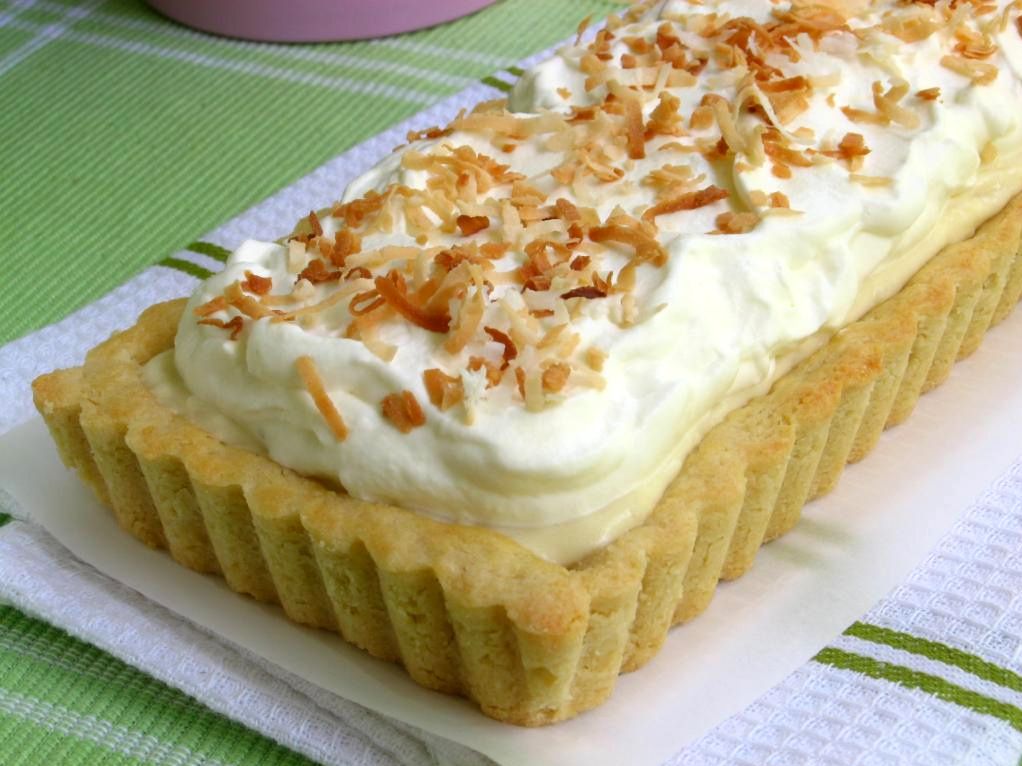
9. Coconut Cream Tart
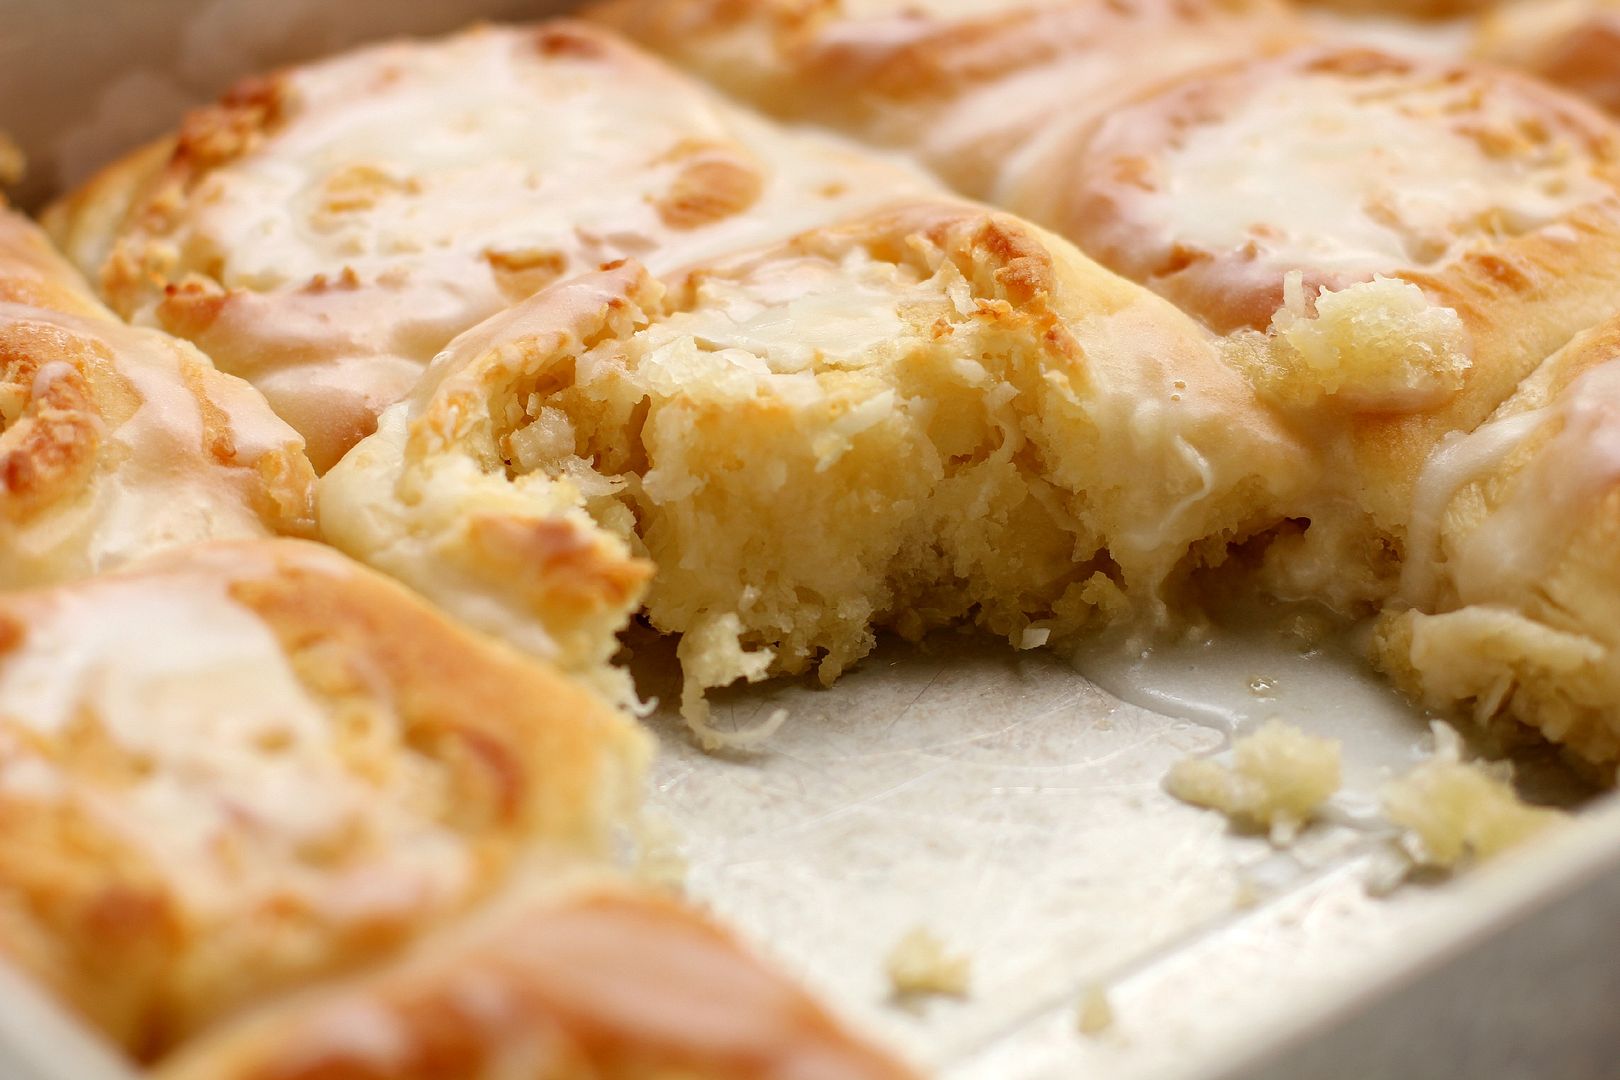
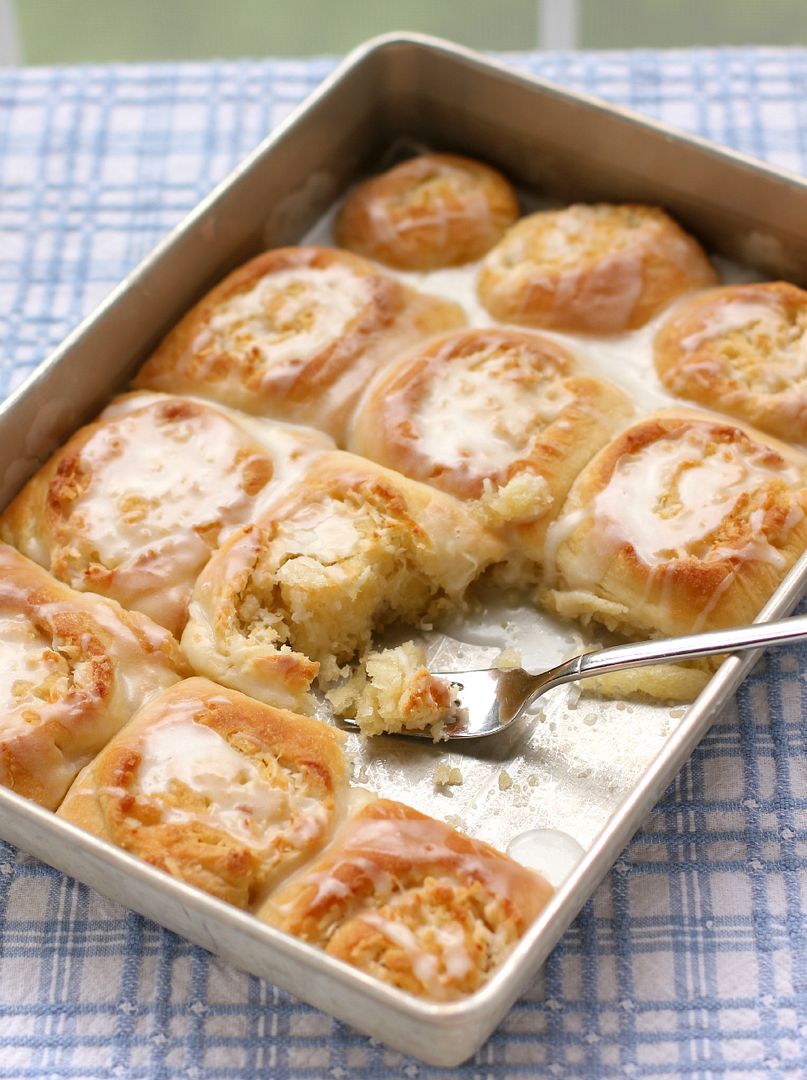
10. Buttery Coconut & Almond Morning Buns


If you liked this post, please:
Subscribe to Willow Bird Baking
Follow Willow Bird Baking on Twitter
Follow Willow Bird Baking on Facebook

Malted Chocolate Chip Cookie Dough Bars

Mornings are usually sluggish for my 7th graders, but this morning they were just barely reining in their excitement. Really, my hands were the only ones on the reins. I had a few last minute instructions to issue before letting them dive into the hip hop project we’re working on. Before I could finish, Jake’s hand shot up.

“We should work outside!” he cried. Ah, the inevitable springtime advent of the request.

Jake continued to build his argument: “It’s so nice outside right now!” Others chimed in: “We need space to work! It’ll be too loud in here! We need inspiration from nature!” Concluding their chorus, Jake slapped the final brick on the wall of pleading: he evoked the very outdoorsy nature of our school itself.

“It’s Woodlawn, Ms. Ruble.”

I looked around at their best attempt at persuasive puppy eyes. The battle was clearly won.

I sighed, vanquished, and that was all the permission they needed. They grabbed up laptops and lyrics and were out the door before I could so much as find my clipboard. They worked joyfully in the sunshine all class, pausing only to confer with me when I called them over to the picnic table where I sat.

I may sigh and “hmm” and squint when it’s made, but really, I don’t mind the request. At least once a week, one of my 6th or 7th graders issues it: can we read outside? Can we write our poems outside? Can we discuss outside?

My first instinct is always to say no, but I’m not sure why. Maybe it’s a relic of my first days of teaching, when a change in my schedule induced panic: What if I can’t adjust? What if my lesson plan fails today? The layers of experience and maturity I’ve gained over the years along with the pleasantly flexible atmosphere at Woodlawn have cured me by now, but sometimes my instincts seem to forget.

Thankfully, I can overrule them. And in so doing, I might even end up in the sunshine with some fantastic 13-year-old hip hop artists. Kids have the best ideas.

One idea kids love almost as much as being outside is eating cookie dough. Since I posted the three eggless cookie doughs to eat with a spoon, my students have been whipping them up like crazy. They come in with stories about how they made cookie dough at a sleepover, ate a whole bowl of it by themselves, or dumped way too much salt in their latest batch and had to throw it away. Okay, well they don’t always have the best ideas.

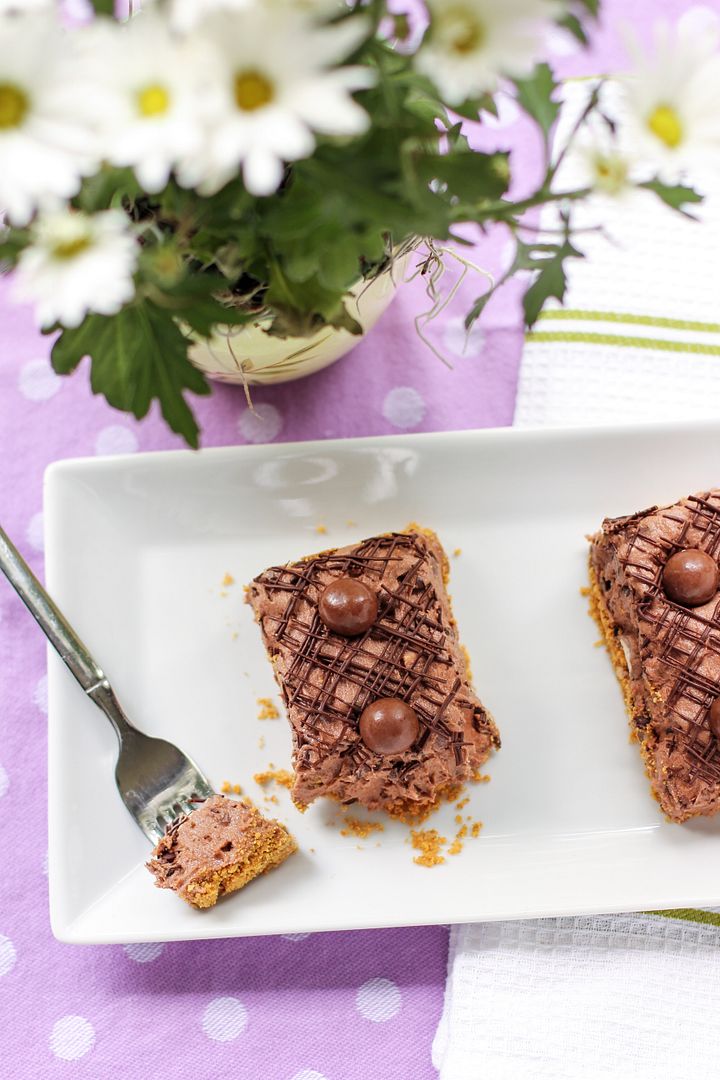
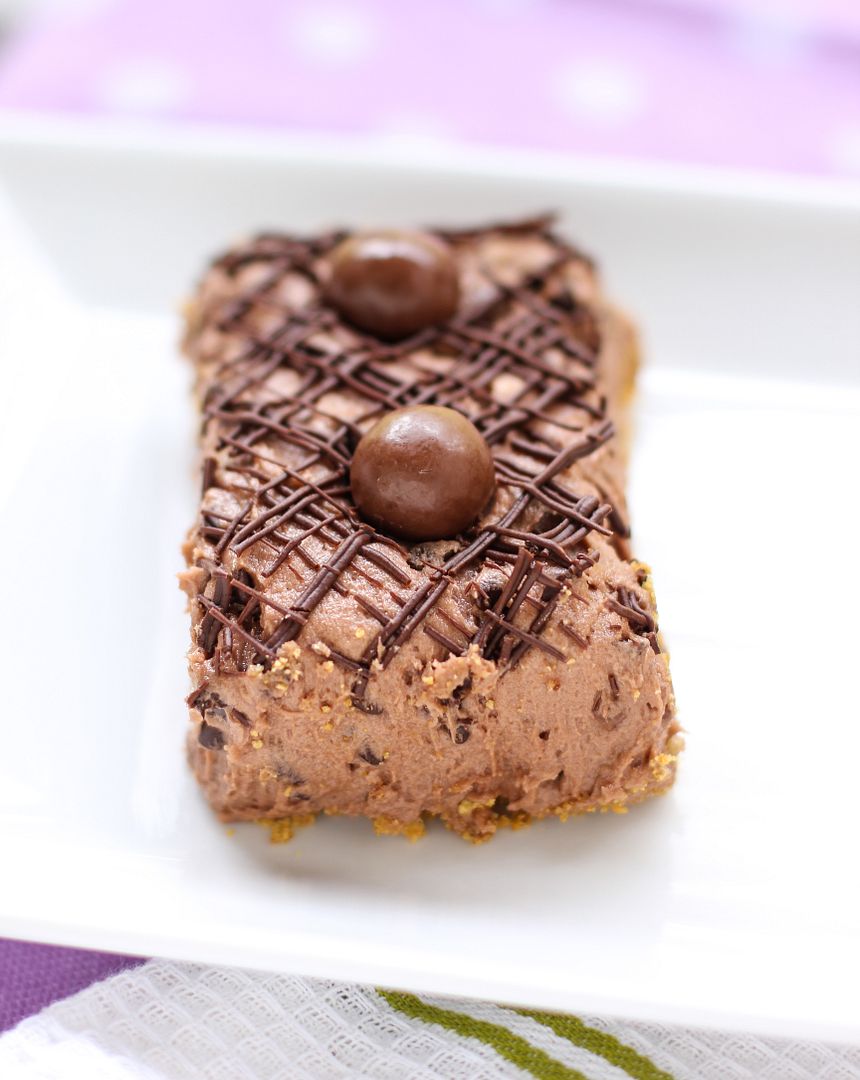
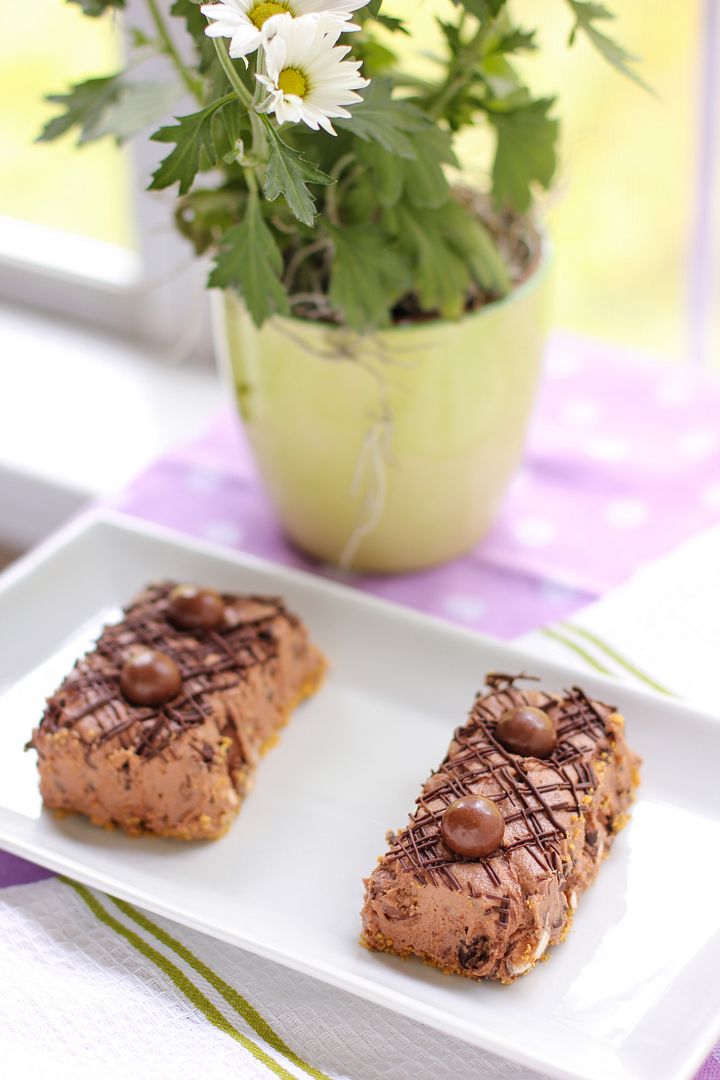
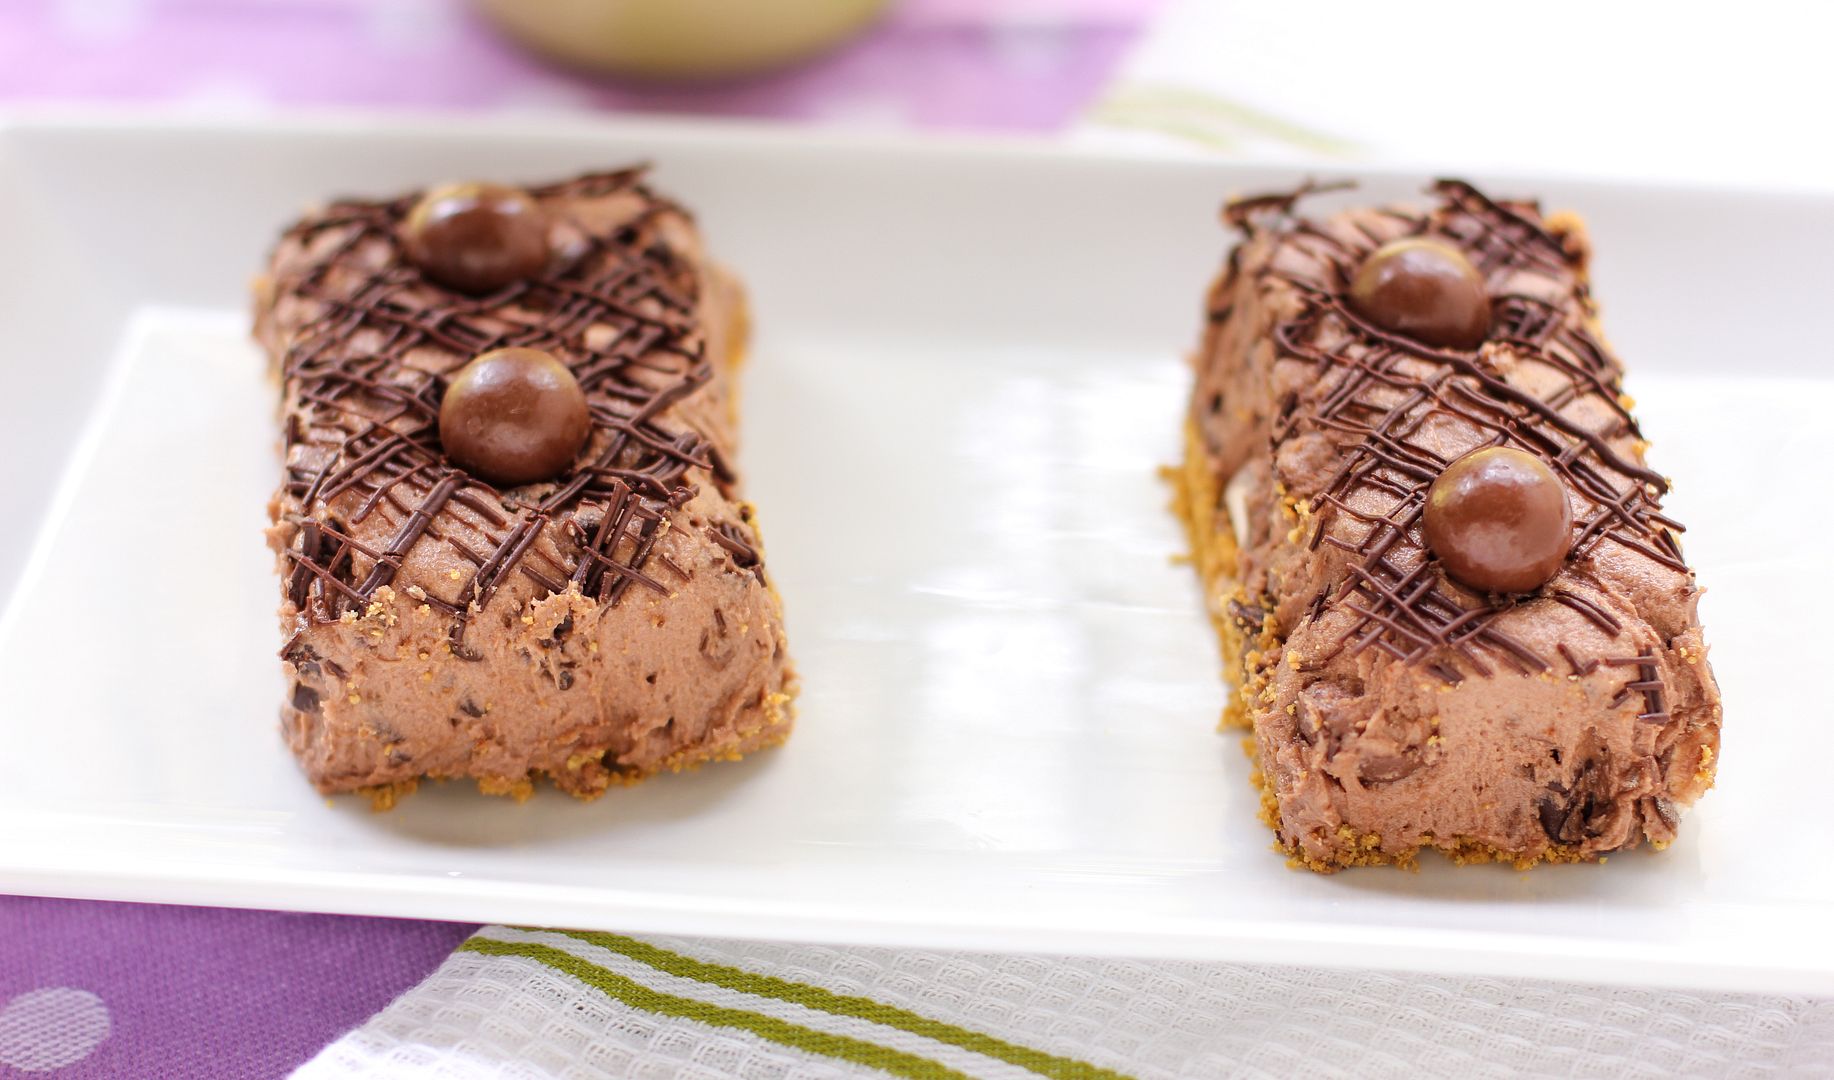
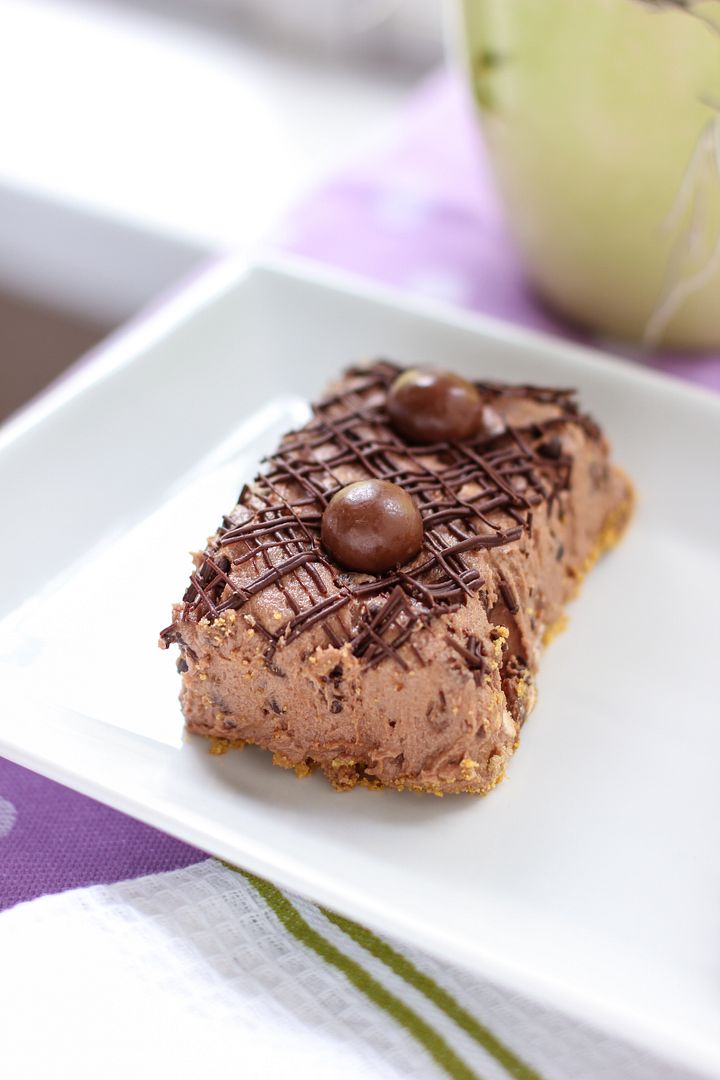
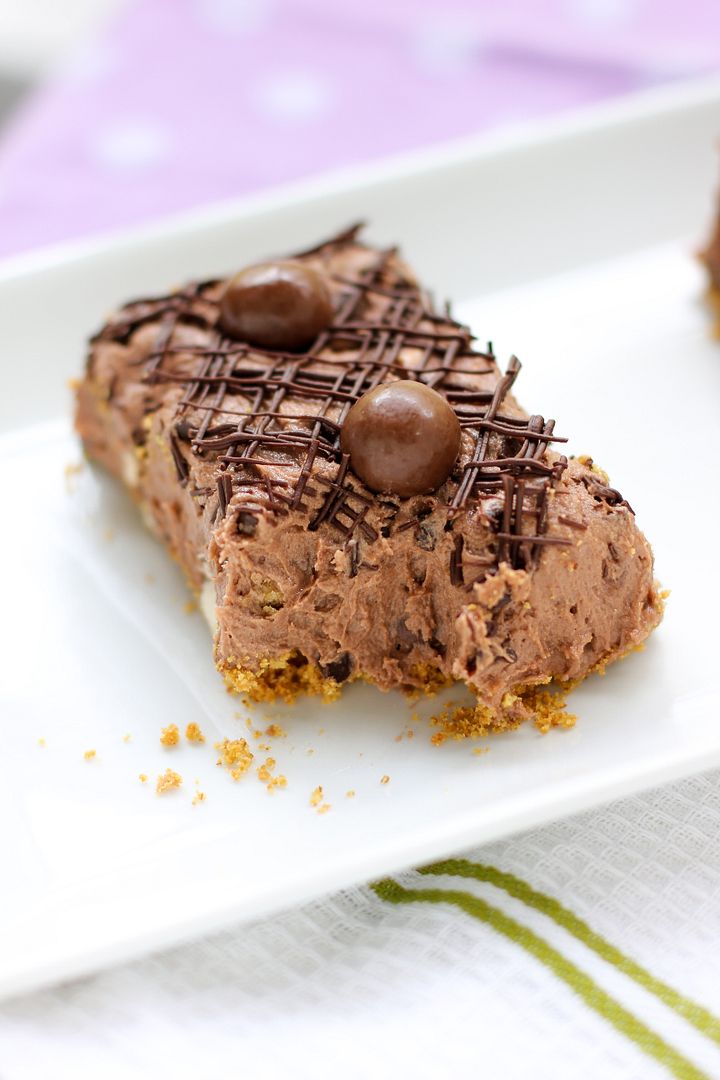
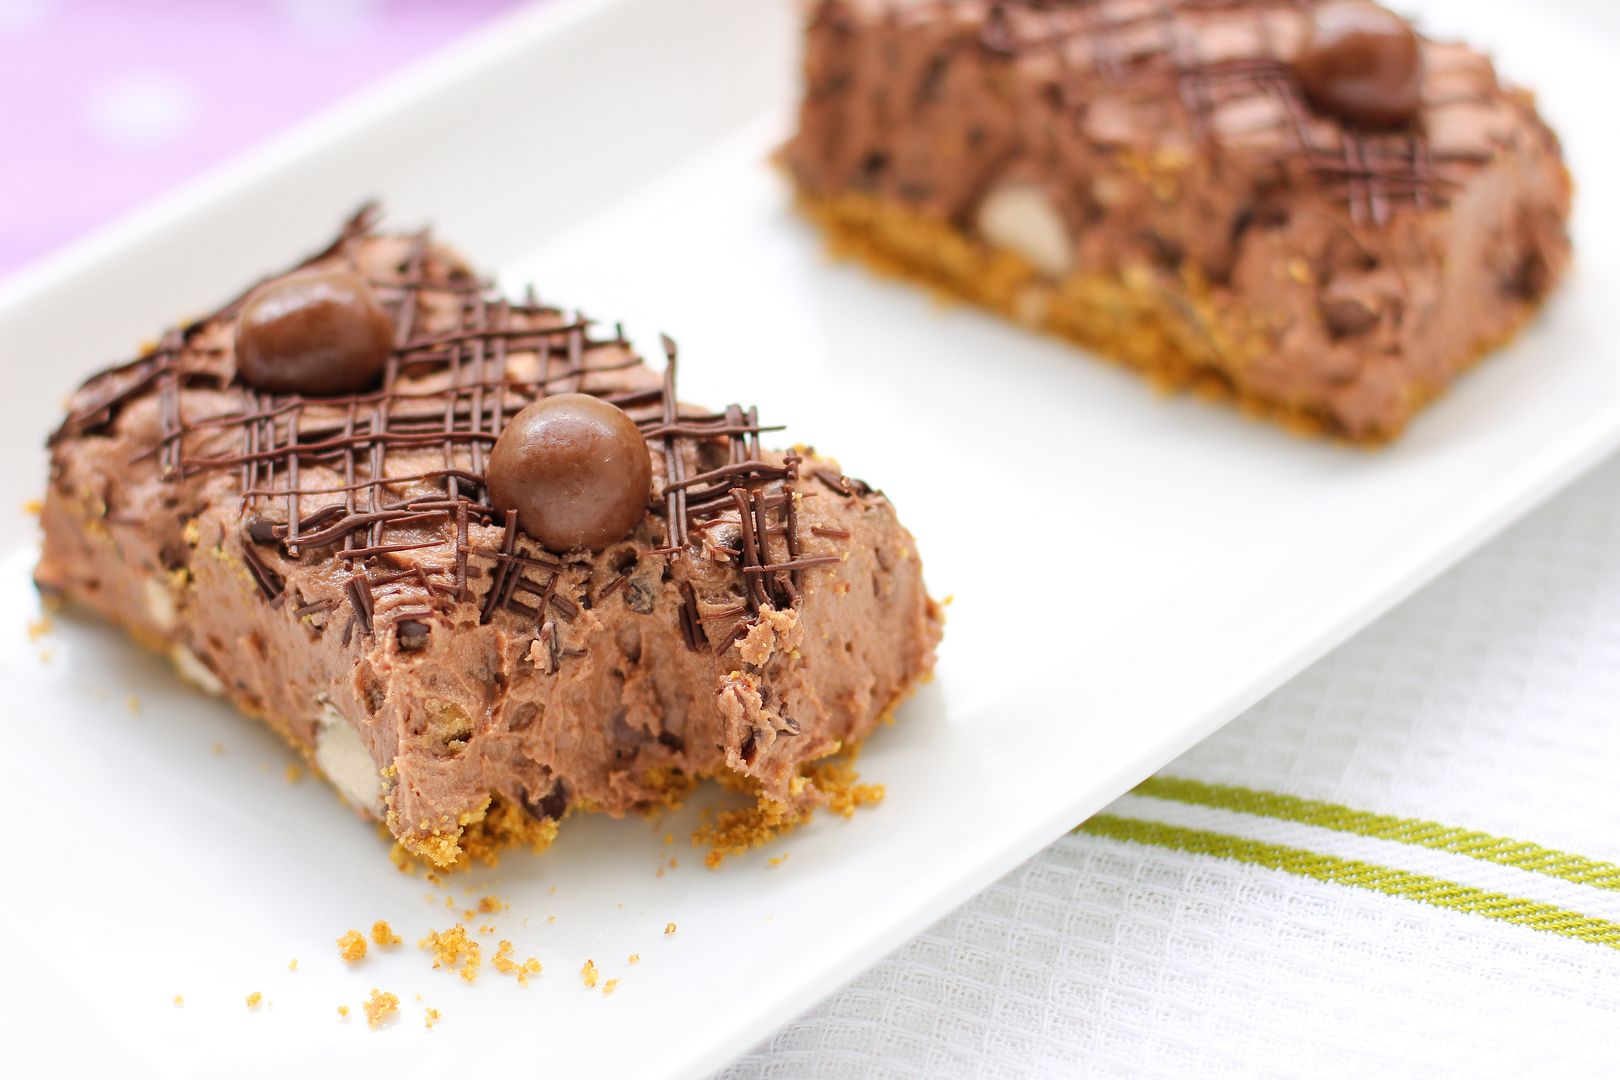
Their love of cookie dough has inspired me to work the treat into all of my middle school cooking camps lately, and that’s where these Malted Chocolate Chip Cookie Dough Bars were first created. Seven students in my Brownies & Bars after school camp were the first people in the universe to make this original Willow Bird recipe. Didn’t they do a nice job?

If you think they look pretty, you ought to taste one. The cookie dough has a unique twist: a malted chocolate flavor straight out of a 1950s soda shop and bits of Whopper candies strewn throughout. I think my favorite part, though, is how well the buttery graham cracker crust supports the other flavors. If you’re a cookie dough fan or love a good malty dessert, you must make these.

As a bonus, this is one of those super easy recipes. You bake the crust for about 6 minutes and then you get to turn your oven off. A little mixing and a little chilling and these bars are ready to eat. I have a feeling my students are going to have a new sleepover snack.

Now, time to go outside and enjoy the spring!

One year ago: Maple Bacon Doughnuts
Two years ago: Assorted Truffles in a Chocolate Bowl

Malted Chocolate Chip Cookie Dough Bars


Recipe by: Willow Bird Baking
Yield: 8-12 bars

These little bars are super simple to make but so delicious! A buttery graham cracker crust supports malted chocolate cookie dough filled with Whopper candy pieces. The bars are drizzled with chocolate and topped with, of course, more candy. If you have a cookie dough lover in your house, they’ll thank you for these.

Crust Ingredients:
1 cup graham cracker crumbs
3 tablespoons butter, melted

Cookie Dough Ingredients:
3/4 cup butter, room temperature
4 ounces cream cheese, room temperature
1 1/8 cups light brown sugar, packed
1 1/2 cup all-purpose flour
3/4 cup chocolate malted milk powder (I used chocolate Ovaltine)
3/4 teaspoon salt
1 1/2 tablespoon vanilla extract
3/4 cup semisweet chocolate chips (I like to use mini chips)
1 cup broken up Whopper candy pieces
about 2 tablespoons water (as needed)

3/4 cup chocolate chips (for decoration)
Whoppers (for decoration)
whipped cream (for serving)

Directions:
Prepare your pan: Preheat your oven to 350°F. Prepare a 9-inch square baking dish with a foil sling. To do this, tear off 4, 16-inch long pieces of aluminum foil and fold them in half. Situate two side-by-side in the pan, covering the bottom of the pan to the edge (they will overlap). Situate the other two strips in the same manner, but perpendicular to the first. The overhanging foil of the sling will make it easy to remove the cake from the pan after baking and cooling. Grease the sling with cooking spray or butter and flour.

Make the crust: Mix the graham cracker crumbs and melted butter with a fork. Use the bottom of a straight glass to press it into the prepared pan. Bake for about 6 minutes and let cool completely.

Make the cookie dough: While the crust cools, in a medium bowl, cream together the softened butter and sugar. Add the cream cheese and whip the mixture until fluffy. Stir in the flour, salt, malted milk powder, vanilla, Whopper pieces, and chocolate chips. Add the water one tablespoon at a time stirring between each, until the dough reaches a consistency just a touch thinner than regular cookie dough (such that it will be thick but spreadable).

When your crust is completely cool, spoon cookie dough in big dollops around it and use an offset spatula to gently level it out into an even layer. Chill this while you prepare your chocolate.

Assemble the bars: Melt chocolate chips according to package instructions in the microwave (usually you heat on half power for a minute and stir, followed by 15 second intervals until the chips are melted, stirring between each heating) and let them cool slightly before pouring the melted chocolate into a plastic zip bag and cutting off the tip of one corner. Drizzle chocolate across the surface of the cookie dough. Press on Whoppers to decorate. Chill to set the chocolate, then use the ends of the foil sling to pull the bars out of the pan and then slice them into squares. Top with whipped cream to serve.

If you liked this post, please:
Subscribe to Willow Bird Baking
Follow Willow Bird Baking on Twitter
Follow Willow Bird Baking on Facebook

Buttery Coconut & Almond Morning Buns

I was floored to see that Willow Bird Baking is a finalist for SAVEUR Magazine’s Best Baking & Desserts Blog. Thank you so much for making this happen. If you’d like to vote for Willow Bird Baking, you can do so here. You all are truly wonderful.

Batik . . . Issei . . . Caballero . . . Kuchen . . . Coffle . . . Lariat . . . Trepak . . . Twoling . . .

The spelling bee pronouncer carefully enunciated one word after another, round after round. The dwindling pool of contestants seethed: a child was always approaching the microphone timorously, bouncing back to their seats triumphantly, or moping over to their consoling families. I sat in the audience rigid with excitement, scribbling each word on the back of an old envelope I’d found in my cavernous purse.

Watching my student compete in the 72nd annual Winston-Salem Journal Regional Spelling Bee was already an ideal afternoon for a logophile like myself, but making the event even more wonderful was the fact that Mike was at my side. Since the Bee took place about halfway between our two cities, he agreed to meet me for a nerdy date! As I frantically attempted to spell each word before the contestant had a chance, he did math in his composition book. (We’re quite the exciting pair.)

My student did a phenomenal job. She got out (with only 5 contestants left!) on the word ringent. If you’re being honest, you’ll probably admit that you didn’t really know how to spell ringent, either, so that’s not bad at all for a 12-year-old. She was disappointed, but I was thrilled with her performance. She still has two full years of eligibility, and since we were so close this year, I fully expect to travel to D.C. eventually to watch her in the National Bee.

After she left with her family, Mike and I set out to explore Winston-Salem. We scanned every restaurant on the main thoroughfare (to appease me; Mike would’ve been happy just to choose one) before finally settling in for pizza and more nerd talk. Mike taught me about hyperbolic conservation laws. We then ambled down the street looking for dessert (or in my case, two desserts, ’cause that’s how I roll.)


ha ha, get it?

One of our dessert stops was at a little coffee shop and bakery where Mike ordered a coconut roll. The flaky pastry was reminiscent of a cinnamon roll, but stuffed instead with toasted coconut. We both enjoyed it, but as soon as I tasted it I told him, “I can do better. I’m going to make you one of these and it’s gonna be insane.” I tucked the mission down into my heart while he promptly forgot about it.

The afternoon was also filled with other lovely things. After buying me a coffee-flavored frozen custard cone, we ambled until we found ourselves seated on a rickety bench outside of a beautiful Moravian church. About a dozen cherry trees heavy with blossoms surrounded us and swayed in the breeze. The sky was a pretty slate blue that belied the sunshine and hinted at an impending spring shower. I think we talked about Moravian chicken pies and guinea hens (one sauntered by us nonchalantly while we were talking — maybe that’s normal in Winston-Salem?), but more important than the conversation was my hand in his, my head on his shoulder.

It was a perfect date. I’m sure Mike drove away thinking about partial differential equations or something in that vein, but I drove away thinking of coconut rolls (oh, okay, and love and hearts and romance and stuff).

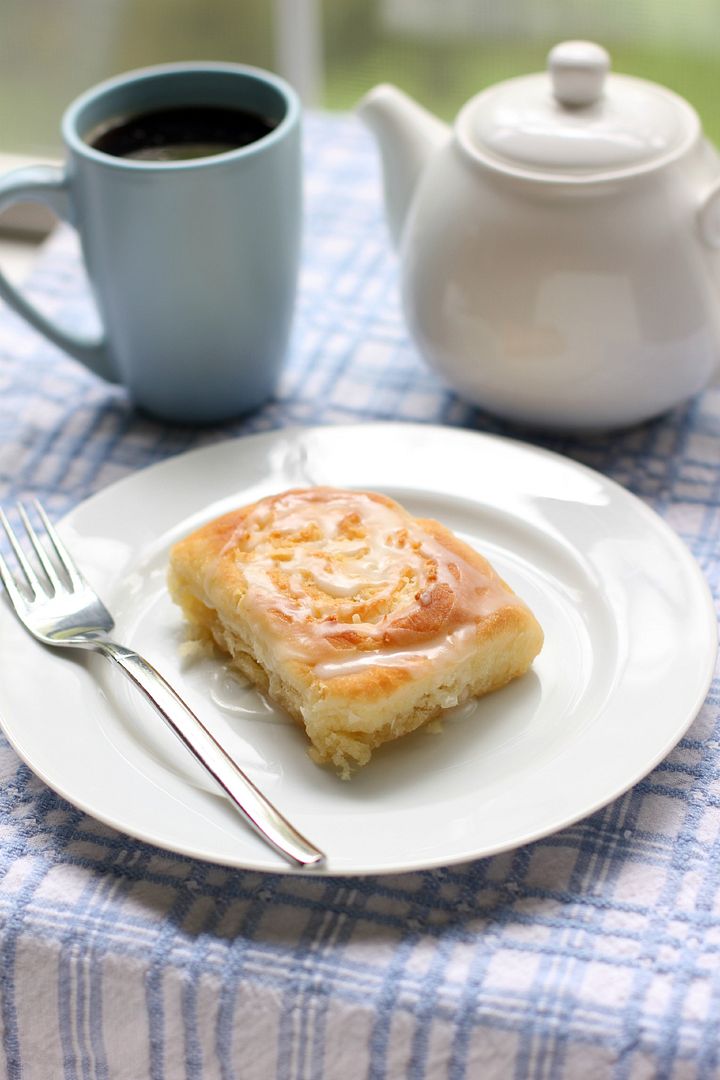
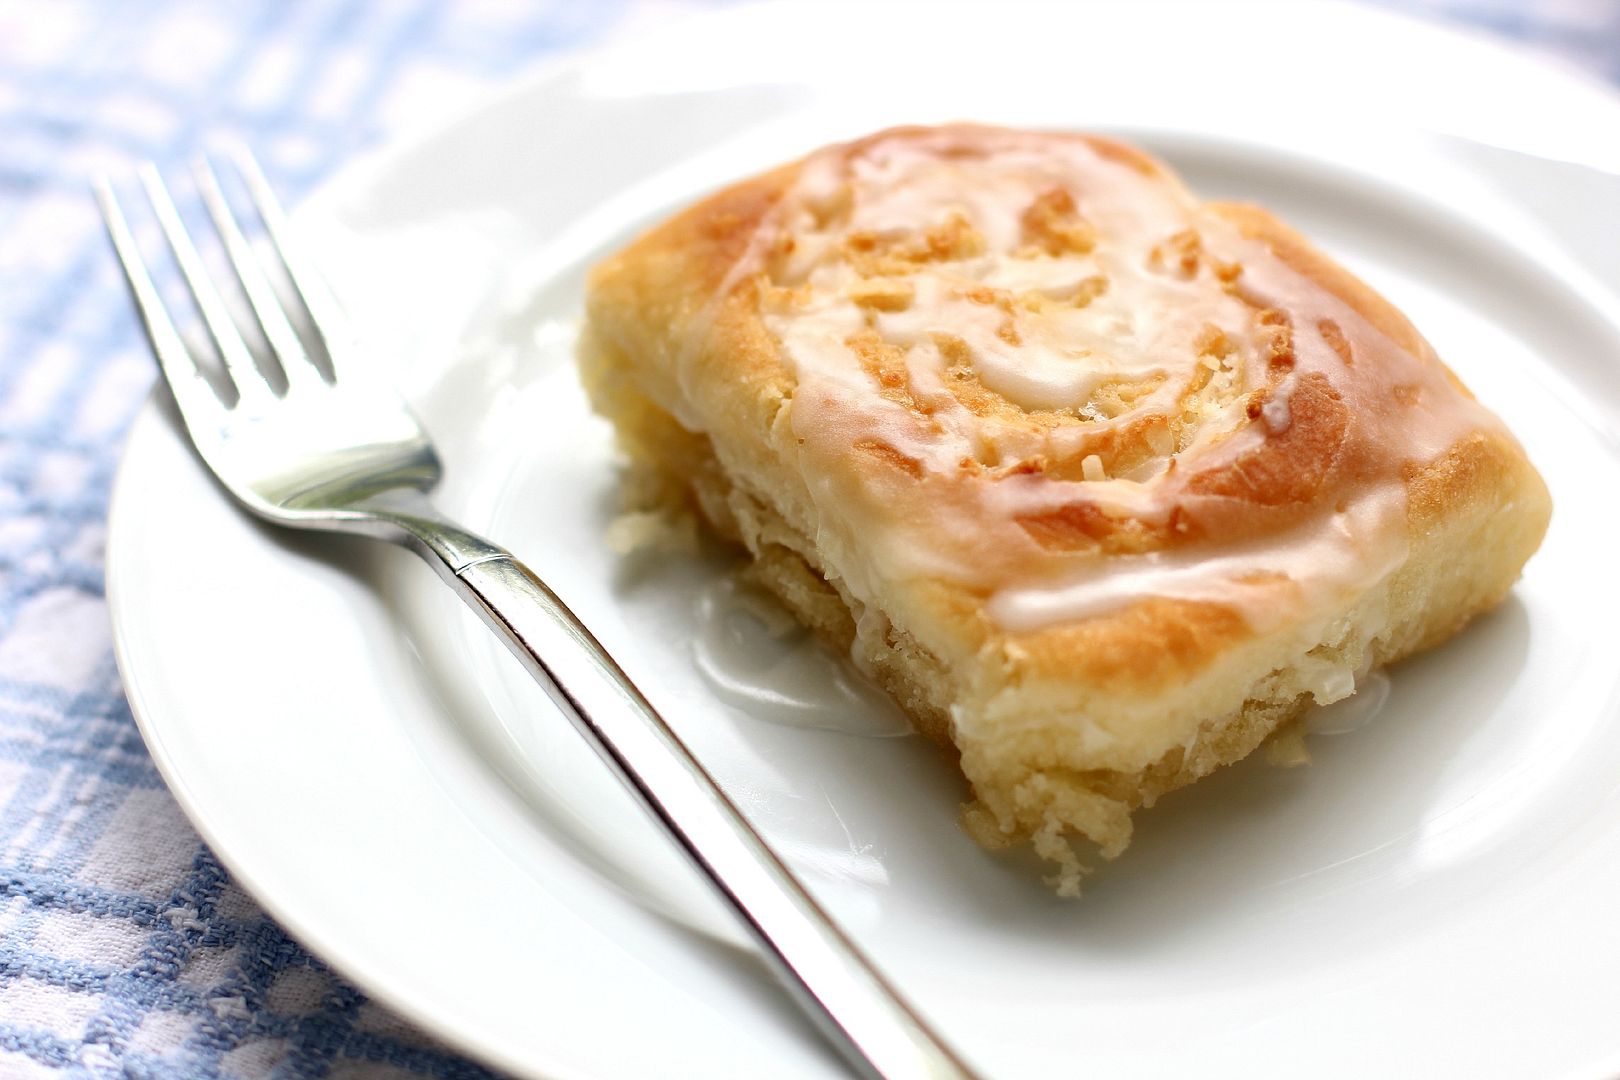
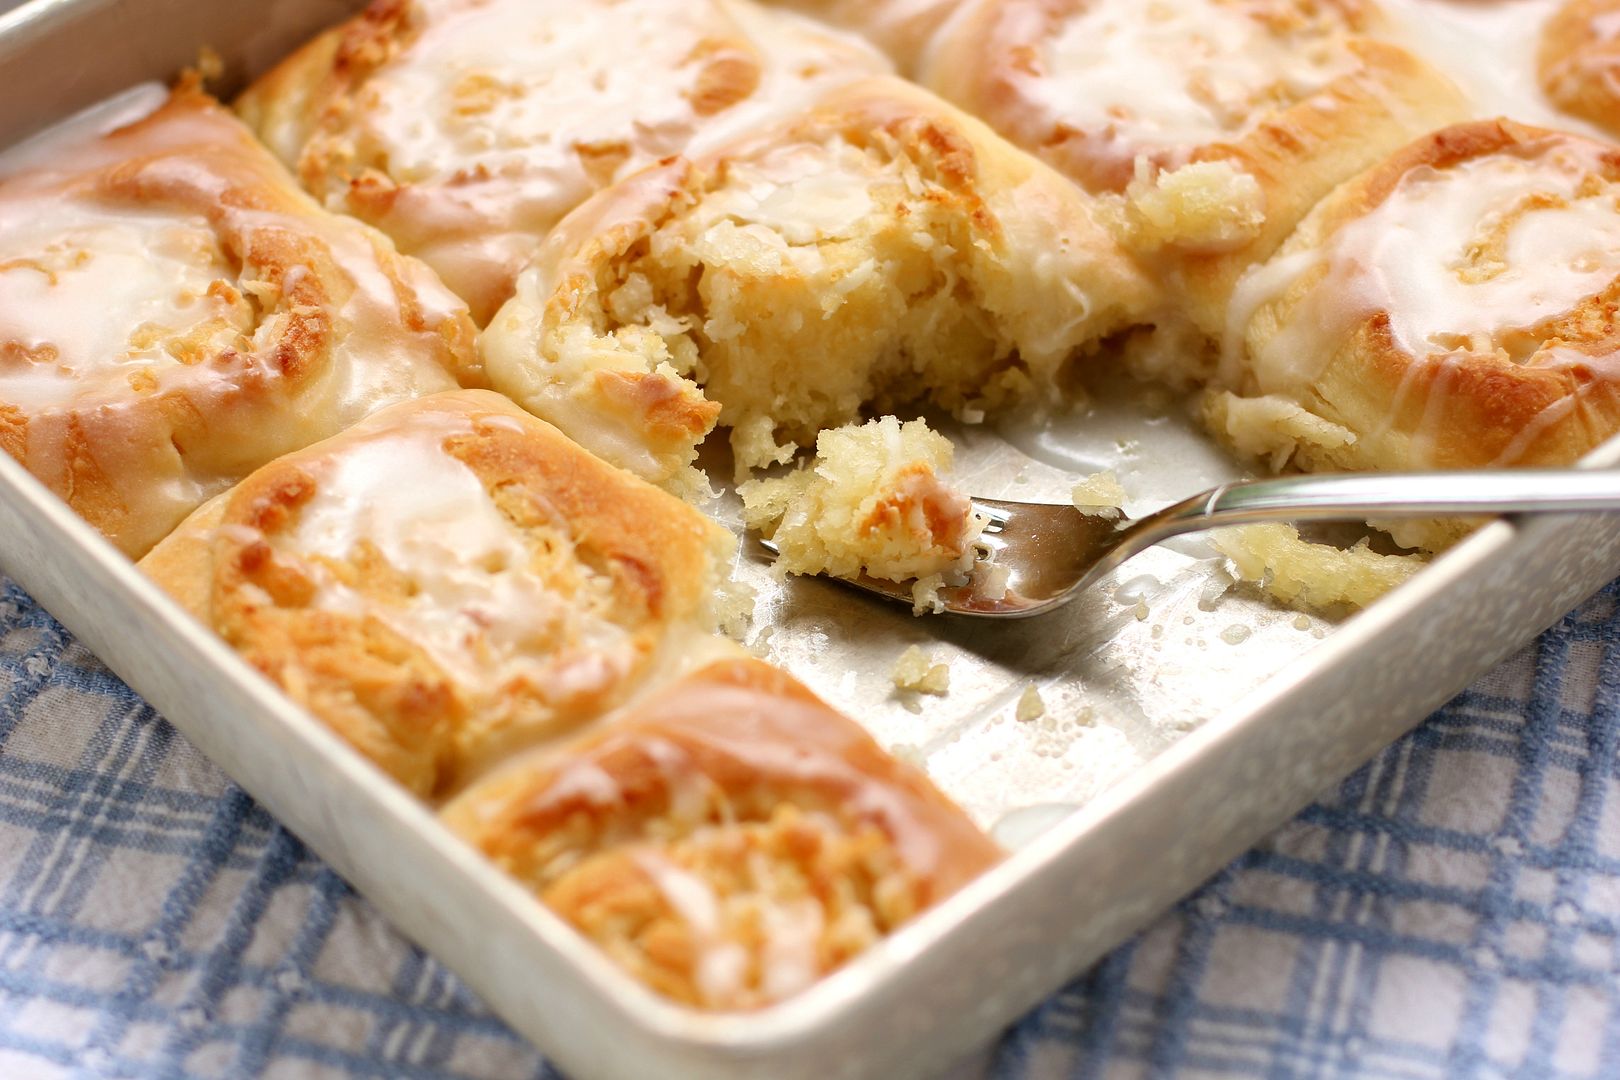
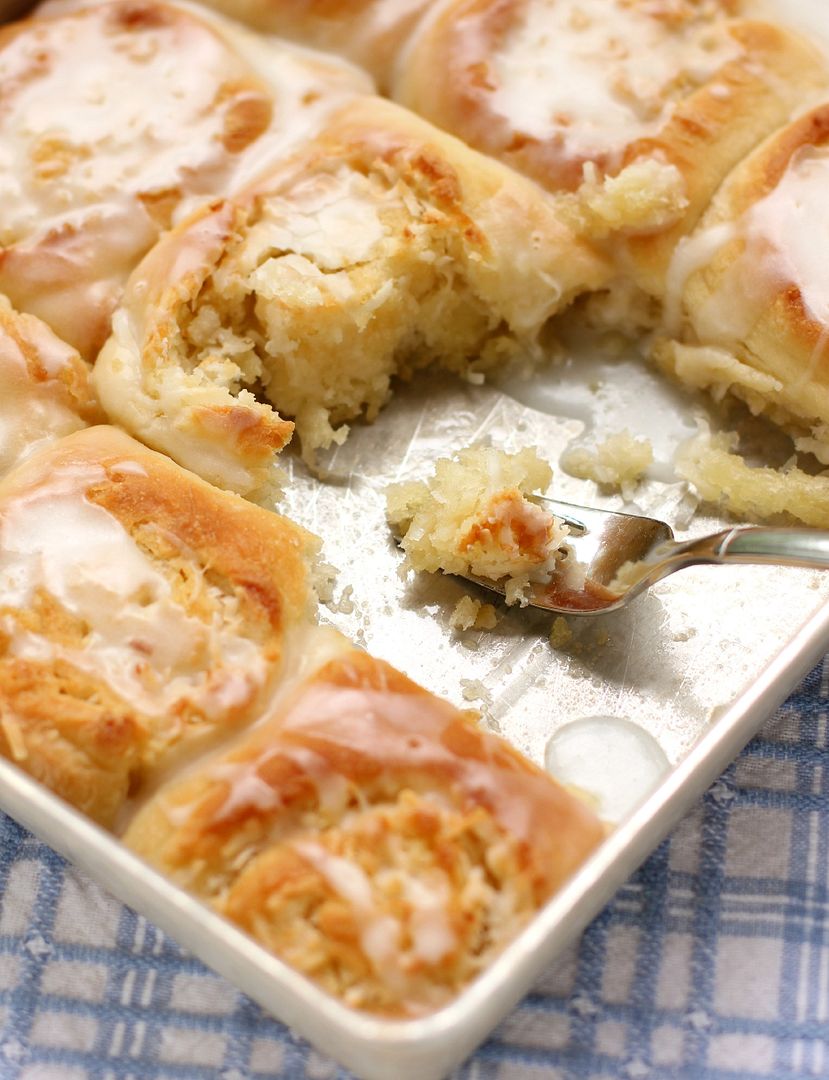
It took me a couple of weeks to get around to experimenting, but when I finally did, these lovely Coconut & Almond Morning Buns were the result. They were even more phenomenal than I’d imagined: buttery, gooey, and delicate, with a gorgeous balance of sweet coconut and subtle almond. I proudly presented them to Mike, who had forgotten all about the Winston-Salem coconut roll but wholeheartedly enjoyed my revamped version nonetheless.

By the way, if you’re wondering: yes, these buns whipped the coffee shop’s coconut rolls right out of the mixing bowl. Not that I’m competitive or anything.

Everyone remembers the word they got out on in their childhood spelling bee. What was yours? (I got out on “eclipse” in 5th grade and “monotonous” in 6th.)

Buttery Coconut & Almond Morning Buns


Recipe by: Willow Bird Baking
Yield: 24 buns

These morning buns could easily double as dessert. They are fluffy, gooey, buttery, and beyond delicious. There’s a lot of butter in this recipe, making it a special occasion treat, but I hope you’ll find a space for these rolls on your Easter brunch table. They definitely belong in the spotlight.

Roll Ingredients:
1 package (2 1/4 teaspoons) active dry yeast
1/4 cup warm water (100-110 degrees F)
2 tablespoons white vinegar
2 cups milk minus 2 tablespoons, room temperature
2/3 cup cold shortening (I use butter flavored Crisco)
3 tablespoons sugar
1 teaspoon salt
1 teaspoon baking soda
1 teaspoon baking powder
5 cups flour
2 tablespoons butter, melted, for after baking

Filling Ingredients:
1 1/2 cup (3 sticks) butter, melted
1/2 teaspoon coconut extract
1/2 cup sugar
2 cups sweetened coconut flakes
7 ounces almond paste, frozen until firm and then grated with hand grater

Glaze Ingredients:
1 1/4 cups confectioners’ sugar
1/4 teaspoon almond extract
1/4 teaspoon coconut extract
2-3 tablespoons milk (to thin to drizzling consistency)

Directions:
Note: I don’t recommend halving yeast recipes; instead, if you don’t want 24 rolls at once, consider freezing some for later. To freeze some of the unbaked rolls, just wrap them well before the second rise and freeze them. Once frozen, pop them out of the pan all together and store in the freezer, wrapped in plastic wrap and in a zip top bag or wrapped in foil. When you want to bake them, stick them back in a greased pan, thaw them in the fridge overnight, proof for the instructed amount of time, and bake like usual.

Mix the warm water and yeast in a medium bowl and let the yeast foam for about 10 minutes. Put 2 tablespoons white vinegar in a measuring cup and then add milk up to the 2 cup line. Set this aside. In a separate large bowl (or the bowl of a mixer fitted with a dough hook), whisk together flour, sugar, salt, baking soda, and baking powder and cut the shortening into the mixture with two knives or a pastry cutter until the shortening looks like small peas. Stir yeast mixture and milk mixture into the dry ingredients and mix well, kneading just a few turns. Transfer the dough to a bowl lightly sprayed with cooking spray, cover tightly with plastic wrap, and store in refrigerator overnight.

The next morning, preheat the oven to 400 degrees F and lightly spray two 9 x 13-inch baking dishes with cooking spray. Turn the chilled dough out onto a floured surface and roll it into a large rectangle about 1/8-inch thick (I carefully cut the dough in half and worked with half at a time to make it more manageable; if you do this, just spread on half of the filling ingredients for each half you roll). Stir the coconut extract into the melted butter; then spread the melted butter all over the top of the dough. Sprinkle on the sugar, sweetened coconut, and almond paste flakes. Gently roll the dough up into a spiral and cut it into rolls, placing them close together in your prepared baking dishes (at this point, you could wrap and freeze the rolls for later if you wanted).

Cover the rolls with a clean dish cloth and let them rise in a warm spot until they’ve nearly doubled, about 1 1/2 – 2 hours. Bake them for about 15-20 minutes or until browned on top (if you take them out at just lightly golden brown, they may still be doughy in the center). Brush with 2 tablespoons melted butter and return to the oven for 1 more minute. Whisk together the glaze ingredients (adding milk to get it to drizzling consistency) and drizzle the glaze over the warm rolls. Serve immediately.

If you liked this post, please:
Subscribe to Willow Bird Baking
Follow Willow Bird Baking on Twitter
Follow Willow Bird Baking on Facebook
Give this post a thumbs up on StumbleUpon
Pin It

Canned Soup

After finishing Willow Bird Baking’s Cooking Hard Stuff Challenge, I’m sort of tired. I kind of just want to sit and watch some TV. So I’m starting a new series called Cooking From Cans. First up is some delicious canned soup.

My love of canned soup started when I was a 5th grader and my mom taught me how to use the can opener so I could start making my own dinner. I think she was tired of making grilled cheeses every night. She didn’t trust me with the stove and I could finally reach the microwave mounted on the wall, so soup it was!

I didn’t mind — in fact, I loved the stuff! I usually start with Chicken and Rice soup and, if I’m still hungry, eat a little Minestrone. Eventually I realized you could even buy soup that you didn’t need to add any water to — one less step! Dessert is usually a few sprays of whipped cream from the can.

So after all that Cooking Hard Stuff, I present to you a little relaxation: pop the top and enjoy a can.

Canned Soup


Recipe by: the soup company.
Yield: 1 bowl of soup

It’s quick, it’s easy, it’s a can of soup! I eat these for dinner all the time after a busy workday. Look for cans with an easy pop top for maximum convenience — can openers hurt your fingers. Unless you have one of those fancy electronic ones, in which case, knock yourself out.

Ingredients:
1 can of soup (preferably one that doesn’t require adding water)

Directions:
Pour the soup into a bowl and heat it up for however long the can says. You can cover it with a paper towel if you’re worried about splatters, but I usually don’t worry about it. My roommate cleans the microwave every now and then.

If you liked this post, please:
Subscribe to Willow Bird Baking
Follow Willow Bird Baking on Twitter
Follow Willow Bird Baking on Facebook
Give this post a thumbs up on StumbleUpon
Pin It


Shareother ways to share this post with friends

Savory Sweet Potato & Chorizo “Cinnamon Rolls” (and a giveaway)

In light of Willow Bird Baking’s Cooking Hard Stuff Challenge, I’ve been sharing some tips for tackling new or challenging recipes throughout the month of March.

Cooking Hard Stuff Tip #4: Try, try, try again — or share your success.

Listen, we’ve tried not to dwell on this, but sometimes Cooking Hard Stuff is going to lead to a culinary disaster. When your pie crust is stuck everywhere in your kitchen except the pie plate, your cake falls over, or your dog is snarfing down the loaf of bread you just dropped, you’re going to want to throw in the dishtowel (and throw several other things).

It’s okay to quit every now and then. Eat a microwave burrito and lick your wounds while watching Kitchen Nightmares. Cry a little. Write a mournful poem.

But I strongly recommend that most of the time, you do something counter-intuitive: get back in the kitchen (soon) and try again. When you let “failures” fester, they become discouragement and insecurity. You’ll start telling people you’re “bad at making pie crust” or “not a good cook” — things people regularly confess to me. You may stop trying to Cook Hard Stuff altogether.
Almost every time I’ve made myself try again after tossing a recipe flop in the trash, I’ve succeeded the second time around (full disclosure: except with meringue — I’m waiting for a good dry weekend to give that one a third try). Sometimes I give myself a breather and wait until the next day or weekend to avoid frustration — and I always do a little more googling and reading — but when I finally succeed, it’s worth the time and effort. In addition to learning what I did wrong, repeating the steps of the process make them second nature to me. Thus, paradoxically, I’m even more likely to feel comfortable with the recipe once I’m finished than if I’d succeeded the first time around. How about that!

So when you’re not happy with your product, be strong. Make sure your experience ends on a successful note by getting back in the kitchen.
Thankfully, Cooking Hard Stuff doesn’t always (or even most of the time) end in a complete failure.Usually you’re going to accomplish at least a measure of success. Even wonky brownies taste excellent.

My first real payoff whenever I Cook Hard Stuff comes when I’ve finished a dish I’m proud of, taken photos of it, and get to write about it here on Willow Bird Baking. The pinnacle, though, is when Mike takes a bite of a dessert and loves it. It’s no fun on weekends when he’s not here, but I end up freezing things for him quite often!

Sharing your culinary achievements is the reward for Cooking Hard Stuff that will build your confidence and encourage you to continue challenging yourself. Others’ enjoyment is one of the primary ways we judge our kitchen accomplishments.

For this reason, I think you should find folks to eat your food. If you can’t feed all of it to your family, take it into your coworkers, walk it over to a neighbor’s house, or donate it to a bake sale or shelter. Do something so that you know your hard work is making someone else’s day — it’ll make your day too. You can also share your accomplishments online, of course, on a food blog or journal. In fact, I can’t wait to share all of your Cooking Hard Stuff accomplishments on Willow Bird Baking in just a couple of days!

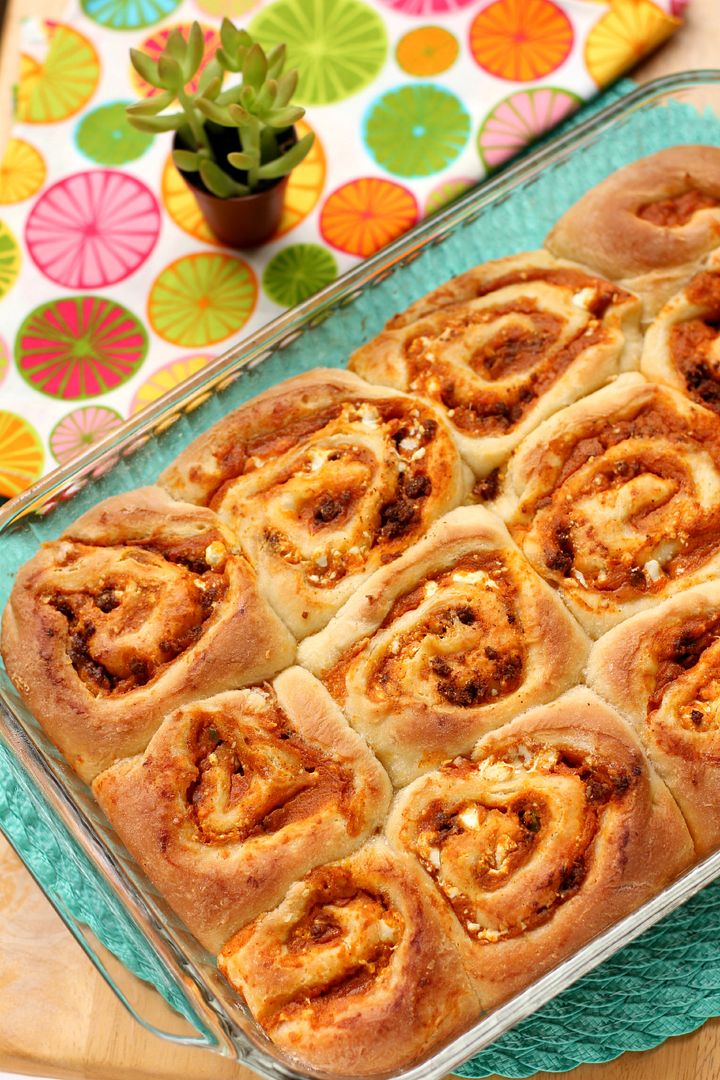
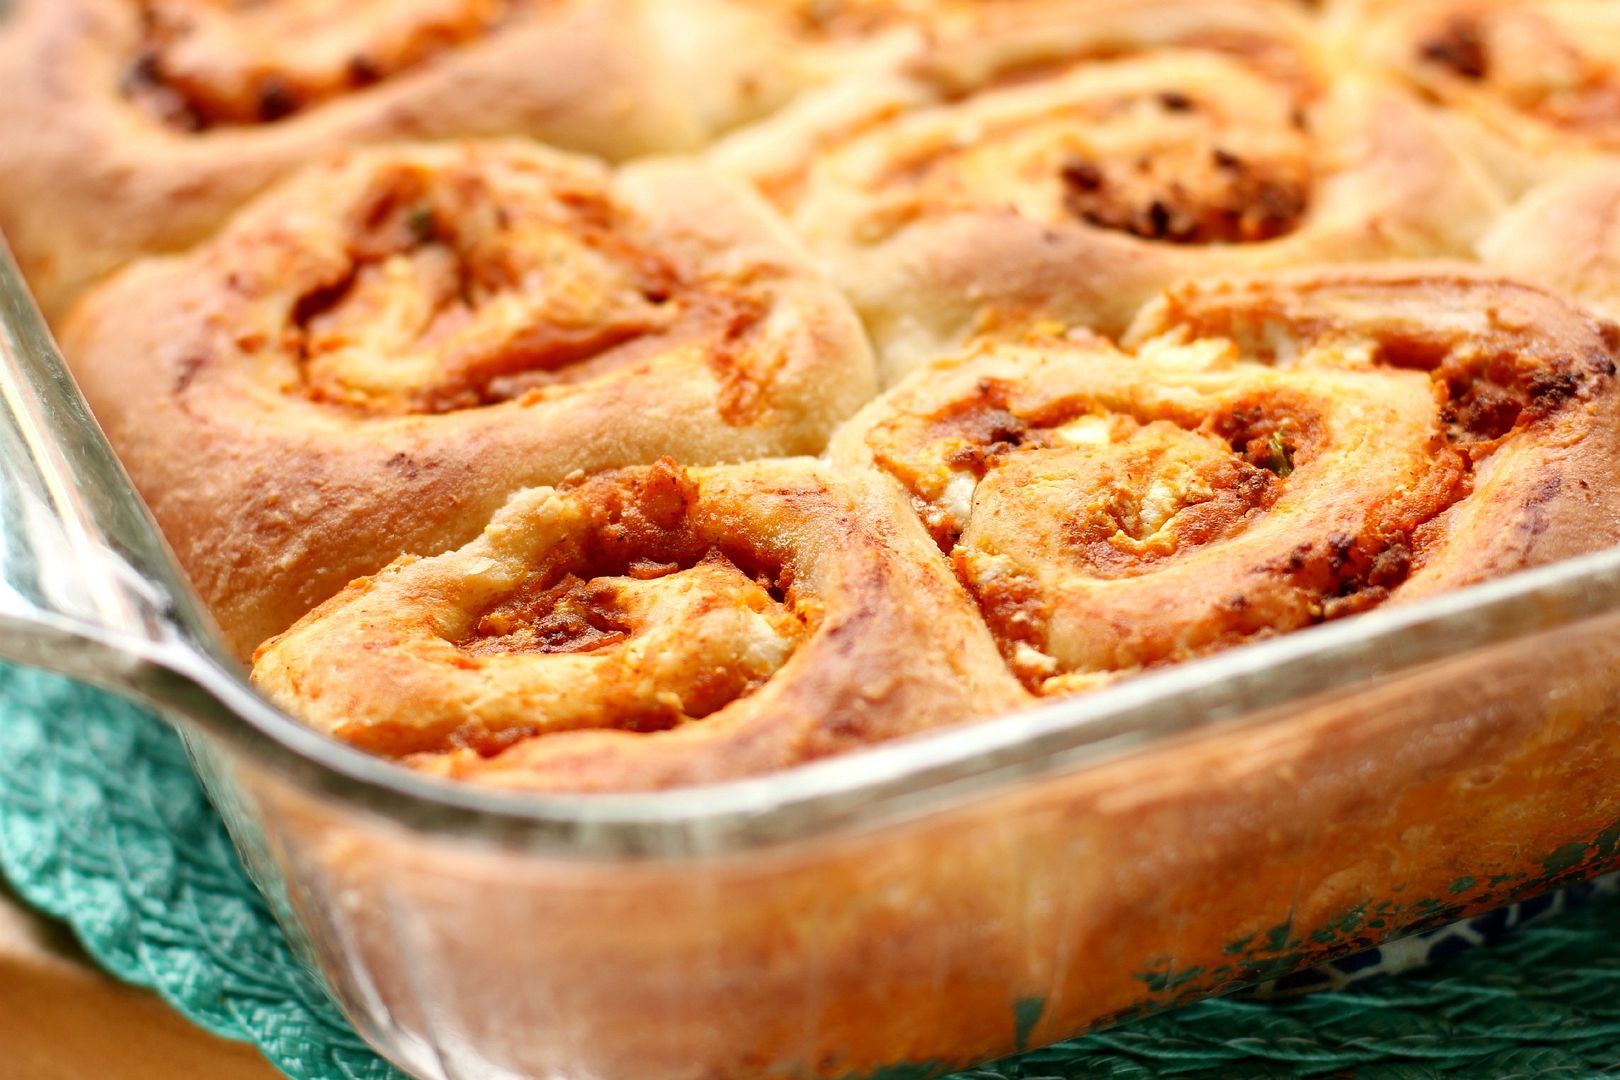
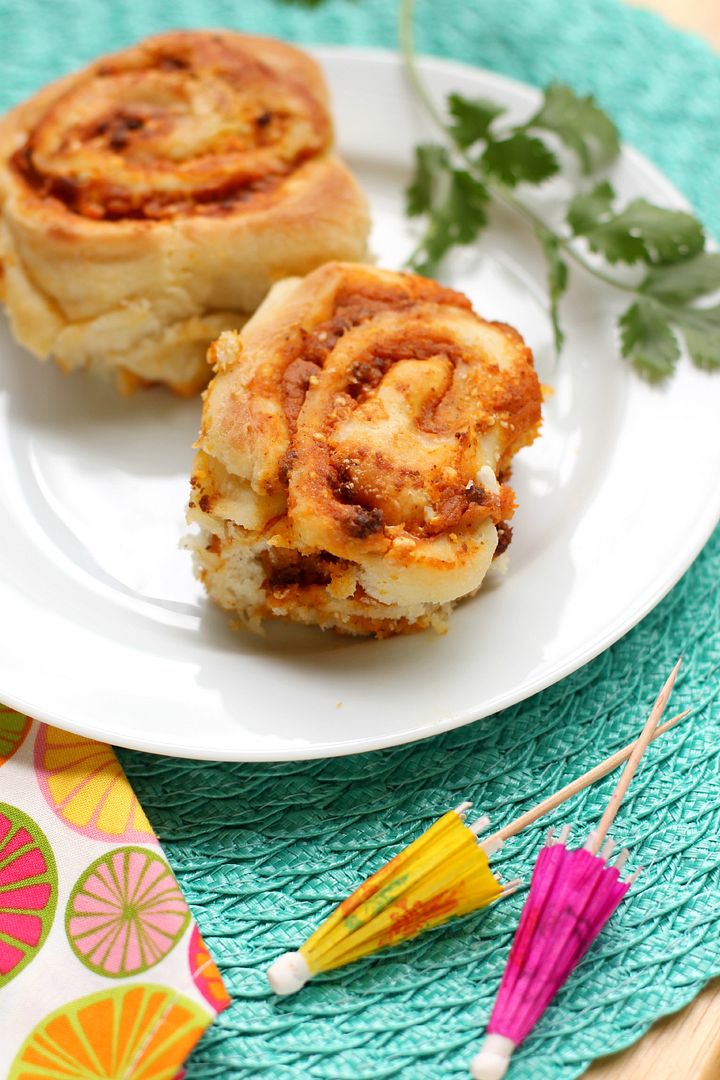
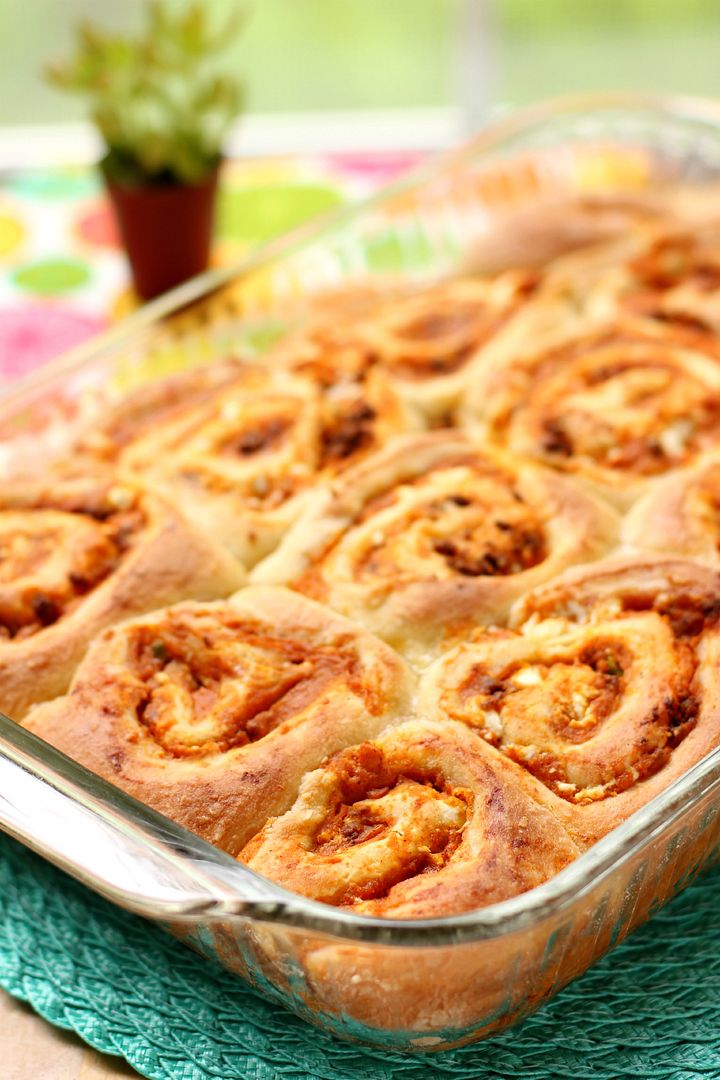
These savory cinnamon rolls are definitely one of my successes I’m excited to share with you. I wanted to make something imaginative, delicious, and easy for my last entry in the No More ‘Mallows contest. I started with a traditional cinnamon roll recipe that uses my grandma’s lovely Angel Biscuit dough. Instead of a dessert filling of cinnamon and sugar, these cinnamon rolls are filled with sweet potato puree seasoned with chili powder, cumin, and cinnamon. Along with the puree, they’re stuffed with chorizo, queso fresco, and a touch of jalapeno for heat. The hearty buns served with a “glaze” of salsa or sour cream would make the perfect dinner or snack. The best part is that you get to serve people savory cinnamon rolls, y’all. That’s just too fun.
Speaking of celebrating culinary successes, I have an even bigger one to celebrate with you! It’s not mine, but that of my friend Lauren over at Keep It Sweet Desserts. Keep It Sweet Desserts is a mail-order desserts company and a brand new endeavor for Lauren. She’s always posting delicious treats on her blog, so I eagerly agreed to review some of the very first desserts she sent out.
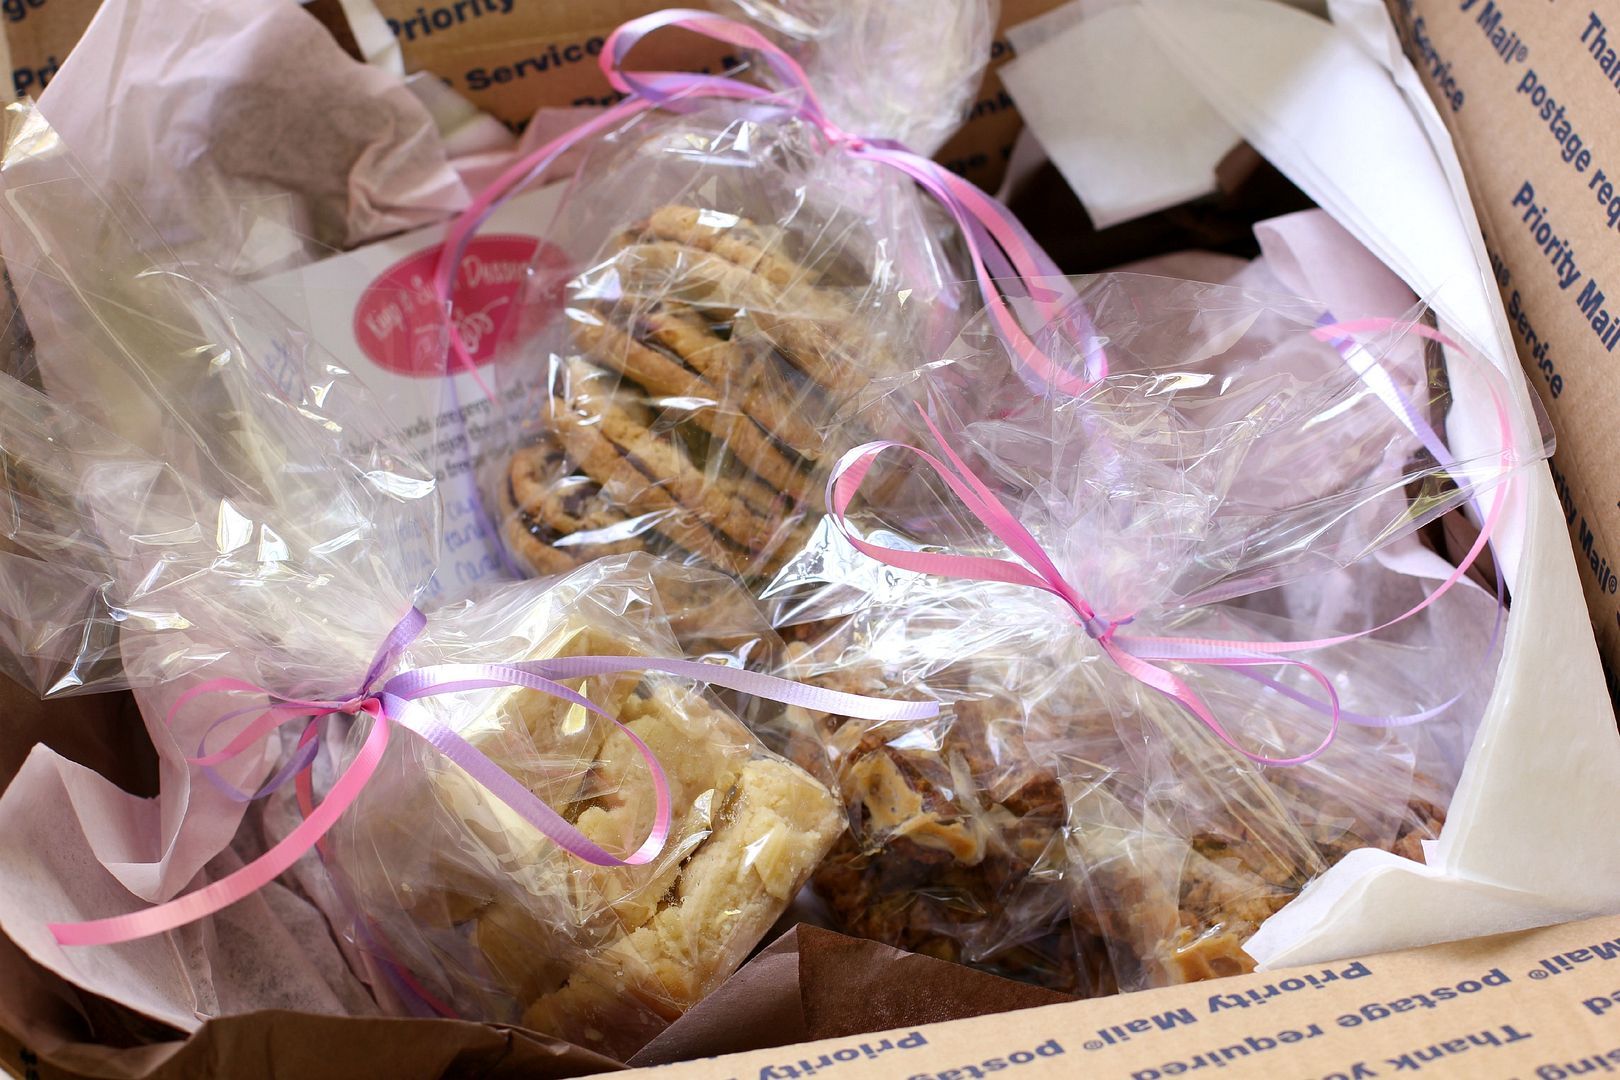
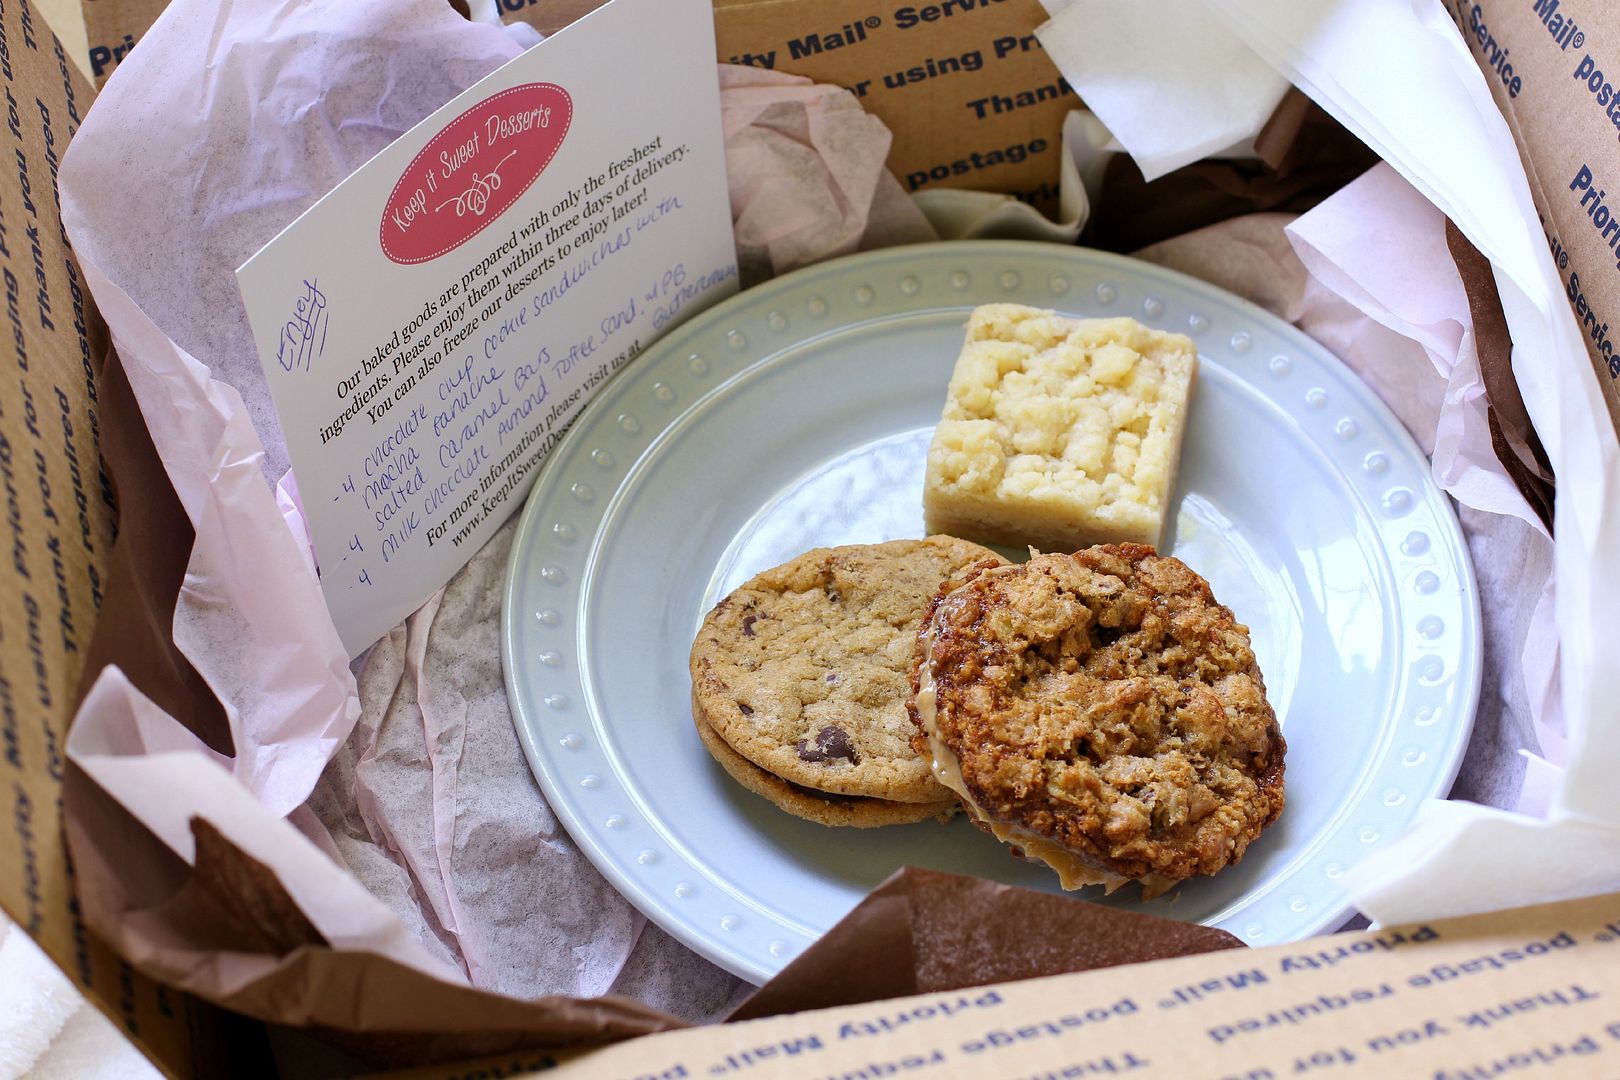

From Keep It Sweet Desserts.

I tried a salted caramel butter bar, a milk chocolate almond toffee cookie sandwich with peanut butter buttercream, and a chocolate chip cookie sandwich with mocha ganache buttercream. They were all just as fantastic as I knew they would be, but the mocha ganache smooshed between two soft chocolate chip cookies was my favorite. I feel pleased as a plum to wholeheartedly recommend Keep It Sweet Desserts for anytime you want someone else to Cook the Hard Stuff for you. In fact, if you use the code “WillowBirdBaking” anytime before June 30, 2012, you can enjoy 10% off your dessert order.

And just to spread the love, let’s do a giveaway, too! Go visit Keep It Sweet Desserts and leave a comment below with which cookie or bar you’d like to win. I’ll randomly choose a winner next Saturday, April 7 to win a dozen of their choice.

Savory Sweet Potato & Chorizo “Cinnamon Rolls”


Recipe by: Willow Bird Baking
Yield: 24 rolls

These savory sweet potato “cinnamon” rolls are adorable and delicious. They’re soft, buttery yeast rolls wrapped around sweet potato puree seasoned with cinnamon, chili powder, and cumin. The rolls also pack a healthy dose of chorizo, queso fresco, and jalapeno. If you’re afraid of yeast, don’t be! This recipe is super easy; you just mix and stick it in the fridge overnight to rise before shaping your rolls.

Roll Ingredients:
1 package (2 1/4 teaspoons) active dry yeast
1/4 cup warm water (100-110 degrees F)
2 tablespoons white vinegar
2 cups milk minus 2 tablespoons, room temperature
2/3 cup cold shortening (I use butter flavored Crisco)
3 tablespoons sugar
1 teaspoon salt
1 teaspoon baking soda
1 teaspoon baking powder
5 cups flour

Filling Ingredients:
3 pounds of sweet potatoes
4 tablespoons butter
2 1/2 teaspoons chili powder
1 1/4 teaspoon cumin
1 1/4 teaspoon cinnamon
salt and pepper to taste
16 ounces chorizo, browned and drained
6-8 ounces queso fresco
minced, seeded jalapeno to taste (I used about 1 teaspoon)
2 tablespoons melted butter for after baking

Directions:
Note: I don’t recommend halving yeast recipes; instead, if you don’t want 24 rolls at once, consider freezing some for later. To freeze some of the unbaked rolls, just wrap them well before the second rise and freeze them. Once frozen, pop them out of the pan all together and store in the freezer, wrapped in plastic wrap and in a zip top bag or wrapped in foil. When you want to bake them, stick them back in a greased pan, thaw them in the fridge overnight, proof for the instructed amount of time, and bake like usual.

Preheat the oven to 350 degrees F. Poke each sweet potato several times with a fork and bake them on the oven rack (with a baking sheet on the rack below to catch any oozing) for 1 hour or until a knife will slice them easily. Scoop the flesh out into a food processor and add butter, chili powder, cumin, and cinnamon (you can adjust these spices to taste after beginning with the amounts that I used, above). Process until smooth and salt and pepper to taste.

While the potatoes bake, mix the warm water and yeast in a medium bowl and let the yeast foam for about 10 minutes. Put 2 tablespoons white vinegar in a measuring cup and then add milk up to the 2 cup line. Set this aside. In a separate large bowl (or the bowl of a mixer fitted with a dough hook), whisk together flour, sugar, salt, baking soda, and baking powder and cut the shortening into the mixture with two knives or a pastry cutter until the shortening looks like small peas. Stir yeast mixture and milk mixture into the dry ingredients and mix well, kneading just a few turns. Transfer the dough to a bowl lightly sprayed with cooking spray, cover tightly with plastic wrap, and store in refrigerator overnight.

The next morning, preheat the oven to 400 degrees F and lightly spray two 9 x 13-inch baking dishes with cooking spray. Turn the chilled dough out onto a floured surface and roll it into a large rectangle about 1/8-inch thick (I carefully cut the dough in half and worked with half at a time to make it more manageable; if you do this, just spread on half of the filling ingredients for each half you roll). Spread sweet potato puree over top evenly. Sprinkle on the browned and drained chorizo, the queso fresco, and the minced jalapeno (wash your hands after handling peppers). Roll the dough up into a spiral and cut it into rolls, placing them close together in your prepared baking dishes (at this point, you could wrap and freeze the rolls for later if you wanted).

Cover the rolls with a clean dish cloth and let them rise in a warm spot until they’ve nearly doubled, about 1 1/2 – 2 hours. Bake them for about 15-20 minutes or until browned on top (if you take them out at just lightly golden brown, they may still be doughy in the center). Brush with 2 tablespoons melted butter and return to the oven for 1 more minute. Let cool slightly and serve warm with cilantro, salsa, sour cream, and/or guacamole.

P.S. This dish will be entered in the North Carolina Sweet Potato Commission‘s No More ‘Mallows Recipe Contest. I love me some sweet tater and marshmallow casserole, but I also love that sweet potatoes pack a lot of savory potential.

See all the Cooking Hard Stuff Tips:
The Cooking Hard Stuff Challenge
Tip #1: Read and visualize the recipe.
Tip #2: Mise en place.
Tip #3: Make a schedule.
Tip #4: Try, try, try again — or share your success

If you liked this post, please:
Subscribe to Willow Bird Baking
Follow Willow Bird Baking on Twitter
Follow Willow Bird Baking on Facebook
Give this post a thumbs up on StumbleUpon
Pin It

1 42 43 44 45 46 69