Month: March 2013

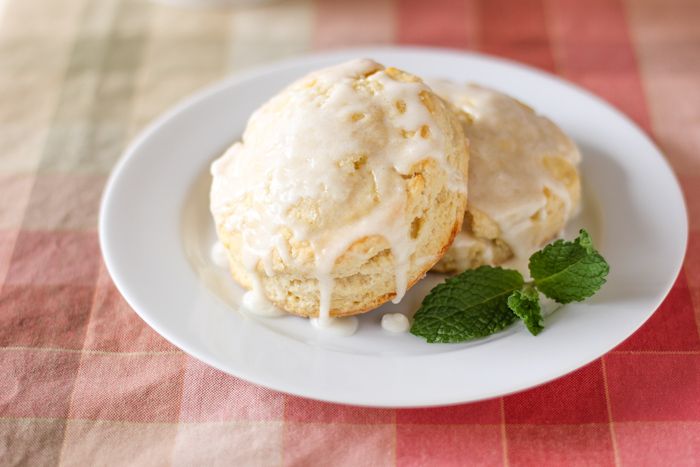
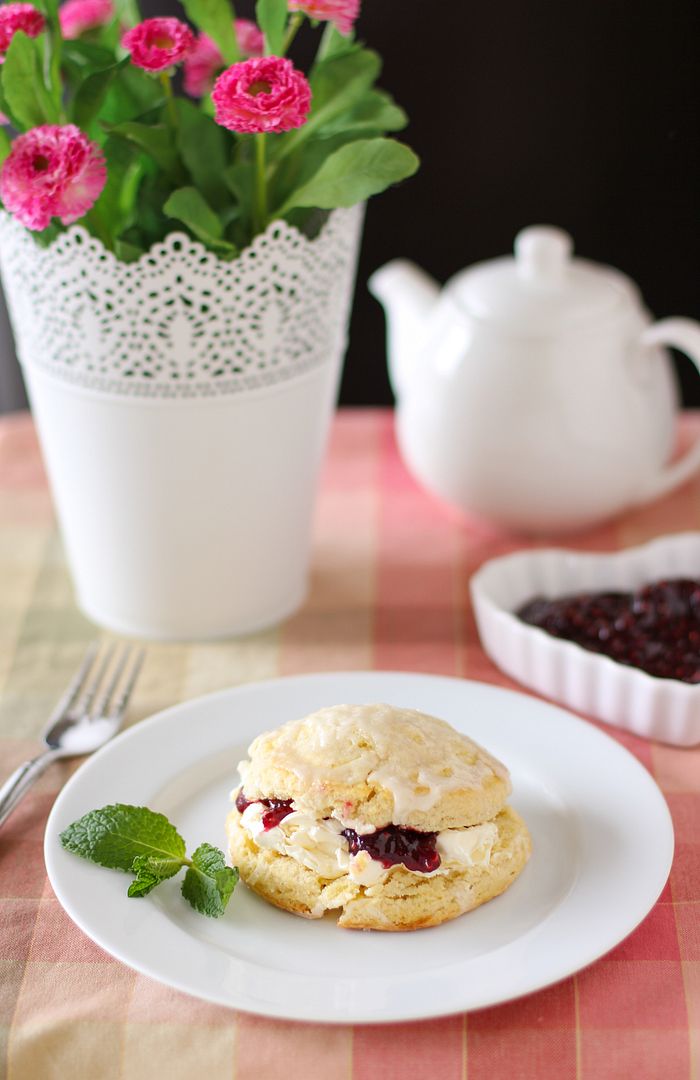
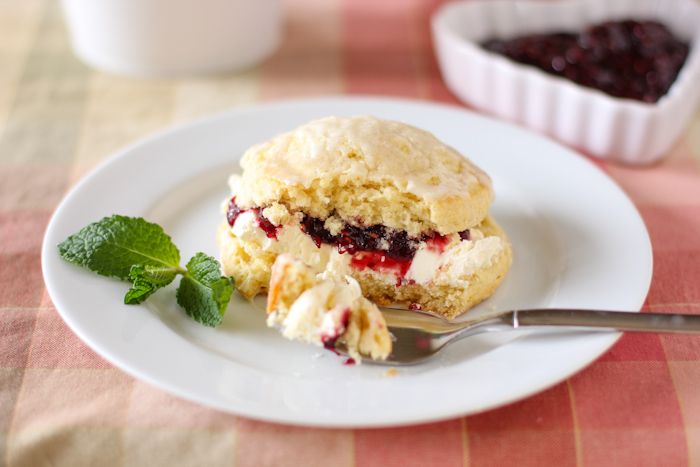
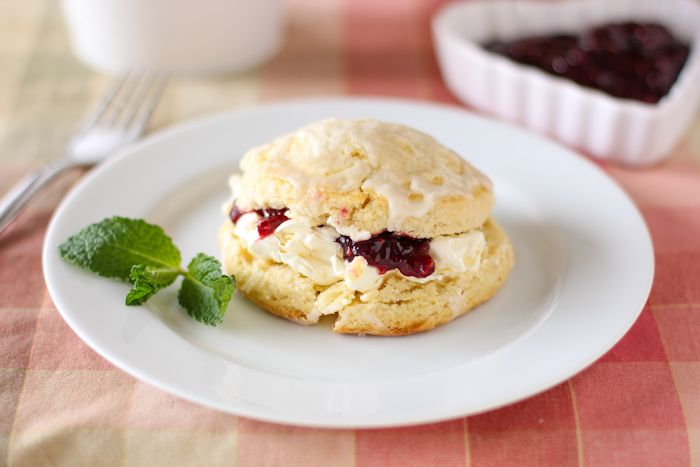
Almond Scones with Raspberry Jam and Clotted Cream

Almond Scones with Raspberry Jam and Clotted Cream


Recipe by: Adapted from Barefoot Contessa’s Cranberry Orange Scone recipe
Yield: about 14 scones

I love scones because they’re so quick and easy, but are absolutely divine in terms of texture and flavor. These scones are very lightly sweet, and the glaze adds a much needed dimension, along with a sprinkle of crunchy sugar. Serve with clotted cream and raspberry jam while hot out of the oven. This recipe also provides instructions for freezing the scones for amazing, speedy weekday breakfasts!

Ingredients:
4 1/4 cups all-purpose flour
1/4 cup sugar, plus additional for sprinkling (I used coarse sanding sugar for sprinkling)
2 tablespoons baking powder
2 teaspoons kosher salt
3/4 pound cold unsalted butter, diced
1 cup cold heavy cream
1 teaspoon almond extract
4 large eggs, lightly beaten
1 egg beaten with 2 tablespoons water or milk, for egg wash

Glaze Ingredients:
1 cup powdered sugar
1 teaspoon almond extract
1/4 cup milk (or cream — I used cream, but it does separate and probably isn’t quite as pretty as milk)
raspberry jam, for serving
clotted or Devon cream, for serving (or substitute whipped mascarpone)

Directions:
Note: You can make scones, shape them, egg wash them, and then freeze them on a baking sheet. Once frozen, you can drop them in an airtight container or bag separated by sheets of wax paper. You can then bake them straight from frozen any morning you want one — just by baking a few minutes longer than normal. So convenient!

Preheat the oven to 400 degrees F and line two baking sheets with parchment paper. In the bowl of a food processor, mix together flour, 1/4 cup sugar, baking powder, and salt. Add cold butter and pulse about 10 times or until the butter is the size of small peas (you can also do this by hand in a large bowl, using a pastry cutter or two knives to cut in the butter). In a small bowl or measuring cup, mix together lightly beaten eggs, heavy cream, and almond extract. While mixing the flour mixture on low, pour in the wet ingredients slowly. Keep mixing on low until the mixture forms a dough and begins to form a ball. Turn it out onto a floured surface and knead a turn or two, forming into a disc.

Roll the dough out to 3/4-inch thick, moving it around on the floured surface often to make sure it’s not sticking. Flour a 3-inch round cookie cutter and cut round scones, laying each on the prepared baking sheets. Re-roll the dough and continue cutting scones. When all scones are cut, egg wash just the tops of each one and sprinkle on the coarsest sugar you can find (the crunch is so nice). Bake in the 400 degree oven for 20-25 minutes until risen, lightly golden, and done on the inside.

While the scones bake, whisk together all glaze ingredients. Add more sugar or milk as needed for consistency. Drizzle over hot scones and serve immediately with raspberry jam and clotted cream (also called Devon cream). If you can’t find clotted cream, grab some mascarpone cheese and whisk it a bit until fluffy. Use that instead.

*Darius’s name has been changed to protect his privacy.

Quick Tomato Baked Eggs Skillet Supper

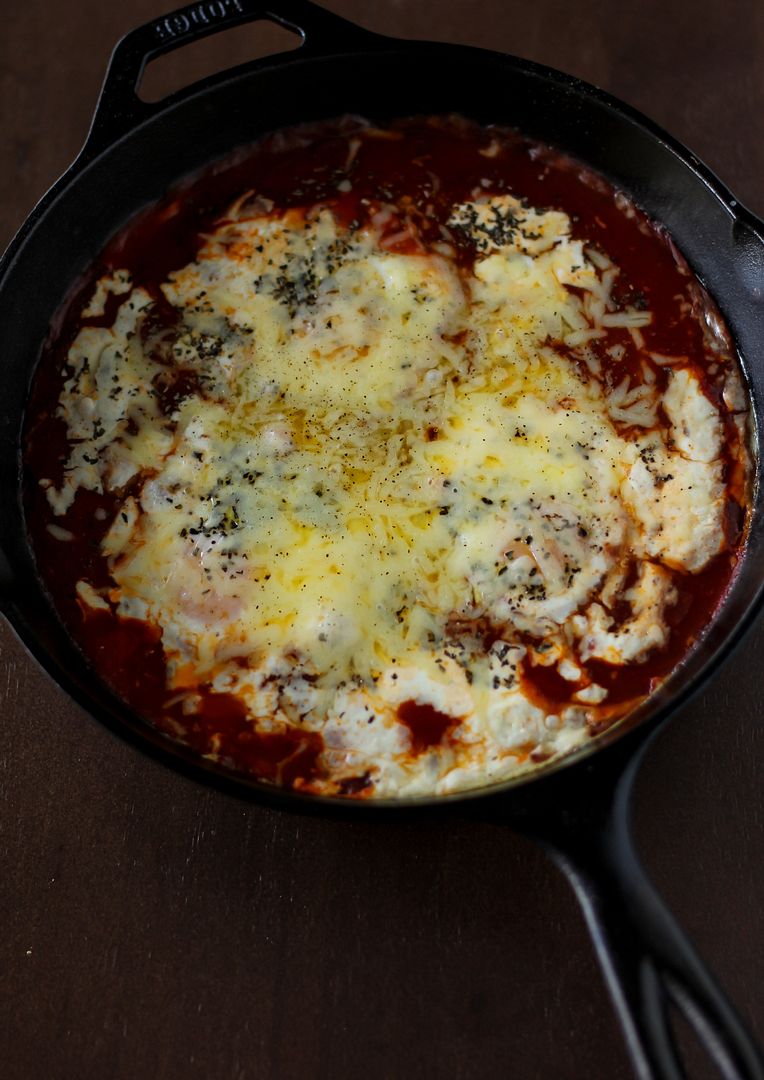
I know some of you are going to say, “Well, yeah, obviously,” to this little recipe (if it can be called that), but I felt pretty smooth when I thought it up last night. I had a can of tomato parmesan soup that I usually enjoy, but I didn’t feel like eating it alone. I also didn’t particularly feel like cooking anything fancy. With a few little add-ins, I dressed up the soup into a hearty dinner. I plan to do the same tonight with my favorite spinach Florentine jarred tomato sauce.

Please serve it with a bright salad and crusty bread, since these items were sorely missed on my table. I had to forego sauce-sopping for sauce-scraping with a spoon, which was not nearly as effective.

That’s all for today — a quick note with a quick little “recipe” I enjoyed. Hope you do, too.

One year ago: My Favorite Pie Crust Dough
Two years ago: Three Safe-to-Eat Cookie Doughs: Chocolate Chip, Sugar, and Cake Batter!
Three years ago: Oatmeal Cake with Broiled Icing

Quick Tomato Baked Eggs Skillet Supper


Recipe by: Willow Bird Baking
Yield: 3-4 servings

This is more of an idea or suggestion than a recipe — swap ingredients as you like to make your own little quick and dirty supper on the fly. I’d serve this with a bright arugula salad dressed with lemon juice and olive oil and plenty of crusty bread with softened butter and sea salt.

Ingredients:
a tomato sauce or soup that you really love*
some garlic, basil, olive oil, and chili flakes to dress up the tomato sauce
3-4 eggs
a little cream (optional)
grated cheese (I used Gruyère that I had on hand, but choose one you love)
salt and pepper
*Note: I used a tomato parmesan canned soup, but I’m also going to try this with my favorite spinach Florentine jarred tomato sauce. Make sure you already enjoy the taste of it, since it’ll be the primary flavor. I don’t think it would’ve been nearly as good with one of those watery tomato soups you ate with grilled cheese as a kid. If you want to make a tomato sauce from scratch, I suggest this super quick one.
*Note 2: I bet some crispy bacon or pancetta crumbles and a dollop of sour cream on top of this would be fantastic.

Directions:
Preheat the oven to 400 degrees F. Pour your tomato sauce or soup into an oven-safe skillet (but not cast iron like I did, because apparently it can strip the seasoning — oops!) and dress it up with garlic, basil, olive oil, and chili flakes to taste. Crack eggs over the bed of tomato sauce. Pour a little cream on each egg, salt and pepper the whole dish, and bake for 20 minutes or so until the whites are cooked but the yolks are still runny. Sprinkle grated cheese over the top and bake for just a minute or so more for it to melt. Serve immediately with a salad and crusty bread (I ate/scooped it straight out of the skillet, as I am wont to do.)

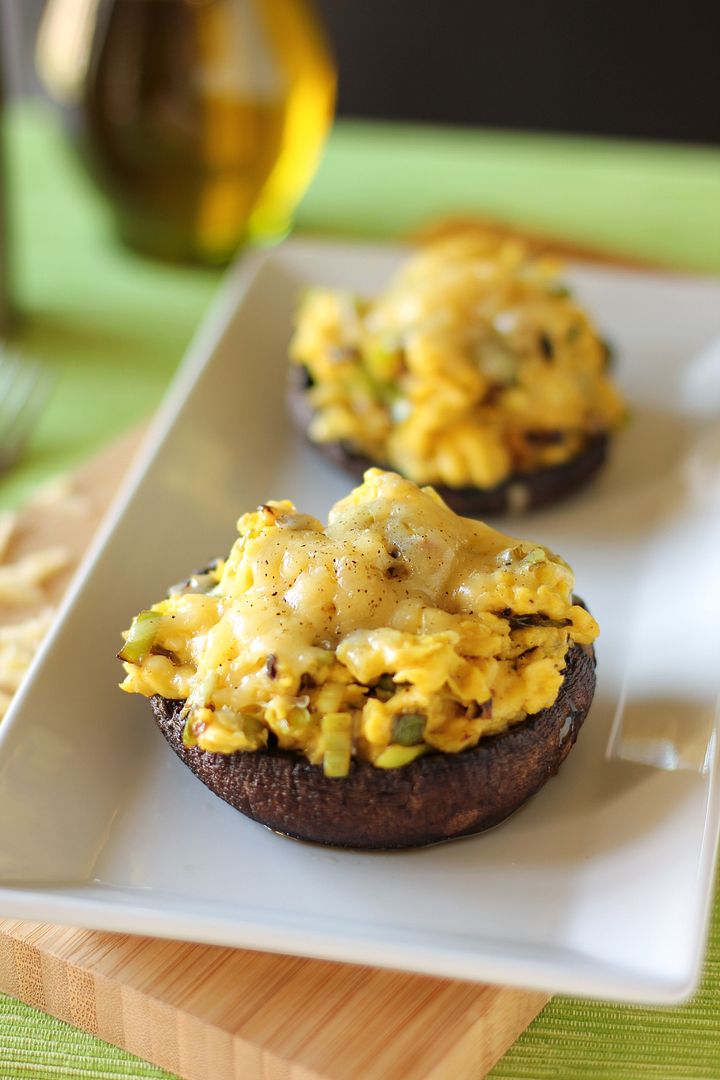
Breakfast Stuffed Mushrooms (Portobellos Stuffed with a Leek and Gruyère Scramble)

There are lots of stories to tell right now. But I don’t want to tell any of them. Reality does not suit me at the moment. Instead, I will tell you a different sort of story.

Something that gives me hope and joy lately is the little Writing Club that meets in my classroom each Thursday. One of my students, Aubrey, started this club of her own initiative. She plans lessons each week and leads a handful of her fellow students through creative writing exercises. Then they share what they’ve written and scamper off to their homes. Last week they created a superhero and wrote a story about him. Another week they listened to songs and wrote stories inspired by them.

The only week (so far) that I’ve been able to participate in the writing exercise was the first week. That week, they came up with a list of ten random words and then wrote a story with them. The words were:

                  persnickety                                    flummoxed

      flabbergasted

                        pumpernickel

cockroach                                    banana

                                    chapstick

      backpack            animal crackers                                                grocery

Here’s the story I came up with:

The sun was dying. I sat on the last patch of grass on the last hunk of dirt on the last chunk of Earth. Just me and the cockroach. I pulled out my chapstick and slathered it on my sunburned lips. For the millionth time since the war, I wished for a grocery store. I wasn’t persnickety, but the weevils I dug out of the moist earth each day for my meager meals were infinitely less satisfying than a plump banana, a pack of animal crackers, or a slice of freshly baked pumpernickel bread. I found myself thinking of my grandmother. I would never see her again. I would never see any of them again.

It was a Tuesday — not that that meant anything anymore — the 159th day since the end of the war, according to the notes I’d been keeping religiously on my arm with a sharpie I’d found in the bottom of my torn backpack. I was flabbergasted to see the sun rise over my tiny vestige of Earth. It was bright red, hot with the anger of death I recognized from my memory: I’d seen so many of the Frontier soldiers fall with that same anger, combusting in their hearts as their bodies combusted literally, smouldering in a spray of enemy fire. There’s only one thing that sun could mean: it was almost time.

I looked down at the cockroach, my only friend left in the world. I might have been imagining it, but he looked just as flummoxed as me at the sight of our dying star. I let him crawl up into my hand and held him, my tiny family, while the heat grew stronger and stronger. Soon it would become too much for us. Soon, my little friend would perish. Then finally, I, too, would be consumed: the last of the human race.

Apparently when given words such as banana, animal crackers, and chapstick, my first thought is doom and destruction. This reminds me of my 7th grade student who, while doing a word association with the word marigolds, first thought of the word “death.” I kid you not. That little girl is basically a younger version of me.

Anyway, since I don’t love any of my real-life stories right now (or at least, not at this particular point in their plot arch), I thought I’d share that one.

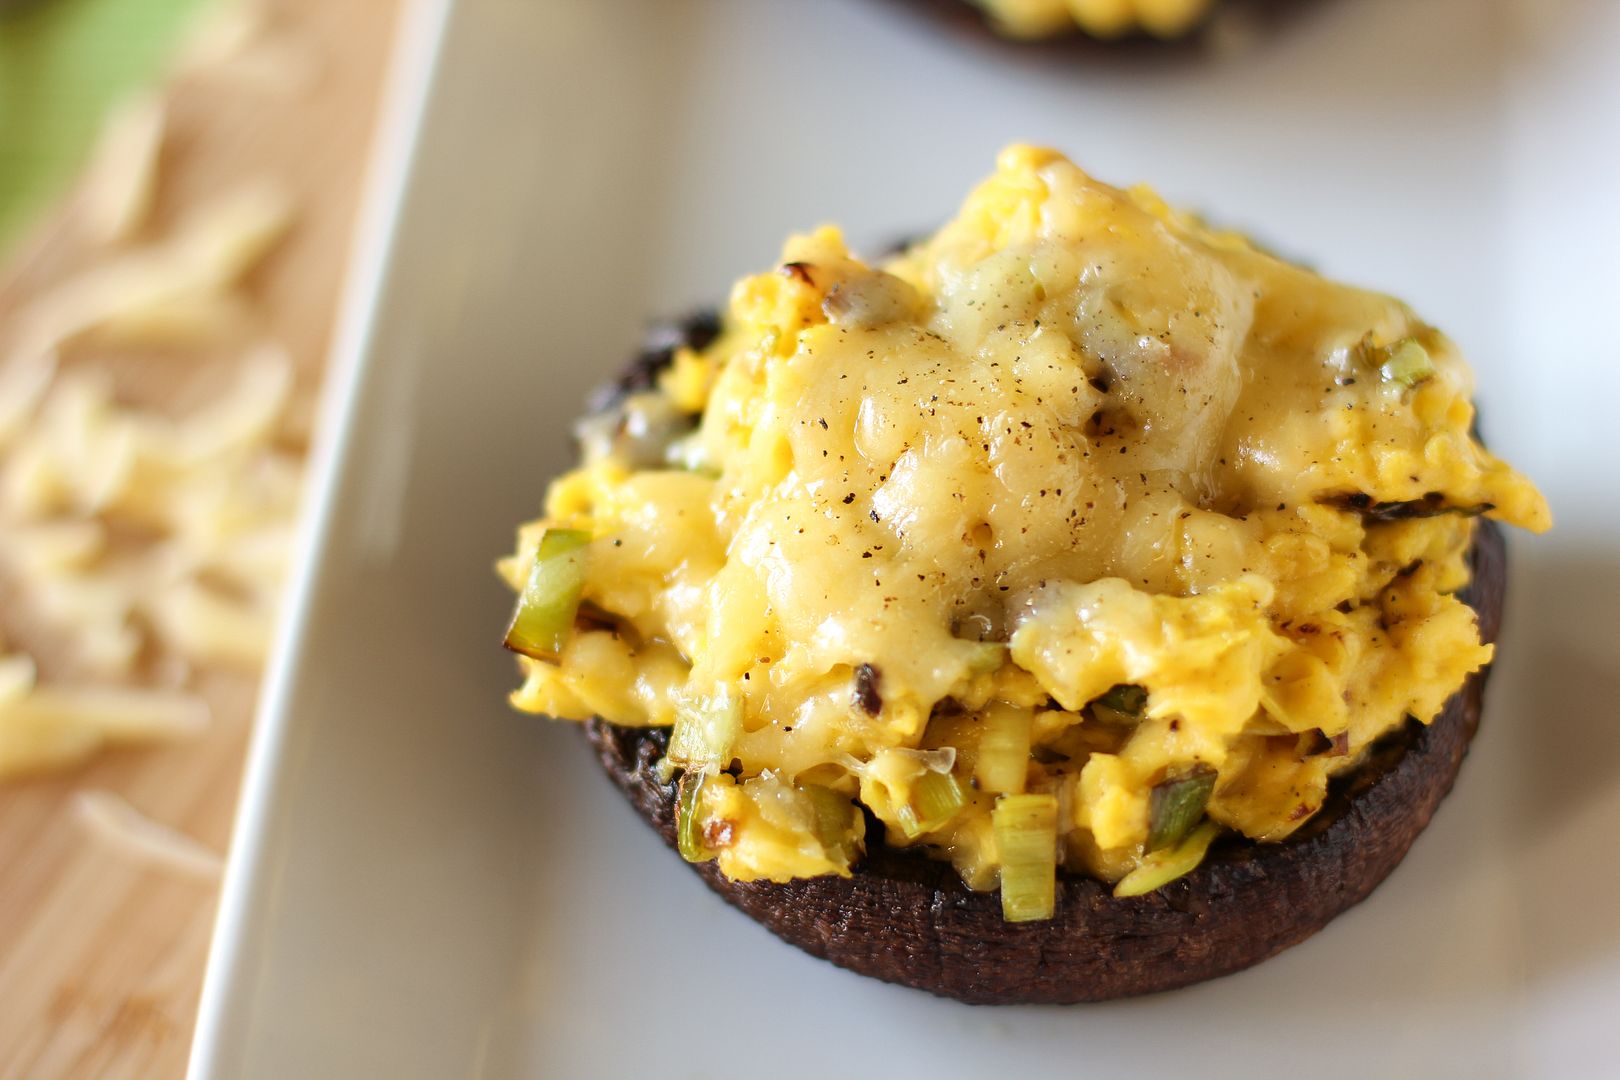
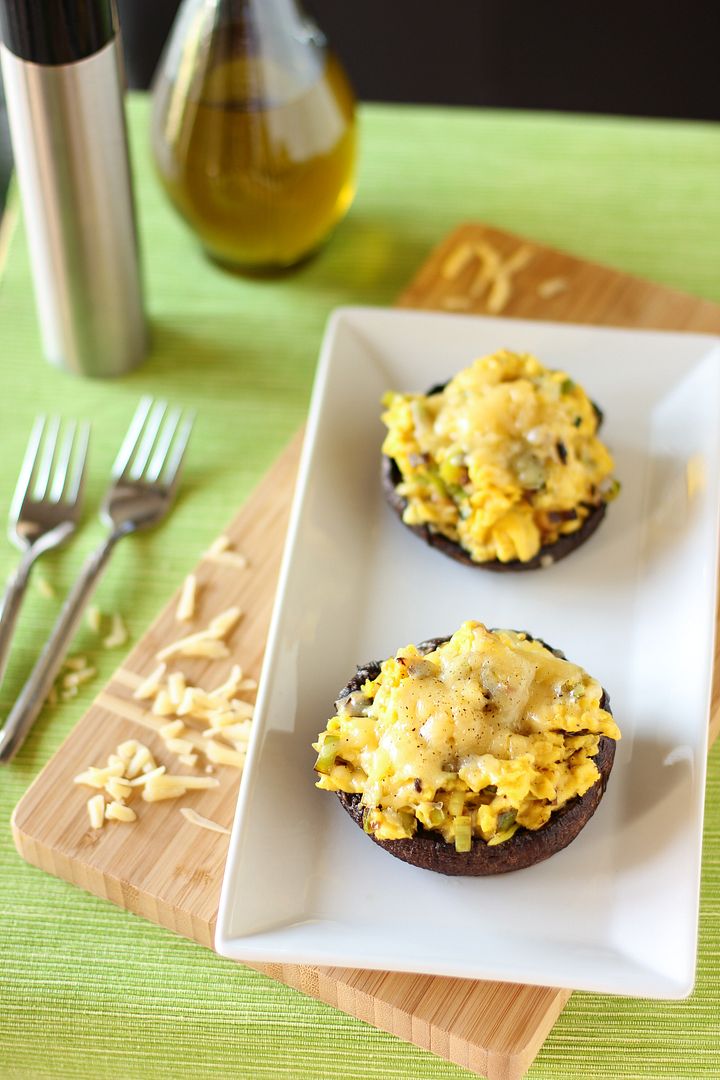
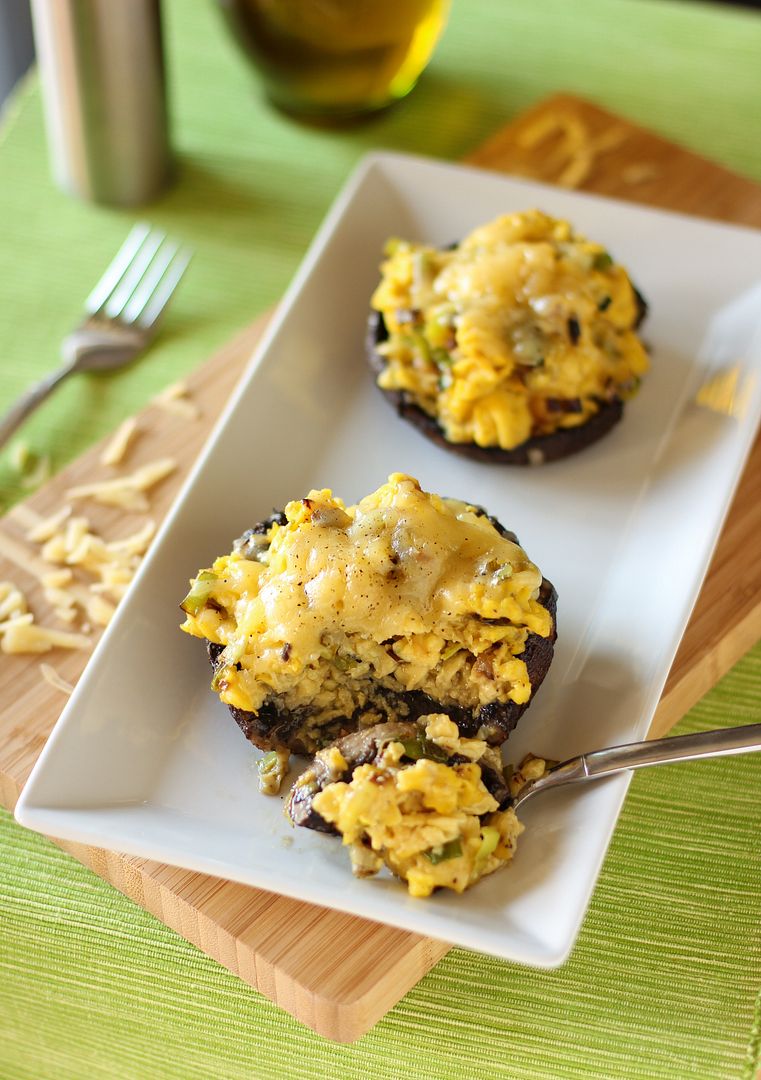
…And some stuffed mushrooms, which are much more cheerful. I think we need some cheer after all that. Well good news: these were basically the highlight of my week. They’re luxurious (cream! mushrooms! leeks! Gruyère!), indulgent, and altogether such a delicious, hearty way to start the day. The two forks may suggest that someone shared these with me, but I’m going to admit that I ate them both myself and was not sorry.

Now it’s your turn to tell a story. Write a mini-story using these 5 words: disco, poodle, tangerine, shallow, and rutabaga.

One year ago: Twice Baked Cranberry & Pancetta Sweet Potatoes with Balsamic Glaze
Two years ago: Three Safe-to-Eat Cookie Doughs: Chocolate Chip, Sugar, and Cake Batter!
Three years ago: Majestic Imperial Fantabulous Sheet Cake o’ Love

Breakfast Stuffed Mushrooms (Portobellos Stuffed with a Leek and Gruyère Scramble)


Recipe by: Willow Bird Baking, inspired by Alexandra’s Kitchen
Yield: 2 servings

Who says you can’t have stuffed mushrooms for breakfast? These giant portobello mushroom caps are stuffed with a caramelized leek scramble and topped with melty Gruyère cheese.

Ingredients:
2 large portobello mushroom caps
2 tablespoons plus 2 teaspoons olive oil, divided
1-2 leeks
1/2 teaspoon kosher salt and few grinds pepper, divided
1 teaspoon minced shallots
1 tablespoon cream
1 tablespoon butter (Plugra or Kerrygold or another European brand is great if you have it)
1/4 cup grated Gruyère cheese (or Fontina, Swiss, Parmesan)
4 eggs

Directions:
Preheat the oven to 425 degrees F. Clean the leeks: Slice off the tough, dark green top and the root and discard. Slice the leek lengthwise down the middle. Then slice horizontally into thin half-moons. Fill a bowl with cold water and place the sliced leeks in it, separating the layers with your fingers and agitating them a bit in the water. Let these sit for 1-2 minutes until the dirt and sediment trapped in the leeks has settled to the bottom. Scoop the leeks off the top of the water with a slotted spoon and place them on a bed of paper towels to blot them almost dry. Elise over at Simply Recipes has a great photo tutorial of this step.

Clean the mushroom caps by brushing gently with a wet brush. Remove the stems from mushrooms and gently remove gills with a spoon. Brush the mushrooms with 2 tablespoons olive oil and sprinkle with 1/4 teaspoon kosher salt and a couple of grinds of pepper. Roast for 15-20 minutes (depending on the size of the mushroom) or until they are nicely roasted but still holding their general shape. After you remove the mushrooms, turn the oven down to 350 degrees F.

While roasting the mushrooms, preheat a large skillet over medium-low heat. Pour in 2 teaspoons of olive oil. When the oil shimmers, add minced shallots and sauté for 30 seconds until fragrant, stirring constantly. Add the leeks and toss them to coat with oil. Sauté until they start to brown, about 15 minutes, stirring occasionally. Remove them to a paper towel-lined plate to drain for a bit.

Whisk together the eggs, cream, 1/4 teaspoon kosher salt, and a few grinds pepper really well — until there’s no more gloppiness in the eggs. Turn the skillet up to medium and let it preheat for a bit. Heat 1 tablespoon butter in it (it should sizzle but not brown). Pour in the egg mixture and scramble until the eggs are just underdone (they should still appear wet.) Add in the leeks and scramble for another few seconds. The eggs should still have the soft just-undone look but not look quite wet anymore.

Spoon equal amounts of eggs onto each roasted mushroom cap. Top both stuffed mushrooms with grated Gruyère cheese. Place the stuffed mushrooms in the oven until the cheese is melted and the eggs are just done — just a few minutes. Remove from the oven, grind on a last grind of pepper, and serve immediately.

Trashy Krispy Kreme Doughnut & Coffee Tiramisu

It was one of those long, hazy summer days of childhood: the ones with so much potential that nevertheless usually devolve into dangling oneself, dead-doornail-bored, from a creaky swingset. Not for me, though. I was holed up in my treehouse next to my immaculate play-kitchen, planning my brilliant invention.

For my genius plan, I would need dozens of new, clean foam meat trays. The ones dad threw in the trash while making chili would never do: I may have been an eccentric crackpot inventor, but I wasn’t heedless to the risk of e.coli.

On the next trip to the grocery store I timidly asked the man at the meat counter for trays “for a project” — thankfully he didn’t ask many questions — and left the store with a pile of pink foam boards.

To this day, I wonder why there was very little parental intervention at this point. Perhaps they assumed my “project” was some sort of harmless collage? A make-believe grocery store? A school assignment?

It was a hang glider. I was building a hang glider out of styrofoam meat trays. To jump off of buildings.

A HANG GLIDER, Y’ALL. Adult-me shakes her head in disbelief at 10-year-old-me, and is thankful to be alive.

It all started when I was playing with a foam meat tray I’d found. I know that it makes no sense for a child to be playing with a foam tray. I do not understand why this occurred. Maybe it’s the same reason babies eschew perfectly good toys to play with keys, or cats ignore billion dollar scratchy posts to play with bags.

Anyway, I noticed that it floated across the air with lovely aerodynamics. I imagined being tiny enough to float along with it. I imagined the tray itself being gigantic enough to hold my real weight. It occurred to me that while one foam tray wouldn’t hold me, dozens of foam trays might. Could I attach them together somehow to form a giant foam flying apparatus? Thus my ponderings became a mission.

You know those kids who want to tie hundreds of helium balloons together and fly, à la Up? I was basically the slightly-more-trashy, meat-tray version of those kids.

In some ways, I am now the slightly-more-trashy, meat-tray version of a creative adult. Did I just say that? Yes.

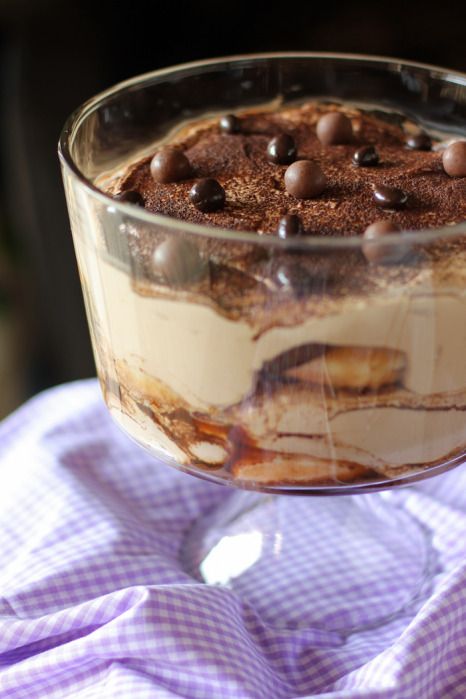
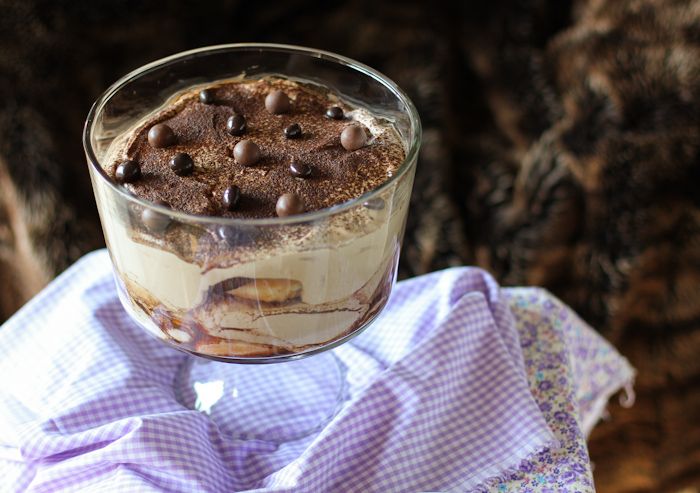
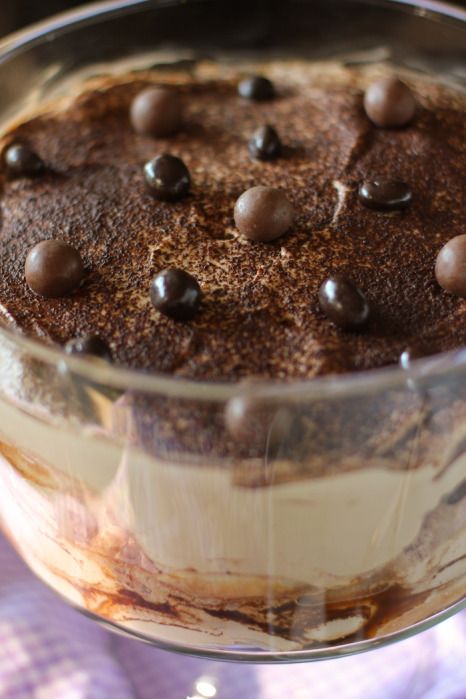
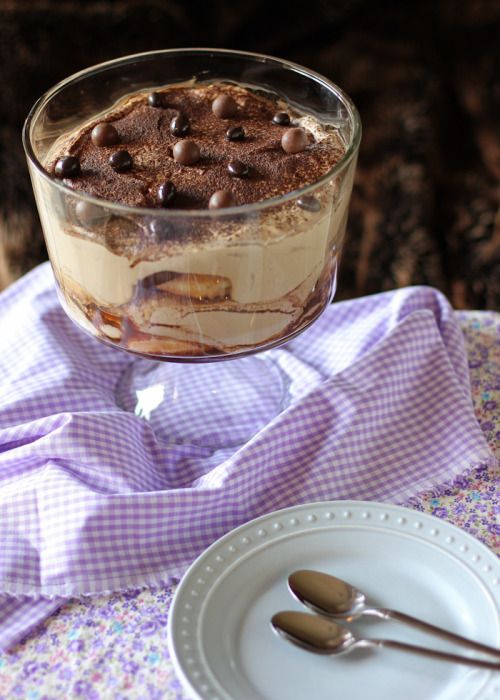
No matter how ill-advised an idea might be, if it excites me and I believe in it, I’ll go for it. This tiramisu, as you might have guessed, is an example of just that impulse. But hear me out: lots of people love doughnuts and coffee, right? This is basically that: sweet, glazed Krispy Kreme doughnuts with a fluffy coffee-flavored mousse and the zing of some rum for good measure. It’s rich, indulgent, and not too sweet — and a lot of fun to make.

Oh, and were you wondering how my hang glider worked out? Don’t worry. Apart from having wild and delusional schemes as a child, I also had quite the attention deficit. After stapling roughly 20 pink foam trays together, I got bored and threw the whole mess in the garbage. All’s well that ends with no broken bones?

What’s your favorite trashy indulgence? Discuss here or on my Facebook thread about the same topic.

One year ago: Hasselback Sweet Potatoes with Orange Rosemary Butter & Goat Cheese
Two years ago: Mini Apple Pies with Cheddar Crusts
Three years ago: Red Berry Pie

Trashy Krispy Kreme Doughnut & Coffee Tiramisu


Recipe by: Willow Bird Baking, based on this recipe
Yield: about 8 servings

If you love coffee and doughnuts, you’re going to love this “trashed up” tiramisu! This tiramisu does include raw eggs, and therefore probably should not be consumed by the elderly, folks with compromised immune systems, pregnant women, or young kids. Feel free to use pasteurized eggs, also, to minimize the risk.

Ingredients:
3 eggs, separated
7 tablespoons powdered sugar and 1 tablespoon powdered sugar, divided
1/4 cup chocolate malt powder (like Ovaltine)
1/2 cup espresso or strong coffee, divided
5 tablespoons and 2 tablespoons rum, divided (I might do Bailey’s next time; I’m not a huge rum fan)
1 pound Bel Gioso Tiramisu mascarpone cheese*
1 teaspoon vanilla extract
1 dozen Krispy Kreme doughnuts
cocoa powder mixed with chocolate malt powder for dusting
dark chocolate covered espresso beans and malted chocolate candies for garnish, optional
*I accidentally used Bel Gioso’s Tiramisu mascarpone instead of regular, so it already had a bit of coffee and sugar in it — you can use it, too, or add a tiny bit more coffee and sugar to your mixture.

Directions:
In a large bowl, beat 3 egg yolks, 7 tablespoons powdered sugar, 1/4 cup chocolate malt powder, 1 tablespoon espresso, and 5 tablespoons rum for a couple of minutes. Add the mascarpone cheese and vanilla extract and beat until well combined and fluffy, about 5 minutes.

In a separate (very clean) bowl, preferably with a stand mixer to spare your arm muscles, whisk 3 egg whites until foamy. Add 1 tablespoon powdered sugar and whip to stiff peaks. Stir about 1/3 of the egg white mixture into the egg yolk mixture to lighten it; then fold the rest of it in gently. Taste for flavor and add powdered sugar or vanilla if more is needed. Though you don’t want to be cloying, of course, you do want it to be sweet enough to counteract the bitterness of the espresso/rum mixture you’ll be dipping the doughnuts in.

Pour the rest of the espresso and rum into a flat dish. Dip one side of each doughnut in this mixture for just 5 seconds (so it doesn’t get soggy) before layering them, soaked side up, in a deep serving dish. Repeat, lining the entire bottom of the dish with doughnuts. Dollop about 1/3 to 1/2 (depending on how many layers you think you’ll be able to get in your dish) of the mascarpone mixture (called zabaglione) over the top and use an offset spatula to spread it into an even layer. Dust this with a mixture of cocoa powder and chocolate malt powder. Repeat layering dipped doughnuts, zabaglione, and a dusting of cocoa powder, ending with a layer of the zabaglione dusted with cocoa powder.

Chill at least one hour before serving. Dot with dark chocolate covered espresso beans and malted chocolate candies and serve. Eat within 36 hours or so, or things start to get soupy.

Bailey’s Hazelnut Chocolate Tiramisu (and Photographing FOOD)

First off, let me just say that if I were a red-headed stepchild, I’d be annoyed with the world for making me into a symbol of awkwardness and ostracism. Red-headed stepchildren deserve love, too! They will hopefully forgive me when I say that photography has always been my red-headed stepchild.

In the food blogging world, there are definitely triple-threats — bloggers who are wonderful writers, chefs, and photographers — but they’re few and far between. More often, bloggers are fantastic in one of two of these arenas and are dragging the third along as best they can. Personally, I’m unabashedly a writer first, a baker second, and a somewhat reluctant photographer eighty-fifth.

It just doesn’t come naturally for me. I would never have thought to smash my food before photographing it. I would never have thought to take dark-and-moody photographs when everyone else was still going ga-ga over light-and-airy. I wouldn’t have realized how pretty light-and-airy could be to begin with!

Perhaps precisely because photography doesn’t come naturally to me, though, nothing thrills me like having taken a photo I’m proud of. To that end, I’ve done a lot of wrangling: timing my baking just right for nice daylight, struggling with huge light-bouncing foam boards, setting up tripods, climbing chairs and contorting myself into odd angles, and buying way too many oddling dishes and napkins at fancy stores where I could never afford a full set. The result has been worth it — slowly my photos have vastly improved:


photos from 2009 (left) and 2012

The camera I used did change from 2009 to 2012, though, so maybe you need a comparison of my early photo skills and later skills with the same point-and-shoot camera:


photos from 2009 (left) and 2011 (with same camera — hopefully you can still see a big difference!)

So. I can’t say I agree with those folks who say the camera you use doesn’t matter, because in terms of quality and resolution of your photos, it does. But I definitely think the skills you have matter a whole lot more — and even with a fantastic camera, unless you know a few basics, you won’t be taking great photos.

On my (somewhat frustrating) journey to better my photos, I did a lot of googling, a lot of reading, a lot of experimenting, and a lot of failing. I want to make it a whole lot easier for you. Well, actually, my amazing friend — and fantastic photographer — Taylor Mathis wants to. He created Photographing FOOD, a magazine packed with practical tips for how to make your food photos look as awesome as his.


…and his are definitely awesome — like these two from the first issue!

When Taylor showed me the magazine, I knew I wanted to pass it along to you. I hardly ever do sponsored posts because I just don’t find that many products compelling or unique (I mean, who cares what kind of molasses you use or what brand your mixing bowl is?), but if you love photography, this magazine is well worth the five bucks it costs per issue. So far there are issues on Window Lighting, Color & Camera, and Shooting at Night. I’ve seen all of them, and I kind of can’t believe he’s letting them go for so cheap — they’re filled with information and beautiful photos. In Issue 2 he even does a full comparison of 4 different camera types: camera phones, disposable cameras, point-and-shoots, and DSLRs.

I wish I’d had Photographing FOOD when I started working on my photos. As it is, I’m eager to learn more from it now. I wonder if he has any tips on how to keep a new cat out of your photographs?

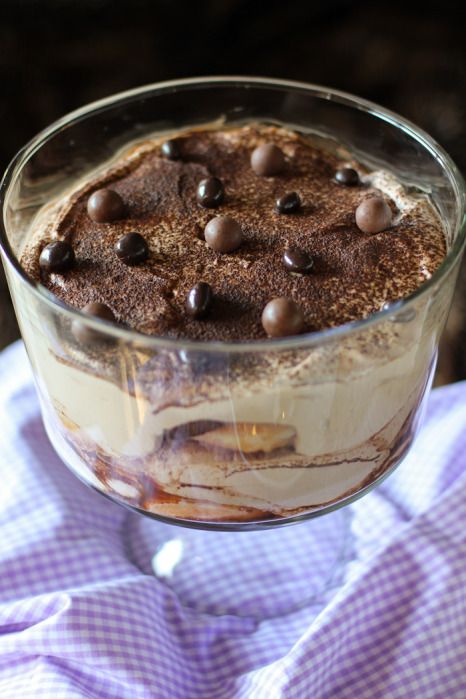
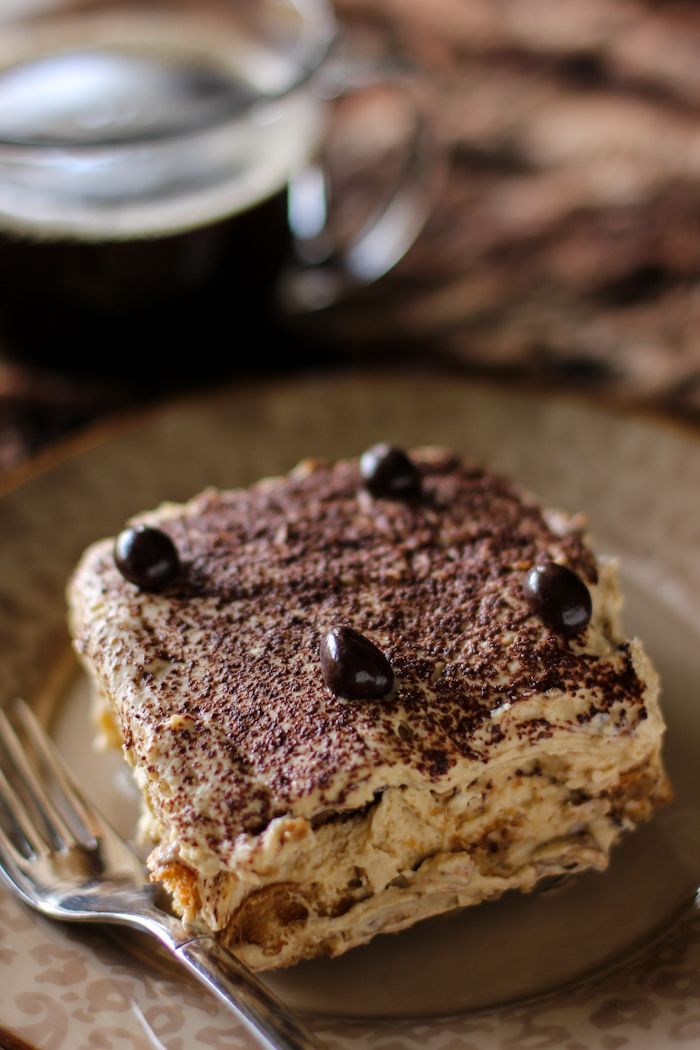
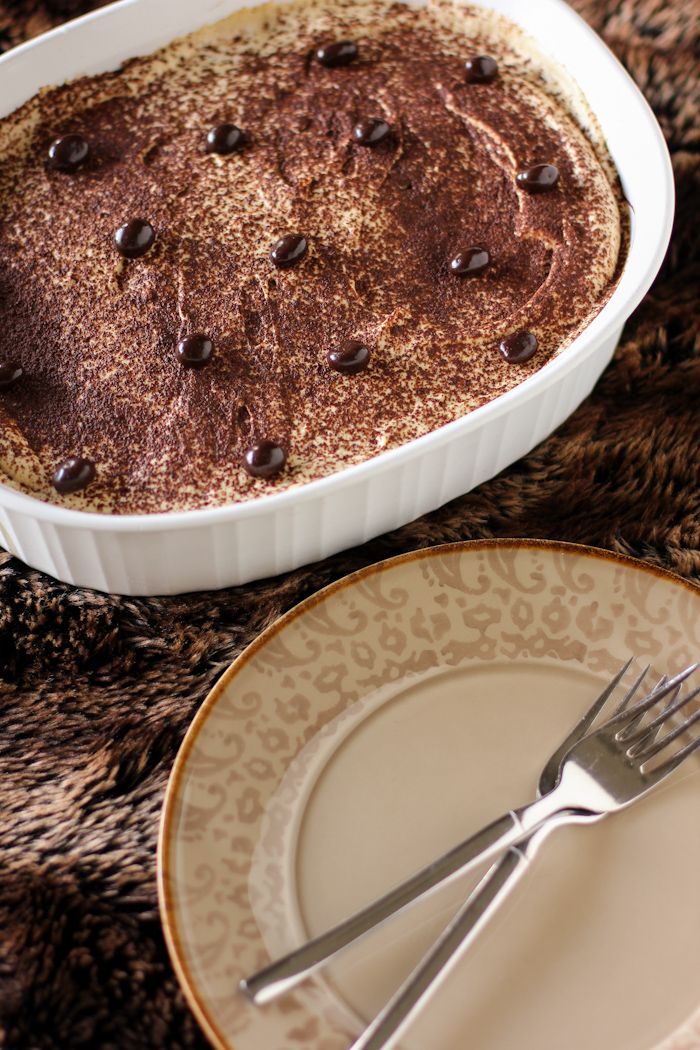
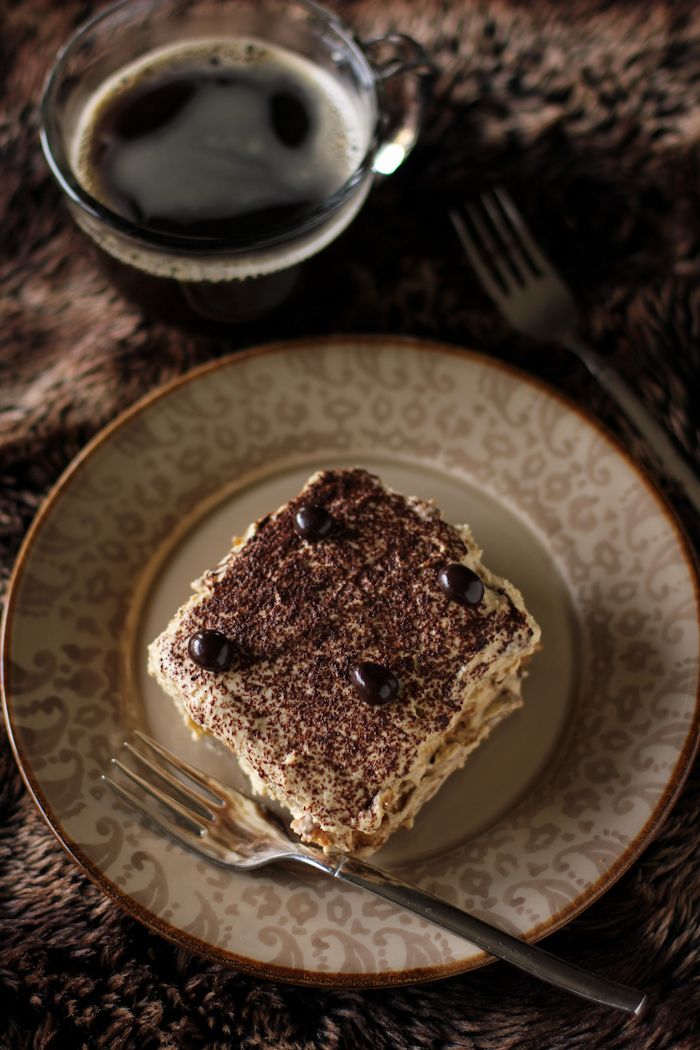
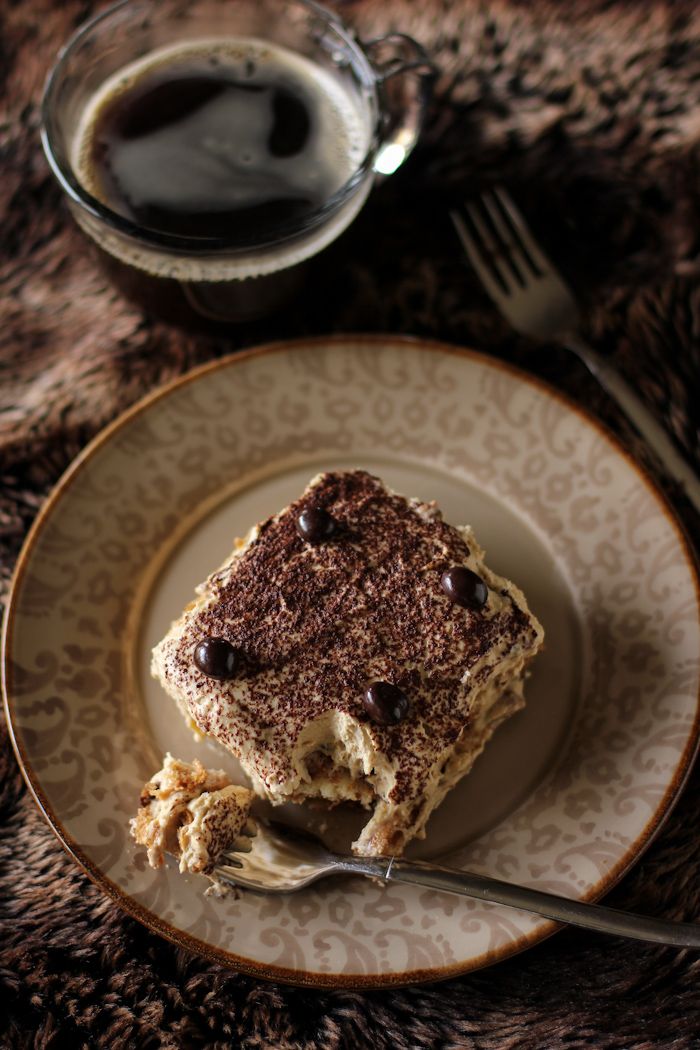
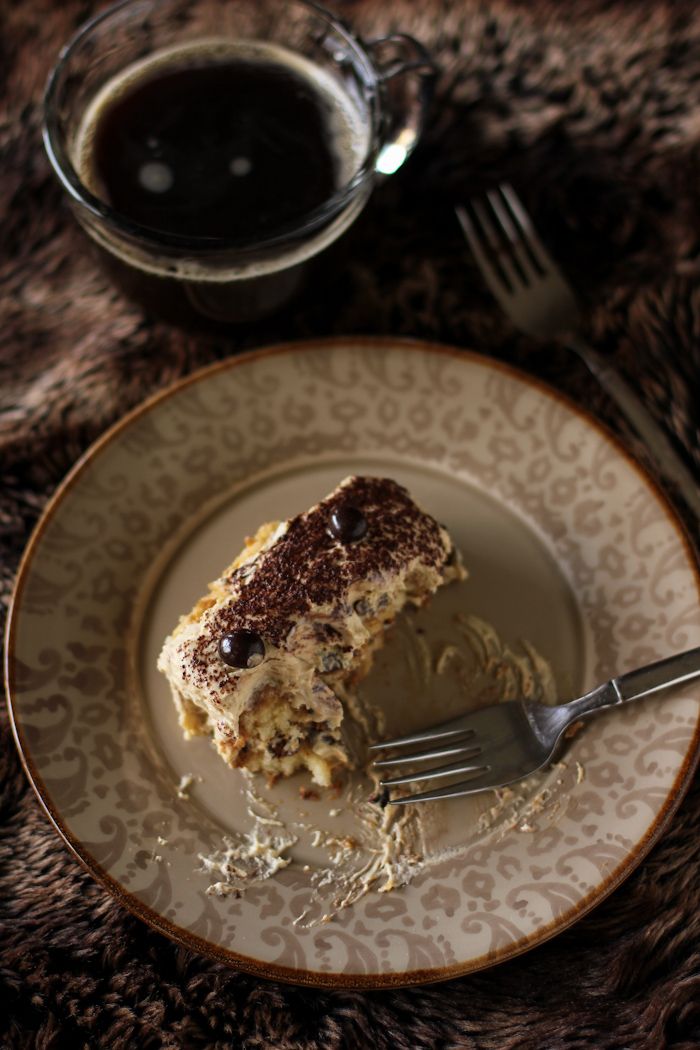
Actually, Buckle was great with this tiramisu — mostly because I kept it high off the ground! This version of the beloved Italian dessert is traditional in that it uses raw eggs, coffee, alcohol, ladyfingers, and mascarpone. I put a twist on it, though, by using Bailey’s Hazelnut Liqueur instead of the typical Marsala wine, and adding in some chocolate between the layers. The result was fantastic (and perfect for St. Patrick’s Day.) I might have finished off the last forkfuls of it for breakfast this morning, straight out of the serving dish.

Do you enjoy photography?

One year ago: Tres Leches Coconut Cake Trifle
Two years ago: Bright, Fun Blackberry Trifle
Three years ago: Vegan Pumpkin Nut Bread

Bailey’s Hazelnut Chocolate Tiramisu


Recipe by: Willow Bird Baking, based on this recipe
Yield: about 8 servings

Tiramisu is a brilliant and moody concoction where soaked cookies serve as a vessel for strong coffee, alcohol, and chocolate. The result is a buzzy, boozy, rich dessert — made even more exciting here by substituting Bailey’s Hazelnut Liqueur for the traditional Marsala wine. This would be a perfect dessert for St. Patrick’s Day! This tiramisu does include raw eggs, and therefore probably should not be consumed by the elderly, folks with compromised immune systems, pregnant women, or young kids. Feel free to use pasteurized eggs, also, to minimize the risk.

Ingredients:
3 eggs, separated
6 tablespoons powdered sugar and 1 teaspoon powdered sugar, divided
1/2 cup espresso or strong coffee, divided
6 tablespoons and 4 tablespoons Bailey’s Hazelnut Liqueur, divided
1 pound Bel Gioso Tiramisu mascarpone cheese*
1 teaspoon vanilla extract
1 (7-ounce) package Ladyfingers
1/2 cup Ghirardelli 60% cacao chocolate chips, melted and cooled
cocoa powder for dusting
dark chocolate covered espresso beans for garnish, optional
*I accidentally used Bel Gioso’s Tiramisu mascarpone instead of regular, so it already had a bit of coffee and sugar in it — you can use it, too, or add a tiny bit more coffee and sugar to your mixture.

Directions:
In a large bowl, beat 3 egg yolks, 6 tablespoons powdered sugar, 1 tablespoon espresso, 6 tablespoons Bailey’s Hazelnut Liqueur for a couple of minutes until well combined and thickened. Add the mascarpone cheese and vanilla extract and beat until well combined and fluffy, about 5 minutes.

In a separate (very clean) bowl, preferably with a stand mixer to spare your arm muscles, whisk 3 egg whites until foamy. Add 1 teaspoon powdered sugar and whip to stiff peaks. Stir about 1/3 of the egg white mixture into the egg yolk mixture to lighten it; then fold the rest of it in gently. Taste for flavor.

Pour the rest of the espresso and Bailey’s into a flat dish. Dip one side of each Ladyfinger in this mixture for just 5 seconds (so it doesn’t get soggy) before layering them, soaked side up, in a deep serving dish. Repeat, lining the entire bottom of the dish with the cookies. Drizzle cooled melted chocolate all over the cookies. Dollop about 1/3 to 1/2 (depending on how many layers you think you’ll be able to get in your dish) of the mascarpone mixture (called zabaglione) over the top and use an offset spatula to spread it into an even layer. Dust this with cocoa powder. Repeat layering dipped cookies, melted chocolate, zabaglione, and a dusting of cocoa powder, ending with a layer of the zabaglione dusted with cocoa powder (I got 2 full layers of cookie/chocolate/zabaglione/cocoa powder before my cookies ran out, but it depends on the size of your serving dish.)

Chill at least one hour before serving. Dot with dark chocolate covered espresso beans and serve. Eat within 36 hours or so, or things start to get soupy.

Disclaimer: This is, as I mentioned, a sponsored post. I received compensation for reviewing the magazine and sharing it with you as well as three free issues. However, as you already know, I never share a thing with you that I don’t love, and I always give my honest opinion. Hope you enjoy it, too!