The first face to poke through the door of my classroom was that of an older woman. She was followed by one of my 7th grade students, who was followed by a white haired man. “Come in! Find a seat anywhere!” I called as I made last minute adjustments to the position of the projector.
Soon people were pouring into my room. They had arrived for Grandfriends Day, where Woodlawn students invited their grandparents (or grandpeople they’d “adopted”) to eat lunch with them and participate in their classes.
I’m going to go ahead and publicly admit that I was terrified of Grandfriends Day. What activity could I plan that both a 60-year-old and a 12-year-old might enjoy? We usually read novels or tackle projects that take weeks to complete. What concept could I introduce and cover in a meaningful way in 30 minutes?

Thankfully, I learned a trick at the beginning of my teaching career that always serves me well in these types of circumstances: when you’re scared of a new thing, get enthusiastic and give it an honest, earnest try. (This also works with baking, writing, and life in general.) So as the students and their grandfriends filtered into my room, I pasted on a smile.
Once they were all somewhat assembled, I took a deep breath and did something a little ridiculous. I turned on the projector and pressed play on this video (no, really, go watch it). Confusion turned into giggles as Maru the cat repeatedly attempted to gain access to a huge cardboard box. Young and old alike cheered when he finally sprang into its depths. I surveyed the classroom as they watched, concluding that funny YouTube clips were, indeed, a language that spanned the generations.
When the video ended, I posed a question: “What was Maru’s goal?”
“To get in the box!” the class cried in unison.
“Did he accomplish his goal the first time he tried?”
“No!”
“How about the second?”
“No!”

“Did he eventually get in the box?”
“Yes!”
Their enthusiasm was cute. They were still riding the wave of cheer that Maru’s antics had created. I distributed sheets of notebook paper as I issued their assignment: “Write about a time when you, like Maru, had a goal you couldn’t accomplish right away.”
Some dove at their paper with ardor while others thoughtfully drummed fingers or pencils on the desk. A short ten minutes later, though, everyone sat staring at their finished anecdote. I asked for volunteers to share, wholly unsure about the quality of work I was about to receive. I needn’t have been concerned, though. I have great students and, it turns out, they have amazing grandfriends.

One man told of learning to drive a car with a manual transmission and repeatedly killing the engine before finally getting the hang of it. Another told of being determined to get his garden planted despite the rain that threatened to prevent it. A third detailed how he and his construction crew had created a machine that could drive 16 nails a second to accomplish their goals more efficiently.
Two women discussed taking a pottery class and working for months before they produced the bowl or vase they’d envisioned. My students relayed sports goals they’d attempted to accomplish: a back set in volleyball, a backflip in gymnastics. Finally, one of my students raised his hand and asked to read his grandfather’s composition.
His grandfather had worked with a veterinarian as a young man and decided to enter into that profession himself. His application to NC State’s veterinary program, however, was denied. Undeterred, he entered the college for agriculture instead, and — my student articulated the following with great pride — became the first person in his family to graduate from college.

We were all quiet for a minute before one clap — and then another, and then another — began a round of applause for this man’s accomplishment. It was one of those moments (you teachers out there will know just what I mean) when I thought, “Oh, this is why I teach.”
Some folks that day had reached their goal by pushing through the obstacles. Others had used trial and error, learning from their mistakes and adjusting their actions. Still others had created a tool to help them accomplish their objective. That man, though, had courage and flexibility I sometimes lack. Instead of getting discouraged, he changed his goal. He created a path for himself that wasn’t what he’d originally envisioned. The pride his whole family felt at his accomplishment was a testimony to his success.

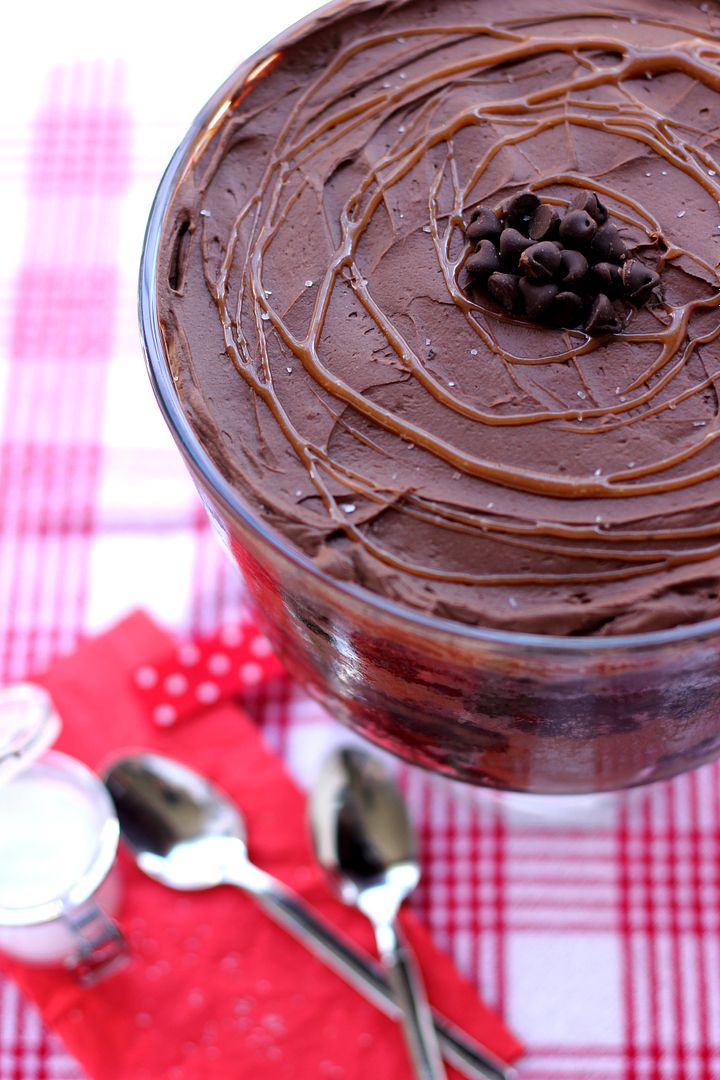
I wish I’d had that much grace this week when making this Salted Caramel Chocolate Cake. Yes, I said cake, because that’s what this dessert was supposed to be.
My goal was to create a towering chocolate cake drenched in gooey salted caramel and frosted with a smooth, fudgy icing. I saw that goal crumble before my eyes, however, when I opened my refrigerator and found all 6 layers sliiiiiiding down like they were preparing to do the limbo. The skewers I’d added for support were leaning right along with the cake.
I could pretend I handled it well, because this is the internet. For all you know I’m a supermodel who, apart from saving puppies and keeping a perfect house, never loses her temper. In the spirit of honesty, however, let’s just say that there was a solid 30 minutes of angst in my kitchen Wednesday night.

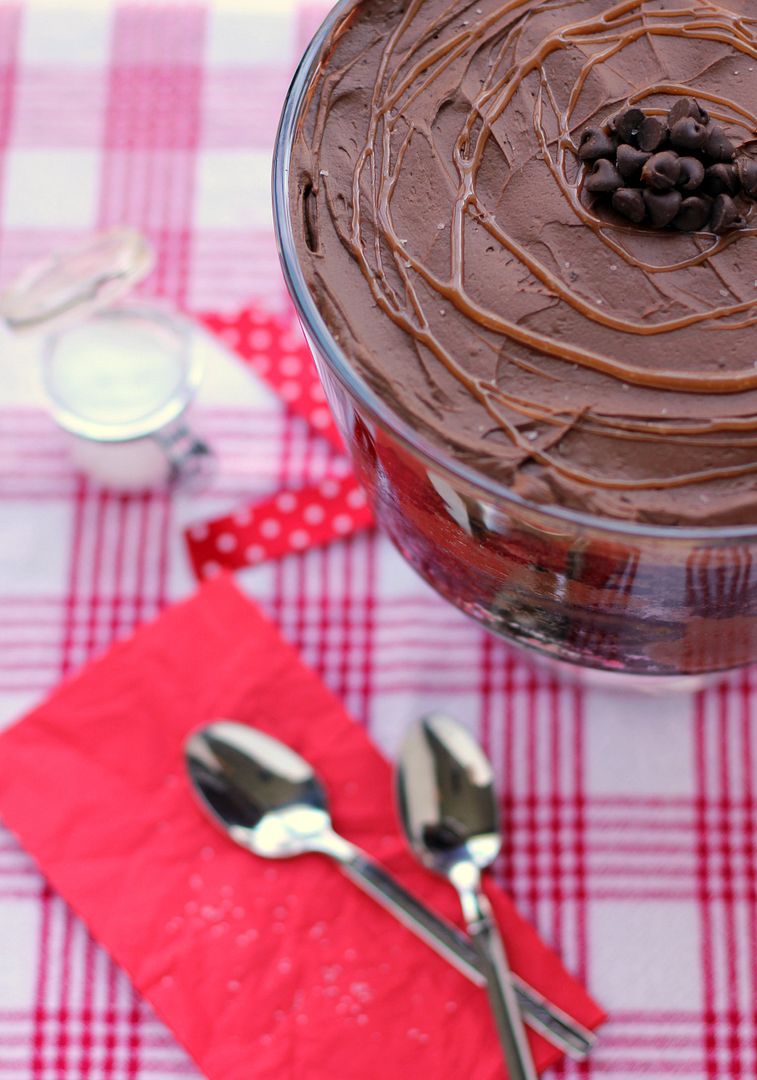
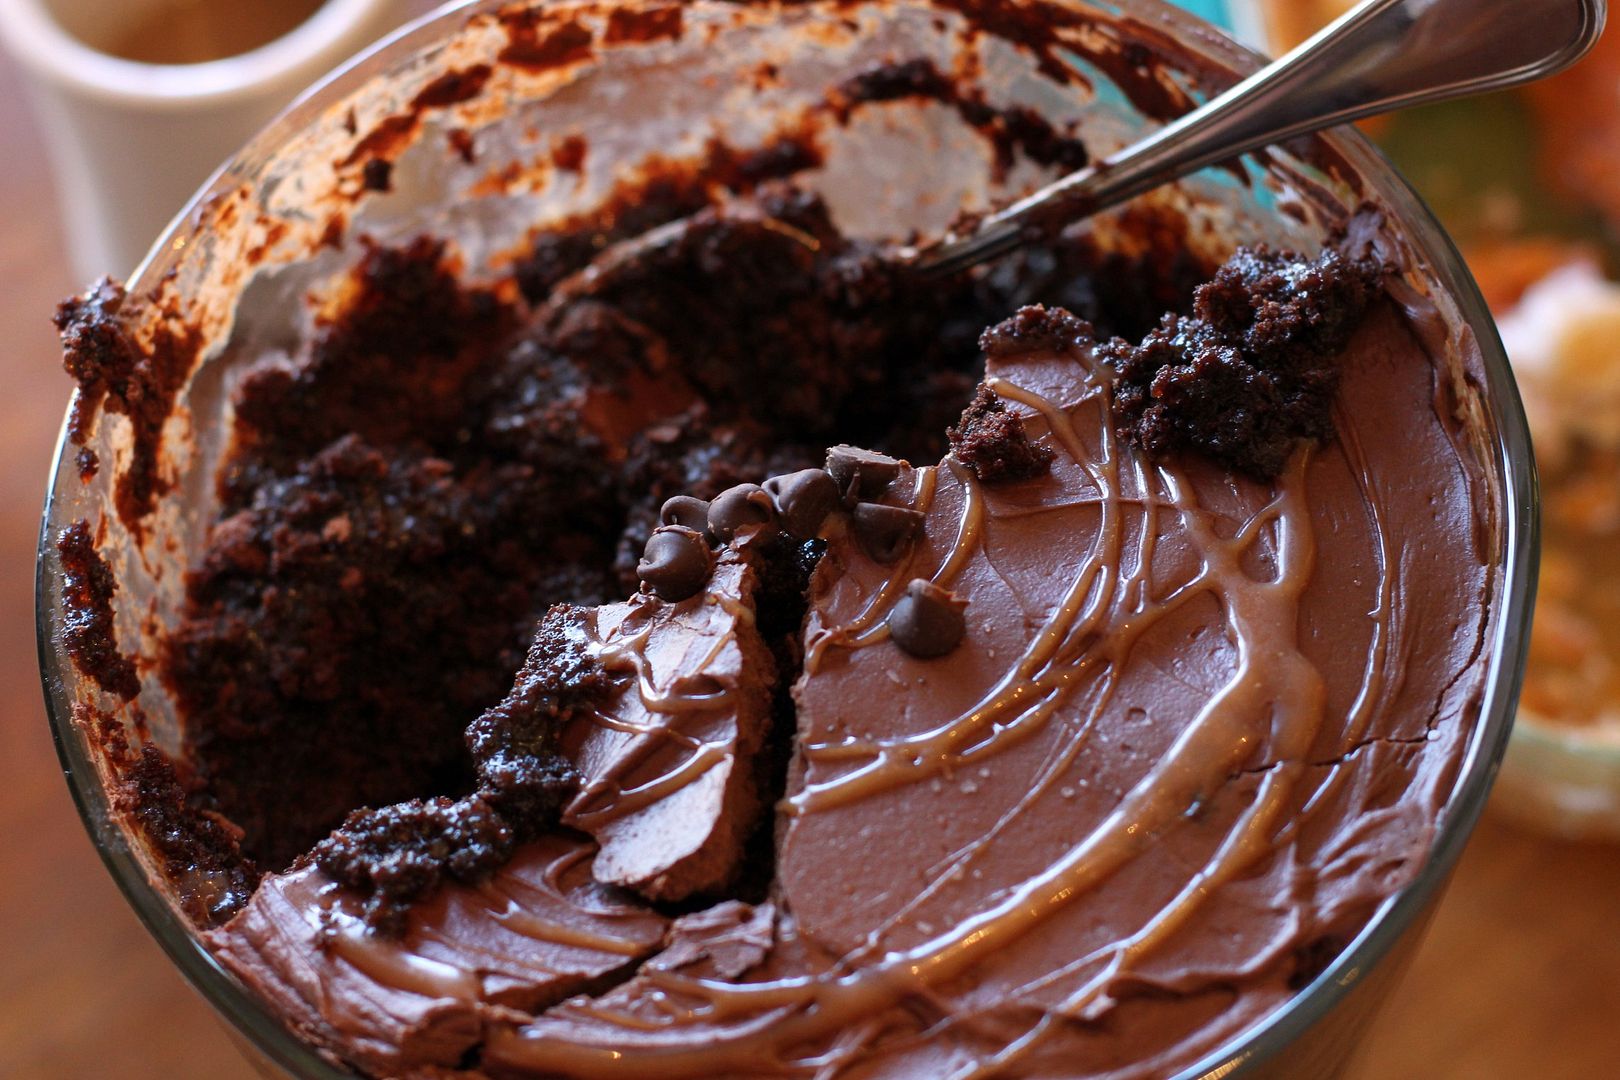
Then somehow I flipped a switch. I stopped trying to restack the layers, grabbed a spoon and my trifle dish (thanks for my trifle dish, Joyce!), and started building this bucket o’ cake. As I worked, my mood improved drastically.
Not only was my trifle pretty, less fuss to frost, and easier to transport, but it was also going to taste every bit as delicious as the cake I’d envisioned. The satisfied faces of my family around the Thanksgiving table the next day confirmed that it was a success.
Your turn: tell me about a time when you had a goal you couldn’t accomplish right away.
Salted Caramel Chocolate Trifle
Recipe by: Adapted from Martha Stewart
Yield: About a billion servings. Or at least 10-15.
This is actually a recipe for a 6-layer salted caramel chocolate cake. Feel free to attempt the cake and keep the trifle as a backup plan in case it doesn’t work — or just make the trifle from the beginning! Either way, the dessert you end up with will be rich, moist, and covered in the most delicious salted caramel and fudgy frosting. By the way, if you’re scared of making caramel, don’t be — just make sure you use a candy thermometer, which takes the guesswork out of the process.
Cake Ingredients:
3 cups all-purpose flour, plus more for pans
3 cups granulated sugar
1 1/2 cups unsweetened Dutch-process cocoa powder
1 tablespoon baking soda
1 1/2 teaspoons baking powder
1 1/2 teaspoons coarse salt
4 large eggs
1 1/2 cups low-fat buttermilk
1/2 cup plus 2 tablespoons safflower oil
1 1/2 cups warm water
2 teaspoons pure vanilla extract
Caramel Ingredients:
4 cups granulated sugar
1/4 cup light corn syrup
1/4 cup water
2 cups heavy cream
1 teaspoon coarse salt
2 sticks cold unsalted butter
Frosting Ingredients:
1/4 cup plus 2 tablespoons Dutch-process cocoa powder
1/4 cup plus 2 tablespoons warm water
2 sticks unsalted butter, room temperature
1/2 cup confectioners’ sugar
Coarse salt
1 pound semisweet chocolate chips, melted and cooled
flaked sea salt, such as Maldon
Directions:
Note on scheduling: You can make the cake layers a few days in advance. Just wrap them and refrigerate them, and take them out and freeze them the day you’ll be cutting and assembling them (which will make them easier to work with). You can make the caramel up to three days in advance and keep it in the fridge — just let it come to room temperature for a couple of hours before using it. The entire cake can be assembled a day in advance and refrigerated, allowing its flavors to meld.
Make the cake: Cut 3 circles of parchment paper and use cooking spray as “glue” to adhere them to 3 9-inch round cake pans. Then grease the pans and the paper (I use Wilton’s Cake Release, but you could also use butter and flour). Preheat the oven to 350 degrees F.
Sift the flour, sugar, cocoa, baking soda, baking powder, and coarse salt together in a mixing bowl. Beat the dry ingredients on low until combined before increasing the speed to medium and adding eggs, buttermilk, warm water, oil, and vanilla. Beat about 3 minutes until the mixture is smooth. Divide it among the three pans.
Place the pans in the oven and bake until a toothpick inserted in the middle comes out with just a few moist crumbs, about 30-35 minutes. Rotate the pans about halfway through so they’ll bake evenly. Let them cool on a wire rack for about 10 minutes before turning them out onto sheets of wax paper and leaving them to cool completely. Stick them in the freezer if you’re going to make a cake; if you’re going for a trifle, just leave them out.
Make the caramel: Slice your butter into tablespoon chunks and set it back in the fridge for later. In a large saucepan, gently combine the sugar, corn syrup, and water. Once you put it on the heat, you won’t stir it anymore to ensure that the sugar will not crystallize and give you grainy caramel. Put a candy thermometer on the pan and heat it over high heat (no stirring!). Once the mixture starts turning amber around 320 degrees, you can gently swirl it every now and then (not stirring!) to ensure the sugar caramelizes evenly. Heat it until the mixture is dark amber (350 degrees on your thermometer), about 14 minutes. Remove it from the heat.
VERY CAREFULLY and slowly, pour in the cream. The mixture will bubble up and spatter so just be prepared and stand back — flaming sugar is no joke! Once you add the cream, whisk the mixture until it’s smooth before returning it to the heat and cooking until it reaches exactly 238 degrees (I know it sounds weird, but apparently this is crucial for the texture), about 2 minutes. Pour the caramel into a medium bowl and add the salt. Let it cool for about 15 minutes before whisking in the butter 1 tablespoon at a time (you’re definitely going to want to enlist another set of hands here; otherwise your arm will fall off).
Make the frosting: In a small bowl, whisk together the cocoa and warm water. In a separate bowl, beat together butter, confectioners’ sugar, and a generous pinch of coarse salt until pale and fluffy. Gradually beat in the melted chocolate and the cocoa mixture. Let this sit for about 30 minutes before you use it.
Assemble the cake (or trifle): If you’re making a trifle, simply tear up the cake and alternate layers of cake and 3/4 cup of caramel in your bowl, using a spoon or offset spatula sprayed with cooking spray to help spread the caramel. Do a layer of frosting in the middle of the dish and another layer on top before drizzling with caramel and sprinkling with sea salt.
Alternatively, if you want to try the cake, freeze your cake layers until they’re firmer (this makes them much easier to work with). Use a long serrated knife to level their tops and cut each layer in half. Place one layer on a serving platter and spoon 3/4 cup of caramel on top, using a spoon or offset spatula sprayed with cooking spray to help spread the caramel. Place another cake layer on top and repeat the process, alternating layers of cake and caramel, leaving the top cake layer uncovered. For goodness’ sake, place dowels through your cake (I’d say at least 4), mark them at the height of the cake, remove them, and cut them down to size. Then replace them in the cake. I’d also wrap the entire cake tightly in plastic wrap before chilling it to prevent sliding. Refrigerate it until it’s set (about an hour) before frosting the top and sides of the cake and sprinkling with sea salt.
Serve the trifle or cake: I think this dessert is delicious no matter what, but it’s absolutely out-of-this-world if you heat a serving of it for about 30 seconds before spooning a big hunk o’ vanilla ice cream on top. I didn’t try this with a cake slice, so I don’t know that it’d hold together — another benefit of a messy trifle.
If you liked this post, please:
–Subscribe to Willow Bird Baking
–Follow Willow Bird Baking on Twitter
–Follow Willow Bird Baking on Facebook
–Give this post a thumbs up on StumbleUpon
–Pin It
![]() Other ways to share this post with friends!
Other ways to share this post with friends!

Abby
December 1, 2011 at 12:33 am (14 years ago)This is ridiculously amazing. So glad I found you via Pinterest!
Julie @ Willow Bird Baking
December 1, 2011 at 12:36 am (14 years ago)Thank you, Abby! I’m glad you’re here!
Mackenzie@The Caramel Cookie
December 7, 2011 at 12:27 am (14 years ago)I’ve had to turn a messed up cake into a trifle a time or two. Still looks delicious!
Julie @ Willow Bird Baking
December 7, 2011 at 12:28 am (14 years ago)This was my first, but I’m sure not my last! Thanks, Mackenzie!
annie
December 16, 2011 at 2:28 pm (13 years ago)I’m making this as a Christmas gift for a foodie friend and his family. I always try to find something outrageous and over the top. This sounds killer delish!
Julie @ Willow Bird Baking
December 16, 2011 at 2:32 pm (13 years ago)Oh my gosh, they will LOVE it! It’s perfect for “over the top!” Let me know how it goes!!
Megan
December 31, 2011 at 7:13 pm (13 years ago)I just made this for my family get together today and it was a hit. I was stuffed but I HAD to go back for seconds!!!
Julie @ Willow Bird Baking
December 31, 2011 at 8:57 pm (13 years ago)Yay! I’m so glad to hear you all loved it, Megan!!
Judith
November 21, 2012 at 12:30 pm (13 years ago)Thank you for this recipe……It took me forever to find a Chocolate trifle from scratch….
Julie @ Willow Bird Baking
November 21, 2012 at 1:04 pm (13 years ago)You are so welcome! It’s is SUCH a delicious one. You’re gonna love it!
Ali
April 13, 2014 at 7:04 pm (11 years ago)I am making the cake and the batter is so watery. I looked up the original matha Stewart recipe that this is adapted from and it is the same except you have added 1.5 cups warm water. Is this correct? Will it firm up in the oven?
Julie Ruble
April 13, 2014 at 11:52 pm (11 years ago)The water is in her recipe, too; she just doesn’t include it in the ingredients. That bothered me, so I fixed it. Chocolate cake batters are usually very liquidy — rest assured that it will bake up nicely 🙂
Ali
April 15, 2014 at 6:35 pm (11 years ago)Thank you. It did bake up well. I’m assembling now. Can’t wait to taste it.
Sophia Spach
September 2, 2014 at 10:49 pm (11 years ago)THAT LOOKS AMAZING!!!!!!!!!!!!!
Julie Ruble
September 2, 2014 at 11:01 pm (11 years ago)Thanks girl! You would love it!!
Rachelle
December 13, 2014 at 11:06 am (11 years ago)What did I do wrong if the it gets all clumpy after I put the whipping cream in the caramel sauce?
Julie Ruble
December 13, 2014 at 7:40 pm (11 years ago)Nothing, except that you have to whisk constantly as you add the cream — the heat will melt the lumps that form but it takes a little bit.
Monica
February 19, 2015 at 3:29 pm (10 years ago)This looks delicious. Salted Caramel, bliss.
Monica
http://mamabeesimple.blogspot.com