Mike and I have been doing a lot of talking about married life. How will we manage money? Do we want kids? Who vacuums?
Some of the answers are obvious (for instance, he will be folding all of the laundry. Don’t tell him I said that. But mark my words.) Others are a little trickier.
One of the tricky parts is dinner. I gotta be honest with you all: I don’t usually cook for myself during the week. I either make a big batch of something on Sunday and eat it all week (Naked Vegan Tacos or Roasted Tomato and Onion Bread Soup, anyone?) or I’ll microwave one of those frozen meals. Many nights, as my close friends know, find me at my local deli ordering a half sandwich and a cup of soup and working through dinner.
Cooking every single day is just too hard for me. I can cook a 20-hour dessert on the weekend without flinching, but don’t make me chop a vegetable.
Mike on the other hand is a very clean eater. He usually has broiled steak, chicken, or fish; some veggies; maybe some scrambled eggs. His meals are filled with healthy but plain food. I always tease him about choosing super simple recipes when I’m baking huge desserts, but really, he’s the one who takes the time to cook good meals on a daily basis.
I guess it seems obvious that he should be our go-to dinner person, but then again, I’m bored with his menu already. There are only so many nights I can eat chicken and vegetables.
We need a way to make one dinner customizable to both of our tastes. I’ve always loved Pillsbury crescent rolls for this purpose — they’re so versatile and can be stuffed with any old thing — but recently Pillsbury asked me to try their pizza crust and I enjoyed it, too! It’s perfect for a fun family night since everyone can choose their own toppings.
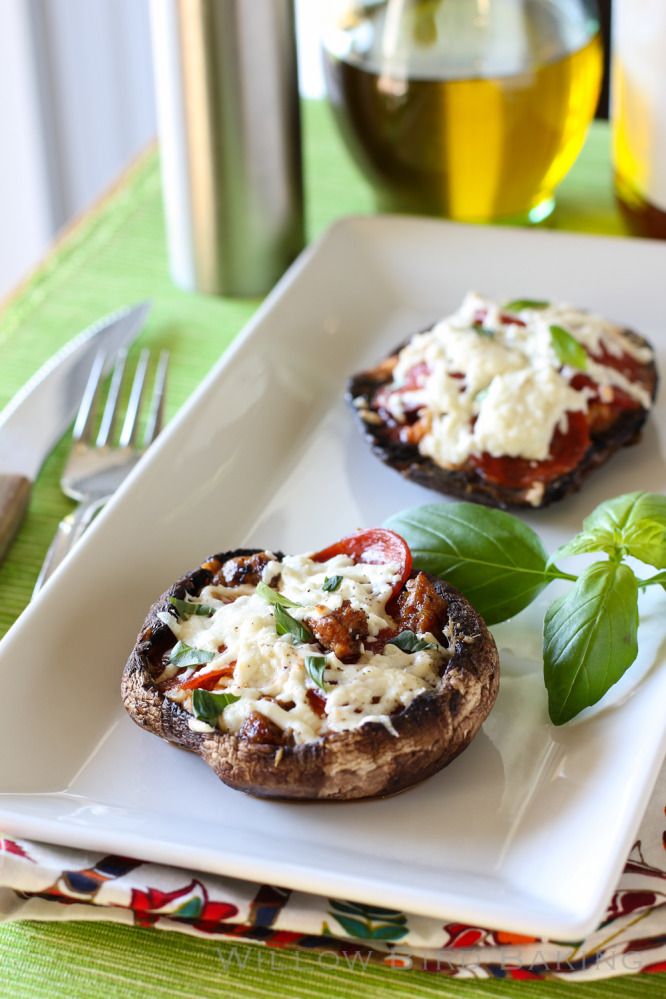
To try it out, I thought I’d give grilled pizza a go. I’ve wanted to grill pizza since folks around the interwebz first began doing so, but I live in an apartment and don’t have an outdoor grill. I do have a cast iron grill pan, though, so I jumped at the chance to experiment. It turns out that it’s super easy to grill a pizza indoors (and no mosquitoes, hooray). I used the tips from Pillsbury’s How to Grill Pizza website.
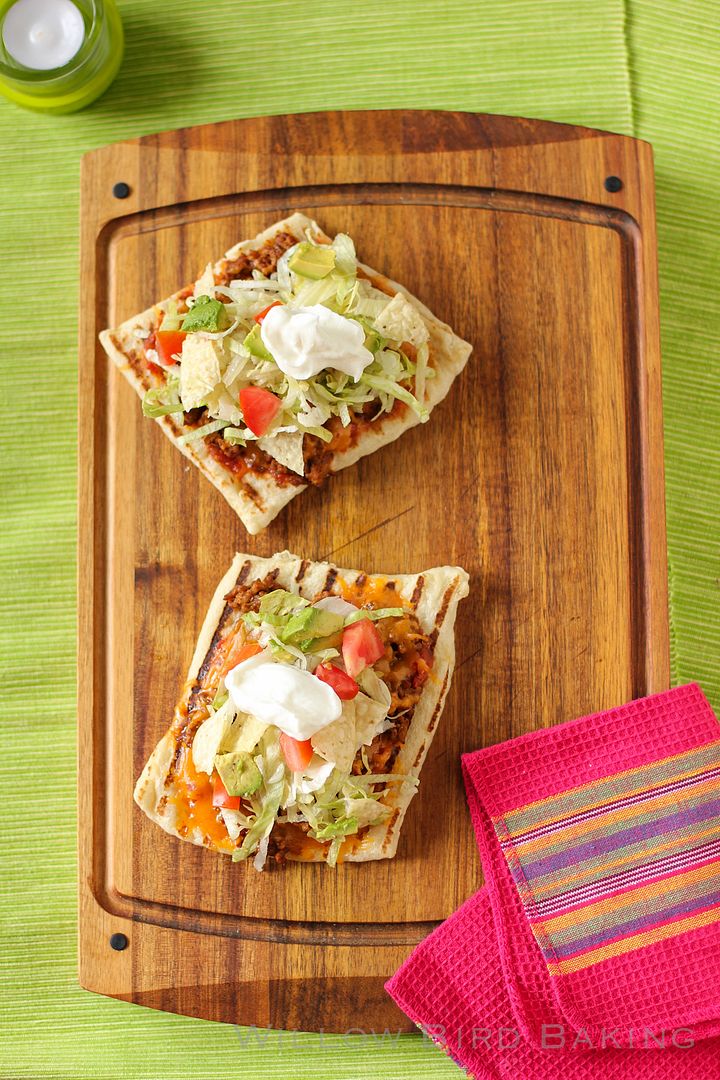
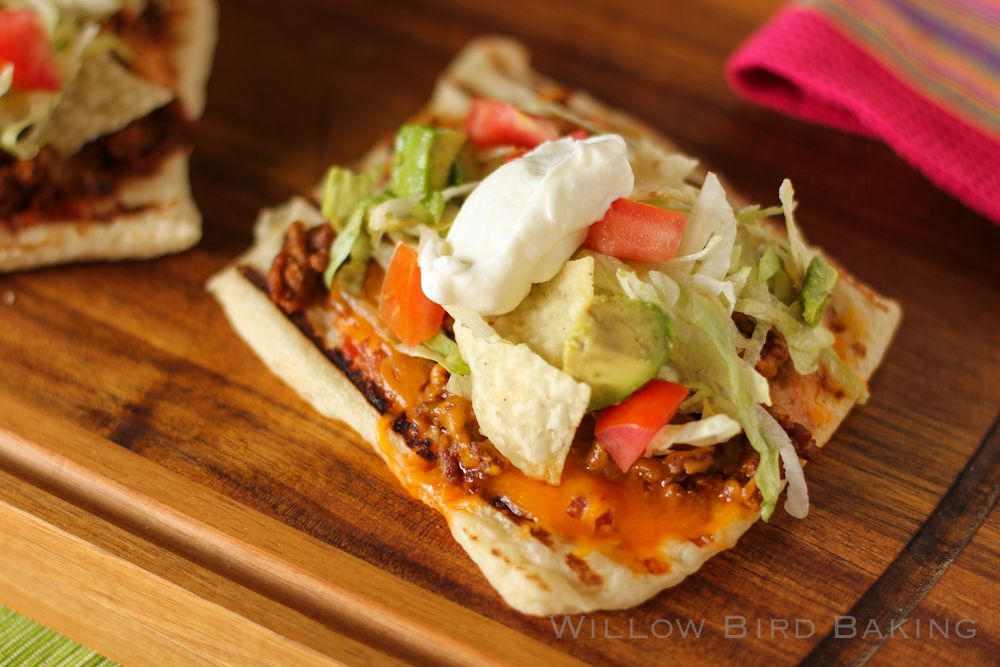
The best part about the process, for me, was the power to customize. I chose to cut my Pillsbury pizza crust into mini-pizzas, allowing people to dress their own individual servings. I created a little toppings bar with bowls of tomatoes, avocado, iceberg lettuce, shredded cheddar, sour cream, and tortilla chips. I then grilled the pizzas topped with just salsa, meat, and cheese, leaving the crisp, cold taco salad ingredients for folks to pile on their hot pizzas.
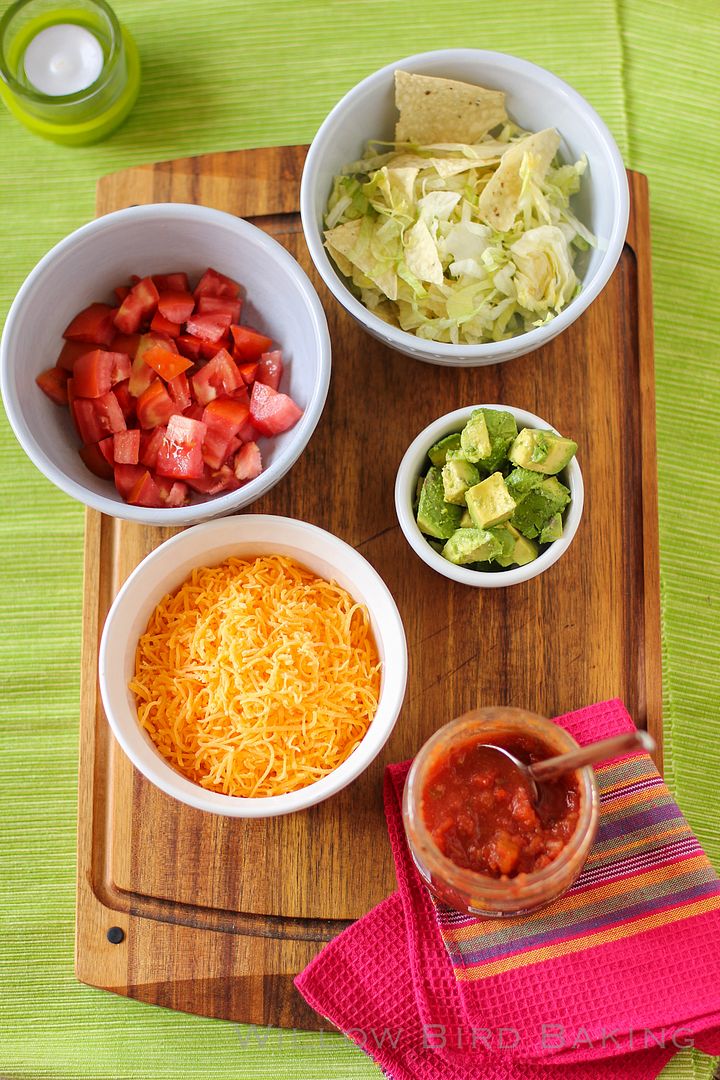
the toppings bar
With summer here, Pillsbury knows you and your family want to enjoy the outdoors as much as possible. So at your next BBQ, why not grill pizza (or mini-pizzas!) for a family fun night? Go see how to grill a pizza on Pillsbury’s website. And please save a slice for me.
One year ago: Elvis Presley Bars (Peanut Butter Banana Bacon Bars – with a vegetarian variation!)
Two years ago: Pretty Italian Pressed Sandwiches
Three years ago: Chocolate Mousse Pie
Four years ago: Baking to Freeze: Mexican and Classic Lasagna and Cookies
Easy Taco Grilled Pizza
Recipe by: Willow Bird Baking
Yield: 6-10 mini pizzas
These mini-pizzas are adorable no matter how you cook them, but grilling pizzas is fast, delicious, and perfect for the summer. Leave the toppings on the side as a topping bar so everyone can create their own perfect pizza.
Ingredients:
1 roll Pillsbury Pizza Crust
1 pound ground beef or turkey
taco seasoning
cheddar cheese
salsa
optional toppings: chopped tomatoes, iceberg lettuce, tortilla chips, sour cream, chopped avocado
Directions:
Review Pillsbury’s easy instructions for How to Grill Pizza before starting out and get all your toppings chopped and ready. Brown the ground beef in a skillet over high heat, drain it well on a paper towel lined plate, and then sauté it with the taco seasoning and a little water until it’s well seasoned. Set this aside with the other prepared ingredients.
Unroll Pillsbury Pizza Crust onto a greased sheet of foil and cut it to desired “mini pizza” sizes.
Preheat a cast iron grill pan (sprayed well with cooking spray) over medium heat (or preheat an oiled outdoor grill to a low heat). Use the foil to flip the mini crusts, one or two at a time, onto the grill. Grill the crust for a minute or two on the first side before flipping it and adding a layer of salsa, seasoned beef, and cheese. Cook another minute or two to melt the cheese, being careful not to burn the bottom crust. If the cheese isn’t fully melted, you can stick the pizza in the microwave for a few seconds post-grilling to finish that job. Take pizzas to the table and let everyone top as they wish. Enjoy!
 Disclosure: Compensation was provided by General Mills via Glam Media. The opinions expressed herein, though, are all mine and are not indicative of the opinions or positions of General Mills. You can rest assured that I never share products with you that I’m not personally enthusiastic about.