
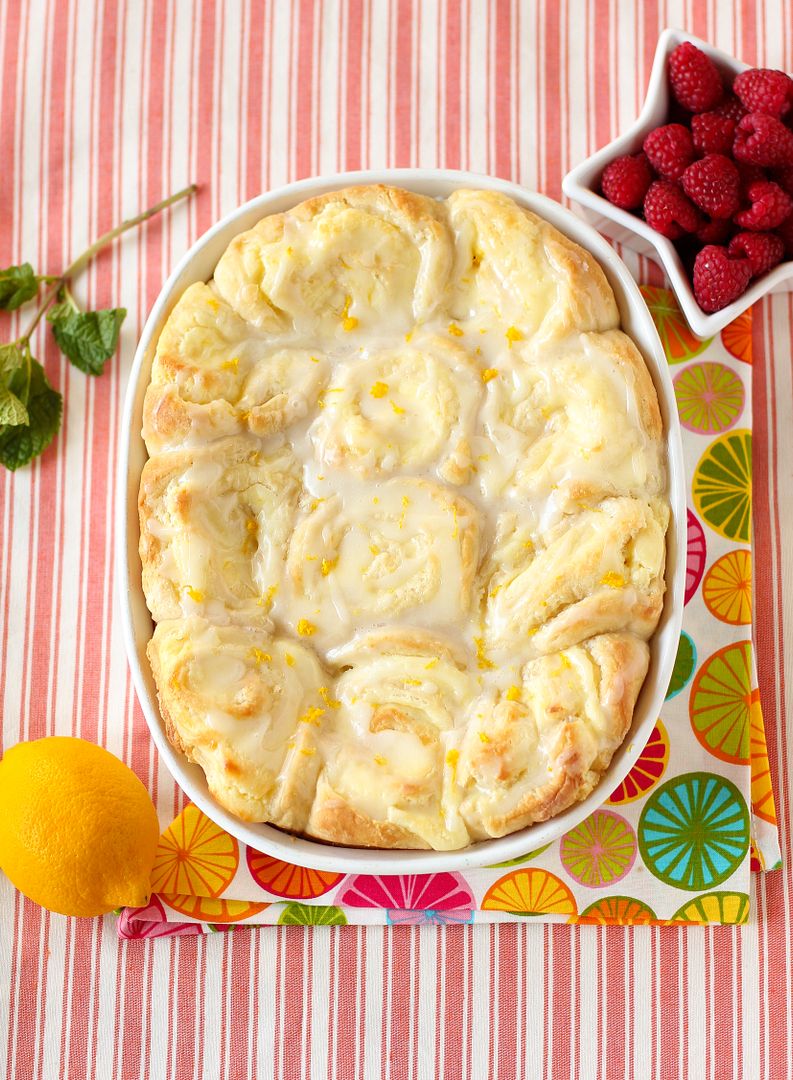
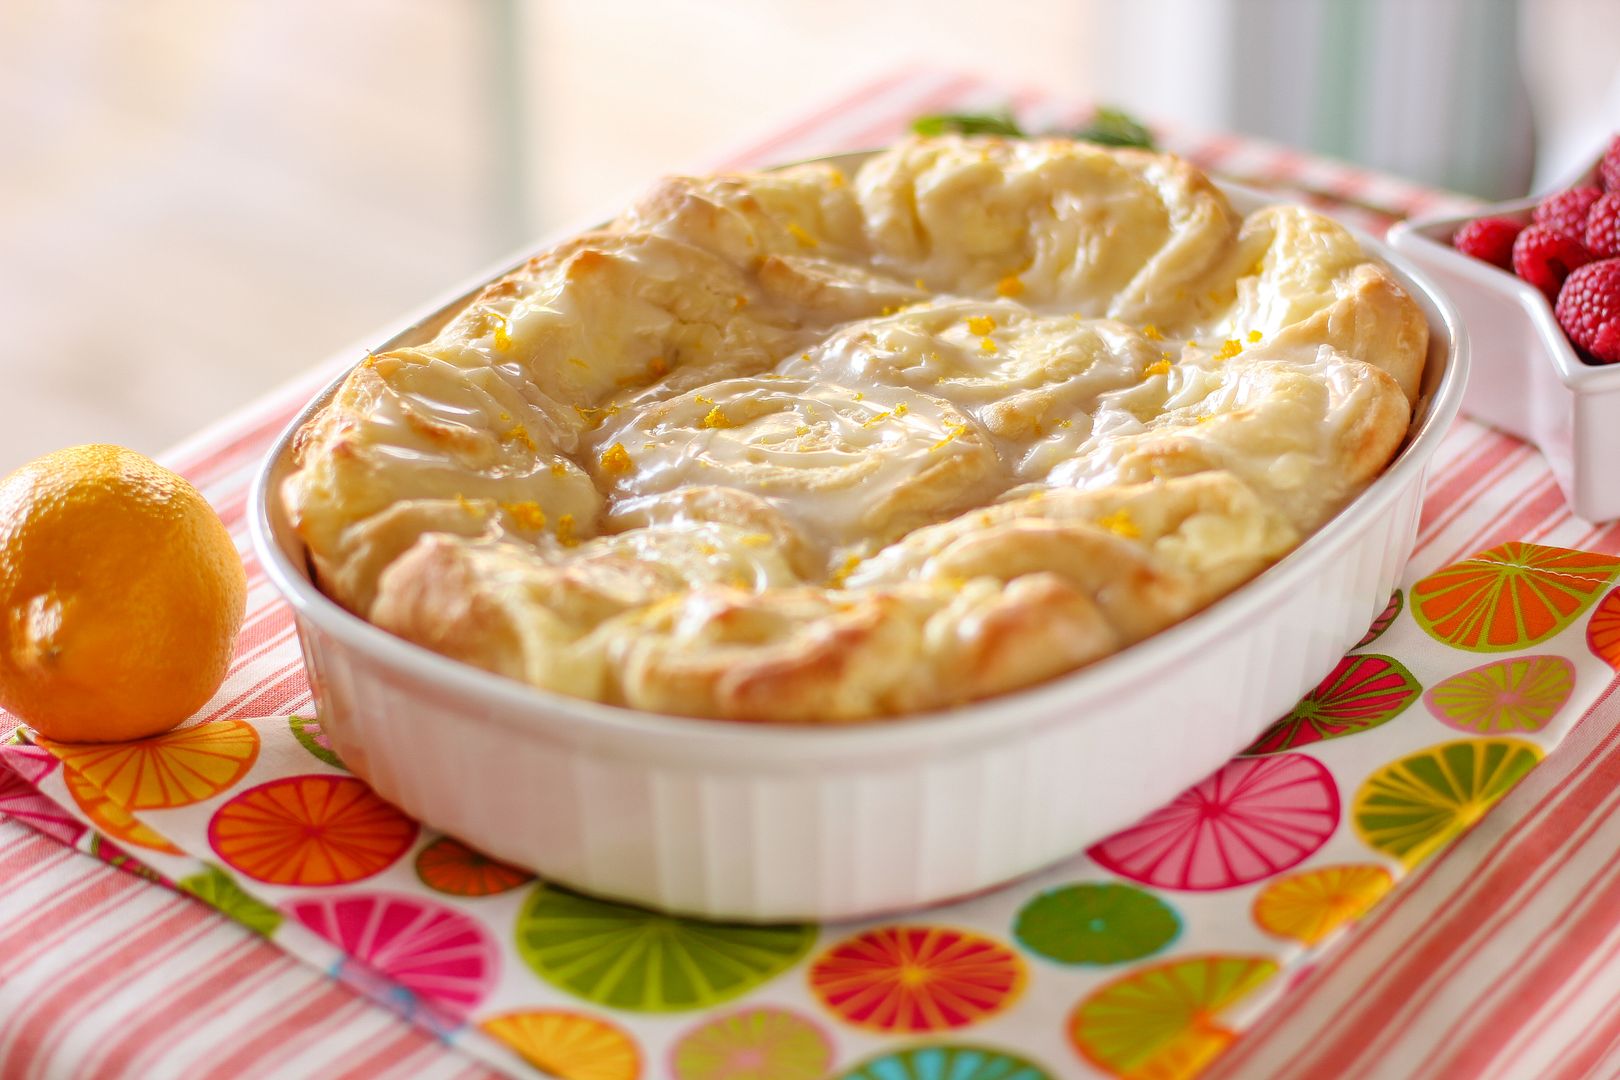
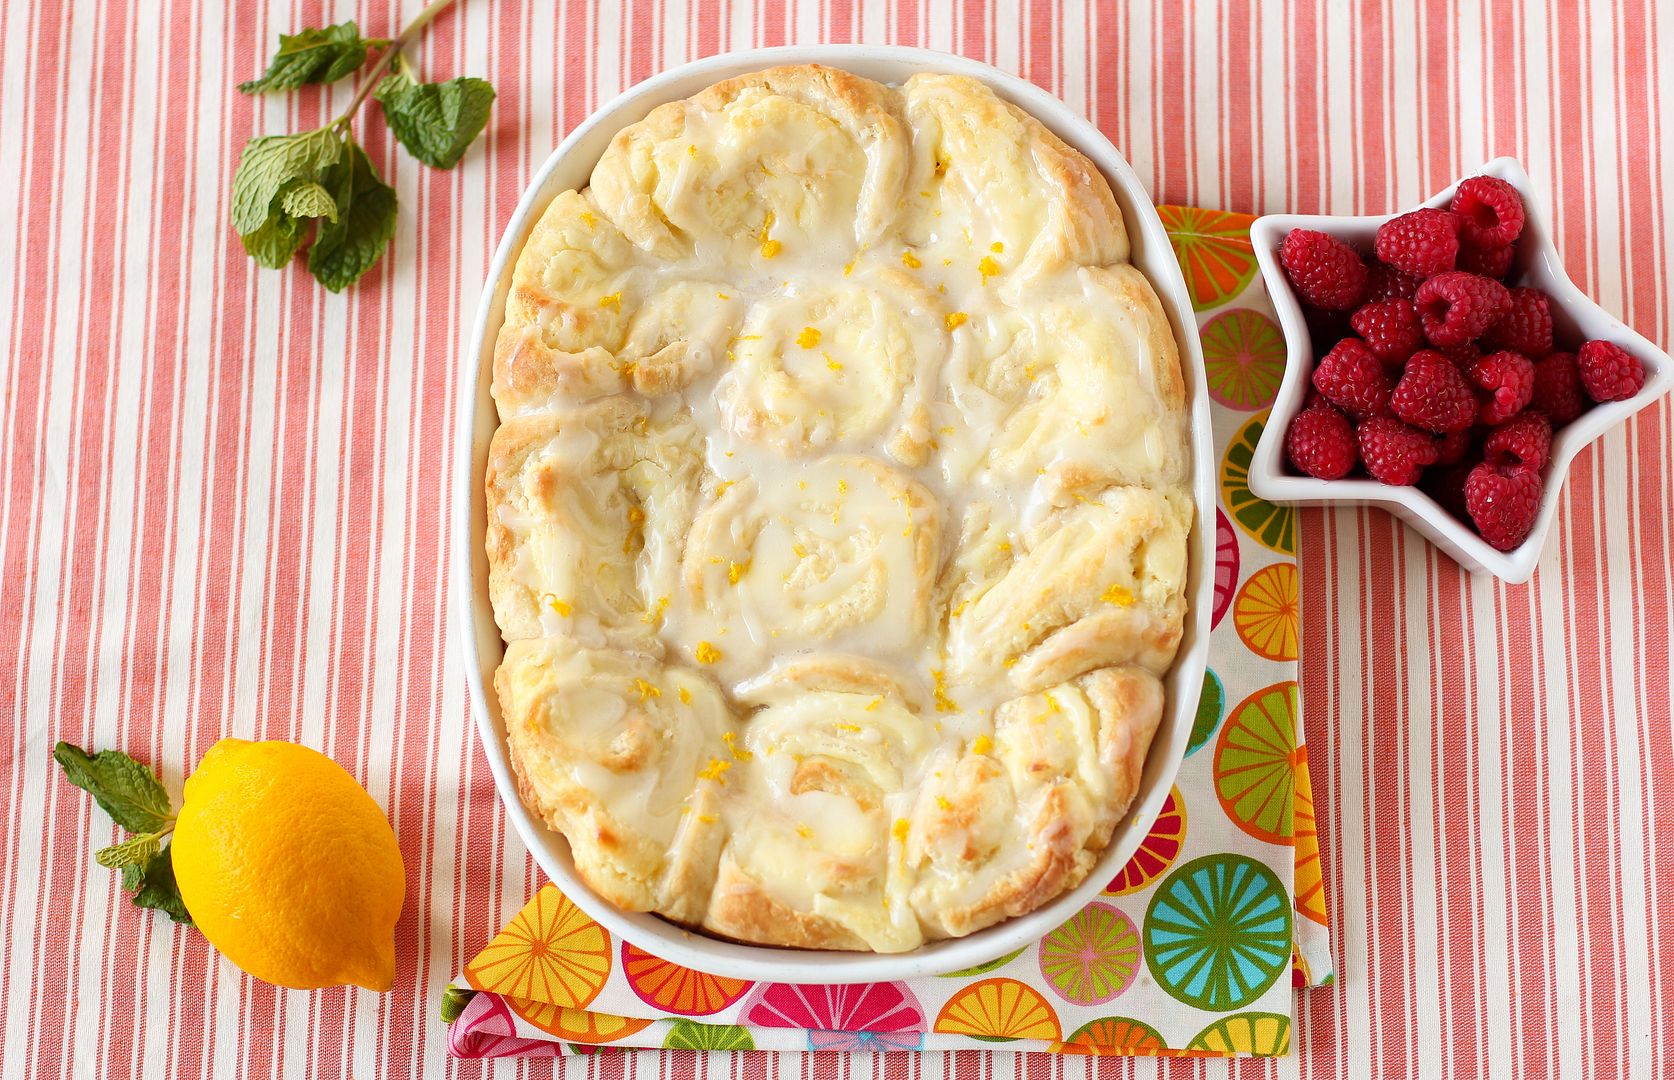
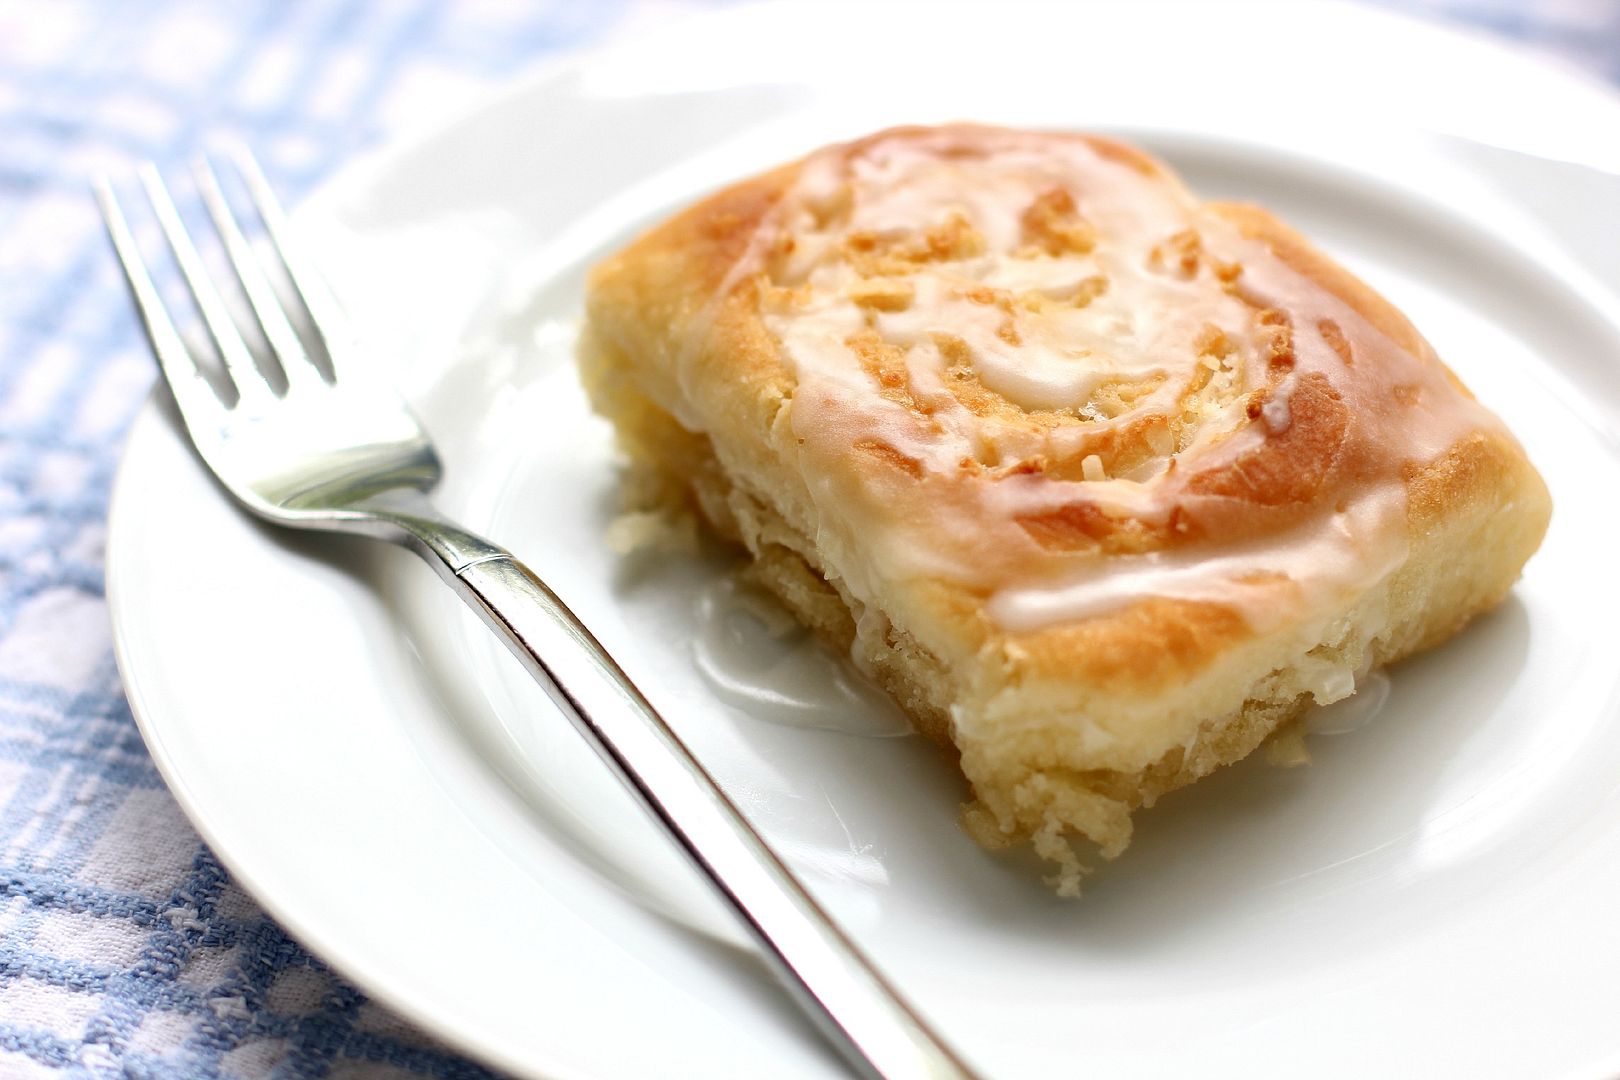
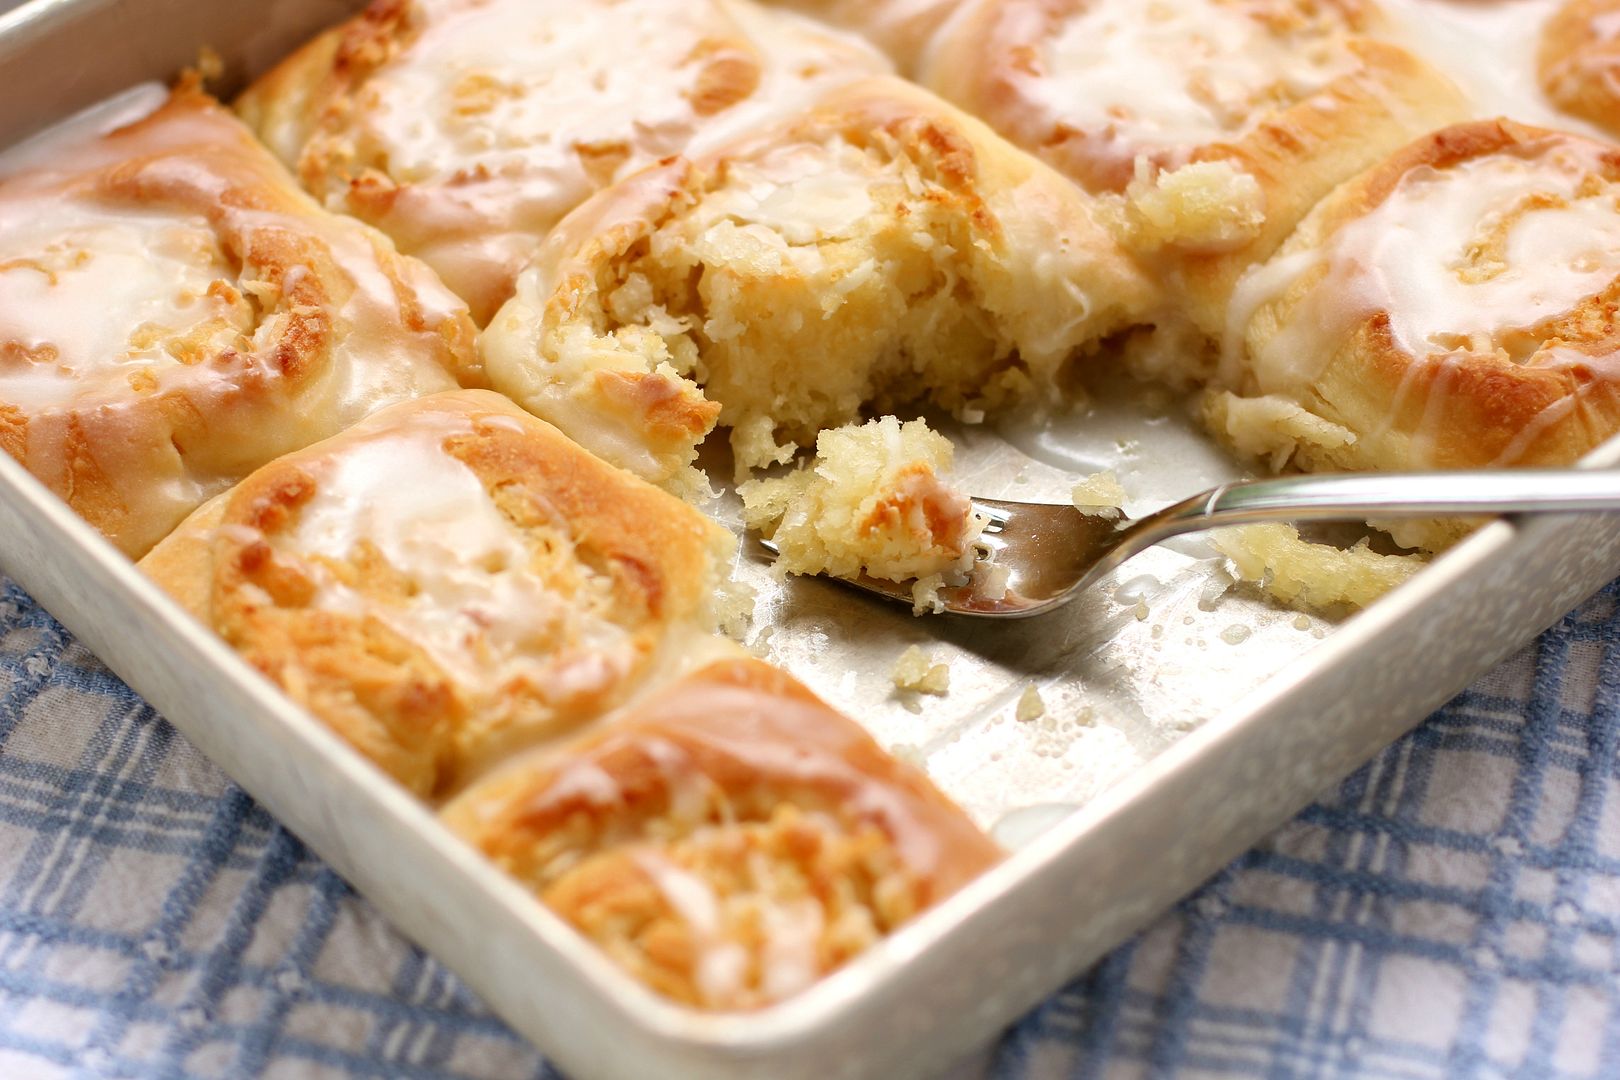
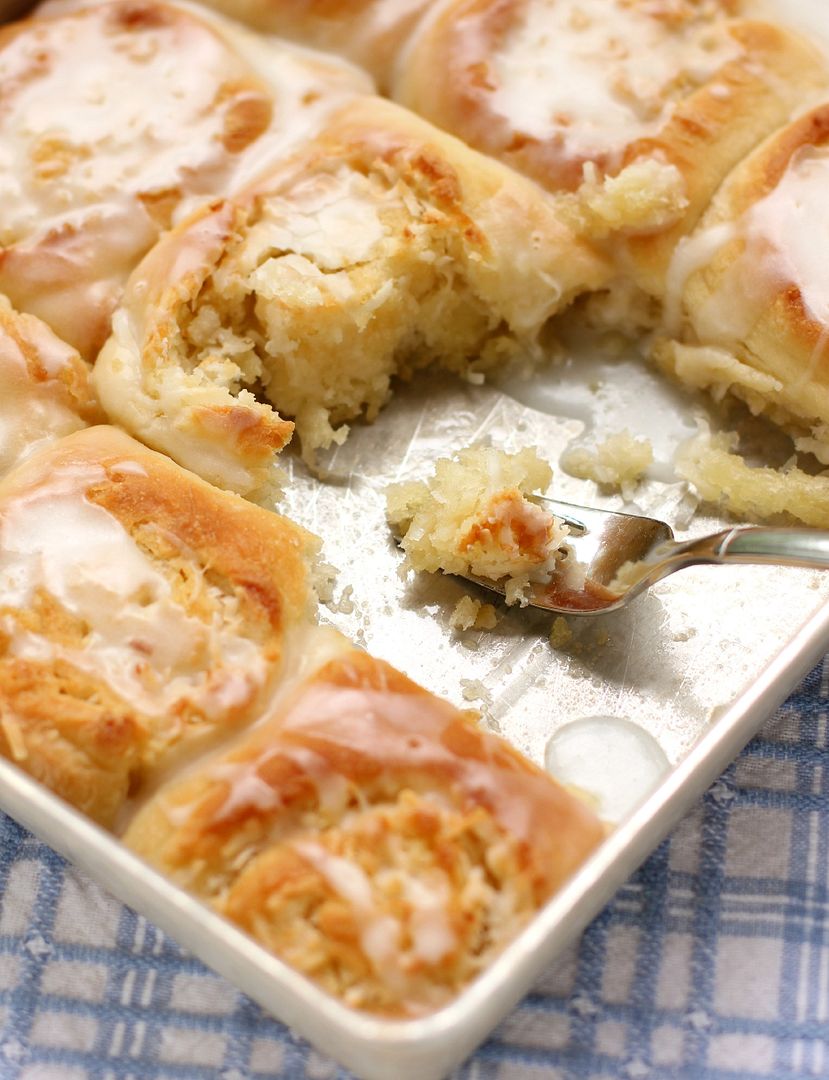
Lemon Cheesecake Morning Buns
You know the saying, “Don’t dress for the job you have; dress for the job you want”? I like to adapt that statement for my own ridiculous purposes on occasion.
The other day it was roughly 40 degrees outside, which is basically winter-in-Antarctica weather for me (some New Englander with a snowdrift the size of a Hummer outside their door is about to beat me up). Despite being pathologically repulsed by cold weather, I was too lazy to put on a coat. I ran out in a gauzy t-shirt and jeans to pick up some dinner.
When you make a wardrobe choice like this, you can’t curl up in a ball on the sidewalk, acknowledging defeat. You have to grit your teeth and pretend your choice was appropriate for some secret reason only you are aware of. I therefore ignored my goosebumps and impending hypothermia as I walked along the sidewalk to the restaurant, swinging my arms as if enjoying a gentle summer breeze. Upon noticing a guy in a t-shirt clearly doing the exact same thing, I gave him a nod. “We’re dressing for the weather we want, not the weather we have. It’s strategic!” I yelled toward him.
He responded, “Exactly. And it’s only 40 degrees. We’re not even cold, right?”
“NOPE, not one bit.”

I also often bake for the weather I want, not the weather I have. Naomi at Bakers Royale just acknowledged she sometimes uses out-of-season produce, so I might as well make my confession, too, though I might get excommunicated from the blogosphere. I promise I do care about being green and supporting local business. But sometimes I also want raspberries. My lifestyle is admittedly imperfect.
Now that we’ve gotten that admission out of the way, I can tell you that I’m baking for spring.
When it’s cold and rainy like it has been in Charlotte lately, my already sun-sheltered apartment windows let in an even more dreary landscape than usual. The courtyard of my apartment complex, where the grass has stubbornly refused to take root, becomes a muddy landslide. My morale slides right off into the stormdrain along with the river that forms in my parking lot.
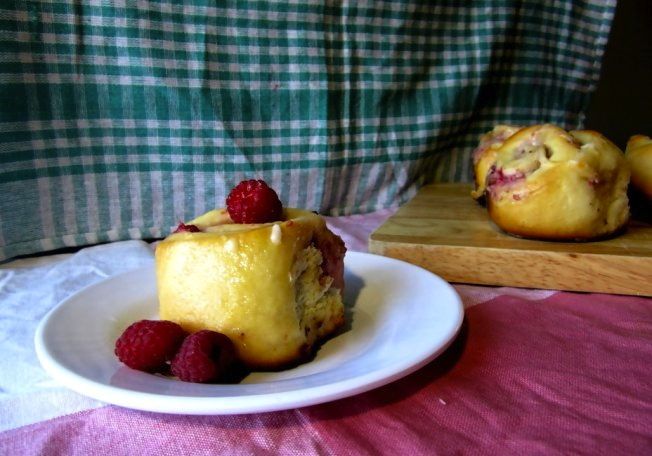
On days like this, I need some lemon. And some bright summer berries. (And a sunlamp and some vitamin D and maybe a tropical vacation, but I digress.)
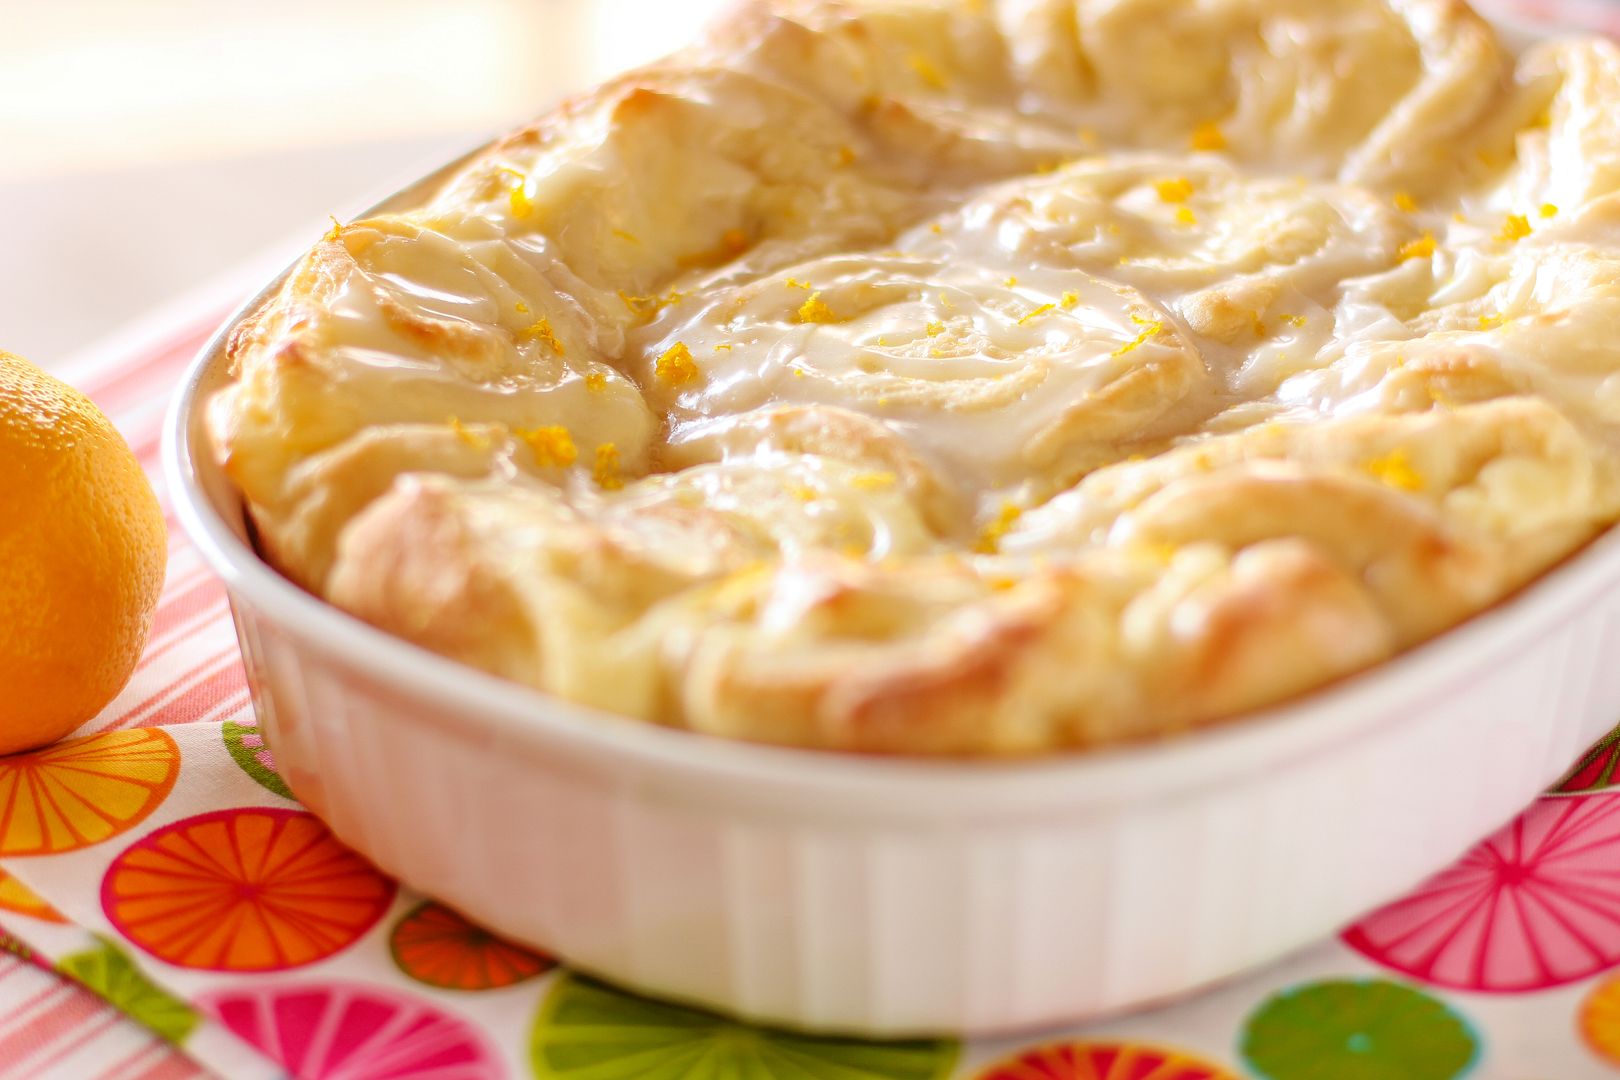
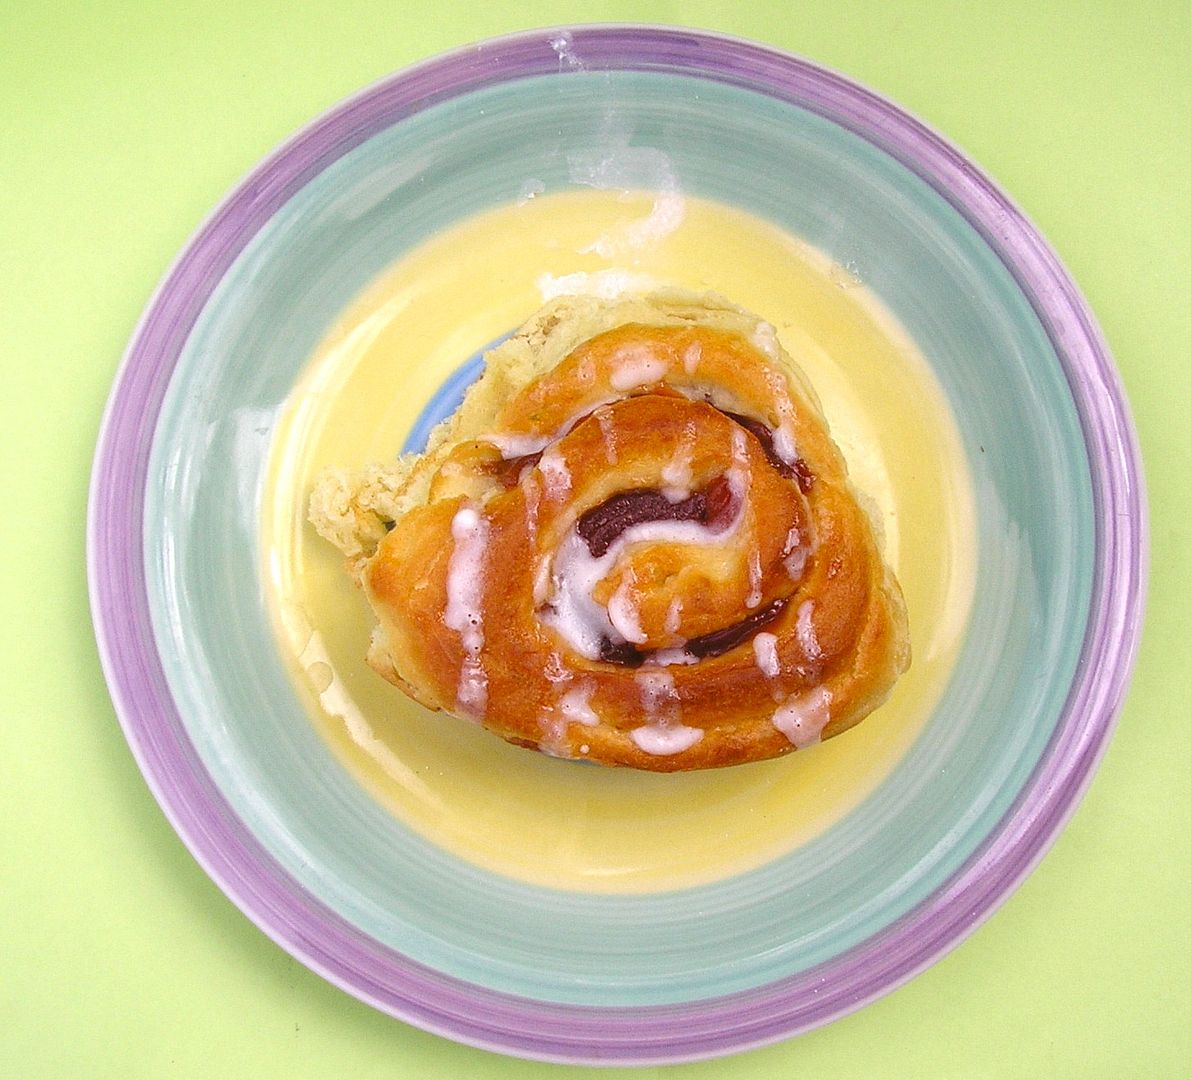
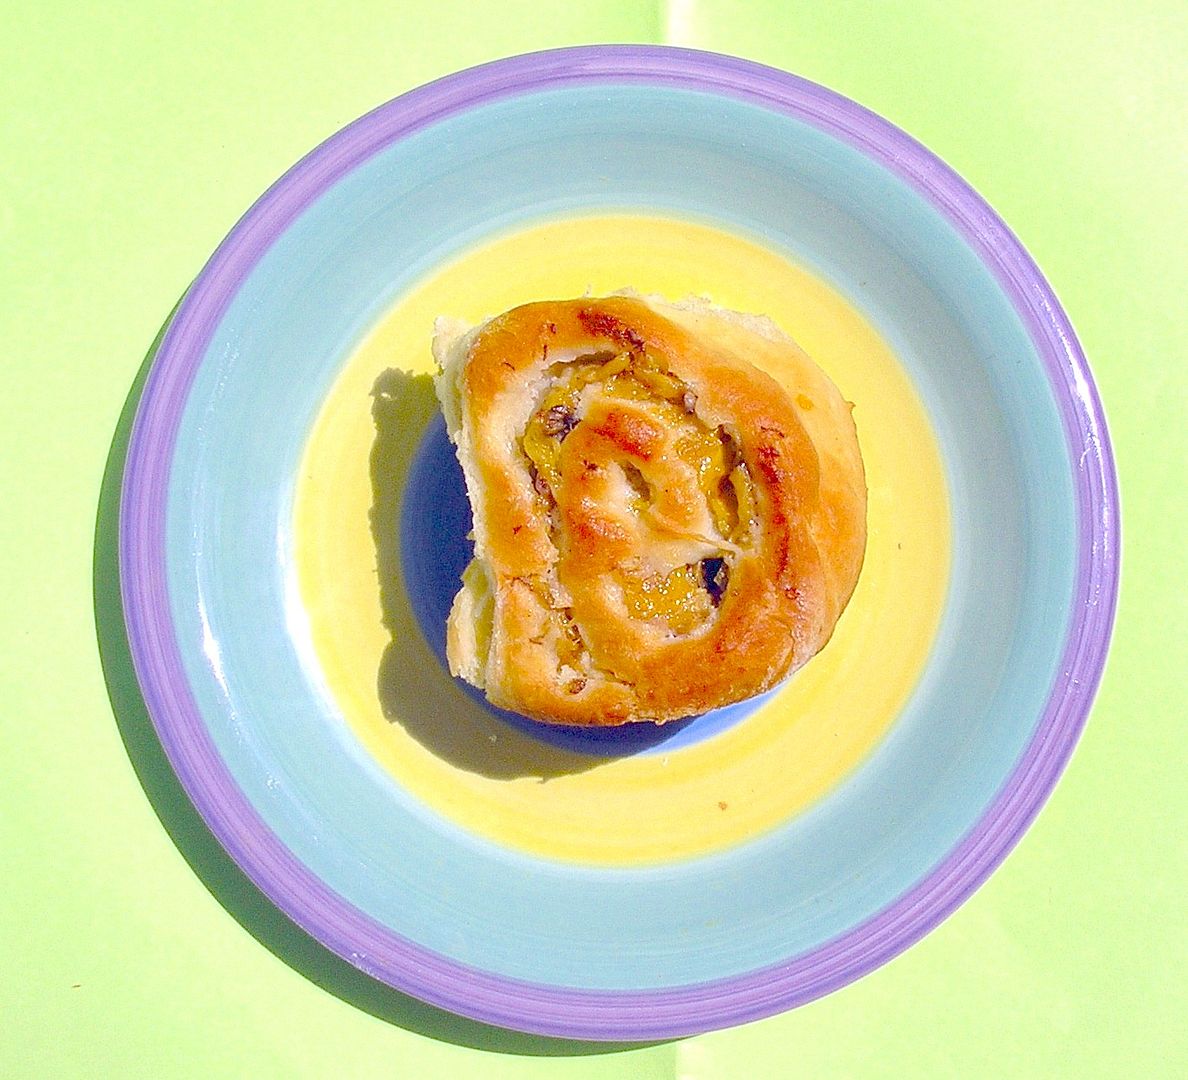
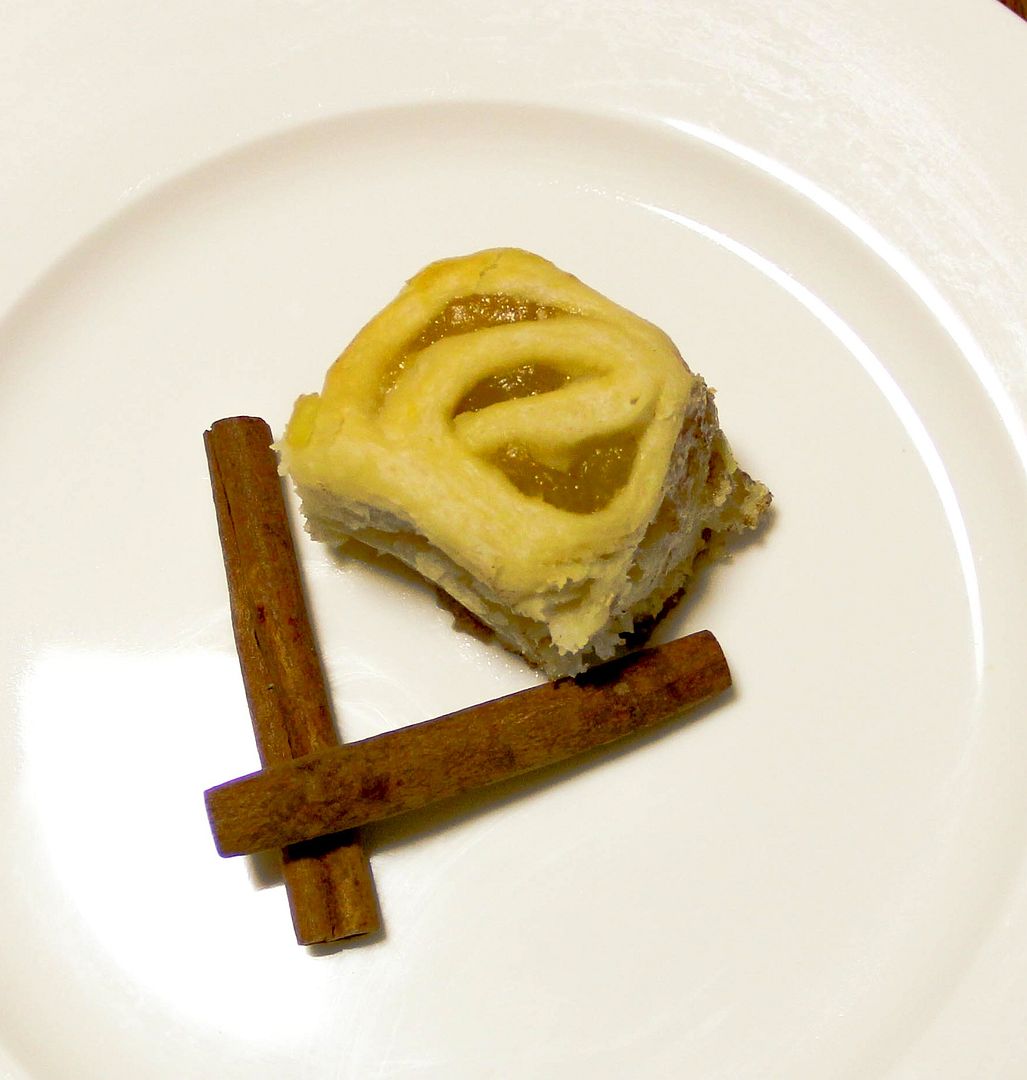
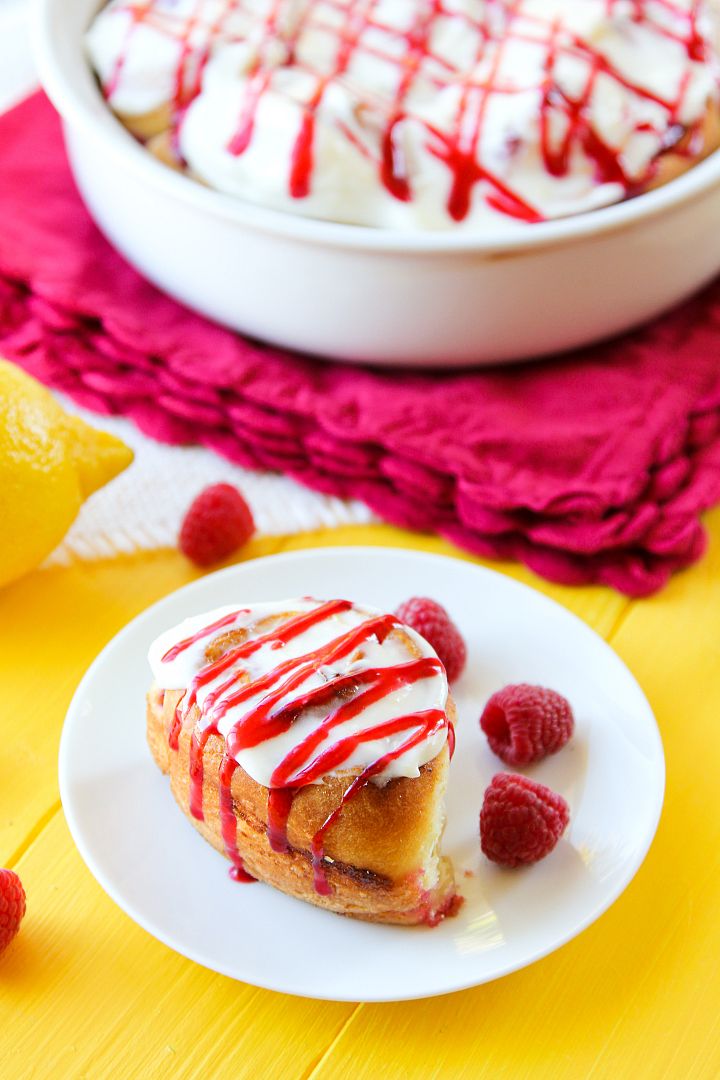
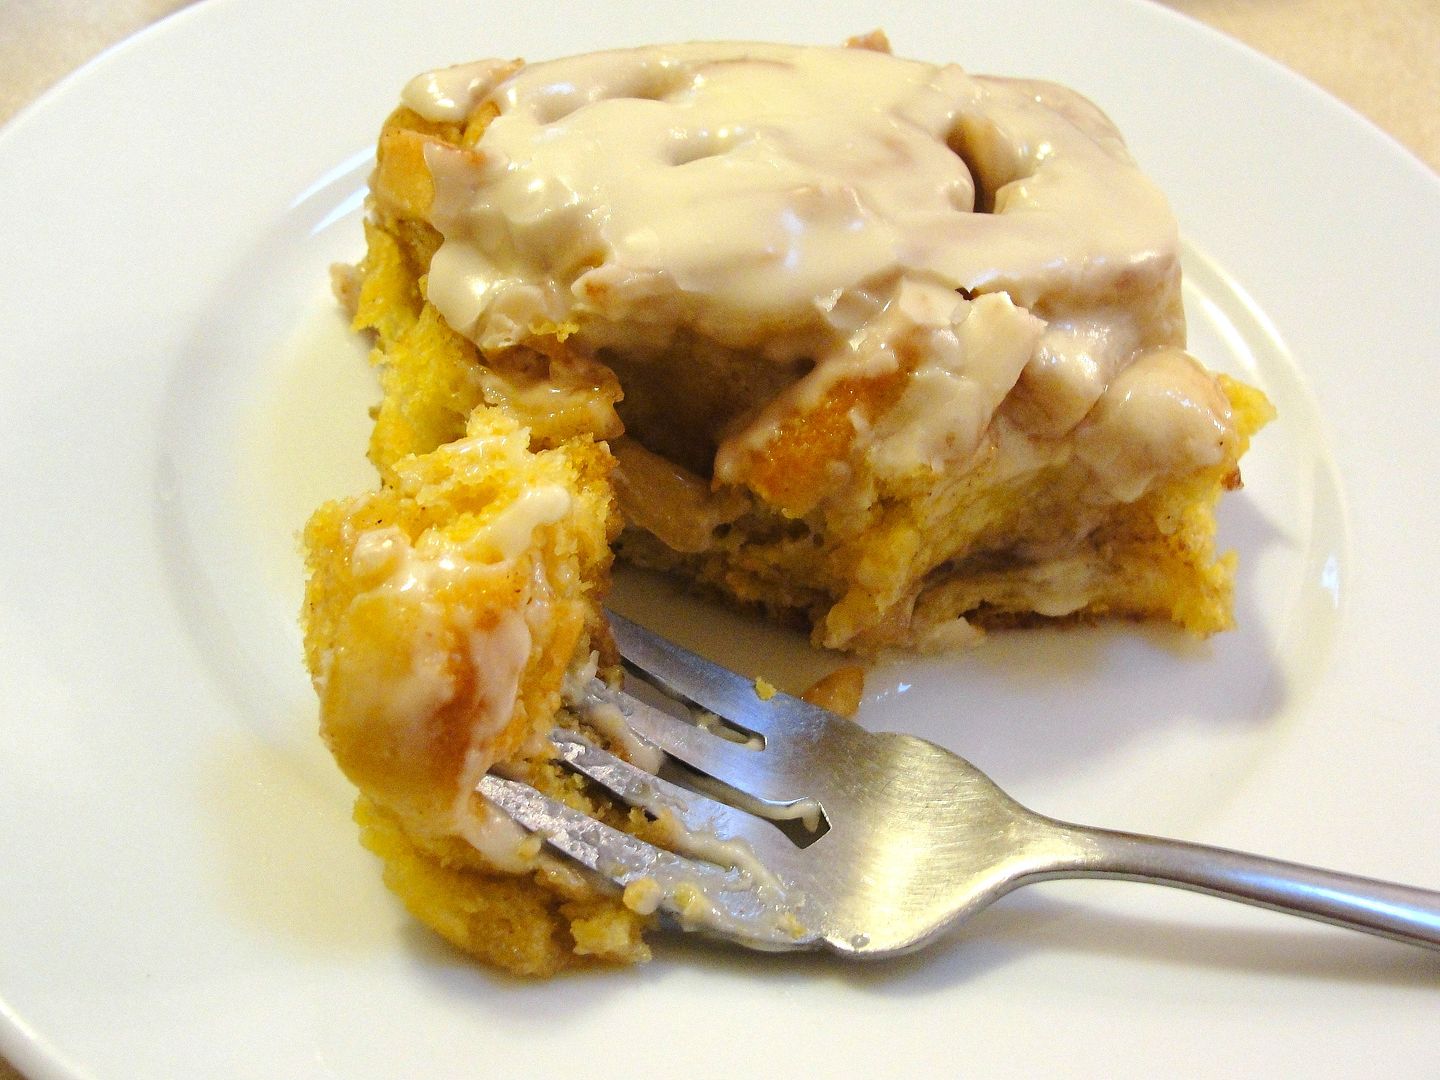
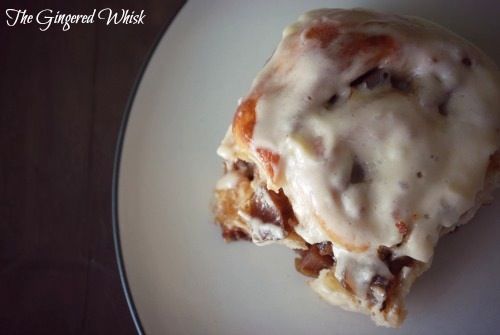
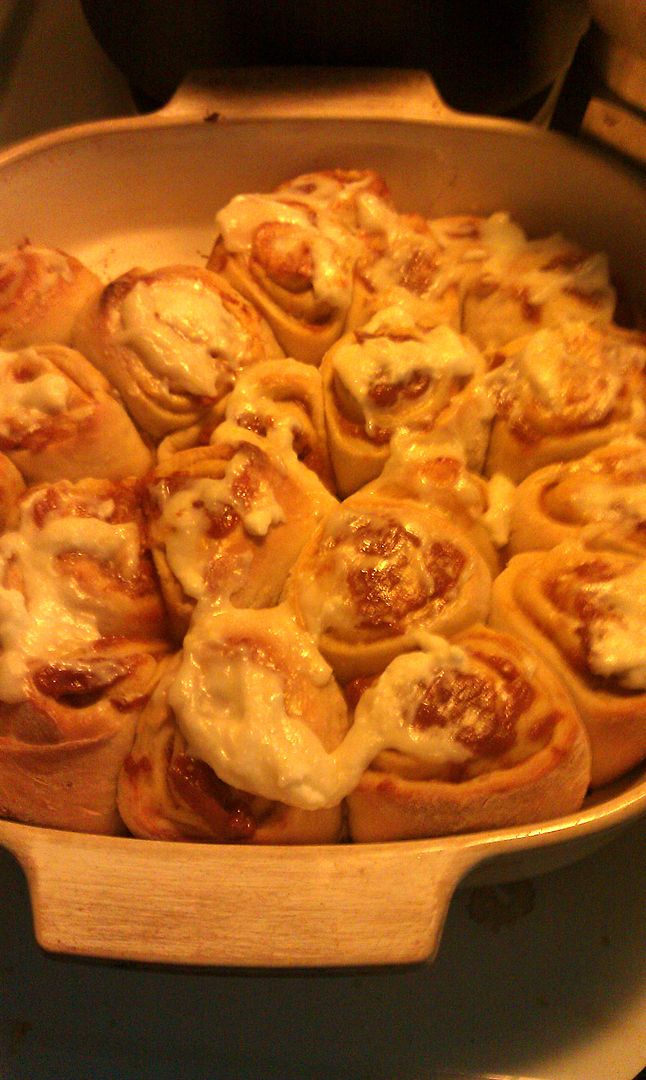
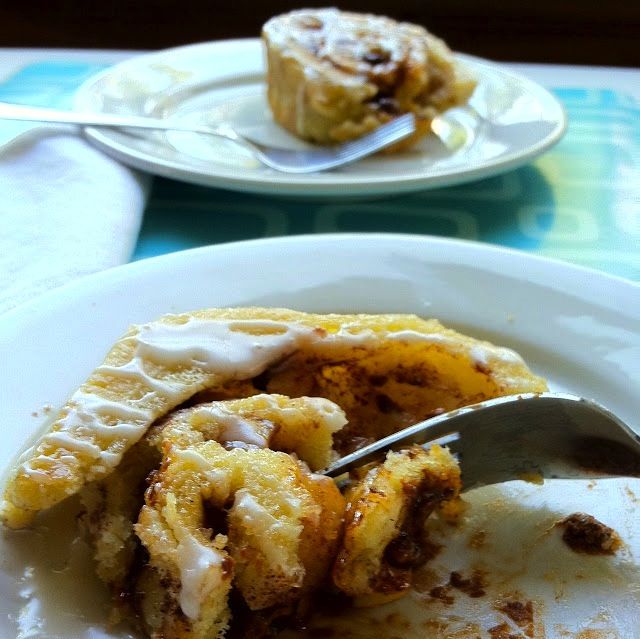
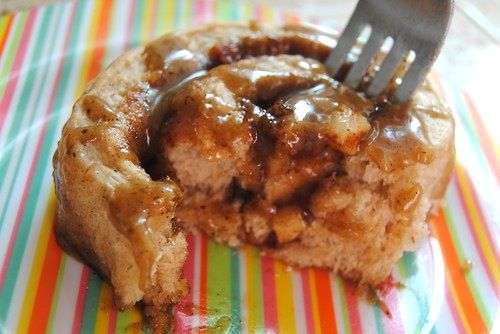
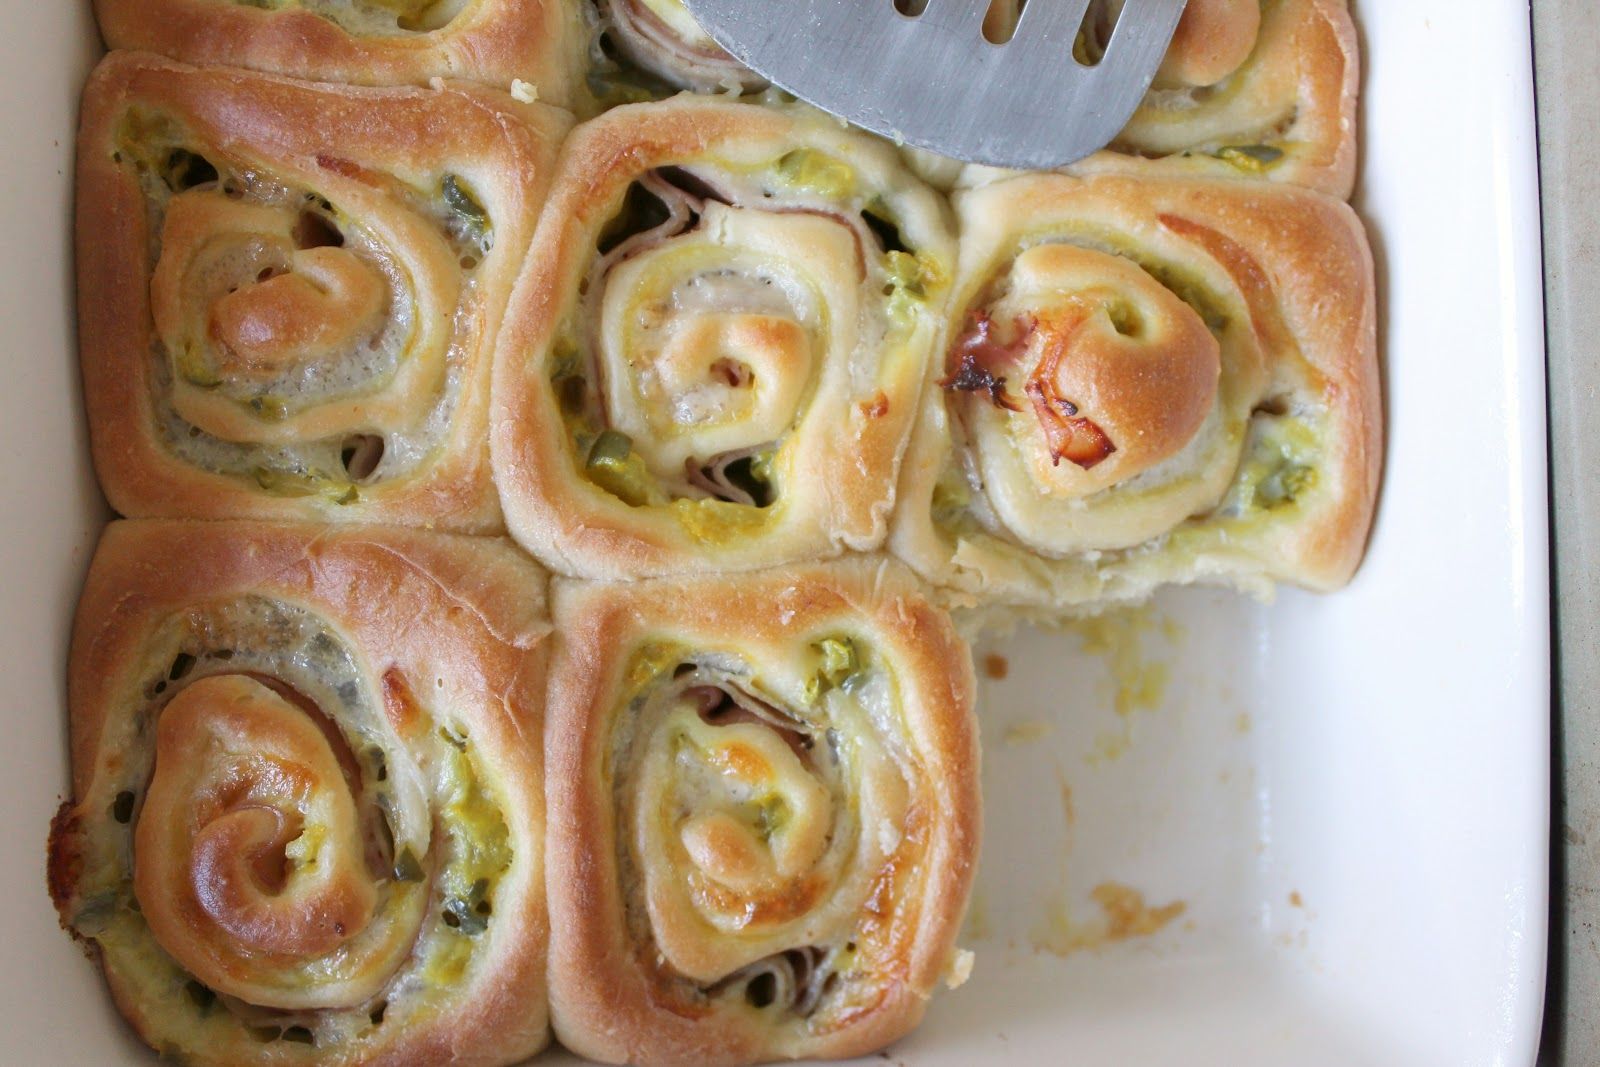
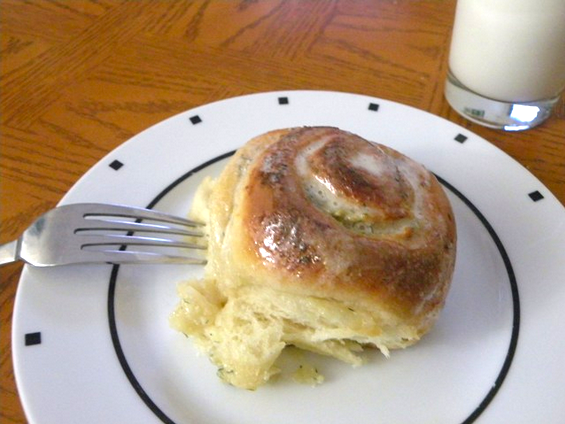
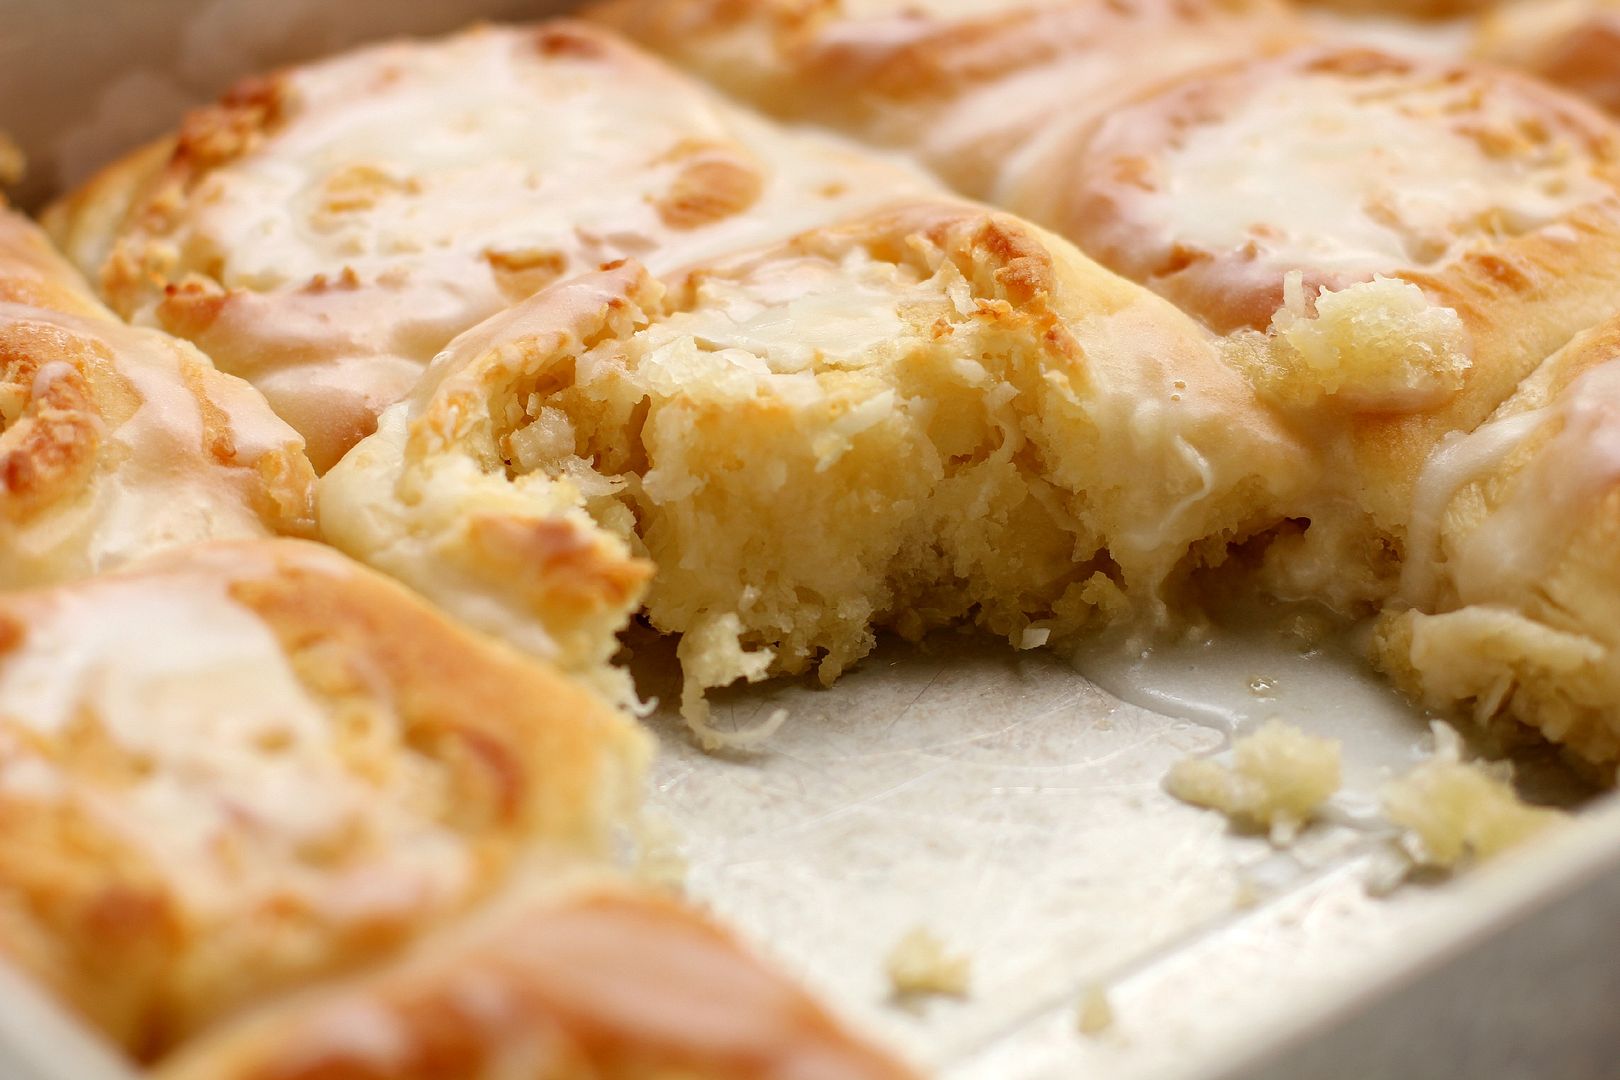
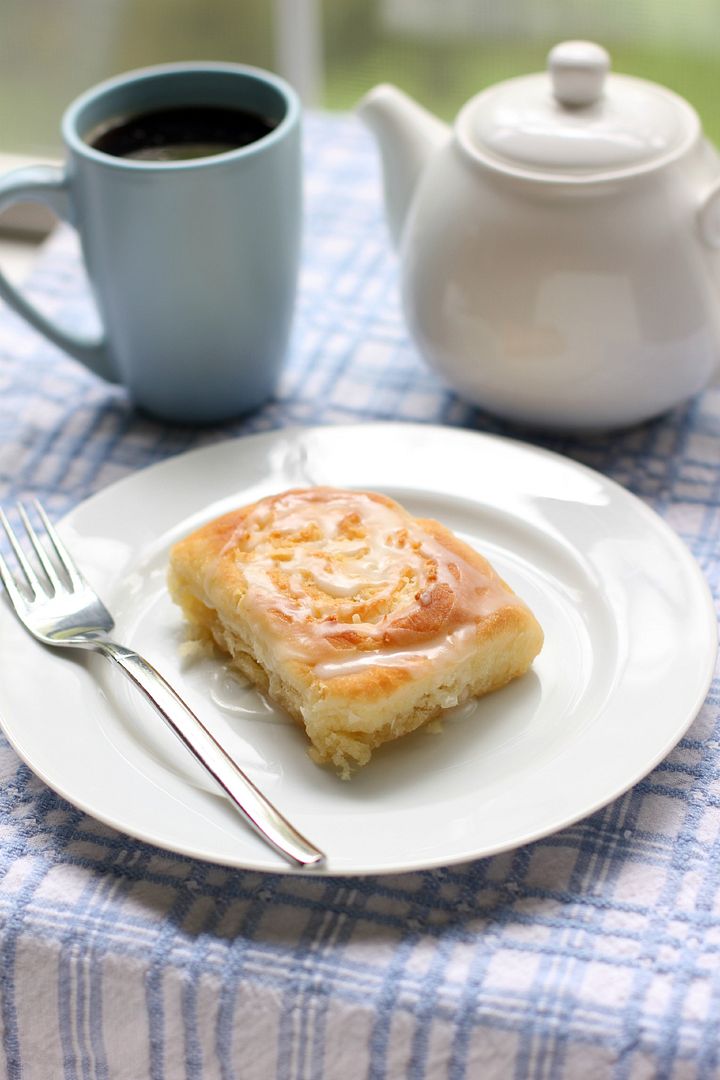
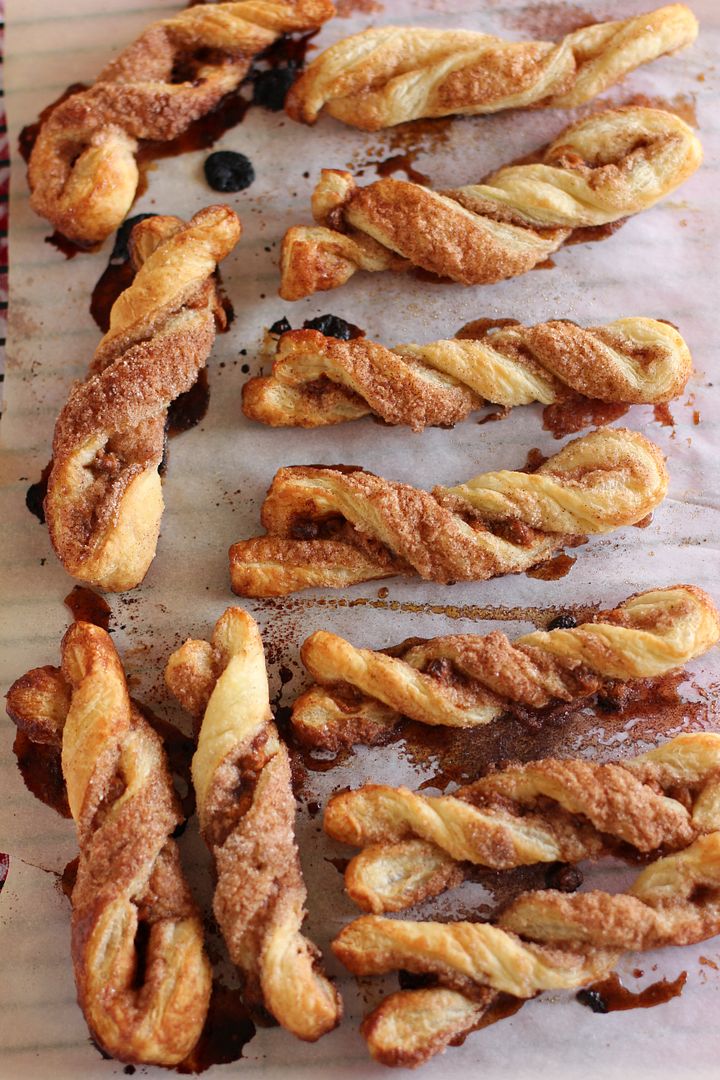
Since I first made Savory Sweet Potato & Chorizo Cinnamon Rolls and Buttery Coconut & Almond Morning Buns, I’ve been looking for new ways to use my favorite overnight yeast dough. I could’ve just made buttery lemon-glazed rolls, but I decided stuffing some tangy lemon cheesecake in my morning buns was a better idea. This yeast dough is a cinch to whip up and is so forgiving — and its second proof takes place overnight in the fridge. The resulting rolls are soft, buttery, and tangy. They almost have the texture of a flaky bread pudding. And needless to say, they’re delicious. I served them with some raspberries and a tall glass of cold milk. Enjoy!
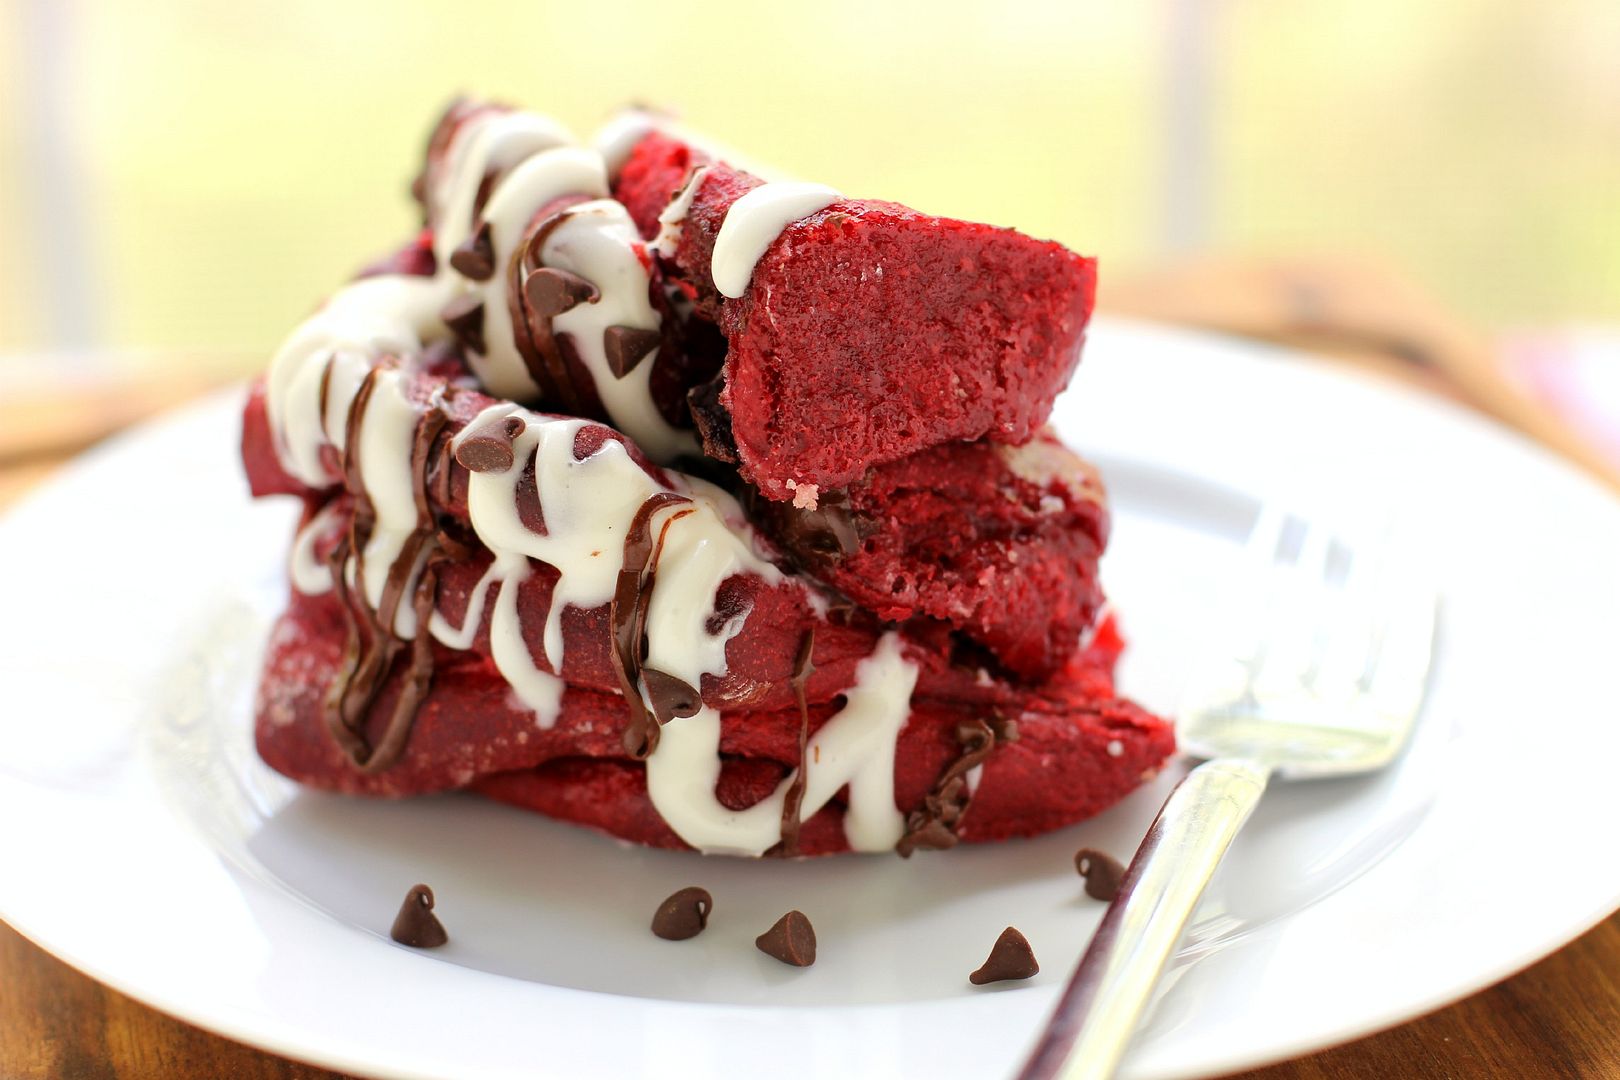
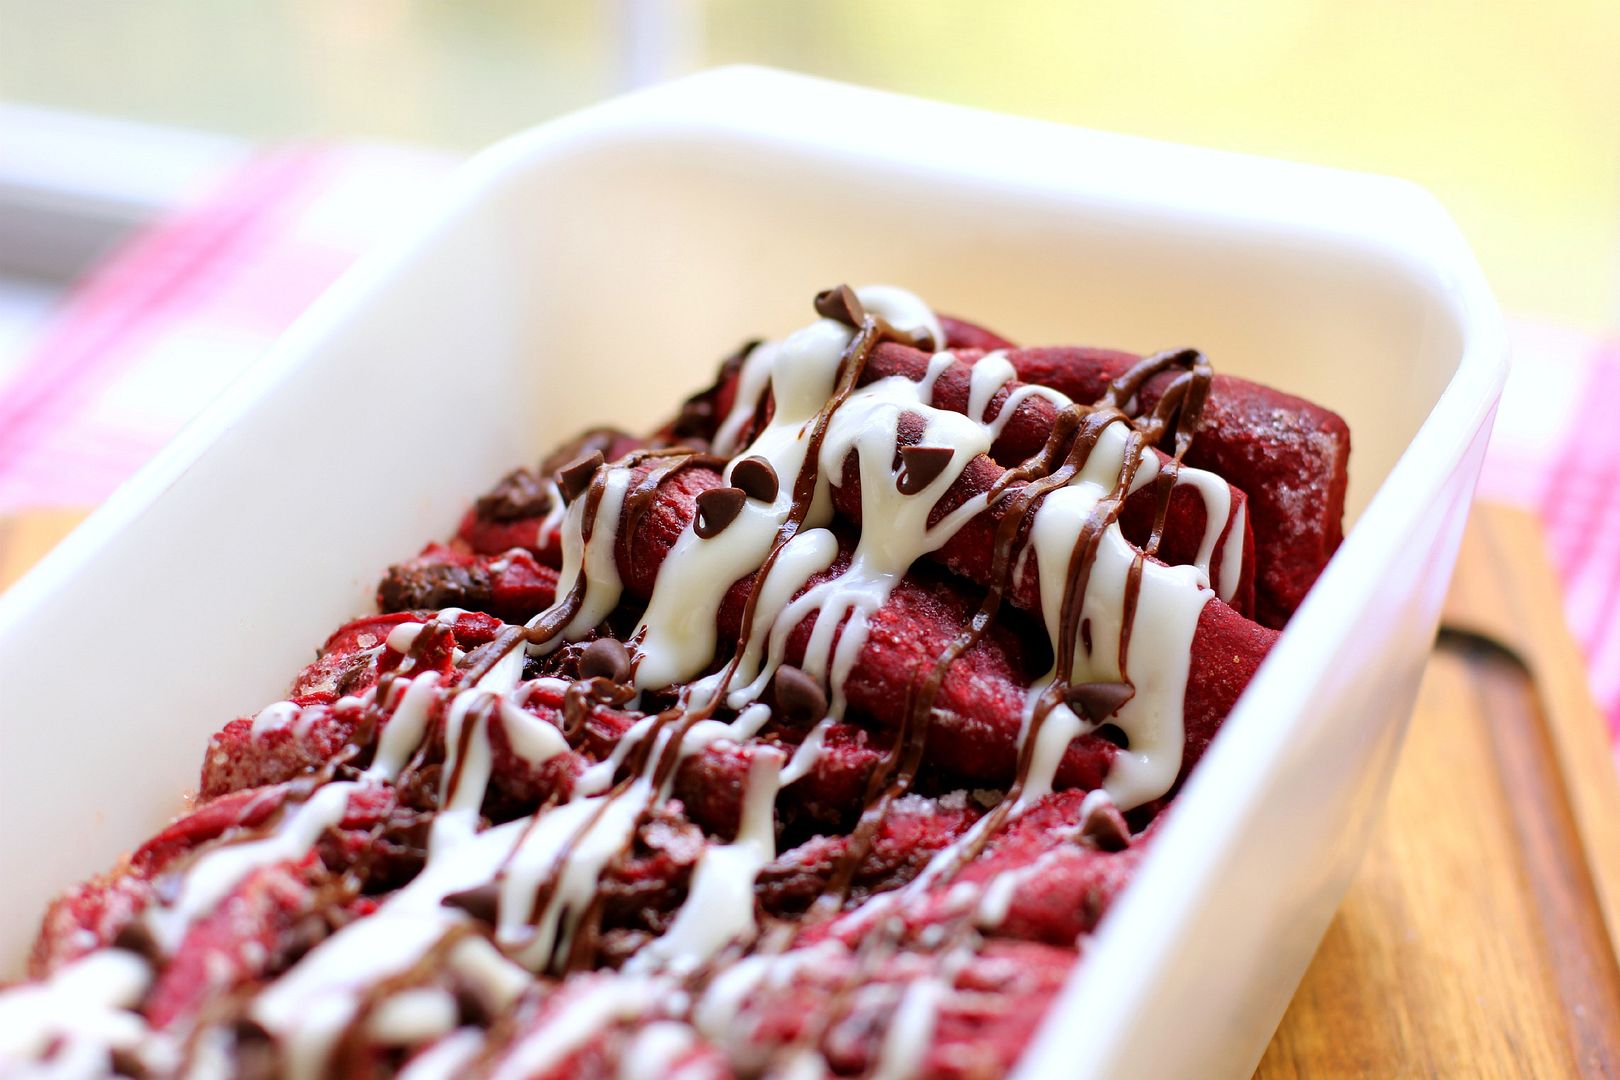
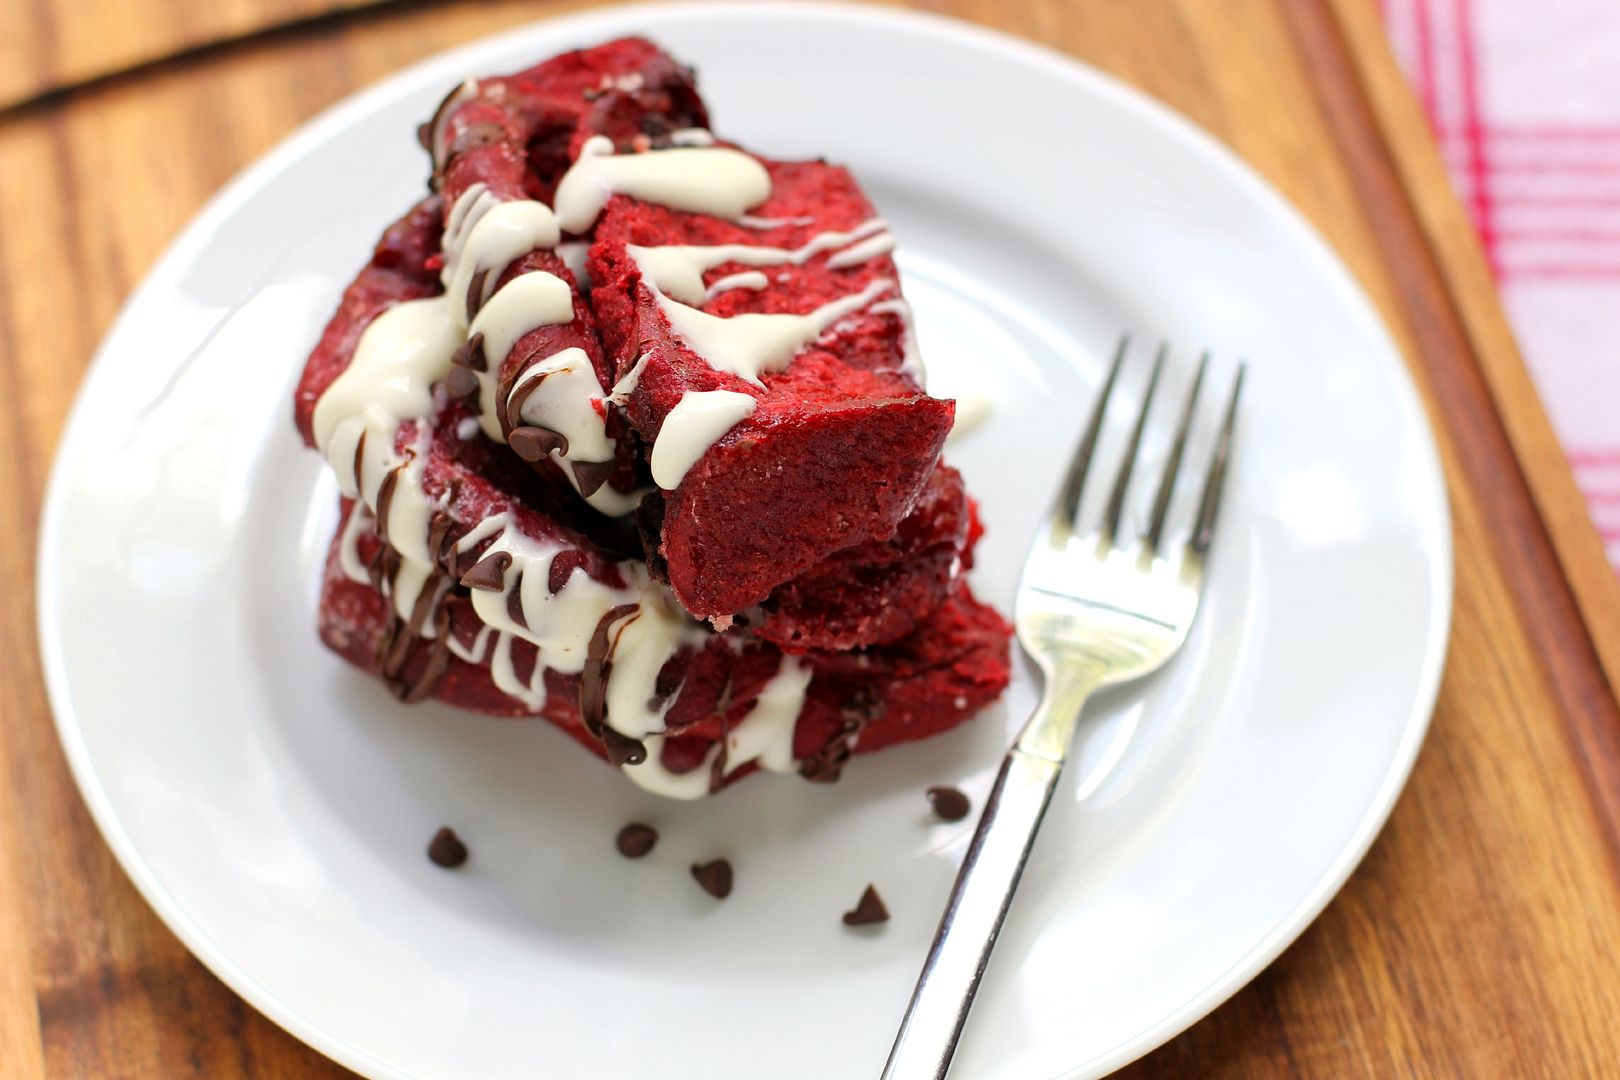
One year ago: Thick Chocolate Cake with a Big Red (Velvet!) Heart
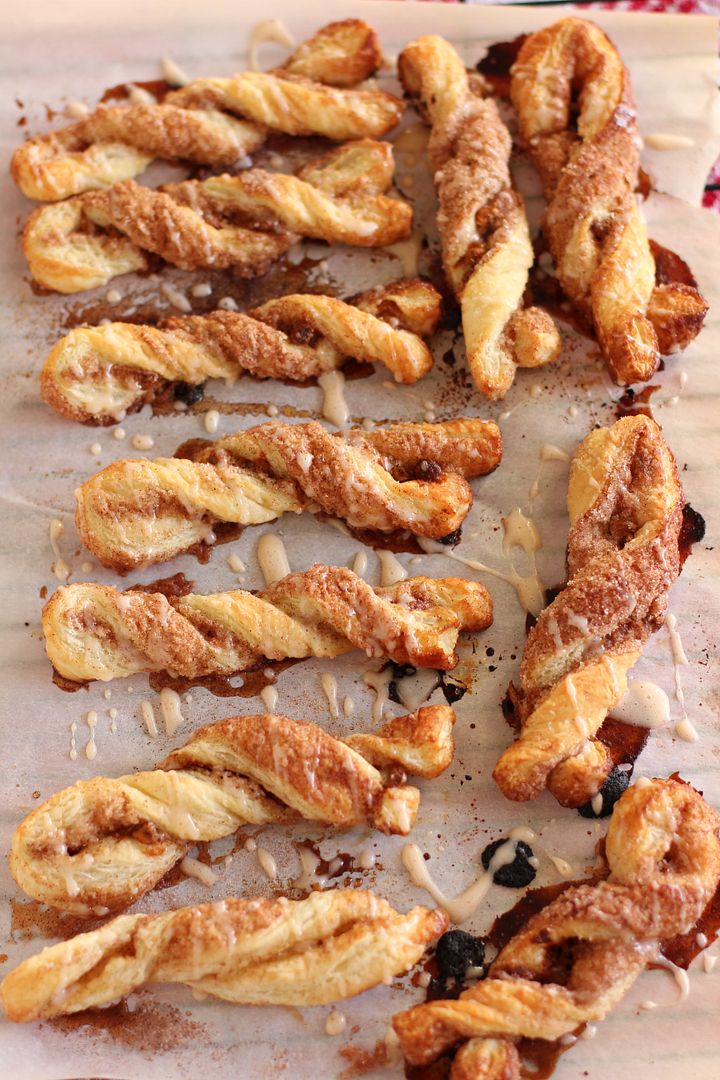
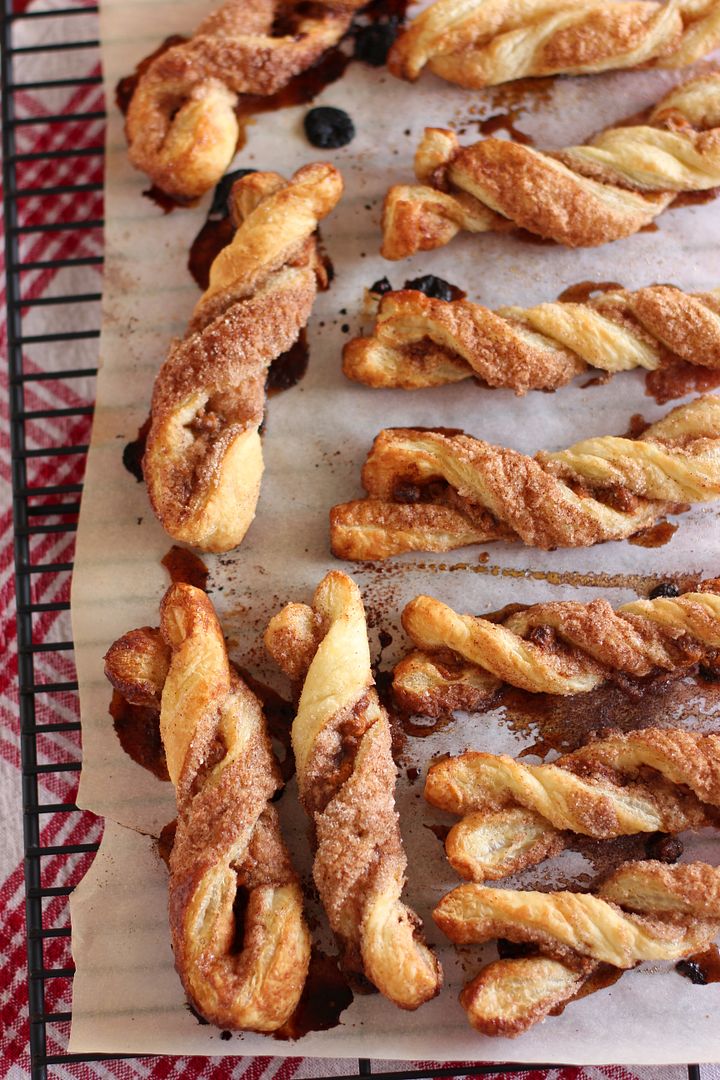
Two years ago: Heart-Shaped Palmiers and a Pesto Giveaway
Three years ago: Billion Cheese (Heart-shaped) Ravioli with Red Pepper Pancetta Sauce
- 1 package (2 1/4 teaspoons) active dry yeast
- 1/4 cup warm water (100-110 degrees F)
- 2 tablespoons white vinegar
- 2 cups milk minus 2 tablespoons, room temperature
- 2/3 cup cold shortening
- 3 tablespoons sugar
- 1 teaspoon salt
- 1 teaspoon baking soda
- 1 teaspoon baking powder
- 5 cups flour
- 2 tablespoons butter, melted, for after baking
- 2 (8-ounce) packages cream cheese, softened
- zest of 1 lemon (reserve a little for topping)
- 1/2 cup sugar
- 2 tablespoons lemon juice
- 1 egg, room temperature
- 1 stick salted butter (or 1 stick unsalted butter and 1/4 teaspoon salt), melted
- 2 cups powdered sugar
- 1 table lemon juice
- 1/2 teaspoon vanilla extract
- about 1/4 cup milk
- extra lemon zest
- Note on proofing: This yeast dough proofs for a couple of hours after you mix it up, and then the assembled rolls proof in the fridge overnight, so allow for this when planning to make this recipe. With most cinnamon rolls recipes you could switch this and proof in the fridge overnight and then assemble and proof on the countertop, but I opted to switch that method with these because I didn’t want the cream cheese filling sitting out too long.
- Note on yield: I don’t recommend halving yeast recipes; instead, if you don’t want 24 rolls at once, consider freezing some for later.
- Note on freezing: To freeze some of the unbaked rolls, just wrap them well before the second rise and freeze them. Once frozen, pop them out of the pan all together and store in the freezer, wrapped in plastic wrap and in a zip top bag or wrapped in foil. When you want to bake them, stick them back in a greased pan, thaw them in the fridge overnight, proof for the instructed amount of time, and bake like usual.
- Mix the warm water and yeast in a medium bowl and let the yeast foam for about 10 minutes. Put 2 tablespoons white vinegar in a measuring cup and then add milk up to the 2 cup line. Set this aside. In a separate large bowl (or the bowl of a mixer fitted with a dough hook), whisk together flour, sugar, salt, baking soda, and baking powder and cut the shortening into the mixture with two knives or a pastry cutter until the shortening looks like small peas. Stir yeast mixture and milk mixture into the dry ingredients and mix well, kneading just a few turns. Transfer the dough to a bowl lightly sprayed with cooking spray, cover tightly with plastic wrap, and proof in a warm, draft-free place (such as a closed, turned-off oven), for around 2 hours or until doubled in size.
- After proofing the dough, lightly spray two 9 x 13-inch baking dishes with cooking spray. Cream the softened cream cheese in a medium bowl until fluffy before adding lemon zest, sugar, lemon juice, and the egg. Mix together until well combined.
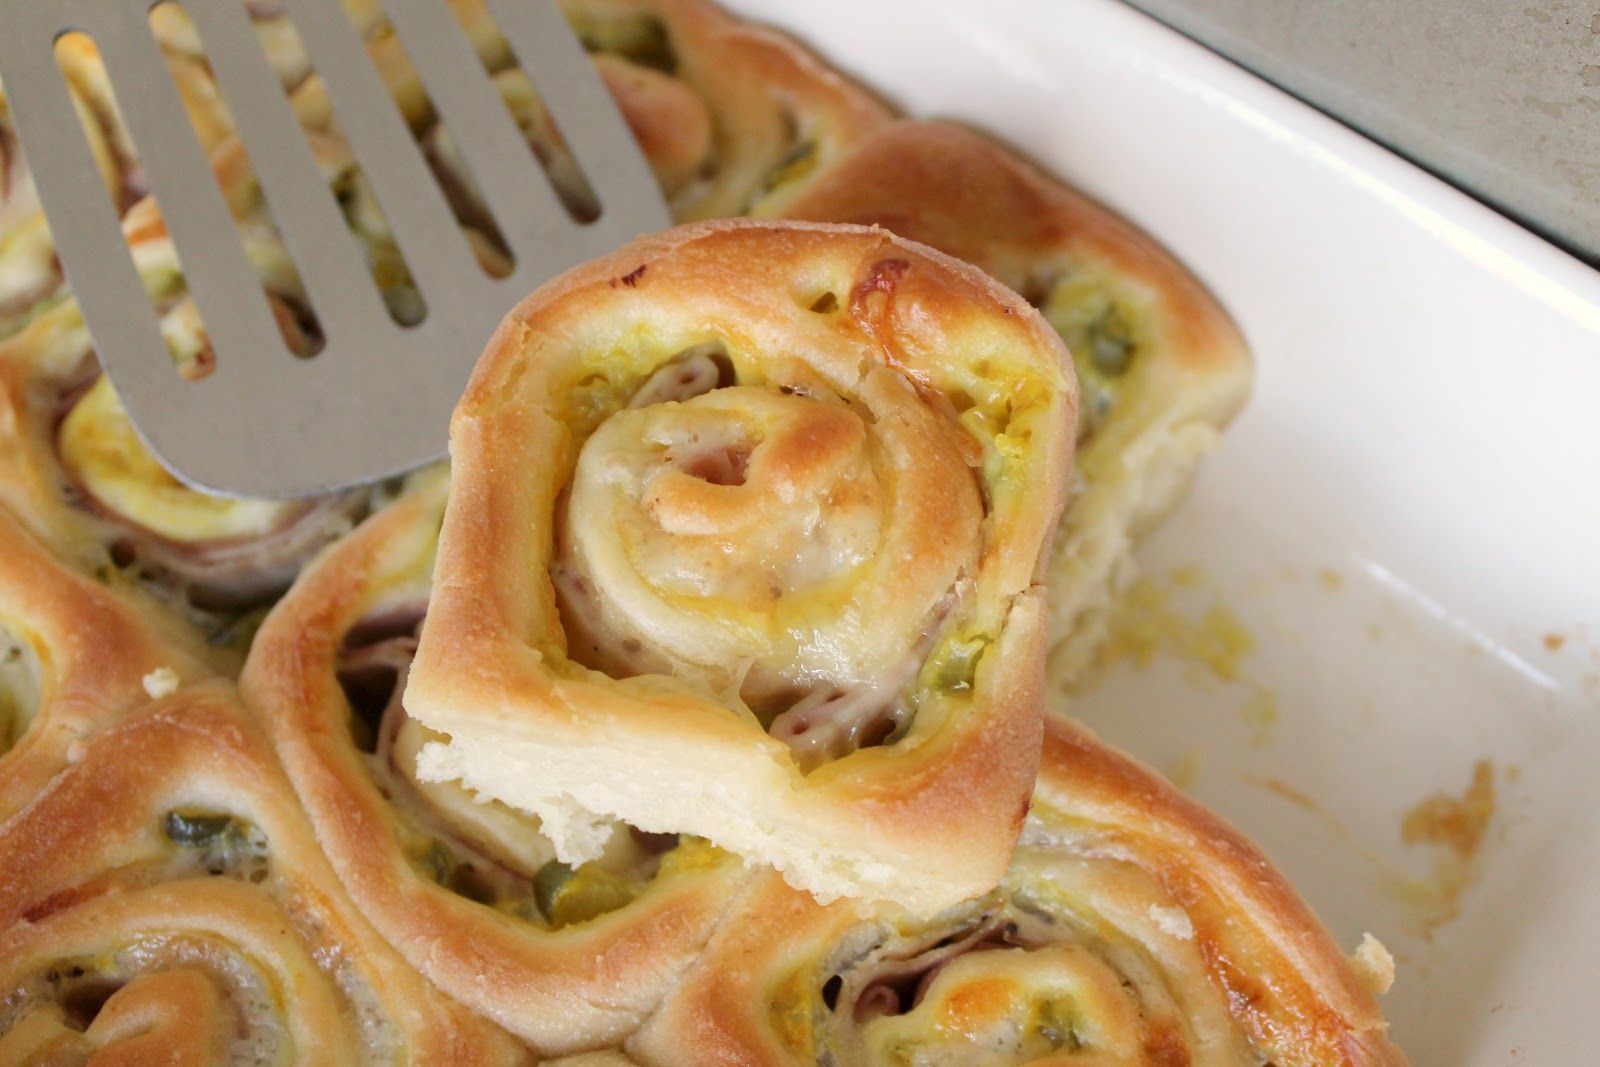
- Turn the dough out onto a floured surface and roll it into a large rectangle about 1/8-inch thick (I carefully cut the dough in half and worked with half at a time to make it more manageable; if you do this, just spread on half of the filling ingredients for each half you roll). Spread the melted butter over the surface of the rolled dough and then dollop the cream cheese mixture all across the surface, spreading gently to create an even layer. Gently roll the dough up into a spiral (I find using a bench scraper to encourage the dough to roll up during this process incredibly helpful) and cut it into 2-inch rolls, placing them close together in your prepared baking dishes (at this point, you could wrap and freeze the rolls for later if you wanted).
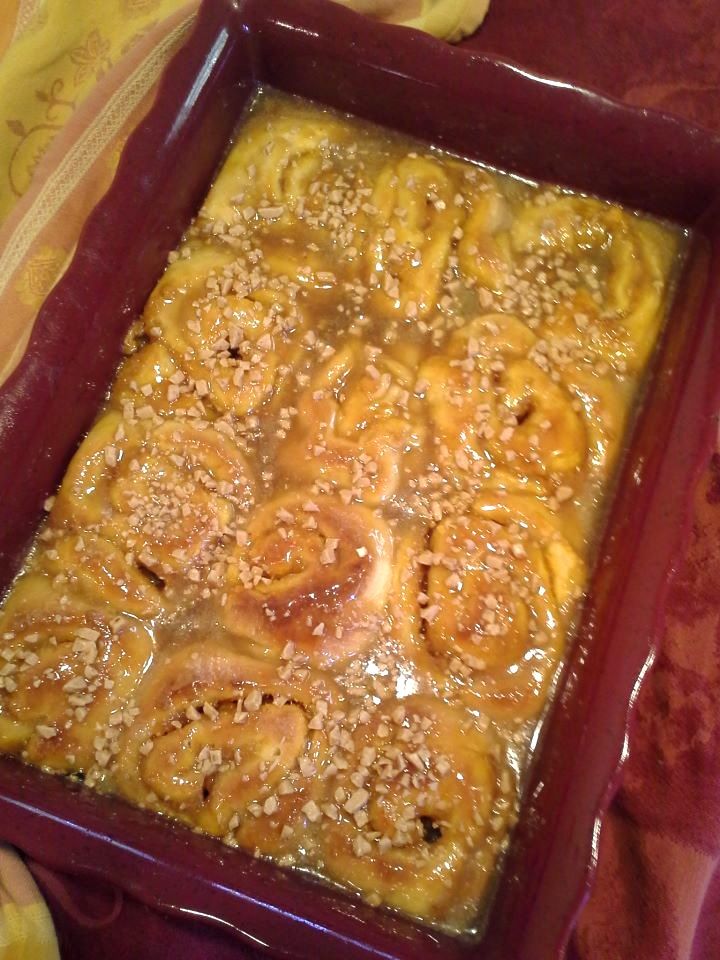
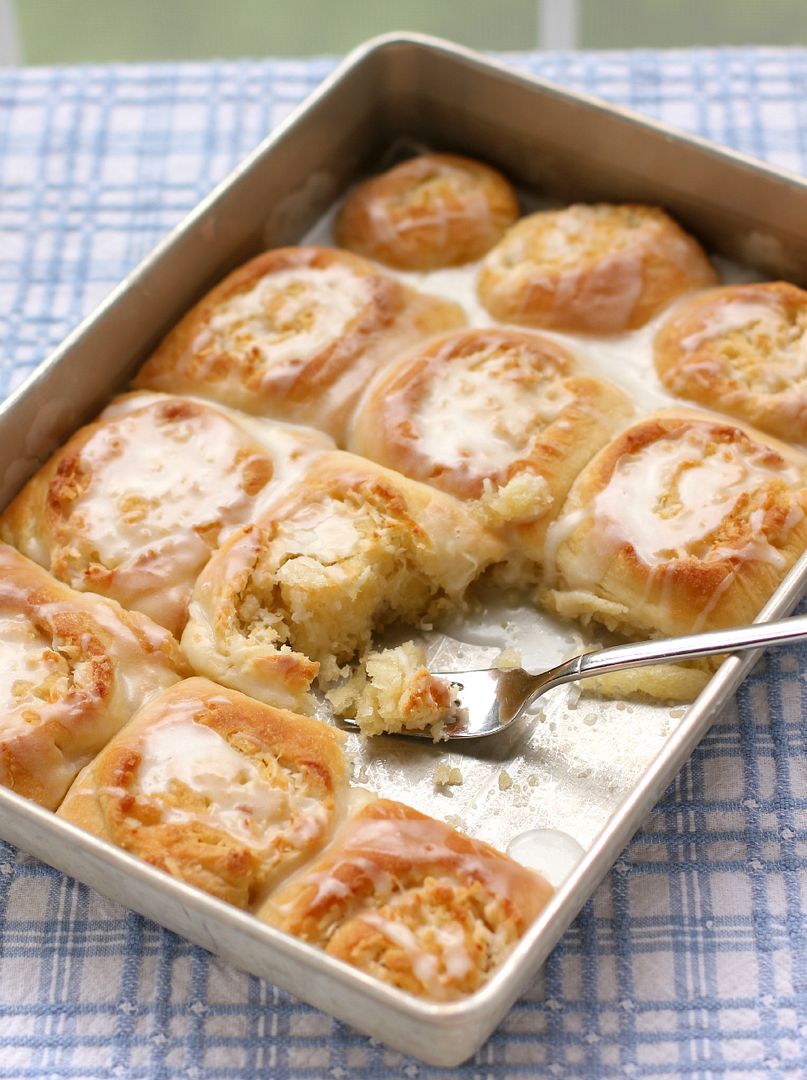
- Cover the rolls let them rise in the fridge overnight (they will have nearly doubled.) When you’re ready to bake, preheat the oven to 400 degrees F, letting the rolls rise on top of the preheating oven covered by a clean dish towel. Bake them for about 25-30 minutes or until lightly browned on top (don’t underbake or they’ll still be doughy in the center). Brush with 2 tablespoons melted butter and return to the oven for 1 more minute. Whisk together the glaze ingredients and drizzle the glaze over the warm rolls. Sprinkle with reserved zest and serve immediately.


)