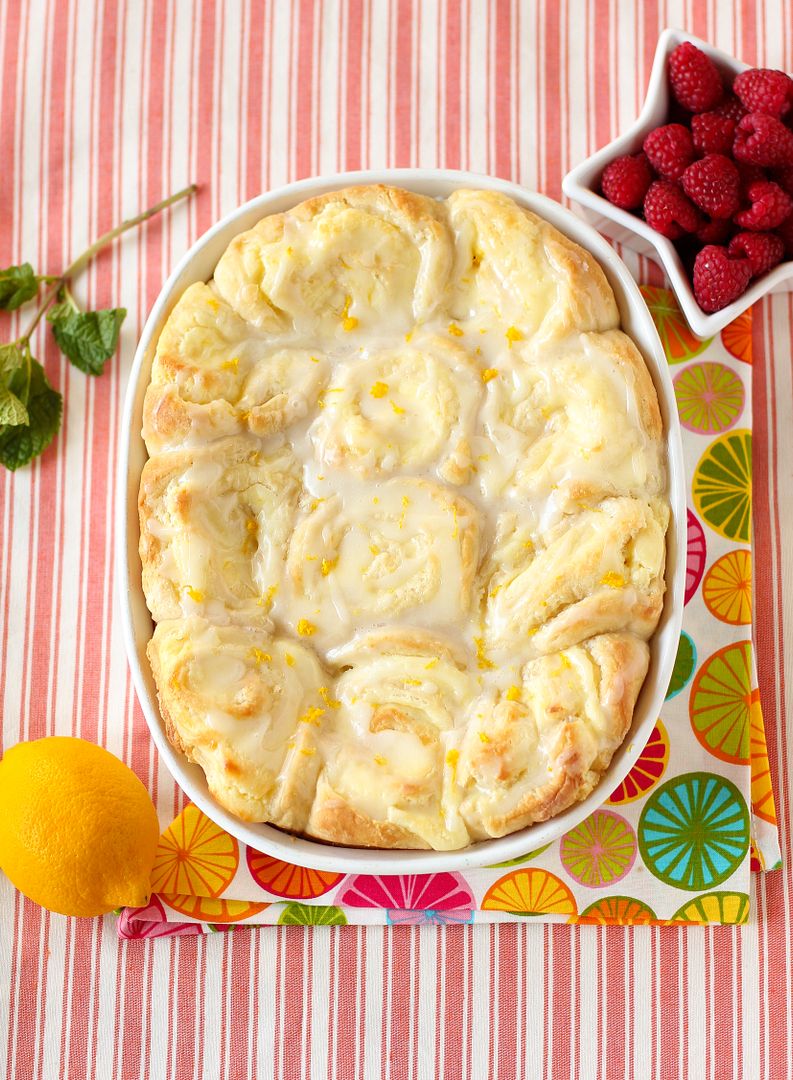
glaze

Lemon Cheesecake Morning Buns

Lemon Cheesecake Morning Buns

You know the saying, “Don’t dress for the job you have; dress for the job you want”? I like to adapt that statement for my own ridiculous purposes on occasion.
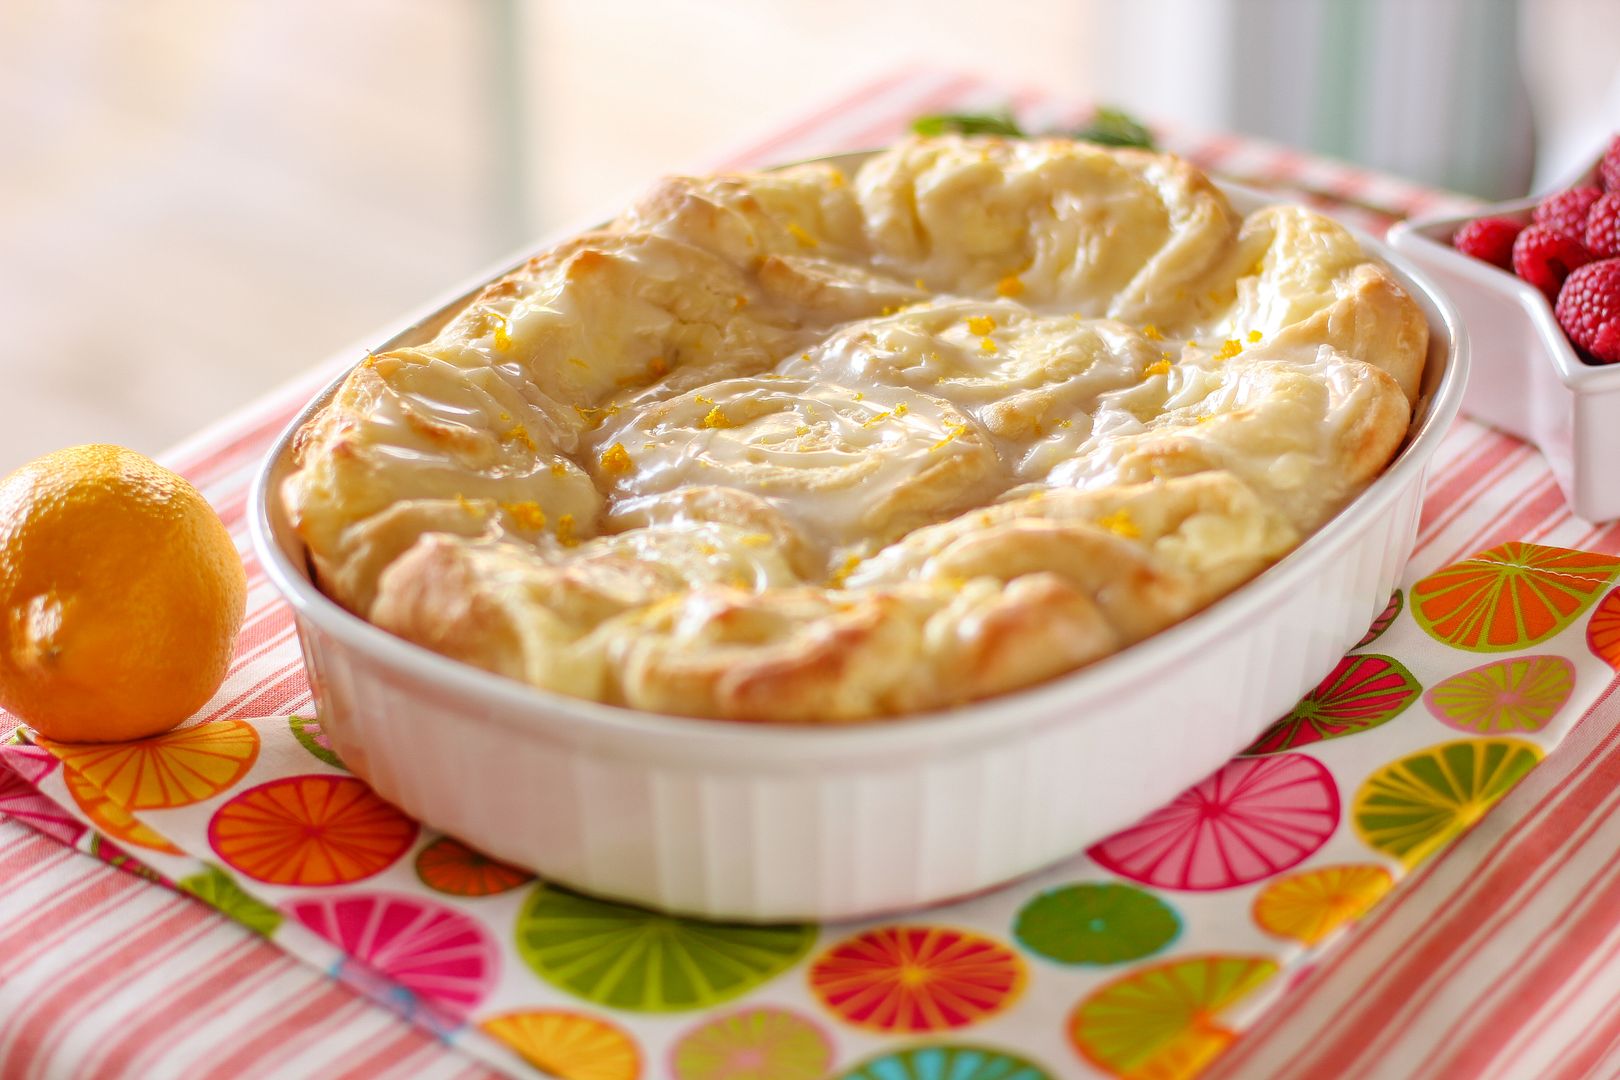
Lemon Cheesecake Morning Buns

The other day it was roughly 40 degrees outside, which is basically winter-in-Antarctica weather for me (some New Englander with a snowdrift the size of a Hummer outside their door is about to beat me up). Despite being pathologically repulsed by cold weather, I was too lazy to put on a coat. I ran out in a gauzy t-shirt and jeans to pick up some dinner.

When you make a wardrobe choice like this, you can’t curl up in a ball on the sidewalk, acknowledging defeat. You have to grit your teeth and pretend your choice was appropriate for some secret reason only you are aware of. I therefore ignored my goosebumps and impending hypothermia as I walked along the sidewalk to the restaurant, swinging my arms as if enjoying a gentle summer breeze. Upon noticing a guy in a t-shirt clearly doing the exact same thing, I gave him a nod. “We’re dressing for the weather we want, not the weather we have. It’s strategic!” I yelled toward him.

He responded, “Exactly. And it’s only 40 degrees. We’re not even cold, right?”

“NOPE, not one bit.”

Lemon Cheesecake Morning Buns

I also often bake for the weather I want, not the weather I have. Naomi at Bakers Royale just acknowledged she sometimes uses out-of-season produce, so I might as well make my confession, too, though I might get excommunicated from the blogosphere. I promise I do care about being green and supporting local business. But sometimes I also want raspberries. My lifestyle is admittedly imperfect.

Now that we’ve gotten that admission out of the way, I can tell you that I’m baking for spring.
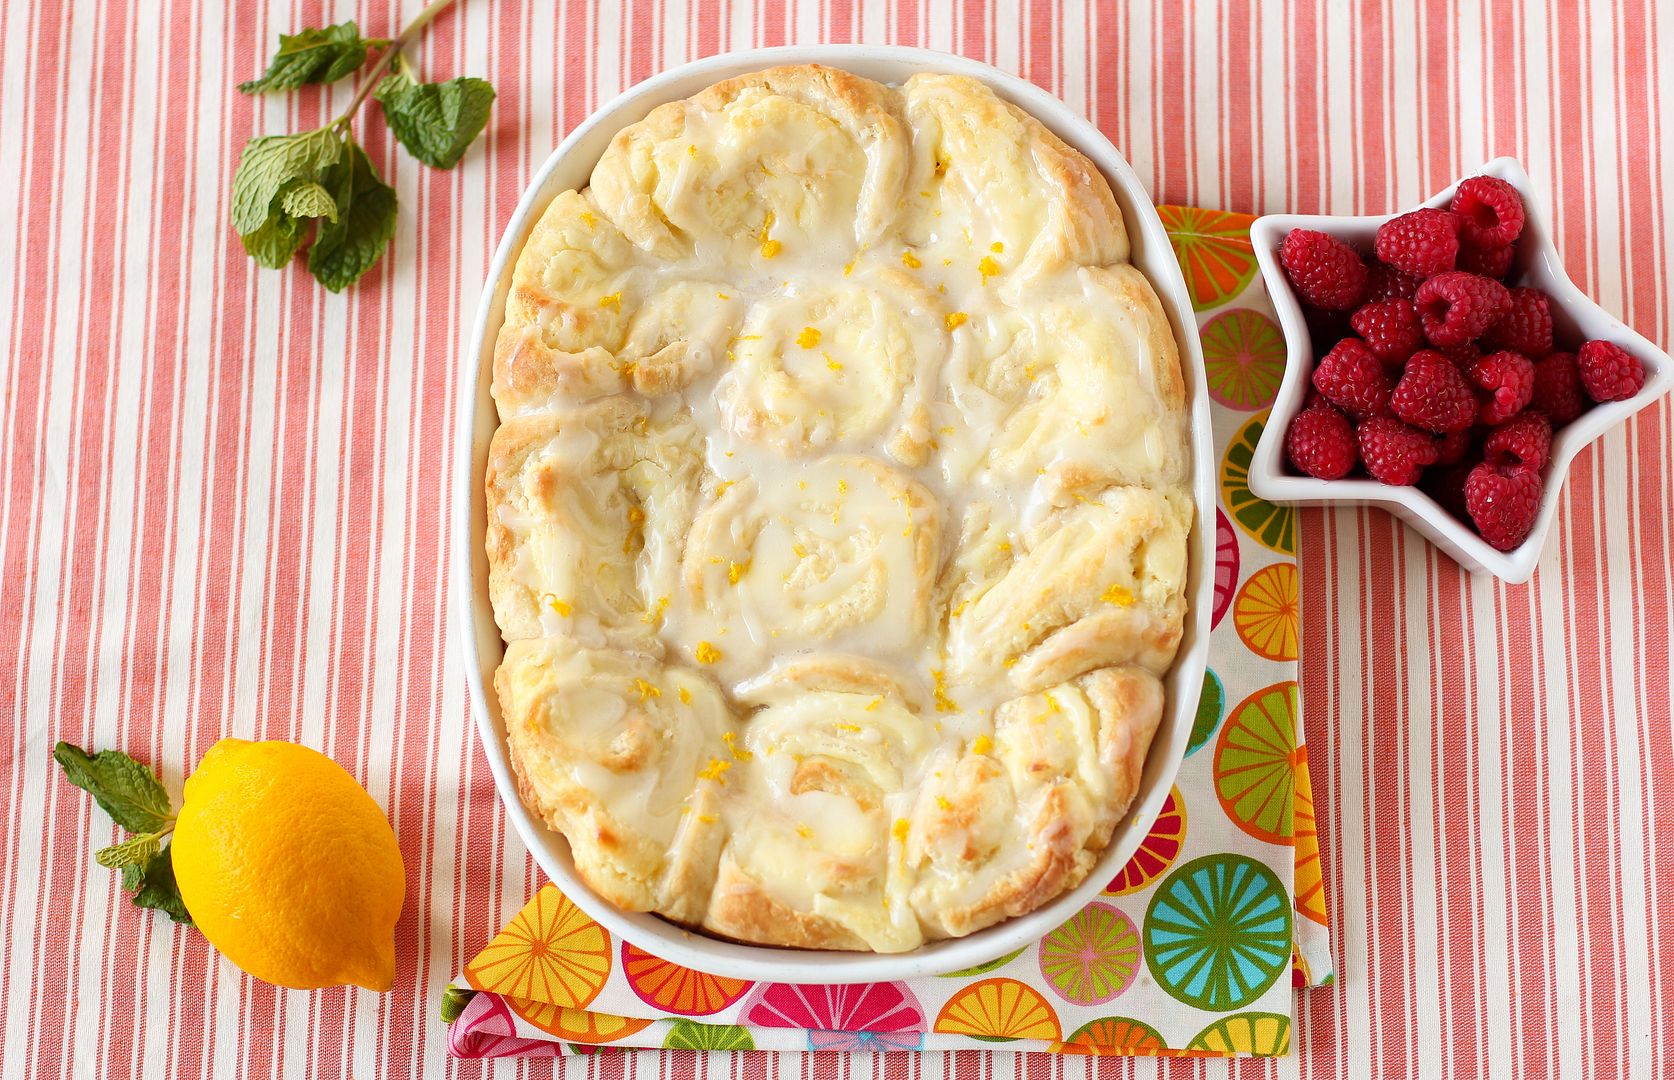
Lemon Cheesecake Morning Buns

When it’s cold and rainy like it has been in Charlotte lately, my already sun-sheltered apartment windows let in an even more dreary landscape than usual. The courtyard of my apartment complex, where the grass has stubbornly refused to take root, becomes a muddy landslide. My morale slides right off into the stormdrain along with the river that forms in my parking lot.

On days like this, I need some lemon. And some bright summer berries. (And a sunlamp and some vitamin D and maybe a tropical vacation, but I digress.)
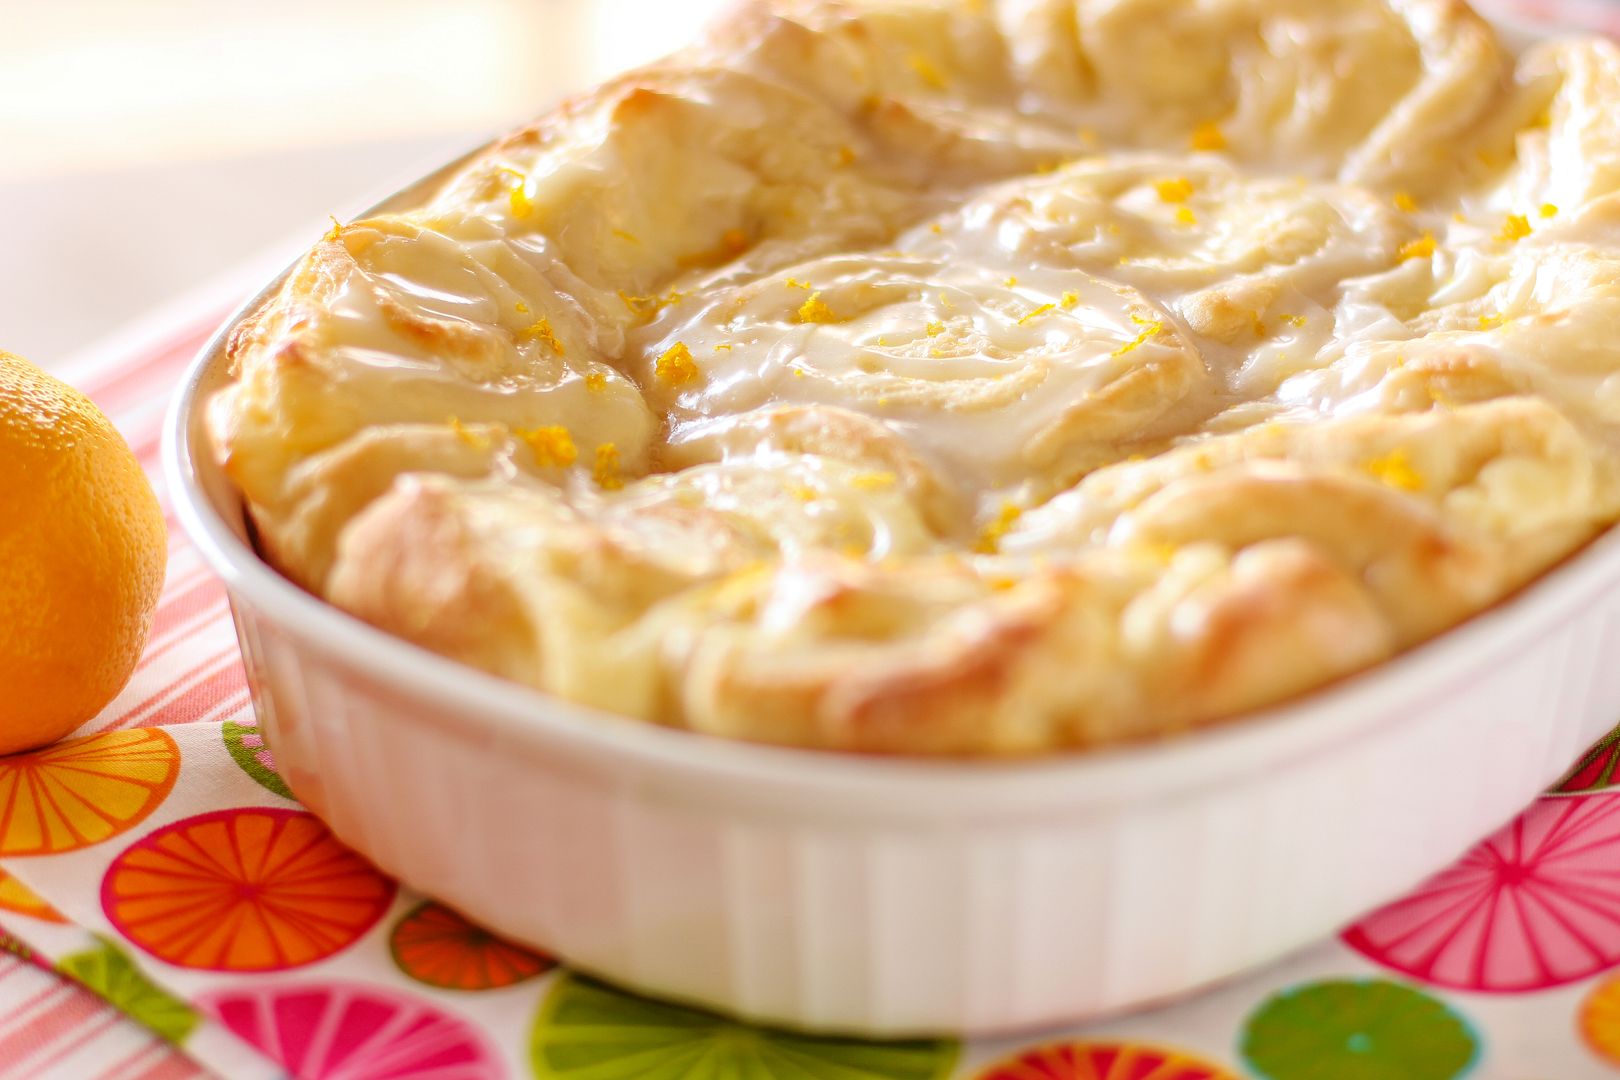
Lemon Cheesecake Morning Buns

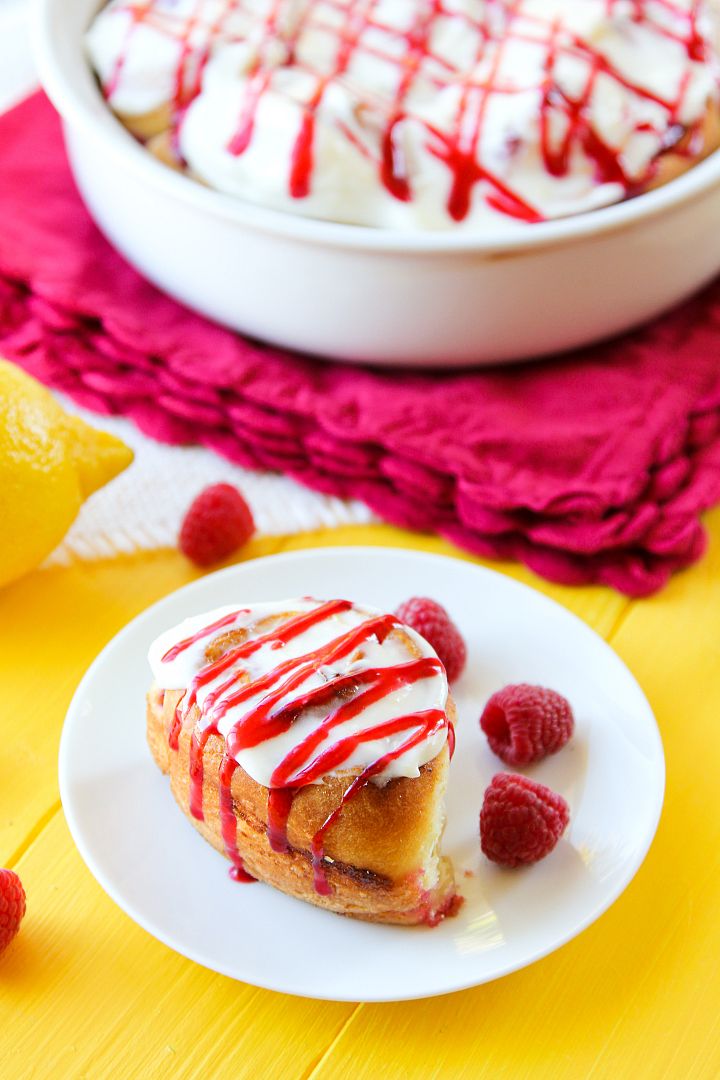
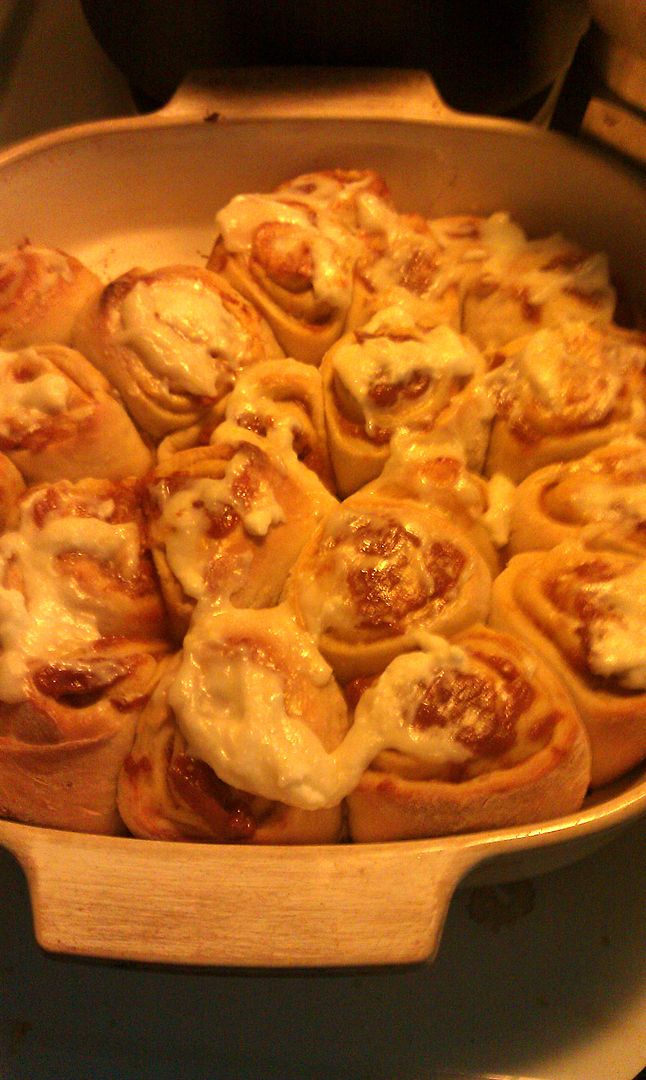
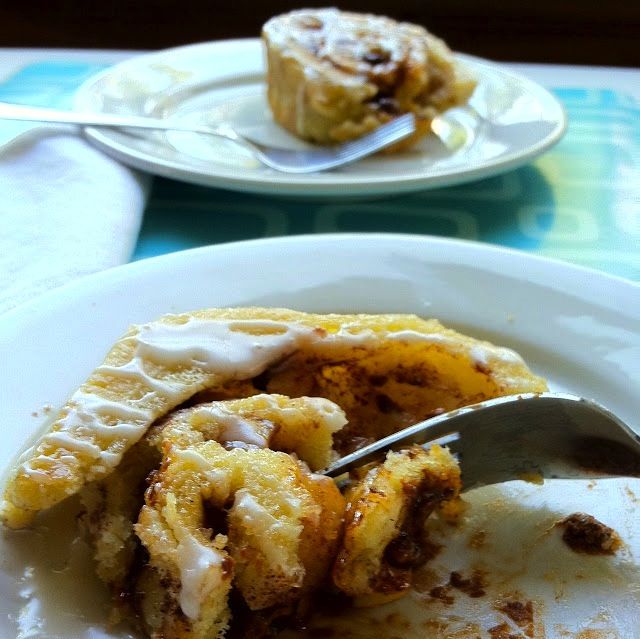
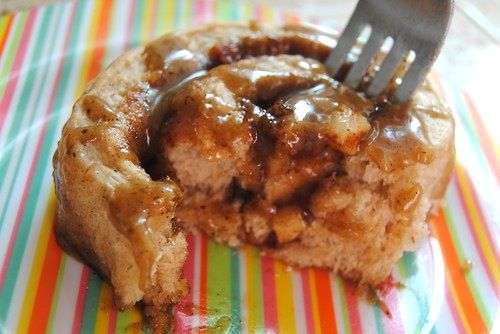
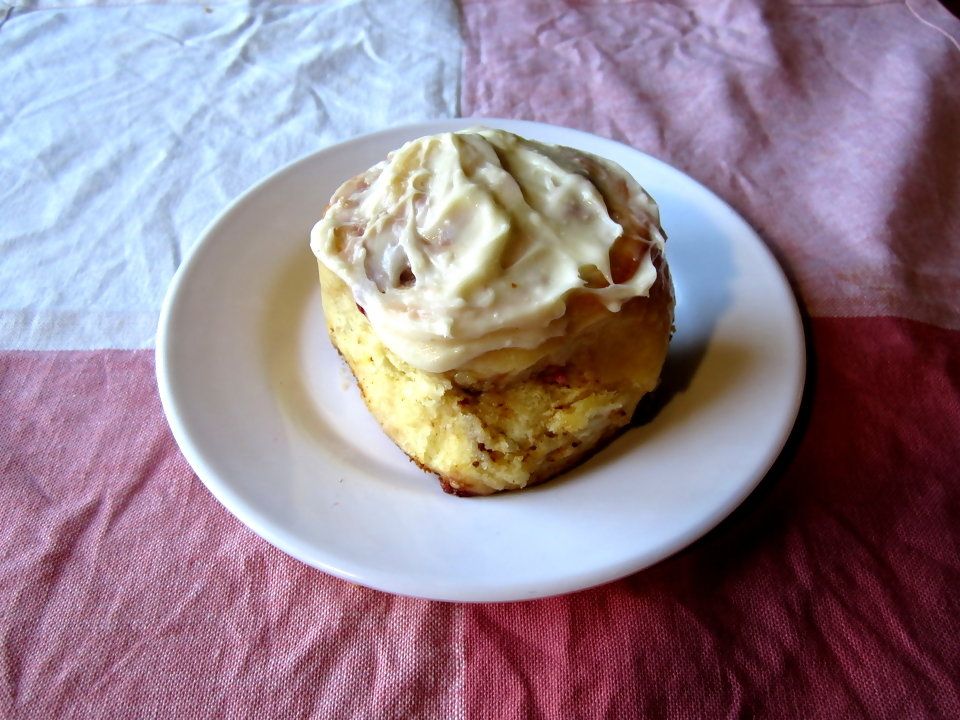
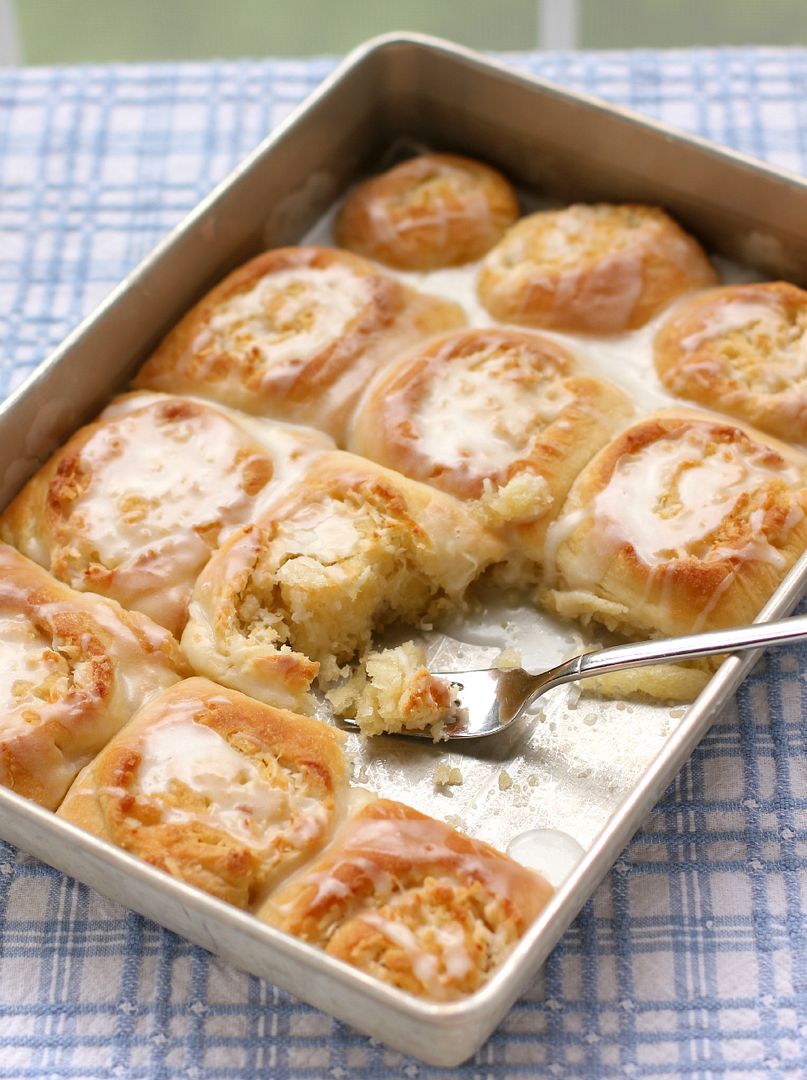
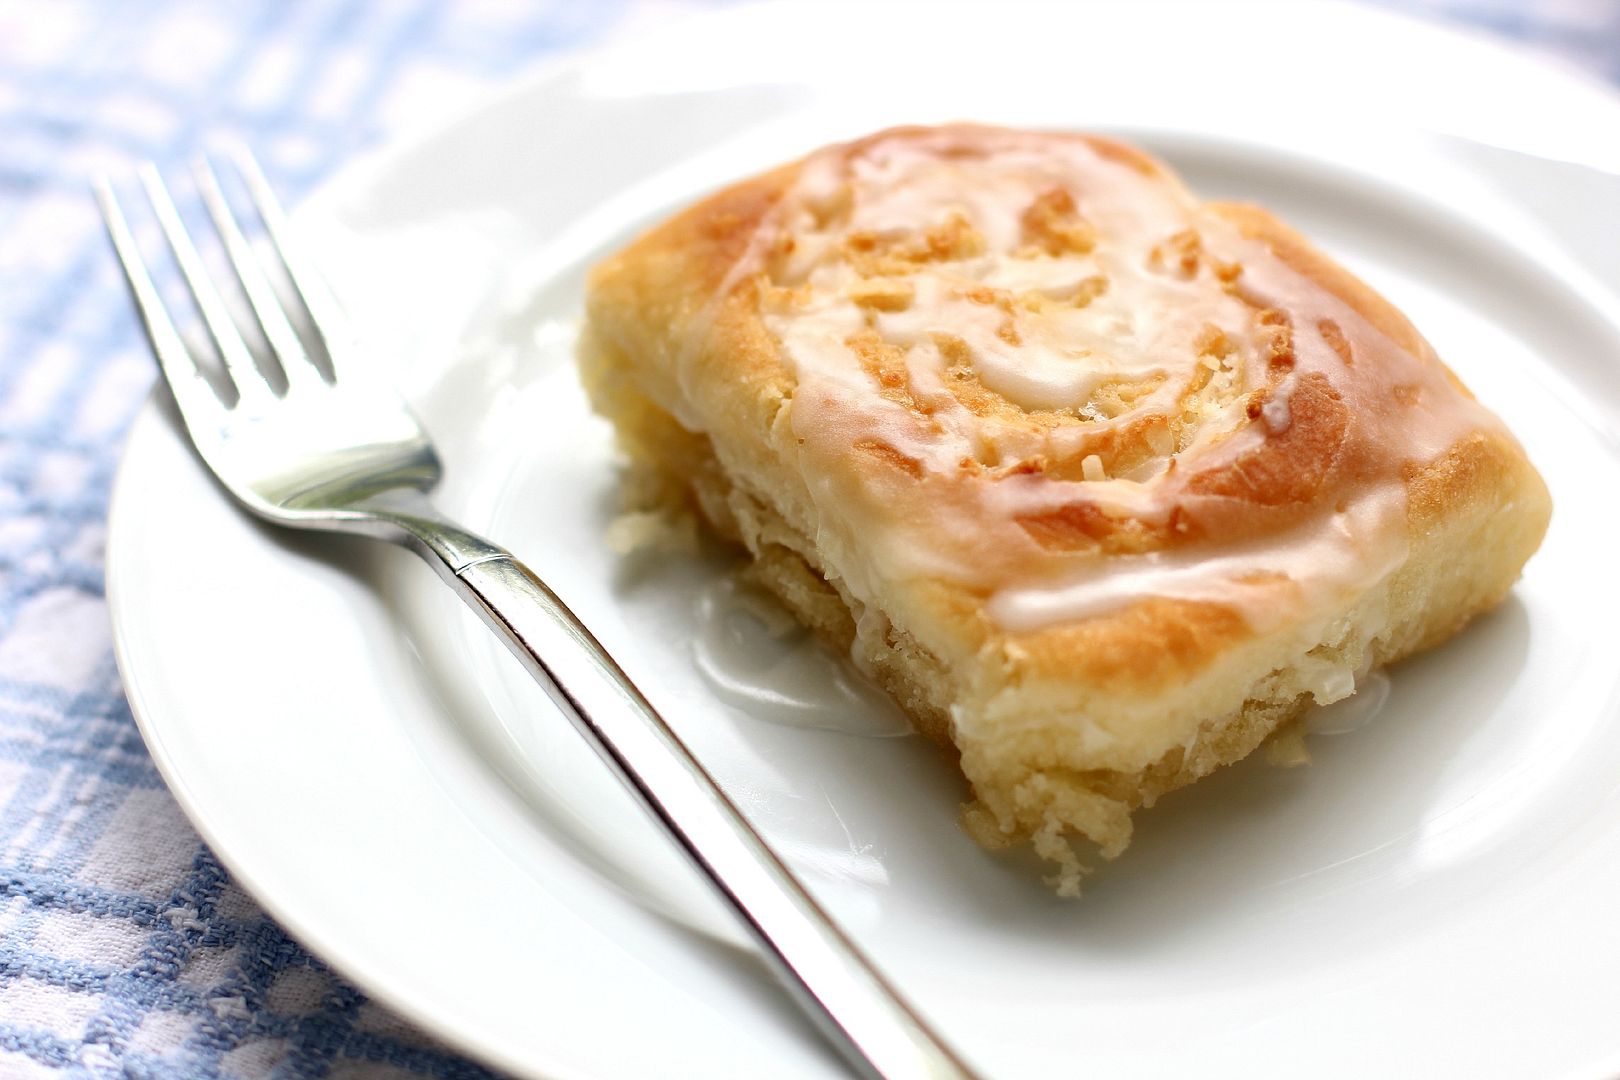
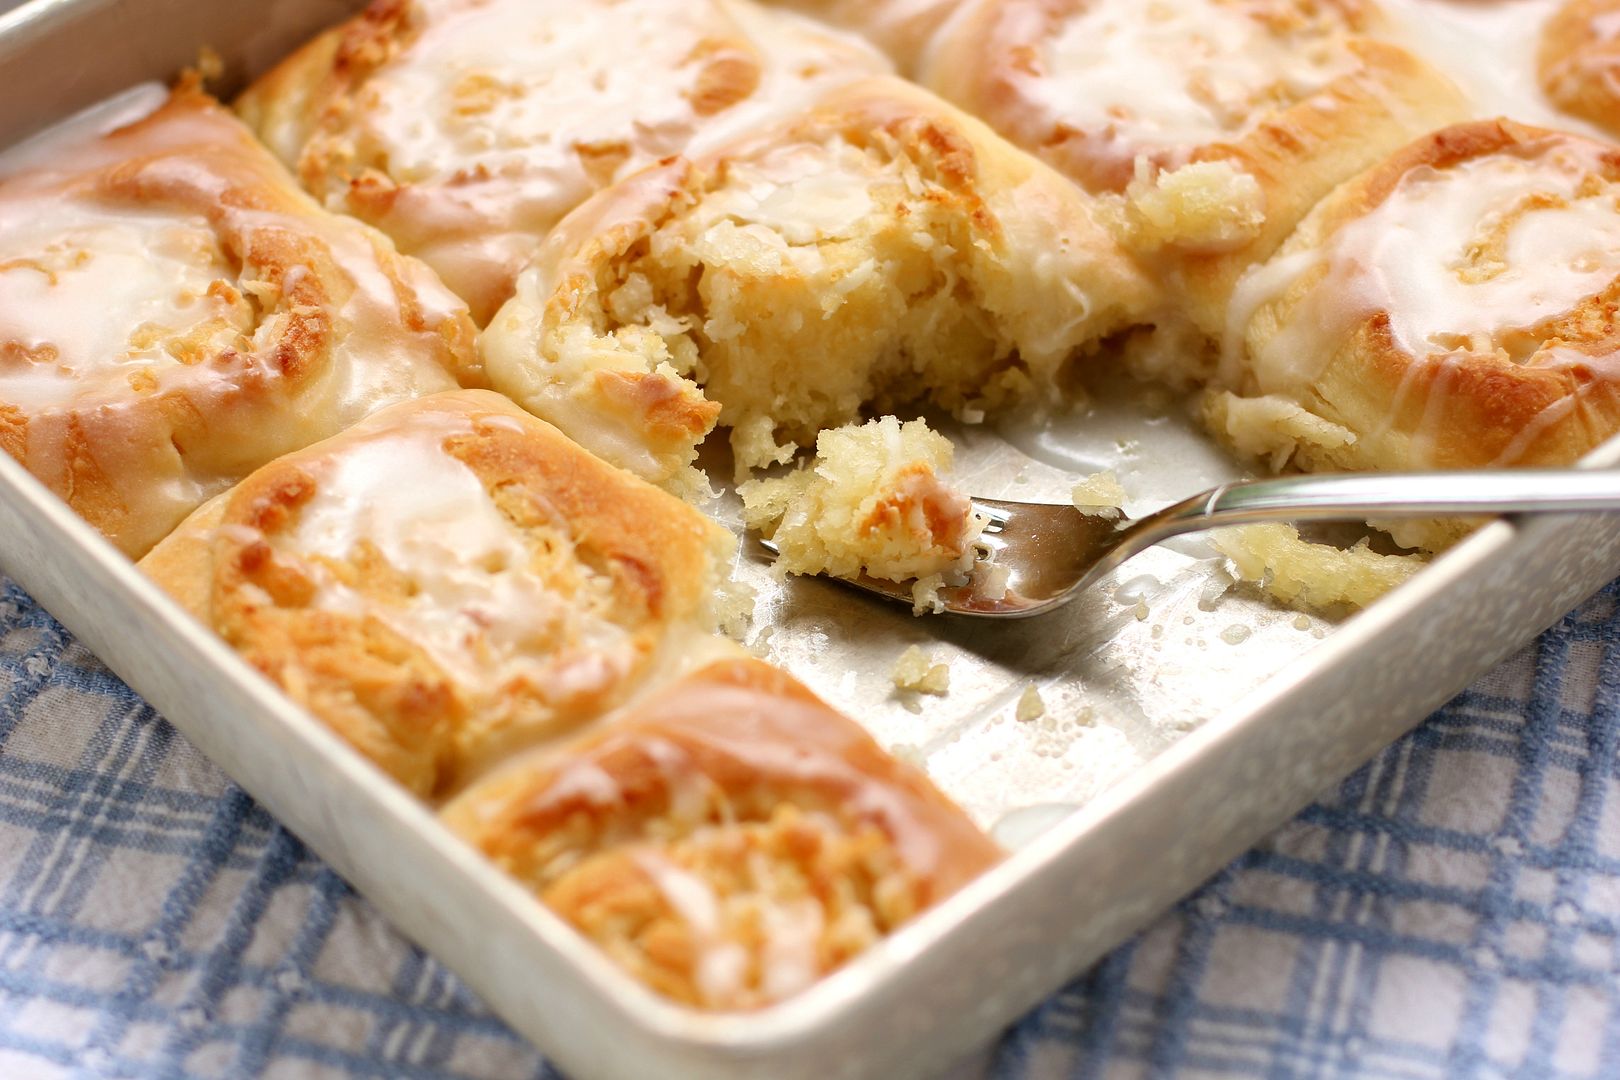
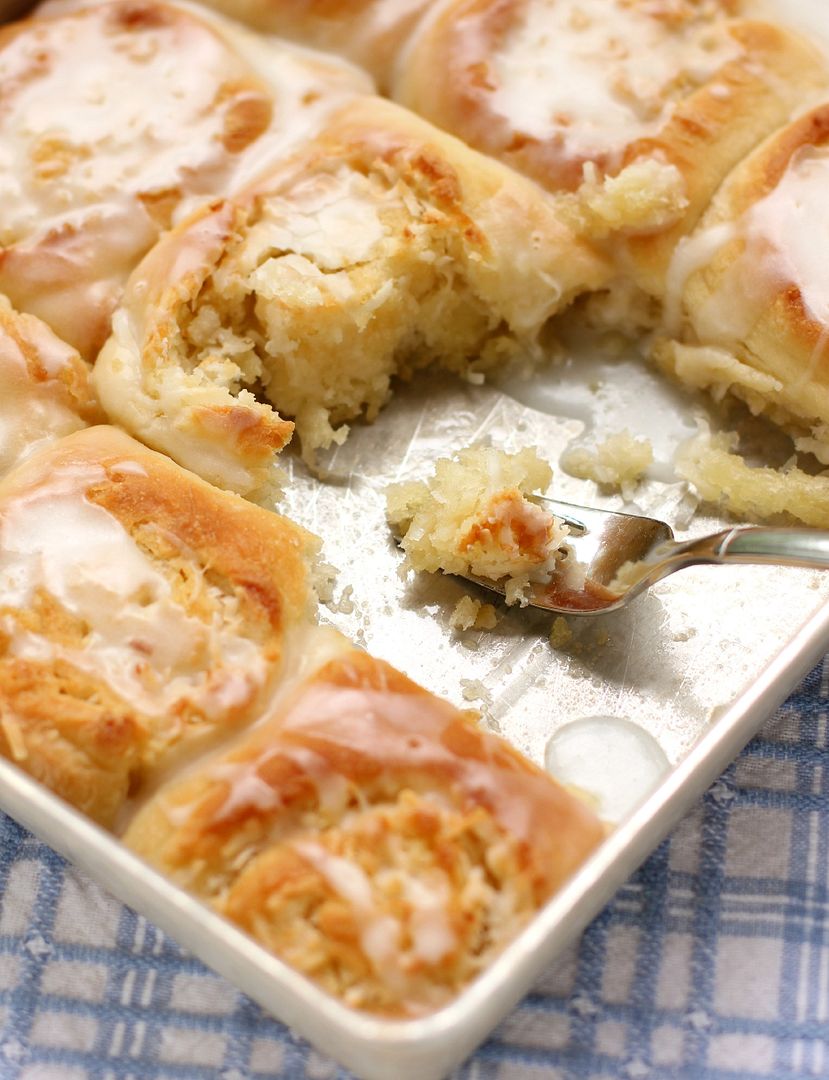
Since I first made Savory Sweet Potato & Chorizo Cinnamon Rolls and Buttery Coconut & Almond Morning Buns, I’ve been looking for new ways to use my favorite overnight yeast dough. I could’ve just made buttery lemon-glazed rolls, but I decided stuffing some tangy lemon cheesecake in my morning buns was a better idea. This yeast dough is a cinch to whip up and is so forgiving — and its second proof takes place overnight in the fridge. The resulting rolls are soft, buttery, and tangy. They almost have the texture of a flaky bread pudding. And needless to say, they’re delicious. I served them with some raspberries and a tall glass of cold milk. Enjoy!

One year ago: Thick Chocolate Cake with a Big Red (Velvet!) Heart
Two years ago: Heart-Shaped Palmiers and a Pesto Giveaway
Three years ago: Billion Cheese (Heart-shaped) Ravioli with Red Pepper Pancetta Sauce

5 from 1 reviews
Lemon Cheesecake Morning Buns
 
Prep time
Cook time
Total time
 
These Lemon Cheesecake Morning Buns could easily double as dessert. They are fluffy, gooey, tangy, buttery, and beyond delicious. I hope you’ll find a space for these rolls on your breakfast or brunch table. They definitely belong in the spotlight.
Serves: 24
Ingredients
Roll Ingredients:
  • 1 package (2 1/4 teaspoons) active dry yeast
  • 1/4 cup warm water (100-110 degrees F)
  • 2 tablespoons white vinegar
  • 2 cups milk minus 2 tablespoons, room temperature
  • 2/3 cup cold shortening
  • 3 tablespoons sugar
  • 1 teaspoon salt
  • 1 teaspoon baking soda
  • 1 teaspoon baking powder
  • 5 cups flour
  • 2 tablespoons butter, melted, for after baking
Filling Ingredients:
  • 2 (8-ounce) packages cream cheese, softened
  • zest of 1 lemon (reserve a little for topping)
  • 1/2 cup sugar
  • 2 tablespoons lemon juice
  • 1 egg, room temperature
  • 1 stick salted butter (or 1 stick unsalted butter and 1/4 teaspoon salt), melted
Glaze Ingredients:
  • 2 cups powdered sugar
  • 1 table lemon juice
  • 1/2 teaspoon vanilla extract
  • about 1/4 cup milk
  • extra lemon zest
Instructions
  1. Note on proofing: This yeast dough proofs for a couple of hours after you mix it up, and then the assembled rolls proof in the fridge overnight, so allow for this when planning to make this recipe. With most cinnamon rolls recipes you could switch this and proof in the fridge overnight and then assemble and proof on the countertop, but I opted to switch that method with these because I didn’t want the cream cheese filling sitting out too long.
  2. Note on yield: I don’t recommend halving yeast recipes; instead, if you don’t want 24 rolls at once, consider freezing some for later.
  3. Note on freezing: To freeze some of the unbaked rolls, just wrap them well before the second rise and freeze them. Once frozen, pop them out of the pan all together and store in the freezer, wrapped in plastic wrap and in a zip top bag or wrapped in foil. When you want to bake them, stick them back in a greased pan, thaw them in the fridge overnight, proof for the instructed amount of time, and bake like usual.
  4. Mix the warm water and yeast in a medium bowl and let the yeast foam for about 10 minutes. Put 2 tablespoons white vinegar in a measuring cup and then add milk up to the 2 cup line. Set this aside. In a separate large bowl (or the bowl of a mixer fitted with a dough hook), whisk together flour, sugar, salt, baking soda, and baking powder and cut the shortening into the mixture with two knives or a pastry cutter until the shortening looks like small peas. Stir yeast mixture and milk mixture into the dry ingredients and mix well, kneading just a few turns. Transfer the dough to a bowl lightly sprayed with cooking spray, cover tightly with plastic wrap, and proof in a warm, draft-free place (such as a closed, turned-off oven), for around 2 hours or until doubled in size.
  5. After proofing the dough, lightly spray two 9 x 13-inch baking dishes with cooking spray. Cream the softened cream cheese in a medium bowl until fluffy before adding lemon zest, sugar, lemon juice, and the egg. Mix together until well combined.
  6. Turn the dough out onto a floured surface and roll it into a large rectangle about 1/8-inch thick (I carefully cut the dough in half and worked with half at a time to make it more manageable; if you do this, just spread on half of the filling ingredients for each half you roll). Spread the melted butter over the surface of the rolled dough and then dollop the cream cheese mixture all across the surface, spreading gently to create an even layer. Gently roll the dough up into a spiral (I find using a bench scraper to encourage the dough to roll up during this process incredibly helpful) and cut it into 2-inch rolls, placing them close together in your prepared baking dishes (at this point, you could wrap and freeze the rolls for later if you wanted).
  7. Cover the rolls let them rise in the fridge overnight (they will have nearly doubled.) When you’re ready to bake, preheat the oven to 400 degrees F, letting the rolls rise on top of the preheating oven covered by a clean dish towel. Bake them for about 25-30 minutes or until lightly browned on top (don’t underbake or they’ll still be doughy in the center). Brush with 2 tablespoons melted butter and return to the oven for 1 more minute. Whisk together the glaze ingredients and drizzle the glaze over the warm rolls. Sprinkle with reserved zest and serve immediately.

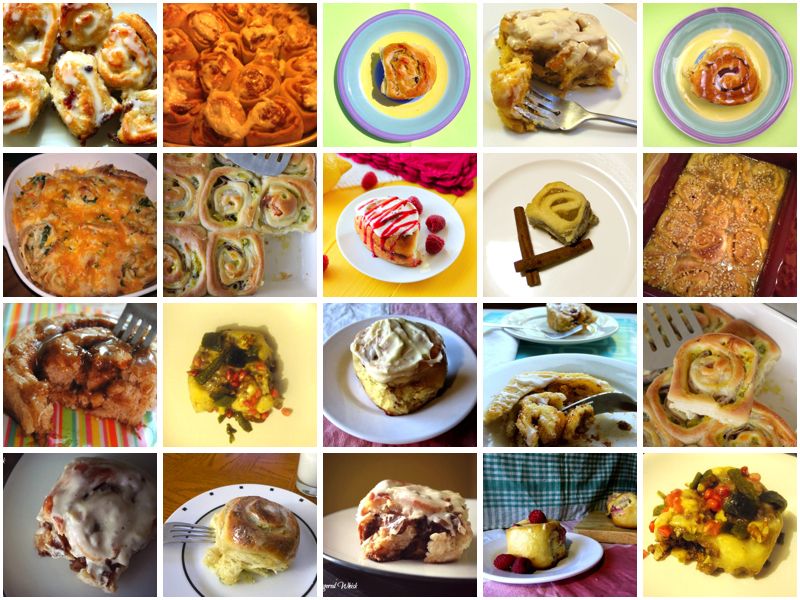
 

The Big Reveal: Willow Bird Baking Challenge #1 “Cinnamon” Rolls and a New Challenge!

Willow Bird Baking Challenge is a 5-week series wherein I introduce a new challenge each week. The challenges require you to get creative and innovative in the kitchen. You create your dish, bake it, and send me a photo before the following weekend, when I show off the masterpieces on Willow Bird Baking!

Challenge #1 was to innovate “cinnamon” rolls. I provided a yeast dough recipe that participants had to fill, top, and/or glaze with creative new combinations. I was amazed at what you all came up with! Just see for yourself:


Kelly

Kelly Made: Guava & White Chocolate Cream Cheese Rolls and Plantain & Bacon Rolls

Comments:“After waiting 100 years for my plantains to ripen, I was FINALLY able to make my rolls […] Thank you so much for this challenge. I’m always wary of making cinnamon rolls because my dough is always too sticky and I can never roll them properly. But I did it. I made two types since I had a lot of dough – Guava & White Chocolate Cream Cheese and Plantain & Bacon. Both very delicious.”


Amy H.

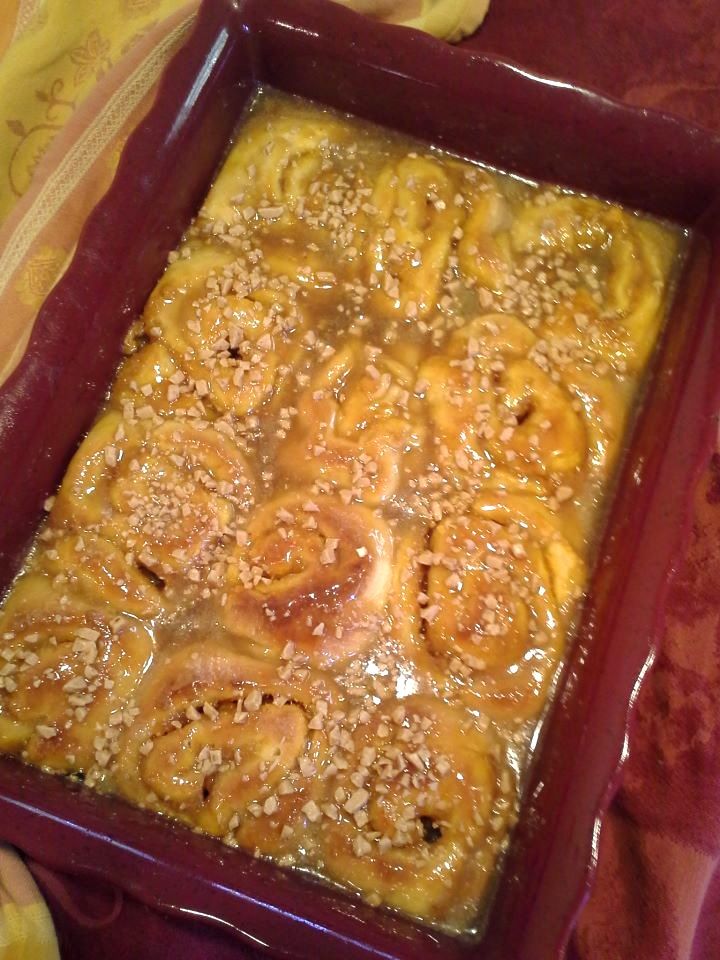
Amy Made: Toffee Ginger Pumpkin Cheesecake Rolls (see more on her Google Doc, here)

Comments: “The first thought I had was pumpkin. Yuuuum, pumpkin. […] Then I thought, cream cheese. Well actually, it was more like creeeeaaamm cheeese. Pumpkin cheesecake. I picked myself up off the floor and googled pumpkin cheesecake. What I found knocked me back on the floor. GINGER pumpkin cheesecake. Now we’re talking. A new google search and up it came, the magic ticket, Crunchy ginger pumpkin cheesecake with toffee topping. SOLD!”


Trudy

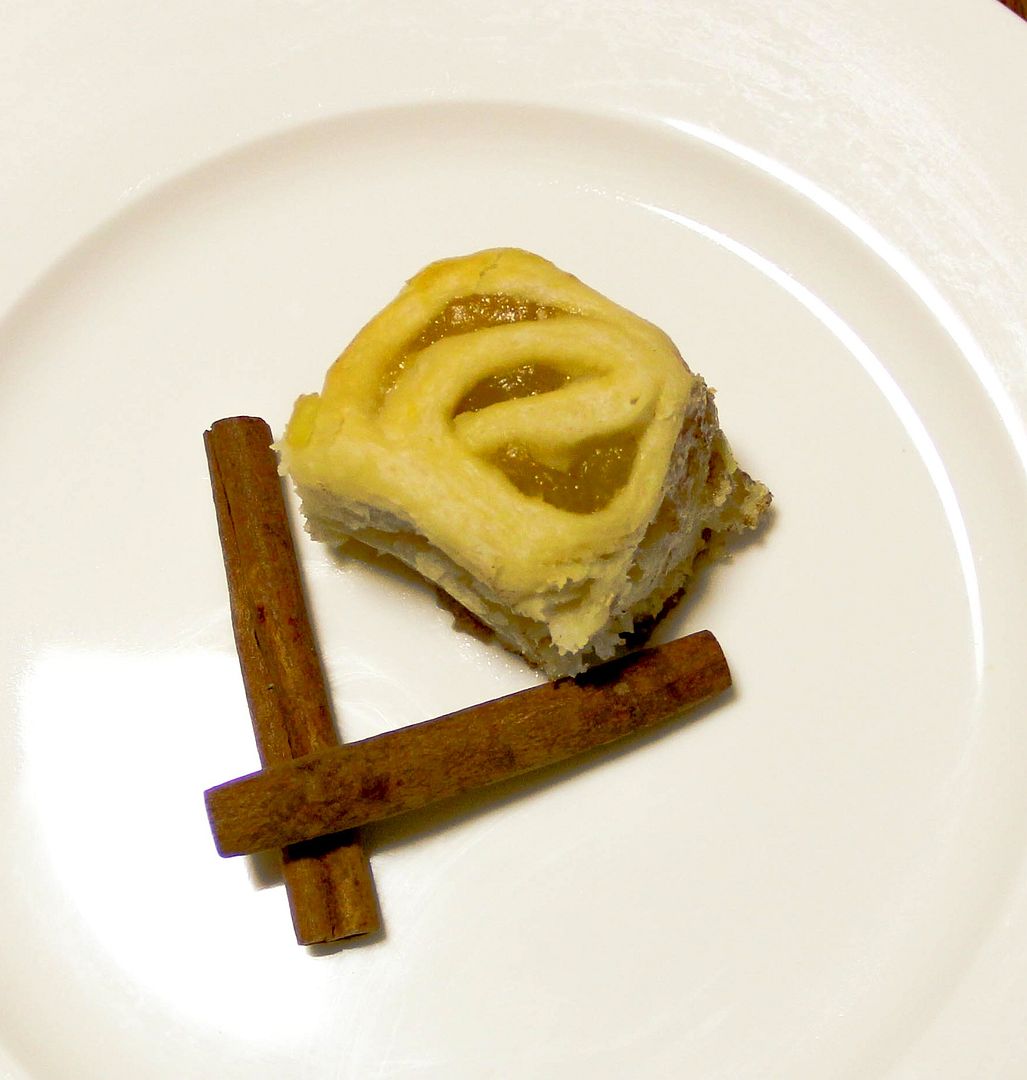
Trudy Made: Pineapple Ginger Rolls

Comments: “They’re done!! They came out as minis since I rolled the dough so thin. They taste delicious!!! Thanks again for even thinking of these challenges.”


Natalie

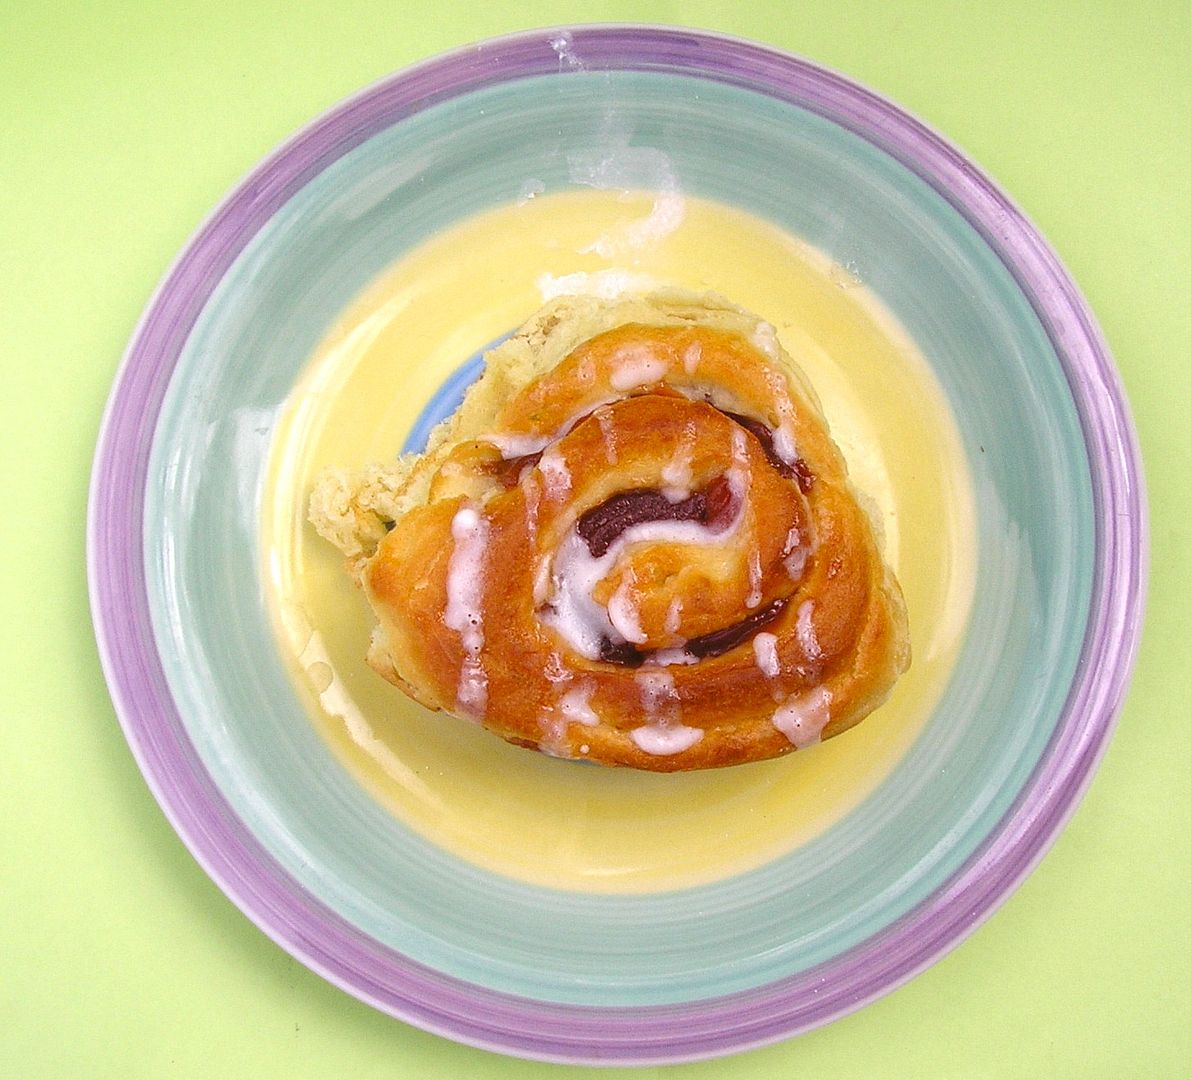
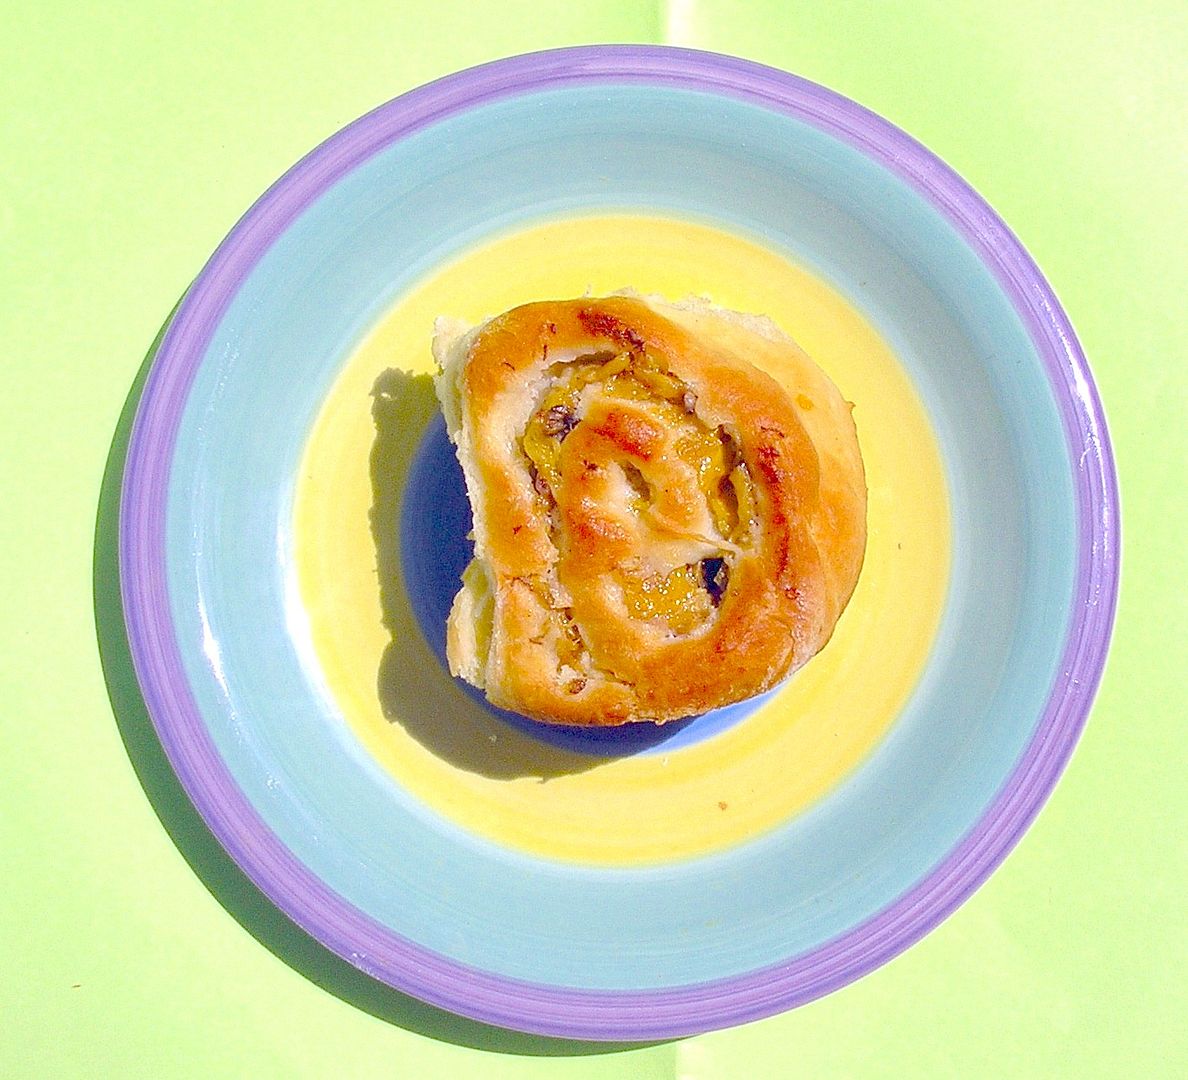
Natalie Made: Raspberry Lemon Curd Rolls (see more at her blog, Life Made Simple)

Comments: “Stephen and I have been loving all of the fresh berries we’ve been eating and since I had a couple of lemons sitting around it just seemed like the natural choice. In order to create a ‘filling’ I decided on curd, something that would make them nice and gooey inside. […] These sweet rolls are absolutely perfect in every way! Enjoy! Also thanks Julie for such a fun challenge, I’m already looking forward to the next one!”


Shelley C.

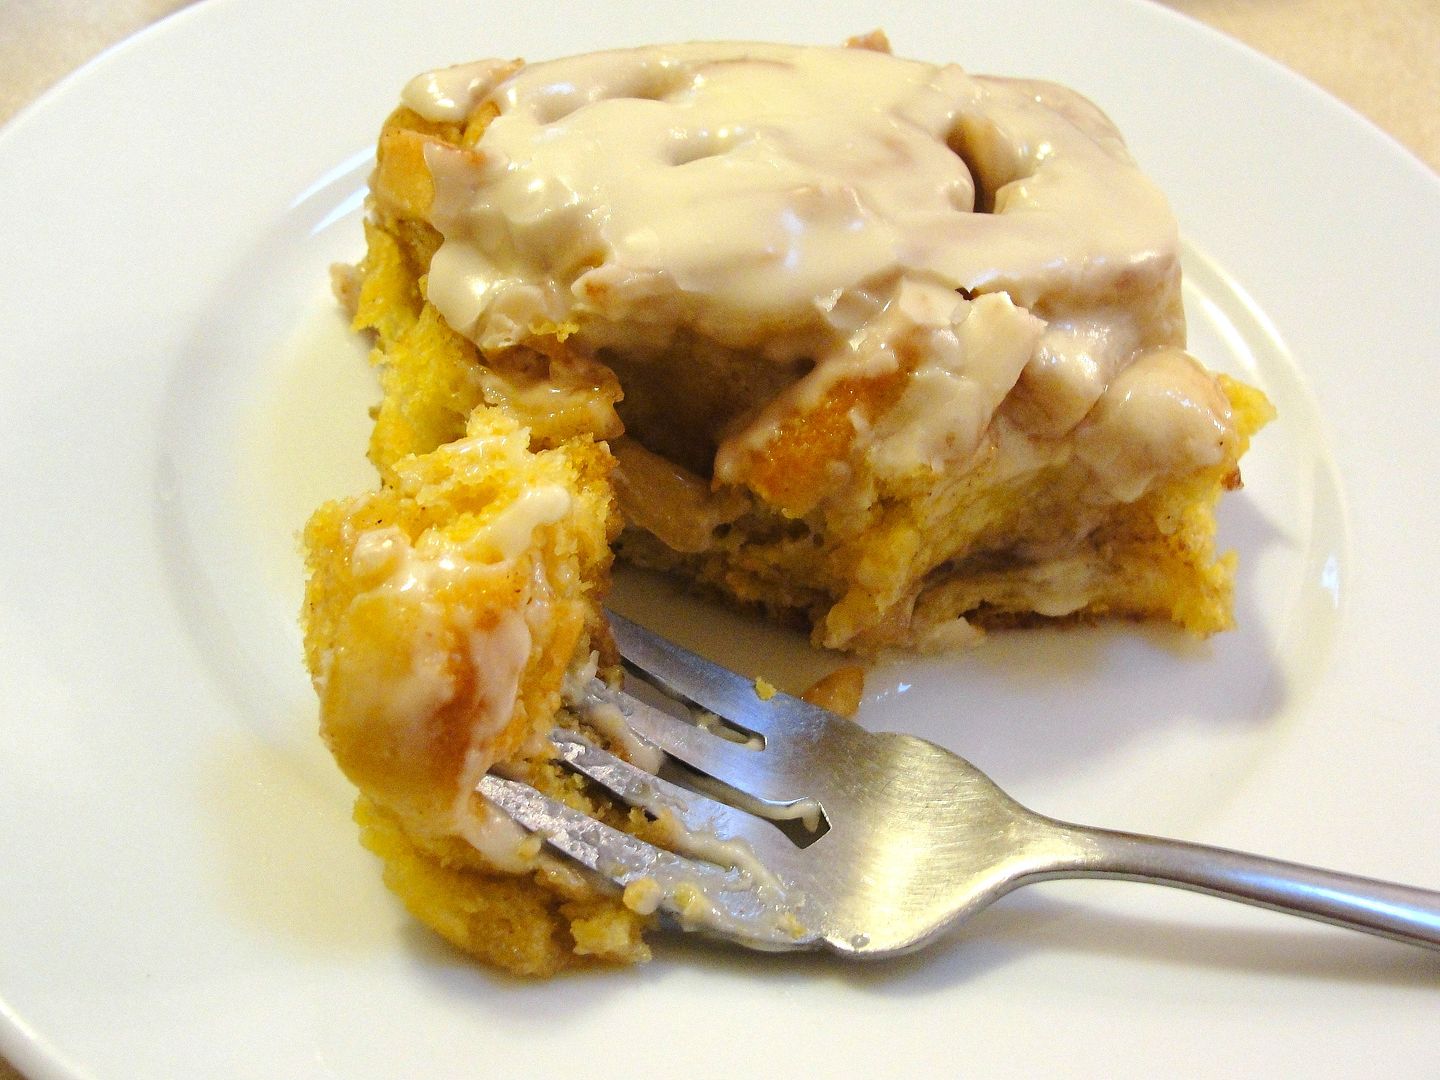
Shelley Made: Pumpkin Brown Butter Apple Cinnamon Rolls with Maple Frosting (see more at her blog, C Mom Cook)

Comments: “Funny enough, I wanted to make something just like these, and was going to use your pumpkin pull-apart bread dough for them (which I made last year, by the way, and it was AWESOME)… then I saw this challenge! […] Thank you SO much for a really fun baking experiment. I can’t wait to see what next week’s challenge will be!”


Jenni

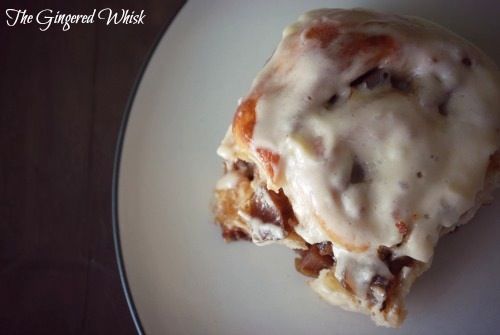
Jenni Made: Caramelized Apple Cinnamon Rolls (see more at her blog, The Gingered Whisk)

Comments: “I can’t wait to see all the awesome rolls that were made! This was such a great idea! Can’t wait to see what next week will be (my husband is already complaining about sabotaging his diet..haha!)”


LeAndra

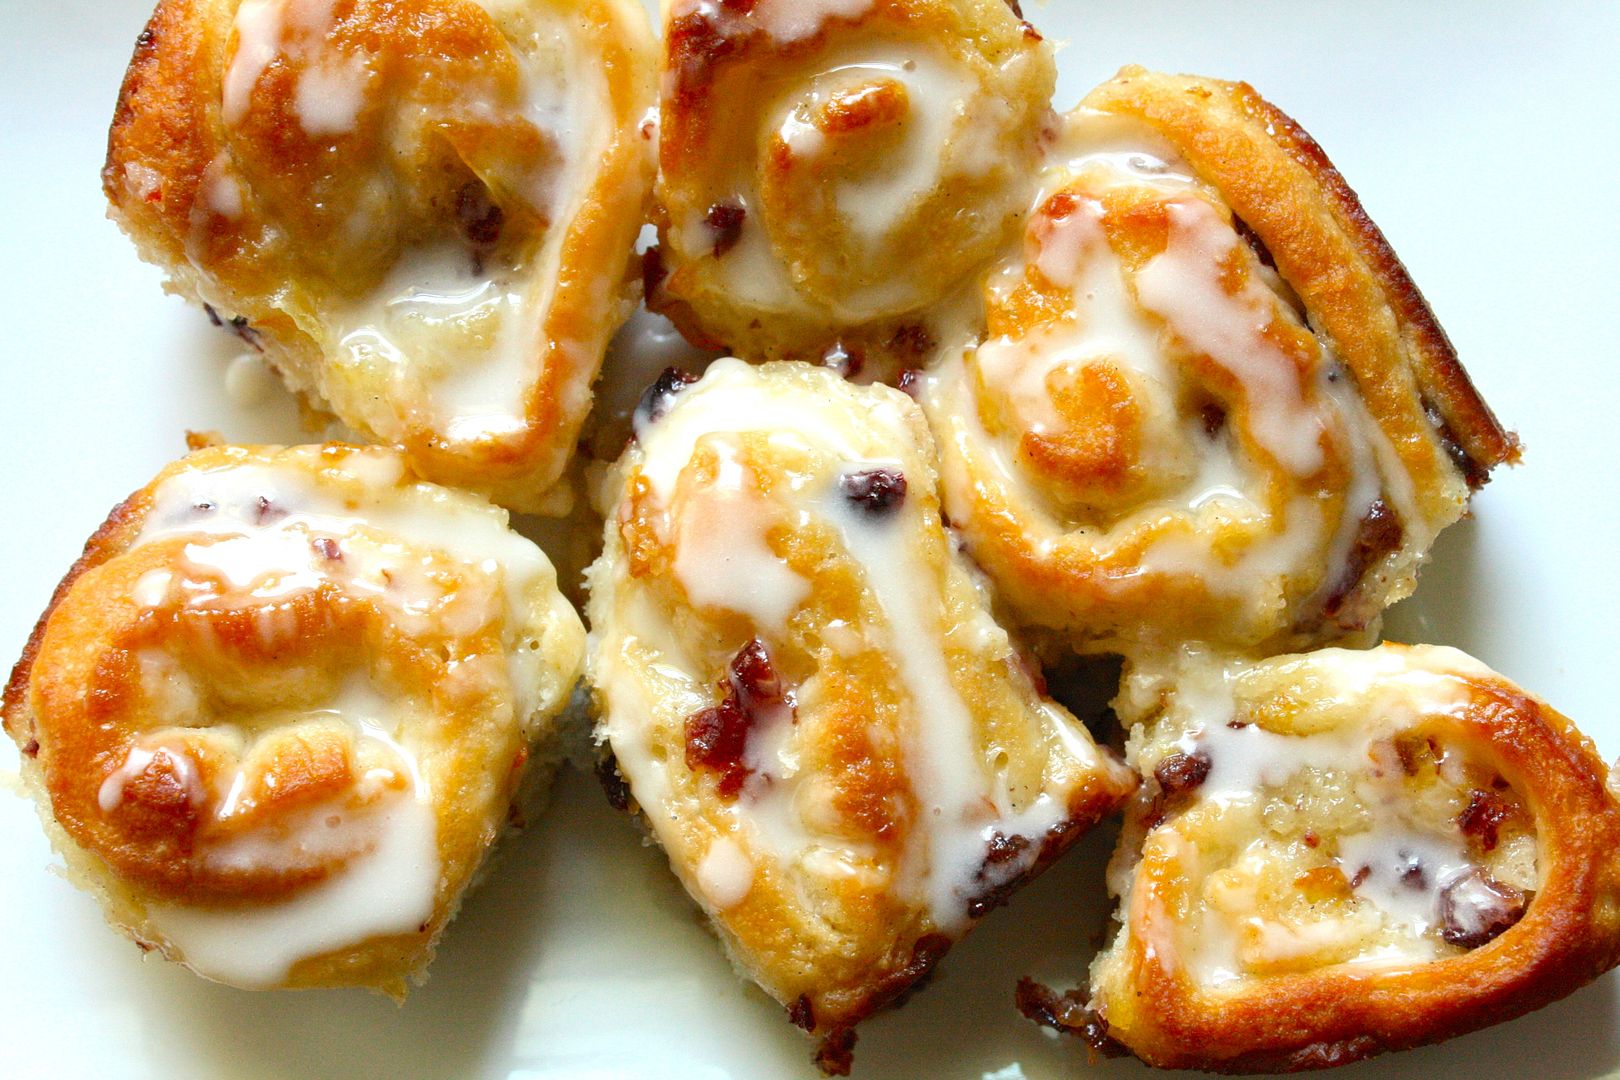
LeAndra Made: Orange Cranberry Cardamom Rolls (see her blog Love & Flour)

Comments: “I simply used orange jam, a sprinkle of cardamom, and chopped dried cranberries for the filling. Thanks for the encouragement!”


Gaby

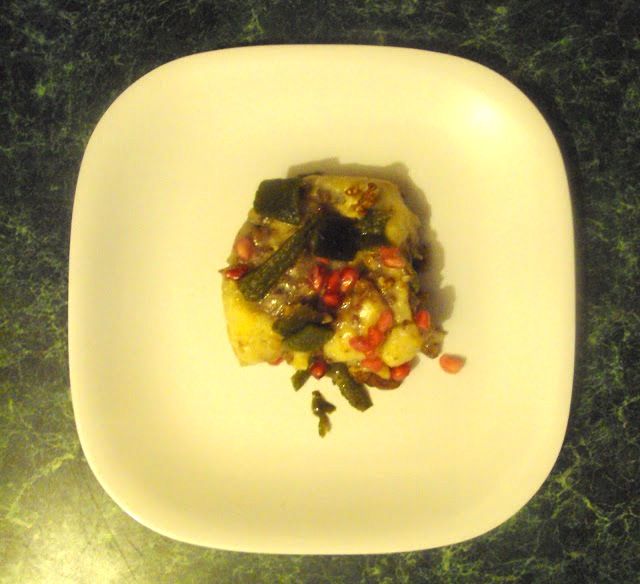
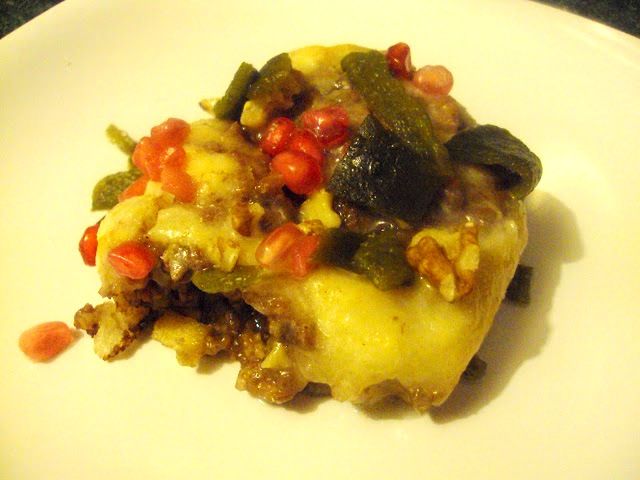
Gaby Made: Chiles-en-Nogada Cinnamon Rolls (see more at her blog, The Gab Housewife Chronicles)

Comments: “Chiles en Nogada is a very traditional Mexican dish, very ancient. And very elegant, and actually, expensive. It has a lot of ingredients, and it’s very time consuming to prepare them. So I made some in September for Mexico’s Independence DAy and I had chile’s filling leftover, and I filled the cinnamon rolls with it, and tried to give the glaze a little “nogada” (walnut sauce) flavor. They usually are garnished with pomegranate seeds, so I added those too.”


Stephanie

Stephanie Made: Pumpkin Pie Rolls with Cream Cheese Topping and Chicken & Cheese Rolls

Comments: “I loved this challenge concept and the savory example you gave reminded me of a recipe my mom used to make. I made both a sweet and savory cinnamon roll. Mainly because I am a savory person and my spouse is a sweet person. Thank you for giving me something to do today besides homework. I read 5 chapters for my credential program while everything was sitting (raising dough) and cooking.”


Robyn

Robyn Made: Apple Cinnamon Chip Buns (see more at her blog, Almacucina)

Comments: “I’m new to your site and glad I found it! These buns are amazing; here’s my entry (I guess apples are on everyone’s mind this time of year) to Challenge #1.”


Amy

Amy Made: Oatmeal Apple Cinnamon Rolls with Vanilla Bean Caramel Glaze (see more at her blog, Snozzberries? Who Ever Heard of a Snozzberry?)

Comments: “They are yummy and I’m calling them almost healthy because they have oatmeal in the dough and apples in the middle – those two things are healthy, right? They totally counteract the gallon of melted butter in it, right? Right?”


Dianna

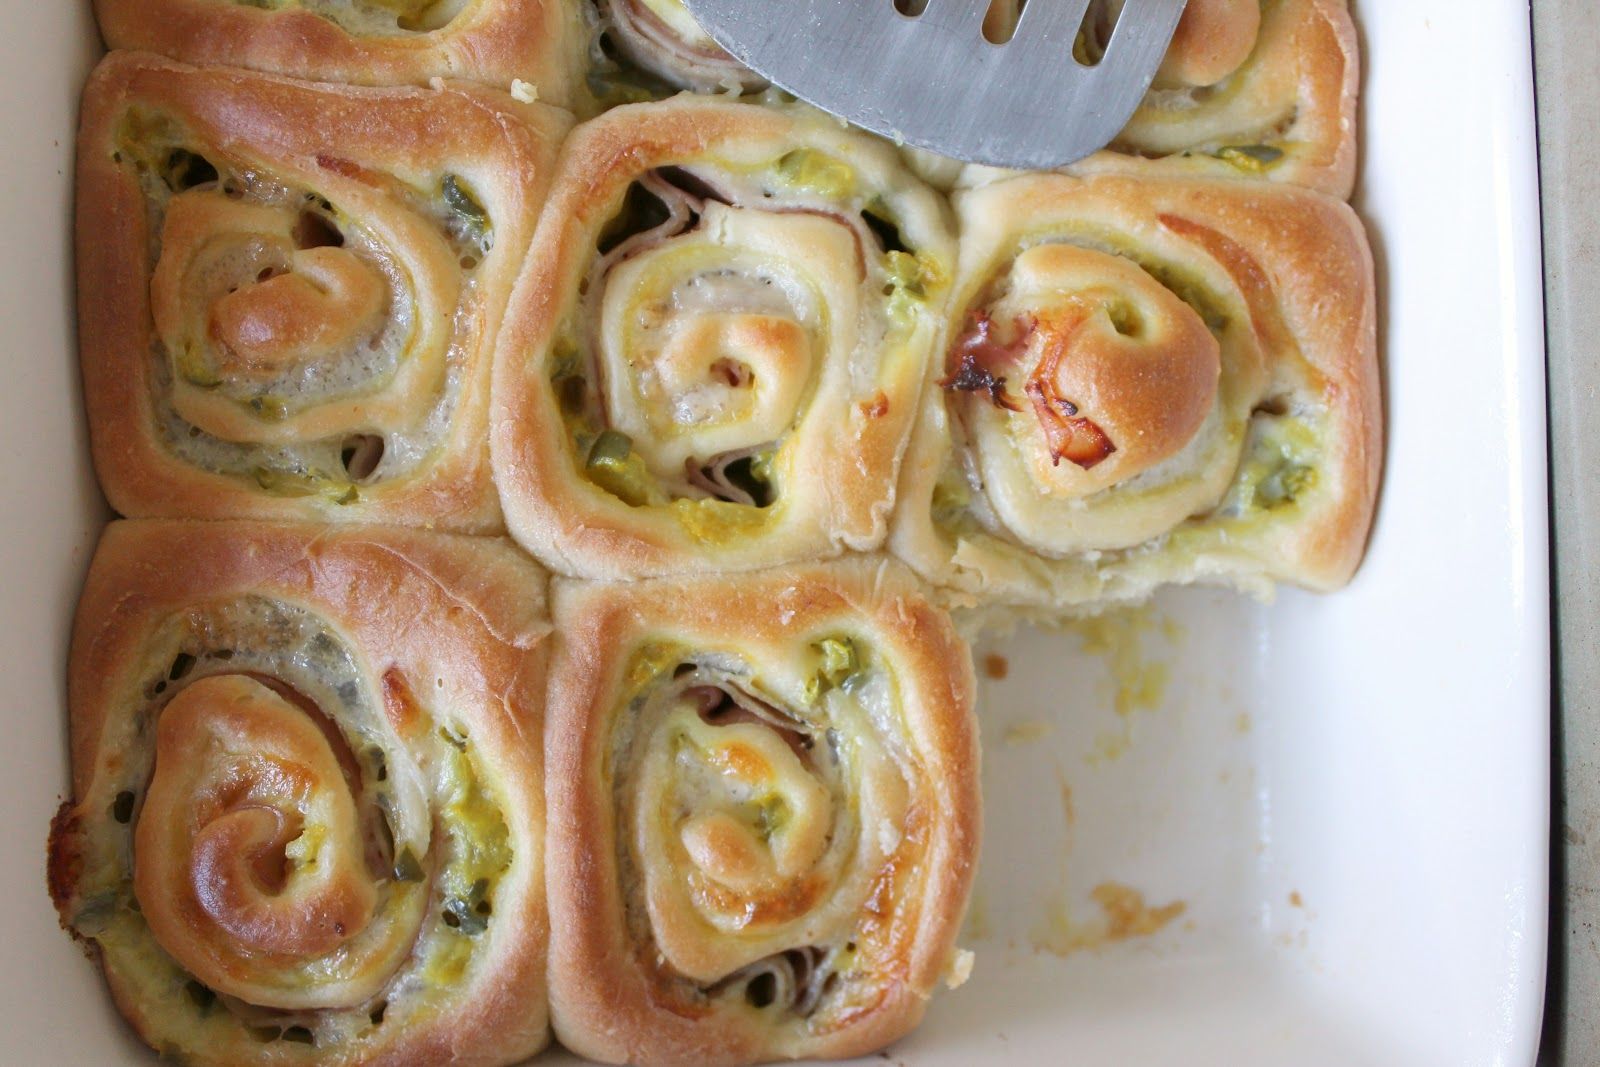
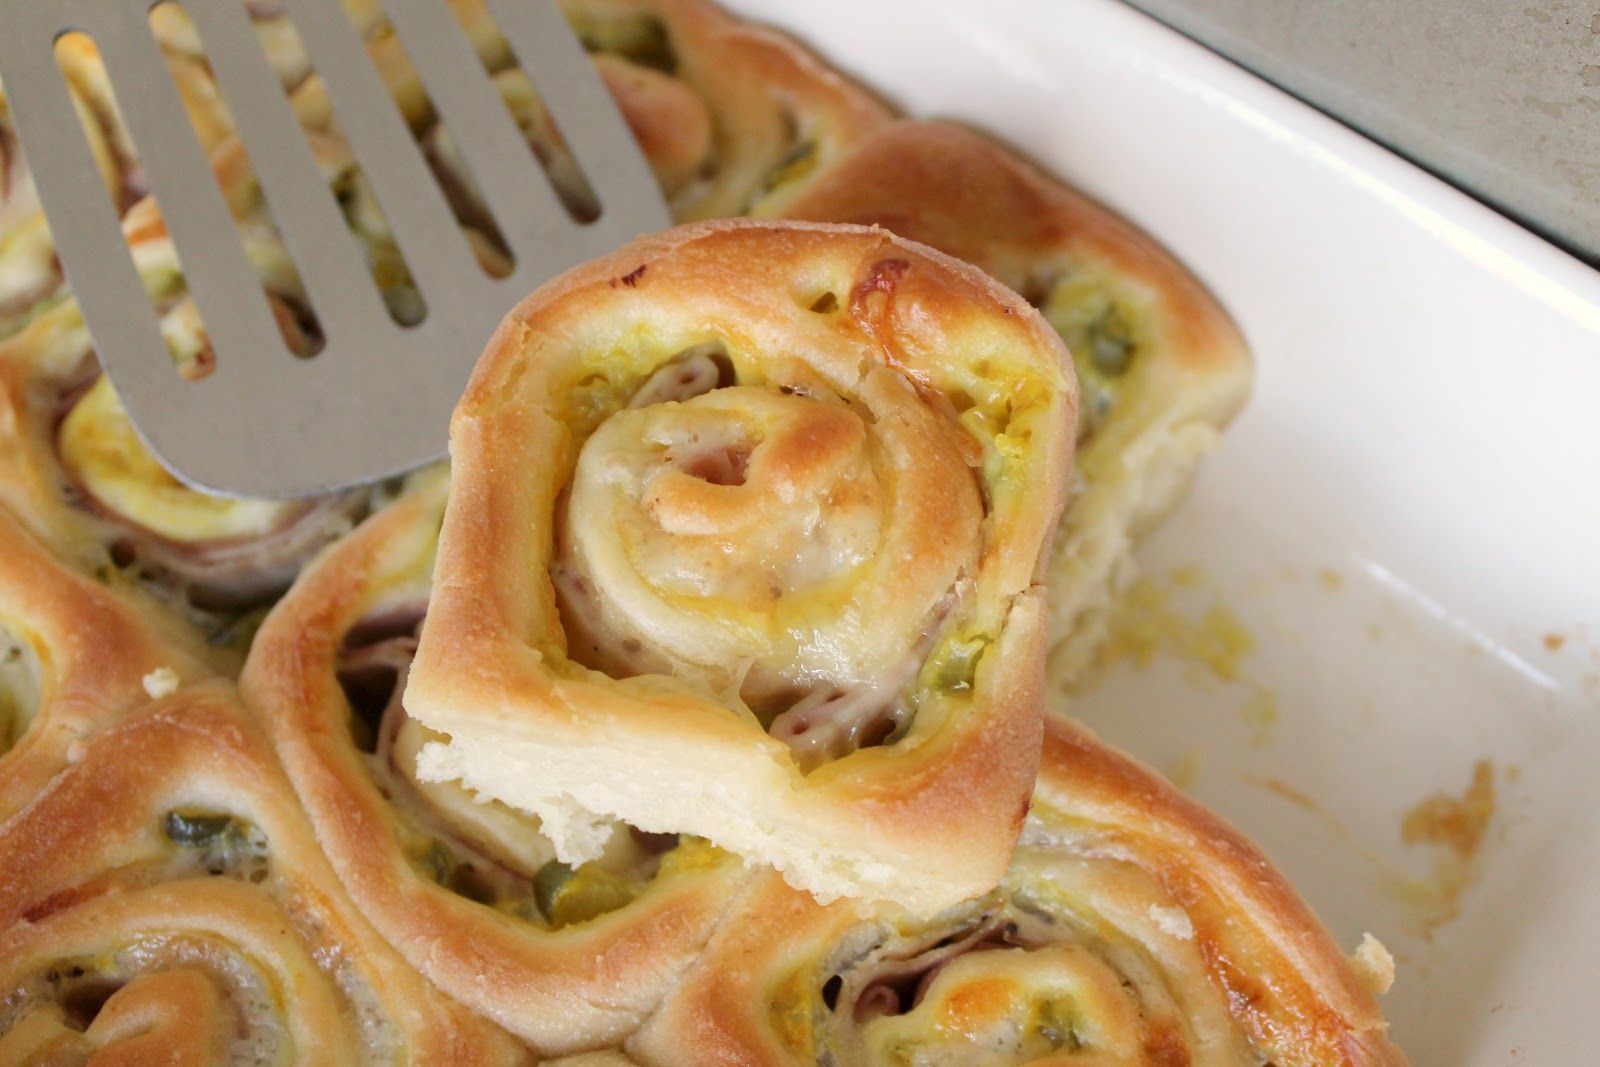
Dianna Made: Cuban Sandwich “Cinnamon” Rolls (see more at her blog, The Kitchen Prep)

Comments: “Ok… I did it. I really went outside the box here: Cuban Sandwich “Cinnamon” Rolls. (Do we still call them cinnamon rolls if they don’t actually contain any cinnamon whatsoever!?) They are totally perfect for representing me, a South Florida girl with a Cuban heritage. Thanks so much for challenging us and for adding a new recipe to my arsenal that I just KNOW will be well loved!”


Eric

Eric Made: Ricotta, Honey, & Dill Buns (see more on his Google Doc here)

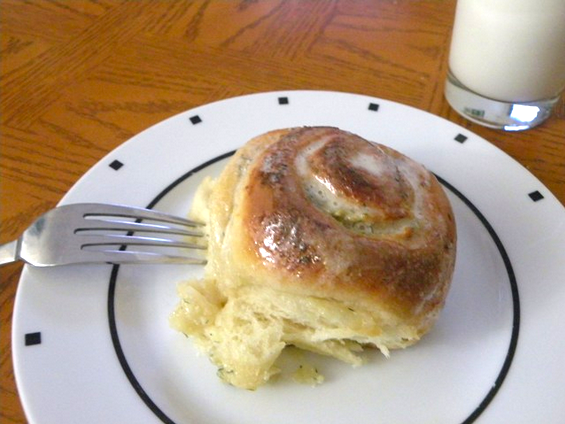
Comments: “[…] in the end – totally worth it! The ricotta and honey soaked into the bread, and the dill flavor shone through just enough. With some honey butter slathered on top of these, they border on being decadent, while still tasting fresh from the herbs! All in all, while I may have a little less hair than I started the weekend out with, I deem the challenge a success! Thanks!”


Ala

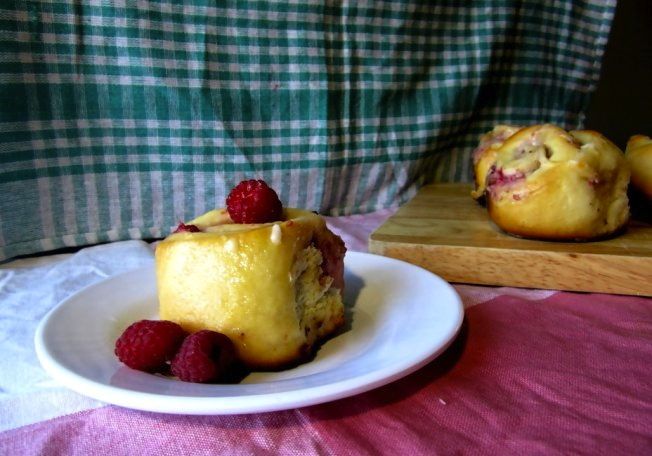
Ala Made: “Sorry, It’s Still Summer” Raspberry Cheesecake Rolls with Lemon Icing (see more at her blog Wallflour Girl)

Comments: “With the plethora of pumpkin and autumnal recipes hitting the web these days, I thought we all needed a little reminding that it is not, in fact, autumn everywhere in the world. In some places, it’s legitimately springtime, and in others, it’s legitimately autumn but actually not because it doesn’t feel like autumn. It feels, in fact, like summertime. Still. In October.”


Ready for Challenge #2?

Last night, Trudy and Kelly jumped on Google Hangout with me to introduce Challenge #2, and here it is!

You can find the braid dough recipe here — but the fillings, glazes, and toppings are up to you! Let’s get baking!

Congratulations to all of the participants of Challenge #1 for their fantastic work!

If you liked this post, please:
Subscribe to Willow Bird Baking
Follow Willow Bird Baking on Twitter
Follow Willow Bird Baking on Facebook

Buttery Coconut & Almond Morning Buns

I was floored to see that Willow Bird Baking is a finalist for SAVEUR Magazine’s Best Baking & Desserts Blog. Thank you so much for making this happen. If you’d like to vote for Willow Bird Baking, you can do so here. You all are truly wonderful.

Batik . . . Issei . . . Caballero . . . Kuchen . . . Coffle . . . Lariat . . . Trepak . . . Twoling . . .

The spelling bee pronouncer carefully enunciated one word after another, round after round. The dwindling pool of contestants seethed: a child was always approaching the microphone timorously, bouncing back to their seats triumphantly, or moping over to their consoling families. I sat in the audience rigid with excitement, scribbling each word on the back of an old envelope I’d found in my cavernous purse.

Watching my student compete in the 72nd annual Winston-Salem Journal Regional Spelling Bee was already an ideal afternoon for a logophile like myself, but making the event even more wonderful was the fact that Mike was at my side. Since the Bee took place about halfway between our two cities, he agreed to meet me for a nerdy date! As I frantically attempted to spell each word before the contestant had a chance, he did math in his composition book. (We’re quite the exciting pair.)

My student did a phenomenal job. She got out (with only 5 contestants left!) on the word ringent. If you’re being honest, you’ll probably admit that you didn’t really know how to spell ringent, either, so that’s not bad at all for a 12-year-old. She was disappointed, but I was thrilled with her performance. She still has two full years of eligibility, and since we were so close this year, I fully expect to travel to D.C. eventually to watch her in the National Bee.

After she left with her family, Mike and I set out to explore Winston-Salem. We scanned every restaurant on the main thoroughfare (to appease me; Mike would’ve been happy just to choose one) before finally settling in for pizza and more nerd talk. Mike taught me about hyperbolic conservation laws. We then ambled down the street looking for dessert (or in my case, two desserts, ’cause that’s how I roll.)


ha ha, get it?

One of our dessert stops was at a little coffee shop and bakery where Mike ordered a coconut roll. The flaky pastry was reminiscent of a cinnamon roll, but stuffed instead with toasted coconut. We both enjoyed it, but as soon as I tasted it I told him, “I can do better. I’m going to make you one of these and it’s gonna be insane.” I tucked the mission down into my heart while he promptly forgot about it.

The afternoon was also filled with other lovely things. After buying me a coffee-flavored frozen custard cone, we ambled until we found ourselves seated on a rickety bench outside of a beautiful Moravian church. About a dozen cherry trees heavy with blossoms surrounded us and swayed in the breeze. The sky was a pretty slate blue that belied the sunshine and hinted at an impending spring shower. I think we talked about Moravian chicken pies and guinea hens (one sauntered by us nonchalantly while we were talking — maybe that’s normal in Winston-Salem?), but more important than the conversation was my hand in his, my head on his shoulder.

It was a perfect date. I’m sure Mike drove away thinking about partial differential equations or something in that vein, but I drove away thinking of coconut rolls (oh, okay, and love and hearts and romance and stuff).

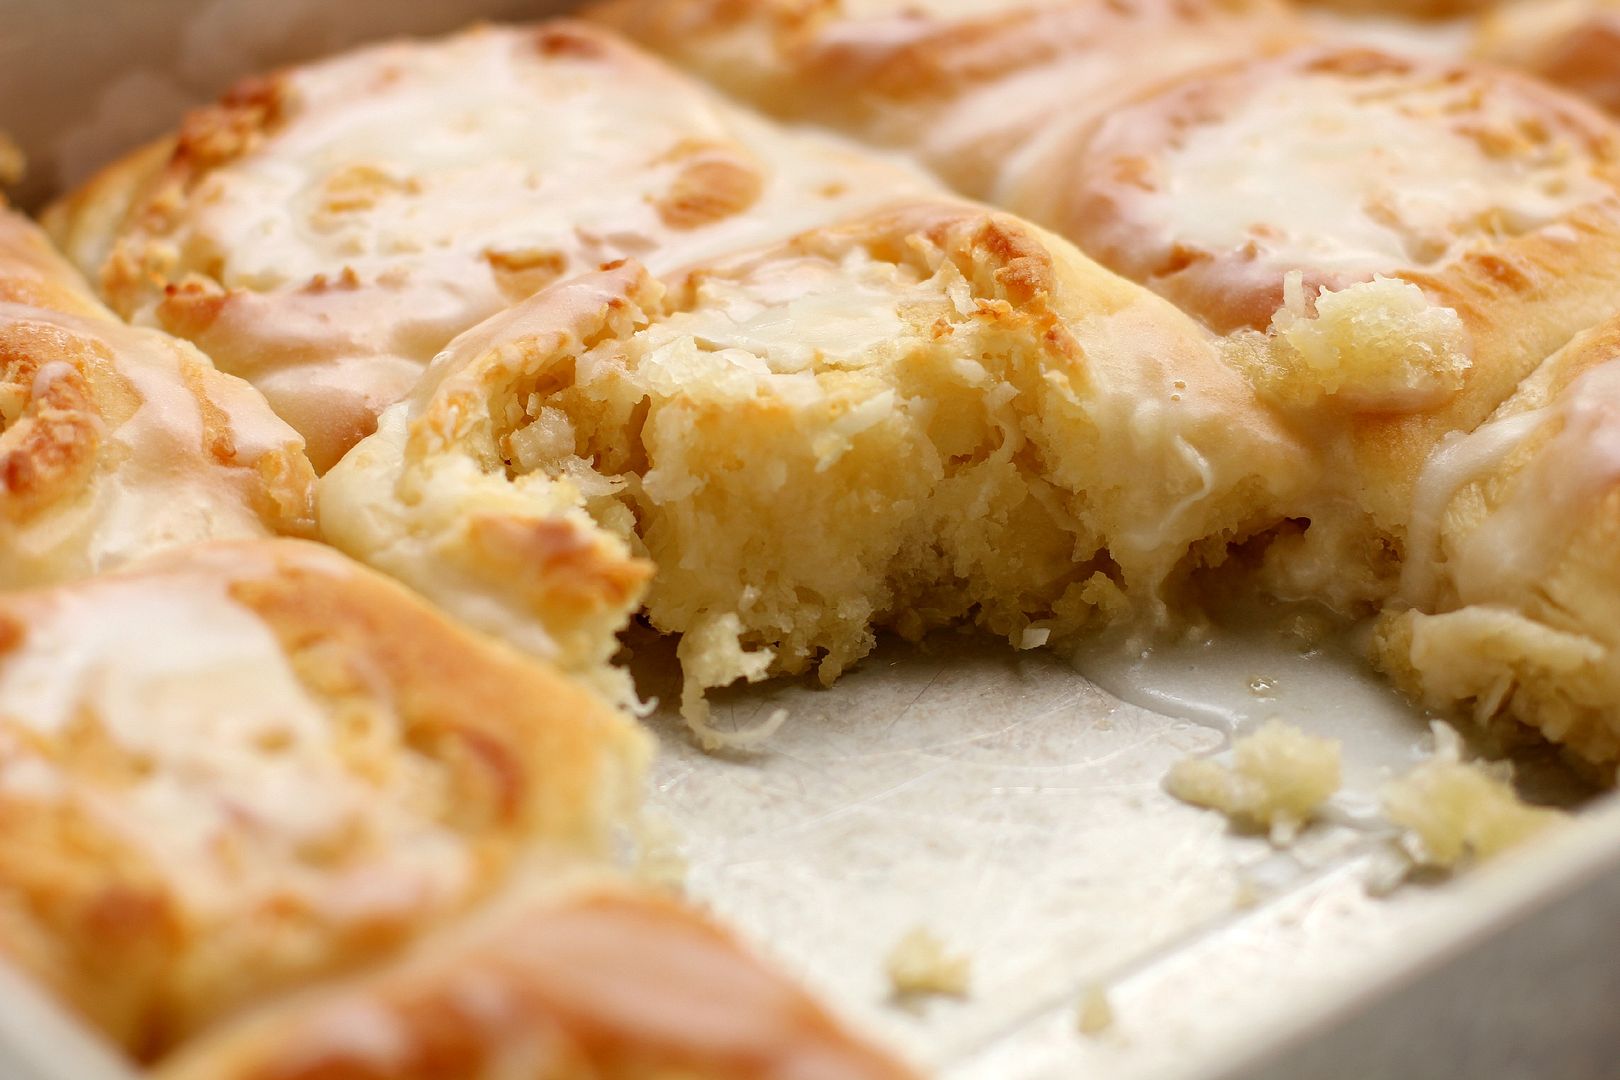
It took me a couple of weeks to get around to experimenting, but when I finally did, these lovely Coconut & Almond Morning Buns were the result. They were even more phenomenal than I’d imagined: buttery, gooey, and delicate, with a gorgeous balance of sweet coconut and subtle almond. I proudly presented them to Mike, who had forgotten all about the Winston-Salem coconut roll but wholeheartedly enjoyed my revamped version nonetheless.

By the way, if you’re wondering: yes, these buns whipped the coffee shop’s coconut rolls right out of the mixing bowl. Not that I’m competitive or anything.

Everyone remembers the word they got out on in their childhood spelling bee. What was yours? (I got out on “eclipse” in 5th grade and “monotonous” in 6th.)

Buttery Coconut & Almond Morning Buns


Recipe by: Willow Bird Baking
Yield: 24 buns

These morning buns could easily double as dessert. They are fluffy, gooey, buttery, and beyond delicious. There’s a lot of butter in this recipe, making it a special occasion treat, but I hope you’ll find a space for these rolls on your Easter brunch table. They definitely belong in the spotlight.

Roll Ingredients:
1 package (2 1/4 teaspoons) active dry yeast
1/4 cup warm water (100-110 degrees F)
2 tablespoons white vinegar
2 cups milk minus 2 tablespoons, room temperature
2/3 cup cold shortening (I use butter flavored Crisco)
3 tablespoons sugar
1 teaspoon salt
1 teaspoon baking soda
1 teaspoon baking powder
5 cups flour
2 tablespoons butter, melted, for after baking

Filling Ingredients:
1 1/2 cup (3 sticks) butter, melted
1/2 teaspoon coconut extract
1/2 cup sugar
2 cups sweetened coconut flakes
7 ounces almond paste, frozen until firm and then grated with hand grater

Glaze Ingredients:
1 1/4 cups confectioners’ sugar
1/4 teaspoon almond extract
1/4 teaspoon coconut extract
2-3 tablespoons milk (to thin to drizzling consistency)

Directions:
Note: I don’t recommend halving yeast recipes; instead, if you don’t want 24 rolls at once, consider freezing some for later. To freeze some of the unbaked rolls, just wrap them well before the second rise and freeze them. Once frozen, pop them out of the pan all together and store in the freezer, wrapped in plastic wrap and in a zip top bag or wrapped in foil. When you want to bake them, stick them back in a greased pan, thaw them in the fridge overnight, proof for the instructed amount of time, and bake like usual.

Mix the warm water and yeast in a medium bowl and let the yeast foam for about 10 minutes. Put 2 tablespoons white vinegar in a measuring cup and then add milk up to the 2 cup line. Set this aside. In a separate large bowl (or the bowl of a mixer fitted with a dough hook), whisk together flour, sugar, salt, baking soda, and baking powder and cut the shortening into the mixture with two knives or a pastry cutter until the shortening looks like small peas. Stir yeast mixture and milk mixture into the dry ingredients and mix well, kneading just a few turns. Transfer the dough to a bowl lightly sprayed with cooking spray, cover tightly with plastic wrap, and store in refrigerator overnight.

The next morning, preheat the oven to 400 degrees F and lightly spray two 9 x 13-inch baking dishes with cooking spray. Turn the chilled dough out onto a floured surface and roll it into a large rectangle about 1/8-inch thick (I carefully cut the dough in half and worked with half at a time to make it more manageable; if you do this, just spread on half of the filling ingredients for each half you roll). Stir the coconut extract into the melted butter; then spread the melted butter all over the top of the dough. Sprinkle on the sugar, sweetened coconut, and almond paste flakes. Gently roll the dough up into a spiral and cut it into rolls, placing them close together in your prepared baking dishes (at this point, you could wrap and freeze the rolls for later if you wanted).

Cover the rolls with a clean dish cloth and let them rise in a warm spot until they’ve nearly doubled, about 1 1/2 – 2 hours. Bake them for about 15-20 minutes or until browned on top (if you take them out at just lightly golden brown, they may still be doughy in the center). Brush with 2 tablespoons melted butter and return to the oven for 1 more minute. Whisk together the glaze ingredients (adding milk to get it to drizzling consistency) and drizzle the glaze over the warm rolls. Serve immediately.
If you liked this post, please:
Subscribe to Willow Bird Baking
Follow Willow Bird Baking on Twitter
Follow Willow Bird Baking on Facebook
Give this post a thumbs up on StumbleUpon
Pin It

Chocolatey Red Velvet Pull-Apart Bread with Cream Cheese Glaze

“I changed my mind.”

My mom shifted the car into park and turned off the ignition before looking over at me. “What do you mean? You can’t change your mind now; we’re already here.”

I looked out the window at the hair salon and then turned back to my mom. “Can’t I just get a trim, though? I really don’t want short hair. Please.” My 5-year-old voice teetered on the border between whining and shouting.

My mom shook her head. “We already made the appointment and told her what we wanted done. We aren’t spending all this money for just a trim. It’s just hair; it’ll grow back. Come on.”

Before I knew it, I was seated in a pleathery chair in front of a giant mirror, looking at my long blonde locks. Jessica, our hair stylist, sensed my unease. “Let’s just get it over with all at once, okay?” she asked as she tugged it into a ponytail. I could barely nod. A few snips later, my ponytail dropped to the floor with a whisp of finality, and the newly free remnants of my hair fell around my face. They barely reached my ears.

Silent tears began rolling down my cheeks as I calculated how long I’d have to wait to have long hair again.

My hair was really only one facet of my style troubles. In addition to bowl cuts, my mom had a penchant for “hammer pants.” She made many of my outfits by hand, including a hammer-panted onesie (I couldn’t make this up) with candy-pink stripes and gigantic, ceramic ice cream cone buttons. I think it might’ve also had a big lace collar. I posed in it with my bowl cut and a reluctant smile for many a photograph.

Then there was the red-and-denim hammer-panted contraption with the ceramic cow buttons. God bless my mother for sewing clothes for me, seriously, but I considered running away.

At least I was loved? Indeed, my childhood style woes remind me of this quote from food writer Angie Mosier about red velvet cake: “It’s the Dolly Parton of cakes: a little bit tacky, but you love her.”

Incidentally, I think I would’ve rather dressed like Dolly Parton than M.C. Hammer, but that’s neither here nor there.

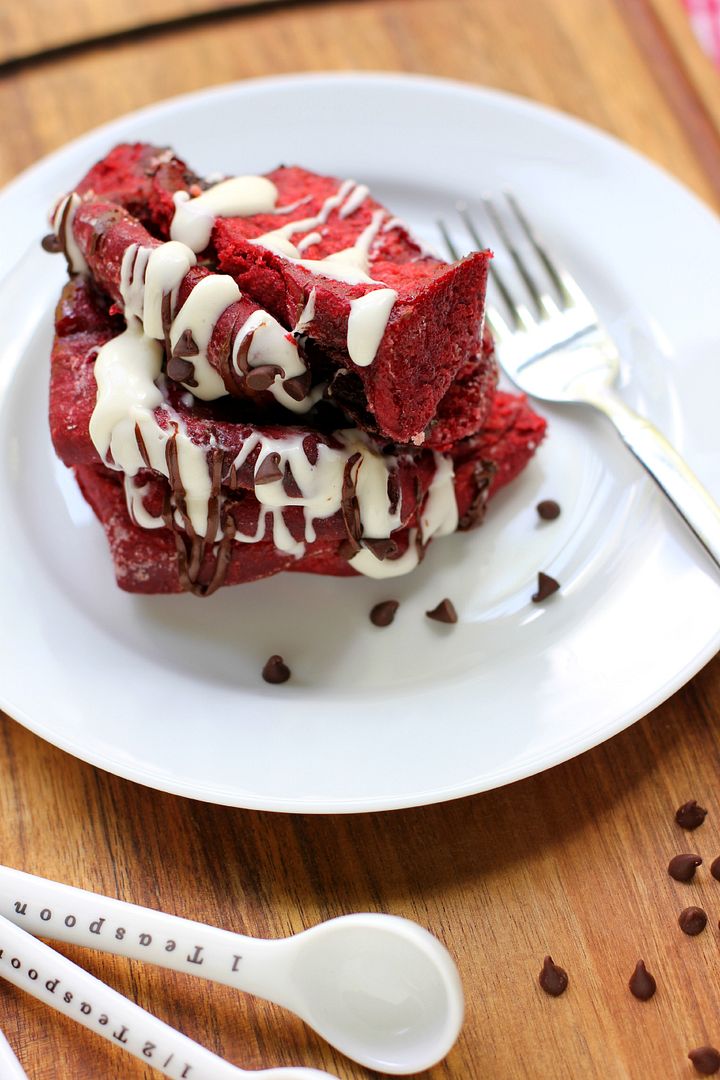
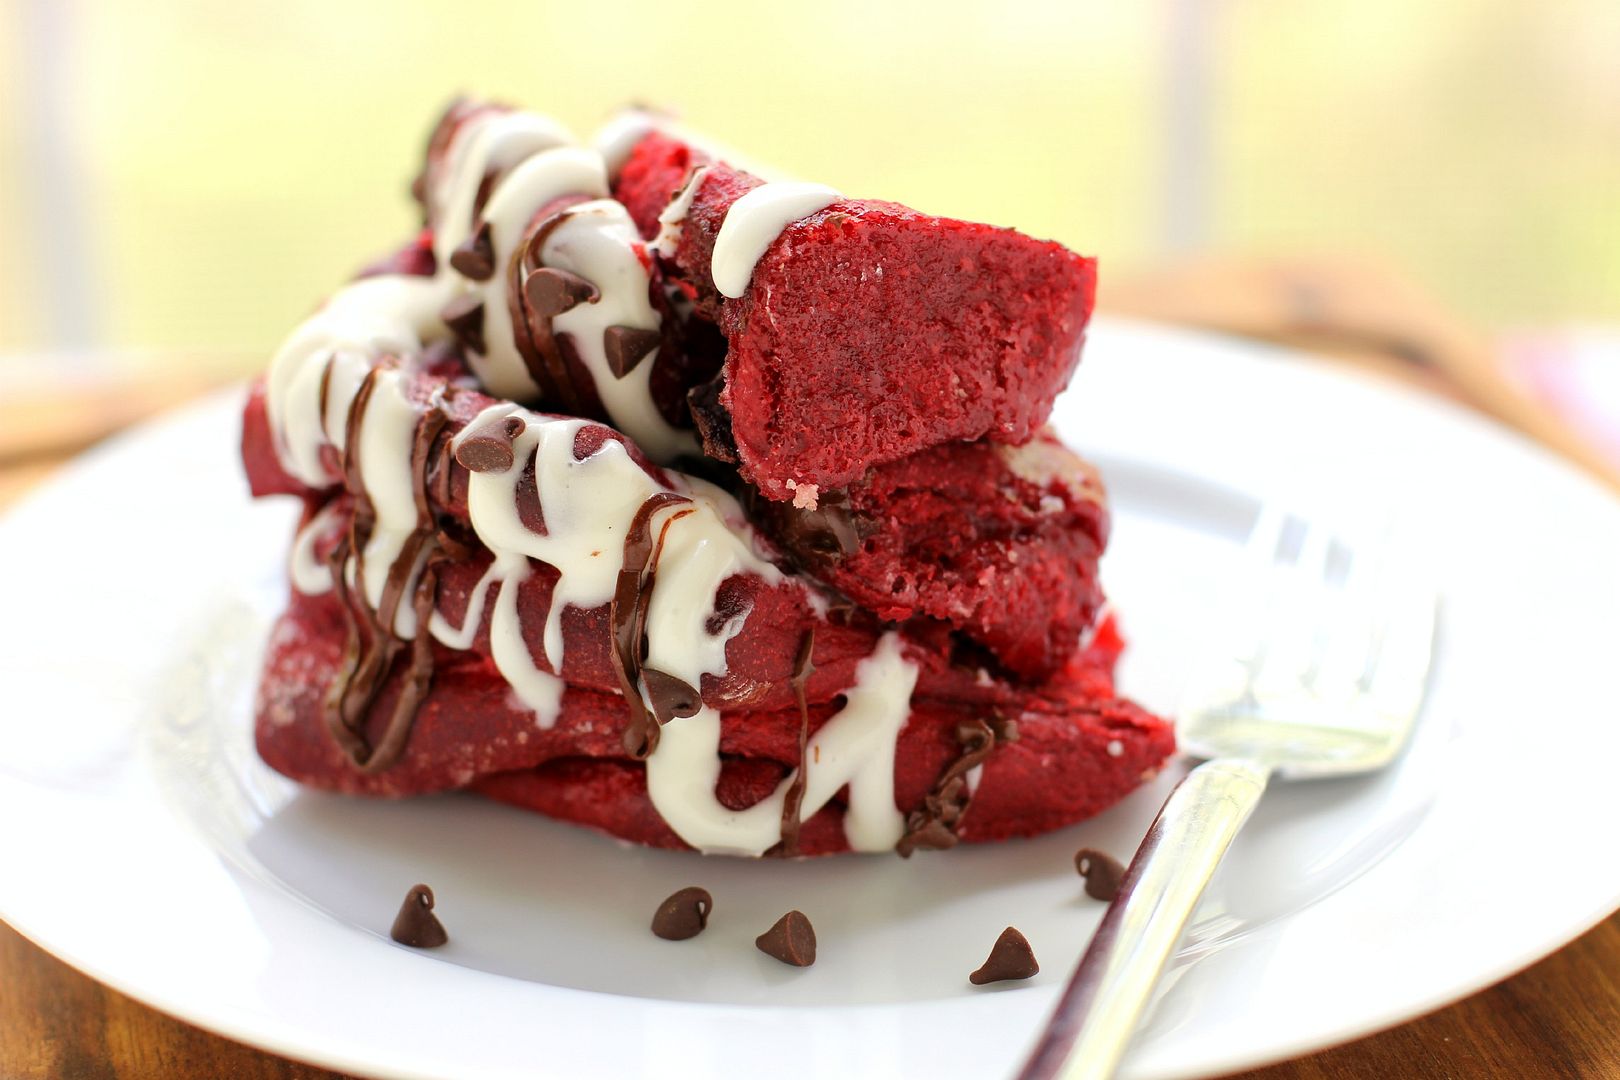
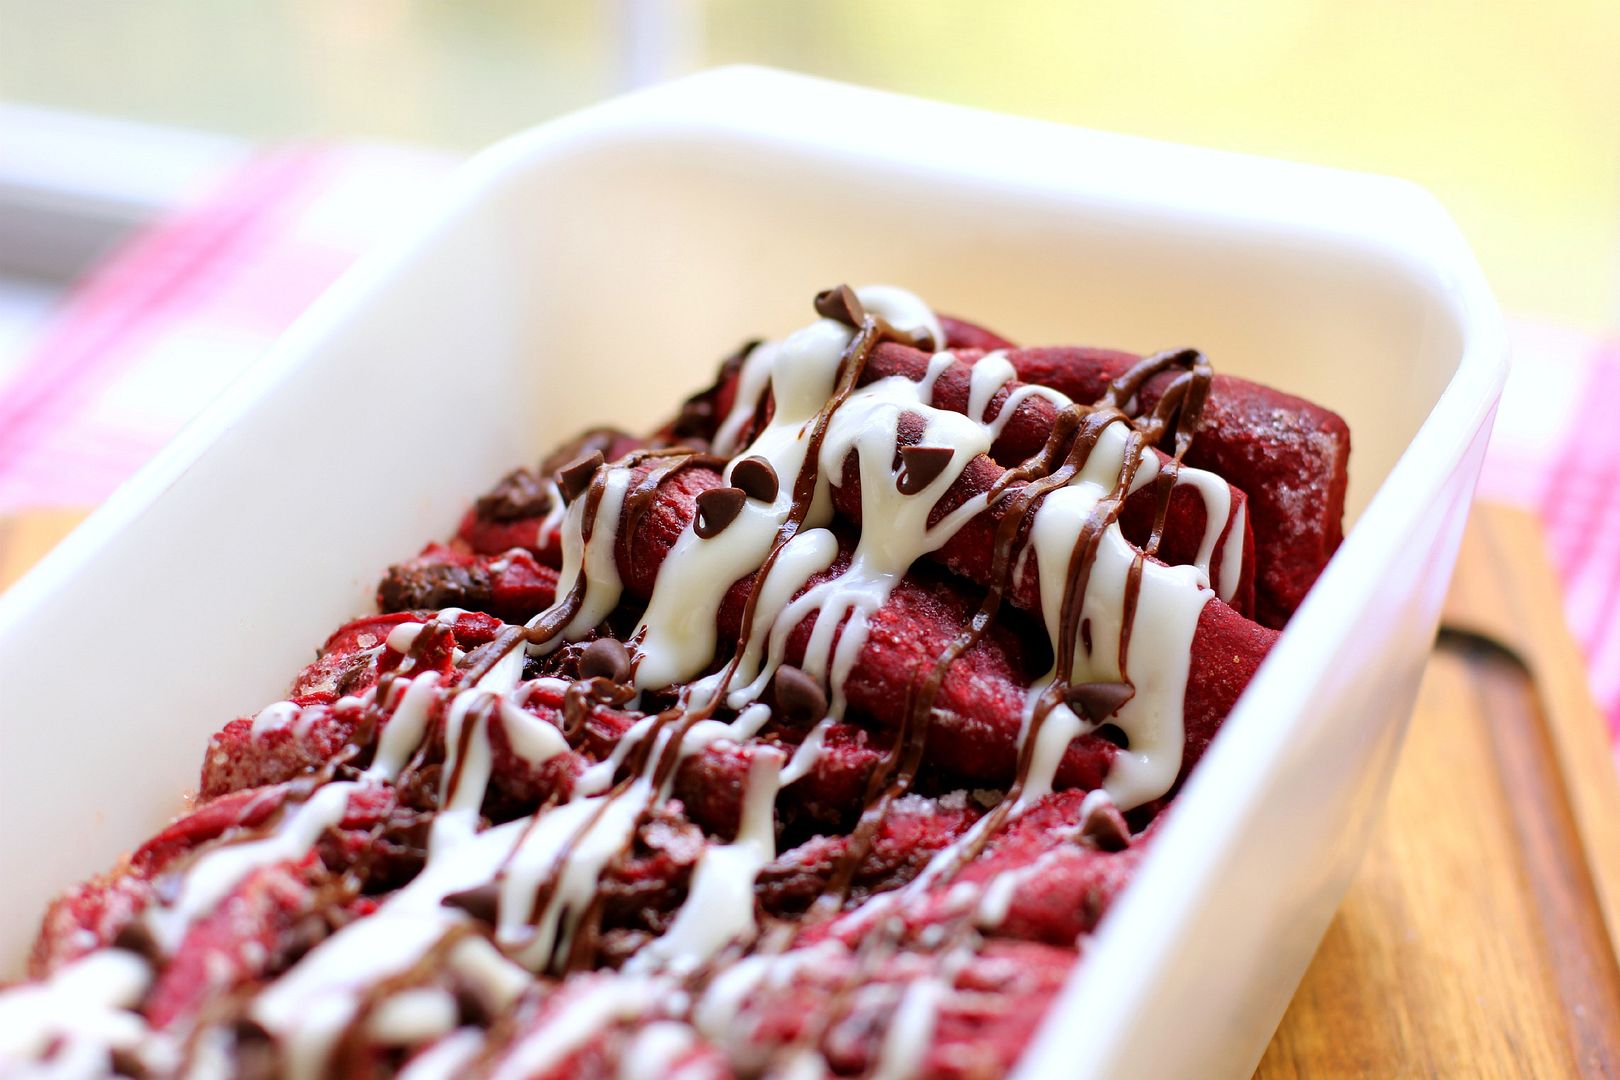
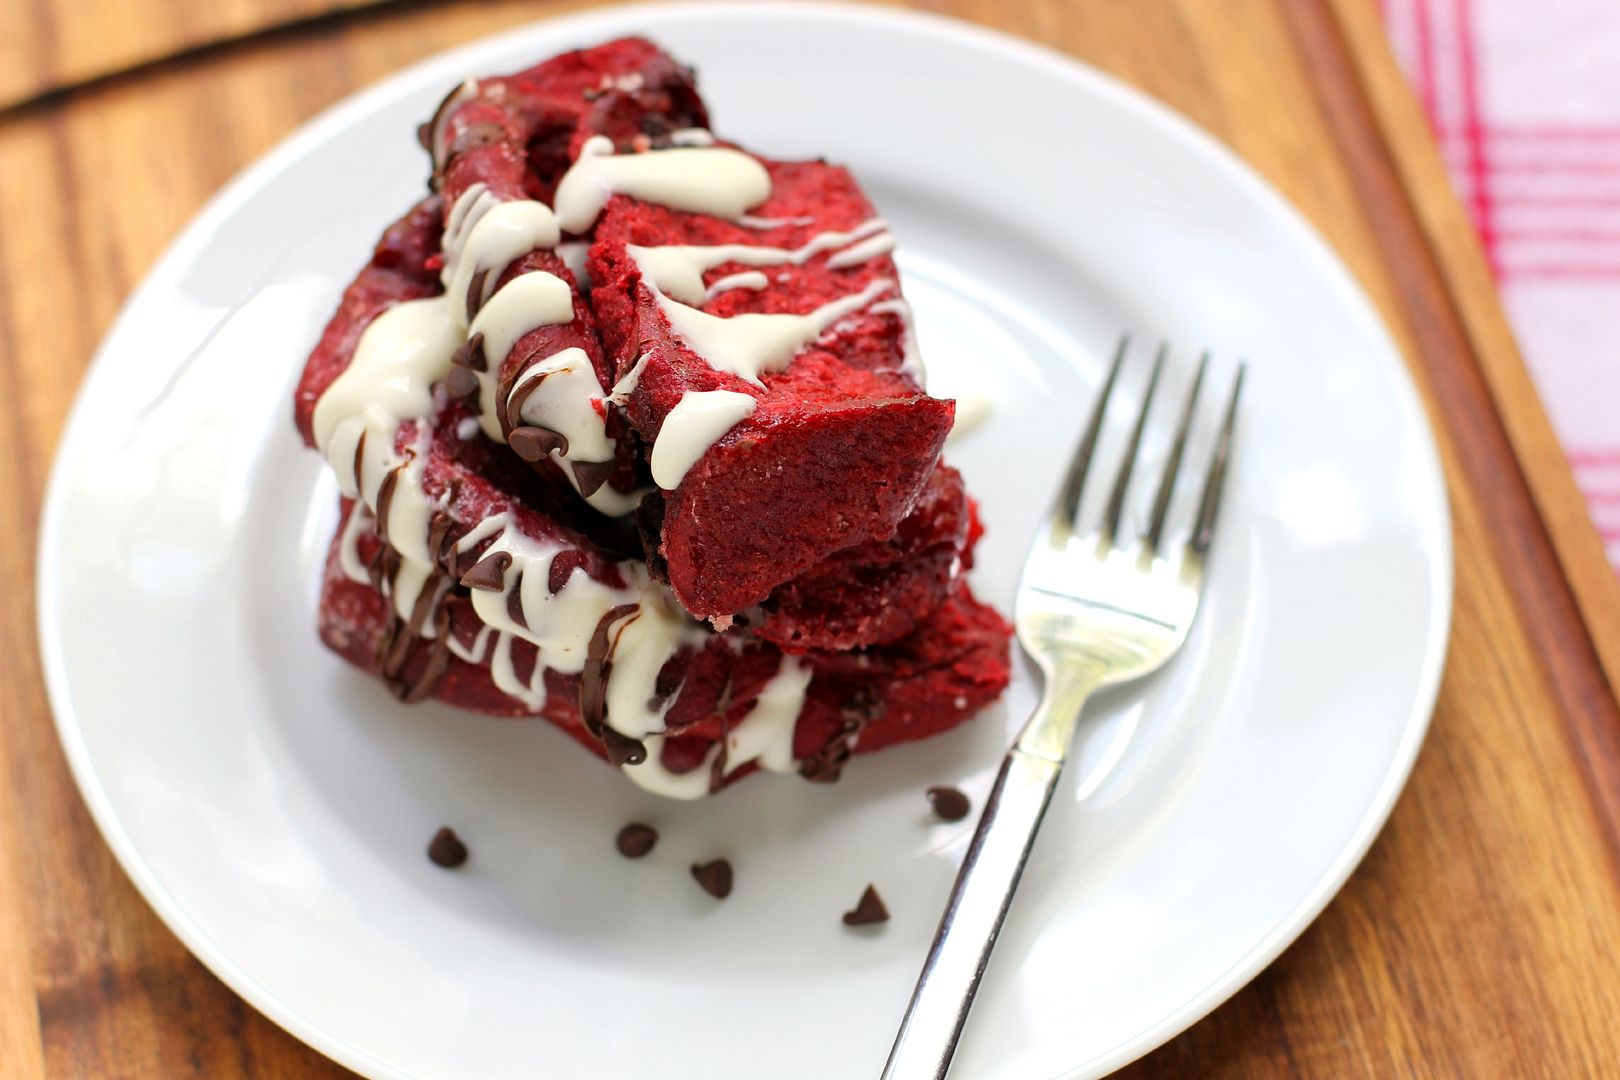
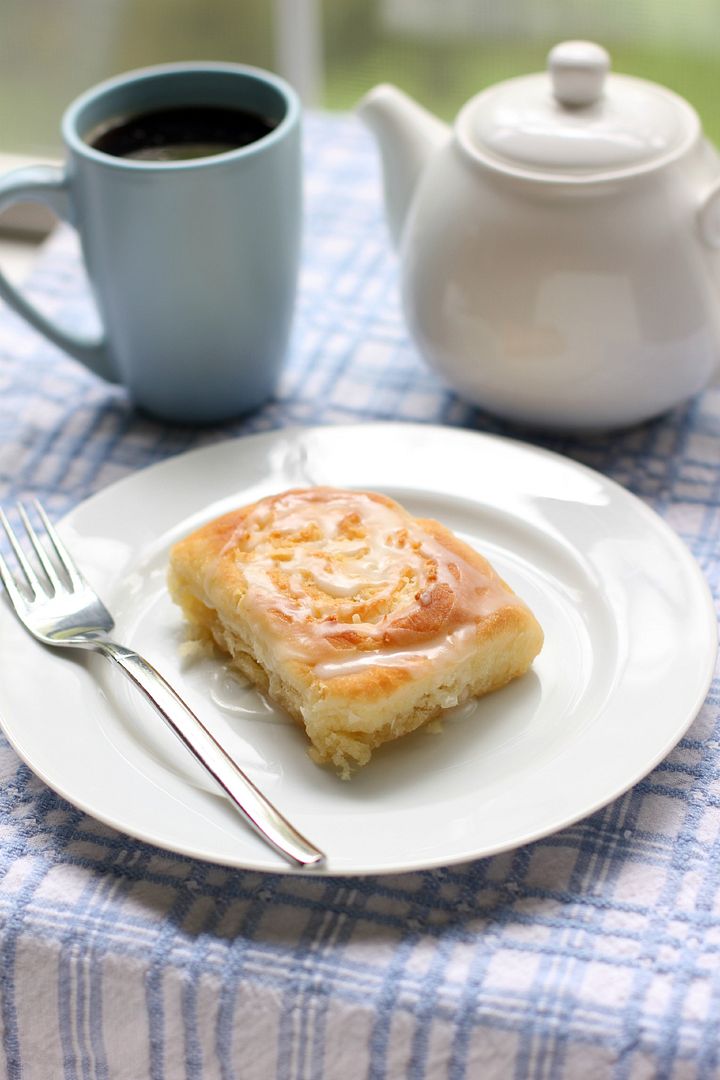
This red velvet pull-apart bread has all the fun, tacky redness of red velvet with some extra chocolatey goodness thrown in. It began life as a chocolate yeast bread recipe that I modified into a pull-apart loaf. It’s sweet, melty, gooey, and with a cream cheese glaze drizzled over the top, reminiscent of your favorite red velvet desserts. As a plus, there are no hammer pants or bowl cuts in sight.

Tell me about your tackiest fashion choices (or the tackiest fashion “choices” imposed upon you by parents).

Chocolatey Red Velvet Pull-Apart Bread with Cream Cheese Glaze


Recipe by: Willow Bird Baking, adapted from Chocolate Bread by Paula Oland of the Balthazar Bakery
Yield: 2 loaves

Pull-apart loaves are downright addictive. Each layer is crisp on the outside and soft on the inside. This loaf is made from yeast dough with a sweet chocolate flavor, hunks of melty chocolate throughout, and a bright red hue! The cream cheese glaze kicks it right over the top. Schedule out the recipe in advance to allow for the rising/resting times and enjoy!

Bread Starter Ingredients:
1/4 teaspoon active dry yeast
1 cup lukewarm water (100-110 degrees F)
1 cup all-purpose flour, plus 3 tablespoons all-purpose flour

Red Velvet Yeast Bread Ingredients:
2 1/2 cups bread flour
1/4 cup cocoa powder
2 tablespoons (1 ounce) red food coloring plus 1 tablespoon water
1/3 cup sugar
2 teaspoons active dry yeast
1 cup minus 3 tablespoons lukewarm water (100-110 degrees F)
1 1/4 teaspoons table salt
2 tablespoons unsalted butter, room temperature
vegetable oil for lightly oiling bowl

Filling Ingredients:
3/8 – 1/2 cup granulated sugar (depending on how sweet you like things)
2 tablespoons semisweet chocolate chips
2 tablespoons bittersweet chocolate chips (I use Ghirardelli’s 60% cacao)
2 tablespoons unsalted butter, melted

Cream Cheese Glaze Ingredients:
2 ounces cream cheese, room temperature
1/2 cup powdered sugar
2 tablespoons unsalted butter, room temperature
1/4 teaspoon vanilla extract
about 3 tablespoons milk as
mini chocolate chips for sprinkling

Directions:
Note: In recipes that call for hunks of rising/resting time like this one, I like to draw out my schedule with different size boxes representing “hands on” and “hands off” prep time to get a visual feel for how long it will take. If you’re a visual person like me, drawing out your schedule is a great technique to try! Otherwise, a good old fashion list of what you’re doing at what time would also be beneficial.

Make bread starter: Dissolve the yeast in the 100-110 degree water for about 10 minutes. Completely mix in the flour. Cover the bowl loosely and leave it at room temperature to proof for around 6 hours.

Make red velvet yeast bread: Mix the cocoa powder, red food coloring, and 1 tablespoon water into a paste in a small bowl. In a medium bowl, mix together the paste, flour, 1/3 cup sugar, yeast, water, and 1/4 cup of your bread starter (save the rest to use for other recipes). Let this mixture rest for 15 minutes.

Knead in the salt and butter and then knead for about 10 minutes by hand or about 4 minutes on a mixer fitted with a dough hook, or until smooth and elastic. Scoop dough out into a lightly oiled bowl and cover it with a dish cloth. Let it rise until doubled in size, about 1 1/2 hours. Leave the dough in the bowl at this point but fold it in thirds like you’d fold a letter. Recover it and let it rest for 30 more minutes.

Shape and bake pull-apart bread: Prepare two 7″x 3″ x2″ loaf pans by greasing them (I use Wilton’s Cake Release, but you could also butter and flour them). Flour a large work surface. Use a dough scraper or sharp knife to help you cut your dough into halves. Turn out half of the dough onto your floured surface, keeping the other half covered.

Roll your dough out to a 15 inch long and 12 inch wide rectangle, lifting corners periodically to make sure it’s not sticking. If it seems to be snapping back, cover it with your damp towel and let it rest for 5 minutes before continuing.

Spread the melted butter over the surface of the dough with a pastry brush and then sprinkle the sugar and chocolate chips over the top, patting them down to ensure they mostly stick. Some will inevitably fall out as you do the following steps — just stuff ’em back in and don’t worry too much about perfection.

With the long edge of the rectangle toward you, cut it into 6 strips (do this by cutting the rectangle in half, then cutting each half into equal thirds. I used a pizza cutter). Stack these strips on top of one another and cut the resulting stack into 6 even portions (again, cut it in half, and then cut the halves into equal thirds). Place these portions one at a time into your greased loaf pan, pressing them up against each other to fit them all in. Cover the pan with your damp cloth and place it in a warm place for 45 minutes to an hour to double in size. Repeat the rolling and cutting process with the second half of dough.

While the dough rises, preheat oven to 350 degrees F (or 325 if you have a glass loaf dish instead of a metal pan). When it’s risen, place the loaf in the center of the oven and bake for 30-35 minutes until dark on top (if you take it out at light brown, it’s liable to be raw in the middle, so let it get good and dark). Cool until just warm on a cooling rack in the loaf pan while you make the glaze.

Make the cream cheese glaze: Beat the cream cheese until fluffy, and then add sugar and vanilla. Add the milk to thin it to drizzling consistency. Drizzle some of the glaze over the slightly warm bread (save the rest for drizzling over individual slices) and sprinkle it with mini chocolate chips. Serve immediately.
If you liked this post, please:
Subscribe to Willow Bird Baking
Follow Willow Bird Baking on Twitter
Follow Willow Bird Baking on Facebook
Give this post a thumbs up on StumbleUpon
Pin It


Shareother ways to share this post with friends

Cinnamon Sparkled Pastry Stix with Egg Nog Glaze

My caffeine tolerance has always been one of my favorite hidden talents (right up there with that funny thing I can do with my knuckle. Remind me to show you that sometime.)

The other day, however, I was bragging to Mike (again) about being able to chug a soda right before bed and I realized something. For years I’ve slurped my coke right up until bedtime. And for years I’ve had trouble getting enough sleep. Hrm.

Must be a coincidence.

My soda adoration is not a new thing. An entry in my baby book illustrates its rich history. When I was less than a year old, my mother records that I’d screech with joy upon receiving Coke and get obnoxious when it was taken away.
(We’ll generously assume that my mother was sleep deprived when she offered soda to a toddler. And gleefully recorded my reaction in my baby book.)

My love for cola has only grown. I love classic Coke, Coke in glass bottles, fountain Coke, Coke Zero, and a good diet Sunkist now and again. I love the tingly feeling of drinking soda after eating something sweet or just waking up. I love sodas on hot days and sodas on cold days. I love funky ginger sodas that burn my throat. I love diet orange creme soda. I can get a little carried away.

(The only thing I don’t love is Pepsi. Don’t even get me started on that mess. And sorry, Cheerwine tastes like cough syrup. Did I just get kicked out of the South? Maybe.)

My penchant for soda isn’t particularly healthy, but it’s served me well this week. I needed that caffeine boost. I don’t know about you, but I’ve had approximately eleventy-billion things to do in preparation for the holidays. Gift shopping, gift wrapping, baking, decorating, attending various gatherings, bathing the dog and trying not to kill her after a particularly messy incident involving puppy chow. You know. Typical Christmas preparations.

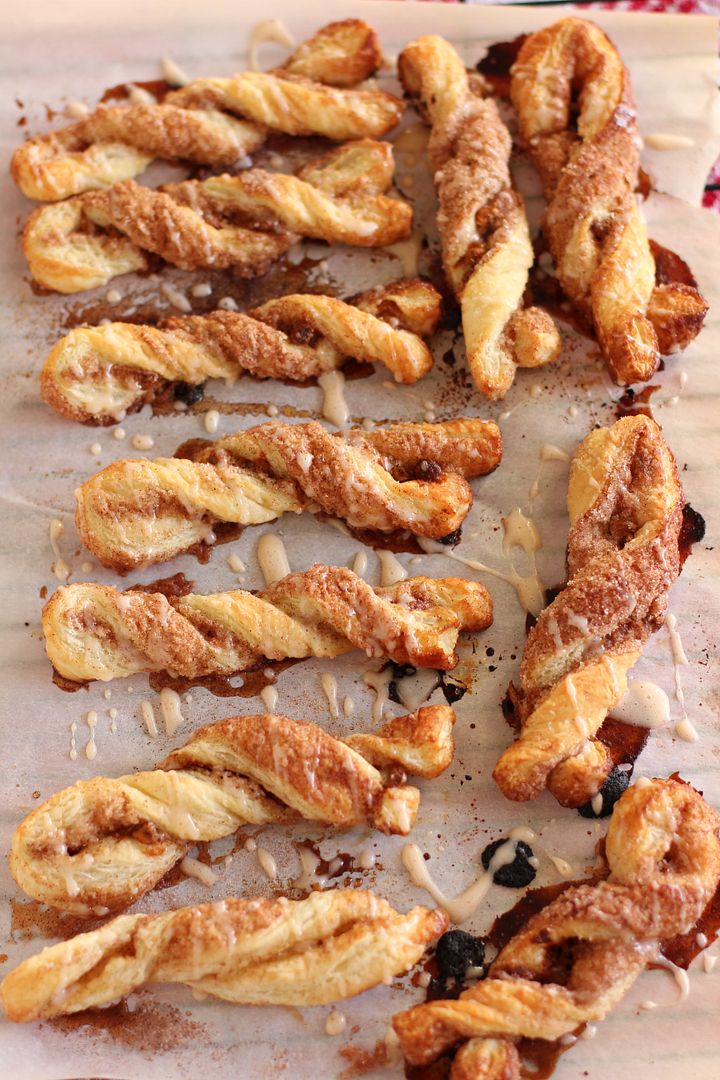
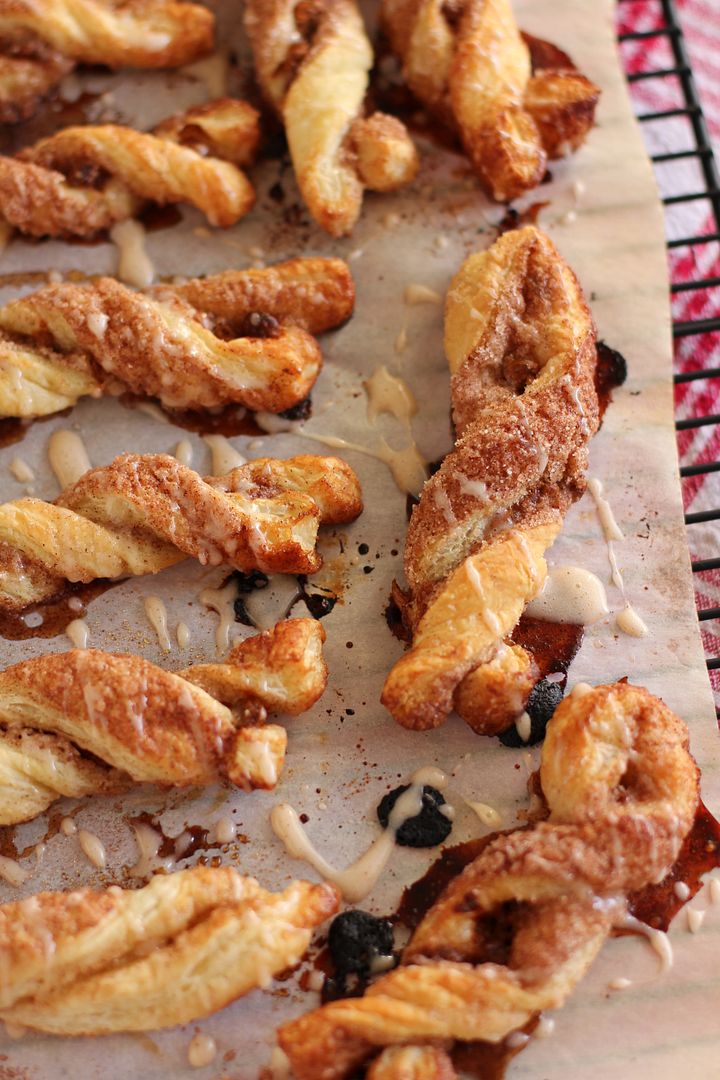
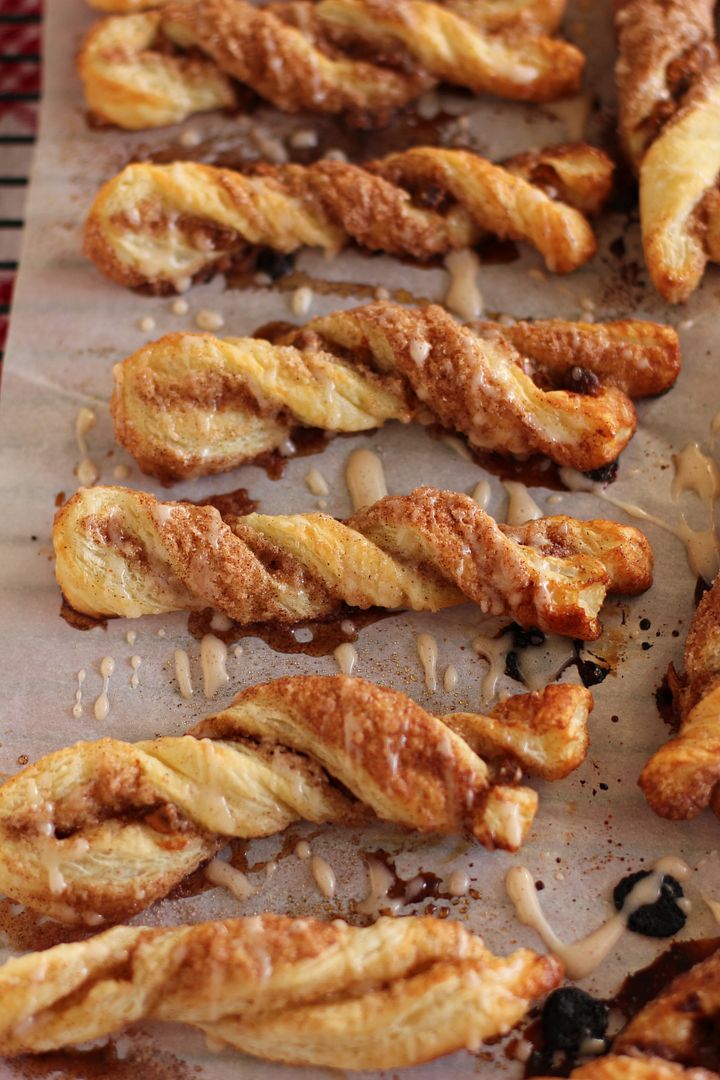
Good news if you’re a fellow headless chicken: These little Cinnamon Sparkled Pastry Stix are tasty, cute, and easy to make ahead. They can be prepped and refrigerated overnight to pop into the oven for a simple breakfast.

If you can plan a few days in advance to make your own homemade puff pastry, you should. They’re good either way, but I promise I’m not being a snob when I say there’s a pronounced difference between store-bought and homemade in this case! Once you have your pastry, it’s just a matter of brushing it with butter, sprinkling on some goodies, and making your twists. And then pouring yourself a celebratory glass of Coke, of course.

What’s been keeping you busiest this week?

Cinnamon Sparkled Pastry Stix with Egg Nog Glaze


Recipe by: Willow Bird Baking, with pastry inspired by King Arthur Flour and Gale Gand and glaze inspired by Betty Crocker
Yield: 20+ stix

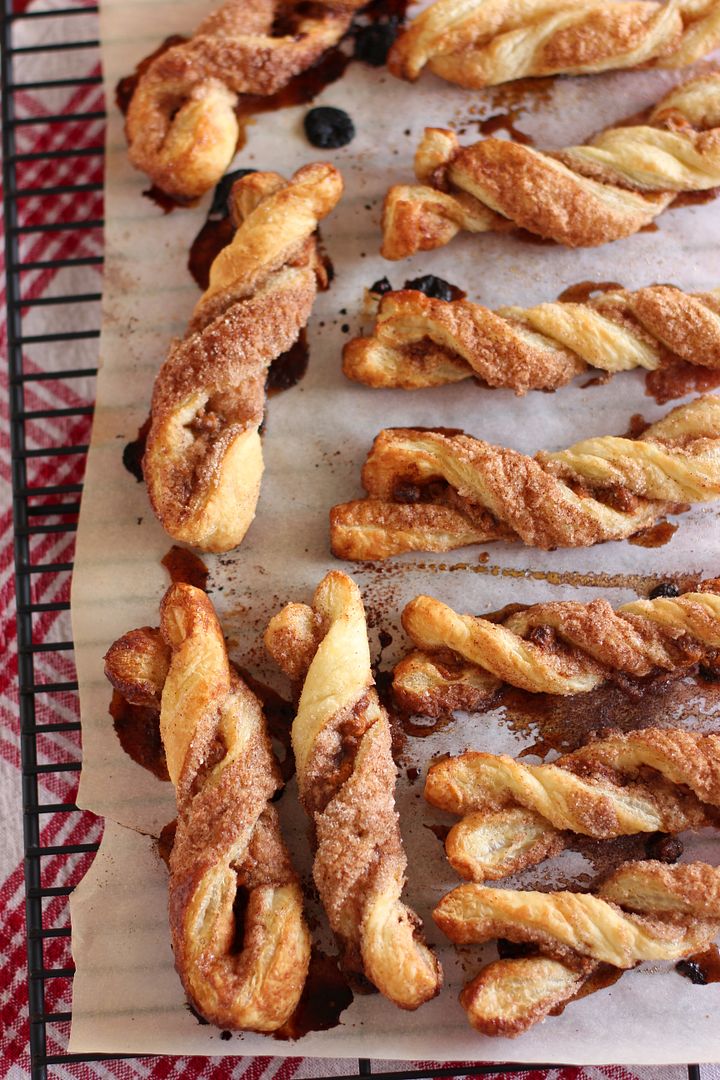
These puff pastry stix are sparkled with cinnamon, sugar, and buttery cinnamon chips. They’re simple to make ahead and chill in the fridge overnight. Pop them in the oven in the morning and drizzle on some sweet eggnog glaze for a quick, festive breakfast. If you can spare the time, make your own homemade puff pastry — it may seem like a lot of effort, but it really does pay off in flavor!

Stix Ingredients:
1 sheet puff pastry, thawed (or make homemade puff pastry!)
1/4 cup unsalted butter, melted
3/4 cup sugar
2 1/2 teaspoons cinnamon
1/4 cup cinnamon chips (you can replace these with more cinnamon-sugar if you don’t have them around)
2 tablespoons milk

Egg Nog Glaze Ingredients:
1/2 cup powdered sugar
2 tablespoons eggnog
cinnamon, nutmeg to taste

Directions:
NOTE: If you’re making homemade puff pastry from scratch, you’ll want to start that process 3 days before your meal.

1 day in advance: Mix sugar and cinnamon in a bowl. On a silicone mat or lightly floured surface, roll your puff pastry sheet out to a 10″ x 15″ rectangle. Brush half of it (a 5″ x 15″ strip) with melted butter and sprinkle on cinnamon chips and half of the cinnamon-sugar mixture. Fold the unfilled side of the pastry over and press to seal around the edges. Brush the top of the now 5″ x 15″ rectangle with the milk and sprinkle on the rest of the cinnamon and sugar.

With a pizza cutter (spray it a little with vegetable spray if it sticks to the dough), cut the square into 1/2″ stix (they’ll be 5″ long). Press them a little to ensure cinnamon chips are snug, but don’t fret when some inevitably fall out. Take each strip by both ends and gently, carefully twist like you’re wringing out a rag. Scoop up cinnamon and sugar that has fallen off the twists and resprinkle them. Place them on a parchment lined baking sheet and cover with plastic wrap. Stick them in the fridge overnight (you could also bake immediately).

The morning of: Take baking sheet out of the fridge and let it sit at room temperature while you preheat your oven to 400 degrees F. Remove plastic wrap and bake stix about 20 minutes, or until puffed and golden brown. Some of the cinnamon chips might leak out, but don’t worry about it. While the stix cool slightly, mix up your glaze. In a small bowl, mix all glaze ingredients until smooth. Add more eggnog if not thin enough to drizzle, tasting as you go. Drizzle over slightly warm pastry stix and serve.

Coca-Cola didn’t sponsor this post, but they probably should’ve, right?

If you liked this post, please:
Subscribe to Willow Bird Baking
Follow Willow Bird Baking on Twitter
Follow Willow Bird Baking on Facebook
Give this post a thumbs up on StumbleUpon
Pin It


Shareother ways to share this post with friends

1 2 3 4 5