cream cheese

Milnot Cheesecake Cheesecake

The world lost a firecracker just a few days before Christmas. My Great Grandma Thelma passed away at 99 years old, but her spirit can’t be extinguished.

Grandma was as comfortable with a gun and a dog as she was in a dress and pearls. As if to match her personality, her hair remained a shocking shade of red right up until the last few years of her life, when soft white took over. The lines on her face deepened and multiplied over time, no doubt spurred on by belly laughs and smiles.

She was a home to those who needed a home, a laugh to those who needed a laugh, and a light to all of us.
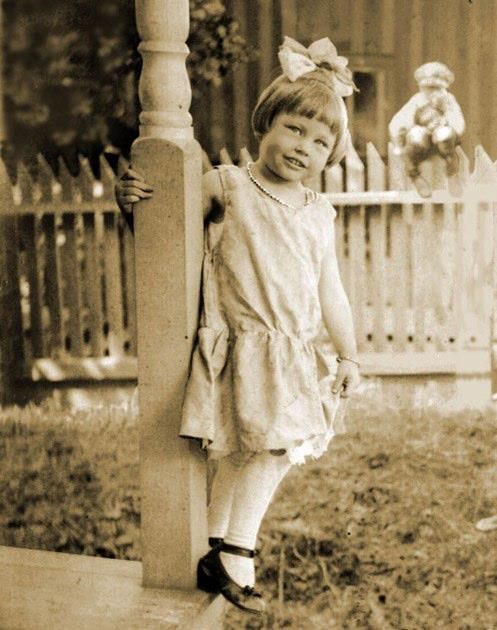
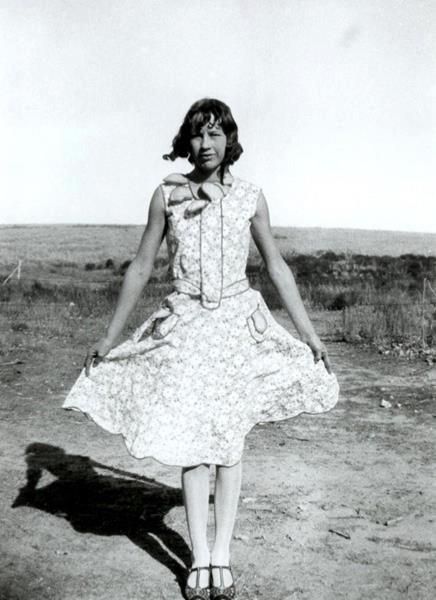
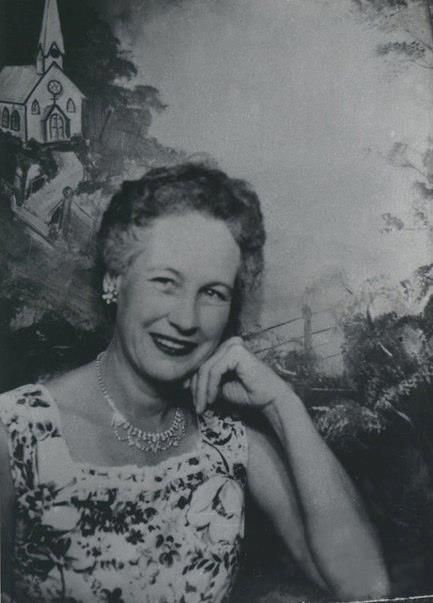
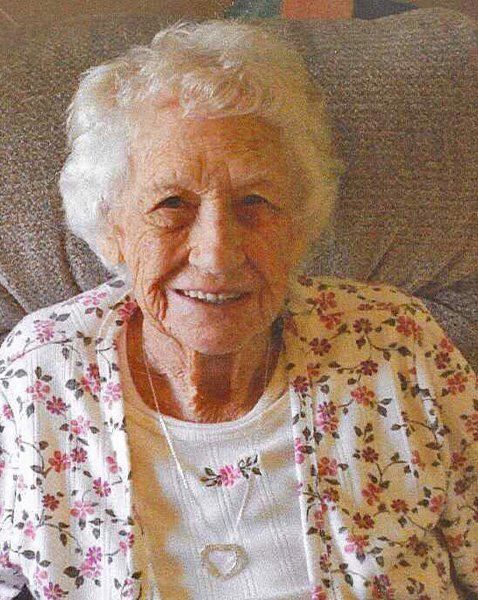
Grandma Thelma through the years.

My mom, who was very close to her grandma and lived with her for awhile growing up, got to travel to Missouri to attend her funeral. Person after person stood up and reflected how Grandma had touched their lives. Mom says she couldn’t hold it together enough to talk about her Grandma then, but when she returned home, she sat down with my dad and began the task of capturing Nettie Thelma Logsden in words.

I can’t think of a better way to introduce you to this wonderful woman than to share Mom’s list with you. So without further ado, here are Life Lessons from Grandma Thelma. Some of them are funny, some of them are profound, some of them are downright suspect. But they’re all thoroughly Thelma.

1. Work hard. People are counting on you.

2. Turtles will always return to one spot. Best to paint your initials on their shells (hot pink paint will work) to identify them later.

3. Outhouses also look great painted hot pink!

4. Bacon grease, duck eggs, and bread soaked in grease make healthy dog food.

5. Spoons, Yahtzee, Rummy, and Skip Bo are great fun!

6. Cold beer and peanuts taste exceptionally good after mowing the lawn.

7. A bite of peanut butter will take the beer smell away (in case someone drives up)!

8. Empty your own “potty.”

9. A straw hat pulled way down will keep your hair from blowing in the wind while driving.
10. Empty bottles and doll heads are keepers!

11. Everything is a keeper!

12. Enjoy the silly things in life: Furbies, Billy Bass, Rockin’ Santas, et cetera.

13. Flour with weevils is fine; just sift them out and it’ll be good as new!

14. If the dog was good enough to tree something (even at 3 a.m.), it’s our duty to go shoot it!

15. If you are old enough to reach the pedal, you are old enough to drive.

16. If something is on sale, buy 10. Even if it’s bubble bath and you don’t have a bathroom. You’ll use it someday.

17. Under the bed is a great place to store all the Cokes you bought on sale.

18. Rock hunting is fun (especially hunting for shiny ones. Or round ones. Or flat ones. Or arrow heads. Well, pretty much ANY rock!)

19. Don’t do anything until the supper dishes are done. You’ll hate coming back to do them later.
20. Fishing, hunting, camping are all fun when done with family.

21. Annie Over is a wonderful game, but it’s hard to find a place to play!

22. Guitar, banjo, harmonica, and piano are all fun to play, and you can teach yourself!

23. Staying up late (even all night) is okay.

24. You can tie a string around a lizard’s tail and pin it to your shirt and it will wiggle. Beetles with strings tied to their leg are great fun, too. (Julie’s note: WHAT?! Really, Grandma?! Do not try this at home, y’all.)

25. You can drive better and faster if you hunch over the steering wheel. (Don’t forget the straw hat!)

26. The fish in Peggy’s lake like to eat chicken fat.

27. When you stir your gravy, put your whole body into it.

28. You don’t really ever need lunch.
29. Take people in if they need a place to stay.

30. Aunt Jaquie’s house is a great place to wash your hair, do laundry, or just hang out.

31. Certain plant leaves are good for making “frog tongues.”

32. Sleeping is better with a small pillow between your knees, a fan on, and a big swig of mineral “oral” before bed. (A True Confessions magazine helps, too.)

33. An electric skillet makes great fried chicken. (Or pork steaks!)

34. Waffles are great with white corn syrup and real butter.

35. Never talk bad about anyone. (Never THINK bad about anyone.)

36. Store-bought frozen cream pies are great!

37. Churn your own butter and drink the buttermilk.

38. Writing on the “tunnel” walls is fun.
39. A whole lot of kids can fit into one car on “$1.00 night” at Pine Hill Drive-In.

40. Grandkids are special!

41. Great grandkids are special!

42. Great, great, grandkids are special!

43. Milnot Cheesecake is very easy and tasty.

I may not agree with Grandma Thelma on every detail (I throw away my doll heads, personally. And OH MY GOSH, no live animals are pinned to clothing on my watch), but she’s struck plenty of truth here. She lived a bright, full, strong life, and treated every person who walked into that life with love and respect. I’m glad the world had her for 99 years.

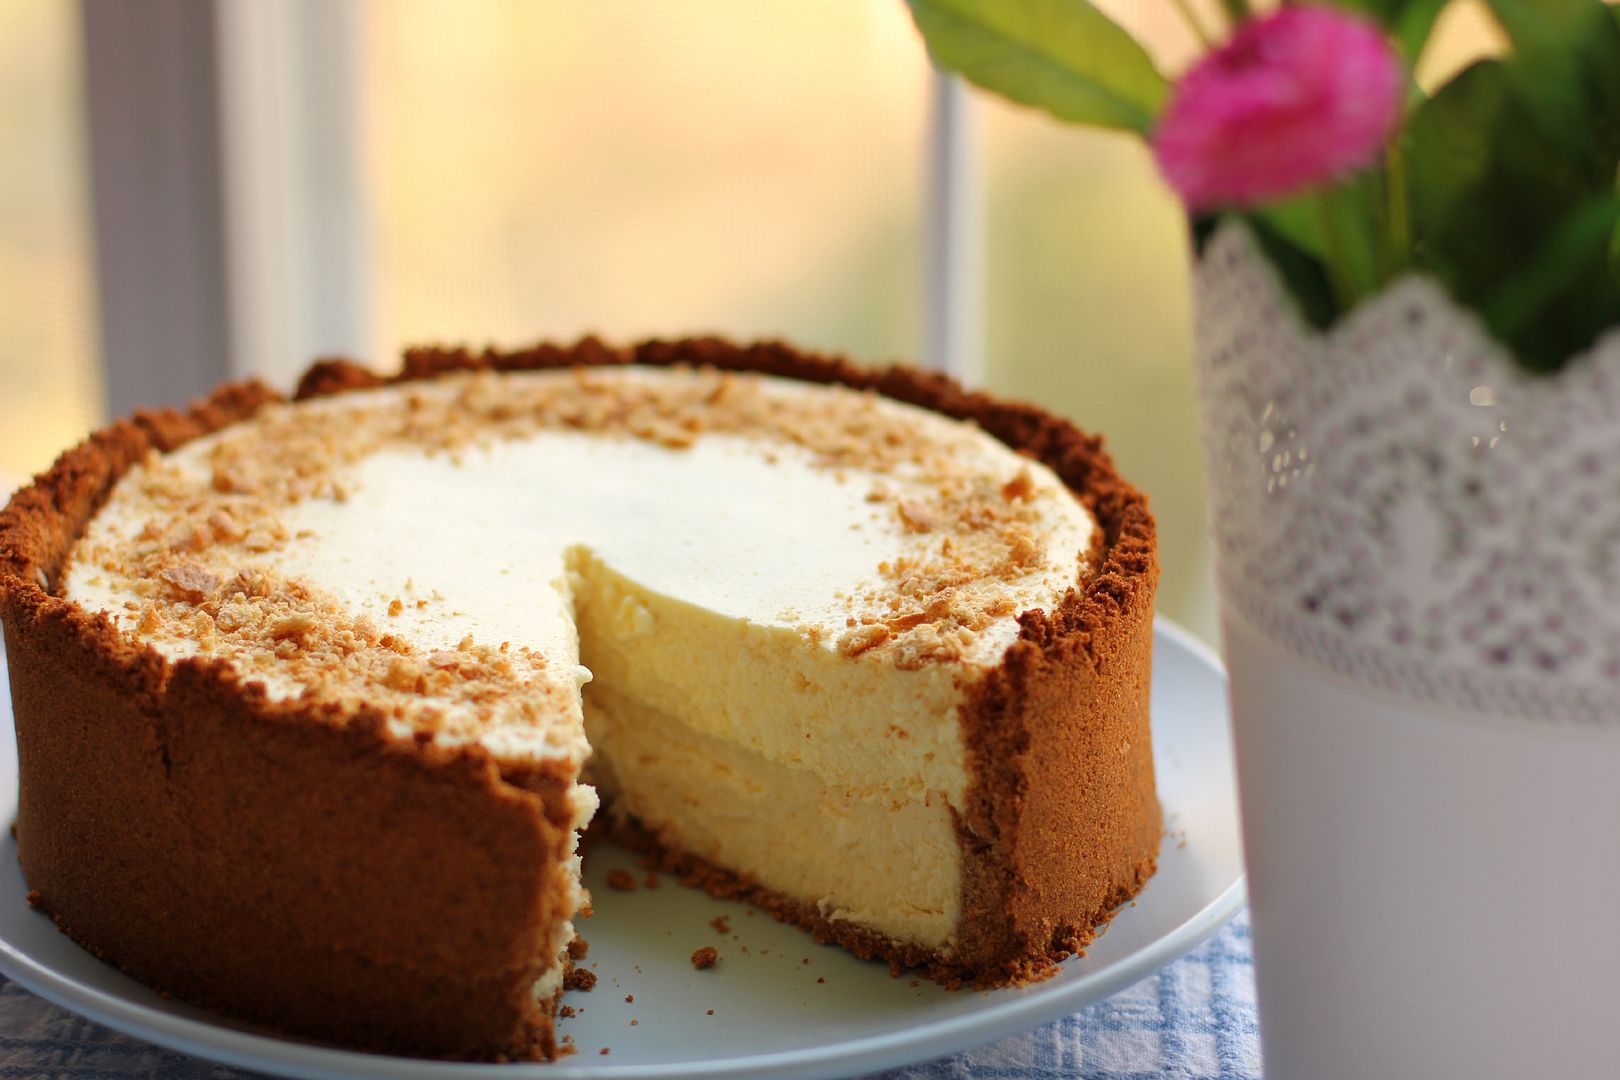
One thing she was certainly right about is Milnot Cheesecake. It’s an old no-bake recipe named after Milnot, an evaporated milk substitute. The Milnot or evaporated milk whips into a whipped cream consistency. When combined with cream cheese and a package of lemon Jell-O gelatin, it creates a light, lemony cloud of mousse. Grandma Thelma used to wake up on occasion and declare, “I think I’ll make a Milnot cheesecake.”
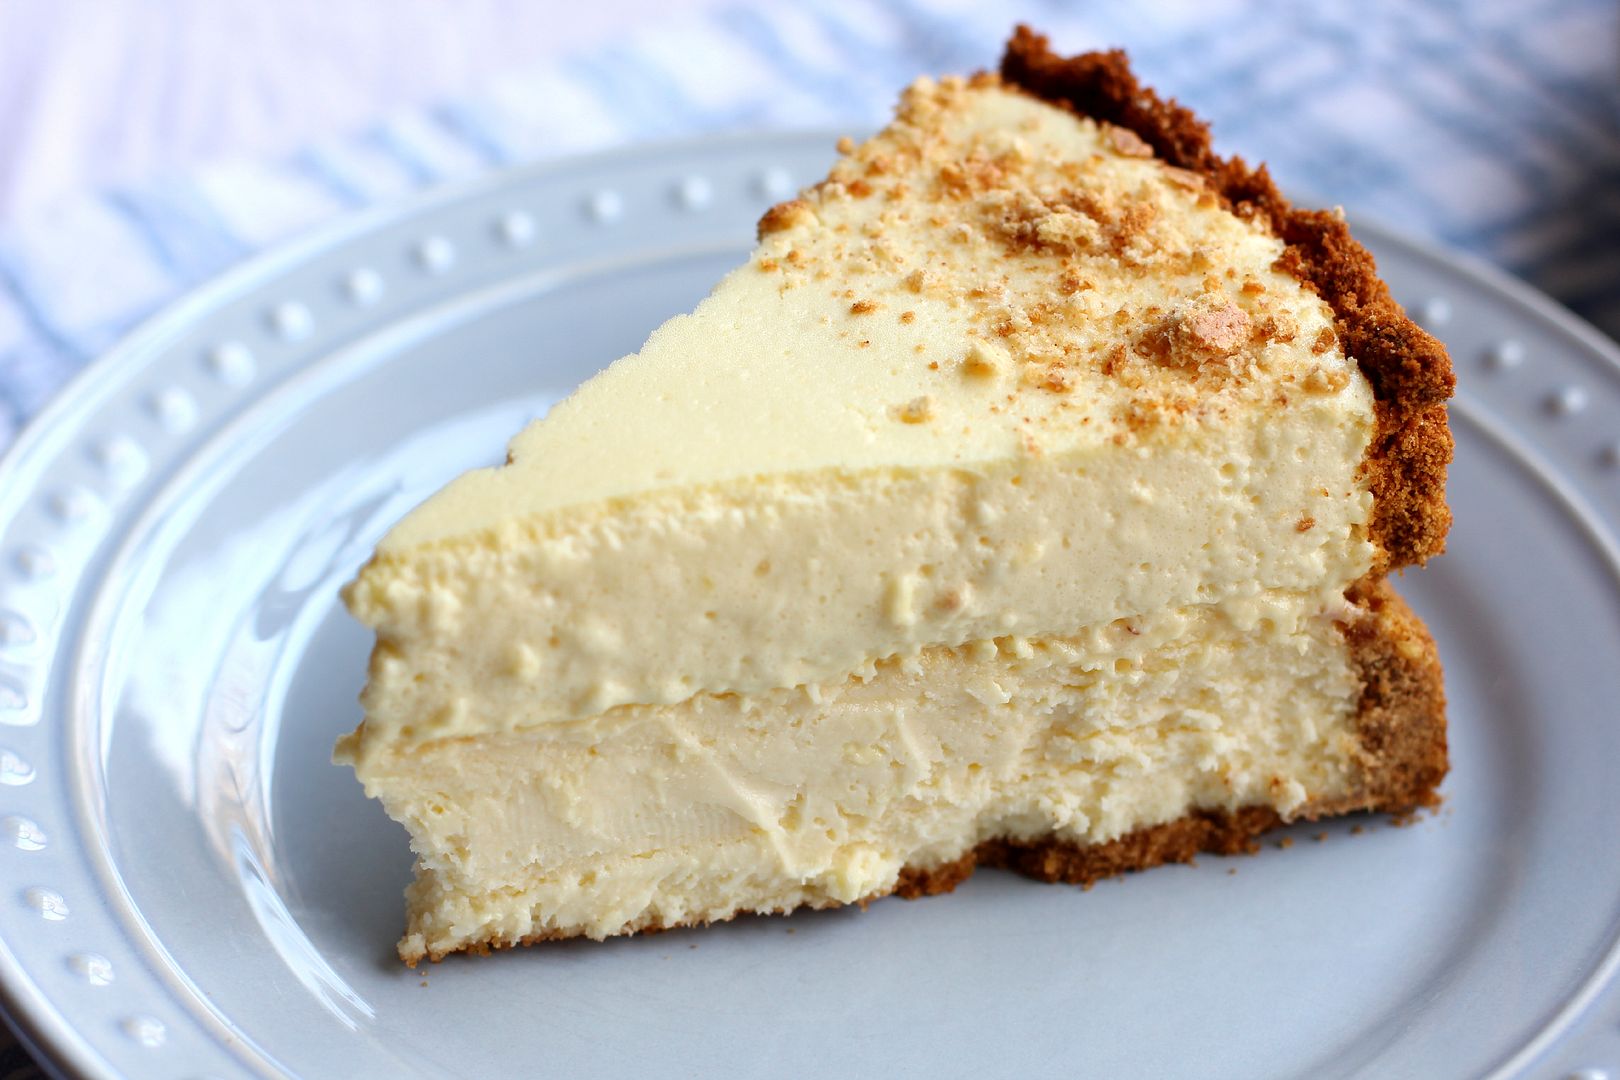
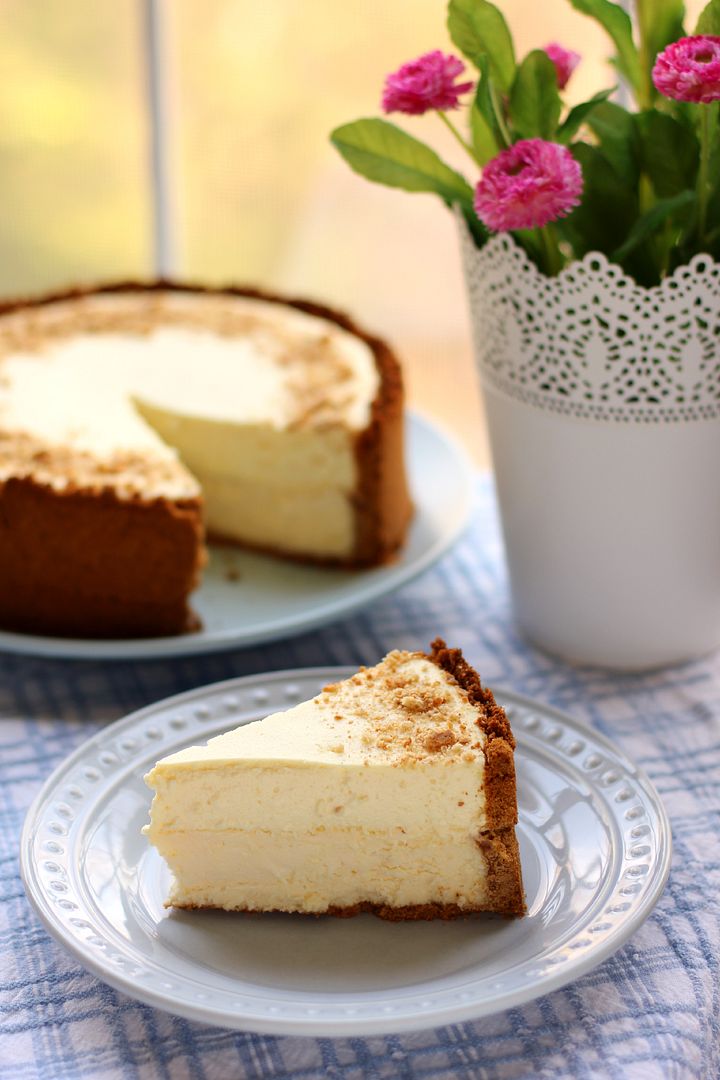
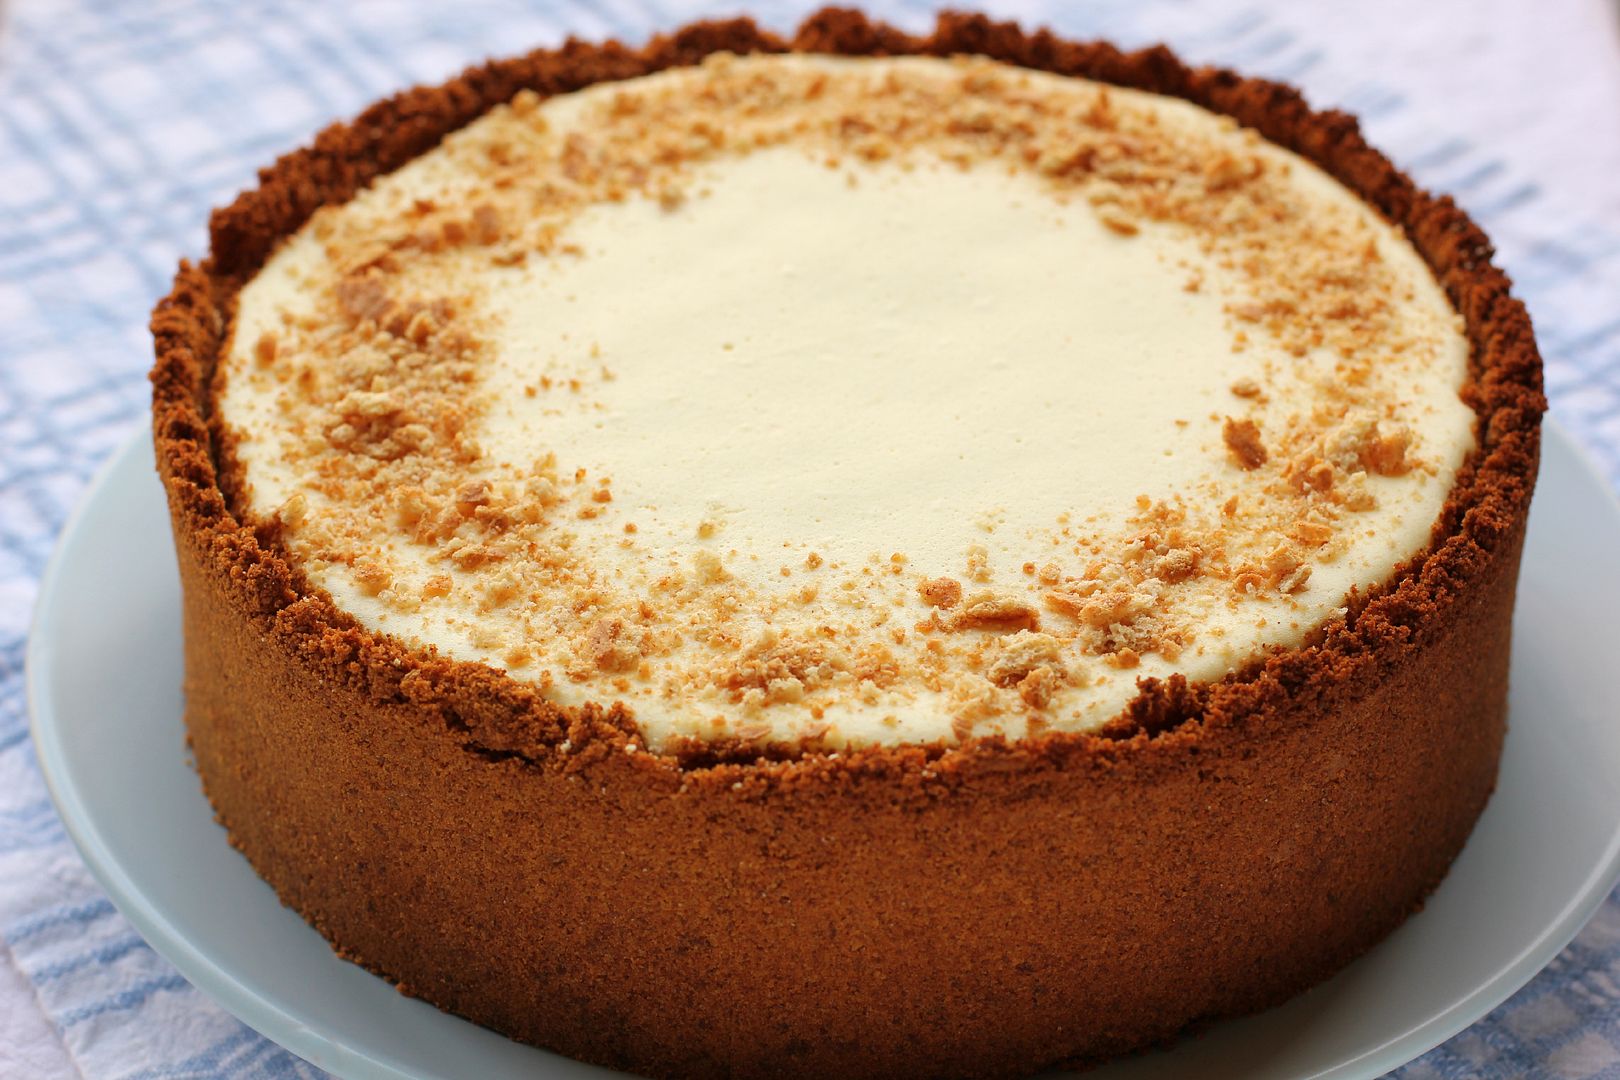
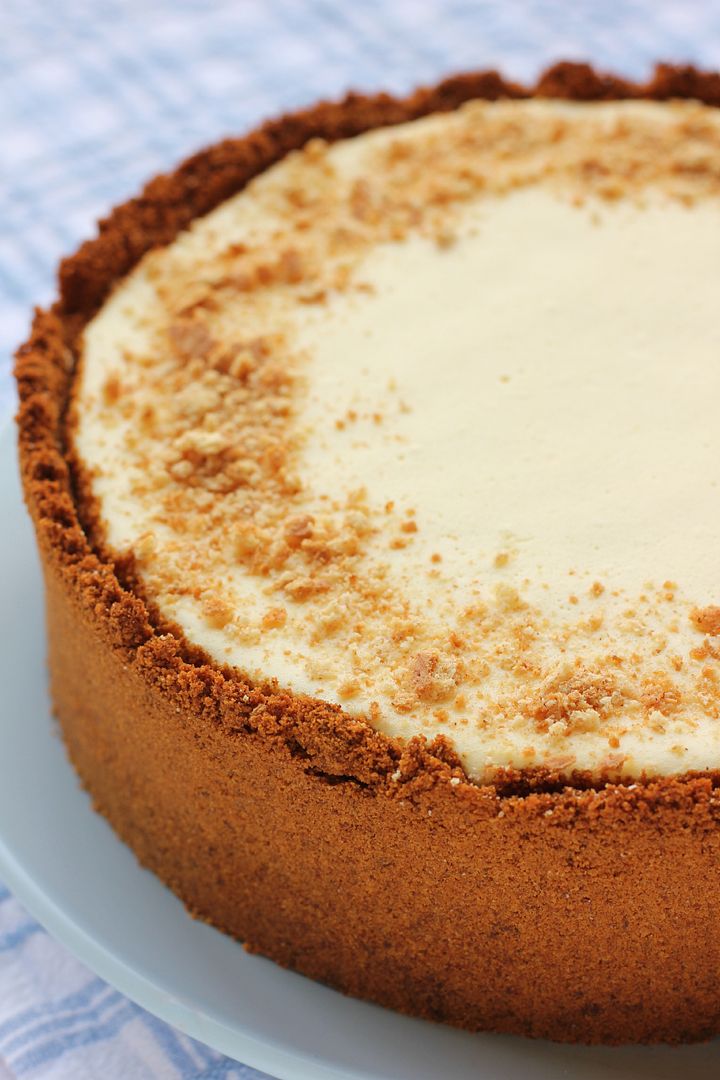
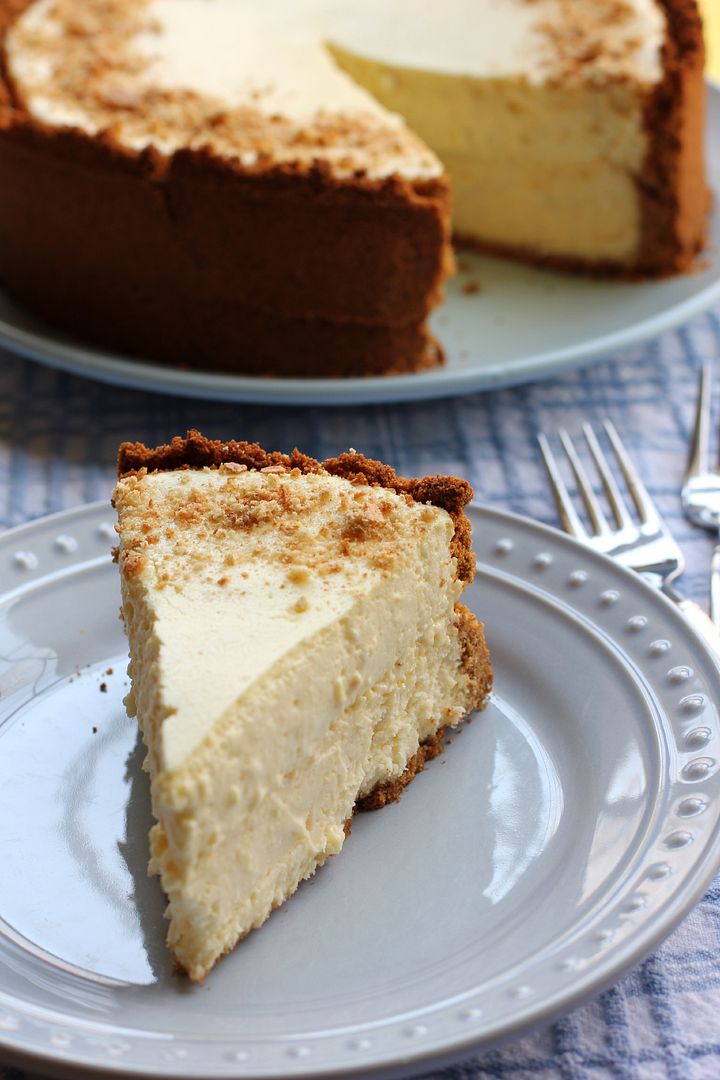
But the title of this essay isn’t a mistake. The dessert pictured here isn’t a Milnot Cheesecake. It’s a Milnot Cheesecake Cheesecake.

Never content to leave well enough alone, I decided to stack a layer of Milnot Cheesecake on top of a layer of creamy, thick regular cheesecake. This double-layered dessert has a mixture of textures and a light, airy flavor that would make Grandma Thelma proud. The recipe might look a little fiddly — and true, it isn’t a dessert you can whip up in a few minutes — but it can be broken up over a few days into very manageable pieces.

In honor of Grandma Thelma, have a slice! (Then go finish your supper dishes. You aren’t going to want to come back to those later.)

Milnot Cheesecake Cheesecake


Recipe by: Willow Bird Baking, using an age-old recipe for Milnot Cheesecake found on Recipes for Laughter
Yield: serves 8-10

This recipe is a twist on the classic, no-bake Milnot Cheesecake. A layer of fluffy, delicious Milnot cheesecake sits like a delicate lemon cloud over a rich layer of traditional cheesecake. A cinnamon graham cracker crust encircles the whole shebang. See the note on scheduling below to break this recipe into a few manageable parts.

Cheesecake Ingredients:
3 (8 ounce) packages cream cheese, at room temperature
1 cup granulated sugar
1 1/2 tablespoons all-purpose flour
2 teaspoons vanilla extract
3 large eggs
2 heaping cups graham cracker crumbs (I use the cinnamon kind)
6 tablespoons butter

Milnot Cheesecake Topping Ingredients:
1/2 small package of lemon Jell-o gelatin mix (this will be 3 tablespoons and 1/4 teaspoon of the powder)
1/2 cup boiling water
8 ounces (1 package) of cream cheese, at room temperature
2 tablespoons and 2 teaspoons sugar
1/2 teaspoon vanilla
a few drops yellow food coloring, optional
1/2 of a 12-ounce can Milnot or evaporated milk, chilled (this will be about 3/4 cup)
crumbled graham cracker crumbs for decorationg

Directions:
Notes: Cheesecakes are simple and super customizable. New to cheesecake making? Watch my 6 minute Cheesecake Video Tutorial for visual assistance! This recipe can be divided up over several days. You can make the cheesecake one day and chill it overnight, make and add the Milnot cheesecake topping the next day, and serve on day 3!

Make the cheesecake: Preheat the oven to 350 degrees F. Lightly grease a springform cheesecake pan. Combine the cookie crumbs and melted butter in a small bowl. Toss with a fork to moisten all of the crumbs. Using a flat-sided glass, press into an even layer covering the bottom and sides of your cheesecake pan (you want it to be tall — try to get to about 2.5-3 inches high — and a little thicker than for your usual cheesecake; maybe 1/4 inch thick so it won’t crumble). Bake the crust for about 6 minutes and let it cool as you make your cheesecake filling.

In a large bowl, beat the cream cheese and sugar on medium-high speed until well blended. Beat in the flour. Add in the vanilla and beat until well incorporated, scraping down the sides of the bowl as needed. Beat in the eggs one at a time, scraping down the bowl between each addition. Pour the filling into your crust.

Bake until the top is lightly browned, puffed and cracked at the edges, and the center moves only very slightly when the pan is lightly shaken (about 40 minutes). Check while baking periodically and put a pie shield (or strips of foil) around the top of your pan to protect the crust edges if they’re getting too dark. Just don’t let the shield/foil touch the crust — it’s delicate and might crumble.

When you pull the cheesecake out, you can use a sharp knife to score a circle around the top of the cheesecake about an inch inside the crust so that as it cools and chills/sinks, it won’t pull the crust in too much. Don’t worry if the circle you cut isn’t pretty, because you won’t be able to see it in the finished product! Let cheesecake cool completely on a wire rack before chilling it in the fridge for at least 3 hours.

Make Milnot Cheesecake Topping: Dissolve Jell-o in boiling water and chill in the refrigerator until slightly thickened, about 25 minutes. Meanwhile, cream the cream cheese, sugar, food coloring, and vanilla in a large bowl. Beat the chilled Jell-o into the cream cheese mixture until completely combined and smooth.

In a large chilled bowl, whip the chilled Milnot with a chilled beater until it forms stiff peaks. Stir about 1/3 of the Milnot mixture into the cream cheese mixture to lighten it up. Then gently fold the rest of the whipped Milnot in until the mixture is uniform in color and completely combined. Pour Milnot filling evenly onto your cheesecake (you will use most of it but not quite all — pour the remainder into a separate dish and cover with graham cracker crumbs. Chill it to make a separate “individual” cheesecake dessert!). Garnish your cheesecake with graham cracker crumbs. Chill the cake for 8 hours. Keep refrigerated and serve chilled.

If you liked this post, please:
Subscribe to Willow Bird Baking
Follow Willow Bird Baking on Twitter
Follow Willow Bird Baking on Facebook
Give this post a thumbs up on StumbleUpon
Pin It


Shareother ways to share this post with friends

Willow Bird Baking’s Top 11 Recipes of 2011

It was only a couple of hours ago that I realized the big ball drops tonight. Mike and I have no plans besides watching more Star Trek: Deep Space Nine. I haven’t thought of a single resolution yet. You could say I’m unprepared.

But actually, I am ready. I may not have all the trappings quite prepared, but I’m more than ready to send 2011 off with a kiss and a wave. There were lovely parts of this year — my time with my students, my trip to San Francisco, and most of all, my reunion with Mike. But there were also many challenges. I’m thankful for where I am, but so ready to charge forward in 2012 and live a life I believe in. How about you? What are your resolutions, goals, or plans?

To conclude a wonderful year on Willow Bird Baking — a year in which I have so appreciated your every visit and every comment to these pages — here are the top 11 recipes from ’11. Thanks for a fantastic year, y’all!

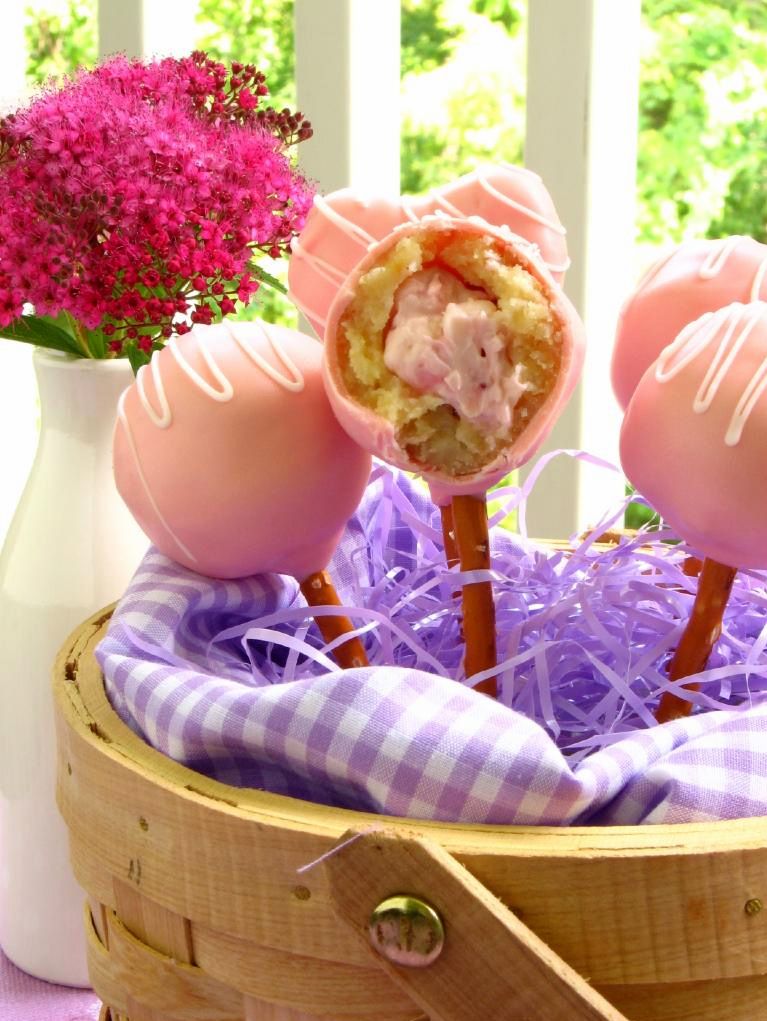
11. Strawberry Cheesecake Stuffed Amaretto Cake Pops (on Pretzel Sticks!)
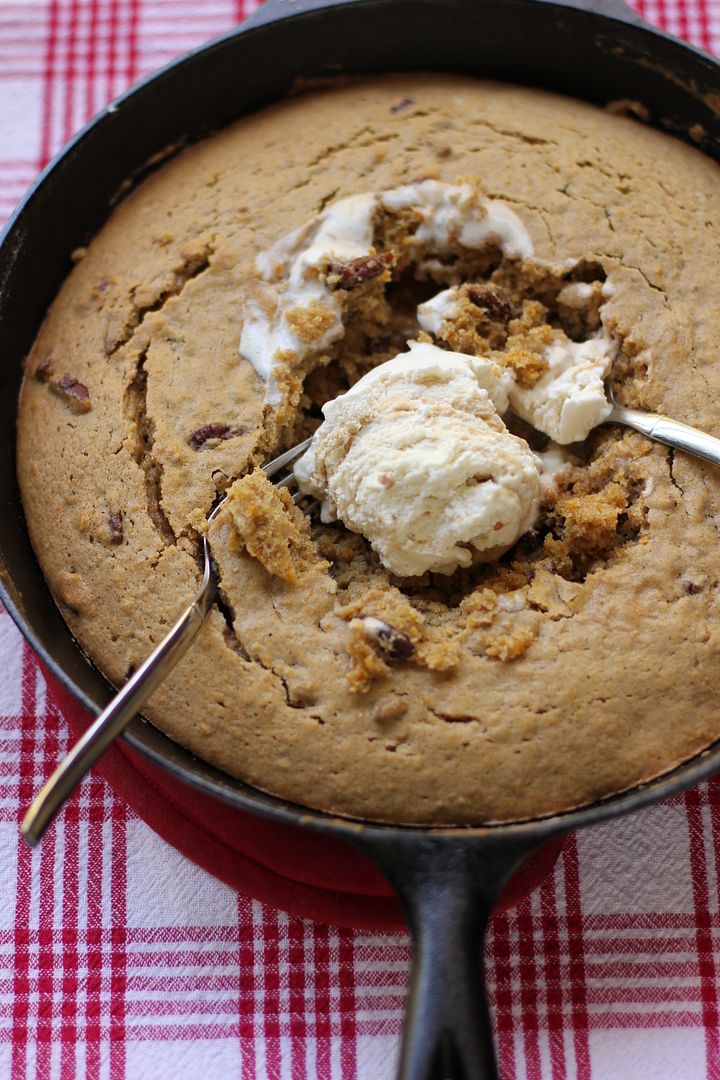
10. One-Skillet Gooey Pumpkin Cookie Cake
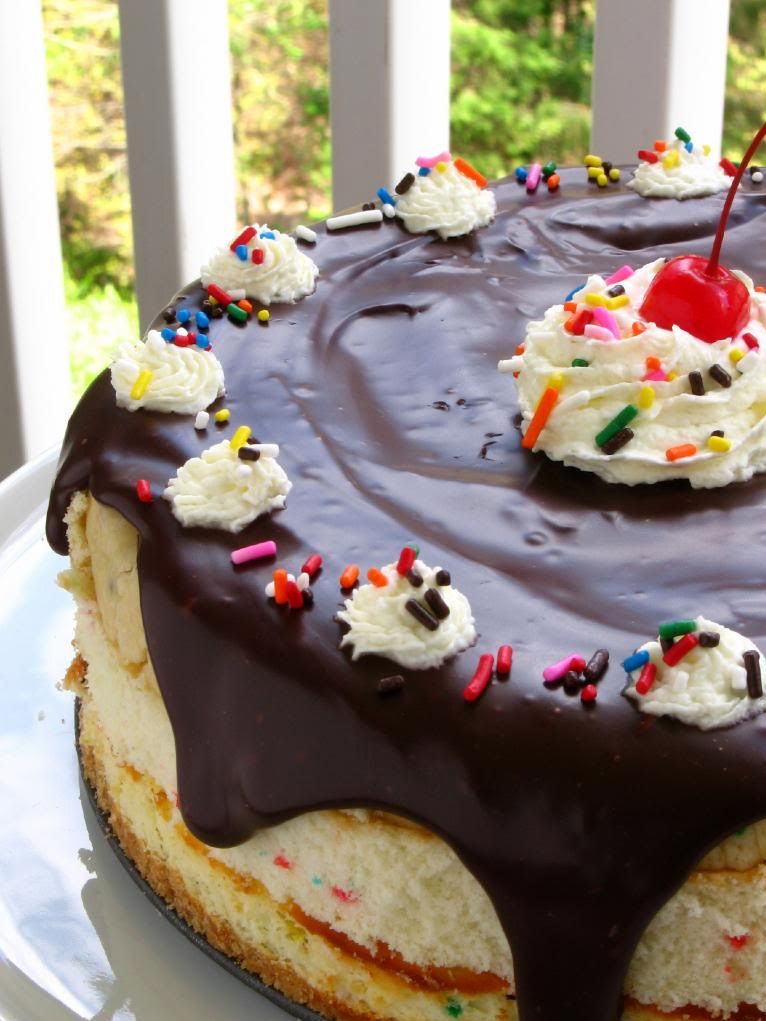
9. Birthday Cake Cheesecake
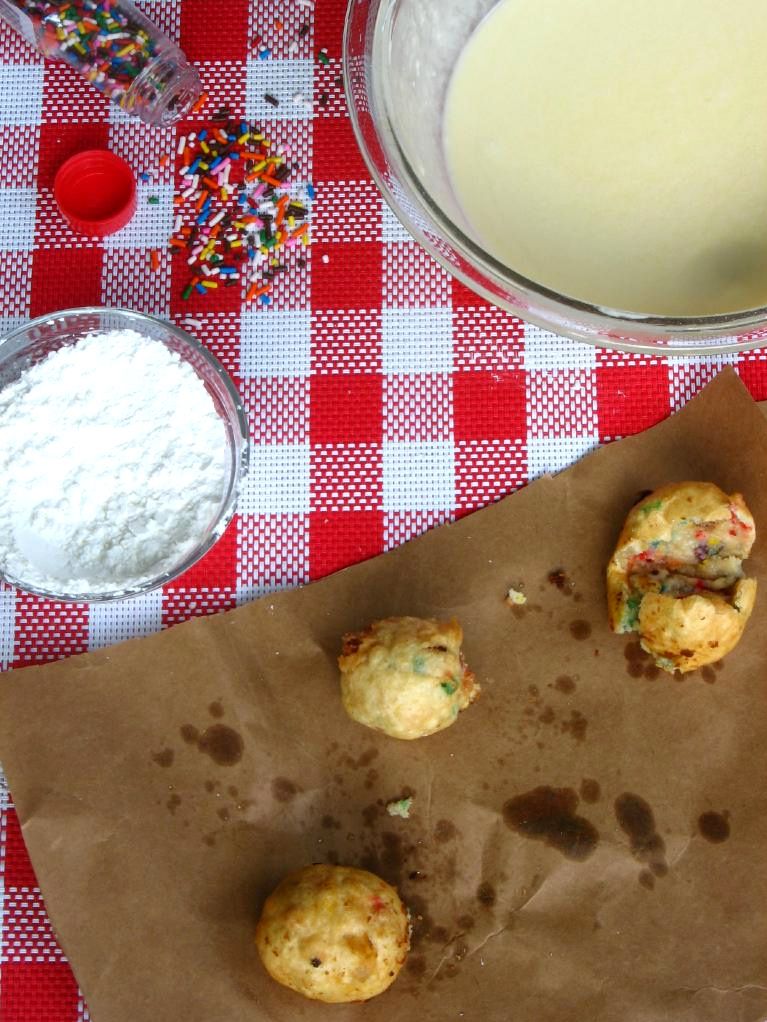
8. Deep Fried Cake Batter Cookie Dough


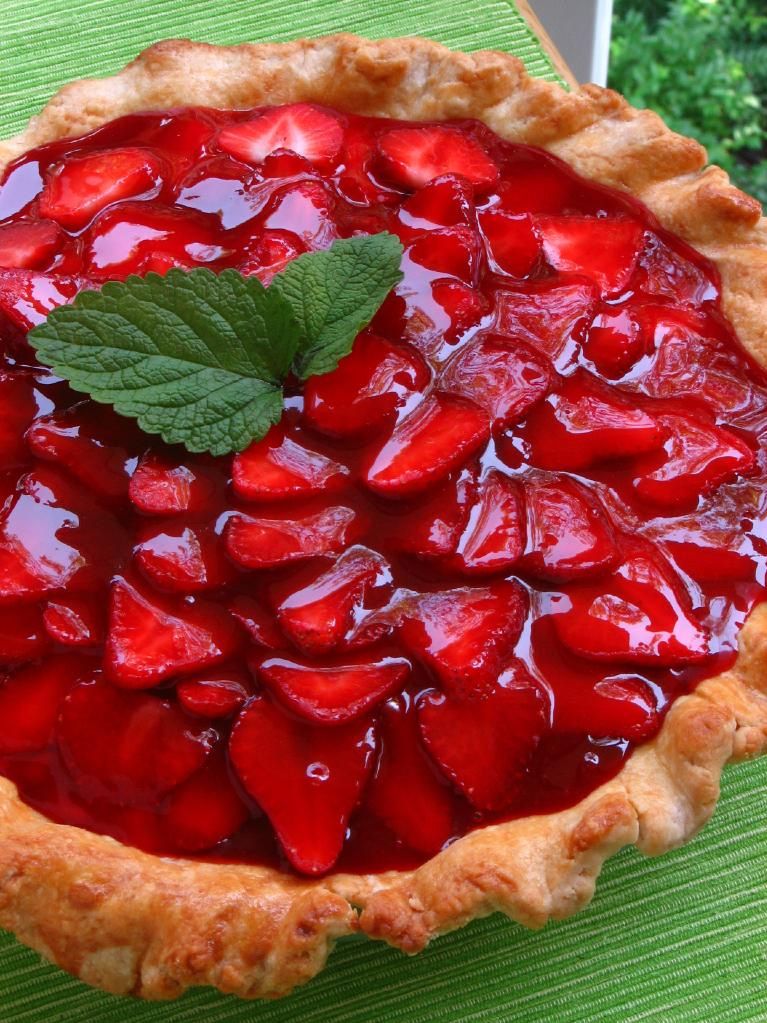
7. (Freshly Picked!) Strawberry Cream Pie
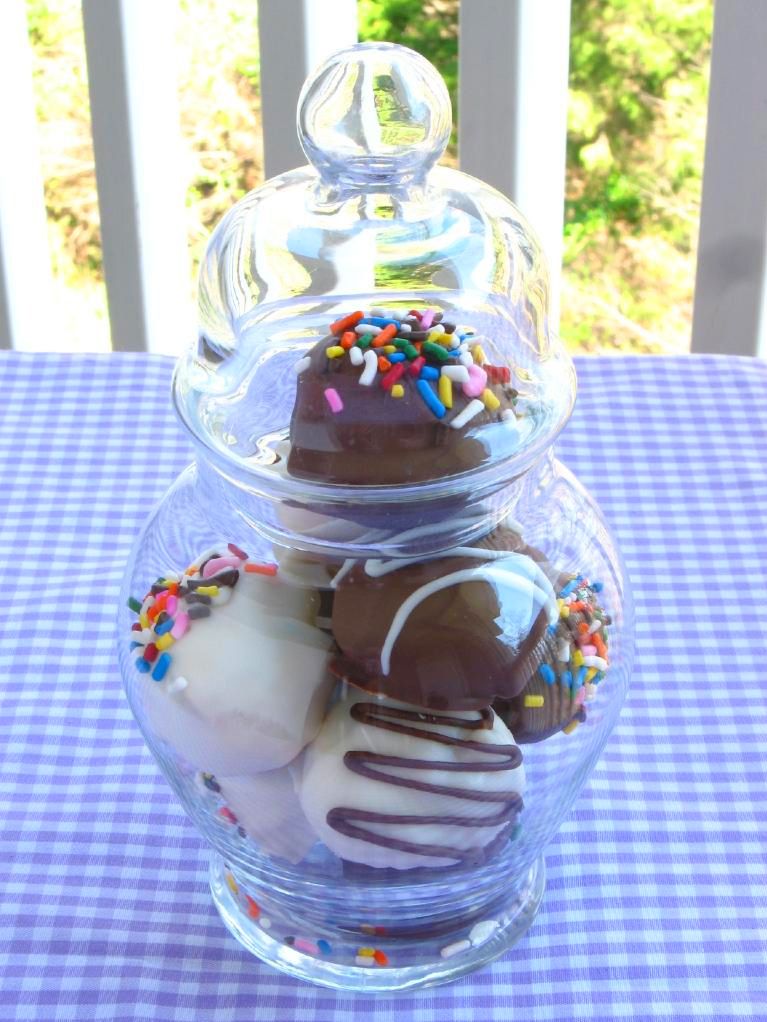
6. Cake Batter Cookie Dough Truffles
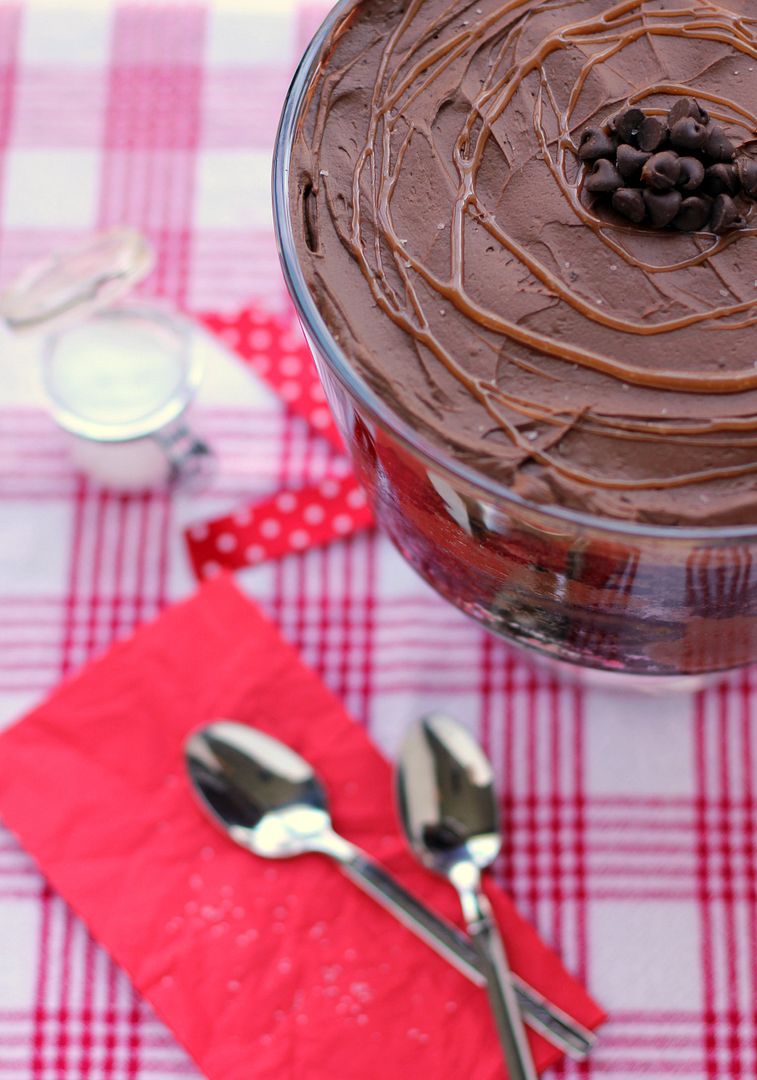
5. Salted Caramel Chocolate Trifle
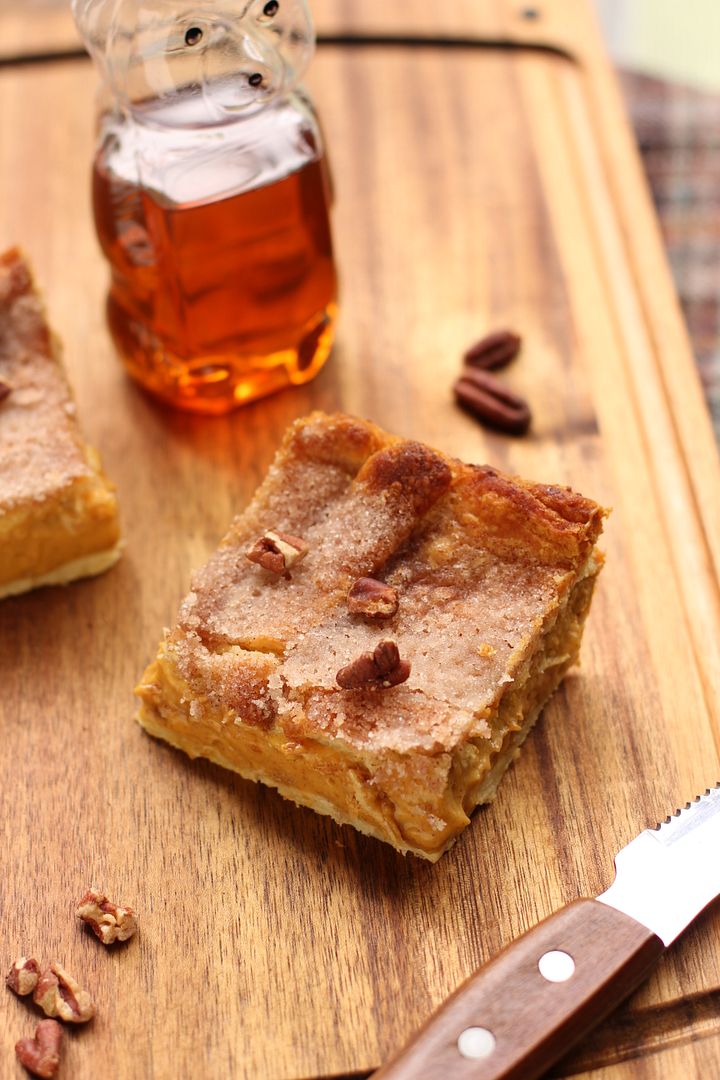
4. Easy Sopapilla Pumpkin Cheesecake Bars


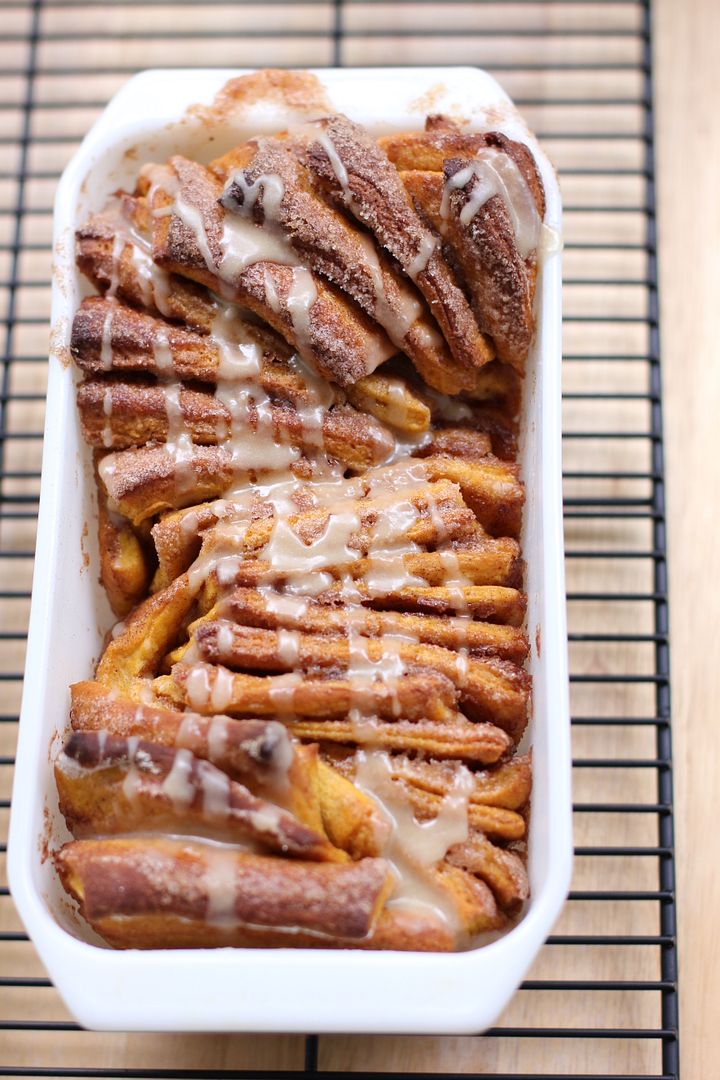
3. Pumpkin Spice Pull-Apart Bread with Butter Rum Glaze
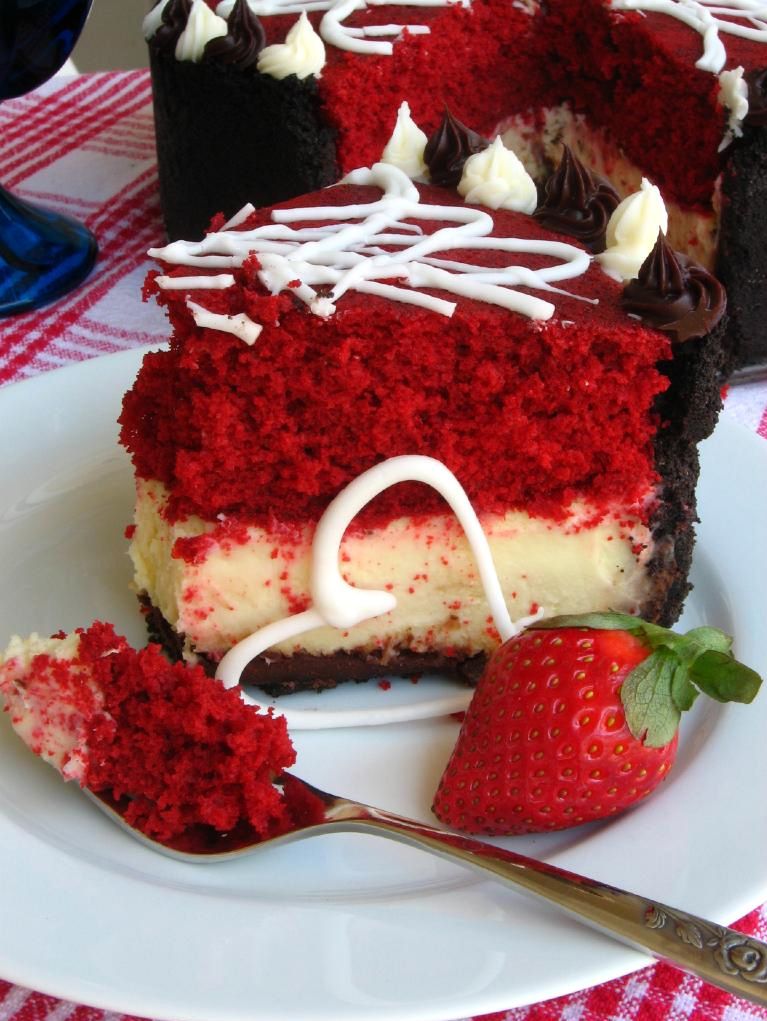
2. Red Velvet Cheesecake

And the top Willow Bird Baking recipe of 2011 is . . .

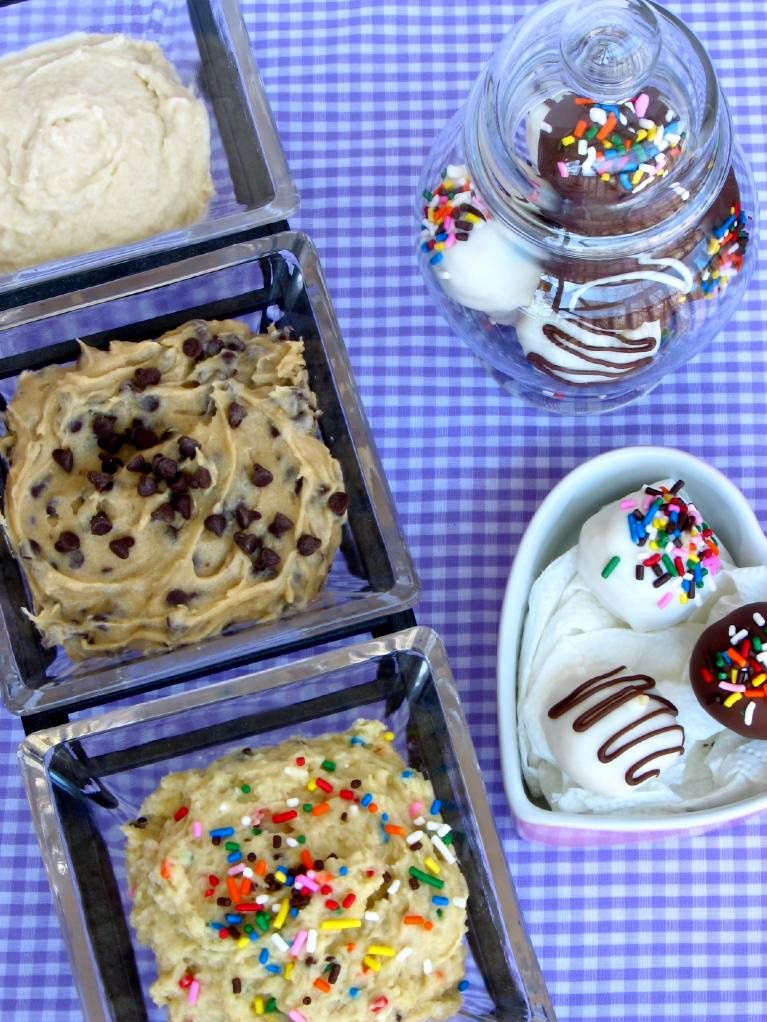
1. Three Safe-to-Eat Cookie Doughs: Chocolate Chip, Sugar, and Cake Batter!

Happy New Year!

If you liked this post, please:
Subscribe to Willow Bird Baking
Follow Willow Bird Baking on Twitter
Follow Willow Bird Baking on Facebook
Give this post a thumbs up on StumbleUpon
Pin It


ShareOther ways to share this post with friends!

Gingersnap Cheesecake Stuffed Snickerdoodles

Things you should know:

1. A guy doesn’t make you a sweater with working Christmas lights unless he kinda likes you. He just doesn’t.

2.You don’t have to sing well as long as you sing loudly and enthusiastically. The people you live with may pretend to disagree with this statement, but they’re just trying to hoard the fun. Disregard them.

3. A dog will never win an Ugly Christmas Sweater competition because any sweater becomes 100% adorable when placed on a dog.

4. Serving hot chocolate to 75 middle school students is a manageable task until the bottom falls out of one of the cups. Then things get dicey.

5. Trader Joe’s cocoa truffles are pure insanity. I just ate approximately 8 billion of them and I can’t even muster up some shame.

6. Mariah Carey’s All I Want For Christmas is You is the best Christmas song ever. Except for the ones about Jesus obviously, because even Mariah cannot compete.

7. Despite vivid memories of walking through Washington D.C. in the freezing rain with holey (not to be confused with holy, which would be kind of cool) shoes a few years ago, I cannot convince myself to purchase shoes more regularly. However, when my shoes basically disintegrated recently, I did finally visit the shoe store. I have a new pair of flats and some fluffy bootlike thingies. And warmer feet.

8. Peppermint is gross. I’m sorry that I’m not baking you crazies all sorts of peppermint things, but . . . I just can’t get into that mess. It’s like straight up eating toothpaste. Ew.

9. There is nothing sweeter than a freshly bathed, blow-dried pup (after they’ve done the whole run-around-the-house-like-a-banshee thing and calmed down, of course). They’re almost sweet enough to make you forget about the ginormous mess they created that made the bath necessary. Almost.

10. Christmas is the perfect excuse to eat loads of cookies, as if you needed one.


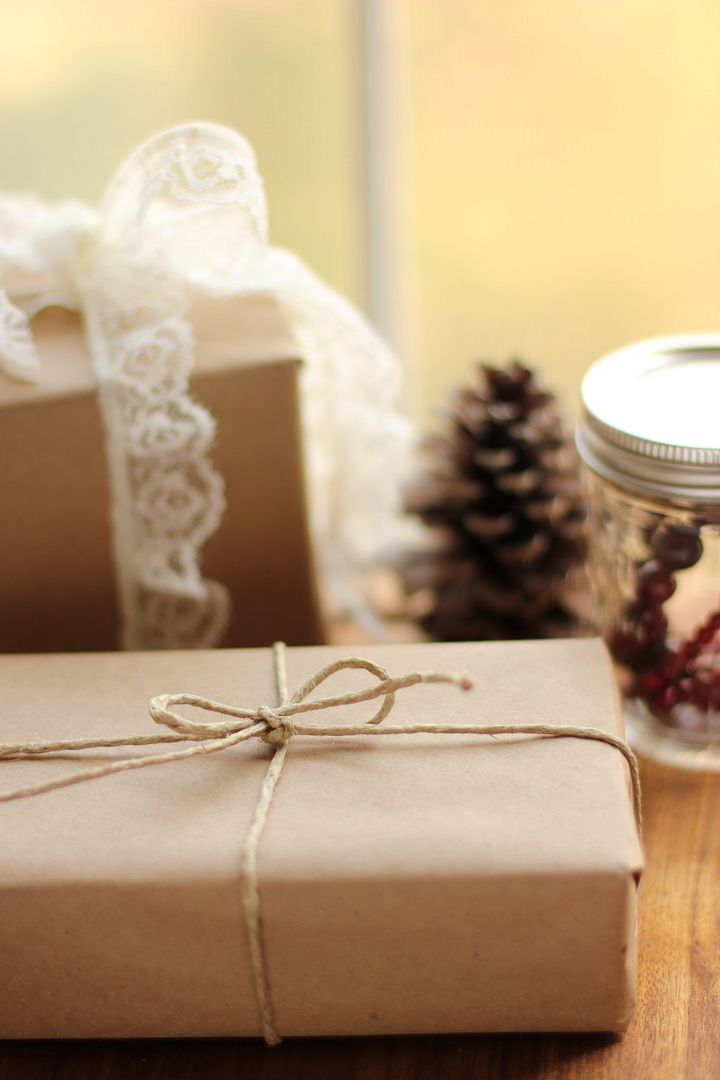
11. Present wrapping tip: plain brown paper and some hemp string or lace makes for a pretty parcel.
You can even reuse some old paper grocery bags.

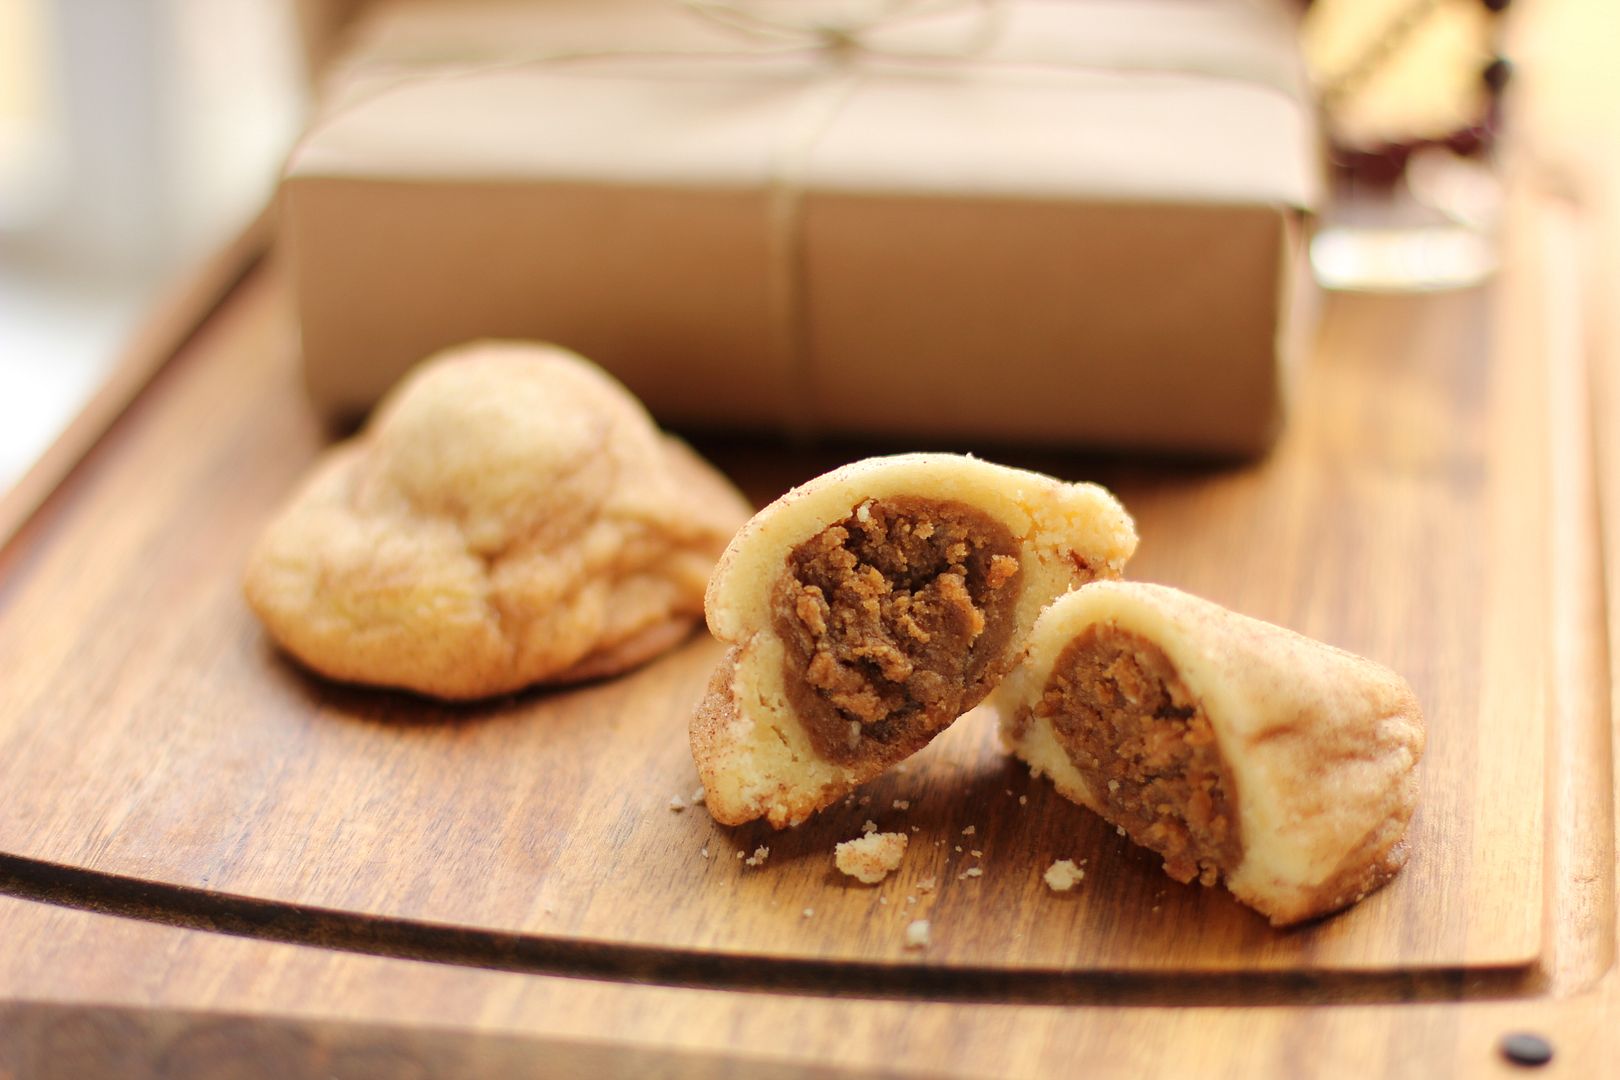
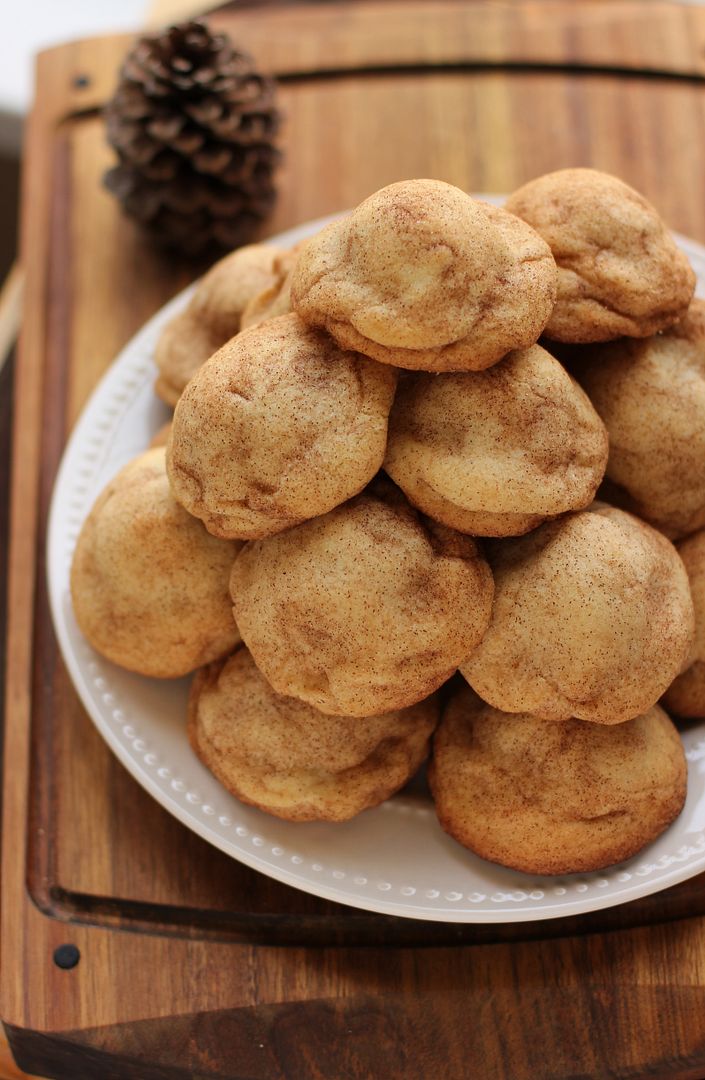
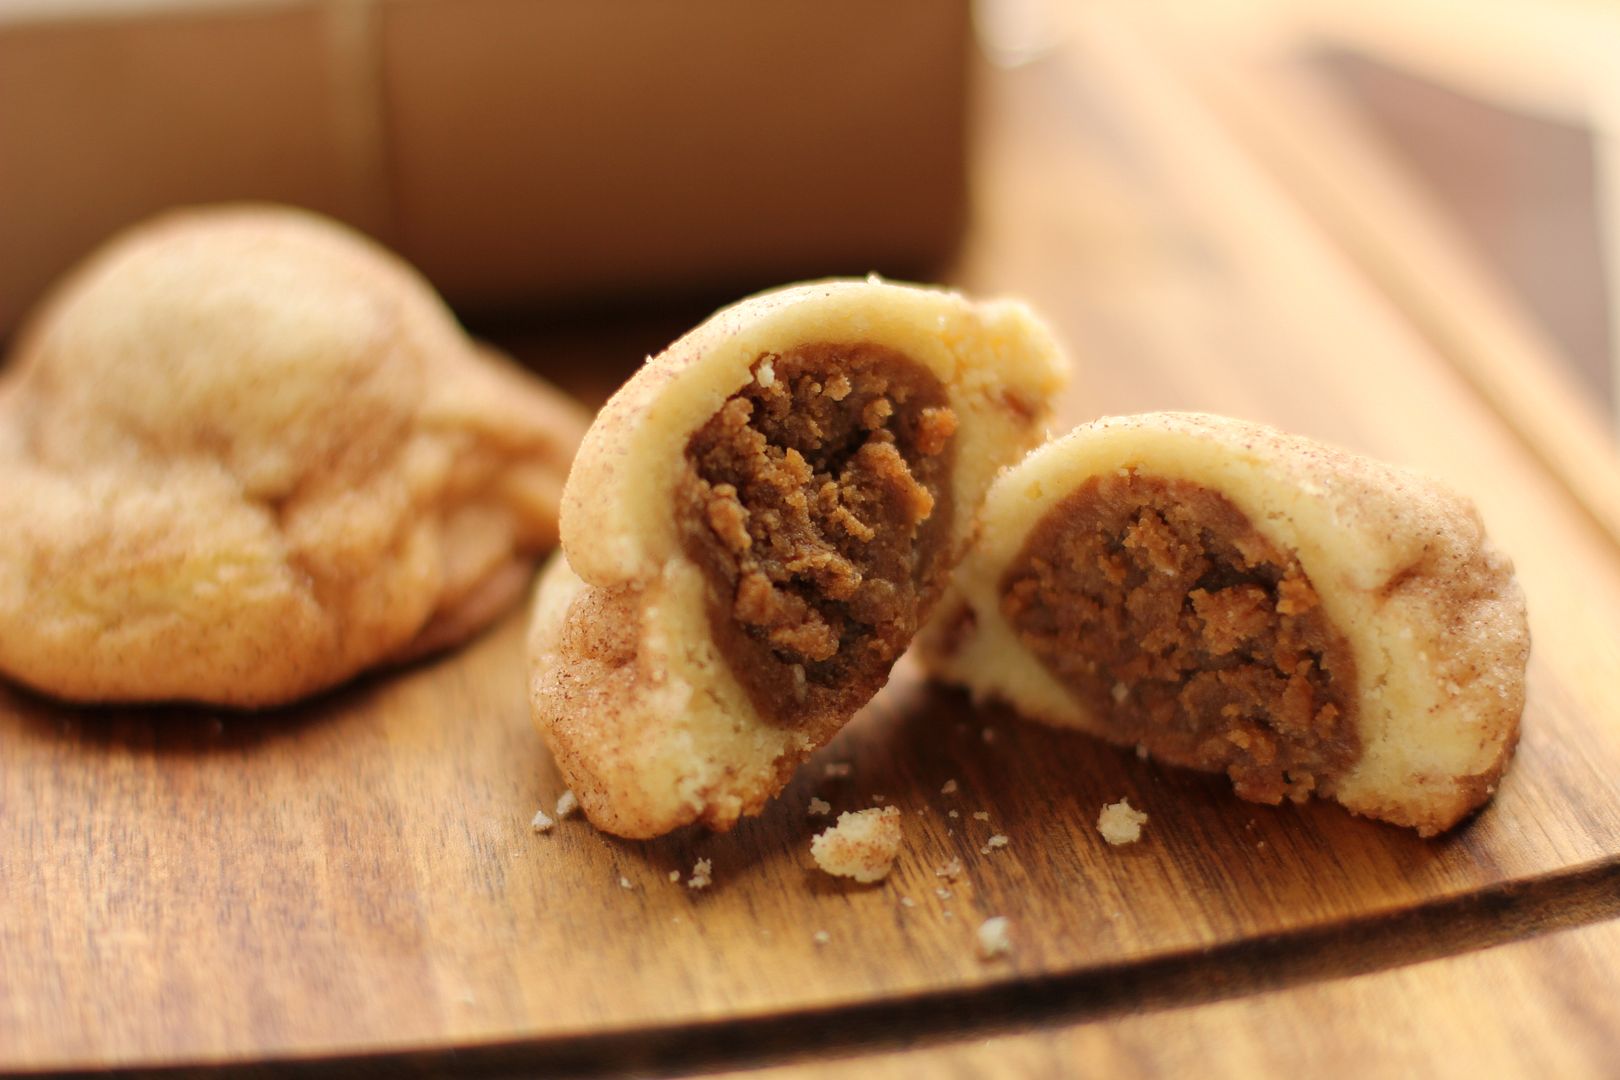
These Gingersnap Cheesecake Stuffed Snickerdoodles were modeled after my Pumpkin Cheesecake Stuffed Snickerdoodles. They were so delicious that I had to make a Christmas version! The dense gingersnap middles are sweet, spicy, and delicious inside the pillowy snickerdoodles.

These cookies are insane on their own, but I may have heated up a couple and eaten them over vanilla ice cream, and it may have been amazing. I think you should try it and see for yourself.

Gingersnap Cheesecake Stuffed Snickerdoodles


Recipe by: Willow Bird Baking, using cookies adapted from Sunset, 1998 via Bakergirl
Yield: 30-35 large cookies

Delicious gingersnap cheesecake truffles are enveloped in a pillowy snickerdoodle. These cookies are filled with holiday cheer and perfect for a cookie swap (or for hoarding and devouring beside the Christmas tree). Heat them before serving for maximum enjoyment, and I won’t judge you if you decide to serve them over a bowl of vanilla ice cream.

Snickerdoodle Ingredients:
1 cup butter, softened
1 cup vegetable oil
3/4 cup granulated sugar
1 cup powdered sugar
2 large eggs
4 1/4 cups all-purpose flour
1 teaspoon baking soda
1 teaspoon cream of tartar
1/2 teaspoon salt
1/2 cup granulated sugar + 1 tablespoon cinnamon for rolling cookies

Gingersnap Cheesecake Filling Ingredients:
2 cups white chocolate chips (about 10 ounces)
3 cups finely ground gingersnaps
1 teaspoon ground ginger
1 teaspoon cinnamon
1/2 teaspoon salt
1/4 teaspoon ground cloves
4 tablespoons powdered sugar
1 (8-ounce) package cream cheese, softened

Directions:
Make the gingersnap cheesecake filling: Melt the white chocolate chips in the microwave on half power. Start with 1 minute and stir. Continue to heat the chocolate in 15 second intervals, stirring well after each to aid the melting, until it is smooth (be careful not to overheat). Transfer this to a shallow pan to cool until just warm (but not until hardened).

In the meantime, mix gingersnap crumbs, confectioners’ sugar, ginger, cinnamon, salt, cloves, and cream cheese together. Add the white chocolate and mix well until thoroughly combined. Transfer the mixture to the fridge while you make the snickerdoodle dough.

Make snickerdoodle dough: Mix together the butter, vegetable oil, granulated sugar, powdered sugar, and eggs in a large bowl. In a separate large bowl, whisk together the flour, baking soda, cream of tartar, and salt. Add the flour mixture into the butter mixture in 3-4 additions, mixing until just combined between each. Place the finished dough in the refrigerator to chill. While the cookie dough chills, roll gingersnap mixture into balls and place the balls on a wax paper lined baking sheet. Cover, and chill until firm (about 1 hour).

In a small bowl, whisk together 1/2 cup granulated sugar and cinnamon. Preheat oven to 375 degrees F. Take a few gingersnap balls out of the fridge at a time to work in small batches (so they stay firm). Scoop out about a tablespoon of chilled cookie dough. Press a frozen gingersnap cheesecake ball into the center, then cover with another bit of dough, working the dough around the whole ball. Roll the ball in cinnamon-sugar (which will make the soft dough easier to handle, so you can firm up the shape here) and place it on a greased baking sheet. Repeat the process, placing cookies 2-3 inches apart. If cookie dough gets too soft, re-chill it for a bit and continue working. I made sure to stick it back in the fridge during any downtime (like when I had some cookies in the oven).

Bake for 12-15 minutes, or until edges are slightly browned. Let the cookies cool on the pan for a few minutes before removing them to a cooling rack to cool completely. Store in an airtight container in the fridge, reheating for 30 seconds to a minute before eating. Serve a few hot cookies over vanilla ice cream for a special treat!

If you liked this post, please:
Subscribe to Willow Bird Baking
Follow Willow Bird Baking on Twitter
Follow Willow Bird Baking on Facebook
Give this post a thumbs up on StumbleUpon
Pin It


Shareother ways to share this post with friends

Sticky Toffee Pudding Cheesecake

Listen, this entire post is about turn signals. Like, the whole post (with the exception of some cheesecakey bits). I’m just warning you in case you’re not in a turn signal sort of mood.

(You are in a Sticky Toffee Pudding Cheesecake sort of mood though, right? Good.)


sticky toffee love.

I am not a violent person in general, but there is nothing that makes me wish I had a rocket launcher stashed in my glove compartment more than people who don’t use turn signals. Turn signals are included on your vehicle to let other people know where you’re headed so they don’t plow into you and die. They’re, like, important*.

(Am I ruining the serene vibe we had going on here with all the pretty pastels and birdies and such? I’m probably totally harshing the mellow with my latent road rage. Sorry.)


Just think of cheesecake.

Actually, I don’t care if you ignore your turn signal sometimes. I’m not unreasonable. For instance:

Are you driving down a deserted road in the middle of the frigid Nebraska night, with no one but a few chilly cows to watch you with disdain as you turn left with no prior warning? It’s cool. No need to signal. The bovine haters will learn to accept your rebellious agrarian road rules.

Are you one of those bodacious** ice road truckers whose existence I honestly still kind of question? You crazy mythological creature, you! Forget those turn signals. No one needs to be notified that you’re about to veer in a different direction across the frozen tundra.


cheesecakes are also exempt from signaling.

Are you Abraham Lincoln? Abe, you were one honest, tall, admirable dude. I don’t think anyone would hold it against you if you didn’t signal before you turned your horse and buggy. Plus, you’re (sadly) deceased. Dead people do not need to use turn signals.

If you’re not a Nebraskan farmer, an ice road trucker, Abraham Lincoln, or dead, however, you’re going to have to suck it up and signal***.

And if you’re one of the billions of Charlotteans who seem to think it’s not important to use your turn signal when switching into the middle lane of a busy multilane highway in the middle of the night, well. The Charlotte police department has granted me the right to revoke your license (okay, no they haven’t.) But I think it’s just kind of implied that I’m allowed to do so.


the one with the cheesecake makes the rules.

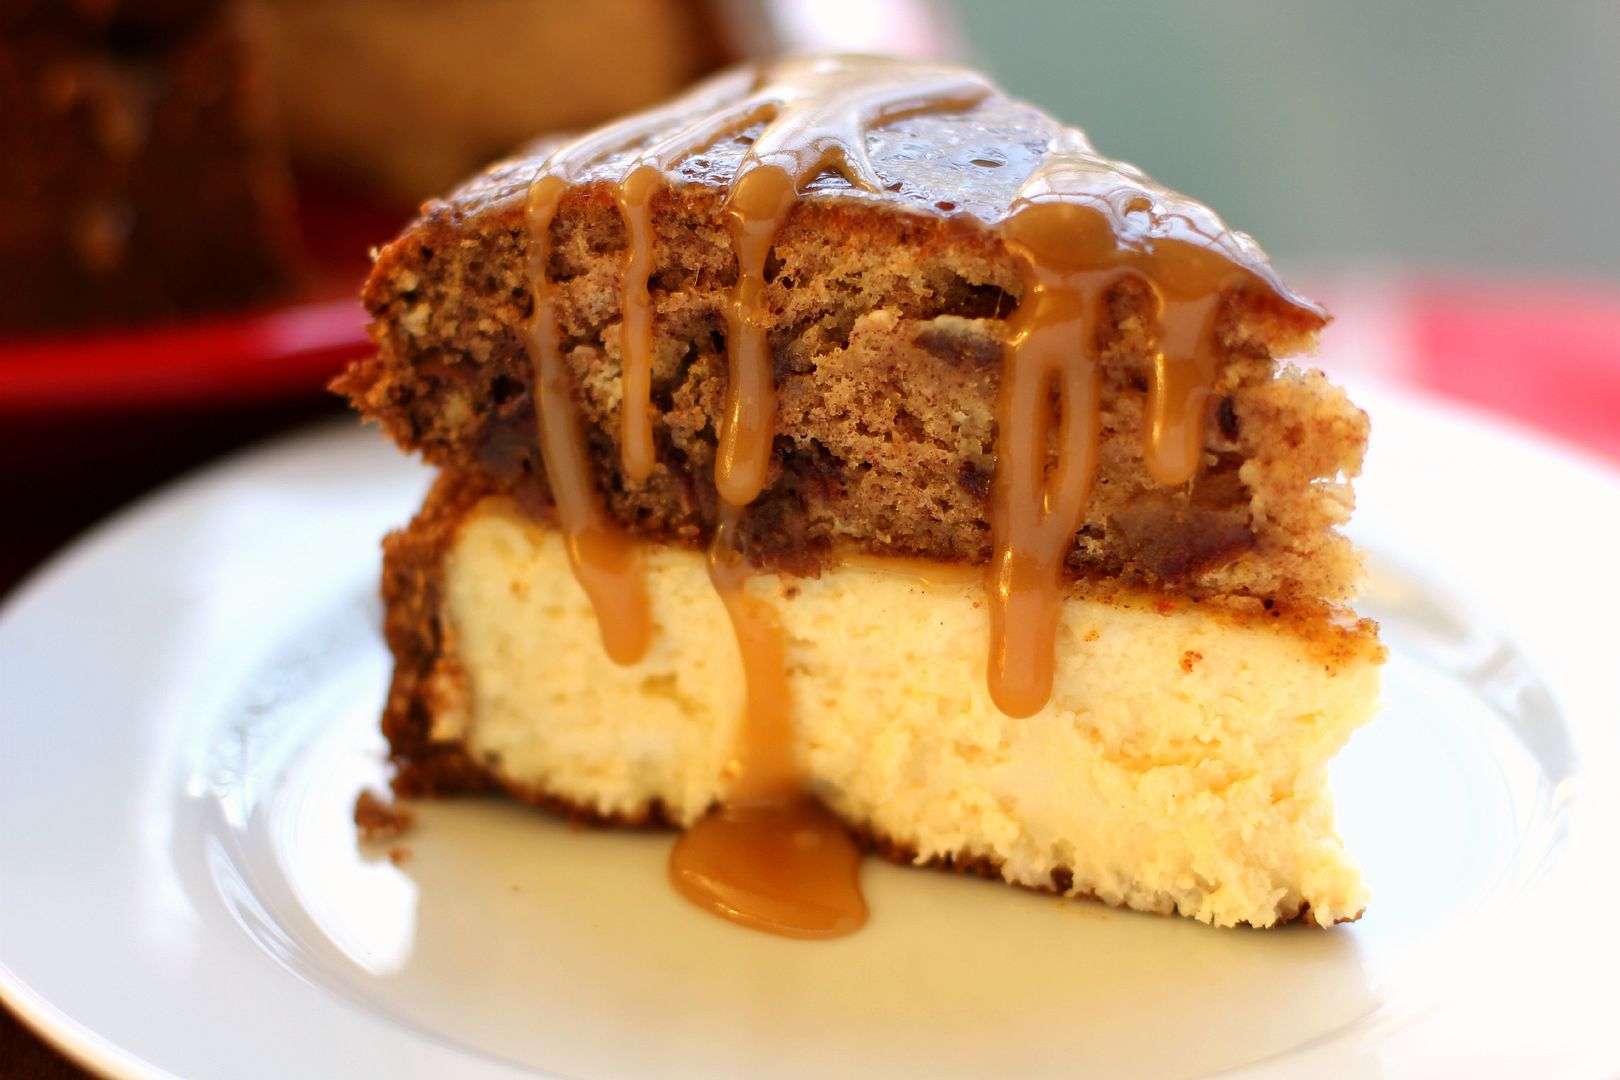
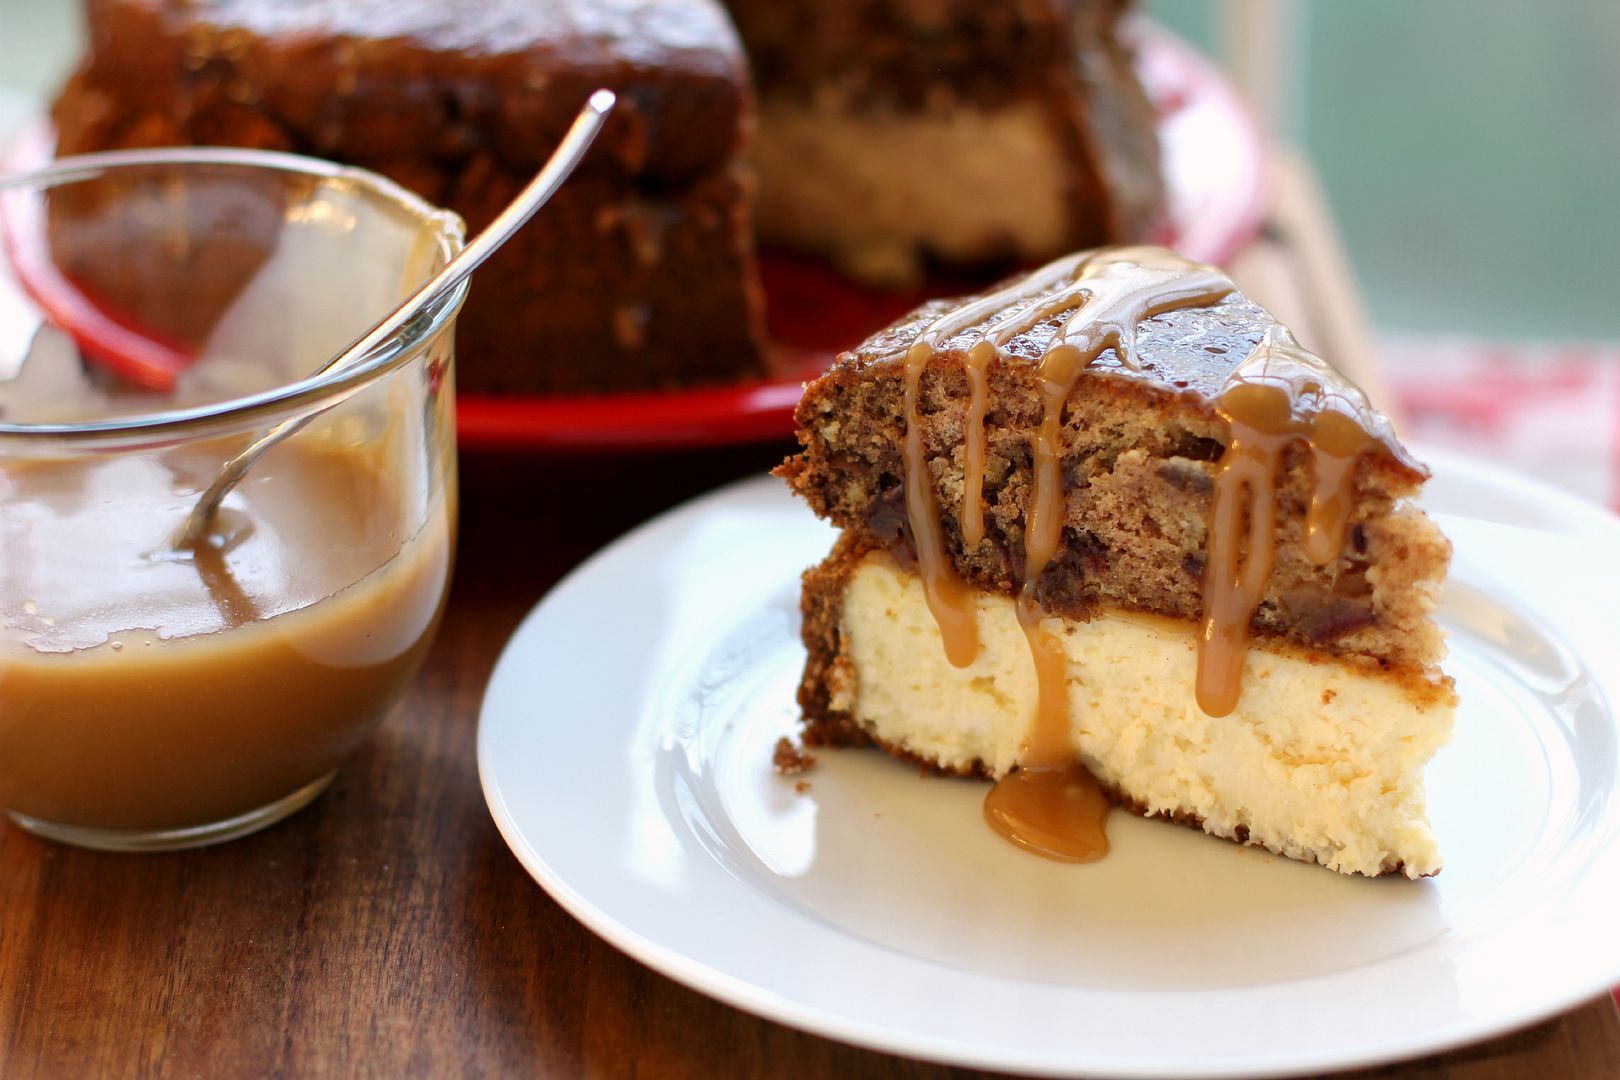
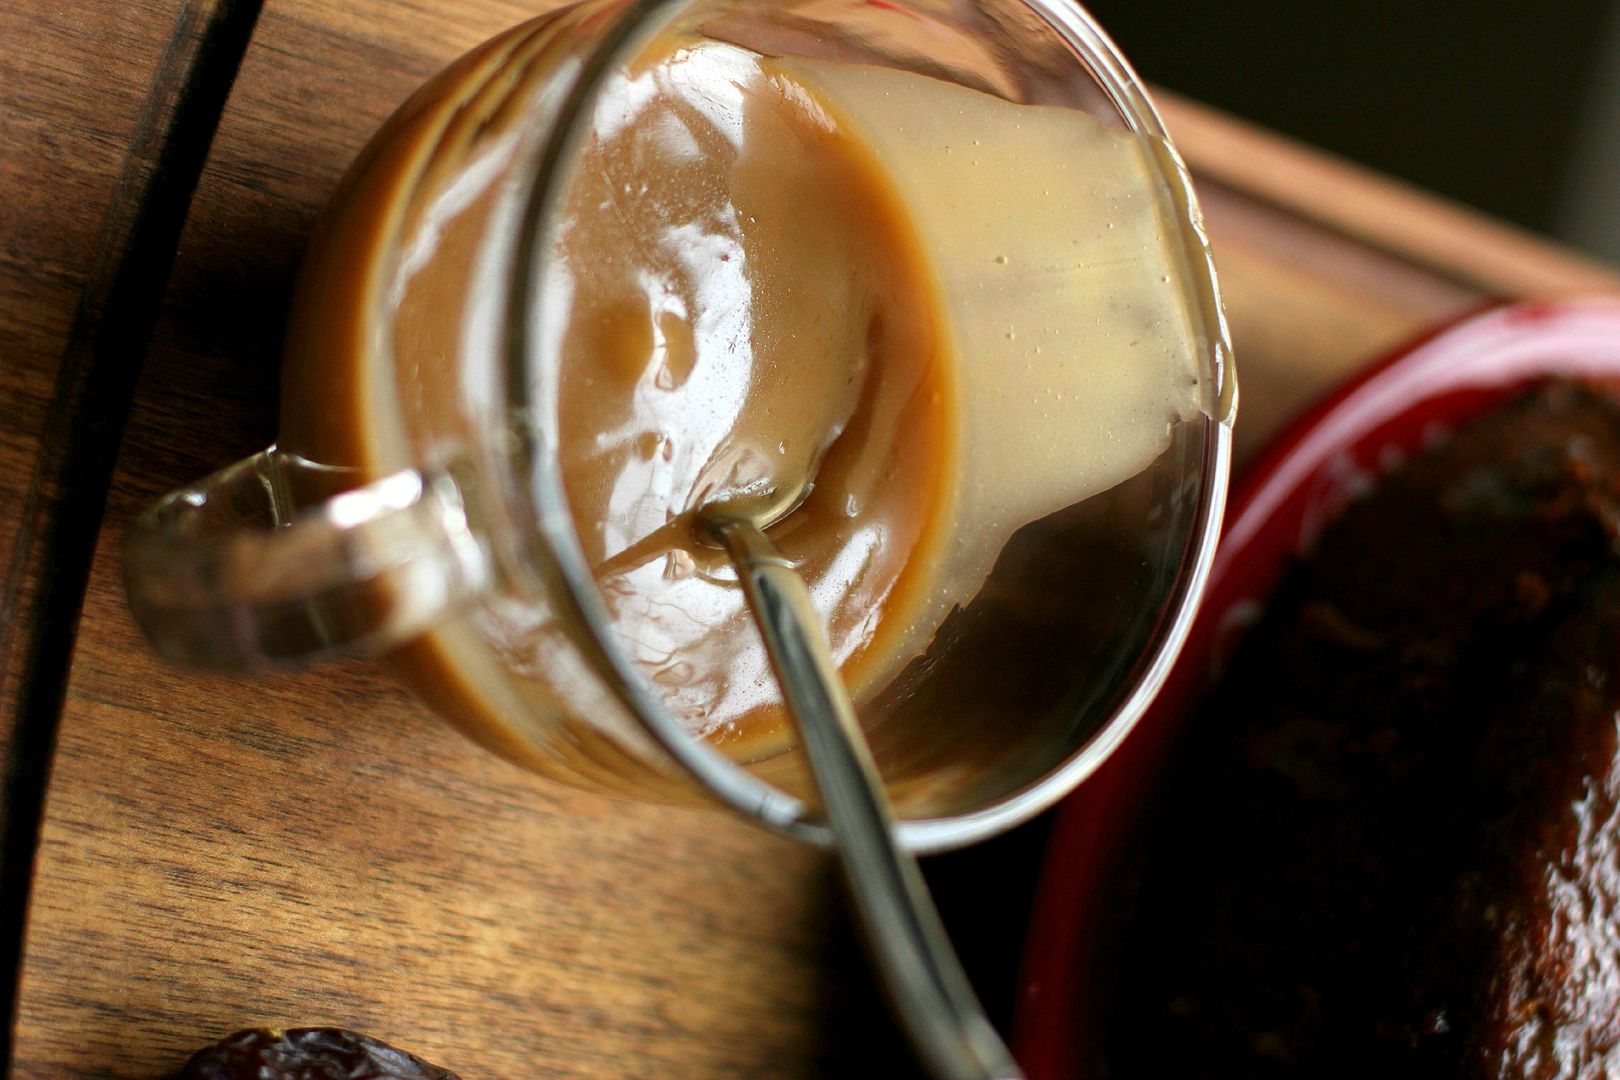
Well. After all that road rage, I think we need something comforting. How about something so comforting you want to bathe in it? Something so comforting you want to wear it around like a sticky toffee snuggie? How about a thick, sloppy slice of Sticky Toffee Pudding Cheesecake?

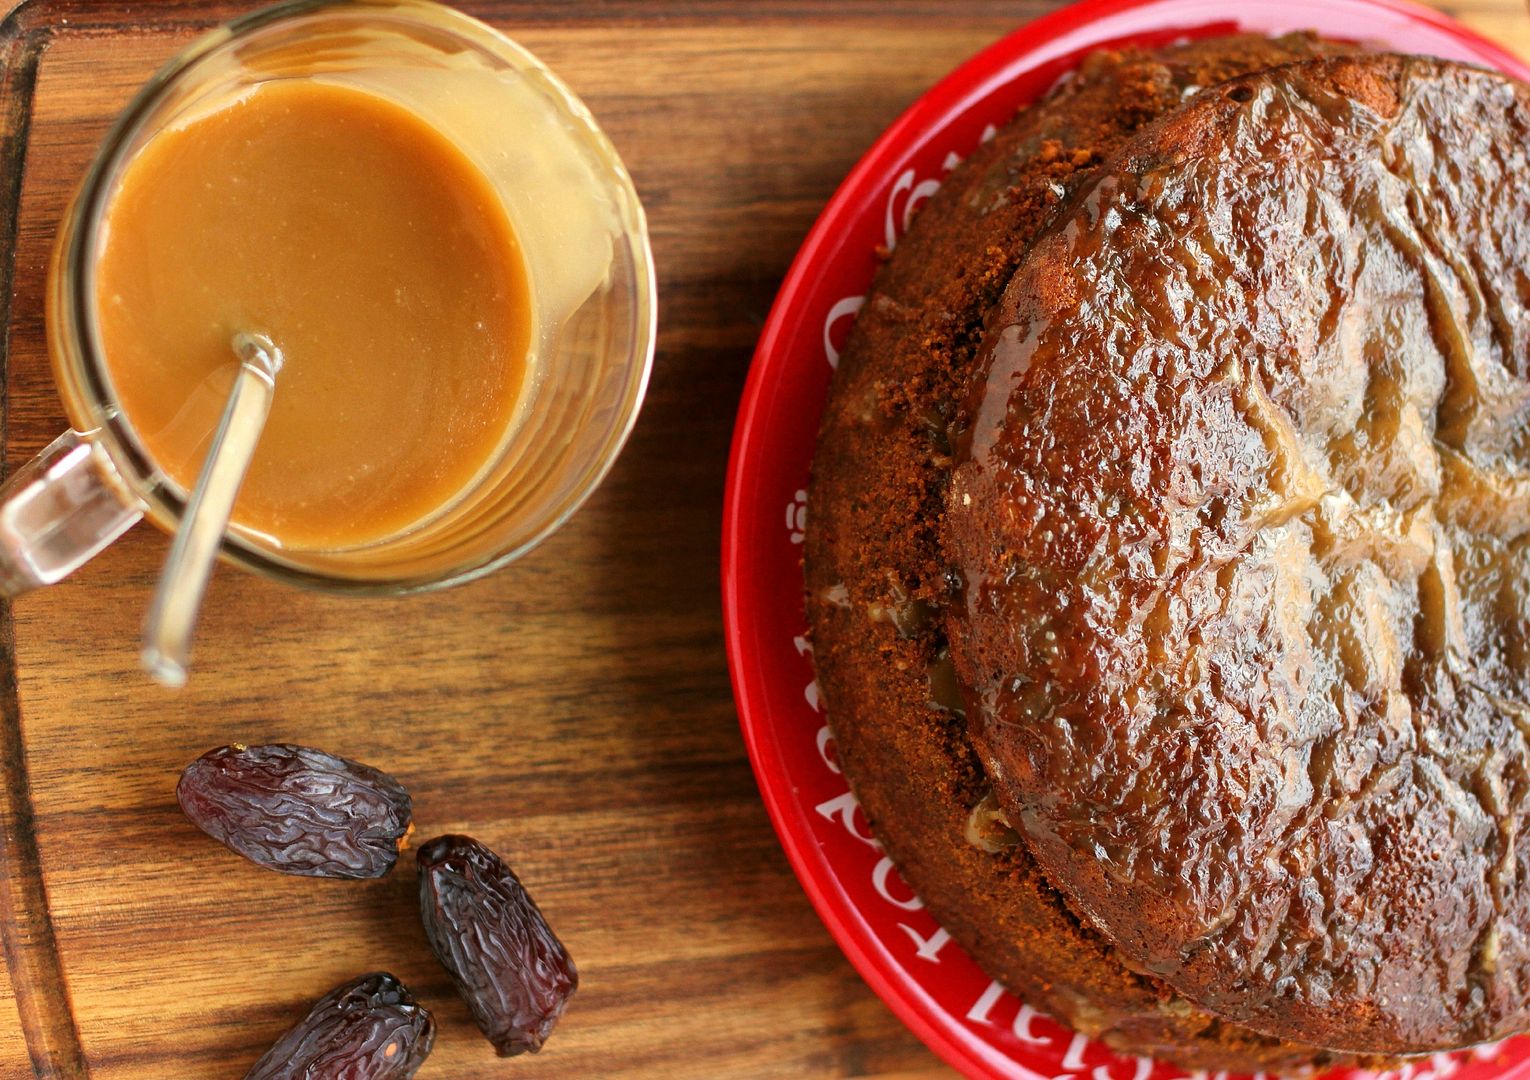
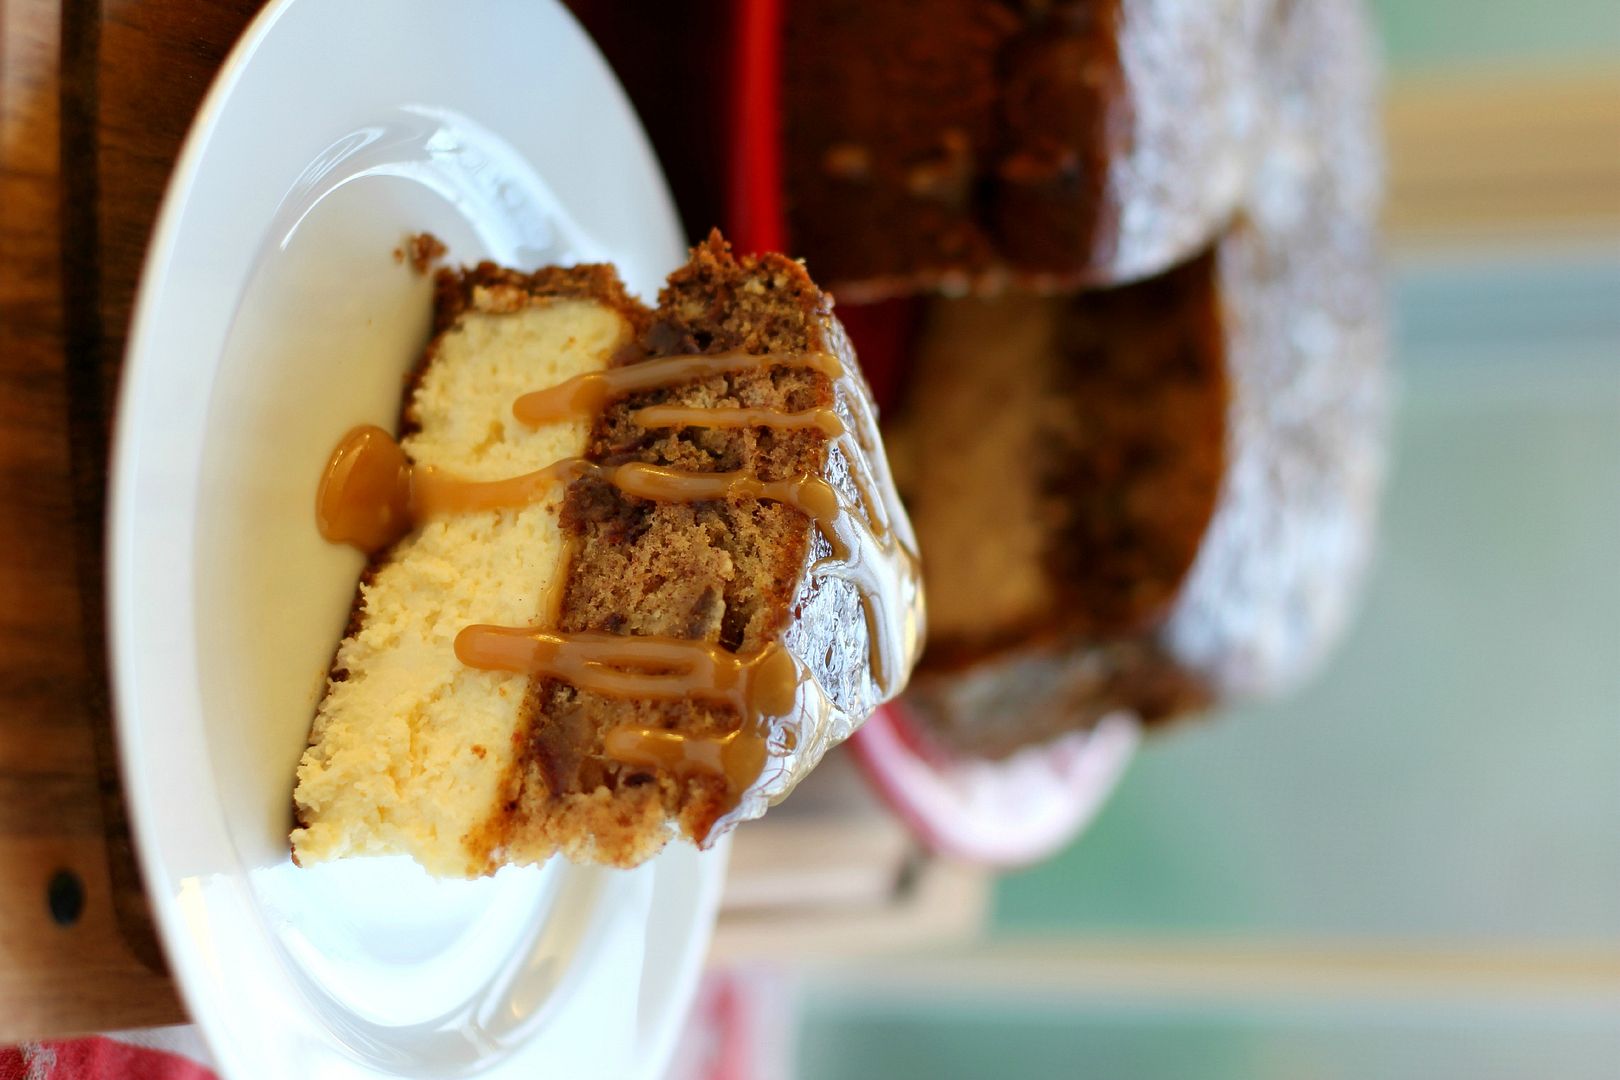
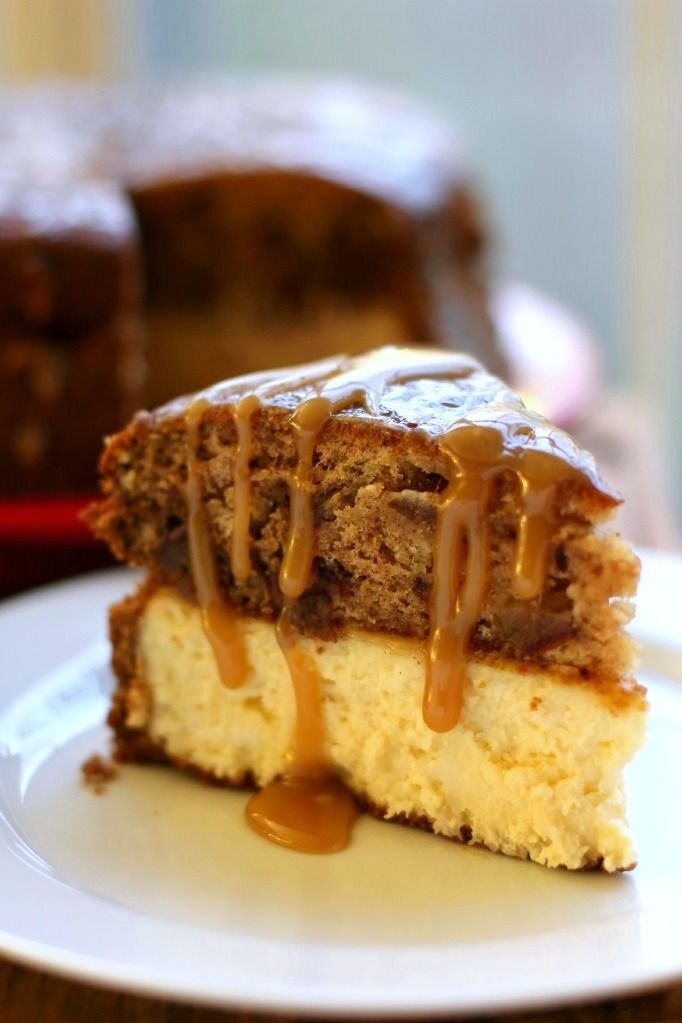
Just to address the elephant in the room: yes, the cake is about as ugly as sin (or as ugly as not using one’s turn signal? Sorry, I’ll stop.) The crust crumbled down to just the cheesecake height. The toffee pudding is puckery on top. The whole thing is decidedly brown. Please don’t be deterred, though. Firstly, you can dress it up with a drizzle of toffee sauce and some pretty flatware. Secondly, it’s one of the best things I’ve ever tasted.

It’s not surprising that it’s good: it’s buttery toffee sauce on top of smooshy, date-filled pudding (in the British sense, y’all, not the Jell-O sense) on top of a creamy cheesecake on top of a gingersnap and graham cracker crust. It did surprise me, though, how good it was. And really, how freeing. Knowing that your goal is a homey, warm, comforting dessert instead of a beautiful one can make the whole process feel more forgiving.

Much more forgiving than I am with regards to your driving practices, for sure.


u-g-l-y, this cake ain’t got no alibi — but it’s nothing a little toffee sauce can’t fix.

*Full disclosure: I’m sure that at some point, I have neglected to use a turn signal. You guys are free to call me the crap out if you ever see it happening. This is probably safe to say since very few of you know what sort of car I drive. Heh.

**In writing this post, I came across this Yahoo! Answers post about how to talk about Andrew Jackson without using the word “badass,” and I admit I laughed for at least a full minute. I guess I can’t talk, because I was searching for a way to describe ice road truckers without using that word.

***I still love you even if you don’t use your turn signal. Please still love me even though I just wrote an entire post admonishing you.

Time for cake!

Sticky Toffee Pudding Cheesecake


Recipe by: Willow Bird Baking, using Food Network’s pudding recipe
Yield: 10-12 servings

There are no words for how delicious this dessert is. Buttery toffee sauce cascades over smooshy, date-filled sticky toffee pudding on top of a creamy cheesecake. The recipe can be made over several days and made in advance, making it convenient in addition to delectable. I served slices warmed for 30-40 seconds in the microwave and with a drizzle of extra toffee sauce. A scoop of ice cream or a dollop of whipped cream would be a lovely addition.

Cheesecake Ingredients:
3 (8 ounce) packages cream cheese, at room temperature
1 cup granulated sugar
1½ tablespoons all-purpose flour
2 teaspoons vanilla extract
3 large eggs
2 heaping cups cookie crumbs (I used a 50/50 mixture of graham cracker and gingersnap crumbs)
6 tablespoons butter

Sticky Toffee Pudding Ingredients:
1 cup plus 1 tablespoon all-purpose flour
1 teaspoon baking powder
3/4 cup pitted dates, finely chopped (Oh Nuts! provided me with these)
1 1/4 cups boiling water
1 teaspoon baking soda
1/4 cup butter, room temperature
3/4 cup granulated sugar
1 large egg, lightly beaten
1 teaspoon vanilla extract

Toffee Sauce Ingredients:
1/2 cup butter
1/2 cup heavy cream
1 cup packed light brown sugar

Directions:
Notes: Cheesecakes are simple and super customizable. New to cheesecake making? Watch my 6 minute Cheesecake Video Tutorial for visual assistance! This recipe can be divided up over several days — you can make and refrigerate both the cheesecake and pudding in advance. Simply make the toffee sauce and assemble the day you’re serving the cake.

Make the cheesecake: Preheat the oven to 350 degrees F. Lightly grease a springform cheesecake pan. Combine the cookie crumbs and melted butter in a small bowl. Toss with a fork to moisten all of the crumbs. Using a flat-sided glass, press into a thin layer covering the bottom and sides (you want it to be tall — try to get to about 2.5-3 inches high and not too thick in any one spot) of your cheesecake pan. Bake the crust for about 6 minutes and let it cool as you make your cheesecake filling.

In a large bowl, beat the cream cheese and sugar on medium-high speed until well blended. Beat in the flour. Add in the vanilla and beat until well incorporated, scraping down the sides of the bowl as needed. Beat in the eggs one at a time, scraping down the bowl between each addition. Pour the filling into your crust.

Bake until the top is lightly browned, puffed and cracked at the edges, and the center moves only very slightly when the pan is lightly shaken (about 40 minutes). Check while baking periodically and put a pie shield (or strips of foil) around the top of your pan to protect the crust edges if they’re getting too dark. Just don’t let the shield/foil touch the crust — it’s delicate and might crumble. Let cheesecake cool before chilling it in the fridge for at least 3 hours. (My crust kind of crumbled on top as the cheesecake cooled and pulled it inward, but don’t fret if this happens — everything will still be delicious! I just swept away the crumblies with a pastry brush.)

Make Sticky Toffee Pudding: In the meantime, grease a 9-inch round cake pan. Place a parchment paper round in it to line the bottom, and grease the paper as well. You don’t want your pudding stuck in your pan!

Sift the flour and baking powder onto a sheet of waxed paper (I love doing this with dry ingredients, because then the paper becomes a funnel for easy transport of your dry ingredients and you aren’t using an extra bowl). In a separate small bowl, gently mix the dates, boiling water, baking soda. Set this aside.

In a large bowl, cream the butter and sugar together until light and fluffy (2-3 minutes). Add the egg and vanilla and beat to combine. Gradually mix in the flour mixture, scraping down the sides of the bowl as needed. Fold in (I did a little folding and a little stirring, since it was quite soupy, but just be gentle with it) the date mixture with a spatula. Pour your batter into your prepared pan and bake until the pudding is set up and firm, about 35 minutes (jiggle the pan and watch the middle). Let the pudding cool completely on a wire rack before inverting it onto a wax paper lined plate and popping it in the freezer to firm up for easy handling (or leave it in the fridge overnight).

Make the Toffee Sauce: In a small saucepan, combine the butter, heavy cream and brown sugar. Bring this to a boil, whisking constantly. Boil gently for about 8 minutes over medium low heat, or until the mixture is thickened.

Assemble the cake: Preheat the broiler. Spoon about 1/3 cup of toffee sauce onto the surface of your cheesecake to serve as a “glue” and gently place your sticky toffee pudding layer on top, pressing to adhere. Top this layer with about 1/3 cup of the toffee sauce and spread this around evenly on top. Place the cake under the broiler until the topping is bubbly, about 1 minute (keep a close watch! I rotated mine carefully every few seconds for even bubbling). Carefully remove the springform pan and using a sturdy spatula or two, place cheesecake on serving platter (if you’re nervous, just remove the sides of the springform pan and serve it straight from the base — no worries). Serve slices with extra toffee sauce and whipped cream or ice cream.

P.S. Oh Nuts! sent me California Medjool Dates to try free of charge. My opinions are always my own and always thoughtfully prepared with consideration for my readers — and I loved the dates! It was my first date experience and now I’m hooked.

If you liked this post, please:
Subscribe to Willow Bird Baking
Follow Willow Bird Baking on Twitter
Follow Willow Bird Baking on Facebook
Give this post a thumbs up on StumbleUpon
Pin It


ShareOther ways to share this post with friends!

Pumpkin Streusel Swirled Cream Cheese Pound Cake

I recently attended the Foodbuzz Blogger Festival in San Francisco, California, 2,700 miles away from my home. Traveling alone is always a meaningful, reflective experience for me, and over the next couple of weeks, I’ll be sharing vignettes that I hope are meaningful to you, as well.

. . .

I’ve started to write this story countless times. Sometimes you get so tangled up in words that they suddenly seem more like a net than a lubricant, more like a shroud than a lamp.

It’s when the ideas are most important that the words get the stickiest. Personally, I find that I have to scrap those sticky words entirely — sometimes repeatedly — to set myself free and finally get the tale told. So. Here’s another try…

“Proposition?”

It was the first word the man next to me on the bus (the correct bus, thankfully) had uttered, and I didn’t understand what he meant. I looked at him quizzically. He repeated himself, pronouncing the word slightly wrong: “Proposition?”

I noticed he was pointing to something and looked down at the book in his lap. His finger was settled on — what else? — the word “proposition.” I finally put the pieces together. “Oh! Yes, that’s ‘proposition,'” I answered, pronouncing the word correctly. He thanked me and went back to his book with a satisfied nod.

I forget how the conversation started up again, but eventually we were chatting. He introduced himself as Vincent. I told him I was a food blogger and teacher from Charlotte. He revealed that he had family in Winston-Salem but had lived in California for years. Finally, the pleasant conversation ambled back to his book. “What are you reading?” I asked. It seemed like a totally innocent question.

Rather than answering aloud, he turned his book over so I could see the cover. It was 12 Steps and 12 Traditions, an Alcoholics Anonymous book.  I immediately stuck my foot in my mouth wondering if I’d embarrassed him, but he seemed unfazed by the interaction.  I was touched — both that he was diligently reading this book on the bus and that he was willing to share it with me.

But I was also a little self-conscious. How should I respond to the information he’d just shared with his simple gesture? Wouldn’t anything I had to say sound patronizing? After all, while he seemed to have had plenty of hard knocks, I was giving off the air of an easy life. I was wearing a blue Parisian scarf and a camel trench coat, holding a huge camera case, and I’d just flown across the country for a vacation of sorts.

He couldn’t know that the scarf was a gift, the coat a hand-me-down, and the plane ticket a contest prize. Nor did it really matter. I just looked floofy. Floofy in that wealthy lapdog sort of way. And compared to the sort of obstacles he was facing, my life was pretty floofy.

Floofy or not, I decided there was nothing to do except respond sincerely. Quietly, I said, “That’s awesome, Vincent. I really admire that you’re doing that.” He flashed a big smile and I inwardly sighed with relief.

Up until now our chat had been lighthearted, but we’d just turned a corner into SeriousLand (a little known suburb of San Francisco, apparently). Before long we were talking about his recovery (he was on his way to see his sponsor at that moment), his life in San Francisco, and about Jesus. You know, the usual.

I was nervous about missing my stop, but Vincent was getting off at the corner of Lombard too. “The view of the bay is beautiful here,” he said as we alighted from the bus. “You should try to walk around if you get a chance.” He took a moment to direct me toward my next bus stop before shaking my hand and rounding the corner toward his sponsor.

I met a lot of people over the course of my San Francisco trip — even some pretty fancy bloggers! — and I enjoyed them all for different reasons. I did some schmoozing, some eating, some shopping (Dear H&M, please come to Charlotte. Thanks.) But as I sit here in Charlotte with little Byrd snarfling into her supper bowl beside me, Vincent is the one who comes to mind. In a weekend full of people with their game faces on — me included — Vincent was the one who was sacrificially genuine. With a stranger, at that.

I gave him a Willow Bird Baking card. I hope he gets a chance to happen by sometime, and I hope he recognizes himself through the pseudonym I’ve given him. Vincent, if you ever read this: Thank you for a conversation I’ll have tucked in my heart for the rest of my days. Godspeed.

. . .

In honor of a special guy, here’s a special pound cake.

But listen, THIS AIN’T YOUR GRANDMAMA’S POUND CAKE.

Okay, it kind of is, actually. It’s Southern Living’s Cream Cheese Pound Cake and it’s been a staple in many family recipe boxes for decades. But first off, GRANDMAMA DON’T PLAY. She knows exactly what she’s doing in the kitchen, thankyouverymuch.

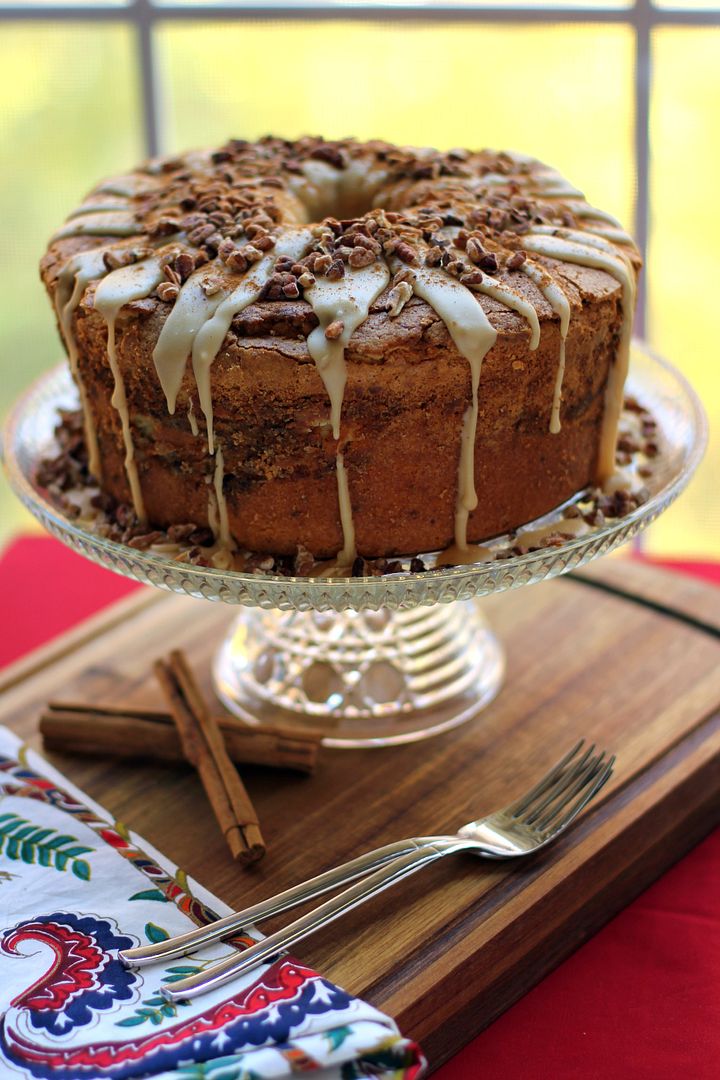
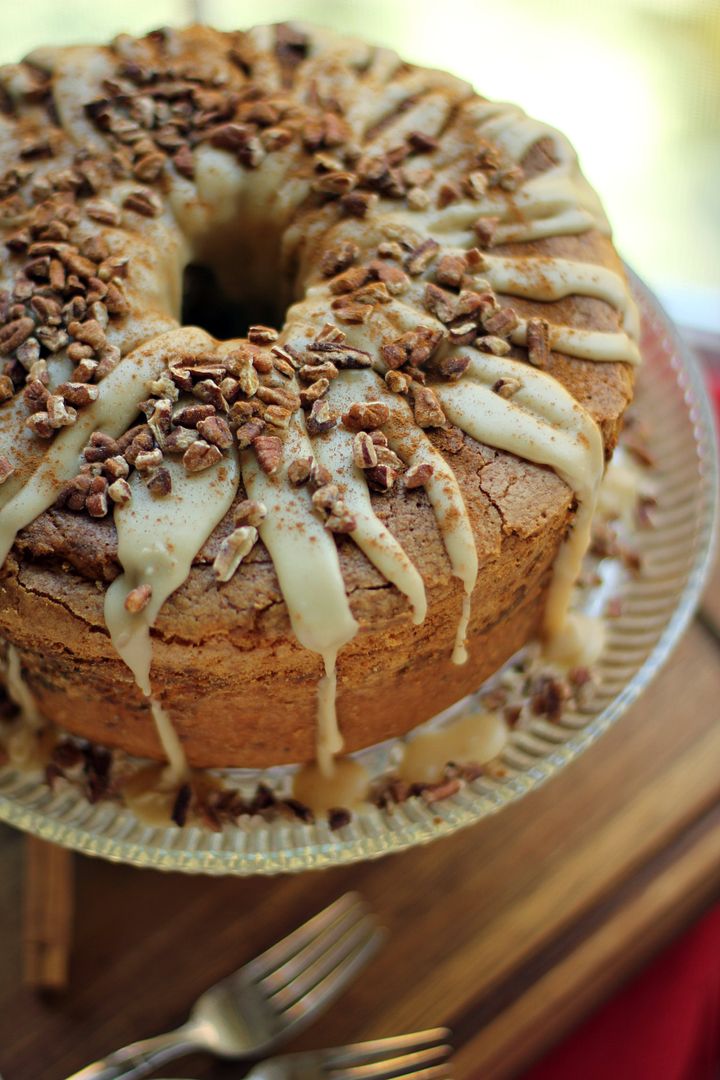
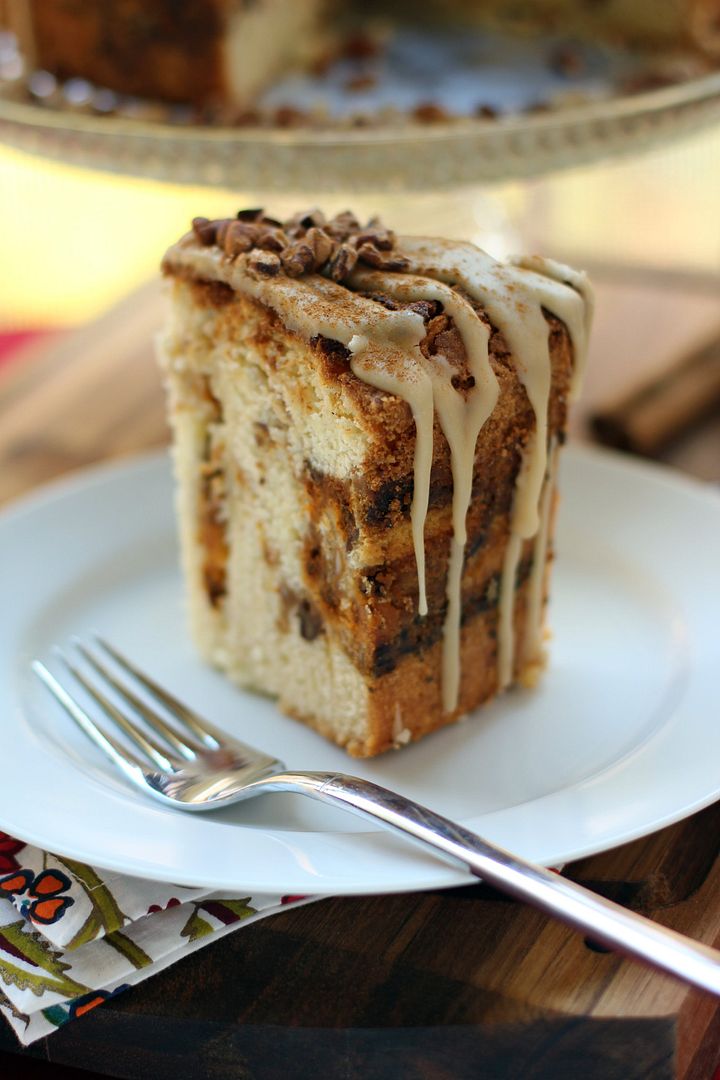
Second off, this pound cake has a new twist; namely, pumpkin-cinnamon-pecan-streusel-awesomeness swirled throughout the cake. Add the maple brown sugar glaze and some toasted nuts on top and you have the perfect autumn dessert. It’s a handsome one, at that, so consider this recipe for your holiday table.

Have you one of these unexpected, significant conversations?

Pumpkin Streusel Swirled Cream Cheese Pound Cake


Recipe by: Willow Bird Baking, inspired by Southern Living
Yield: 12 servings

This dessert was made for autumn! A ribbon of pumpkin custard and cinnamon pecan streusel winds through this luxurious, rich cream cheese pound cake. It’s topped with maple brown sugar glaze, toasted pecans, and a dusting of cinnamon. The finished product is pretty as can be — and so delicious!

Cream Cheese Pound Cake Ingredients:
1 1/2 cups butter, softened
8 ounces cream cheese, softened
3 cups sugar
6 large eggs
1 1/2 teaspoon vanilla
3 cups flour
1/8 teaspoon salt

Pumpkin Pie Filling Ingredients:*
6 ounces cream cheese, softened
1/8 cup sugar
1/2 cup pumpkin puree
1/4 teaspoon vanilla extract
1 egg
1 teaspoon cinnamon
1/4 teaspoon nutmeg
1/4 teaspoon ginger
1/8 teaspoon allspice
*This makes a little more filling than you need, but I used most of it and baked the small amount I had leftover in a greased ramekin for 15-20 minutes — instant pumpkin custard!)

Pecan Streusel Ingredients:
1/4 cup firmly packed light brown sugar
1/4 cup all-purpose flour
1 teaspoon cinnamon
2 tablespoon cold butter
1 cup chopped pecans
1/2 cup cinnamon chips (optional — you can find these seasonally at some grocery stores or online from King Arthur’s Flour)

Maple Brown Sugar Glaze Ingredients:
2 tablespoon butter
4 tablespoons milk
1/2 cup brown sugar
2 tablespoons real maple syrup
pinch salt
1 1/2 – 2 cup powdered sugar (I ended up using just 1 1/2)
cinnamon for sprinkling

Directions:
Toast pecans: Preheat the oven to 350 degrees F. Spread pecans out on a baking sheet, and bake for 4-6 minutes or until fragrant, stirring and flipping nuts once in the middle. Spread the nuts out on a plate to cool. Leave the oven on for the cake.

Make the creamy pumpkin pie filling: In your electric mixer, or with a hand mixer, beat the cream cheese until smooth. Add the sugar and beat until fluffy and smooth. Add the pumpkin, egg, and vanilla extract, cinnamon, nutmeg, ginger, and allspice and mix until combined. Set in fridge while you make your cake.

Make the streusel: Combine the flour and brown sugar in a medium bowl and using two knives or a pastry cutter, cut in the butter until you have crumbly streusel. Mix in the cinnamon chips (if you’re using them) and 1/2 cup of the cooled toasted pecans (if they haven’t completely cooled, stick ’em in the fridge for a bit first — you don’t want to mix warm nuts into this and melt your butter, since it should stay cold). Save the rest of your nuts for decorating the finished cake. Set the streusel aside.

Make the pound cake: Beat the butter and cream cheese on medium speed for about 2 minutes or until it’s creamy. Gradually add sugar and beat 5-7 minutes until light and fluffy. Add the eggs one at a time, beating only until yellow disappears after each one. Stir in the vanilla.

Whisk the flour and salt together in a bowl and add to creamed mixture gradually, beating on low speed after each addition and scraping down the sides of the bowl as needed. Pour/dollop 1/3 of the batter into greased and floured 10-inch tube pan and use a spatula to smooth it right up against the sides of the pan and level it.

Dump your streusel into your pumpkin pie mixture and fold it together a few times to loosely mix — you’re not trying to combine them completely. Dollop big spoonfuls of this pumpkin mixture on the batter in your tube pan and swirl with a wooden skewer or table knife. Top this layer with another third of the batter and add another pumpkin layer (swirling again). Top with the final third of the batter. Fill a 2-cup ovenproof measuring cup with water and place in oven with cake (this keeps it moist!).

Bake the cake at 350 degrees for 1 hour 30 minutes to 1 hour 55 minutes (the original recipe said 1 hour and 10 minutes, but this was way too short for me. Nevertheless, you should start checking early and often just in case. This is a good practice, also, because you may have to cover the top with foil if it’s getting too brown). To test for doneness, insert a wooden skewer in a few different areas of the cake and pull it out. You want it to come out with just a few moist crumbs (no liquid batter, but not completely clean either).

Let the cake cool on wire rack for 10 minutes before running a knife around the edge of the pan. Remove the cake from the pan by topping the pan with a plate and carefully inverting it. Then invert the cake again onto another plate so that it’s right-side up. Let cool completely (at least 1 hour).

Make the Maple Brown Sugar Glaze: Combine the butter and milk in a small saucepan over medium heat. When the butter melts, whisk in the brown sugar, syrup, and salt, whisking until the brown sugar melts. Remove the pan from the heat and whisk in the powdered sugar, starting with 1 cup and adding more to thicken per your preference (taste as you go to ensure you don’t oversweeten). Drizzle the glaze over the top of your cooled cake. Sprinkle the cake with toasted pecans immediately (the glaze sets quickly) and dust with cinnamon. Serve immediately. Refrigerate leftovers in an airtight container and microwave for about 20 seconds to serve.

If you liked this post, please:
Subscribe to Willow Bird Baking
Follow Willow Bird Baking on Twitter
Follow Willow Bird Baking on Facebook
Give this post a thumbs up on StumbleUpon
Pin It


ShareOther ways to share this post with friends!

1 9 10 11 12 13 20