coffee

Bailey’s Hazelnut Chocolate Tiramisu (and Photographing FOOD)

First off, let me just say that if I were a red-headed stepchild, I’d be annoyed with the world for making me into a symbol of awkwardness and ostracism. Red-headed stepchildren deserve love, too! They will hopefully forgive me when I say that photography has always been my red-headed stepchild.

In the food blogging world, there are definitely triple-threats — bloggers who are wonderful writers, chefs, and photographers — but they’re few and far between. More often, bloggers are fantastic in one of two of these arenas and are dragging the third along as best they can. Personally, I’m unabashedly a writer first, a baker second, and a somewhat reluctant photographer eighty-fifth.

It just doesn’t come naturally for me. I would never have thought to smash my food before photographing it. I would never have thought to take dark-and-moody photographs when everyone else was still going ga-ga over light-and-airy. I wouldn’t have realized how pretty light-and-airy could be to begin with!

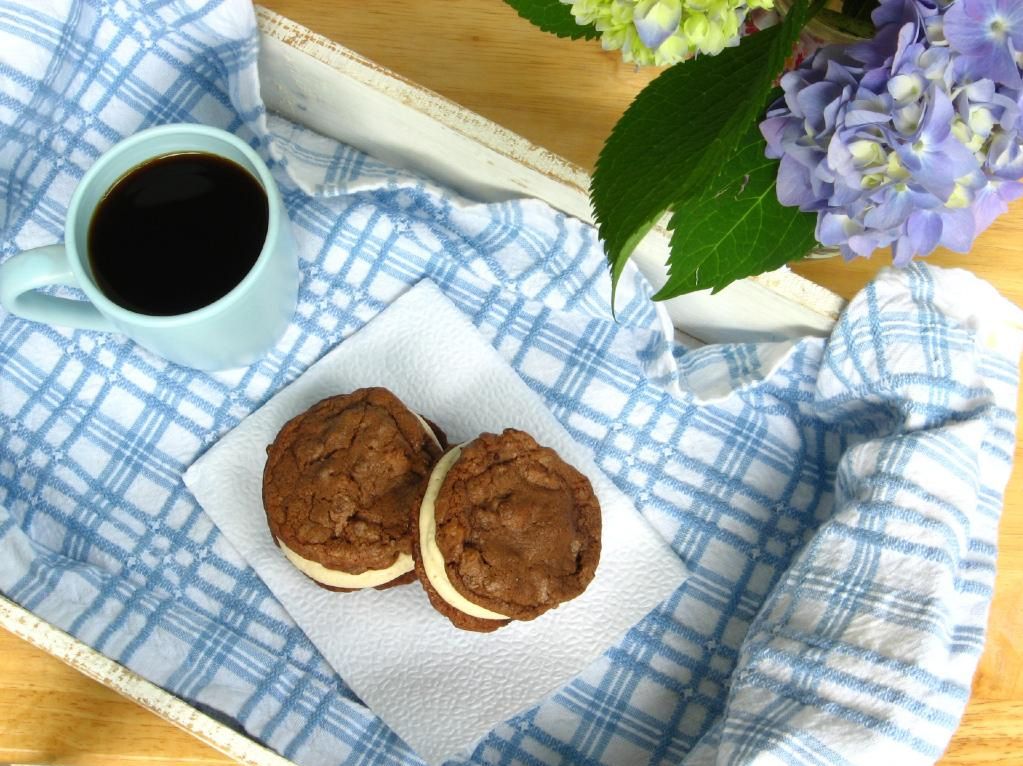
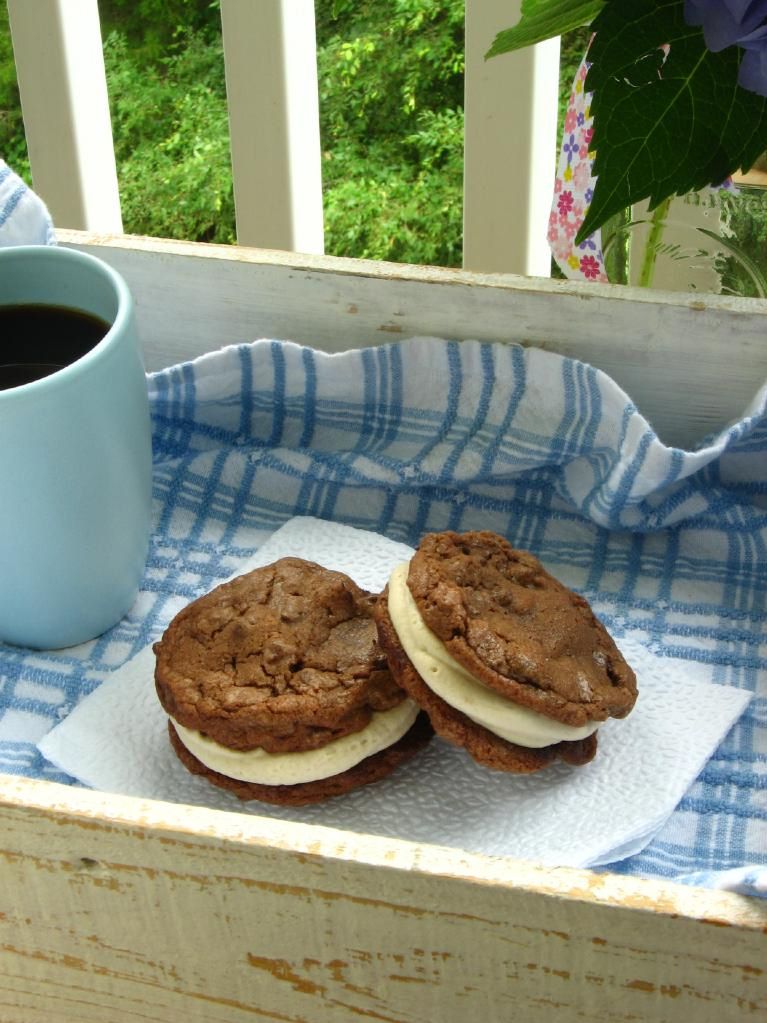
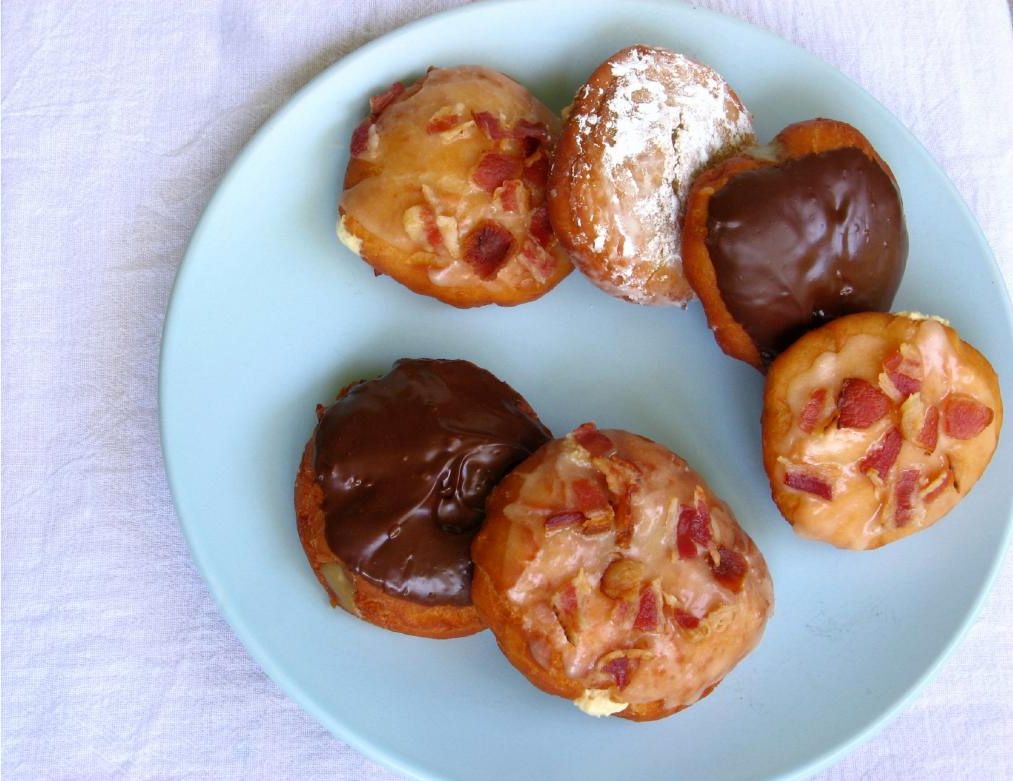
Perhaps precisely because photography doesn’t come naturally to me, though, nothing thrills me like having taken a photo I’m proud of. To that end, I’ve done a lot of wrangling: timing my baking just right for nice daylight, struggling with huge light-bouncing foam boards, setting up tripods, climbing chairs and contorting myself into odd angles, and buying way too many oddling dishes and napkins at fancy stores where I could never afford a full set. The result has been worth it — slowly my photos have vastly improved:


photos from 2009 (left) and 2012

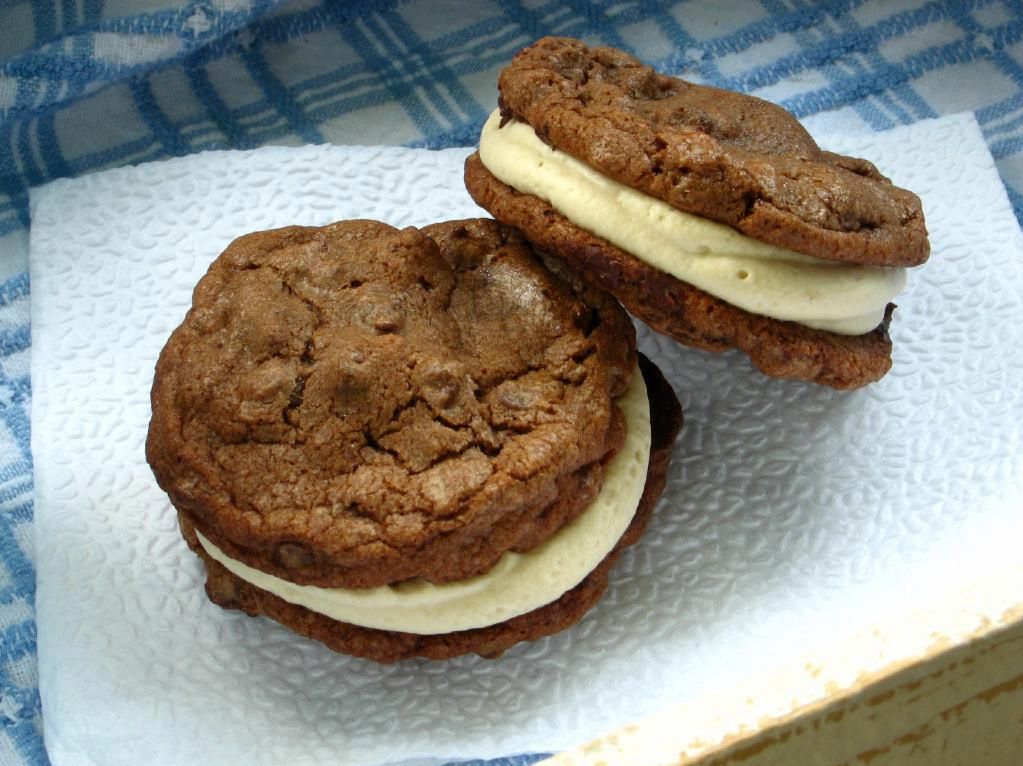
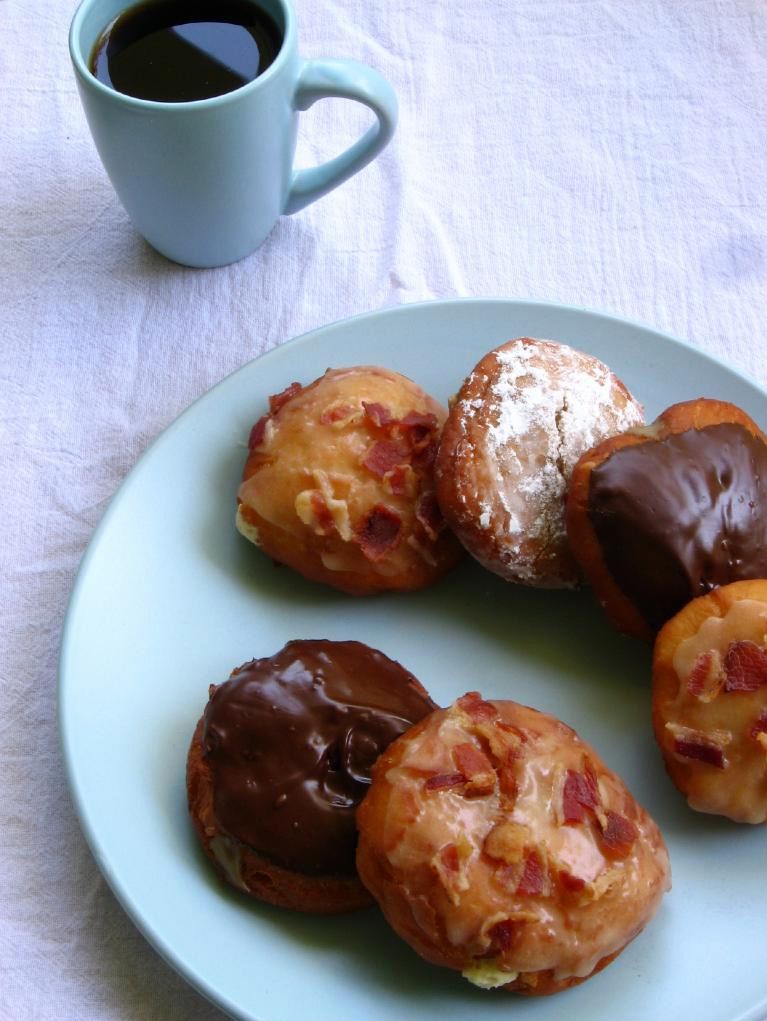
The camera I used did change from 2009 to 2012, though, so maybe you need a comparison of my early photo skills and later skills with the same point-and-shoot camera:


photos from 2009 (left) and 2011 (with same camera — hopefully you can still see a big difference!)

So. I can’t say I agree with those folks who say the camera you use doesn’t matter, because in terms of quality and resolution of your photos, it does. But I definitely think the skills you have matter a whole lot more — and even with a fantastic camera, unless you know a few basics, you won’t be taking great photos.

On my (somewhat frustrating) journey to better my photos, I did a lot of googling, a lot of reading, a lot of experimenting, and a lot of failing. I want to make it a whole lot easier for you. Well, actually, my amazing friend — and fantastic photographer — Taylor Mathis wants to. He created Photographing FOOD, a magazine packed with practical tips for how to make your food photos look as awesome as his.


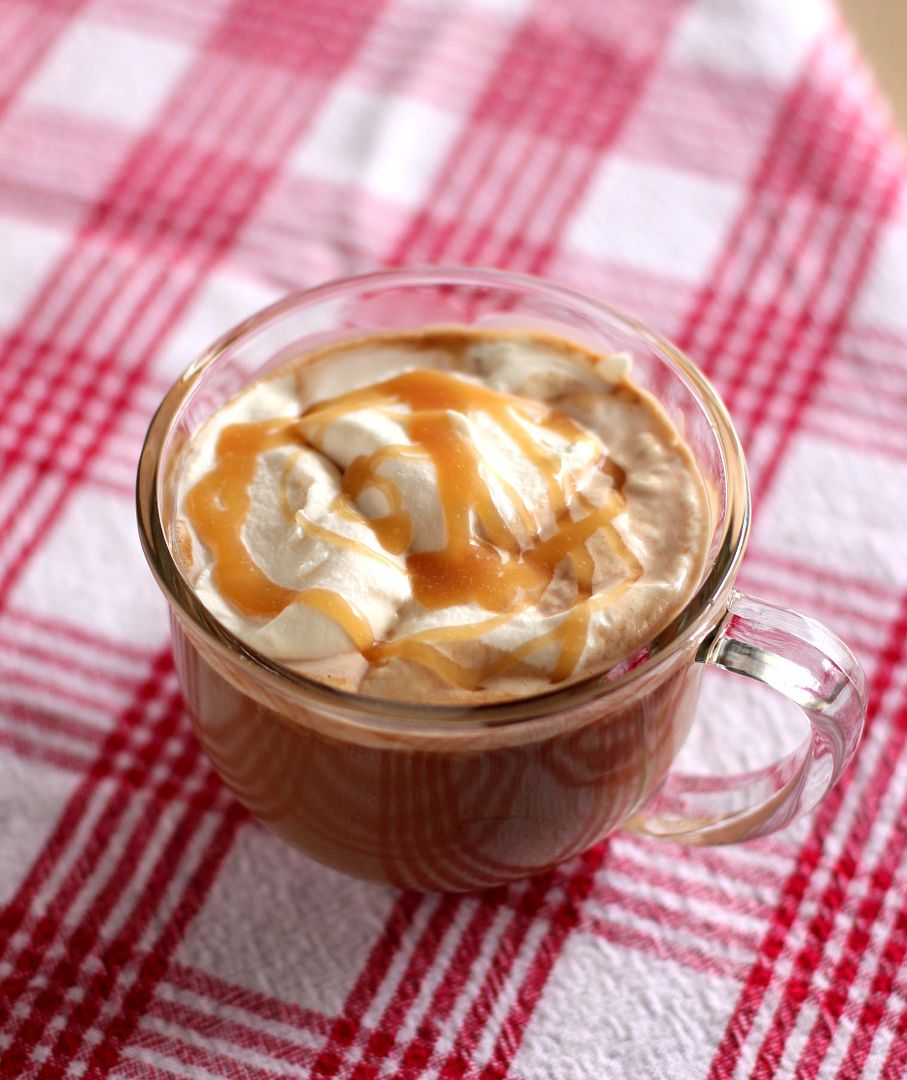
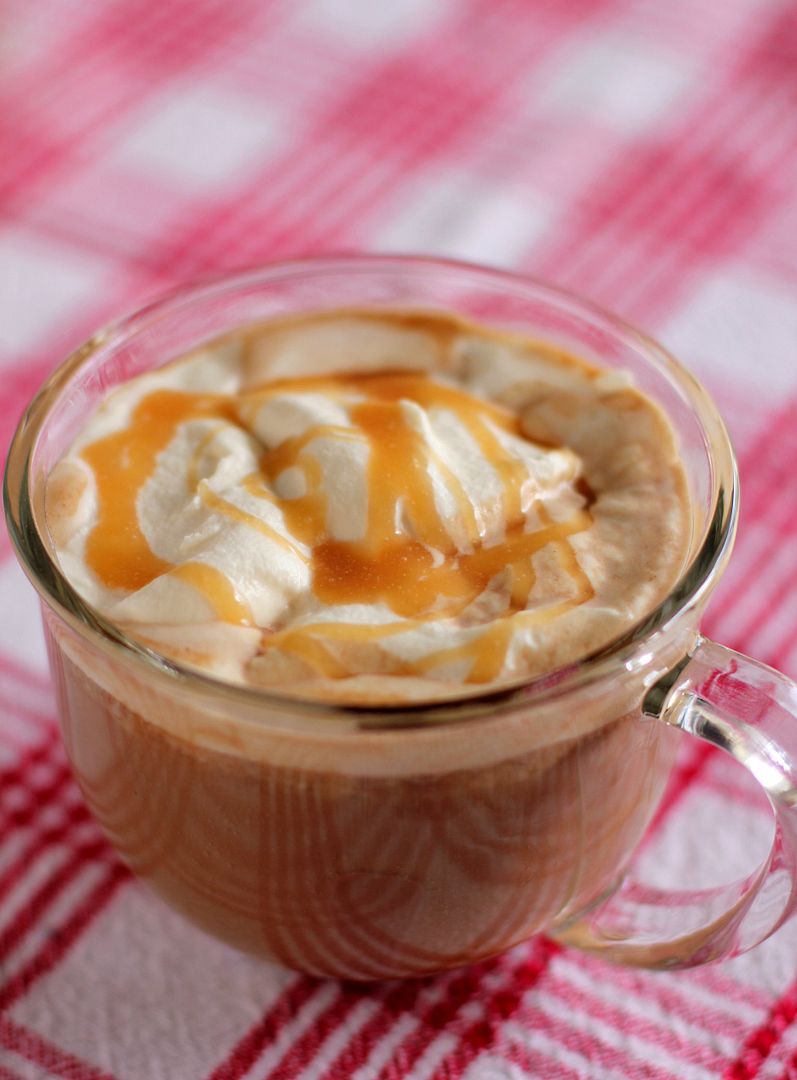
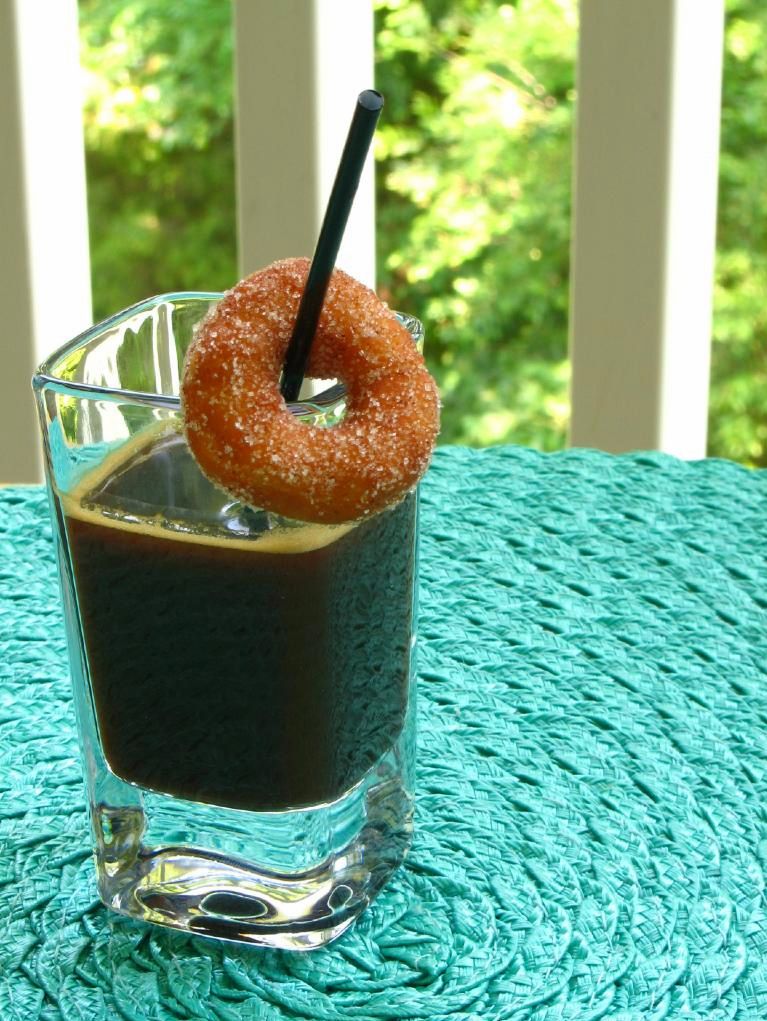
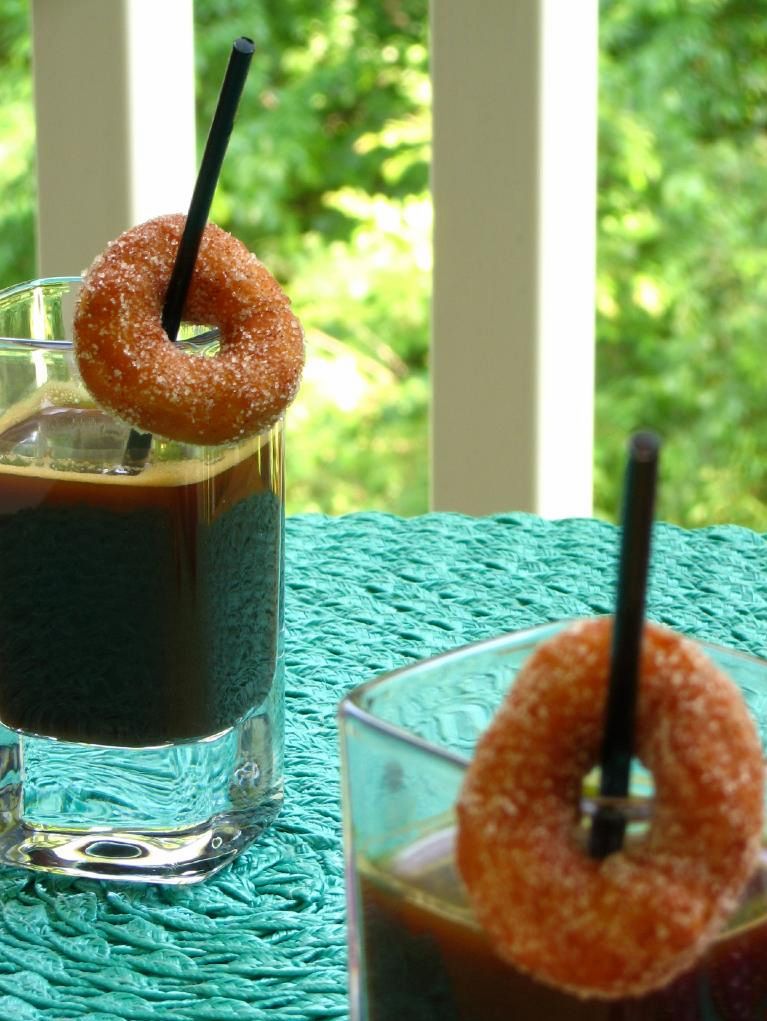
…and his are definitely awesome — like these two from the first issue!

When Taylor showed me the magazine, I knew I wanted to pass it along to you. I hardly ever do sponsored posts because I just don’t find that many products compelling or unique (I mean, who cares what kind of molasses you use or what brand your mixing bowl is?), but if you love photography, this magazine is well worth the five bucks it costs per issue. So far there are issues on Window Lighting, Color & Camera, and Shooting at Night. I’ve seen all of them, and I kind of can’t believe he’s letting them go for so cheap — they’re filled with information and beautiful photos. In Issue 2 he even does a full comparison of 4 different camera types: camera phones, disposable cameras, point-and-shoots, and DSLRs.

I wish I’d had Photographing FOOD when I started working on my photos. As it is, I’m eager to learn more from it now. I wonder if he has any tips on how to keep a new cat out of your photographs?

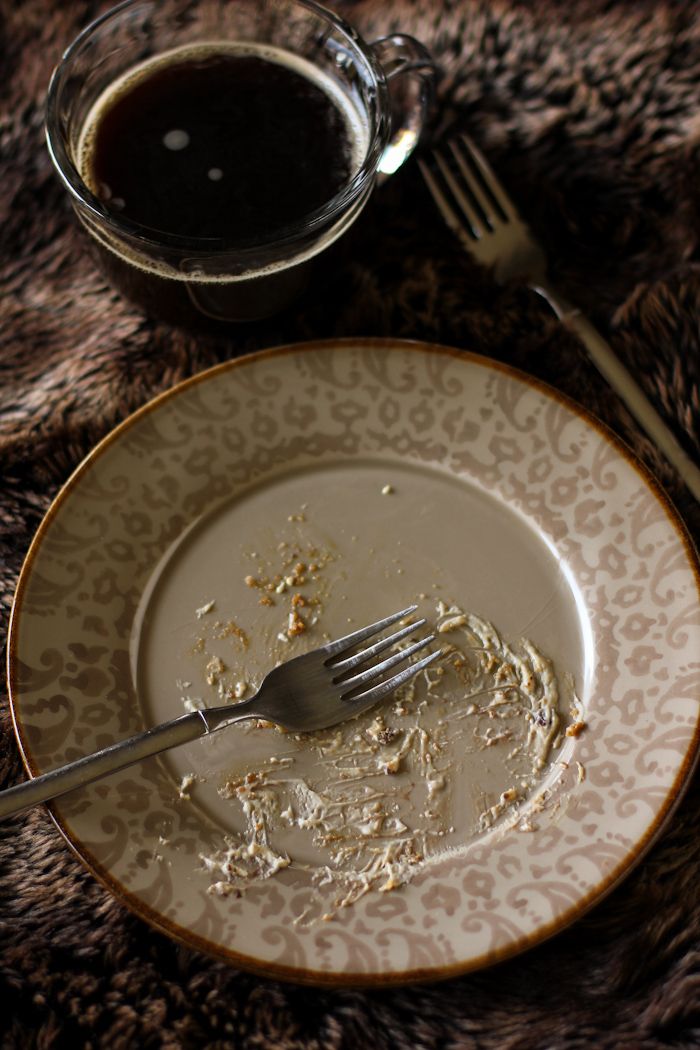
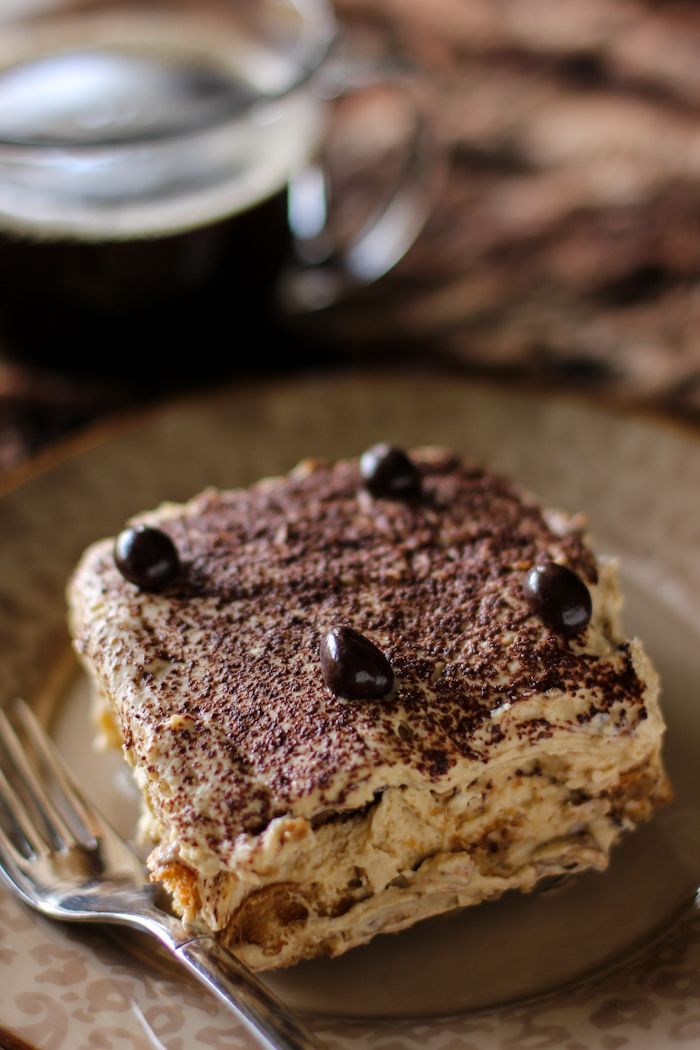
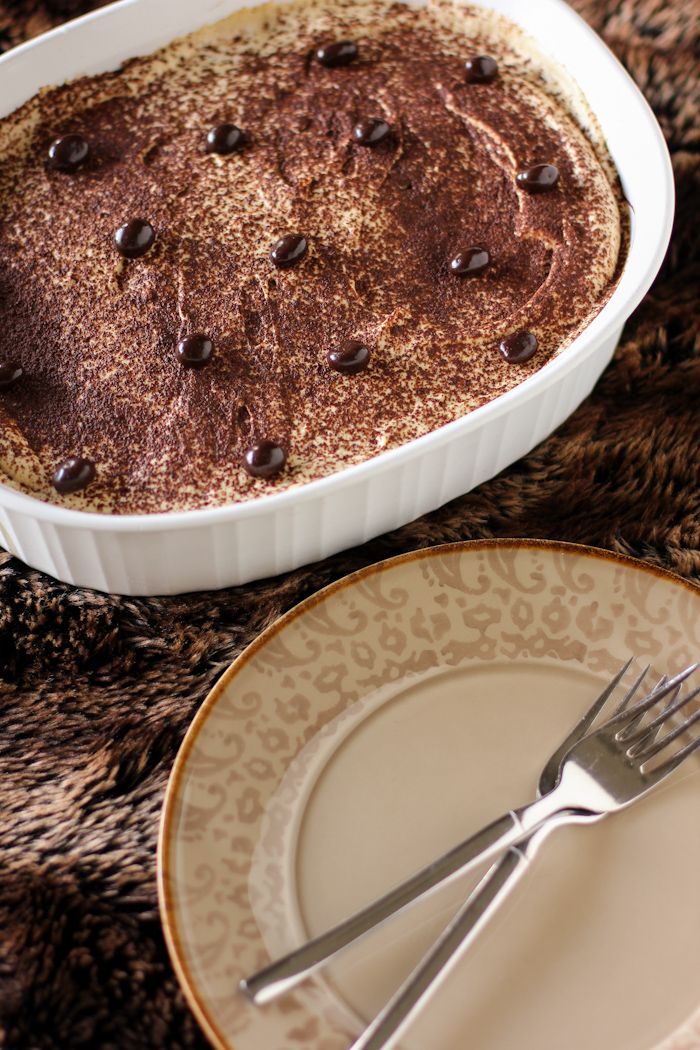
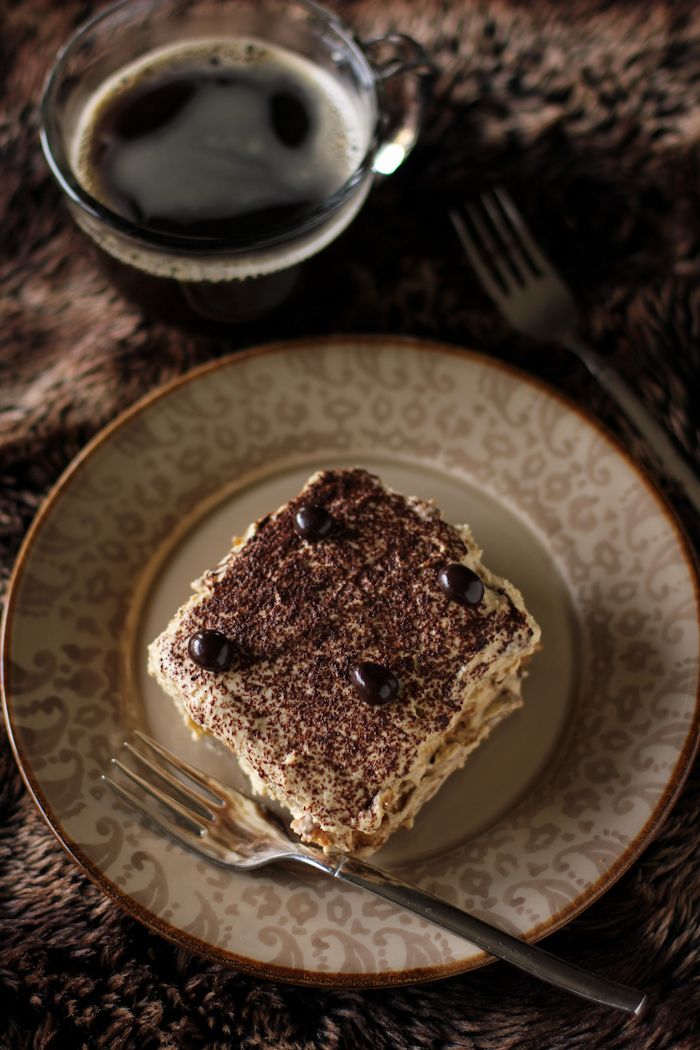
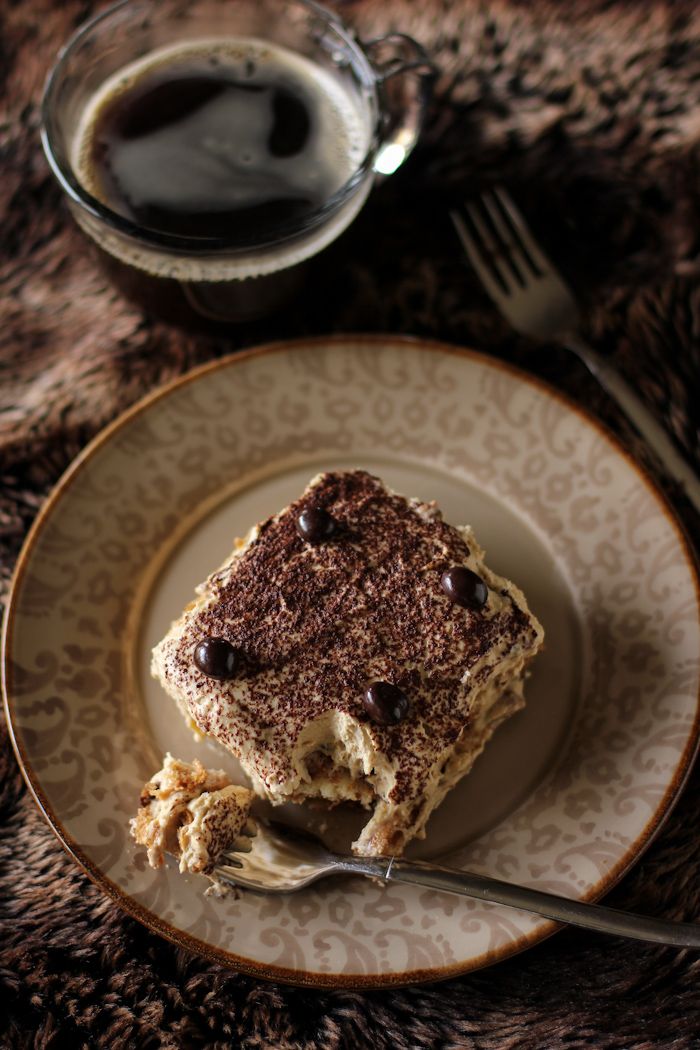
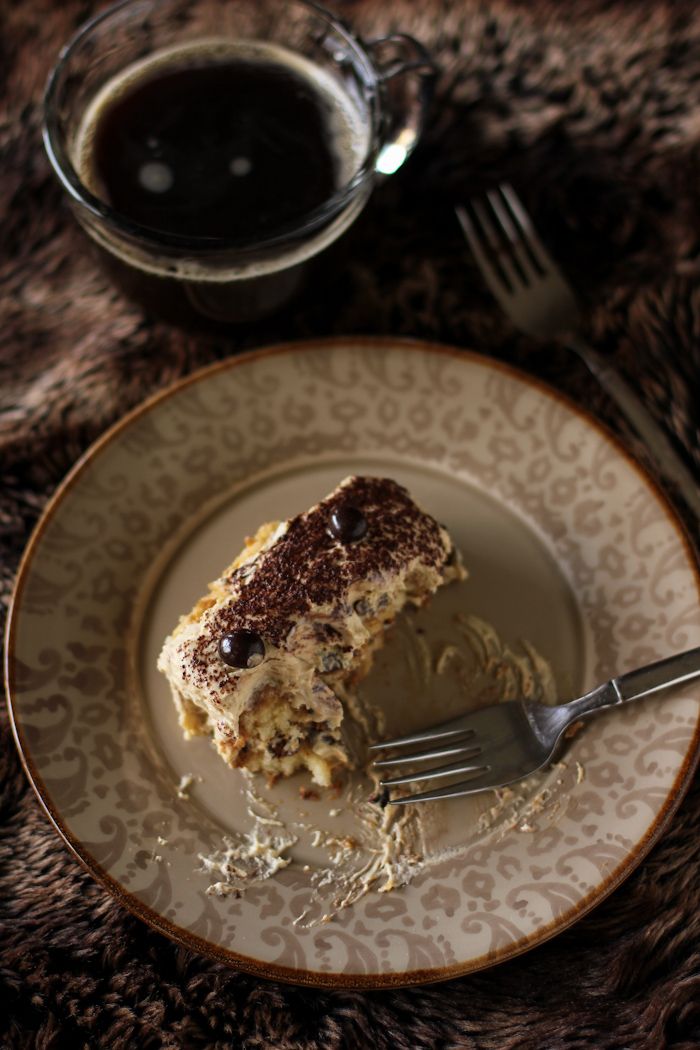
Actually, Buckle was great with this tiramisu — mostly because I kept it high off the ground! This version of the beloved Italian dessert is traditional in that it uses raw eggs, coffee, alcohol, ladyfingers, and mascarpone. I put a twist on it, though, by using Bailey’s Hazelnut Liqueur instead of the typical Marsala wine, and adding in some chocolate between the layers. The result was fantastic (and perfect for St. Patrick’s Day.) I might have finished off the last forkfuls of it for breakfast this morning, straight out of the serving dish.

Do you enjoy photography?

One year ago: Tres Leches Coconut Cake Trifle
Two years ago: Bright, Fun Blackberry Trifle
Three years ago: Vegan Pumpkin Nut Bread

Bailey’s Hazelnut Chocolate Tiramisu


Recipe by: Willow Bird Baking, based on this recipe
Yield: about 8 servings

Tiramisu is a brilliant and moody concoction where soaked cookies serve as a vessel for strong coffee, alcohol, and chocolate. The result is a buzzy, boozy, rich dessert — made even more exciting here by substituting Bailey’s Hazelnut Liqueur for the traditional Marsala wine. This would be a perfect dessert for St. Patrick’s Day! This tiramisu does include raw eggs, and therefore probably should not be consumed by the elderly, folks with compromised immune systems, pregnant women, or young kids. Feel free to use pasteurized eggs, also, to minimize the risk.

Ingredients:
3 eggs, separated
6 tablespoons powdered sugar and 1 teaspoon powdered sugar, divided
1/2 cup espresso or strong coffee, divided
6 tablespoons and 4 tablespoons Bailey’s Hazelnut Liqueur, divided
1 pound Bel Gioso Tiramisu mascarpone cheese*
1 teaspoon vanilla extract
1 (7-ounce) package Ladyfingers
1/2 cup Ghirardelli 60% cacao chocolate chips, melted and cooled
cocoa powder for dusting
dark chocolate covered espresso beans for garnish, optional
*I accidentally used Bel Gioso’s Tiramisu mascarpone instead of regular, so it already had a bit of coffee and sugar in it — you can use it, too, or add a tiny bit more coffee and sugar to your mixture.

Directions:
In a large bowl, beat 3 egg yolks, 6 tablespoons powdered sugar, 1 tablespoon espresso, 6 tablespoons Bailey’s Hazelnut Liqueur for a couple of minutes until well combined and thickened. Add the mascarpone cheese and vanilla extract and beat until well combined and fluffy, about 5 minutes.

In a separate (very clean) bowl, preferably with a stand mixer to spare your arm muscles, whisk 3 egg whites until foamy. Add 1 teaspoon powdered sugar and whip to stiff peaks. Stir about 1/3 of the egg white mixture into the egg yolk mixture to lighten it; then fold the rest of it in gently. Taste for flavor.

Pour the rest of the espresso and Bailey’s into a flat dish. Dip one side of each Ladyfinger in this mixture for just 5 seconds (so it doesn’t get soggy) before layering them, soaked side up, in a deep serving dish. Repeat, lining the entire bottom of the dish with the cookies. Drizzle cooled melted chocolate all over the cookies. Dollop about 1/3 to 1/2 (depending on how many layers you think you’ll be able to get in your dish) of the mascarpone mixture (called zabaglione) over the top and use an offset spatula to spread it into an even layer. Dust this with cocoa powder. Repeat layering dipped cookies, melted chocolate, zabaglione, and a dusting of cocoa powder, ending with a layer of the zabaglione dusted with cocoa powder (I got 2 full layers of cookie/chocolate/zabaglione/cocoa powder before my cookies ran out, but it depends on the size of your serving dish.)

Chill at least one hour before serving. Dot with dark chocolate covered espresso beans and serve. Eat within 36 hours or so, or things start to get soupy.

Disclaimer: This is, as I mentioned, a sponsored post. I received compensation for reviewing the magazine and sharing it with you as well as three free issues. However, as you already know, I never share a thing with you that I don’t love, and I always give my honest opinion. Hope you enjoy it, too!

Foodbuzz 24×24: The Make-Ahead Holiday Breakfast Party (Recipe: Salted Caramel Mocha Hot Chocolate)

I remember that Christmas morning with all the clarity of the glass icicles adorning our Christmas tree — at least one of which was shattered each year, an inadvertent Christmas tradition. Mom was sitting on the couch in her dramatic floral robe. The scent of coffee — which I loved, despite being averse to the bitter taste — filled the house. The rest of the family was milling about the living room, preparing to distribute the presents.

Suddenly, with a pine needley, jingle-jangly harrrrrumph!, the Christmas tree outright fell on my mother.

I mean, one minute that thing was standing tall, looking regal and festive, and the next it was on her head. She let out a startled cry and flailed from between its branches, sending ornaments and pine needles flying around the room.

Mom will disagree — and okay, my little brother’s First Christmas ornament broke, and that was sad — but this was quite possibly the most hilarious and lively Ruble Christmas morning to date.

Other Christmas mornings were notable too. There was the one where I found, after opening all my gifts, that I hadn’t received the one thing I wanted most: a pedal go-kart. I pasted on a happy face, but I was disappointed. I did have one present left, but it was a card and didn’t look promising.

The card turned out to be from Santa. I scanned it halfheartedly, and realized that it was a set of instructions. I was supposed to head upstairs to my sister’s room. Suddenly, my heart filled with hope. I charged up the stairs eagerly and shot through the door. There, in all its bright yellow glory, was my go-kart!

Other years brought a dose of holiday reality. When I was around 6, I opened my parents’ closet a few days before Christmas to put some clothes away. To my great surprise, I found myself staring at a gigantic dollhouse. I was so stunned that it took me a few moments to realize that this must be a poorly hidden Christmas present.

My tiny heart filled with glee as I briefly surveyed the three-story mansion, complete with furniture, a balcony, and landscaping. I’d always been enamored with miniatures, and now my parents had apparently decided to indulge my dollhouse obsession. I closed the door, thrilled at my discovery and determined to act surprised when I received my gift.

On Christmas morning, I ran downstairs and sure enough, the dollhouse was standing in the living room like a beacon of childhood happiness, boasting a big bow. I squealed joyfully and ran over to it, only to hear my parents call out, “That’s for your sister!

Those four words — so tiny! so brief! — cut me down faster than a fir tree on a Christmas farm.


family photo!

Then there was the Christmas morning I woke up and accidentally stabbed myself in the nose while trying to brush my hair out of my face. My entire family, probably confused but not surprised by the fact that I’d managed to injure myself immediately upon waking, waited patiently while I tried to stop the bleeding.

I couldn’t make this stuff up.


salted caramel.

It’s true; Christmas morning has varied wildly over the years — exciting, disappointing, joyous, dangerous, absurd. One constant that we’ve all come to cherish, though, is Christmas morning breakfast. Every single year, without fail, my mother wakes up early, bakes an egg casserole, and rolls out dough to make fresh cinnamon rolls. While we’re all still counting sugar plums in our jammies, she’s hard at work in the kitchen.

This year, in her honor, I decided to design some recipes specifically for a holiday breakfast — dishes that in addition to being fancy and indulgent, could be prepared almost entirely in advance. To test my menu — that’s my excuse, and I’m stickin’ to it — I threw a Make-Ahead Holiday Breakfast Party, where I decked my halls and created a make-believe Christmas morning.

The party turned out to be special even beyond the menu. See, Mike and I have never spent a Christmas morning together, despite being in a relationship for most of the past 12 years.

I’m not complaining. So many families are separated on Christmas morning because of deployment, distance, and even death. Our situation is downright joyful by comparison. We’re separated each year because both of our families have Christmas morning traditions. We spend time with our own parents in the morning before meeting later to enjoy Christmas afternoon together. This year, though, my Make-Ahead Holiday Breakfast Party was the perfect way to create a “Christmas morning” for just us.

So yesterday morning, we donned our PJs and slippers in true Christmas morning fashion. I lit my first ever fire, put the finishing touches on all of the make-ahead dishes I’d prepared earlier in the week, and we sat down together to eat. Little Byrd sat between us eating her Christmas kibble. Our plates, however, were loaded down with Gingerbread Coffee Cake, Cinnamon Stix with Eggnog Glaze, Savory Bread Pudding with Cranberries and Fennel, Winter Breakfast Chili in Sourdough Bowls, and Buttered Toast with Bright Pepper Jam.

Between bites, we sipped this Salted Caramel Mocha Hot Chocolate. I’m not one for hot breakfast drinks, usually, but I’d make an exception for this thing any day. You coat the mug with hot, buttery salted caramel before pouring in the steaming mocha hot chocolate (where coffee plays a supporting role than the lead). The whole thing is topped with a mess of caramel whipped cream and a caramel drizzle.

I’ll be sharing the other make-ahead breakfast recipes with you throughout the coming weeks as you prepare for the holidays. In the meantime, share your favorite Christmas morning memories. Anyone have any harrowing experience with falling Christmas trees?

Salted Caramel Mocha Hot Chocolate


Recipe by: Willow Bird Baking, inspired by Savory Sweet Life, adapted from Martha Stewart (caramel and cream) and TLC
Yield: 2 big mugs of hot chocolate

I can’t really quantify how buttery, caramelly, chocolatey, and delicious this Salted Caramel Mocha Hot Chocolate is, so let me just say: mmmmmm. I don’t like coffee, but in this recipe it’s there to add richness and balance, and isn’t the dominant flavor. The recipe is designed to be completed mostly in advance, making it lovely for a holiday morning breakfast — or anytime you’re in a festive mood. Also, don’t be afraid of caramel. This recipe includes temperatures, and as long as you use a candy thermometer, you’ll be great!

Mocha Hot Chocolate Ingredients:
1 1/2 cups milk
1/2 cup brewed coffee
2 tablespoons semi-sweet chocolate chips
2 tablespoons bittersweet chocolate chips (I love Ghirardelli 60% cacao)
2 tablespoons sugar

Caramel Sauce and Cream Ingredients:
3/4 cup sugar
1/8 cup water
3/4 cup heavy cream
1/8 cup creme fraiche or sour cream
1/4 teaspoon pure vanilla extract
Pinch of coarse salt

Directions:
1 to 3 days in advance: Make the hot chocolate and the caramel. First, heat the milk, coffee, chocolate, and sugar in a saucepan over medium heat, whisking constantly until it comes to a boil. Remove it from the heat and whisk it to ensure it’s fully combined. Pour it into a bowl and let it cool, stirring periodically, before covering it and refrigerating it.

Make caramel sauce: Prepare an ice-water bath and set a heavy bowl in it. Heat the sugar and water in a medium saucepan over medium-high heat until mixture boils and sugar dissolves (don’t stir at all, or crystals will form and make your caramel grainy). Use a pastry brush to wash down sides of pan often to prevent crystals from forming. When the sugar starts to turn amber, you can swirl a couple of times to ensure it’s caramelizing evenly.

Cook until the sugar turns a dark amber (definitely use a candy thermometer here! You’re looking for it to read about 345 degrees), 5 to 7 minutes more. Immediately remove from heat, and slowly whisk in 1/2 cup cream (reserve the rest of the cream in the fridge). It will bubble up when you do this, so be careful. Return the caramel to medium heat, whisking and heating until the sugar melts completely and the mixture boils.

Remove the pan from the heat and pour the caramel into a bowl set in an ice-water bath. Let the caramel cool, stirring often, for 10 minutes. Whisk in creme fraiche or sour cream, vanilla, and salt. Cover and refrigerate this.

The morning of: Reheat the chocolate mixture in a saucepan over medium heat on the stove (or for a couple of minutes in the microwave), stirring often. In the meantime, whip your remaining 1/4 cup cream in a cold bowl to stiff peaks.

Coat the sides of two mugs with caramel sauce, reserving a little over half of it. Gently fold most of the rest of the caramel sauce into your whipped cream (reserving a little to drizzle on top). Fill caramel coated mugs with mocha hot chocolate. Top with caramel cream and drizzled caramel. Serve immediately.

Note: I received a stipend from Foodbuzz for creating this meal.

If you liked this post, please:
Subscribe to Willow Bird Baking
Follow Willow Bird Baking on Twitter
Follow Willow Bird Baking on Facebook
Give this post a thumbs up on StumbleUpon
Pin It


ShareOther ways to share this post with friends!

Coffee Mousse Filled Double Chocolate Chunk Cookie Sandwiches

Last weekend I spent 48 hours with 14 of my seventh graders. At camp. Doing campy things (pun intended).

That probably sounds like a unique form of teacher-torture, but it was actually a fantastic experience, and one I’m planning on telling you all about. For now, though, I just want to tell you about highs and lows.

Highs and lows is a game we played while sitting in one of those kumbaya campfire circles you may remember from the summers of your childhood. Each student listed a high from the day — some accomplishment or moment of frolicking they particularly enjoyed — and a low — something they would change if they had fancy superhero rewind powers.

This may sound strange, but listening to them recite their lows was encouraging. If you’ve ever been close to a seventh grader for a prolonged period of time, you know that they can lapse into sarcasm and negativity about as quick as you can say, “Do your homework.” At other times, though, they can be pretty special little people to be around.

I heard a few people say, “I can’t think of any lows.” A couple commented on minor annoyances like bugs or pollen. One was sad his team didn’t get to float their raft because of the rain, but even that was qualified with, “but I really enjoyed the process of building it anyway.” What cool kids.

Their highs were even better. They were proud of how everyone had worked as a team, enthusiastic about spending time with their classmates, excited that one team’s makeshift raft had made it to the dock and back without disintegrating. All in all, the circle was a sweet, s’more-punctuated time — even without joining hands or braiding daisies into each other’s hair (though that would’ve been fun).

I’m a thoroughly reflective person — a trait happily amplified by my profession — and there’s been quite a lot to digest in my life beyond the campgrounds lately. Perhaps that’s why my thoughts turned today toward the highs and lows game — mountains and valleys, waterfalls and mud puddles. I’ve been trying to revisit the campfire in my mind to catalog and categorize recent events.

My lowest low this week was disconnecting from a good friend. I’ve been seeing a boy for awhile now who was special to me during my own middle school years, but I realized recently that things weren’t going to pan out. I’m trying to be all Joy-the-Baker about this and say, “Oh, boys come and go like brownie recipes,” but I think you must need curly hair and adorable freckles to pull that off, ’cause it’s not working for me. I guess I’ll stick to unattractive moping.

There are other, more mundane lows. My basil plant is looking droopy. The weather’s been rainy and chilled. A cloud bank today on the horizon reminded me of unreachable mountains, somber moments.

But:

-Today my sweet friend and coworker Ashley brought me a happy hippo.
-I just bought two of the sweetest sundresses ever from Target.
-I literally own at least 5 jars of On the Border salsa at this very moment.
-My family is healthy.
-I’m watching a bit of Kings of Pastry each evening.
-I found out a local cupcake truck is selling a version of one of my cupcake recipes, which they’ve named after the blog.
-Flippin’ SAVEUR listed Willow Bird Baking as one of the “50 More Food Blogs You Should Be Reading.”

Such soaring highs! I’m so grateful for those.

Another sorely needed high came in the form of these sweet little sandwich cookies. Driving home with Ashley, who bravely co-chaperoned the camping trip, I started brainstorming ways to use the coffee mousse I’m now enamored with. We thought of a gorgeous roulade, filled cupcakes, and lots of other things, but then Ashley mentioned how she loved to invent new cookie recipes. Cookies are so simple, so quick, so satisfying — everything I needed after a rough and tumble couple of days.


Mom’s hydrangea bushes are blooming — another high!

They’re also delectable, particularly when the words double chocolate are involved. These little sandwiches turned out rich and indulgent, with the perfect balance of flavors (sweet chocolate combined with the bitter, matte flavor of coffee) and textures (voluminous cream between chunky cookies).

For me, there’s also something simple and childlike about the experience of eating a cookie sandwich. It reminds me of pulling an Oreo or an Oatmeal Cream Pie like a treasure from a Care Bears lunchbox. And if that sort of memory isn’t a high, I don’t know what is.

What are your highs and lows lately?

Coffee Mousse Filled Double Chocolate Chunk Cookie Sandwiches


Recipe by: Cookies adapted from Cathy Lowe, mousse adapted from coffee pastry cream by Rebecca Franklin
Yield: About 48 cookies or 24 sandwiches

Cookie Ingredients:
2 1/4 cups flour
1 teaspoon salt
1 teaspoon baking soda
2 sticks butter, softened
1 cup granulated sugar
1 cup packed brown sugar
2 large eggs, beaten
1 tablespoon vanilla
1/2 cup unsweetened cocoa
1 cup semisweet chocolate chips
1 cup bitterweet chocolate chips (I love Ghirardelli)
1 cup chopped pecans (optional)

Coffee Mousse Ingredients:
1 ¼ cups whole milk
2 teaspoons instant coffee granules
3 egg yolks
5 tablespoons granulated sugar
1 tablespoon all-purpose flour
2 tablespoons plus 2 teaspoons cornstarch
1 teaspoon pure vanilla extract
1 cup whipping cream
1 teaspoon gelatin

Directions:
Make the cookies: Preheat oven to 375 degrees. Whisk together flour, salt, and baking soda in a medium bowl. In a large bowl, cream the butters and both sugars together for a couple of minutes until fluffy. Add egg, vanilla and cocoa and mix. Gradually add flour mixture and mix until combined. Add chocolate chips and pecans, stirring until they’re evenly distributed.

Drop the dough by tablespoonfuls onto a greased baking sheet or one covered with parchment paper or a silicone baking mat. Bake for 8-10 minutes and cool on the pan for a few minutes before transferring to a cooling rack.

Make the mousse: While cookies are baking and cooling, make the mousse. Whisk together the egg yolks, sugar, flour, and cornstarch until the mixture is completely smooth and set aside. Place the milk in a saucepan and sprinkle gelatin over it. Let it soften for 2 minutes before adding the coffee granules and setting the saucepan over low heat. Heat until it’s just hot enough to steam, stirring the gelatin in to dissolve.

Once the milk is steaming, add half of it, whisking constantly, to the egg mixture to temper the eggs (this ensures they won’t cook when you add them to the hot mixture). Add the milk and eggs back into the hot milk and continue stirring, and heat it for 1-2 minutes, until the custard reaches 170 F on a digital thermometer and is very thick. Remove from the heat, stir in the vanilla extract, and set the pan in a bowl of ice water, stirring every few minutes. Cool completely in this manner.

In the meantime, whip the cream in a chilled bowl until it holds stiff peaks. When the coffee mixture is cool, mix about 1/3 of the cream into it to loosen and lighten it. Then fold the rest of the cream in gently. Chill the mousse for at least 30 minutes before using.

Assemble the sandwiches: Turn half of the cookies upside down on the cooling rack. Pipe or dollop a good amount of cream onto these cookies and place the other cookies on top of them. Serve immediately or refrigerate in an airtight container.

P.S. One of my high school cooking students had the idea to try this coffee mousse with bacon and it was fantastic! Have I mentioned that I love my students?

If you liked this post, please:
Subscribe to Willow Bird Baking
Follow Willow Bird Baking on Twitter
Follow Willow Bird Baking on Facebook
Give this post a thumbs up on StumbleUpon


ShareOther ways to share this post with friends!

Coffee Mousse Filled Doughnuts

Remember these?

What you may not remember (because, um, I didn’t tell you) is that the lovely Maple Bacon Doughnuts aren’t the only avant garde doughnuts in town. (Can you describe a doughnut as avant garde? I call poetic license.)

Introducing Coffee Mousse Filled Doughnuts!

Much like their Maple Bacon cousins, these dreamboats are capitalizing on a quintessential breakfast pairing. The puffy, fried orbs are filled with a sweet coffee mousse and topped with either melted chocolate or rolled in powdered sugar. Serve them alone, or combine them with Maple Bacon doughnuts for a breakfast extravaganza!

What’s your favorite doughnut filling?

Coffee Mousse Filled Doughnuts


Recipe by: Doughnuts adapted from Cherry Tea Cakes, mousse adapted from coffee pastry cream by Rebecca Franklin
Yield: about 12 3-inch doughnuts

Doughnut Ingredients:
1 0.25-ounce package yeast
2 tablespoons hot water, roughly 110 degrees in temperature
3/4 cups milk, scalded (heated to a slight simmer-not a boil) and cooled
1/4 cup sugar
1/2 teaspoon kosher salt
1 egg
2 tablespoons and 2 teaspoons shortening
2 1/2 cups all-purpose flour
melted chocolate and/or powdered sugar for topping
vegetable oil for frying

Coffee Mousse Filling Ingredients:
1 ¼ cups whole milk
2 teaspoons instant coffee granules
3 egg yolks
5 tablespoons granulated sugar
1 tablespoon all-purpose flour
2 tablespoons plus 2 teaspoons cornstarch
1 teaspoon pure vanilla extract
1 cup whipping cream
1 teaspoon gelatin

Directions: Make the doughnut dough: Dissolve the yeast in warm water in the bowl of your stand mixer, and then let it sit for about 5 minutes. The yeast should foam to show that it’s active. Beat in milk, sugar, salt, eggs, shortening, and 1 cup flour (scraping down bowl when needed). Beat on medium speed for 2 minutes to fully combine. Mix in remaining flour completely. Cover this dough and let it rise in a draft-free place (I warm my oven for a few seconds on 200 degrees just to get the chill out — make sure it’s not hot! — and then put my dough in there to rise) until doubled, about 50-60 minutes.

Make the Coffee Mousse: While the dough is rising, whisk together the egg yolks, sugar, flour, and cornstarch until the mixture is completely smooth and set aside. Place the milk in a saucepan and sprinkle gelatin over it. Let it soften for 2 minutes before adding the coffee granules and setting the saucepan over low heat. Heat until it’s just hot enough to steam, stirring the gelatin in to dissolve.

Once the milk is steaming, add half of it, whisking constantly, to the egg mixture to temper the eggs (this ensures they won’t cook when you add them to the hot mixture). Add the milk and eggs back into the hot milk and continue stirring, and heat it for 1-2 minutes, until the custard reaches 170 F on a digital thermometer and is very thick. Remove from the heat, stir in the vanilla extract, and set the pan in a bowl of ice water, stirring every few minutes. Cool completely in this manner.

In the meantime, whip the cream in a chilled bowl until it holds stiff peaks. When the coffee mixture is cool, mix about 1/3 of the cream into it.

Make your doughnuts: Flour a surface well and turn your doughnut dough out onto it, flouring the dough as well. Gently roll the dough out to 1/2-inch thick and cut into solid rounds with a 3-inch cooking cutter. Place each round on a baking sheet and let these rise until doubled, about 30-45 minutes. About 25 minutes into their rise time, start heating your oil in a heavy, deep stock pot to 350 degrees F on a candy/fry thermometer.

Fry your doughnuts: Gently lower 2-3 doughnuts at a time into hot oil with a slotted spoon. Fry about 1 minute on each side or until golden brown. Remove to a paper towel lined plate to drain.

Assemble doughnuts: Melt some chocolate and/or prepare a plate of powdered sugar to coat doughnuts. Use a chopstick or butter knife to poke into each doughnut and “sweep” gently to create a pocket. Pipe mousse into each doughnut using a piping bag. Then dip them in the chocolate or roll in the powdered sugar. Best eaten the same day.

If you liked this post, please:
Subscribe to Willow Bird Baking
Follow Willow Bird Baking on Twitter
Follow Willow Bird Baking on Facebook
Give this post a thumbs up on StumbleUpon


ShareOther ways to share this post with friends!

Mini Doughnuts for Your Coffee Cup (a creative use for yeast dough scraps!)

I baked something so flippin’ fantastic this weekend that I cannot wait to tell you about it. Except that telling you about it involves a video tutorial. And a video tutorial involves hours of editing. So while that’s going on, I’ll share this other flippin’ fantastic idea.

Naturally, you’re planning to make doughnuts, right? Or perhaps you have some other yeast dough plans in the works? After rolling and cutting, you’re bound to have scraps of dough lying about unused.

Personally, I’ve always been a re-roller, piling the dough scraps together and rolling them out again to try to get a few more pastries. The resulting goods will be a little tougher, but it seems like a waste otherwise.

As I was browsing through doughnut recipes, however, I saw these sweet miniature doughnuts used as coffee (or hot chocolate!) cup decorations. They were the perfect use for dough scraps!

After cutting out all of my doughnuts, I used a couple of smaller cookie cutters to cut out these minis. I proofed them with my regular doughnuts, fried them quickly on both sides in 350 degree oil, drained them on a paper towel lined plate, and then rolled them in a mixture cinnamon and sugar. They were hot, fluffy, and as cute as a button on a kitten carrying a cupcake. Translation: adorable.

P.S. – While poking about, I found a fun tip for using yeast dough scraps for savory dishes. Now you have sweet and savory ideas in your tool belt!

P.S. 2 – I wish I could find the site where I originally saw these coffee cup doughnuts; I like to put up a link if something inspires me. If you stumble across it, let me know.

If you liked this post, please:
Subscribe to Willow Bird Baking
Follow Willow Bird Baking on Twitter
Follow Willow Bird Baking on Facebook
Give this post a thumbs up on StumbleUpon


ShareOther ways to share this post with friends!

1 2 3