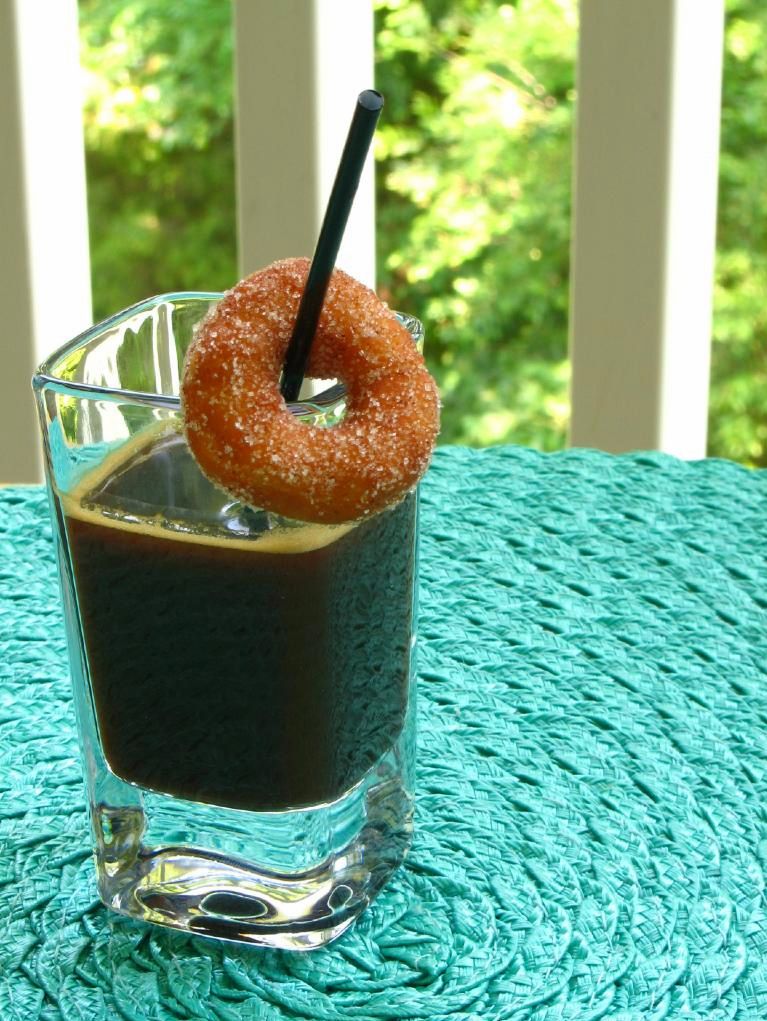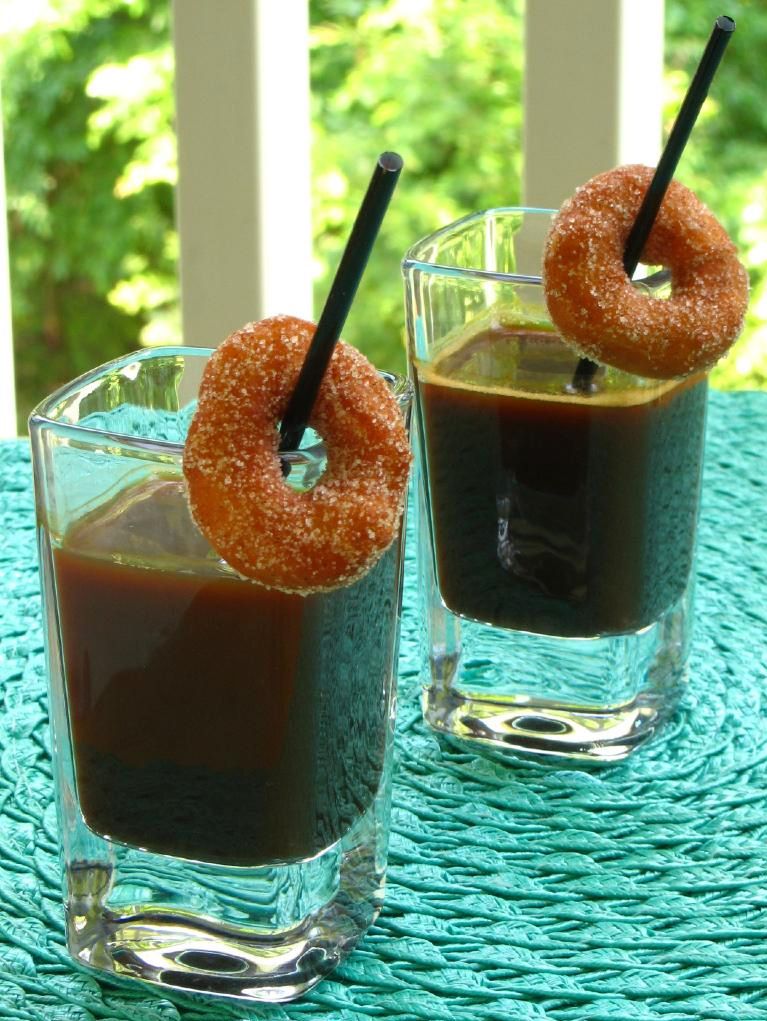
First off, let me just say that if I were a red-headed stepchild, I’d be annoyed with the world for making me into a symbol of awkwardness and ostracism. Red-headed stepchildren deserve love, too! They will hopefully forgive me when I say that photography has always been my red-headed stepchild.
In the food blogging world, there are definitely triple-threats — bloggers who are wonderful writers, chefs, and photographers — but they’re few and far between. More often, bloggers are fantastic in one of two of these arenas and are dragging the third along as best they can. Personally, I’m unabashedly a writer first, a baker second, and a somewhat reluctant photographer eighty-fifth.
It just doesn’t come naturally for me. I would never have thought to smash my food before photographing it. I would never have thought to take dark-and-moody photographs when everyone else was still going ga-ga over light-and-airy. I wouldn’t have realized how pretty light-and-airy could be to begin with!
Perhaps precisely because photography doesn’t come naturally to me, though, nothing thrills me like having taken a photo I’m proud of. To that end, I’ve done a lot of wrangling: timing my baking just right for nice daylight, struggling with huge light-bouncing foam boards, setting up tripods, climbing chairs and contorting myself into odd angles, and buying way too many oddling dishes and napkins at fancy stores where I could never afford a full set. The result has been worth it — slowly my photos have vastly improved:
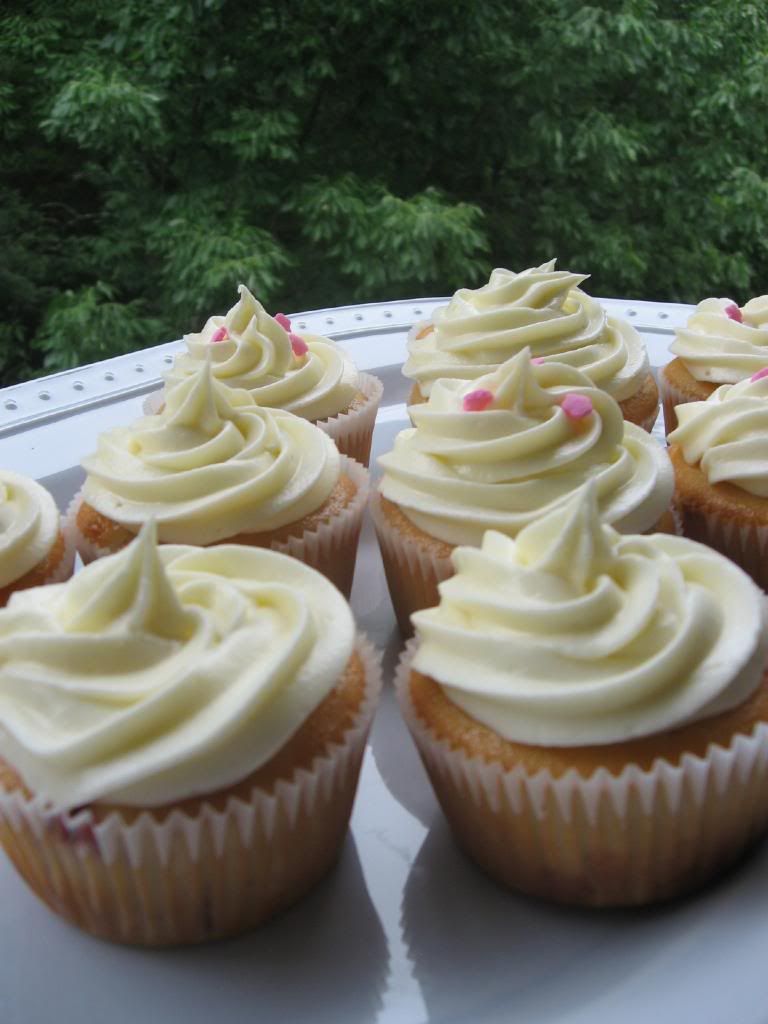
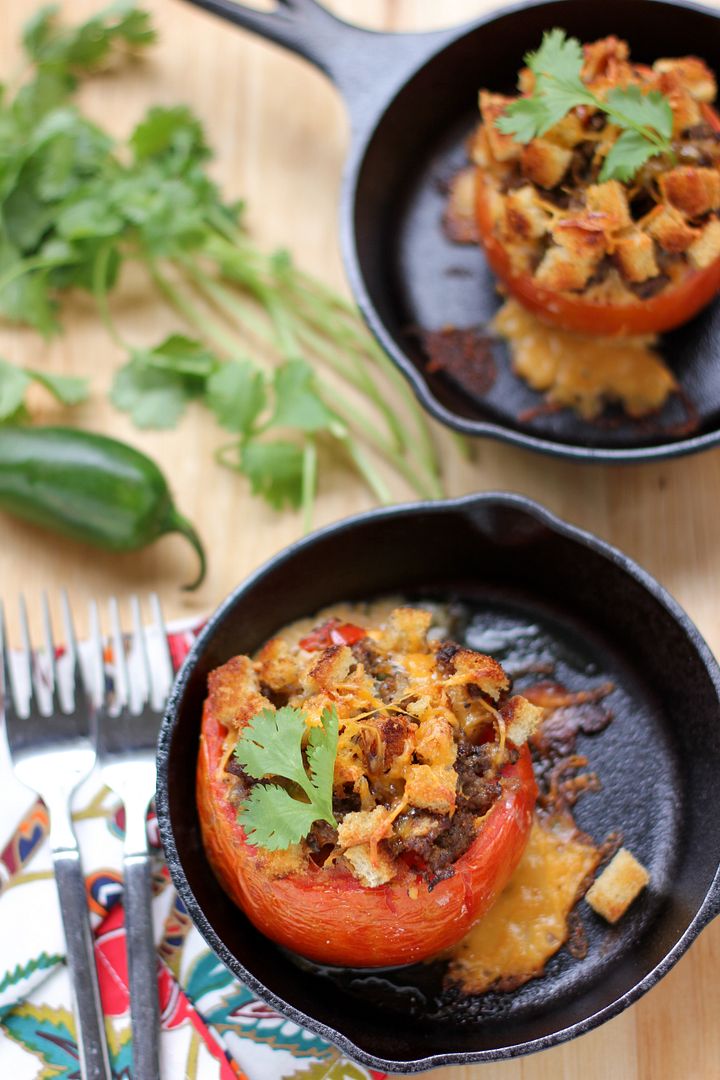
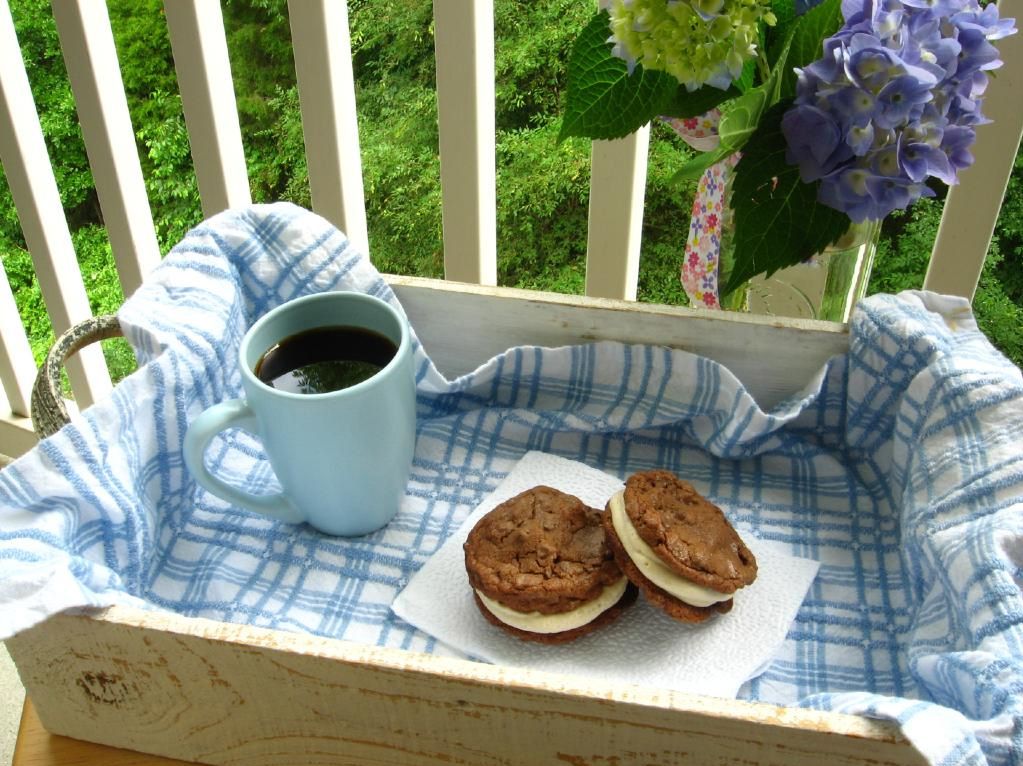
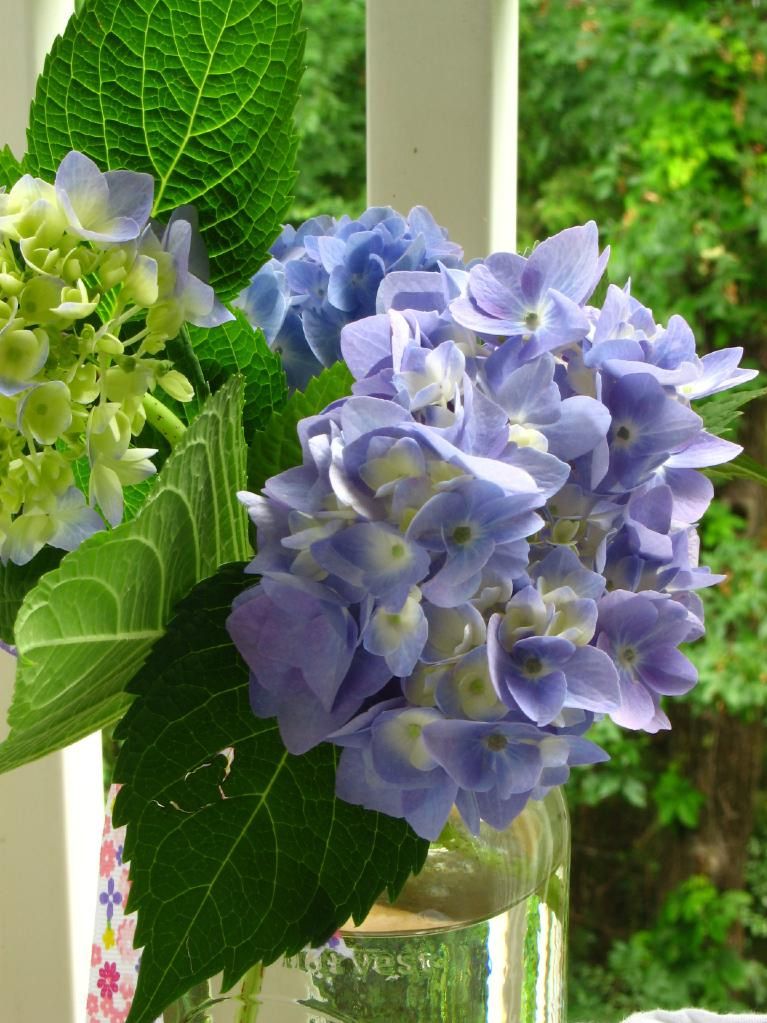
photos from 2009 (left) and 2012
The camera I used did change from 2009 to 2012, though, so maybe you need a comparison of my early photo skills and later skills with the same point-and-shoot camera:


photos from 2009 (left) and 2011 (with same camera — hopefully you can still see a big difference!)
So. I can’t say I agree with those folks who say the camera you use doesn’t matter, because in terms of quality and resolution of your photos, it does. But I definitely think the skills you have matter a whole lot more — and even with a fantastic camera, unless you know a few basics, you won’t be taking great photos.
On my (somewhat frustrating) journey to better my photos, I did a lot of googling, a lot of reading, a lot of experimenting, and a lot of failing. I want to make it a whole lot easier for you. Well, actually, my amazing friend — and fantastic photographer — Taylor Mathis wants to. He created Photographing FOOD, a magazine packed with practical tips for how to make your food photos look as awesome as his.


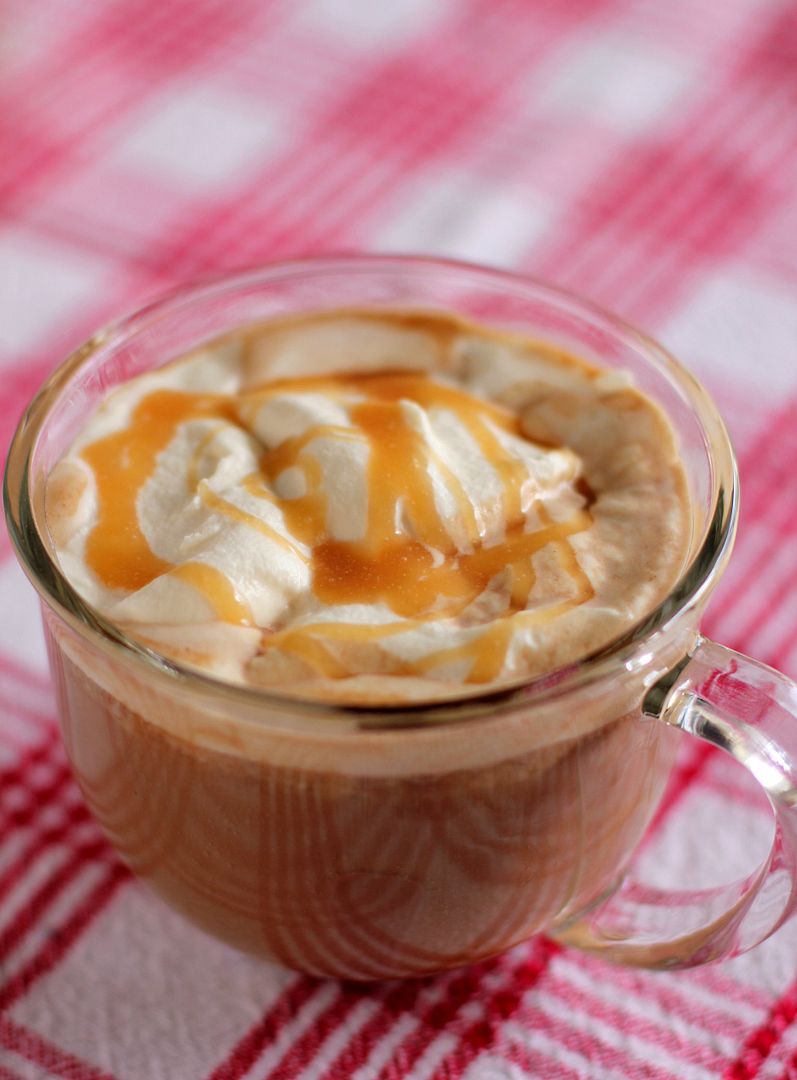
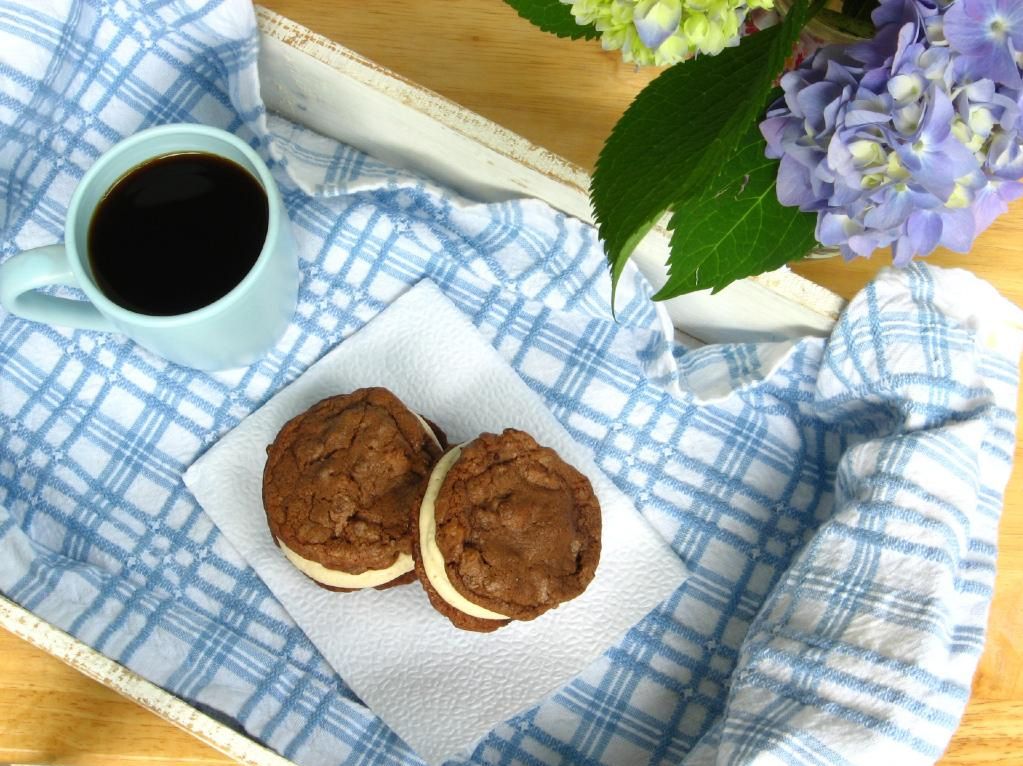
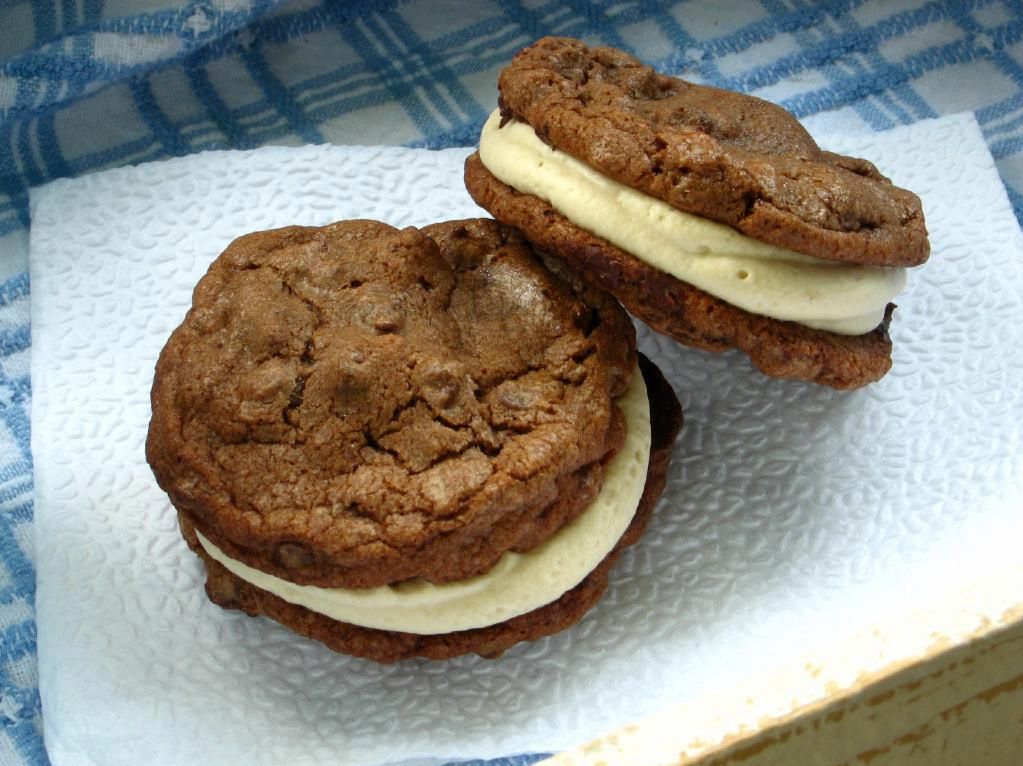
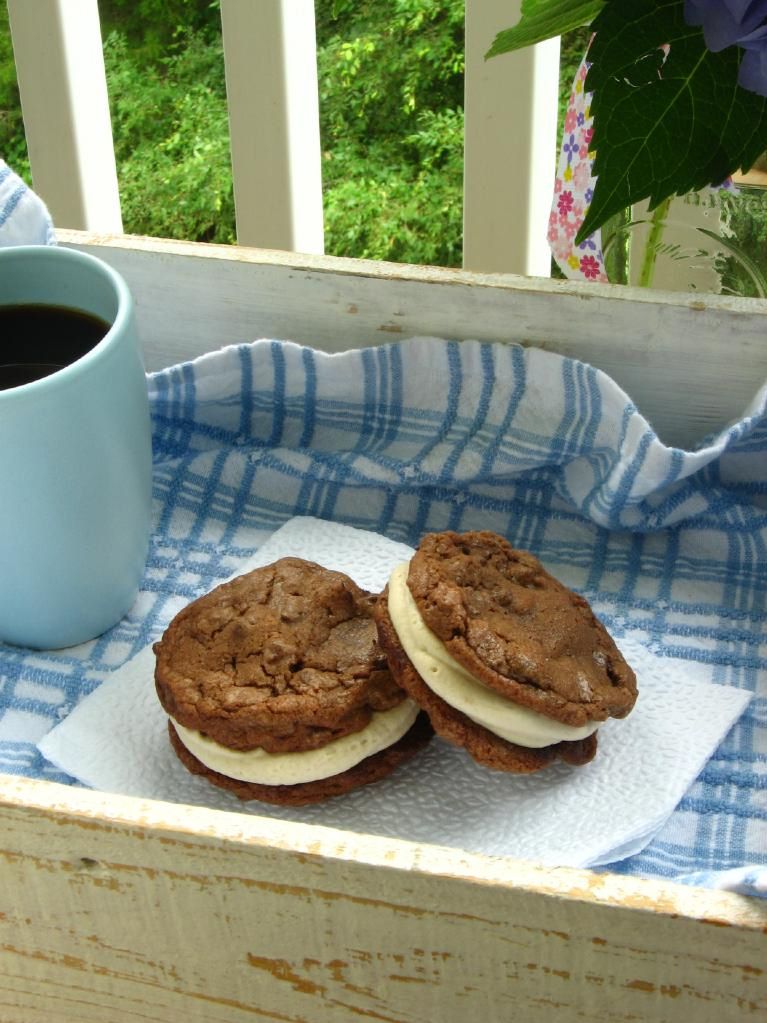
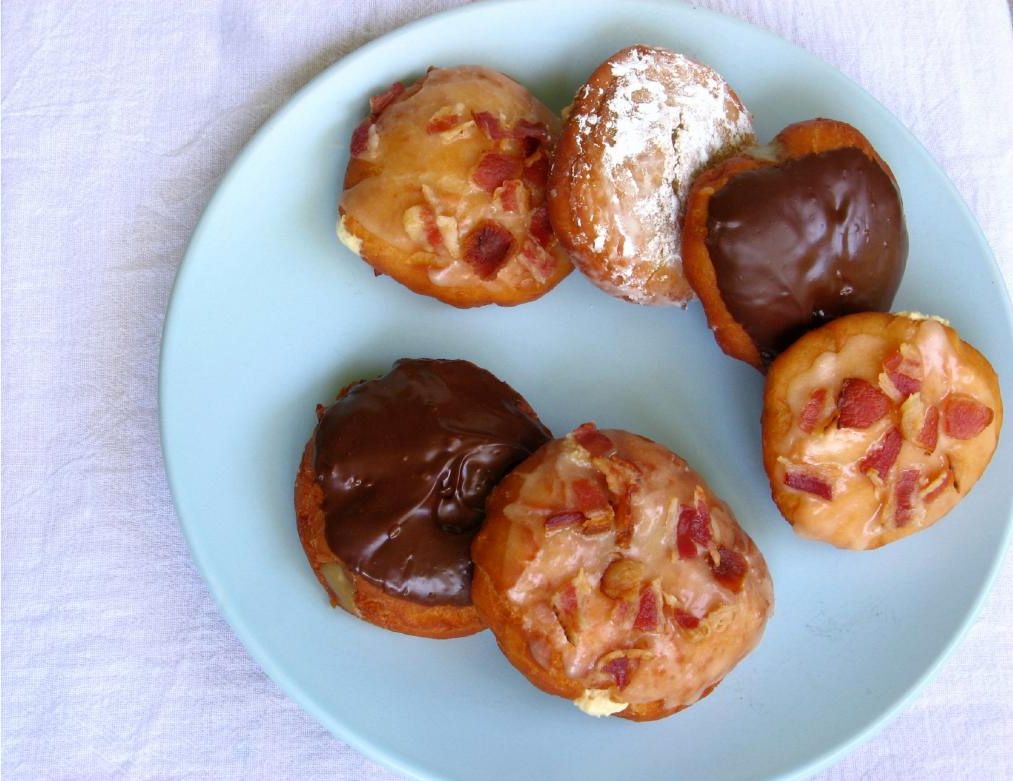
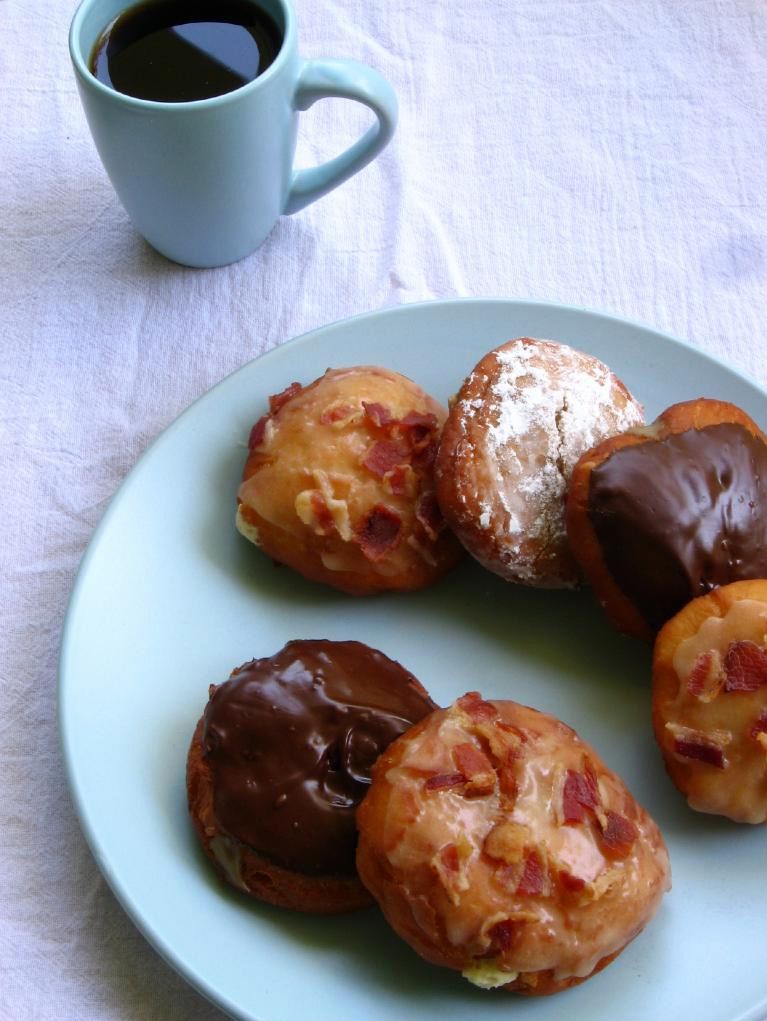
…and his are definitely awesome — like these two from the first issue!
When Taylor showed me the magazine, I knew I wanted to pass it along to you. I hardly ever do sponsored posts because I just don’t find that many products compelling or unique (I mean, who cares what kind of molasses you use or what brand your mixing bowl is?), but if you love photography, this magazine is well worth the five bucks it costs per issue. So far there are issues on Window Lighting, Color & Camera, and Shooting at Night. I’ve seen all of them, and I kind of can’t believe he’s letting them go for so cheap — they’re filled with information and beautiful photos. In Issue 2 he even does a full comparison of 4 different camera types: camera phones, disposable cameras, point-and-shoots, and DSLRs.
I wish I’d had Photographing FOOD when I started working on my photos. As it is, I’m eager to learn more from it now. I wonder if he has any tips on how to keep a new cat out of your photographs?
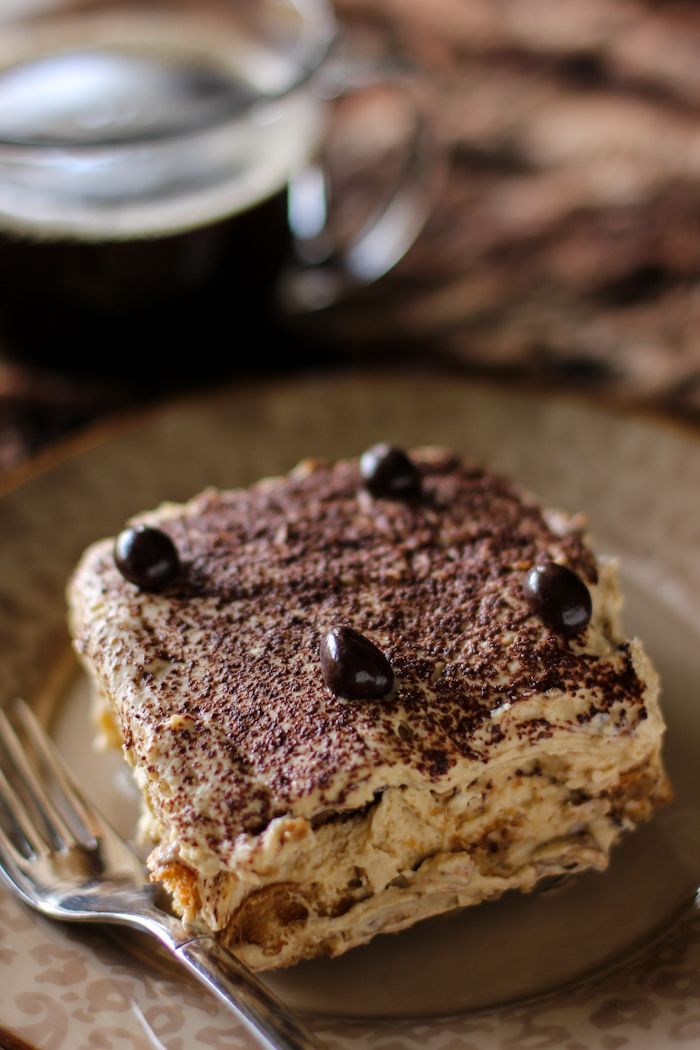
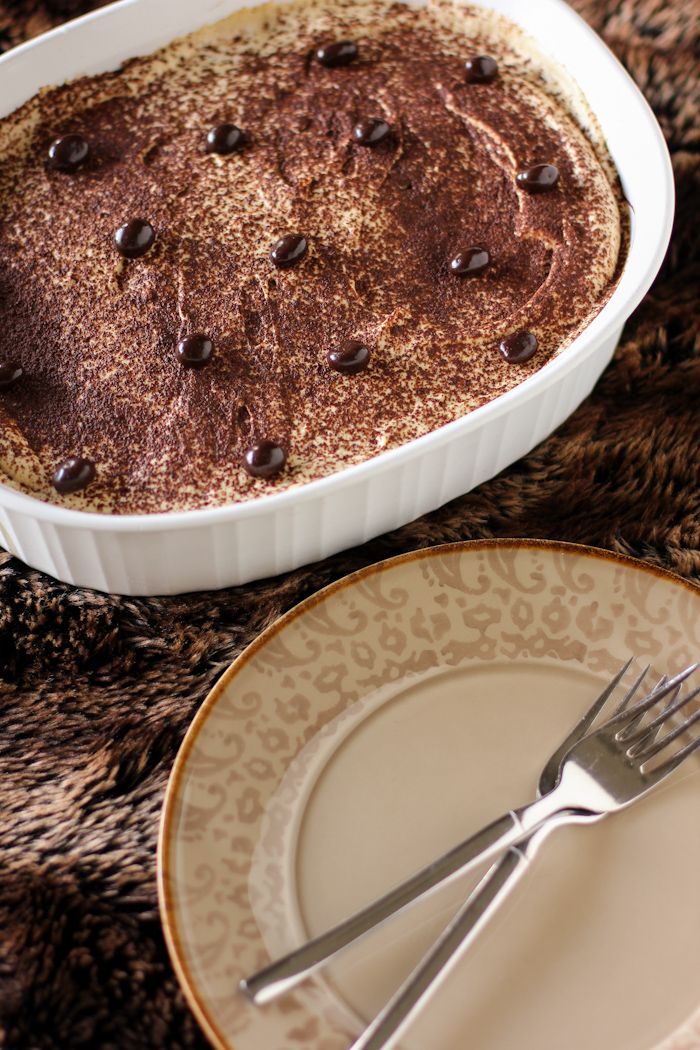
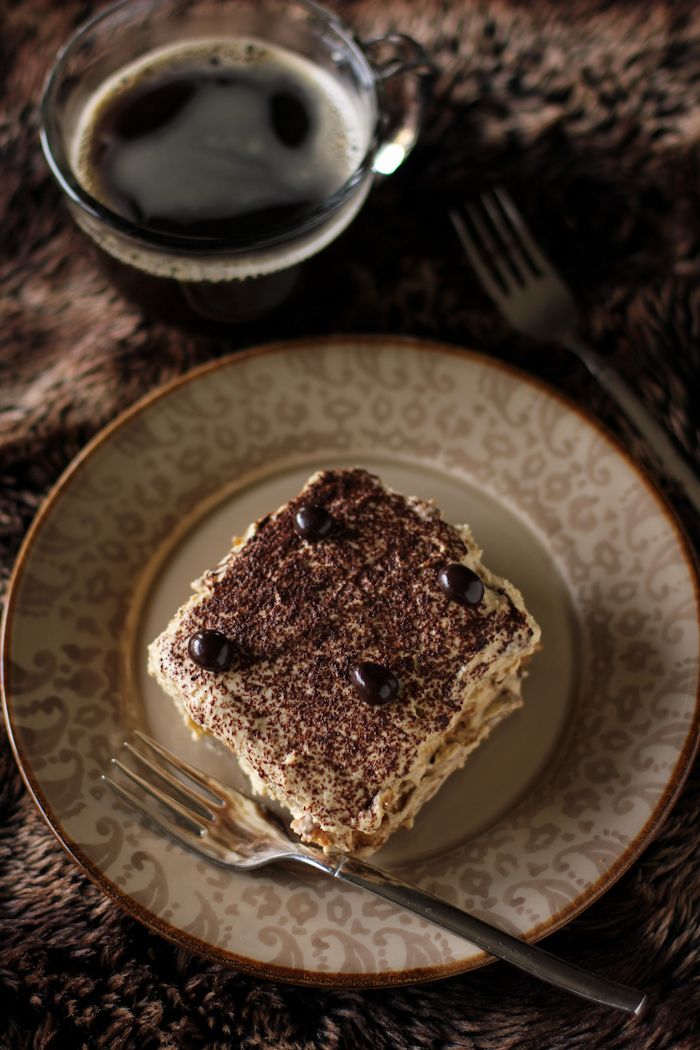
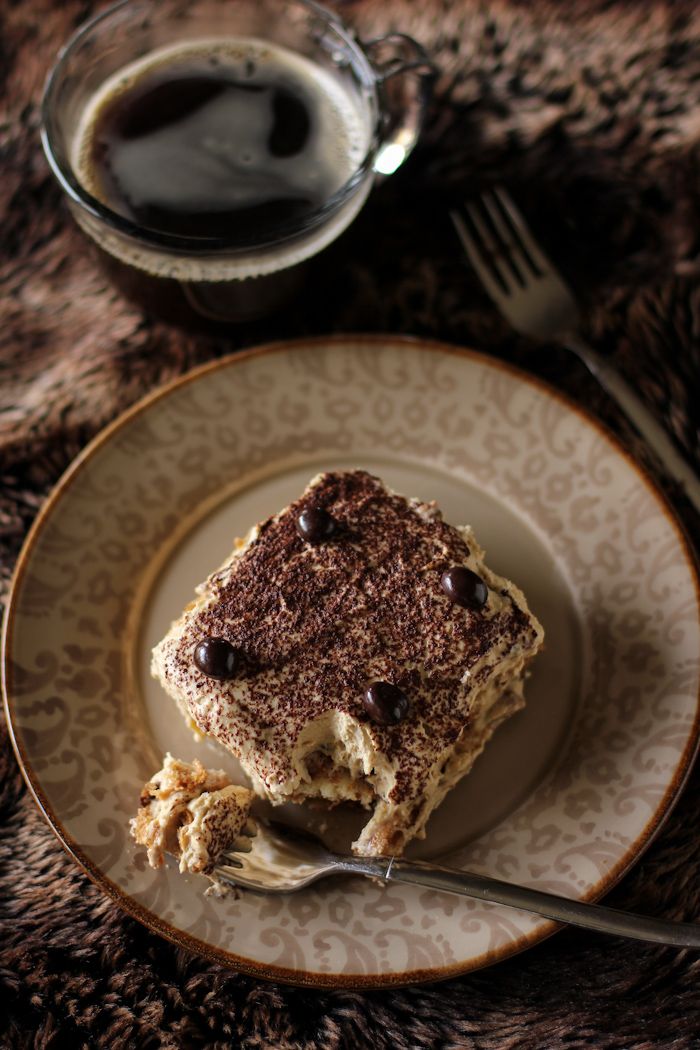
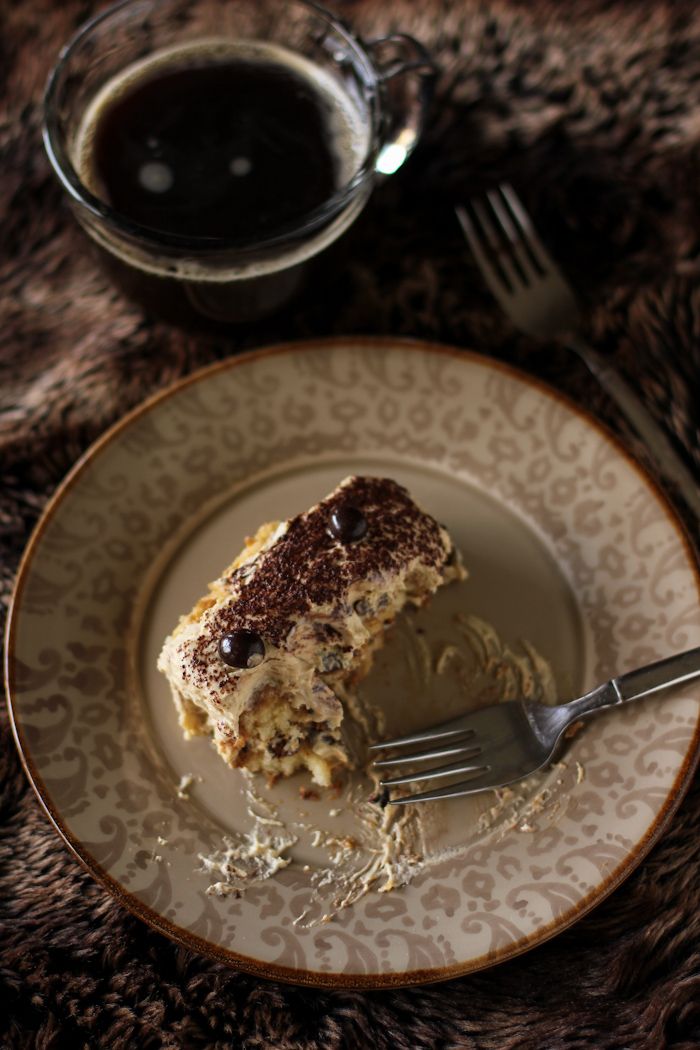
Actually, Buckle was great with this tiramisu — mostly because I kept it high off the ground! This version of the beloved Italian dessert is traditional in that it uses raw eggs, coffee, alcohol, ladyfingers, and mascarpone. I put a twist on it, though, by using Bailey’s Hazelnut Liqueur instead of the typical Marsala wine, and adding in some chocolate between the layers. The result was fantastic (and perfect for St. Patrick’s Day.) I might have finished off the last forkfuls of it for breakfast this morning, straight out of the serving dish.
Do you enjoy photography?
One year ago: Tres Leches Coconut Cake Trifle
Two years ago: Bright, Fun Blackberry Trifle
Three years ago: Vegan Pumpkin Nut Bread
Bailey’s Hazelnut Chocolate Tiramisu
Recipe by: Willow Bird Baking, based on this recipe
Yield: about 8 servings
Tiramisu is a brilliant and moody concoction where soaked cookies serve as a vessel for strong coffee, alcohol, and chocolate. The result is a buzzy, boozy, rich dessert — made even more exciting here by substituting Bailey’s Hazelnut Liqueur for the traditional Marsala wine. This would be a perfect dessert for St. Patrick’s Day! This tiramisu does include raw eggs, and therefore probably should not be consumed by the elderly, folks with compromised immune systems, pregnant women, or young kids. Feel free to use pasteurized eggs, also, to minimize the risk.
Ingredients:
3 eggs, separated
6 tablespoons powdered sugar and 1 teaspoon powdered sugar, divided
1/2 cup espresso or strong coffee, divided
6 tablespoons and 4 tablespoons Bailey’s Hazelnut Liqueur, divided
1 pound Bel Gioso Tiramisu mascarpone cheese*
1 teaspoon vanilla extract
1 (7-ounce) package Ladyfingers
1/2 cup Ghirardelli 60% cacao chocolate chips, melted and cooled
cocoa powder for dusting
dark chocolate covered espresso beans for garnish, optional
*I accidentally used Bel Gioso’s Tiramisu mascarpone instead of regular, so it already had a bit of coffee and sugar in it — you can use it, too, or add a tiny bit more coffee and sugar to your mixture.
Directions:
In a large bowl, beat 3 egg yolks, 6 tablespoons powdered sugar, 1 tablespoon espresso, 6 tablespoons Bailey’s Hazelnut Liqueur for a couple of minutes until well combined and thickened. Add the mascarpone cheese and vanilla extract and beat until well combined and fluffy, about 5 minutes.
In a separate (very clean) bowl, preferably with a stand mixer to spare your arm muscles, whisk 3 egg whites until foamy. Add 1 teaspoon powdered sugar and whip to stiff peaks. Stir about 1/3 of the egg white mixture into the egg yolk mixture to lighten it; then fold the rest of it in gently. Taste for flavor.
Pour the rest of the espresso and Bailey’s into a flat dish. Dip one side of each Ladyfinger in this mixture for just 5 seconds (so it doesn’t get soggy) before layering them, soaked side up, in a deep serving dish. Repeat, lining the entire bottom of the dish with the cookies. Drizzle cooled melted chocolate all over the cookies. Dollop about 1/3 to 1/2 (depending on how many layers you think you’ll be able to get in your dish) of the mascarpone mixture (called zabaglione) over the top and use an offset spatula to spread it into an even layer. Dust this with cocoa powder. Repeat layering dipped cookies, melted chocolate, zabaglione, and a dusting of cocoa powder, ending with a layer of the zabaglione dusted with cocoa powder (I got 2 full layers of cookie/chocolate/zabaglione/cocoa powder before my cookies ran out, but it depends on the size of your serving dish.)
Chill at least one hour before serving. Dot with dark chocolate covered espresso beans and serve. Eat within 36 hours or so, or things start to get soupy.
Disclaimer: This is, as I mentioned, a sponsored post. I received compensation for reviewing the magazine and sharing it with you as well as three free issues. However, as you already know, I never share a thing with you that I don’t love, and I always give my honest opinion. Hope you enjoy it, too!

