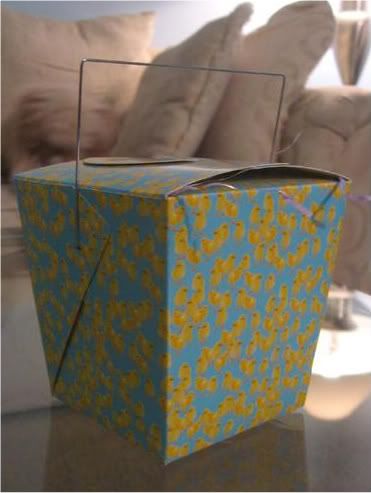
Bakerella always has something beautiful, creative, or adorable up on her blog. I was hunting around in April for something to make Mike for his birthday. I knew Bakerella would have a fantastic idea, and I wasn’t disappointed. In fact, these are my absolute favorite baking achievement to date. Have I piqued your interest? Okay, okay! See this perfect little parcel? Want to see what’s inside?
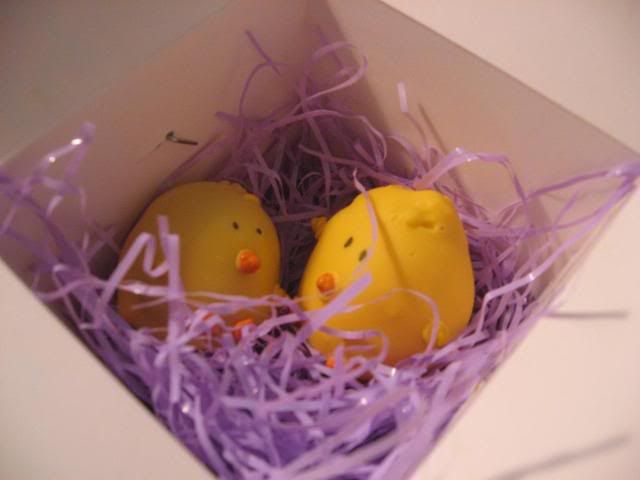
Peekaboo! Chocolate chickie cake balls!
These little chickies are actually delicious chocolate cake and frosting rolled into a perfectly sized morsel, coated with chocolate, and decorated. Now the chocolate cake I used to make these isn’t just any old cake. It’s my favorite cake ever, and has been since I was a little girl. The ingredients come together to form something more spectacular than the sum of their parts. The cake is supremely moist, gooey, chocolatey, and fantastic. The really wondrous part is that it’s quite easy — so easy that I made it myself as a child. Even if you don’t want to go to the trouble of creating the chicks, definitely do try the cake and frosting.
But oh, the chicks are fun! Mike loved them, and a friend said she didn’t know whether to eat them or photograph them! I warn you that with the chocolate cake and coating, they are quite rich, so if you’re not into that sort of thing, consider using a white cake. Also, if you want the same cute effect with less trouble, these cake balls work just fine with box cake mixes and store bought frosting. Enjoy!

Yikes! (All kinds of fun can be had with edible markers)
Chocolate Chickie Cake Balls
Recipe By:
–Bakerella (cake balls)
-Linda Houts (cake and frosting)
Yields: about 50 cake balls
Cake Ingredients:
2 cups flour
1 teaspoon baking soda
2 cups sugar
dash salt
1 stick butter
1/2 cup wesson oil
4 tablespoons cocoa
1 cup water
1/2 cup buttermilk
2 eggs
1 teaspoon vanilla
Frosting Ingredients:
1 stick butter
4 tablespoons cocoa
6-8 tablespoons sweet milk
1 cup walnuts, chopped
1 lb. confectioners sugar
1 teaspoon vanilla
Extra items needed to make cake balls:
Yellow Candy Melts
Black Edible Ink Pen
Paramount Crystals / Shortening (to thin candy melts if needed)
Rainbow Candy Coated Chips
Pastel Wild Flower Sprinkles
Directions:
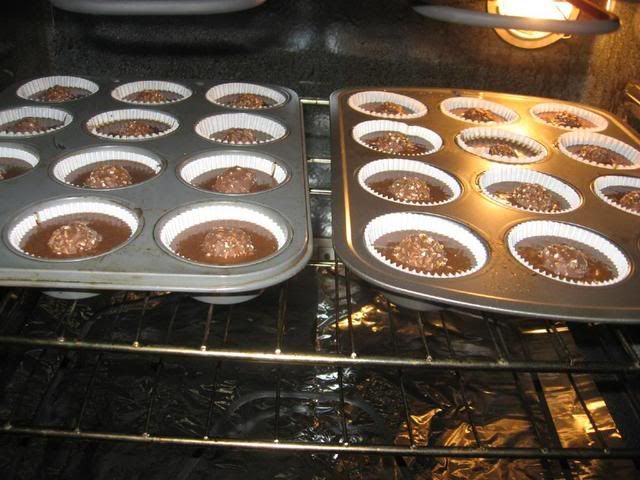
Make the cake: Mix first 4 ingredients together and set aside. Mix next 4 ingredients in pan and bring to boil, then pour over first mixture. Stir well, then add remaining ingredients. Bake at 350 degrees in a greased sheet cake pan, for 15-25 minutes (until a toothpick inserted in the center comes out clean). NOTE: If you’re not planning to make the cake balls, but just want a frosted sheet cake, make the frosting immediately and pour over warm cake.
Make the frosting: Mix butter, cocoa, sweet milk and bring to boil. Remove from heat add confectioner’s sugar, nuts, and vanilla. Spread over warm cake OR, to use for cake balls, see below.
Make the cake balls:
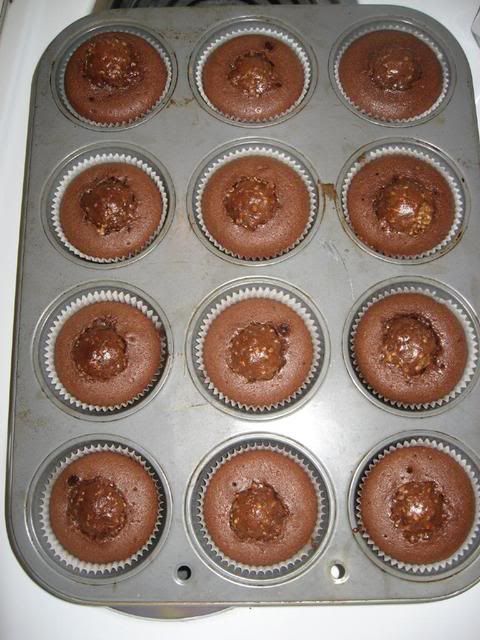
1. After cake is cooked still slightly warm, crumble into large bowl.
2. Mix thoroughly with 2-2.5 cups of warm frosting. (It may be easier to use fingers to mix together, but be warned it will get messy.)
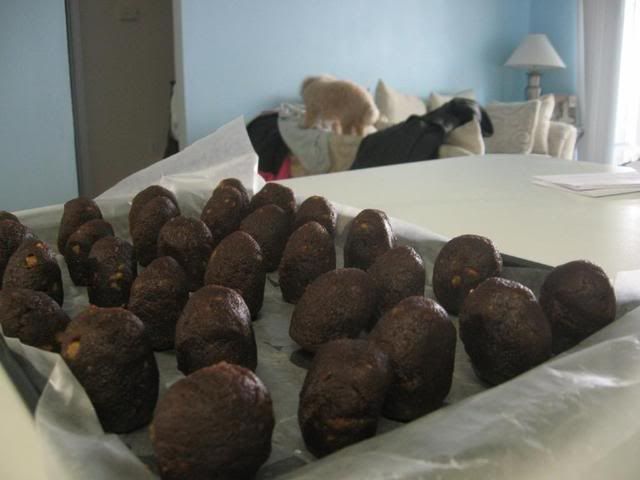
3. Roll mixture into quarter size balls and lay on cookie sheet. (Should make 45-50. You can get even more if you use a mini ice cream scooper, but I like to hand roll them.)
4. Chill for several hours / overnight.
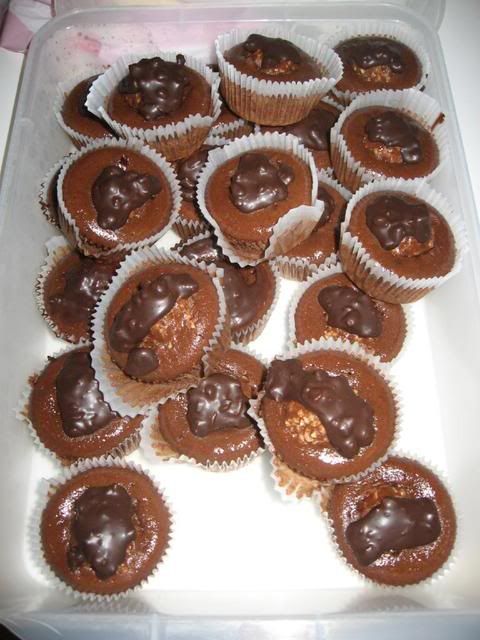
5. Melt chocolate (or candy coating) in microwave per directions on package.
6. Roll balls in chocolate and lay on wax paper until firm.
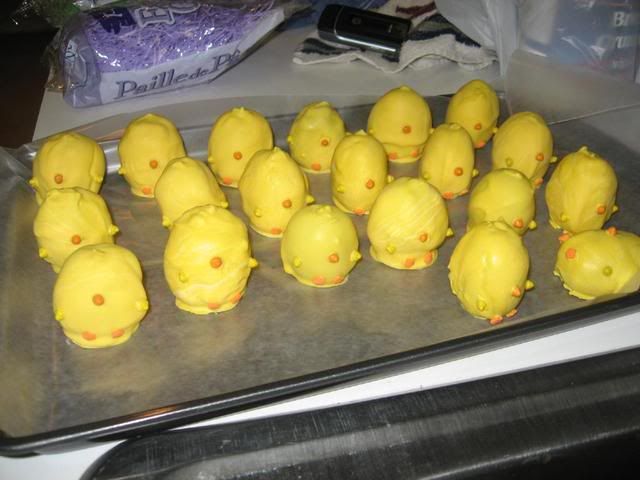
Little soldiers, ready to be dipped!
Dipping in progress!
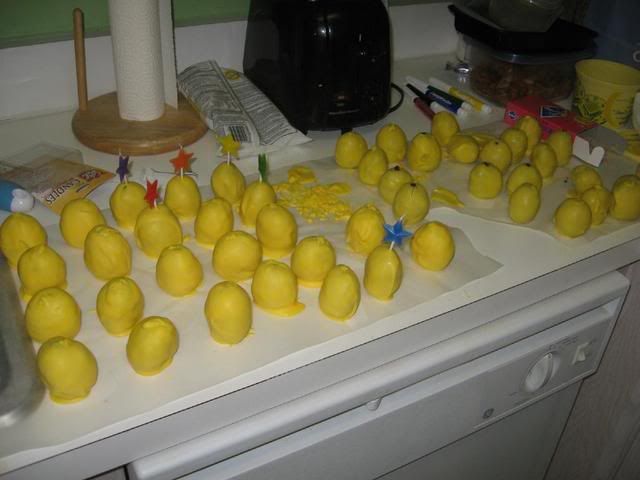
Decorate the chickies:
1. Once the round yellow candy covered cake pops are dry, use a toothpick to dip into the melted candy coating. Dab a little dot of the coating where you want the beak to go. Then, just take one of the orange rainbow chips and attach it to the pop. It works like glue.
2. For the feet and wings, use the same technique to glue on the other sprinkle shapes.
3. Use the edible ink pen to draw the eyes.
Waiting for eyes.

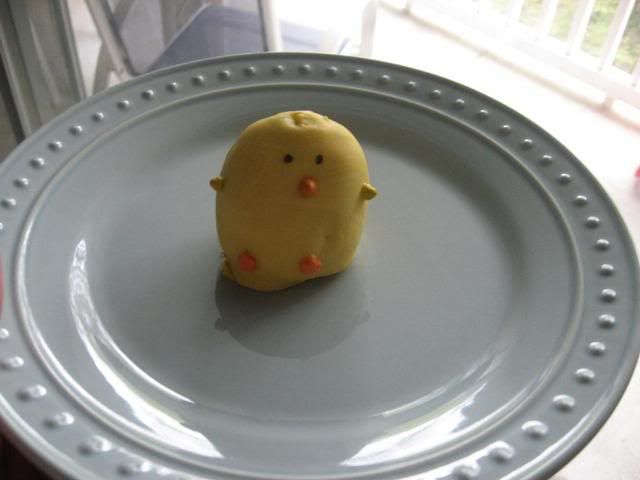
We can see!
NOTES: I refrigerated my cake balls a bit too long before dipping, I think. I made them one morning and refrigerated them until the next. They cracked and seeped a bit when dipped, indicating that EITHER they were too cold OR this cake/frosting combo has too much butter, perhaps? I’ve had better luck making the cake balls at night, refrigerating, and dipping the next morning.
I used Wilton’s yellow candy coating and didn’t love it. I had to thin it with shortening several times. Next time I’m going to use Candyquik (I really liked it last time) and buy some oil-based food coloring to tint it (note that you cannot use water or water-based food coloring, because it will cause the candy coating to seize!)
I had to double-dip my chickies for full coverage. I held each cake ball on a bamboo skewer and dipped/spooned the candy coating over it. To prevent the cake ball from having a huge “foot” from puddling coating, you have to let the excess drip off for quite awhile before wiggling it off the skewer onto the wax paper. Happy Dipping!
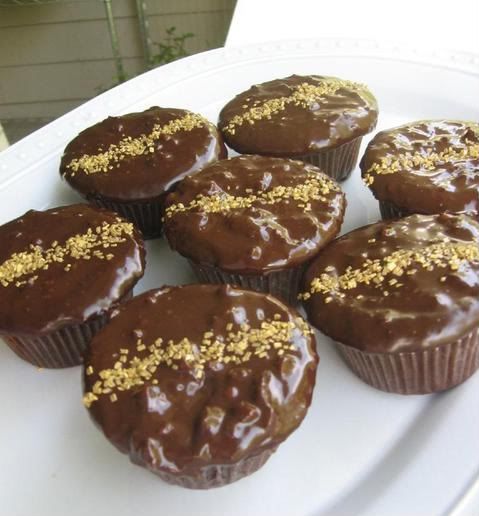
By the way, these are one of the many baked goods that I think taste LOADS better after being refrigerated in an airtight container! They were delicious the day we made them, but something about sticking them in the fridge made them extra wonderful!
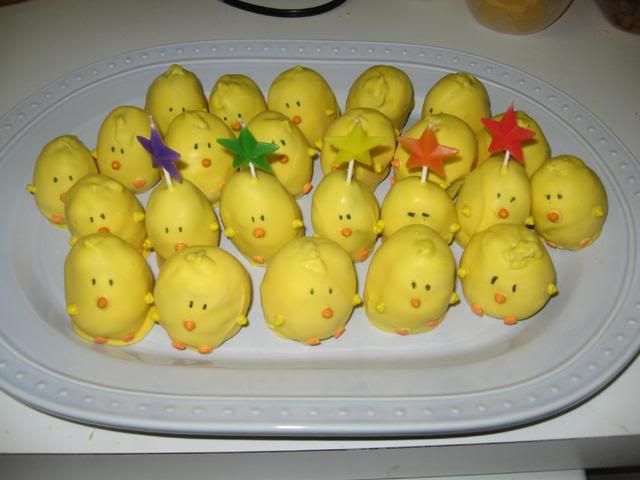
All together now, with some star-shaped birthday candles!