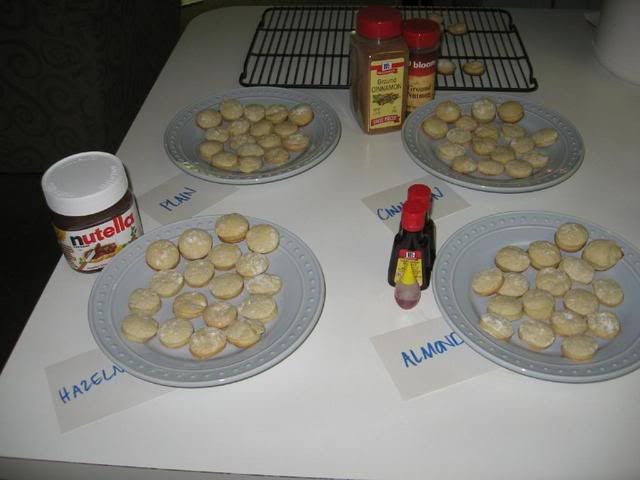
Need a kiss? Everyone does sometimes, and these past few weeks, it was Mike. He’s been studying intensely for the math GRE this summer. He’s interested in stellar grad schools, so he needs to hit the ball (or the sphere, perhaps? or the open ball? or the unit circle? okay, enough with the bad math jokes) out of the park on this exam. I have complete faith in his ability to do so, but he needs some encouragement now and then. What’s better for encouragement than a little kiss? Well, maybe a BIG kiss!
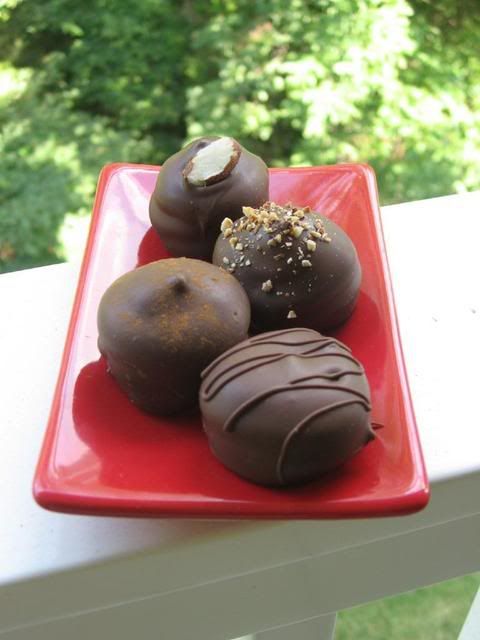
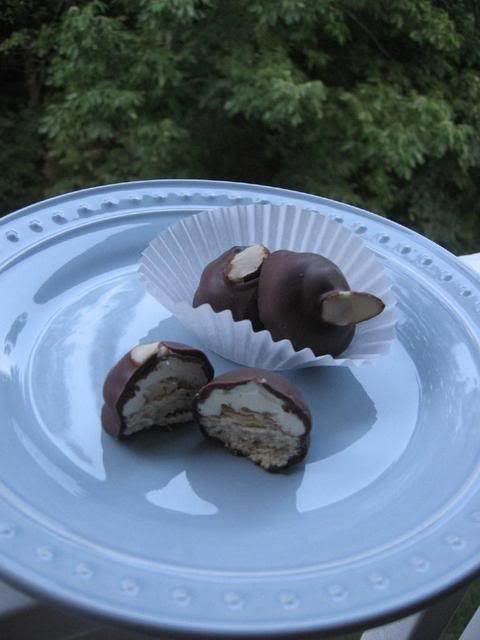
I think I’ve mentioned before that Bakerella is one of my heroes. I love cuteness, and she’s the Queen of Cute. When I saw her Oreo Kisses, I knew they couldn’t wait until Valentine’s Day. They were the perfect surprise to lift Mike’s spirits.
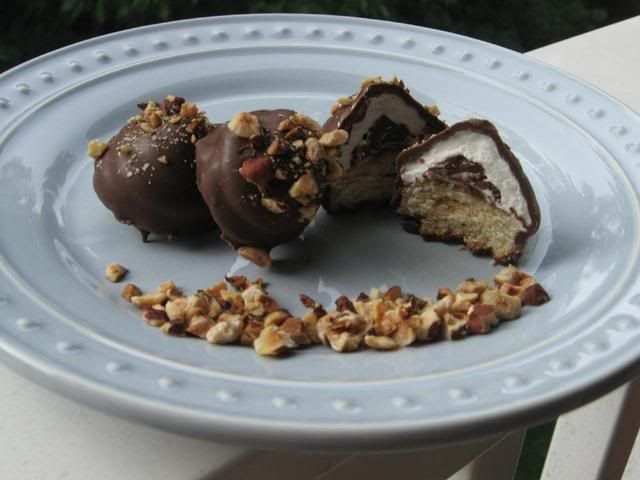
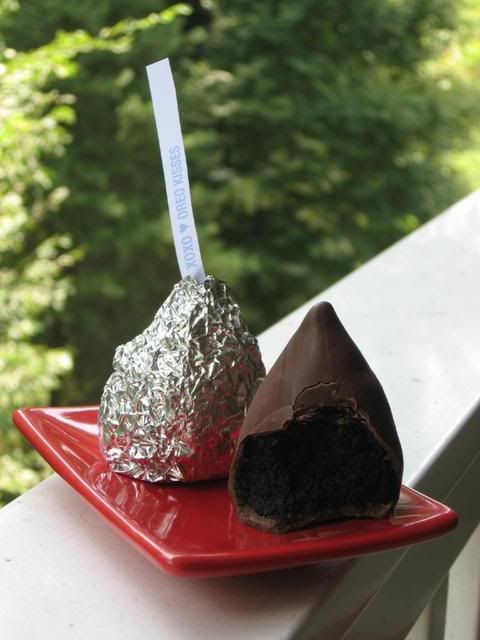
In addition to Oreo, I decided to make some red velvet kisses. While the Oreo version is a no-bake combo of crushed cookies and cream cheese, the red velvet version is essentially a cake ball (or a cake cone in this case). You bake a cake, rip it up (heartbreaking, I know), add frosting, and form the mixture into balls (or cones, or hearts, or zebras) and dip into your candy coating (incidentally, if you try out the zebra shape, please do send a photo). Any flavor combination of cake and frosting will do. And don’t let the idea of baking a cake deter you; while I bake mine from scratch, cake mixes and canned frosting work just fine!
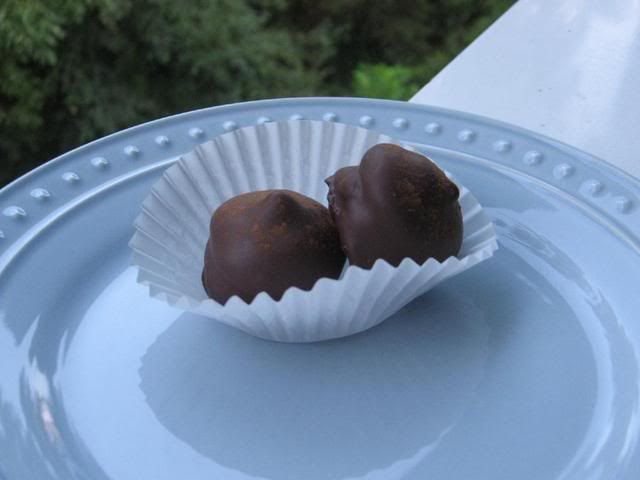
Oreo Kisses

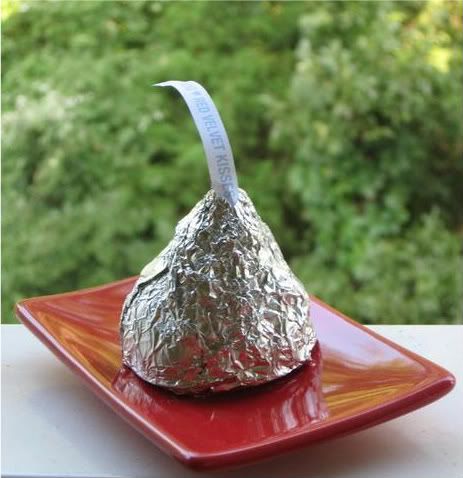
Red Velvet Kisses
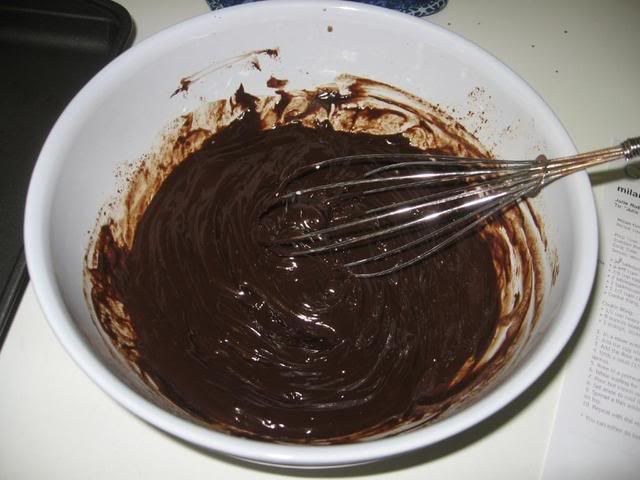
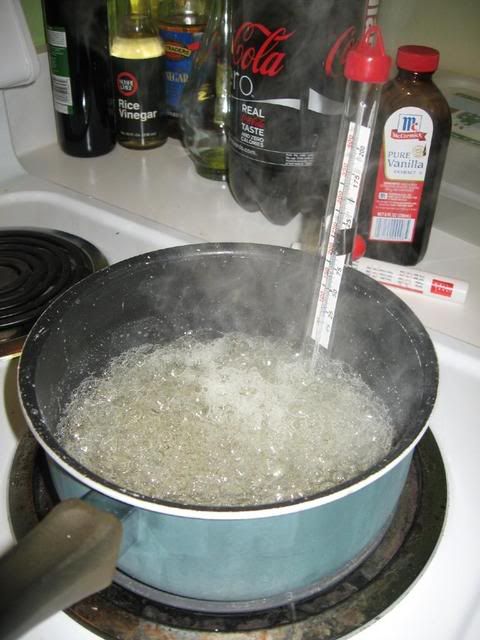
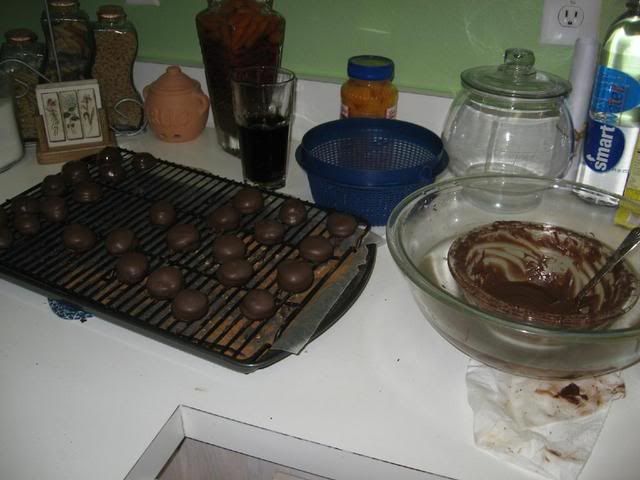
Dipping these kisses (or any cake ball) is always the most (ahem) interesting part of the process. I use Candiquik as my chocolate coating of choice, but you can use any chocolate bark or dipping chocolate. I don’t recommend baker’s chocolate or chocolate chips, however, as they don’t form the same hard shell. You should be able to find Candiquik at Lowes Food, SuperTarget, or (I recently discovered) Bloom.
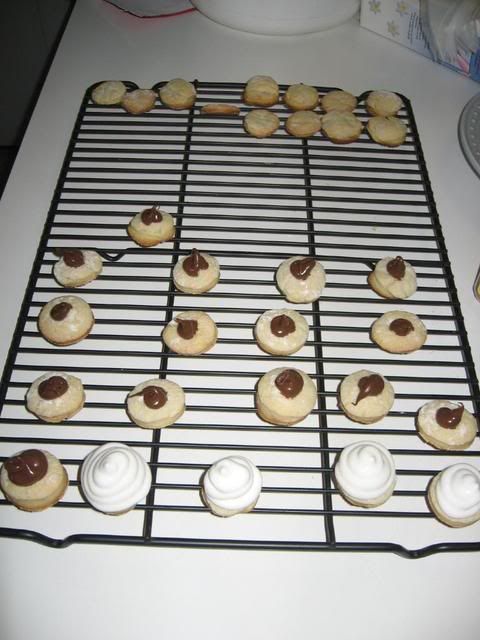
Regarding the act of dipping itself, you’re going to have to get a little creative. Bakerella’s instructions (below) say to use a spoon to dip your kisses and then drain the excess chocolate against the side of the bowl. This hasn’t ever worked for me, though; I’ve used everything from forks to toothpicks to bamboo skewers to dip cake balls. I’ll go ahead and admit that I’ve had visions of standing on the counter lowering a cake ball into chocolate with dental floss (thankfully, I haven’t resorted to this just yet). For dipping these kisses, I used a two-tined grill fork to support the kiss while I spooned chocolate over it. I then let the excess drain off for a long while before sliding the kiss onto wax paper. When it was dry, I went back and re-dipped the bottom. You can try this technique, but the most important message to take home is this: experiment with your kitchen supplies. Necessity is the mother of invention and all that, so try any utensil that looks promising and keep your sense of humor!
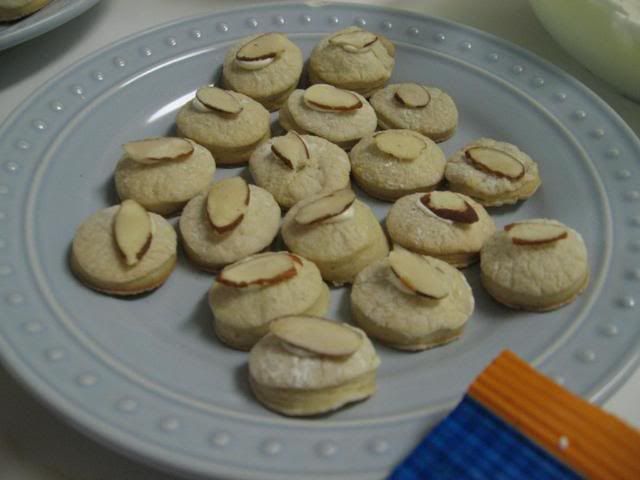
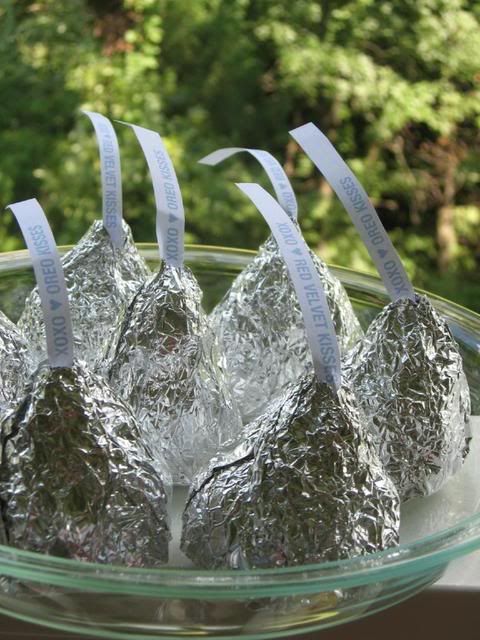
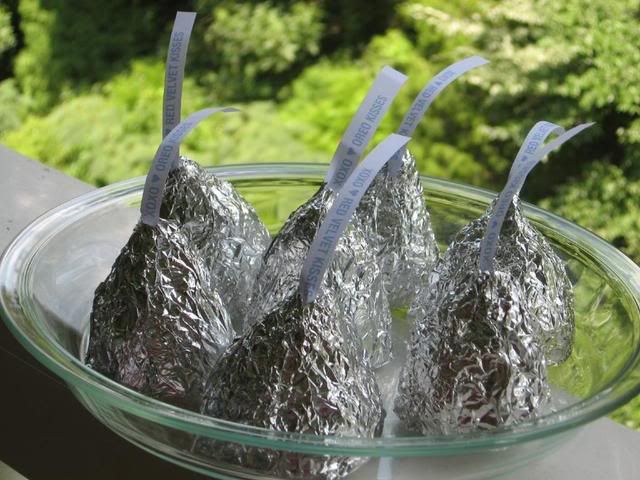
One thing I love about these sweet kisses (apart from, oh, everything about them) is the messages you can attach. I used a word processing program (font: light blue, 14 point, Helvetica Neue Bold) to create the little strips of paper that sail out of each kiss. Get creative: you can label various kiss flavors; send encouragement, congratulations, and thank yous; or even say happy birthday. My wonderful Dad’s birthday is this coming Monday — the perfect occasion for a special message! Whether with Oreo kisses, cake kisses, or plain old hugs and kisses, tell someone you love them today!

Oreo Kisses
Recipe By: Bakerella (kisses decoration/assembly)
Yields: About 11 2-inch high kissesOreo Kisses Ingredients:
1 package oreo cookies (divided; use cookie including the cream center)
1 8-ounce package cream cheese (softened)
chocolate bark (chocolate candy coating)Directions
1. Finely crush all but seven cookies in a food processor or place them in a ziploc bag and crush into a fine consistency. Note: As for the extra 7 cookies, just eat them. Or, if you have extra dipping chocolate, make some chocolate covered oreos.
2. Stir in softened cream cheese. Use the back of a large spoon to help mash the two together.
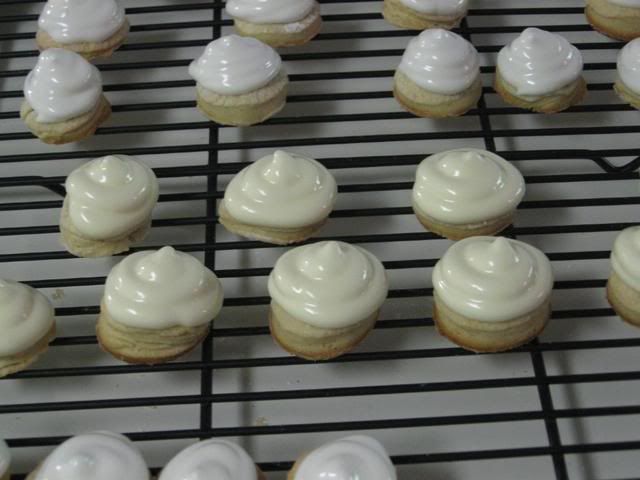
3. Roll the mixture into 1-2″ balls and place on wax paper covered cookie sheet.
4. Then, begin to form the shape of a kiss. Flattening the bottom and forming a point at the top. Note: mine ended up about 2 inches tall and 1.5 inches wide.
5. It helps to put the uncoated balls in the freezer for a few minutes to keep the mixture from starting to fall apart when you drop into the melted chocolate. Note: I refrigerated mine overnight and then froze for a couple of minutes before dipping.
6. Melt chocolate as directed on package and then dip “kisses” one at a time into chocolate, tap off extra and slide them off spoon onto wax paper covered cookie sheet to dry. Note: Dipping is often the most difficult part. These are Bakerella’s instructions, but find what works for you. Let your kitchen be your playground. Look through your utensils for useful tools, and be creative. I used a grill fork to hold my kisses while spooning chocolate over them, and then redipped the bottoms separately.To decorate:
1. Handwrite your messages or create them on the computer. Cut out the strips (about 1/4″ tall and however wide you need).
2. Cut up some square sheets of aluminum foil (about 6″ square)
3. Place dry kiss in center and start wrapping the foil around the base. Insert message near top and secure it by pressing the foil together at top. Note: It really helps to use cheap foil here! The thinner and more malleable the better. Crush it a little first to make it more flexible.
4. Refrigerate in an airtight container.
Red Velvet Kisses
Recipe By:–Bakerella (kisses decoration/assembly)
-Mom (red velvet cake)
–Paula Deen (cream cheese frosting)Yields: About 28 2-inch high kisses
Red Velvet Cake Ingredients:
1/2 cup Crisco shortening
2 eggs
2 tablespoons cocoa
1/2 teaspoon salt
1 1/2 cups sugar
1 teaspoon vanilla
1 cup buttermilk
2 1/2 cups flour
1 teaspoon baking soda
1 tablespoon white vinegar
2 ounces red food coloring
chocolate bark (chocolate candy coating; for kisses)Cream Cheese Frosting Ingredients:
8 ounces cream cheese, softened
1 stick butter, softened
1/2 teaspoon vanilla extract
2 cups sifted confectioners’ sugarDirections
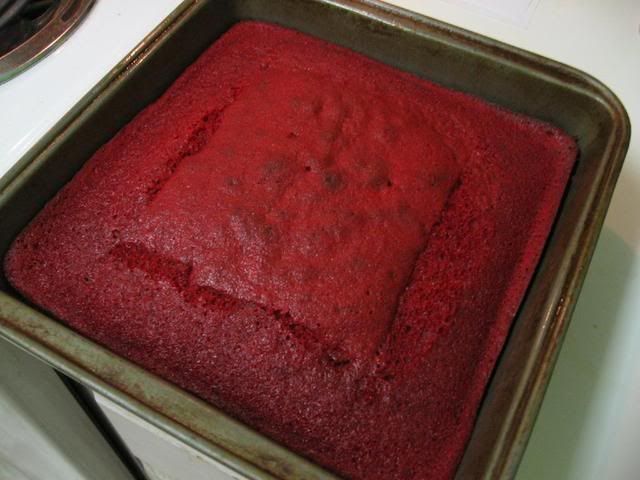
Make the cake: Preheat oven to 350 degrees. Cream Crisco, sugar, and eggs. Make a paste of the cocoa and coloring and add to the Crisco mixture. Add salt and vanilla. Add buttermilk alternately with the flour, beginning and ending with flour. Mix vinegar and soda right before using and add to mixture by folding in. Pour batter into a 9 x 13 in. pan and bake at 350 degrees for 25-30 minutes (check periodically, and if the edges are getting too done, you might want to shield them with foil while the middle continues to bake). Cool completely.
Make the frosting: In a large mixing bowl, beat the cream cheese, butter and vanilla together until smooth. Add the sugar and on low speed, beat until incorporated. Increase the speed to high and mix until very light and fluffy.
Make the kisses:
1. After cake is cooked and cooled completely, crumble into large bowl.
2. Mix thoroughly with about 2 cups cream cheese frosting. (It may be easier to use fingers to mix together, but be warned it will get messy.)
3. Roll mixture into 1-2″ size balls and lay on cookie sheet.
4. Then, begin to form the shape of a kiss. Flattening the bottom and forming a point at the top. Note: mine ended up about 2 inches tall and 1.5 inches wide.
5. It helps to put the uncoated balls in the freezer for a few minutes to keep the mixture from starting to fall apart when you drop into the melted chocolate. Note: I refrigerated mine overnight and then froze for a couple of minutes before dipping.
6. Melt chocolate as directed on package and then dip “kisses” one at a time into chocolate, tap off extra and slide them off spoon onto wax paper covered cookie sheet to dry. Note: Dipping is often the most difficult part. These are Bakerella’s instructions, but find what works for you. Let your kitchen be your playground. Look through your utensils for useful tools, and be creative. I used a grill fork to hold my kisses while spooning chocolate over them, and then redipped the bottoms separately.To decorate:
1. Handwrite your messages or create them on the computer. Cut out the strips (about 1/4″ tall and however wide you need).
2. Cut up some square sheets of aluminum foil (about 6″ square)
3. Place dry kiss in center and start wrapping the foil around the base. Insert message near top and secure it by pressing the foil together at top. Note: It really helps to use cheap foil here! The thinner and more malleable the better. Crush it a little first to make it more flexible.
4. Refrigerate in an airtight container.
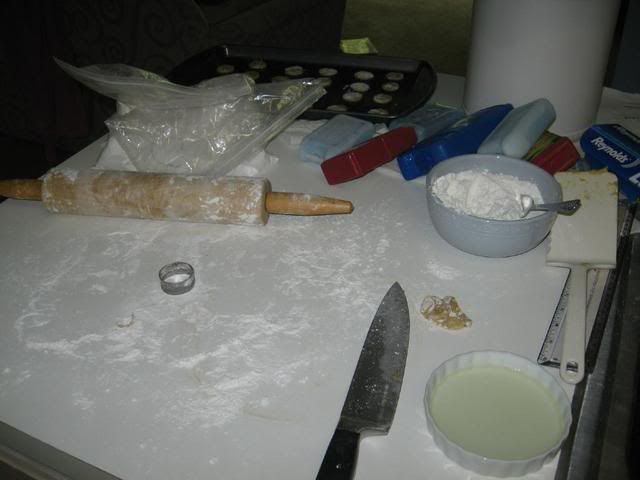
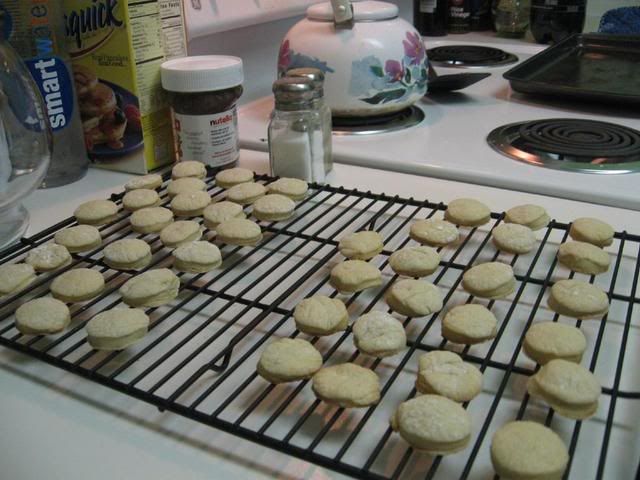
Process Photos:
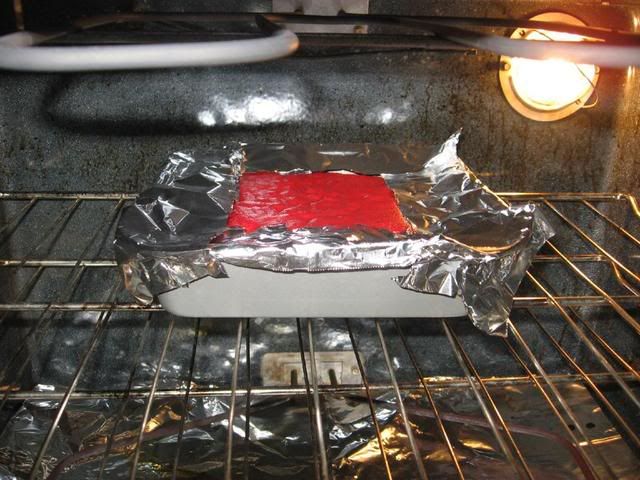
You may need to shield the sides of the red velvet cake if they’re done before the middle. I halved my cake recipe since I was making two kinds of kisses; if you do this, half the frosting too.
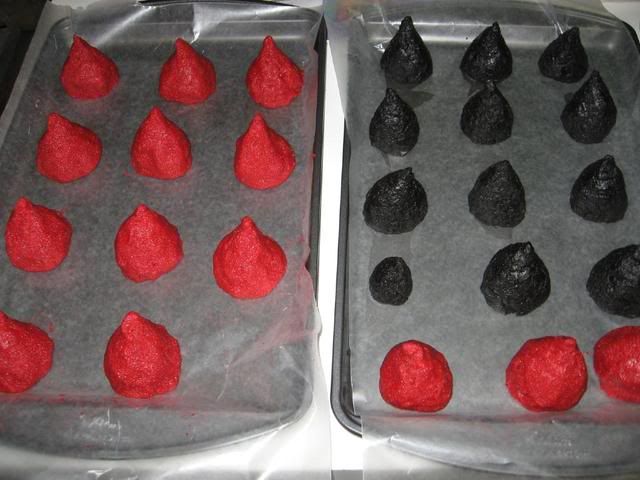
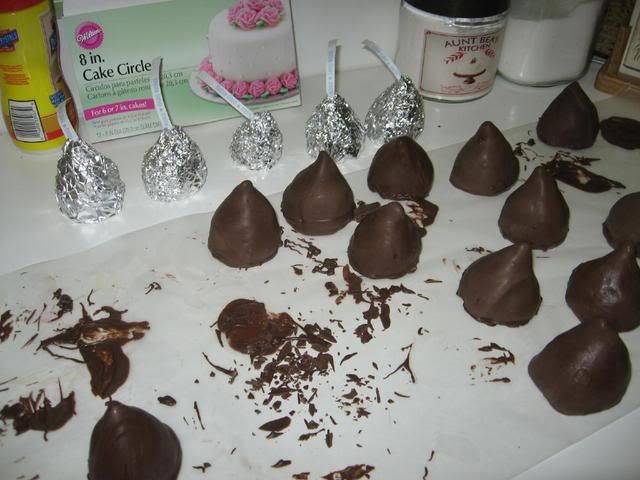
Shaped into cones and then dipping.
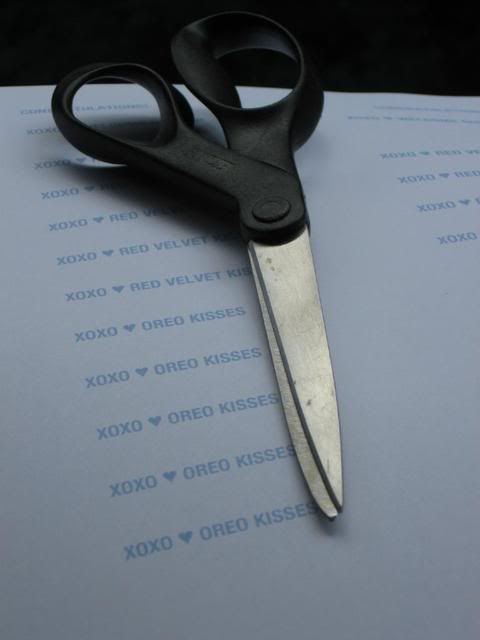
Cutting messages into strips.
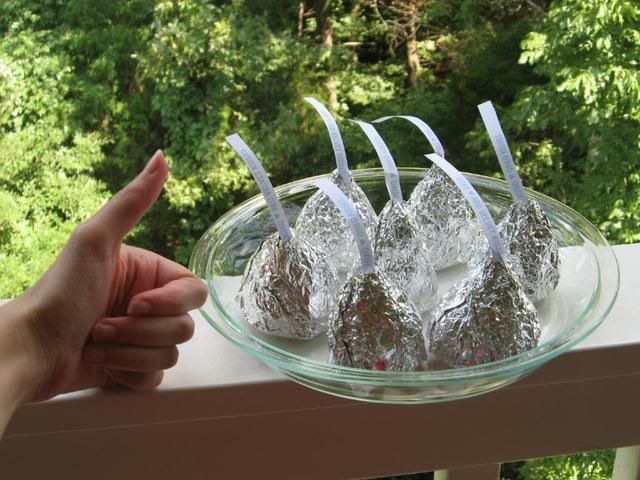
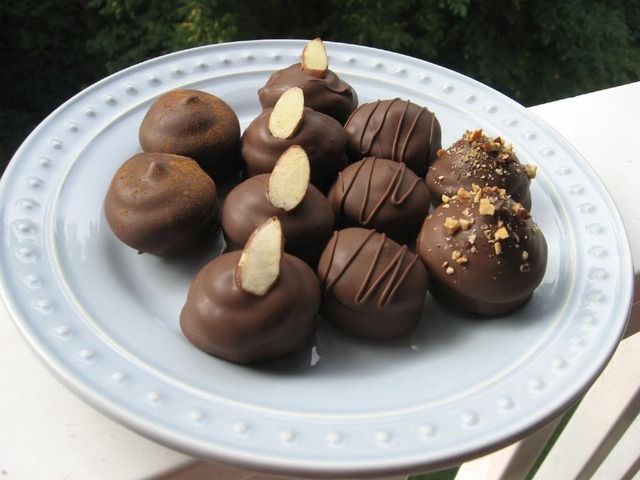
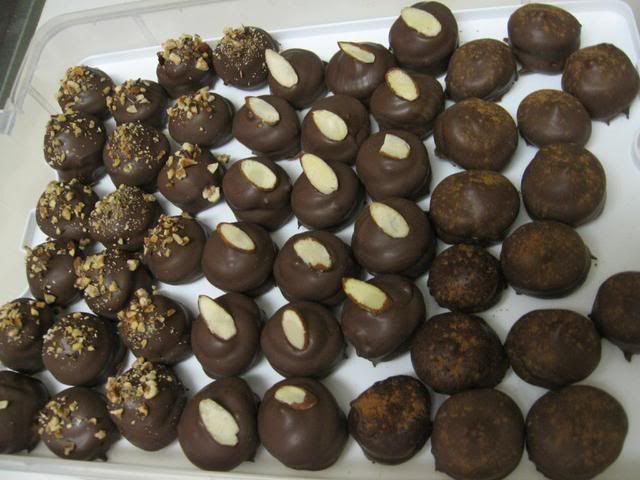
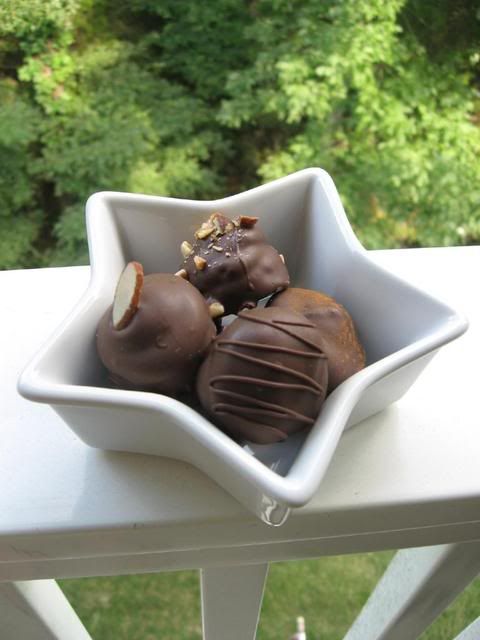
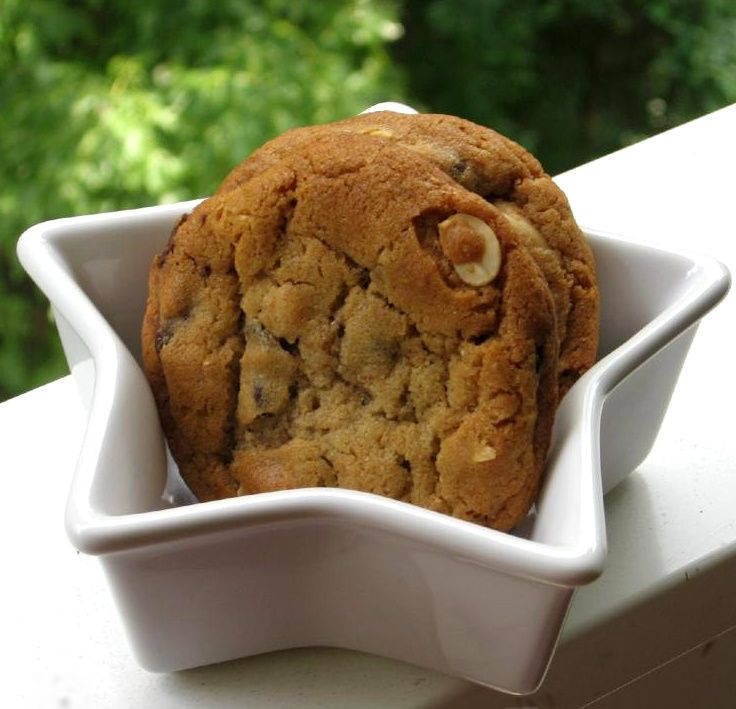
Did I mention that they were giant?
XOXO