cake

Creamsicle Cupcakes

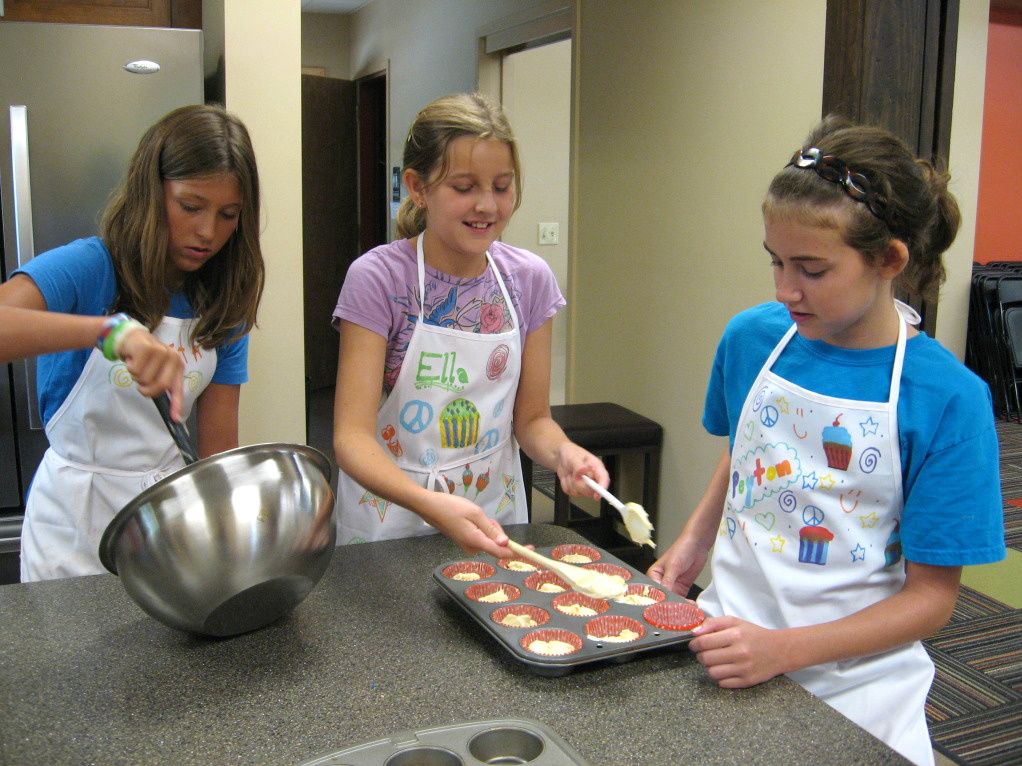
It’s Cupcake Week on Willow Bird Baking! Cupcake Capers was a 5-day summer camp I conducted last week wherein 5 middle school girls learned to bake, fill, and frost cupcakes. We eschewed pedestrian cupcake flavors in favor of creative combinations that I now get to share with you! Every day this week I’ll be posting fun memories and recipes from Cupcake Camp.
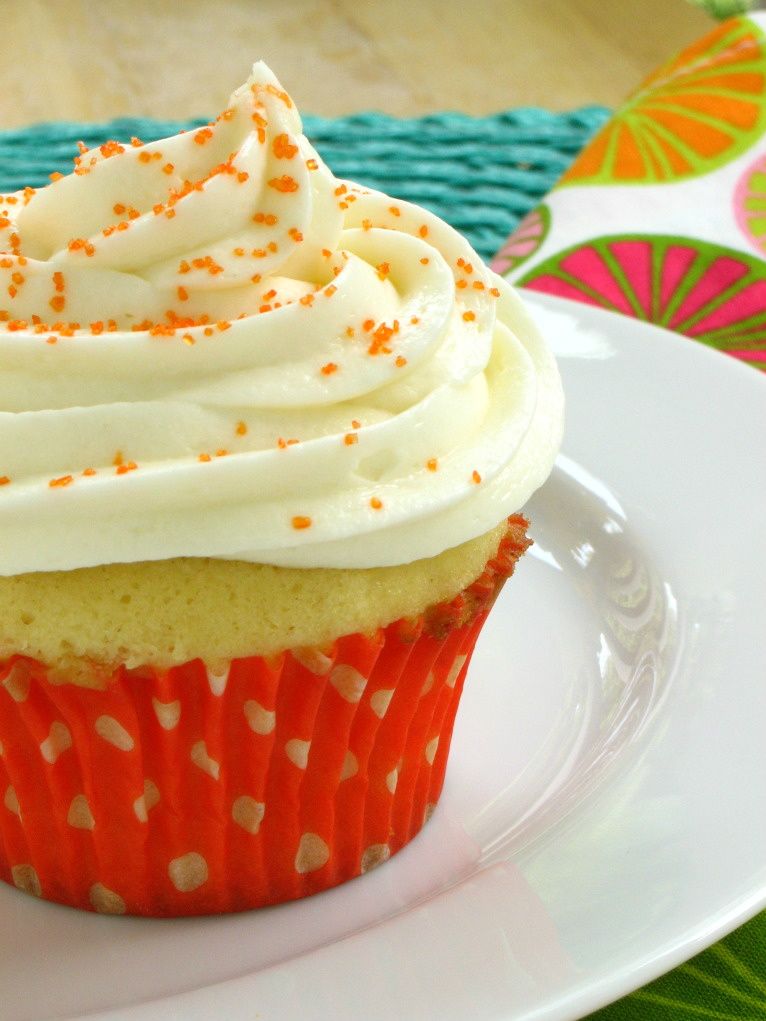
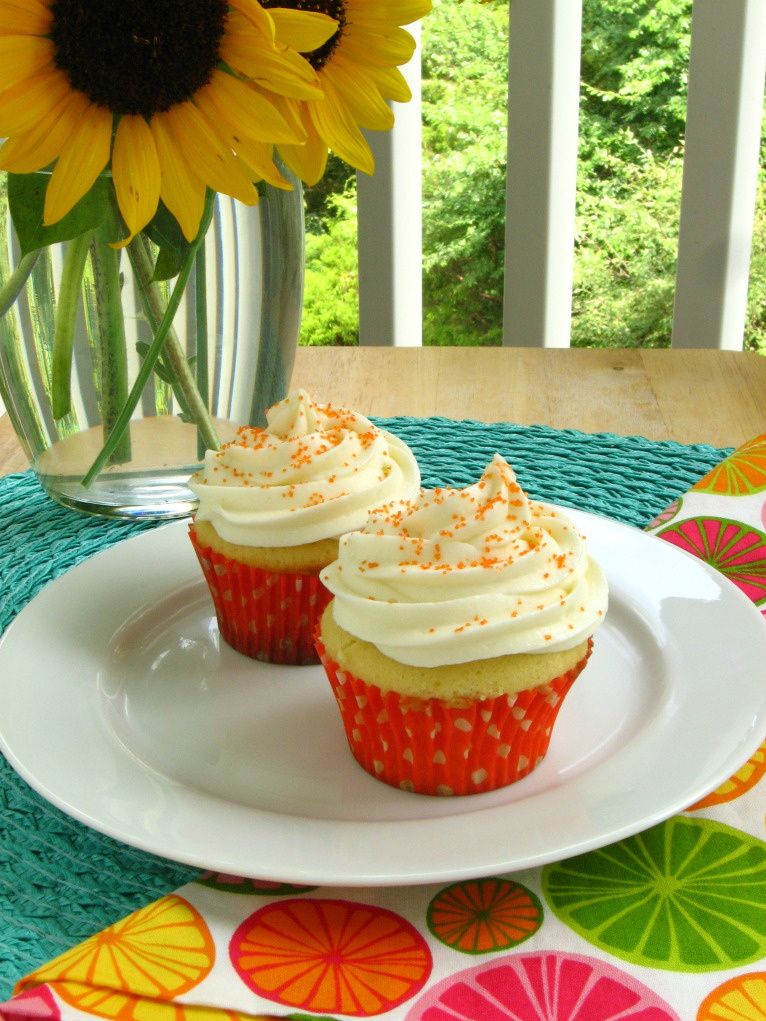
Day 3 of Cupcake Camp was a day several of the campers had been waiting for. It was Creamsicle Cupcake day.

Each day at our cupcake picnic, I’d been asking the girls what they thought of the day’s cupcake and mousse. And each day, like clockwork, a few of them had been ready with the same response: “This one’s good, but I think my favorite is going to be the Creamsicle!”
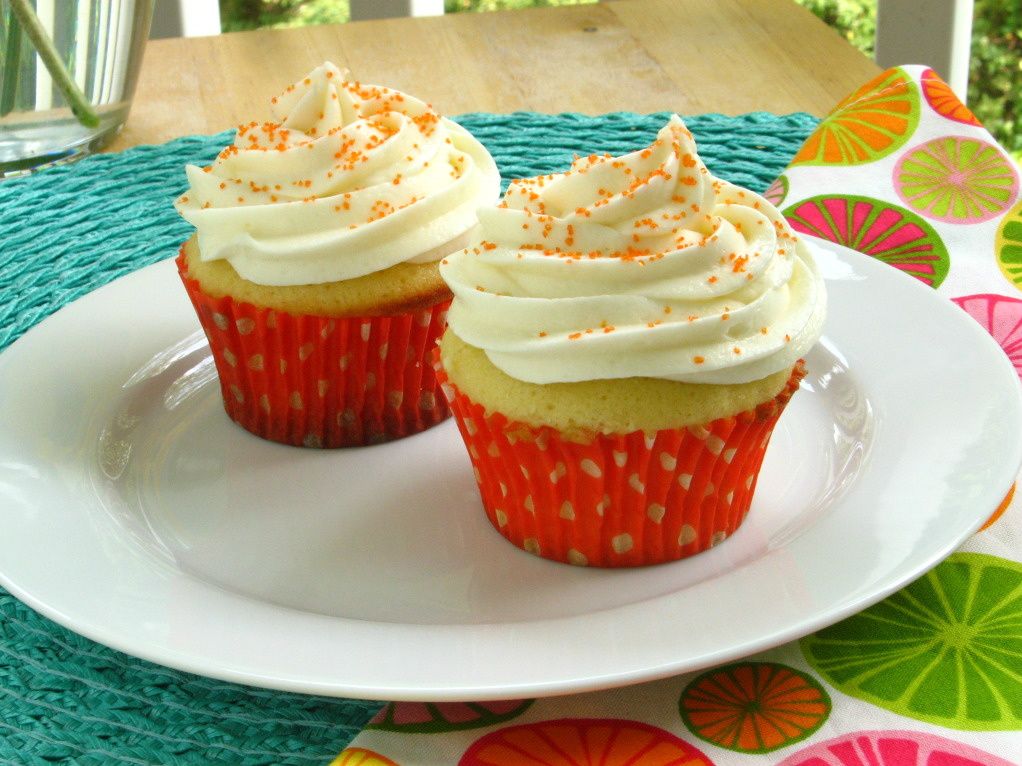
Meticulous Mary Rood and I discussed this phenomenon in the kitchen before the others arrived one morning. We agreed that it was impressive how certain they were of their favorite before they’d ever tasted it. Some of them had had the cupcakes ranked from favorite to least favorite as soon as Day 2! She wondered aloud if the Creamsicle cupcakes would live up to their expectations.
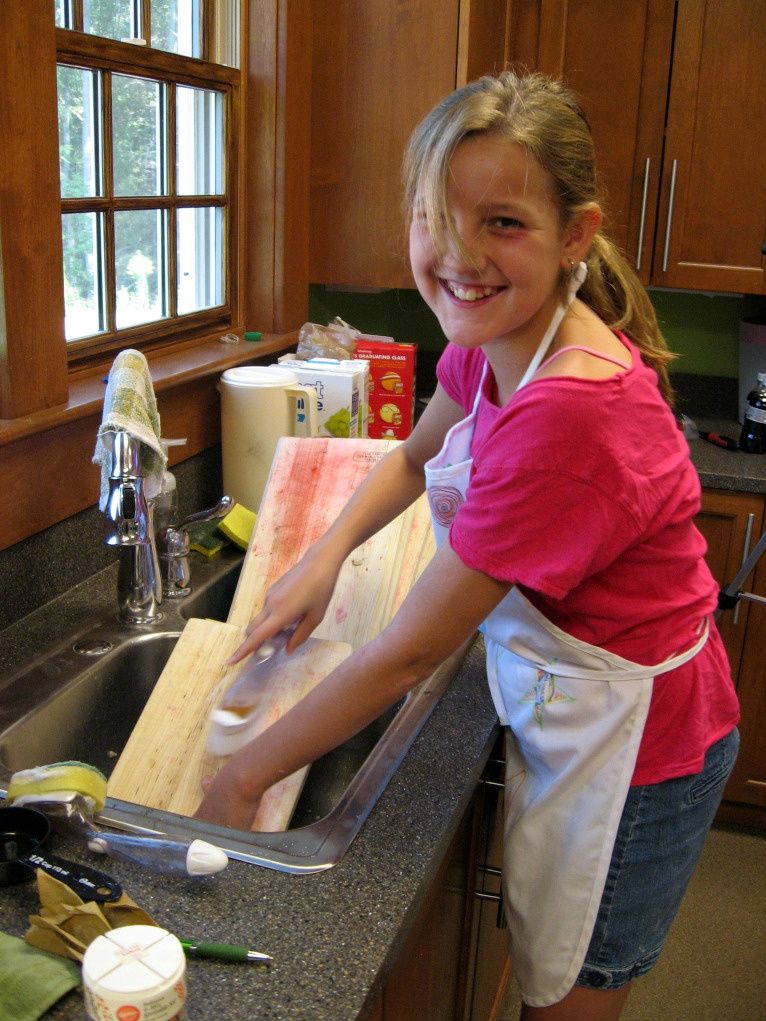
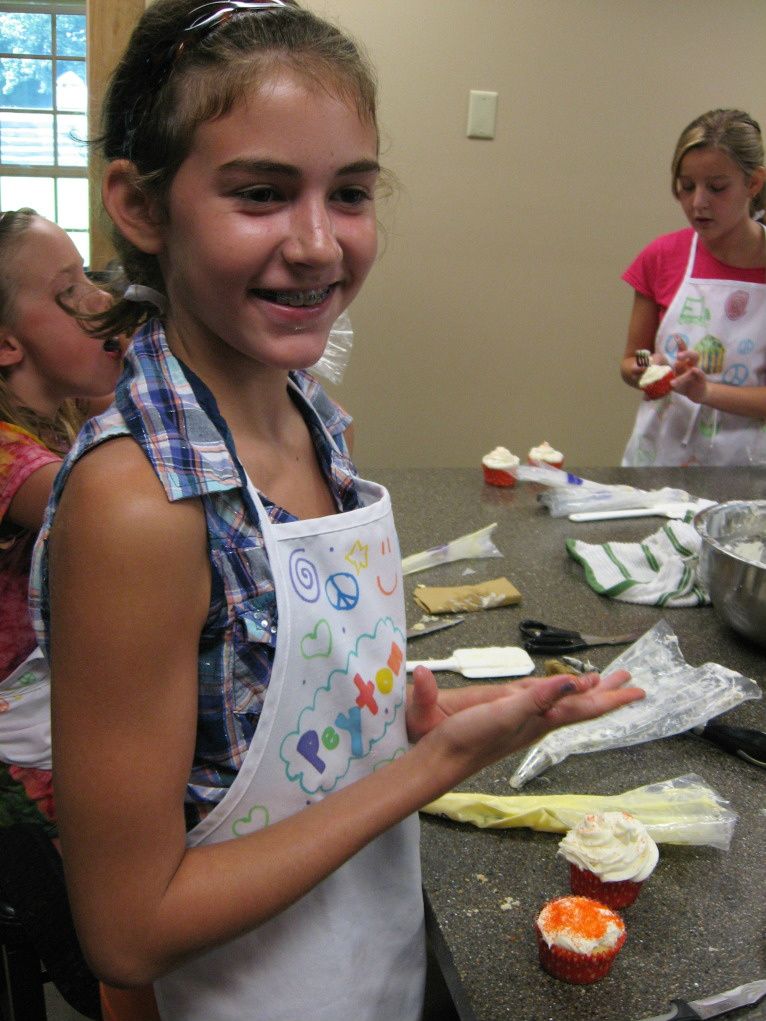
First thing’s first, though — before we could eat or even decorate our Creamsicle Cupcakes, we had an activity to complete. When all the campers had arrived, I sat them down with a list of cake flavors, filling flavors, frosting flavors, and toppings and gave them 10 minutes to come up with creative cupcake combinations of their own. Anyone can be given a book of fun recipes and whip them up, but I wanted these kids to experience what it’s like to create a new flavor.
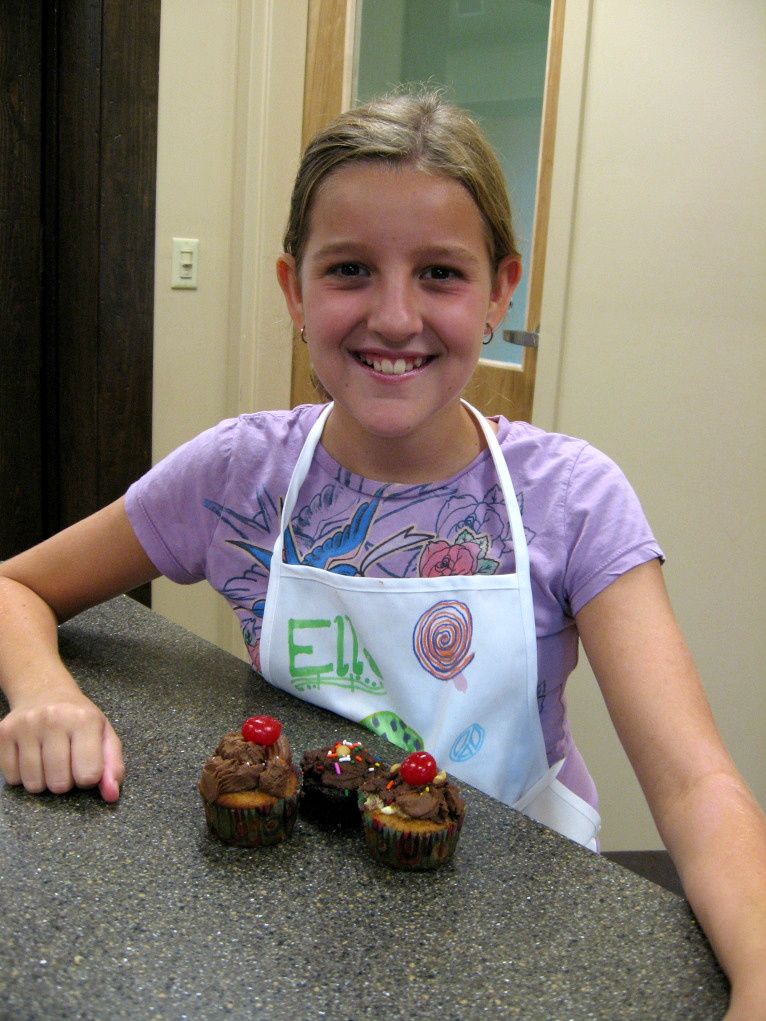
Turns out they’re creative geniuses. Pistachio Peyton was dreaming of chocolate when she came up with her Chocolate Dream Cupcake, comprised of chocolate cake, chocolate filling, and chocolate frosting. Elaborate Elizabeth wanted to make a Fruit Punch Cupcake, while Elbow Grease Ella was excited about one covered in cashews. And these are just three examples of the almost 20 ideas they came up with!
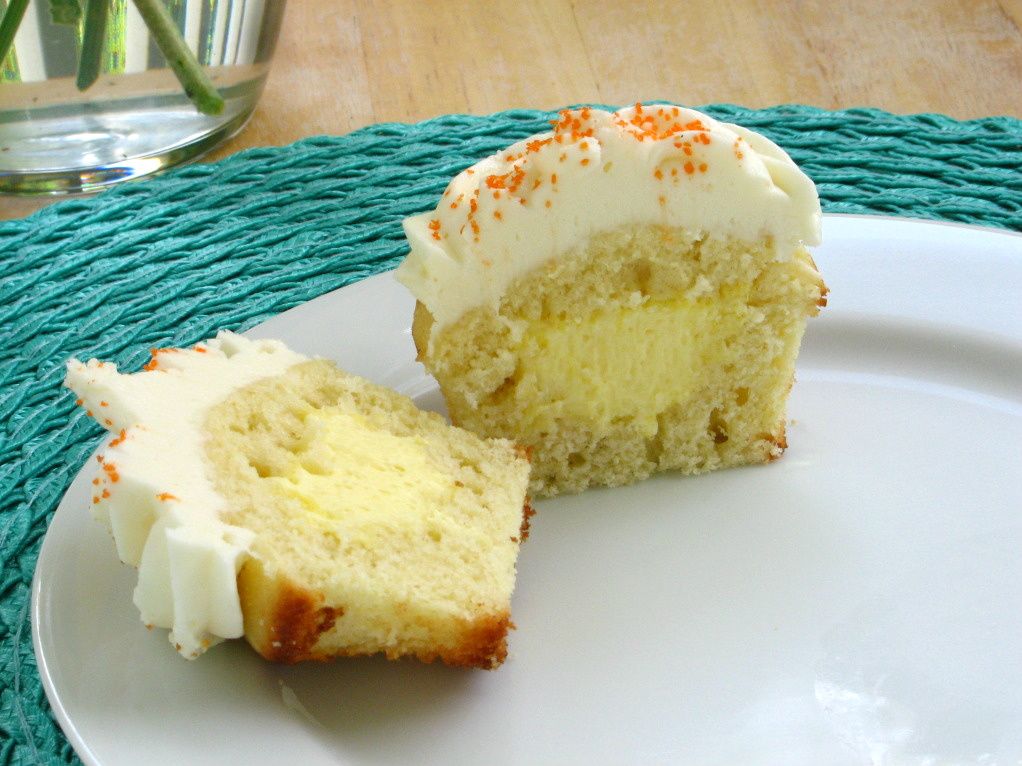
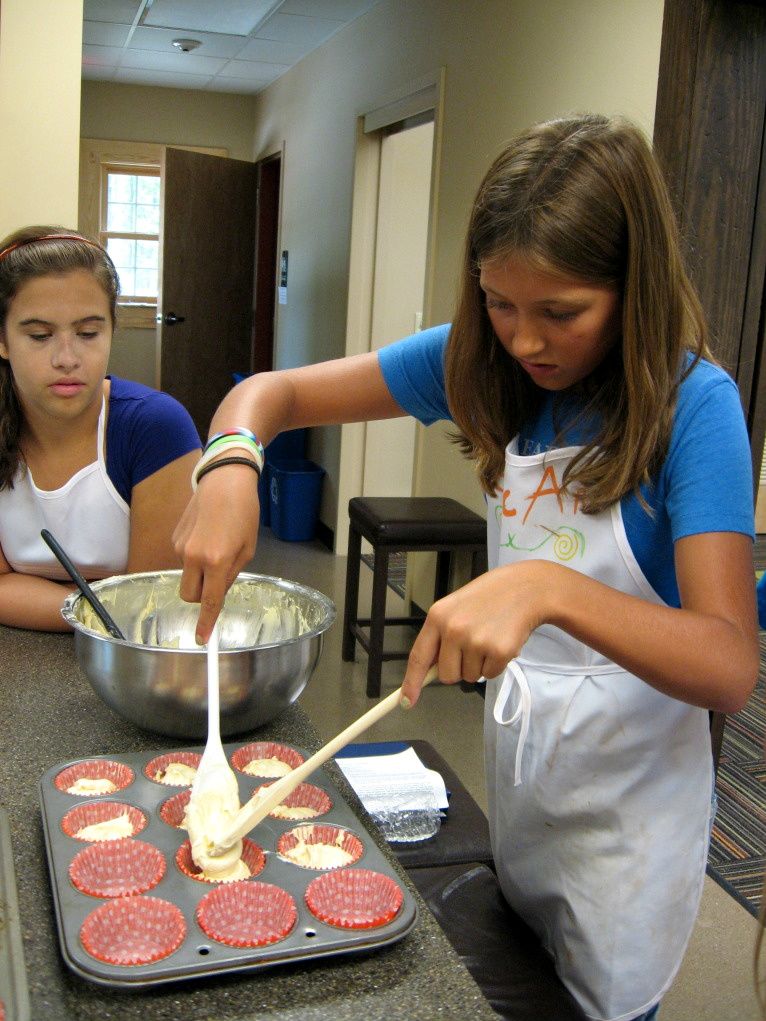
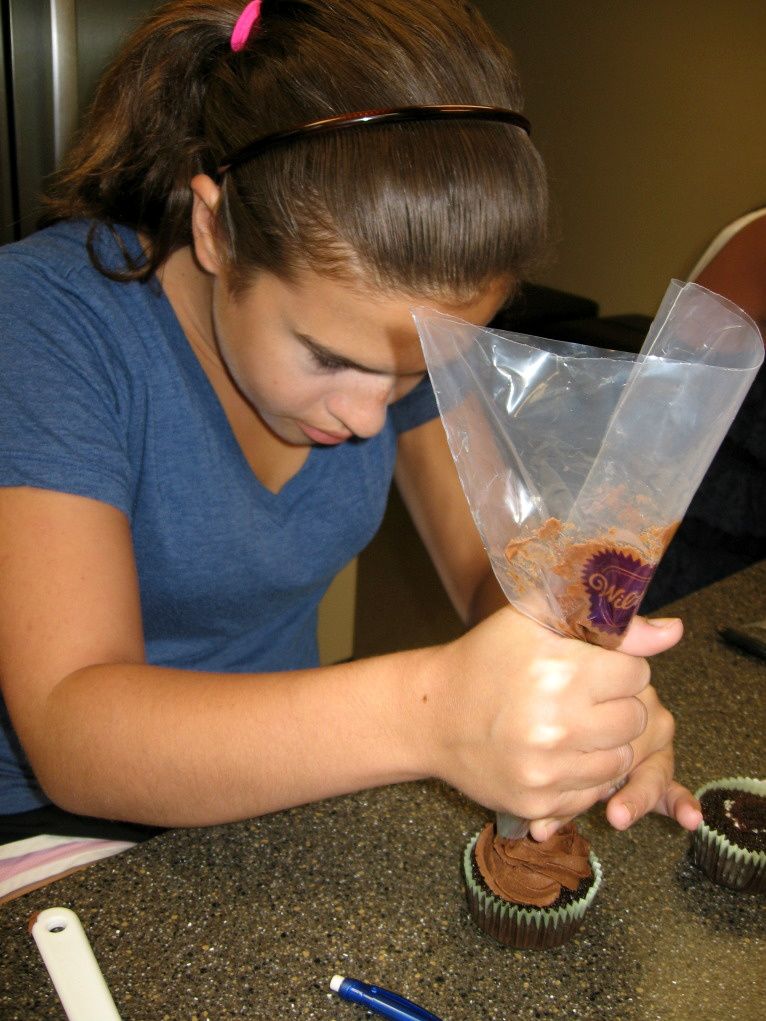
With our brainstorming complete, we set about filling our moist orange cupcakes with the easy vanilla mousse I discussed yesterday. Each camper then frosted their masterpiece with a big swirl of orange cream cheese frosting.

They were thrilled with how their piping skills had improved since Day 1 of camp, and especially with the consistency of the cream cheese frosting, which is soft and easy to pipe. They topped their cupcakes with a dusting of orange sanding sugar before refrigerating them to let the frosting stiffen up.
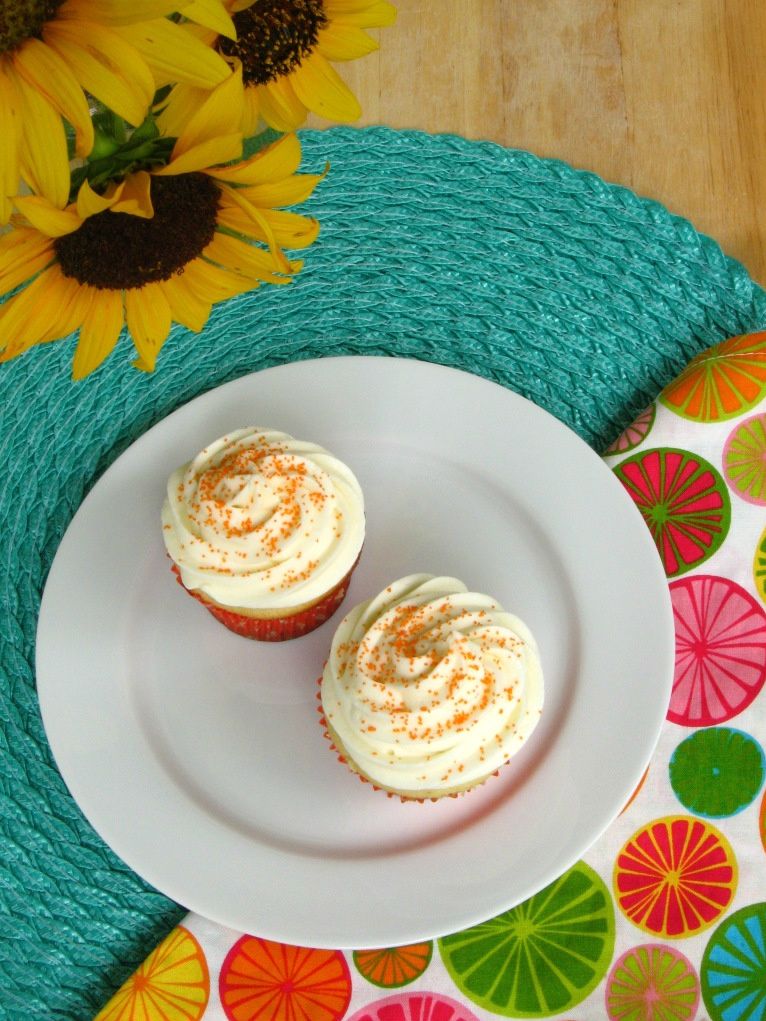
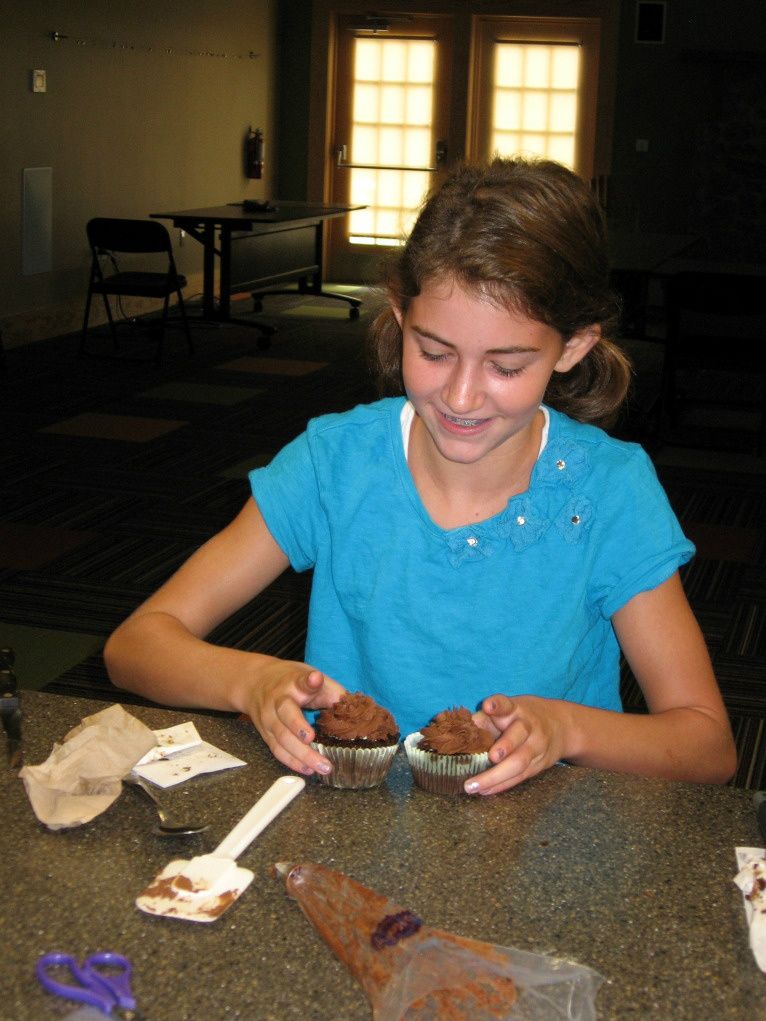
At our cupcake picnic that day, the moment of truth had finally arrived. Everyone peeled off their cupcake papers, eager to see if the Creamsicle Cupcake was as awesome as they’d imagined it to be. Five hungry mouths opened and took five gigantic first bites, and . . . silence.

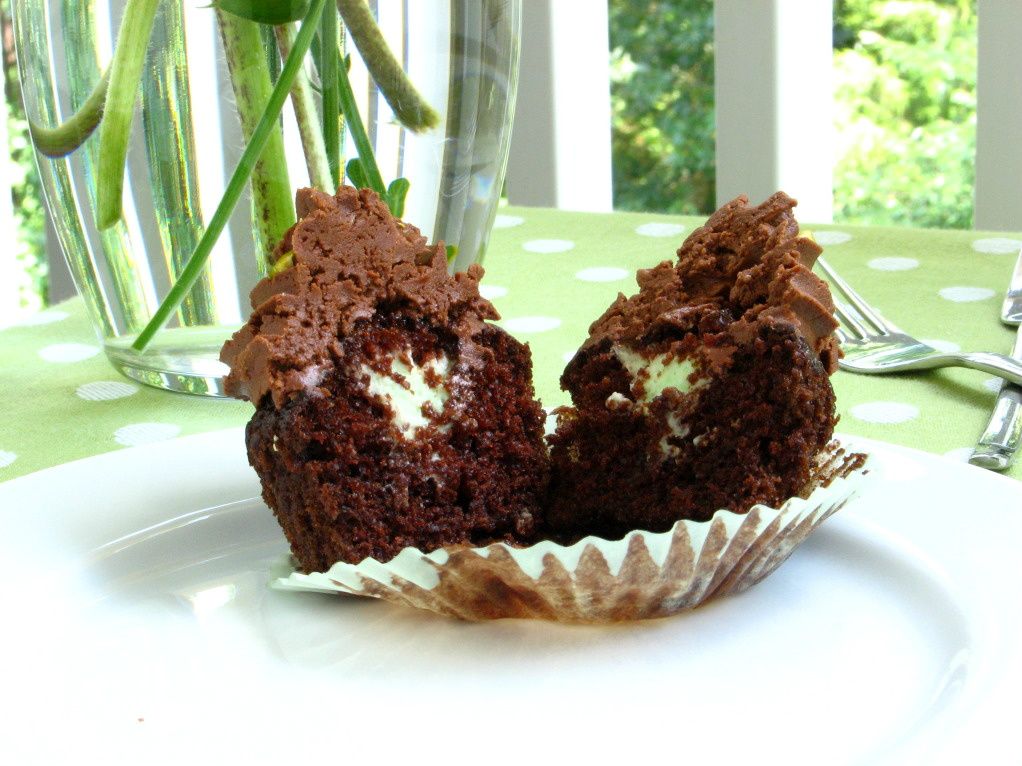
Lots of silence, and lots of this:
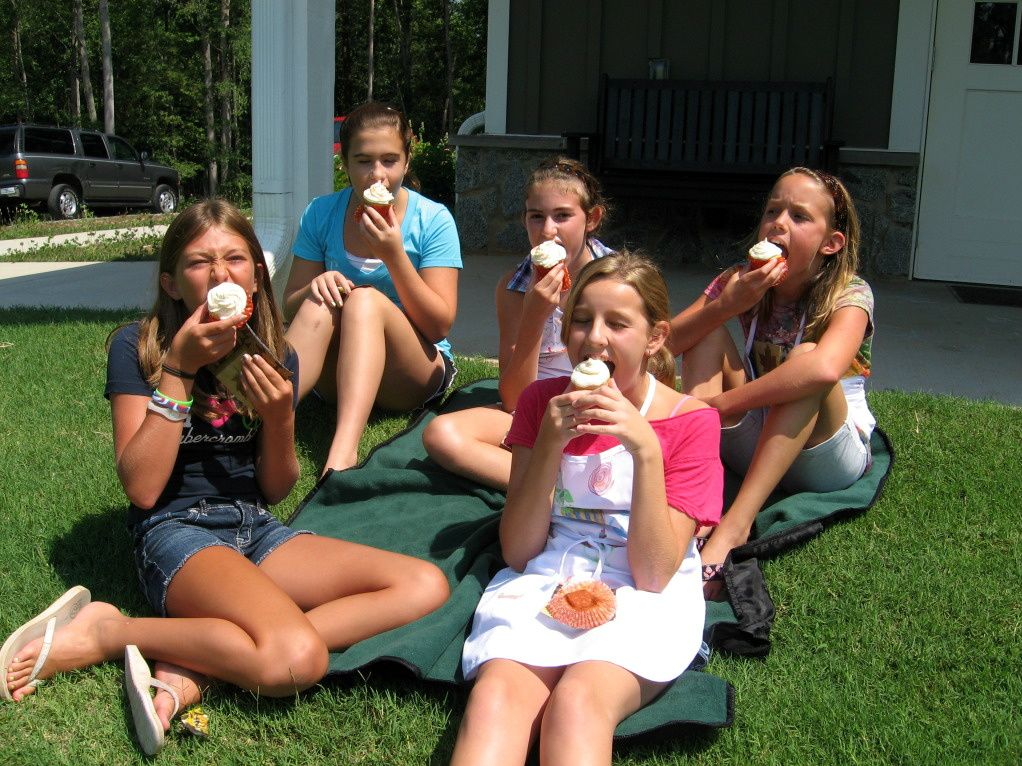
In other words, 10 middle schooler thumbs up! I have to hand it to the girls, they know how to pick ’em. I hope you enjoy these as much as they did!

What creative cupcake flavors can you imagine? Have you made any fantastic cupcake combinations lately?

Creamsicle Cupcakes


Recipe by: adapted from My Baking Addiction
Yields: about 14-16 cupcakes

Cupcake Ingredients:
1/2 cup unsalted butter, room temperature
2/3 cup granulated white sugar
3 large eggs
1 1/2 teaspoon pure vanilla extract
1 1/2 teaspoon of pure orange extract
1 1/2 cups all purpose flour
1 1/2 teaspoons baking powder
1/4 teaspoon salt
1/4 cup milk

Vanilla Mousse Filling Ingredients:
1 cup milk
1 cup heavy cream
1 (4 serving) package vanilla Instant Pudding Mix (not Cook & Serve)

Orange Cream Cheese Frosting Ingredients:
1 8-ounce package of cream cheese, room temperature
1/2 cup (1 stick) butter, room temperature
1/2 teaspoon clear vanilla extract
1 teaspoon orange extract
4 cups confectioners’ sugar
orange sprinkles or sanding sugar, if desired

Directions:
*Note: This recipe makes twice as much mousse as you need for filling the cupcakes. If you want to use half the pudding pack and save the rest for later, just measure it out and do so. Or use the extra mousse for another project (you know, like eating it with a spoon).

Make cupcakes: Line two muffin tins with paper liners. Preheat oven to 350°F. In a small bowl, whisk together the flour, baking powder, and salt. In a separate, medium bowl, cream butter and sugar together until light, fluffy, and pale yellow. Add the eggs in one at a time, beating after each, and then beat in the vanilla and orange extract. Add the dry ingredients in, alternating with the milk, in three additions. Begin and end by adding the dry ingredients. Scrape down the sides of the bowl periodically.

Fill the paper liners about 2/3 full of batter and bake cupcakes for 15-20 minutes or until a toothpick inserted into the center comes out with just a few moist crumbs. Remove cupcakes from the oven and let cool completely.

Make mousse: To make the vanilla mousse, combine milk, cream, and pudding mix in a medium bowl. Beat with a mixer until you reach soft peaks, or a thick whipped cream consistency (this takes a few minutes). Refrigerate mousse until you’re ready to use it.

Make frosting: To make the frosting, cream butter and cream cheese together until fluffy in a large bowl. Add extracts and mix. Add sugar gradually, mixing as you go, and then beat the frosting until smooth and creamy. Cover the bowl with a damp cloth until ready to use.

Assemble cupcakes: To fill the cupcakes, use the Cone Method: cut an upside-down cone out of the top of each one. Cut off the tip of the cone (and eat it, if you wish) leaving just the “lid.” Fill the cavity with mousse using a piping bag or zip-top bag with the corner cut off, and then replace the “lid” to give you a relatively smooth surface to frost. Use a piping bag or zip-top bag to pipe on the frosting. Sprinkle on orange sanding sugar, if desired.

All Cupcake Week Recipes:
Day One: Chocolate Pistachio Cream Cupcakes
Day Two: Banana Split Cupcakes and Cake Pops
Day Three: Creamsicle Cupcakes
Day Four: Strawberry & Cream Cupcakes and Cake Pops
Day Five: Apple Cinnamon Cream Cupcakes

If you liked this post, please:
Subscribe to Willow Bird Baking
Follow Willow Bird Baking on Twitter
Follow Willow Bird Baking on Facebook
Give this post a thumbs up on StumbleUpon


ShareOther ways to share this post with friends!

Banana Split Cupcakes and Cake Pops

It’s Cupcake Week on Willow Bird Baking! Cupcake Capers was a 5-day summer camp I conducted last week wherein 5 middle school girls learned to bake, fill, and frost cupcakes. We eschewed pedestrian cupcake flavors in favor of creative combinations that I now get to share with you! Every day this week I’ll be posting fun memories and recipes from Cupcake Camp.

Day 2 of Cupcake Capers was all about learning to measure ingredients. I set out materials to make vanilla mousse and chocolate buttercream, as well as piles of tools: measuring cups, measuring spoons, liquid measuring cups, and one mysterious table knife.

While the girls listened with rapt attention (okay, they might have been eyeing the sugar and twitching a bit), I explained how to use each tool. When we came to the knife, there were some good guesses about its use in measuring — stabbing your neighbor when she tries to steal the vanilla, measuring butter, etc. I believe it was Meticulous Mary Rood and Energetic Erica who stumbled on its role in measuring flour “and other fluffy stuff,” as I like to say: leveling.

There are debates, believe it or not, about how to measure stuff. The Home Economics classes of your youth probably taught you to spoon ingredients into a measuring cup and then use a table knife to level them. Some folks, though, have resorted to just scooping and leveling. Still others swear by the most accurate and consistent method, measuring everything by weight with a kitchen scale. So I guess I’ll open myself up to major criticism and go ahead and tell you: I cheat. I don’t do any of those. And what’s more, I taught the campers to cheat, too.

See, the point of spooning an ingredient into a measuring cup is to ensure that it’s the right density to measure (i.e., that it’s not packed). This is also why kitchen scales are most accurate — they eliminate the variation caused by how densely an ingredient settles into the measuring cup. But both of those methods are too tedious for me, and my primary goal in the kitchen is to enjoy and challenge myself — not to bore and frustrate myself. My secondary goal is to make impressive, delicious food. My little “cheat” consistently accomplishes both of my goals, so I’m happy with it, even if some foodies would scoff.

I fluff-and-scoop. If you’ve ever watched Barefoot Contessa, you might have seen Ina Garten do it (see, I’m in good company). When measuring flour, for instance, I stick my measuring cup into the canister and “fluff” the flour with it a few times to ensure that it’s not packed. I then lightly scoop a heaping amount into the cup and level it with a table knife. This way the ingredient has an appropriate density in my measuring cup, but I don’t have to fiddle with a kitchen scale or spoon.

After our measuring lesson, the campers completed the mise-en-place for the chocolate frosting and mousse and set to work making both. I have to tell you about this easy, delicious mousse. It’s kind of a cheat too, actually. Maybe this post should be subtitled, “Ways to Cheat at Cupcake Camp.” The mousse takes advantage of the gelatin in instant pudding mixes, which is activated by agitation, to thicken what would otherwise be a simple whipped cream.

All you do is pick your favorite pudding mix (that’s part of the reason I love it — you can have chocolate, pistachio, butterscotch, cheesecake, white chocolate, banana cream, coconut, etc., etc., etc. mousse in a matter of minutes) and stick it in a bowl with a cup of milk and a cup of cream. You whip the mixture to soft peaks just as you would if you were making regular whipped cream. The pudding mix will thicken it beyond that to a moussey texture perfect for filling cupcakes (or layer cakes — just pipe a border of frosting around the outer edge of your layer before you add it so it doesn’t squish out).

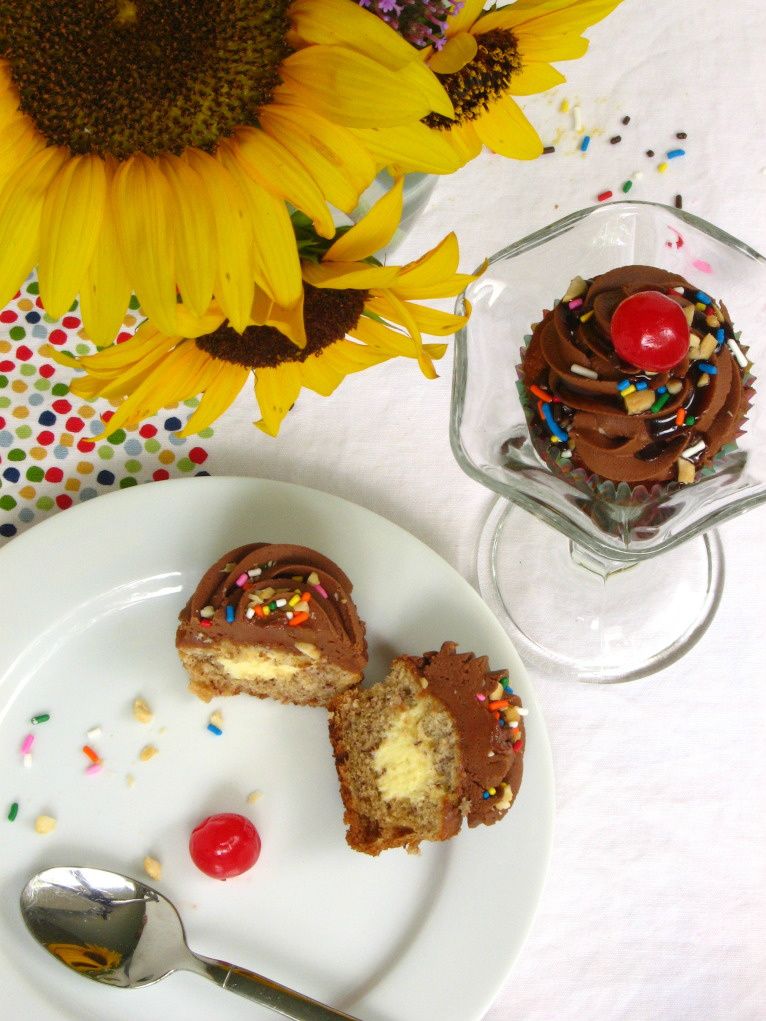
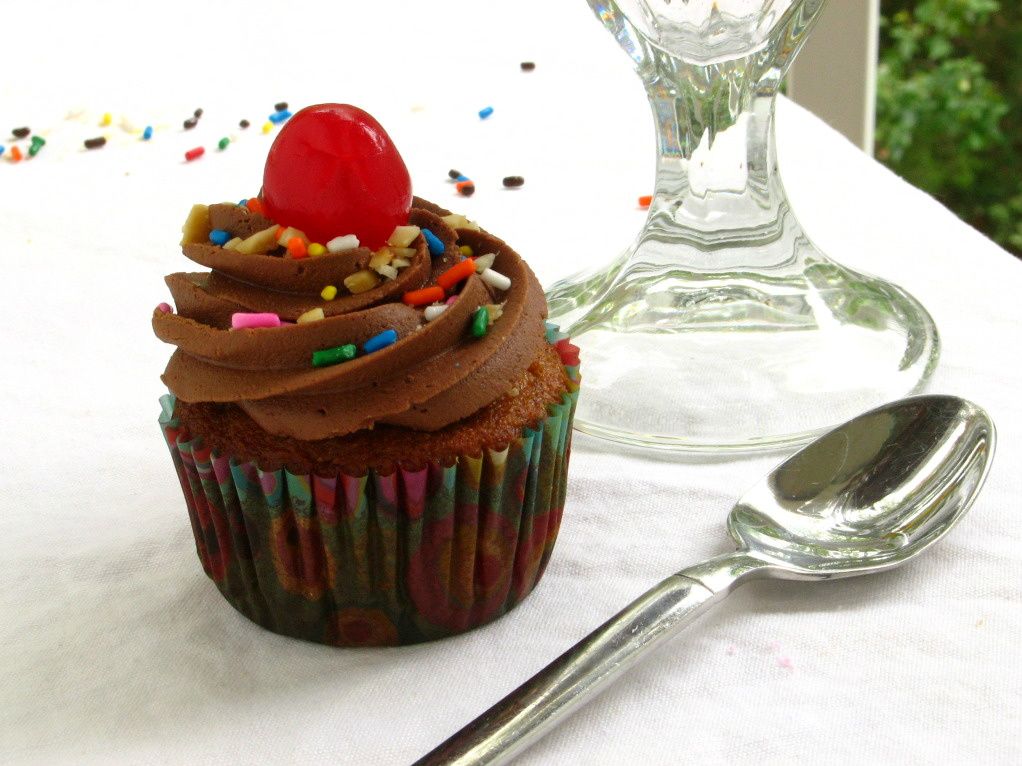
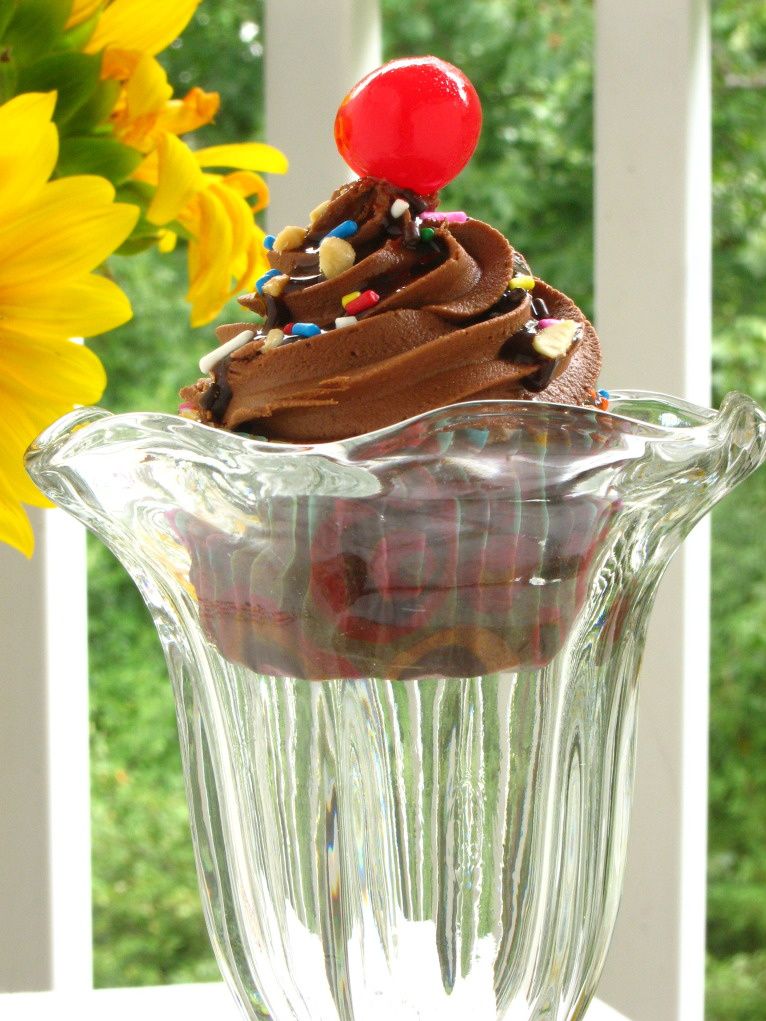
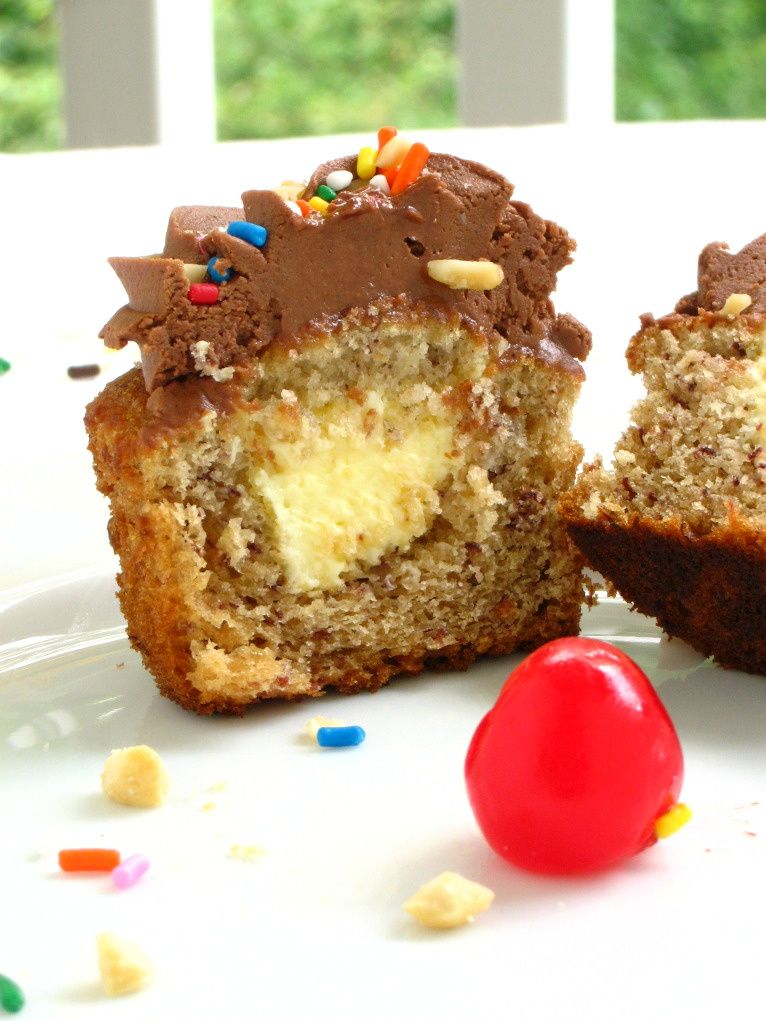
After measuring and moussing, we made Banana Split Cupcakes, which are moist banana cupcakes filled with vanilla mousse and topped with chocolate buttercream, chocolate sauce, peanuts, sprinkles, and a cherry.

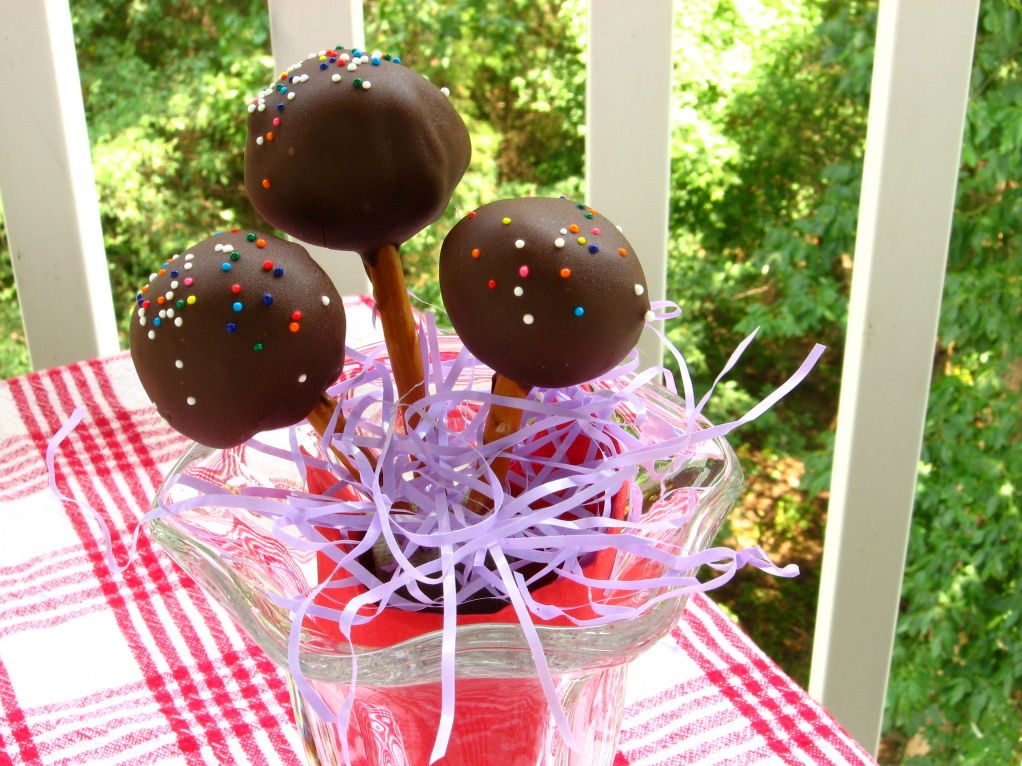
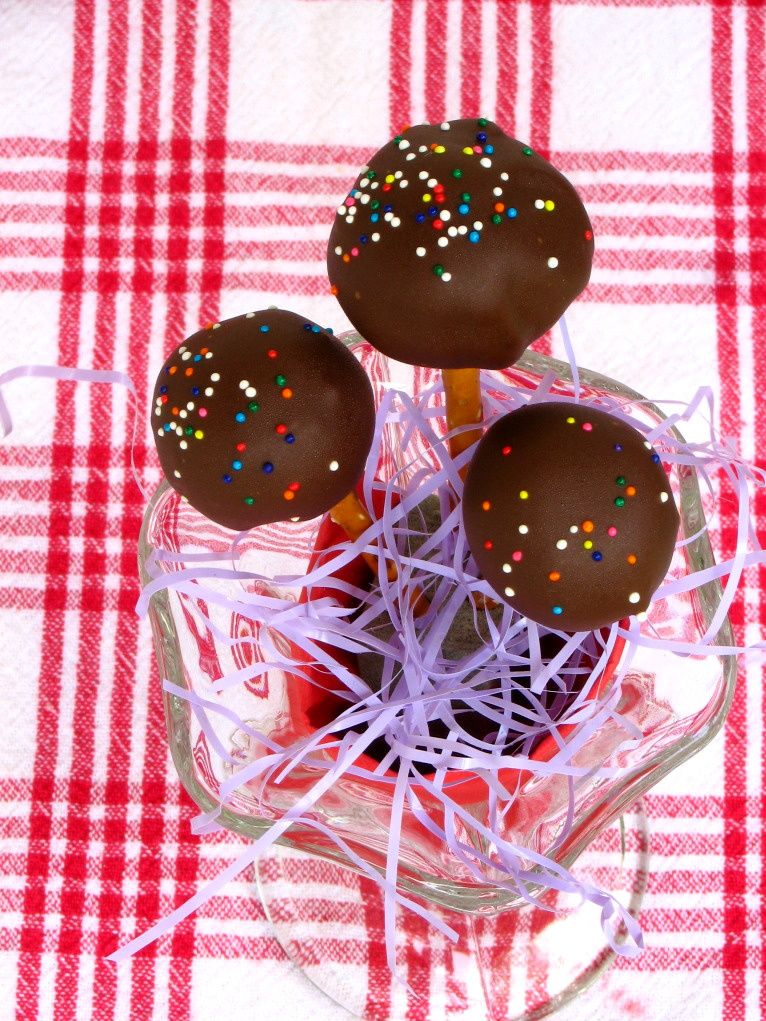
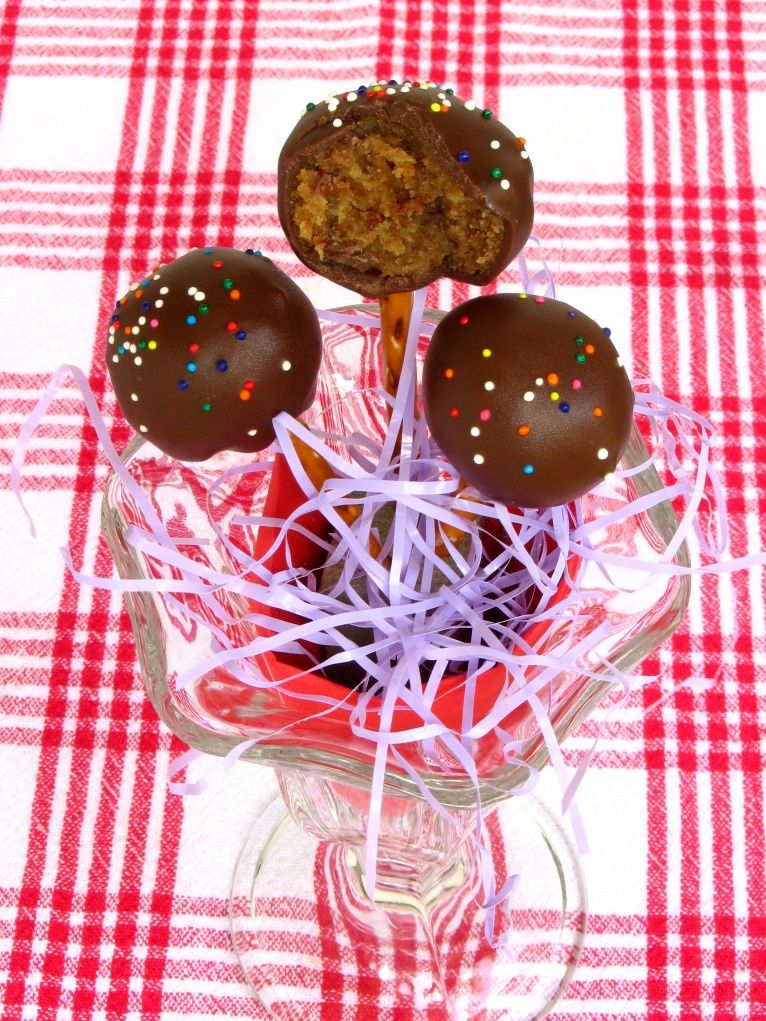
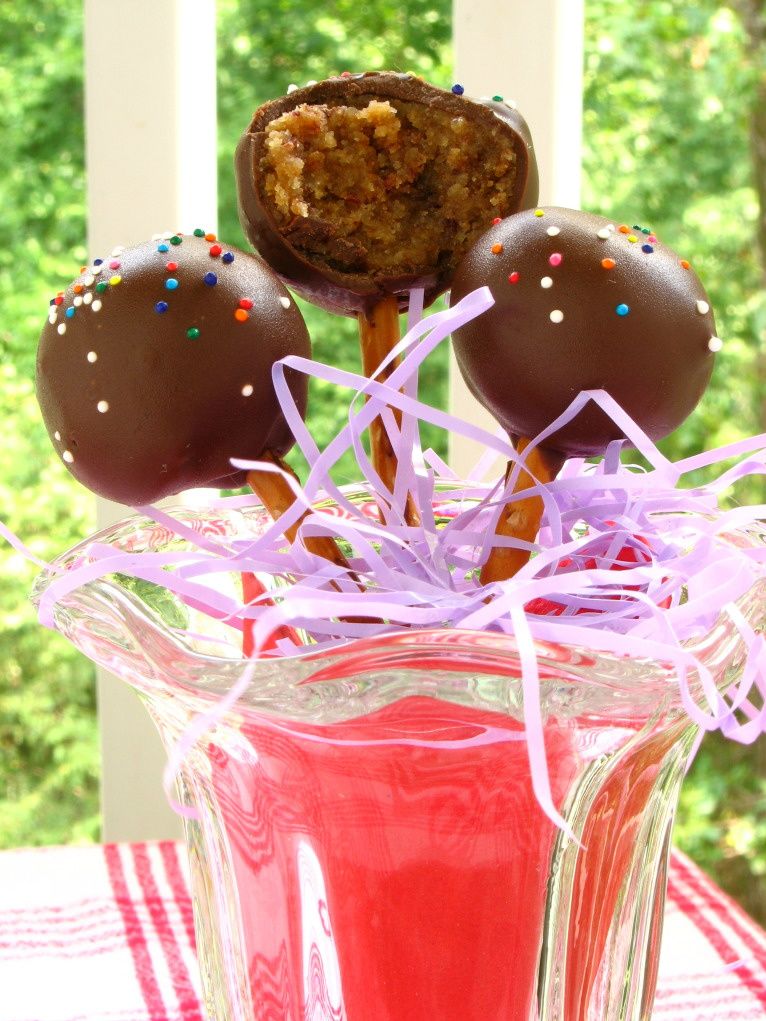
Since we had extra cupcakes, we also made Banana Split Cake Pops by crumbling the banana cake, mixing it with a simple cream cheese frosting, rolling it into balls, chilling them overnight, and dipping them in melted chocolate candy coating. These were so simple, and I almost liked them better than the cupcakes themselves! Instructions for how to make both are included below.

How do you measure dry ingredients?

Banana Split Cupcakes


Recipe by: Willow Bird Baking, adapted from Piggly-Wiggly and Wilton
Yields: 18-24 cupcakes

Cupcake Ingredients:
1 1/2 cups all-purpose flour
1 tsp baking soda
1/4 tsp salt
1 stick unsalted butter at room temp
1 cup sugar
1 tsp pure vanilla extract
1 large egg, preferably at room temp
~2 very ripe bananas, mashed
1/2 cup sour cream or plain yogurt

Mousse Ingredients:
1 cup milk
1 cup heavy cream
1 (4 serving) package vanilla Instant Pudding Mix (not Cook & Serve)

Frosting Ingredients:
1/2 cup solid vegetable shortening
1/2 cup (1 stick) butter, softened
3/4 cup cocoa
1 teaspoon clear vanilla extract
4 cups sifted confectioners’ sugar (approximately 1 lb.)
3-4 tablespoons milk
peanuts, chopped
sprinkles
chocolate sauce
maraschino cherries

Directions:
*Note: This recipe makes twice as much mousse as you need for filling the cupcakes. If you want to use half the pudding pack and save the rest for later, just measure it out and do so. Or use the extra mousse for another project (you know, like eating it with a spoon).

Make cupcakes: Line two muffin tins with paper liners. Preheat oven to 350°F. In a medium bowl, whisk the flour, baking soda and salt together. In a separate, large bowl, beat the butter until creamy. Add the sugar and beat at medium speed until pale and fluffy. Beat in the vanilla, then add the eggs, one at a time, beating for about 1 minute after each egg goes in. Reduce the mixer speed to low and mix in the bananas.

Mix in half the dry ingredients (the mixture may look curdled — just keep mixing), followed by all the sour cream and finally, the rest of the flour mixture. Fill each well of your prepared pan about 1/2 to 2/3 of the way full and rap the pan on the counter to remove bubbles from the batter and smooth the top.

Bake for 25 to 30 minutes, or until a toothpick inserted deep into the center of the cakes comes out clean. Transfer the pan to a rack and cool for 10 minutes before unmolding on the rack. Let cool completely.

Make mousse: To make the vanilla mousse, combine milk, cream, and pudding mix in a medium bowl. Beat with a mixer until you reach soft peaks, or a thick whipped cream consistency (this takes a few minutes). Refrigerate mousse until you’re ready to use it.

Make frosting: To make the frosting, cream shortening and butter together in a large bowl. Mix in cocoa and vanilla. Add in the sugar one cup at a time while beating on medium speed and scraping down the sides of the bowl often. Add milk and beat until the frosting is light and fluffy. Cover the bowl with a damp cloth until ready to use.

Assemble cupcakes: To fill the cupcakes, use the Cone Method: cut an upside-down cone out of the top of each one. Cut off the tip of the cone (and eat it, if you wish) leaving just the “lid.” Fill the cavity with mousse using a piping bag or zip-top bag with the corner cut off, and then replace the “lid” to give you a relatively smooth surface to frost. Use a piping bag or zip-top bag to pipe on the frosting. Top cupcakes with chocolate sauce, peanuts, sprinkles, and a cherry.

Banana Split Cupcakes


Recipe by: Willow Bird Baking, adapted from Piggly-Wiggly
Yields: probably around 40-50 cake pops

Cupcake Ingredients:
1 1/2 cups all-purpose flour
1 tsp baking soda
1/4 tsp salt
1 stick unsalted butter at room temp
1 cup sugar
1 tsp pure vanilla extract
1 large egg, preferably at room temp
~2 very ripe bananas, mashed
1/2 cup sour cream or plain yogurt

Cream Cheese Frosting Ingredients:
1/2 cup (1 stick) butter, softened
1 (8-ounce) package cream cheese, softened
1 teaspoon vanilla
4 cups confectioners’ sugar

Other Cake Pop Ingredients:
pretzel sticks
chocolate candy melts or candy bark (I use CandiQuik)
sprinkles

Directions:
*NOTE: We made our cake pops with leftover cupcakes, so I’m printing instructions for making them with cupcakes here. I’m not sure how this recipe would work if you tried baking this as a cake to save liners, so I don’t want to recommend that, but let me know if you try it.

Make cupcakes: Line two muffin tins with paper liners. Preheat oven to 350°F. In a medium bowl, whisk the flour, baking soda and salt together. In a separate, large bowl, beat the butter until creamy. Add the sugar and beat at medium speed until pale and fluffy. Beat in the vanilla, then add the eggs, one at a time, beating for about 1 minute after each egg goes in. Reduce the mixer speed to low and mix in the bananas.

Mix in half the dry ingredients (the mixture may look curdled — just keep mixing), followed by all the sour cream and finally, the rest of the flour mixture. Fill each well of your prepared pan about 1/2 to 2/3 of the way full and rap the pan on the counter to remove bubbles from the batter and smooth the top.

Bake for 25 to 30 minutes, or until a toothpick inserted deep into the center of the cakes comes out clean. Transfer the pan to a rack and cool for 10 minutes before unmolding on the rack. Let cool completely before crumbling cupcakes into a large bowl.

Make frosting: Make cream cheese frosting by beating butter and cream cheese together until fluffy. Add sugar and vanilla and beat until smooth.

Make cake balls: Mix about 3/4 cup of frosting into your crumbled cake, adding more frosting if the mixture is still too crumbly. You want it to reach a sort of stiff play-dough texture so you can shape it into balls. Prepare a sheet pan with a sheet of wax paper on it. Shape your banana mixture into balls and line them on the wax paper. Chill these in the refrigerator overnight. I don’t freeze mine like some sites suggest, because I find chilling them in the fridge instead reduces cracking after I dip them.

Mount and dip cake balls: After cake balls have chilled overnight, melt your candy melts or chocolate bark according to the package directions. I keep my bowl of candy melts situated in a bigger bowl of hot water to keep them warm and fluid, but be careful no water gets into the melts! To mount each cake ball, take a pretzel stick and dip the end in candy melts. Gently but firmly push the end of the pretzel stick into the cake ball. Put these back on their silicone mat or wax paper to chill. Repeat until all cake balls are mounted and chill for about 30 minutes.

After chilling, you’re ready to dip! Dip each cake ball into the candy melts, using a spoon to help coat them. After dipping, hold your cake ball over the bowl and gently bounce to drain the excess off. Turn the pop as you drain. When well-drained, sprinkle some sprinkles on top and gently place the pop in a foam block to continue drying. I placed mine in the fridge to reduce drying time. Once they’re dry, you’re ready to eat them! These keep great in an airtight container in the fridge.

Never made cake pops before? I made this video tutorial to show you some techniques involved.

All Cupcake Week Recipes:
Day One: Chocolate Pistachio Cream Cupcakes
Day Two: Banana Split Cupcakes and Cake Pops
Day Three: Creamsicle Cupcakes
Day Four: Strawberry & Cream Cupcakes and Cake Pops
Day Five: Apple Cinnamon Cream Cupcakes

If you liked this post, please:
Subscribe to Willow Bird Baking
Follow Willow Bird Baking on Twitter
Follow Willow Bird Baking on Facebook
Give this post a thumbs up on StumbleUpon


ShareOther ways to share this post with friends!

Chocolate Pistachio Cream Cupcakes

Welcome to Cupcake Week on Willow Bird Baking! Last week was quiet around here, in large part because I was conducting a summer camp for middle schoolers. Not one of those sleep-in-tents, get-harassed-by-cheeky-raccoons, feed-your-body-to-mosquitoes kind of summer camps, but the kind of summer camp dreams are made of: CUPCAKE CAMP.

Cupcake Capers was a 5-day camp where campers learned to bake, fill, and frost cupcakes. We eschewed pedestrian cupcake flavors in favor of creative combinations that I now get to share with you! Every day this week I’ll be posting fun memories and recipes from Cupcake Camp.

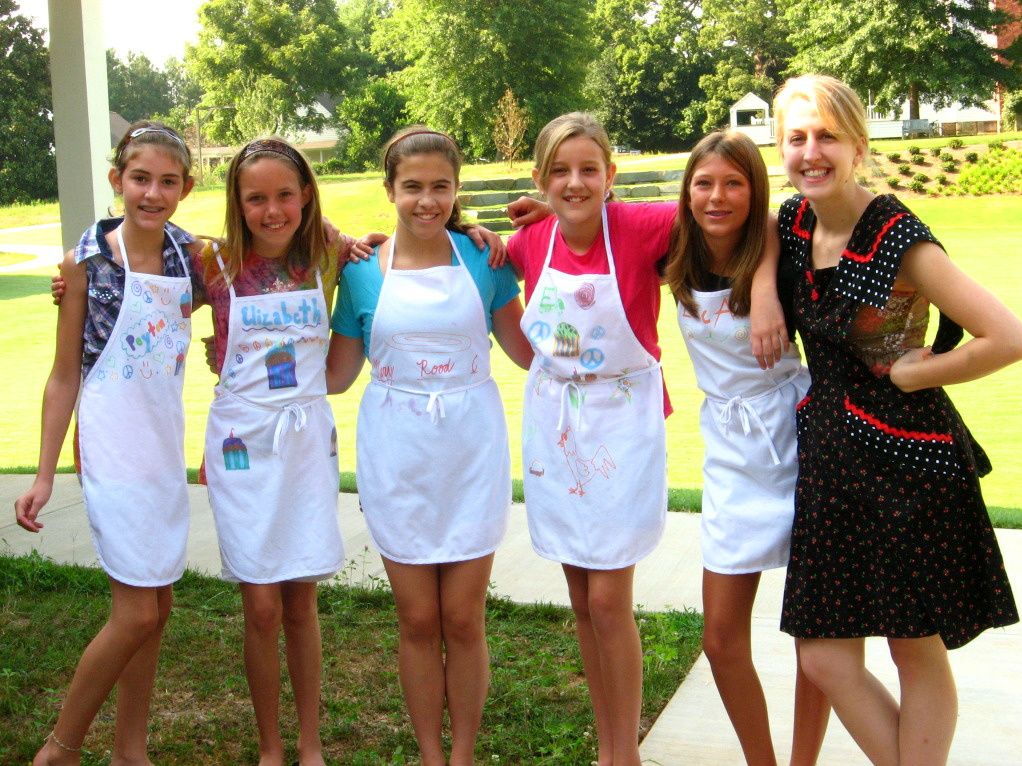
Monday morning at 9 a.m. sharp, five sweet faces popped into the Cupcake Capers kitchen ready for dessert. Cake and frosting might not be morning fare for your average kid, but these five kids were anything but average. They were the Cupcake Campers.

Meticulous Mary Rood, Energetic Erica, Pistachio Peyton, Elaborate Elizabeth, and Elbow Grease Ella were bright-eyed, bushy-tailed . . . and hungry.

But first thing’s first: we had to ensure no one would lose limbs or eyeballs during our week-long exploration of all things cupcake. The campers settled down to build their cupcake boxes and draw designs on fresh white aprons with fabric markers while I began reciting the litany of safety rules.

You might remember these sorts of safety rules from the Home Economics classes of your youth. They cover important things such as not sticking metal objects into electrical sockets, re-washing your hands if you sneeze all over them, and resisting the urge to dance around with knives.

The kids snickered at a few of the most obvious ones, but also learned a few things they may not have realized. I noticed them all look down sheepishly at their flip-flops when we got to the “closed-toe shoes” rule. I held up my own flip-flopped foot and shrugged: “We’ll just be really careful that no one loses a toe today.” Oh, the hazards of holding a cooking class in summer . . .

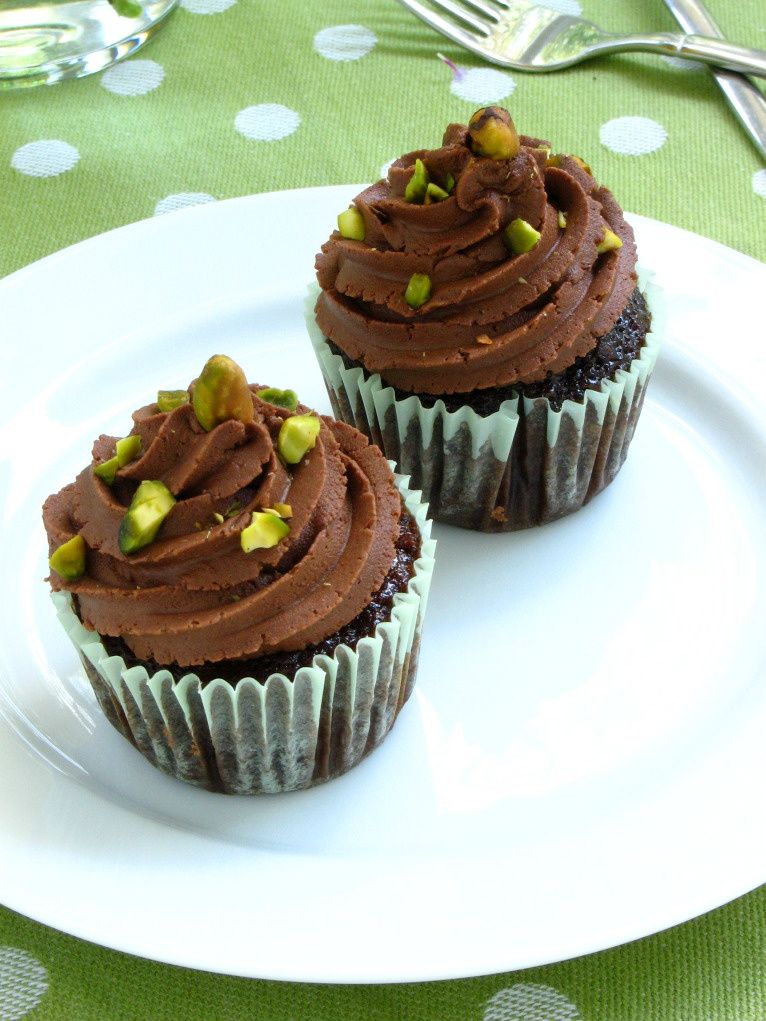
Finally, we were ready to get our hands on some cupcakes! I’d prepared some moist chocolate cupcakes, easy pistachio mousse, and a rich, stiff chocolate buttercream to teach the girls how to fill and frost a cupcake. They set to work using the Cone Method (my preferred technique for filling cupcakes) to create a cavity in each little cake.

I love the Cone Method. If you stick a pastry tip into a cupcake and squeeze without creating a cavity first, you usually (depending on the density of your cake) end up with a disappointing pittance of cream. Filling needs space to fill! You could just cut a big hole in the top of your cupcake, fill it, and frost over it, but depending on your frosting type, that might not end up too neat or pretty.

With the Cone Method, however, you cut an upside down cone out of the top of your cupcake by cutting in a circle with a knife held at an angle (much like you’d hull a strawberry). You then cut the tip of the cone off leaving just the “lid.” Fill the cavity with as much filling as you can, replace the lid, and frost like usual. The Cupcake Bakeshop has lovely photos of this method on this post.

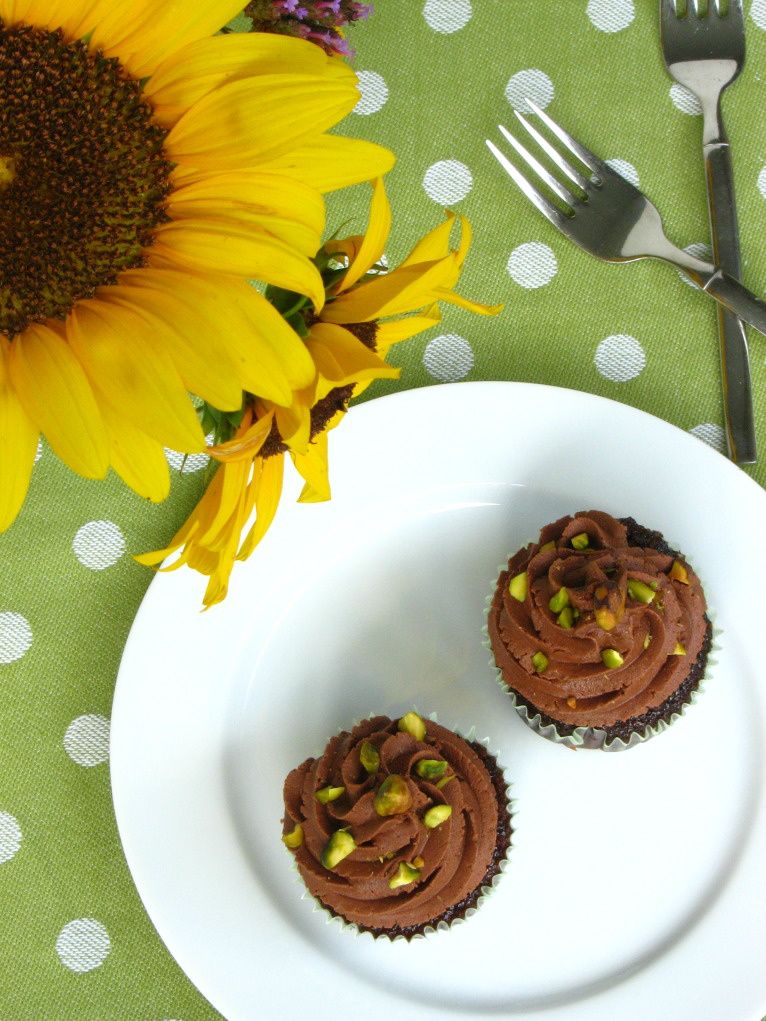
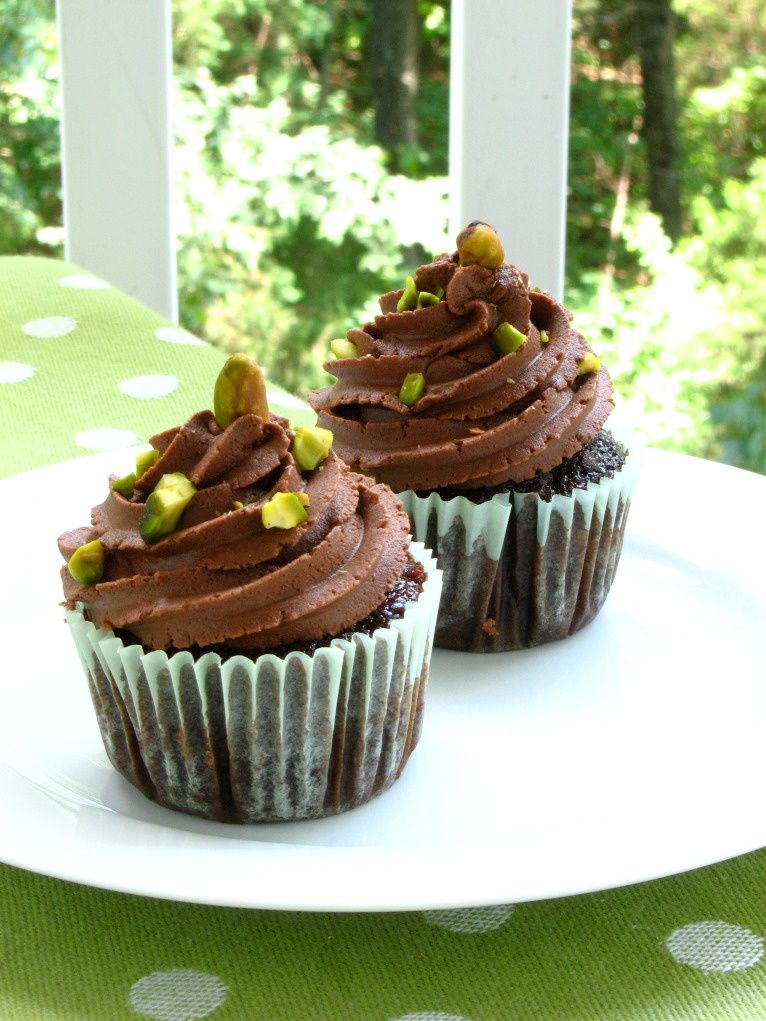
We filled our cupcakes with a simple mousse I’ll brag about tomorrow, frosted each one, and topped them with pale green pistachios. Elaborate Elizabeth crusted hers with a thick layer while some of the other girls created a sparse design.

When the first day of camp was drawing to a close and each camper had assembled their own unique cupcake, we went outside and spread a blanket on the grass for a cupcake picnic. The girls devoured their handiwork with exuberance, and these moist, creamy, salty and sweet cupcakes remained one of their favorites all week long!

Chocolate Pistachio Cream Cupcakes


Recipe by: Willow Bird Baking, adapted from Hershey’s and Wilton
Yield: About 16-18 cupcakes

Cupcake Ingredients:
1 cup sugar
7/8 cup all-purpose flour
3/8 cup cocoa powder
3/4 teaspoon baking powder
3/4 teaspoon baking soda
1/2 teaspoon salt
1 egg
1/2 cup milk
1/4 cup vegetable oil
1 teaspoon vanilla extract
1/2 cup boiling water

Mousse Ingredients*:
1 cup milk
1 cup heavy cream
1 (4 serving) package of Instant Pistachio Pudding Mix (not Cook & Serve)

Frosting Ingredients:
1/2 cup solid vegetable shortening
1/2 cup (1 stick) butter, softened
3/4 cup cocoa
1 teaspoon clear vanilla extract
4 cups sifted confectioners’ sugar (approximately 1 lb.)
3-4 tablespoons milk
pistachios, chopped, for topping

Directions:
*Note: This recipe makes twice as much mousse as you need for filling the cupcakes. If you want to use half the pudding pack and save the rest for later, just measure it out and do so. Or use the extra mousse for another project (you know, like eating it with a spoon).

Line two muffin tins with paper liners. Preheat oven to 350°F. In a large bowl, whisk together sugar, flour, cocoa, baking powder, baking soda and salt. Add eggs, milk, oil and vanilla. Beat the mixture with a mixer set on medium speed for 2 minutes. Stir in the boiling water and then pour mixture into a measuring cup with a pour spout to help you fill the paper liners (the batter will be very thin).

Fill cups just a little over 1/2 full with batter (be careful not to overfill, because these cupcakes get wonky if you do). Bake 12 to 15 minutes or until a toothpick inserted into the center comes out with just a few moist crumbs. Cool completely.

To make the pistachio mousse, combine milk, cream, and pudding mix in a medium bowl. Beat with a mixer until you reach soft peaks, or a thick whipped cream consistency (this takes a few minutes). Refrigerate mousse until you’re ready to use it.

To make the frosting, cream shortening and butter together in a large bowl. Mix in cocoa and vanilla. Add in the sugar one cup at a time while beating on medium speed and scraping down the sides of the bowl often. Add milk and beat until the frosting is light and fluffy. Cover the bowl with a damp cloth until ready to use.

Now you’re ready to assemble the cupcakes. To fill the cupcakes, use the Cone Method: cut an upside-down cone out of the top of each one. Cut off the tip of the cone (and eat it, if you wish) leaving just the “lid.” Fill the cavity with pistachio mousse using a piping bag or zip-top bag with the corner cut off, and then replace the “lid” to give you a relatively smooth surface to frost. Use a piping bag or zip-top bag to pipe on the frosting. Top cupcakes with pistachios.

All Cupcake Week Recipes:
Day One: Chocolate Pistachio Cream Cupcakes
Day Two: Banana Split Cupcakes and Cake Pops
Day Three: Creamsicle Cupcakes
Day Four: Strawberry & Cream Cupcakes and Cake Pops
Day Five: Apple Cinnamon Cream Cupcakes

If you liked this post, please:
Subscribe to Willow Bird Baking
Follow Willow Bird Baking on Twitter
Follow Willow Bird Baking on Facebook
Give this post a thumbs up on StumbleUpon

ShareOther ways to share this post with friends!

Foodbuzz 24×24: School’s IN for Summer!

My students and I wait all year to hear the words, “School’s out for summer!” but this year is a little different for me, because I was chosen to host a June Foodbuzz 24×24 party. The Foodbuzz 24×24 “highlights unique meals occurring around the globe during a 24-hour period.”

For my unique meal, I wanted to create a whimsical, nostalgic picnic celebrating my memories of elementary school. The best part was the guest list: a handful of ladies I went to elementary school with and hadn’t seen since! School’s IN for Summer!

It was the early 90s. I was in elementary school, jamming out to Ace of Base on my walkman, collecting everything that had anything to do with cats, and rocking one-shoulder-unhooked overalls. I’m not even going to bother apologizing for those, because I know you were wearing them, too. And probably poofy bangs. So shut up.


Don’t, like, do your hair for picture day or anything, Julie.

My entrepreneurial spirit was strong even back then — over the years I created a stuffed animal school, a stuffed animal savings bank, and a lotion company (wherein I mixed several of my mother’s lotions together and sold the result with a handmade label. Sorry, mom.)

I was also already a writer (albeit of questionable quality). I started writing a collection of stories on my toy typewriter called Julie and the Strawberry Point Patrol that I was sure would eventually be a profitable series of detective novels. I also, in all seriousness, sent off a handwritten/drawn book manuscript to Harper Collins. I was That Kid. If only I’d had some thick coke-bottle glasses.

Those were definitely days worth remembering, but more importantly, there are so many people worth remembering. That’s why this past weekend, I threw an elementary school mini-reunion picnic and invited three lovely ladies I hadn’t seen in years. I wish all of Lebanon Road Elementary School class of 1996 could’ve been there, too, because it was so much fun.

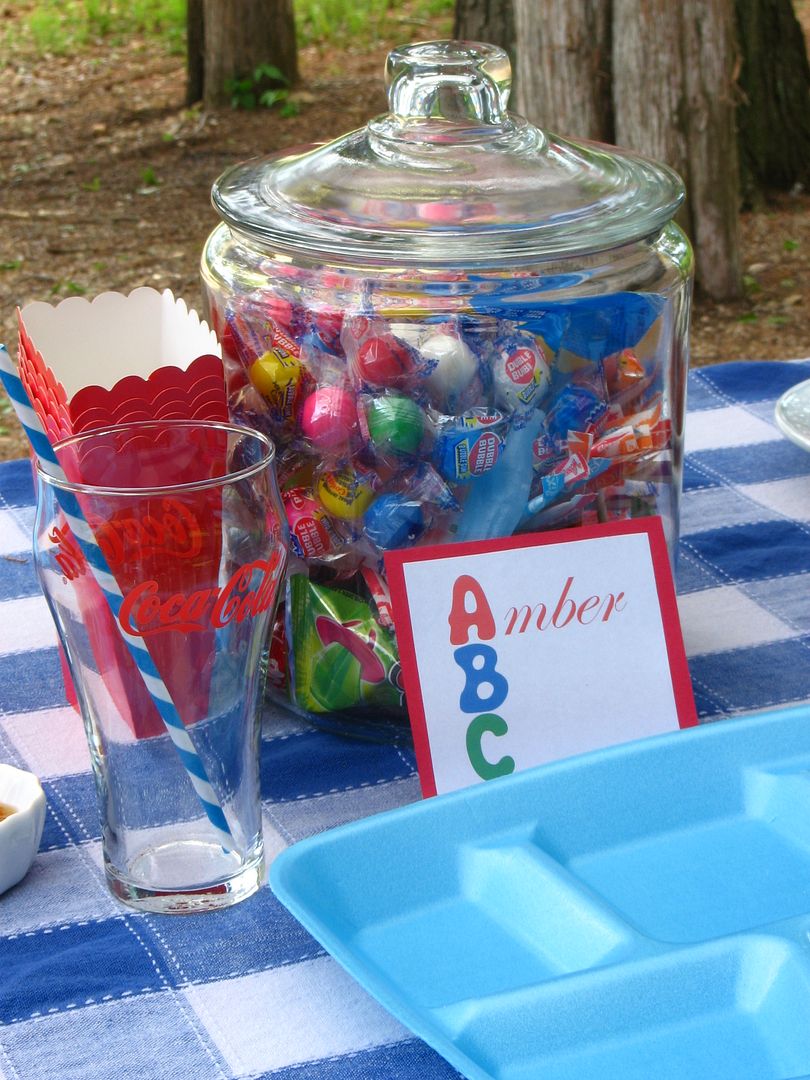
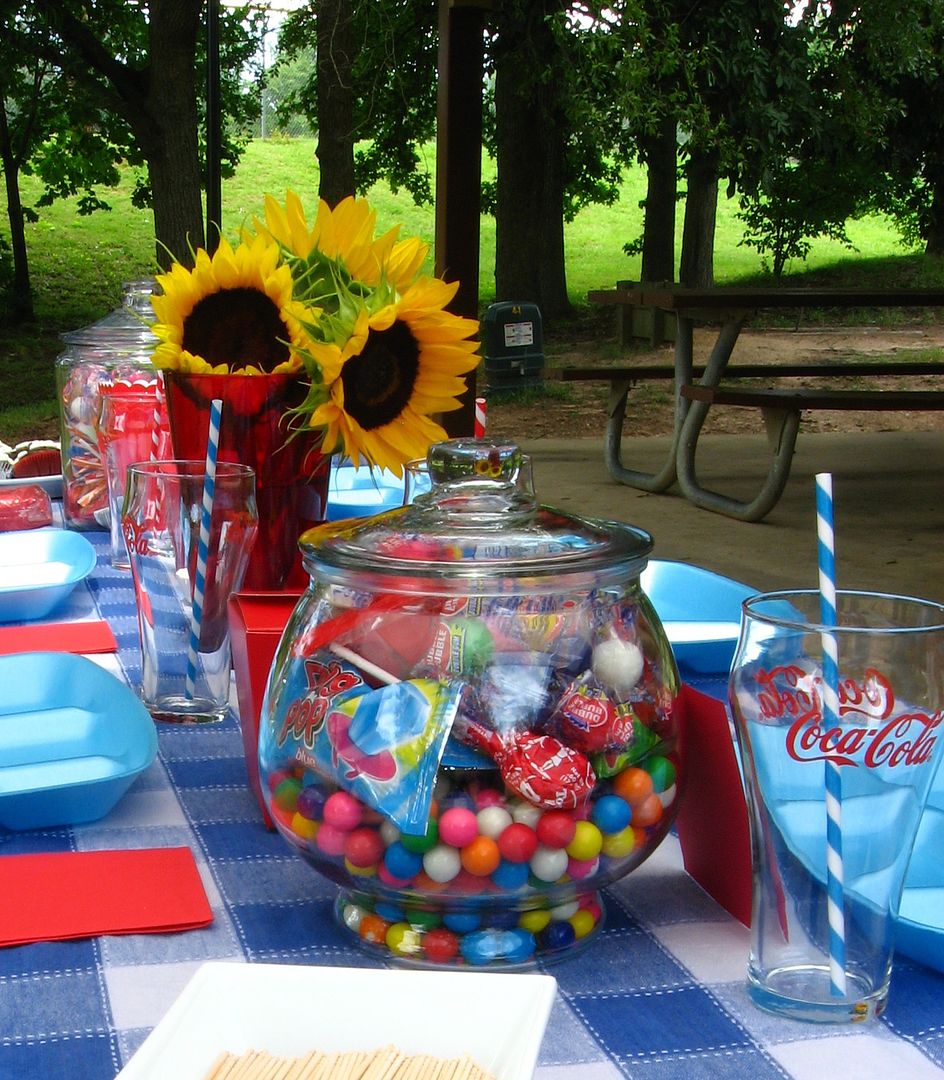
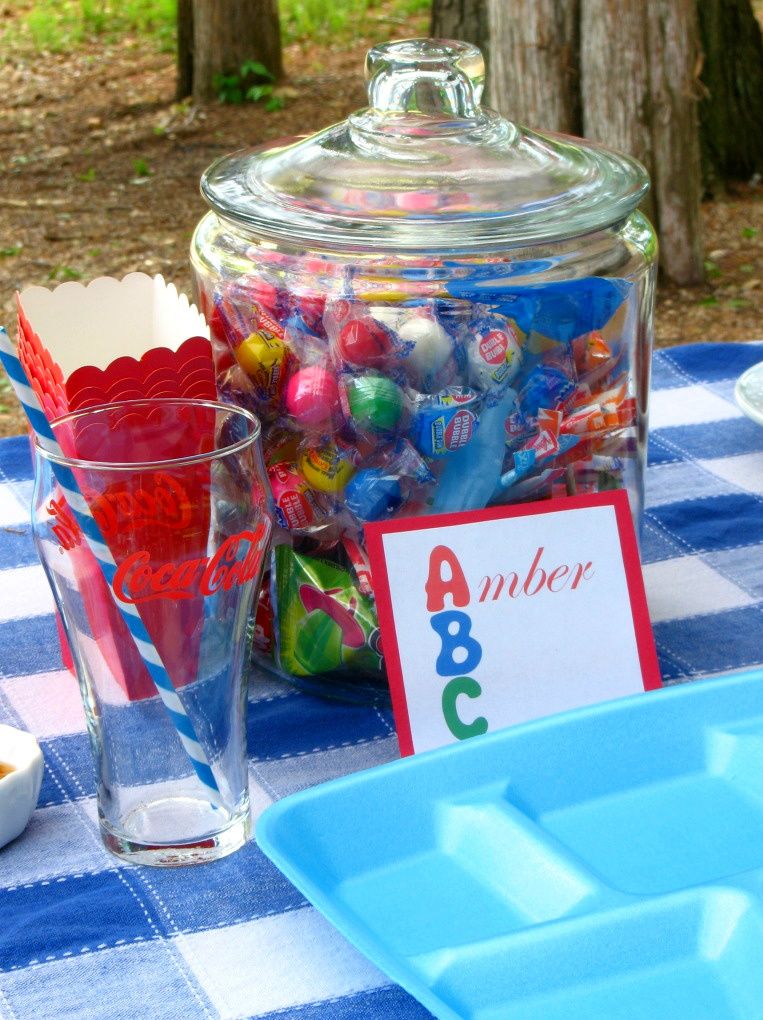
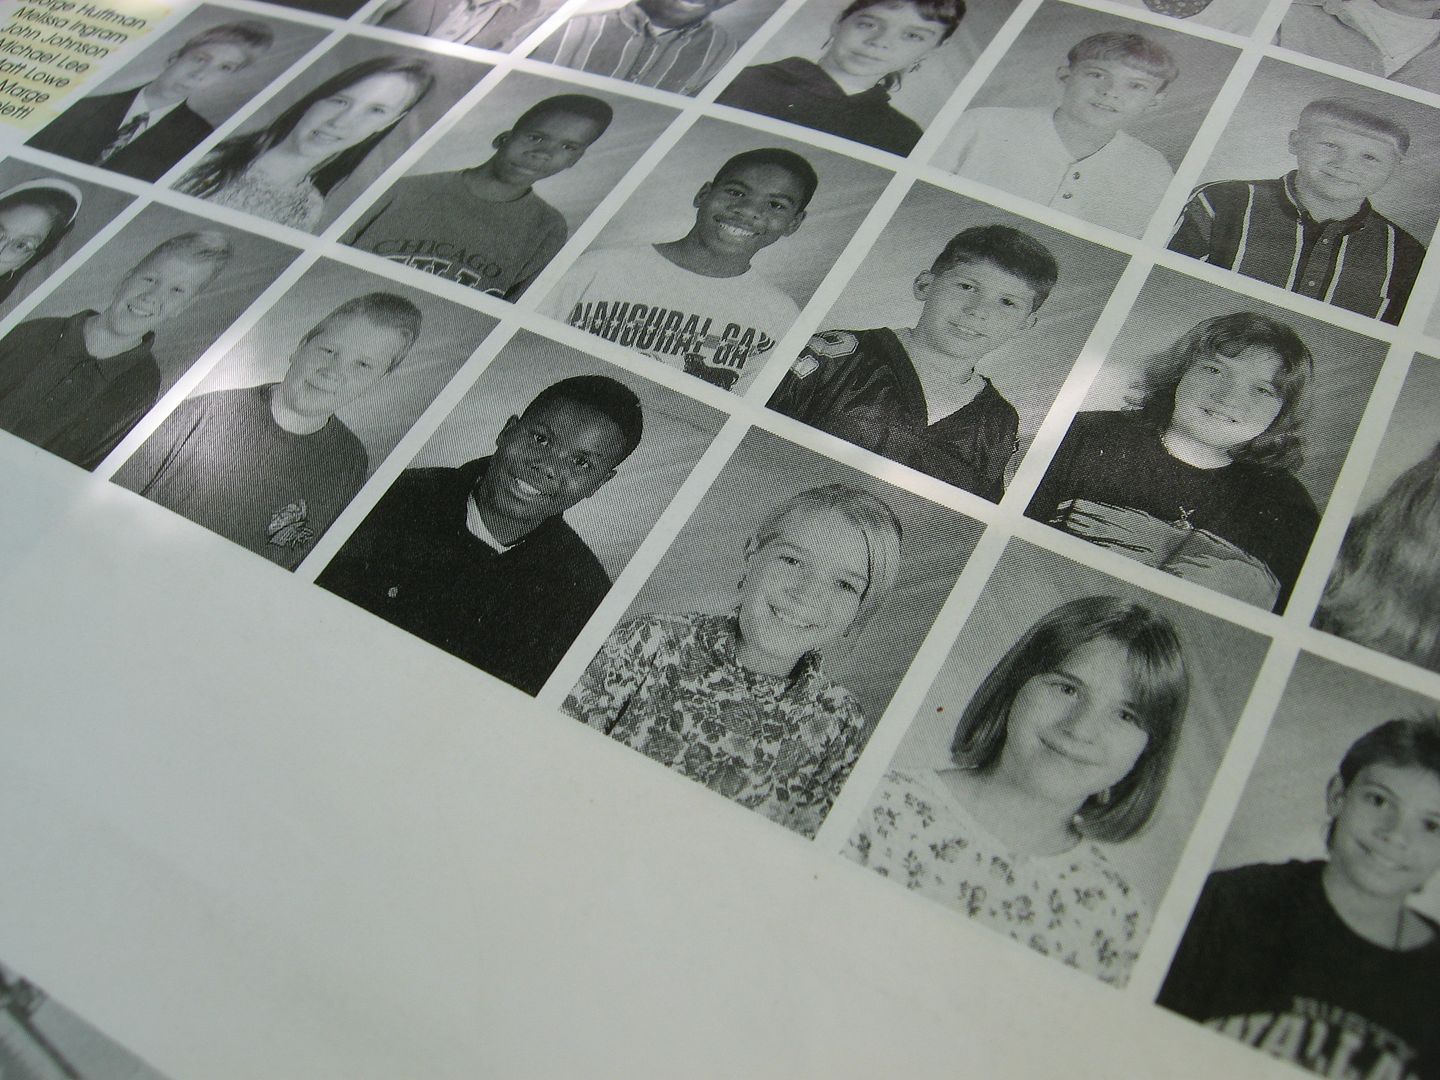
I set the picnic table in bright primary colors with sunflowers, foam ABCs, striped party straws, and gigantic candy jars full of nostalgic treats: Ring Pops, Pixie Stix, Dubble Bubble gumballs, Pez dispensers, Nik-L-Nips, and Tootsie Pops. A homemade party banner and some balloons stretched over our picnic table. Everyone brought childhood photos, elementary school yearbooks, mementos, and tons of fun memories to share.

The Cast of Characters:

Amber was a pint-sized dynamo in elementary school. She was tiny, but she took gymnastics and could do all sorts of amazing things. I remember thinking Amber was the sweetest friend in 4th grade, when we were both in Ms. Oatman’s class together.


Amber, then and now.

Now, Amber is married to her high school sweetheart, Patrick. She’s a nurse and lives in Charlotte with her zoo: 4 dogs and 2 cats!


Amber in elementary school.

Oh, yeah, and she’s still a dedicated athlete. Amber’s now a powerlifter, and, um, she could totally kick your butt:


Photo by Jeff “Boomer” Alred

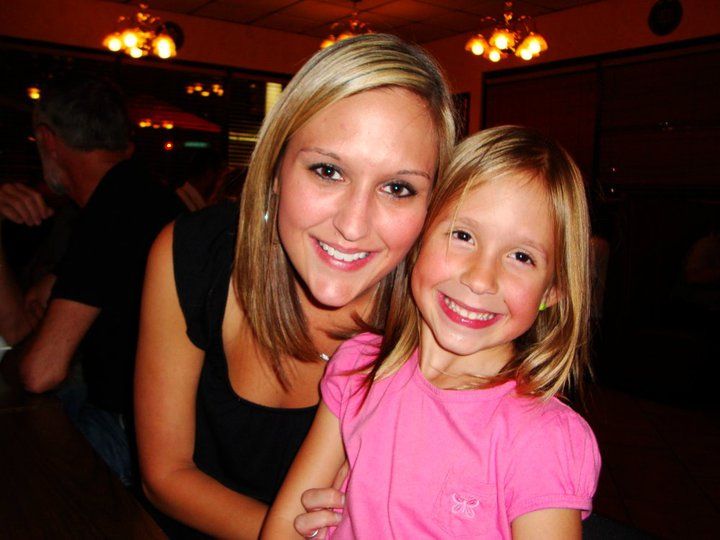
Alisha was my BFF from second grade until distance finally got the best of us: she moved away in the middle of fifth grade. We lived down the street from each other, so almost every day would find me scuttling off to her house to play with her and her sister, Lauren. Her mom, Loretta, is also so important to me — she drove me to church youth events with Alisha when I was little, in addition to driving us home from school, driving us to get ice cream, driving us to the moon and back. You get the idea.


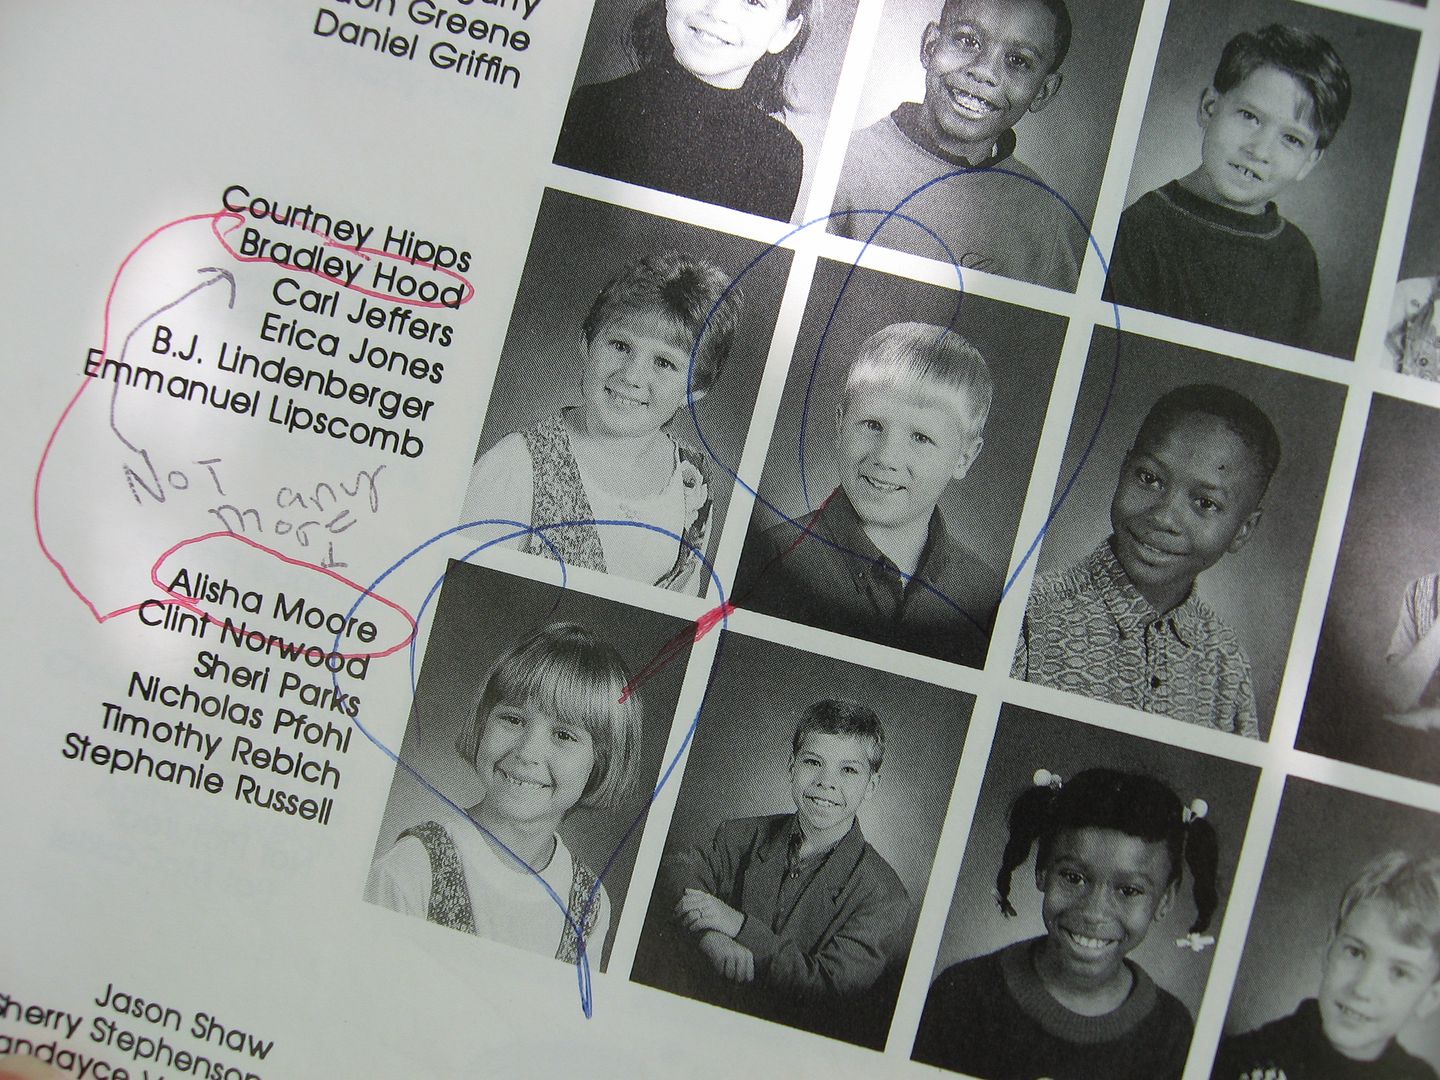
Alisha lovvvved Bradley Hood — well, most of the time.

Alisha and I were the perfect pair of friends: she was the cute, social one and I was the strategic, nerdy one. When our powers combined, we could tackle anything. I still remember the day 6 or 7 years ago when she called me and told me she was going to be a mommy! Here was the girl I’d played in the creek with at 7 years old, and she was going to have a baby of her own. Now Alisha and her daughter Olivia live in Mt. Pleasant, where Alisha works at an eye doctor’s office.


Alisha and Olivia

Ashley was so sweet in elementary school (and still is)! She lived down the street from my friend Tamara, and in fifth and sixth grade I’d go over to their neighborhood and we’d all hang out. She jokes that she had horrible hair in elementary school, but I always thought her hair was adorable.


Ashley, then and now.

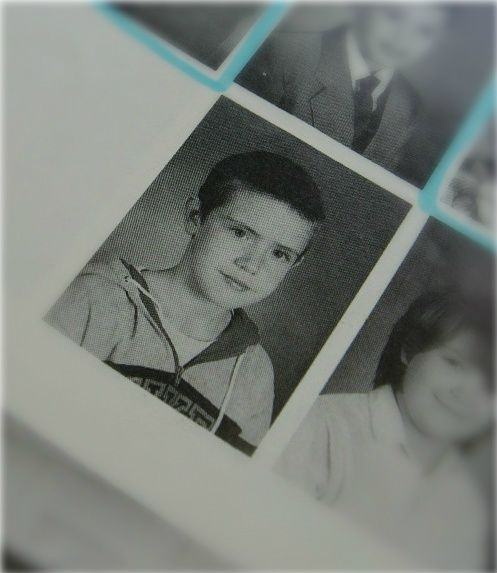
Today, Ashley works in sales at a software company and is married to — get this — a guy we went to elementary school with! His name is Scott, and he was my buddy in second grade, before he moved to another school. Though he and Ashley are both from North Carolina, they actually reunited in Georgia after college. Now that they’re married, they live with their dog and their pet pig, Clyde.


Ashley and her future husband, Scott, in elementary school.

The Menu: School Lunch Redux

I set a nice table and invited a fun bunch, but a picnic’s not a picnic without the food! To make the menu match the theme, I took foods you might remember from your cafeteria tray or lunchbox and updated them for adult tastes. Thanks to my coworker Anne for this fun idea!

Here’s the lineup:

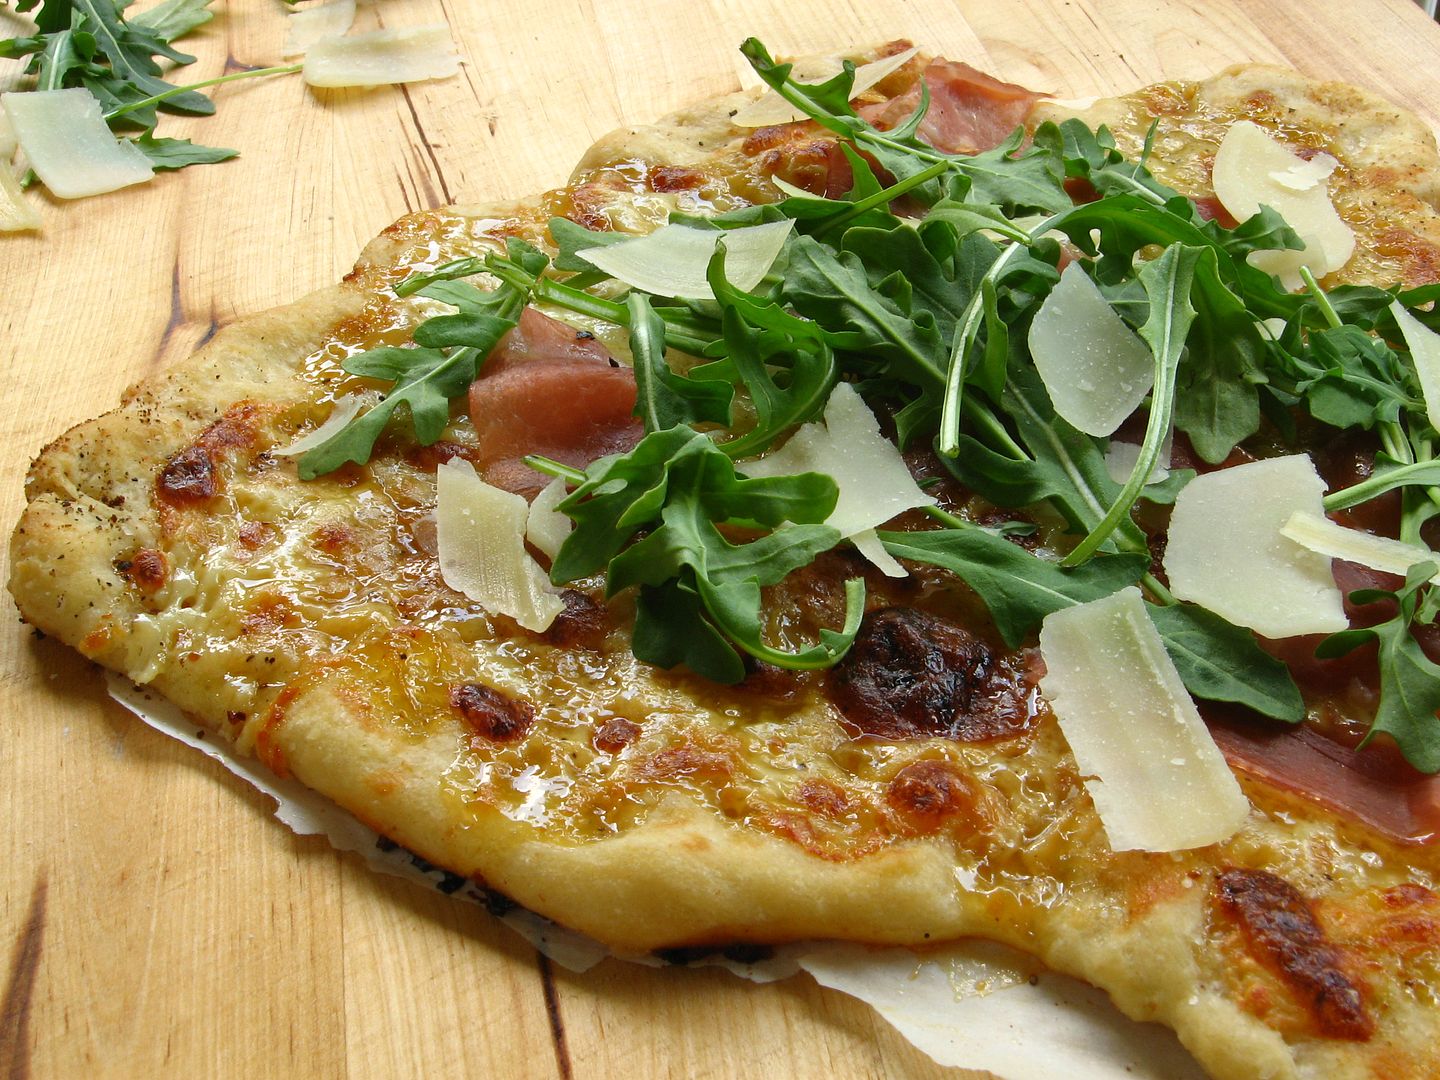
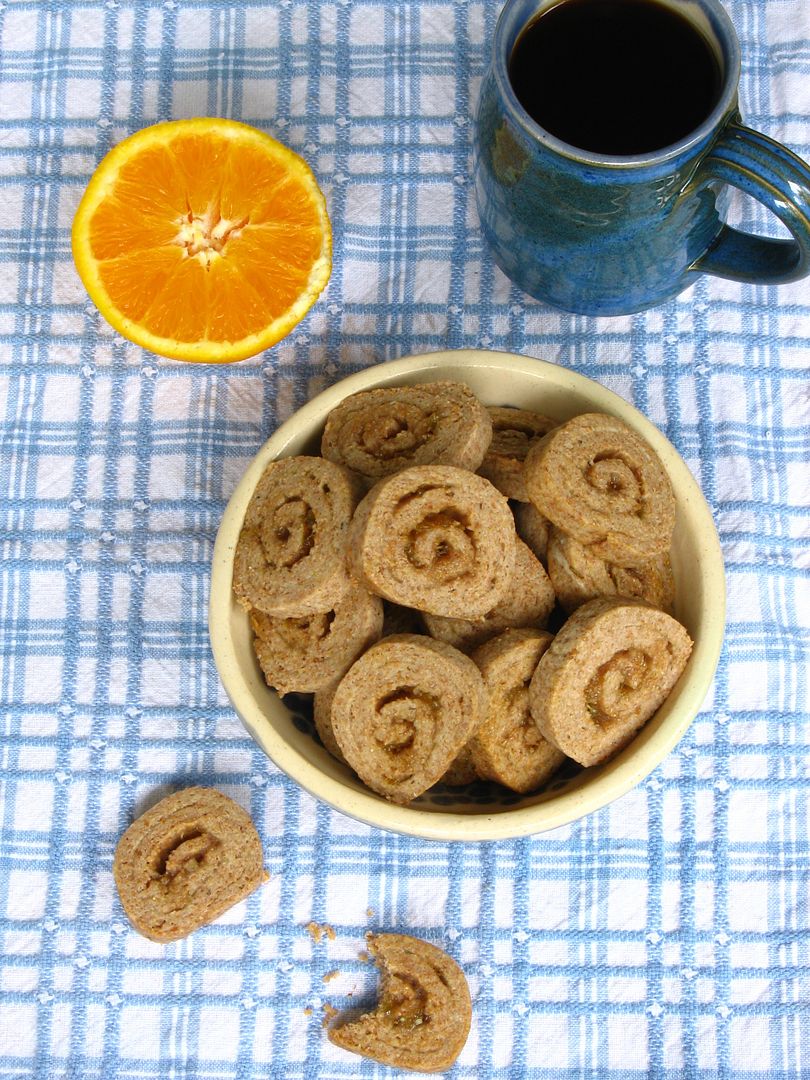
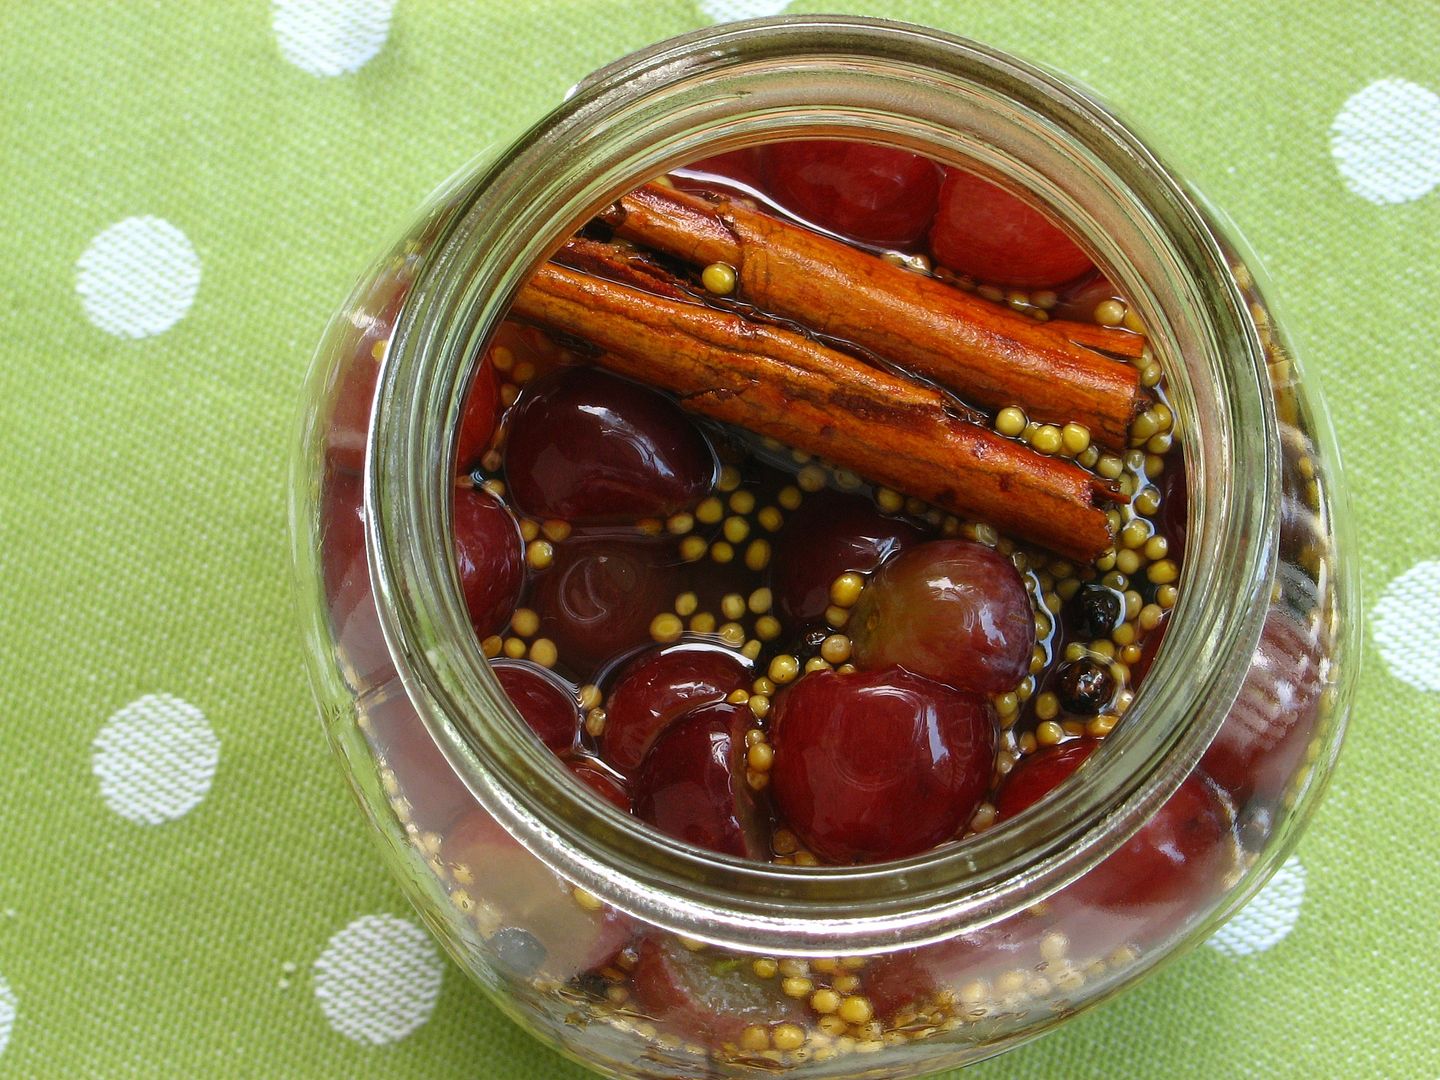
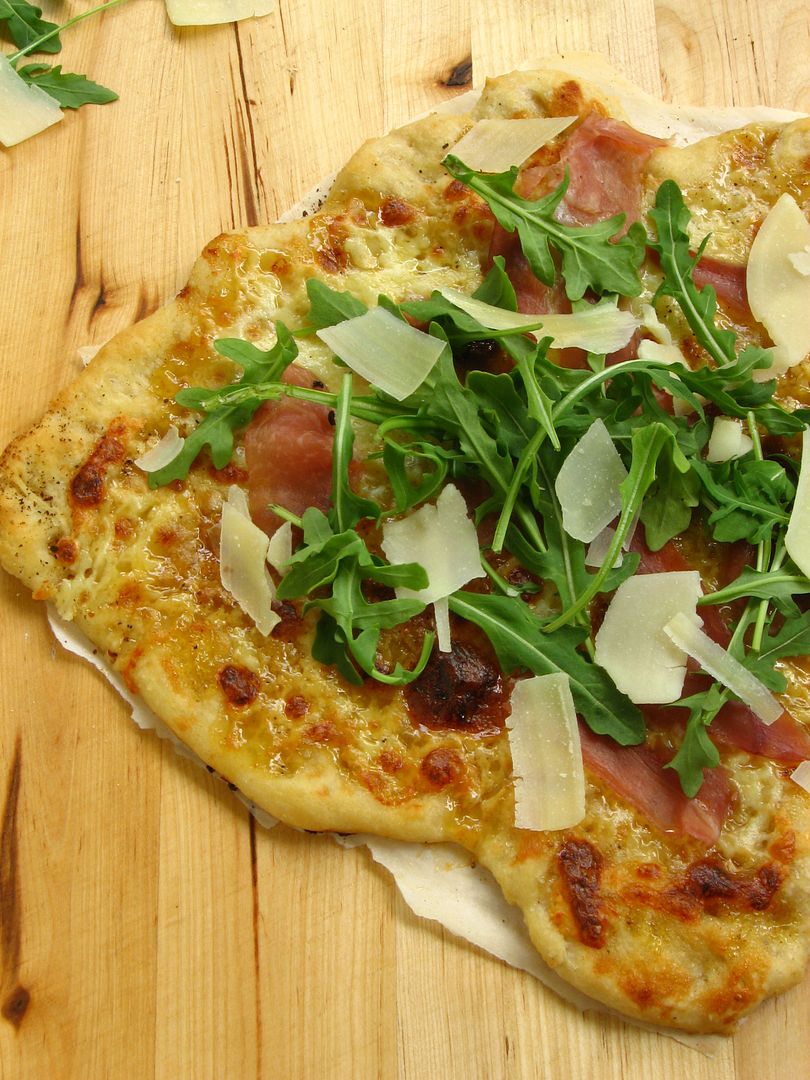
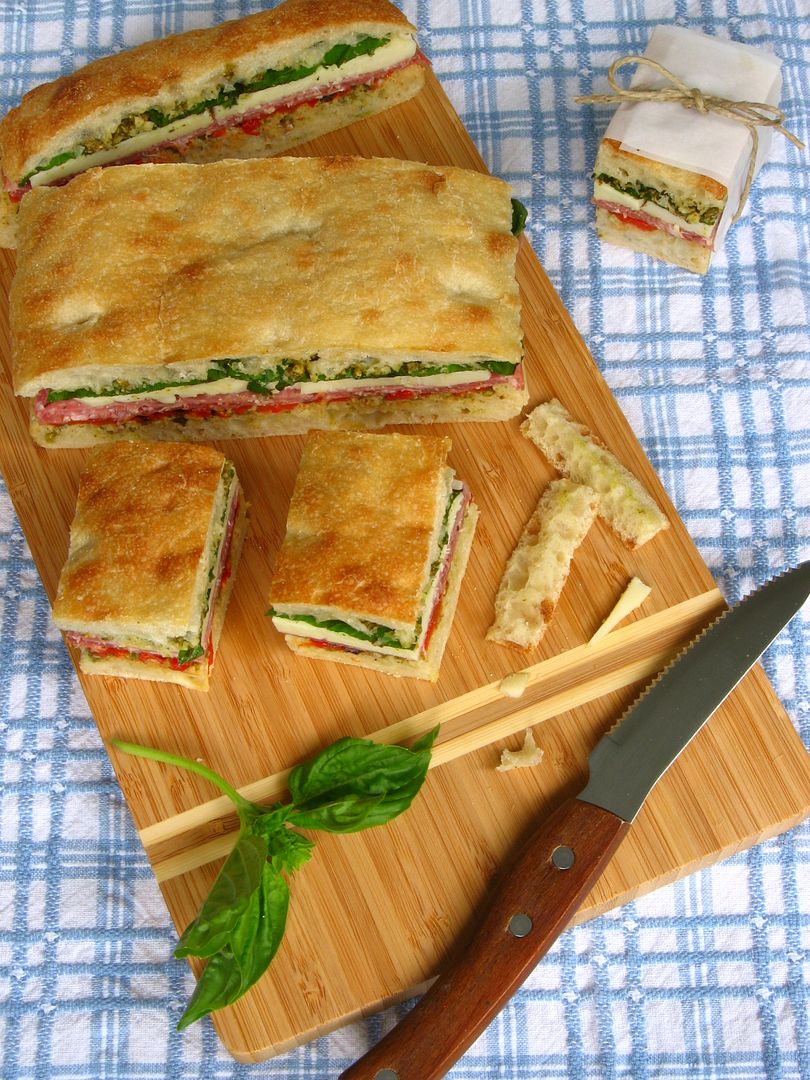
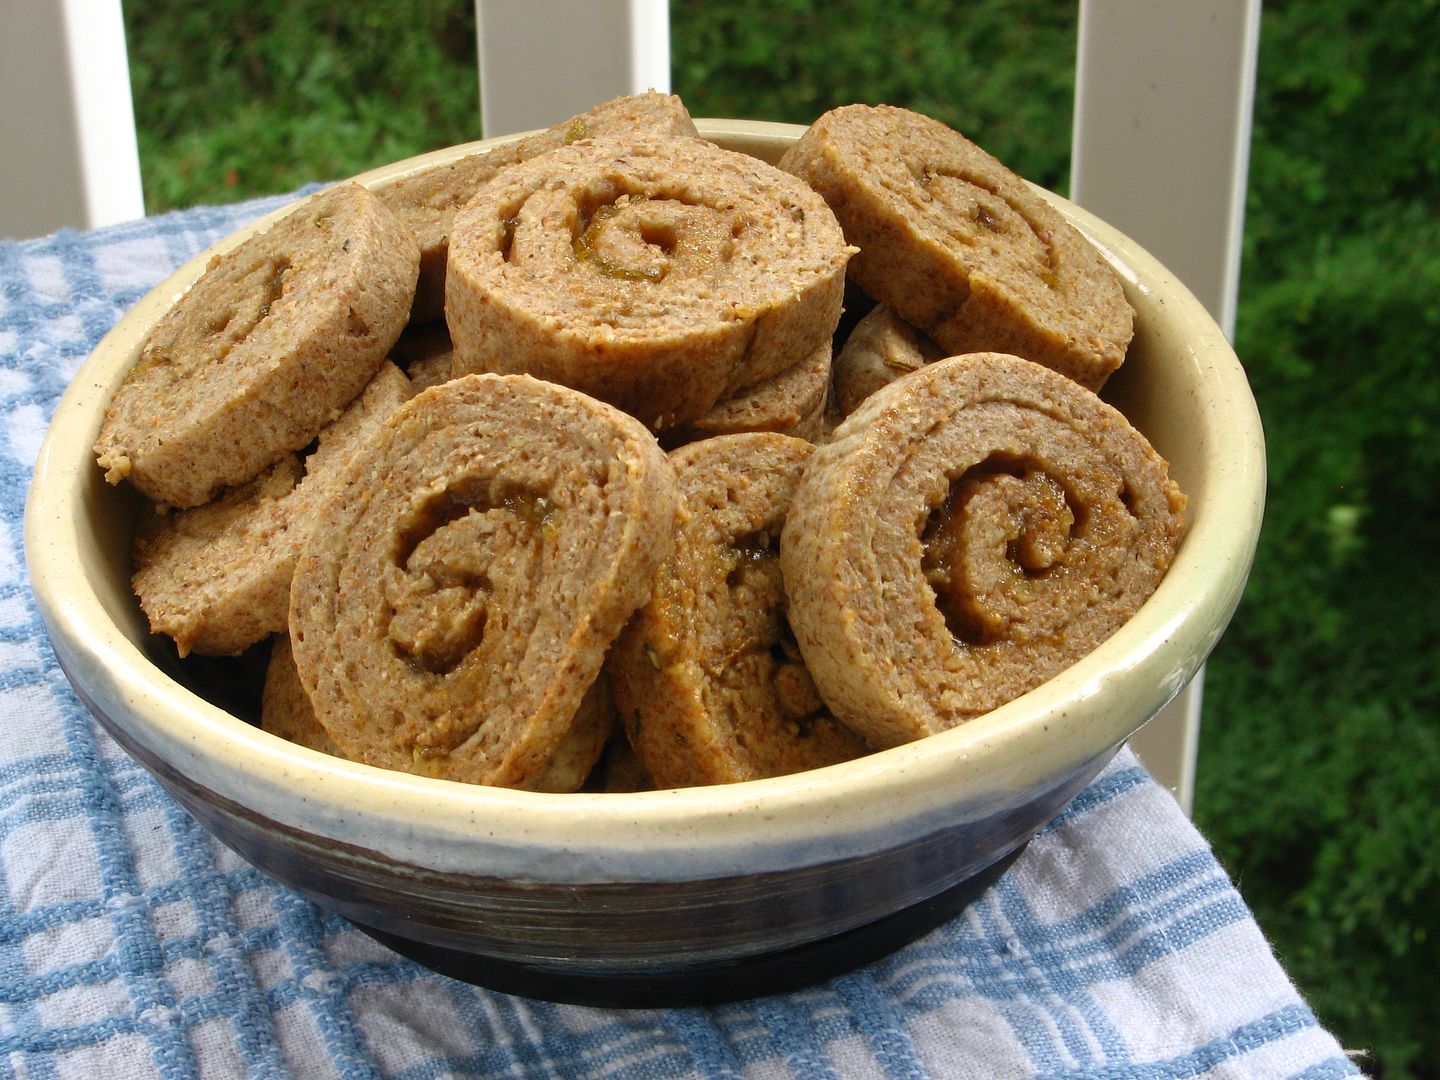
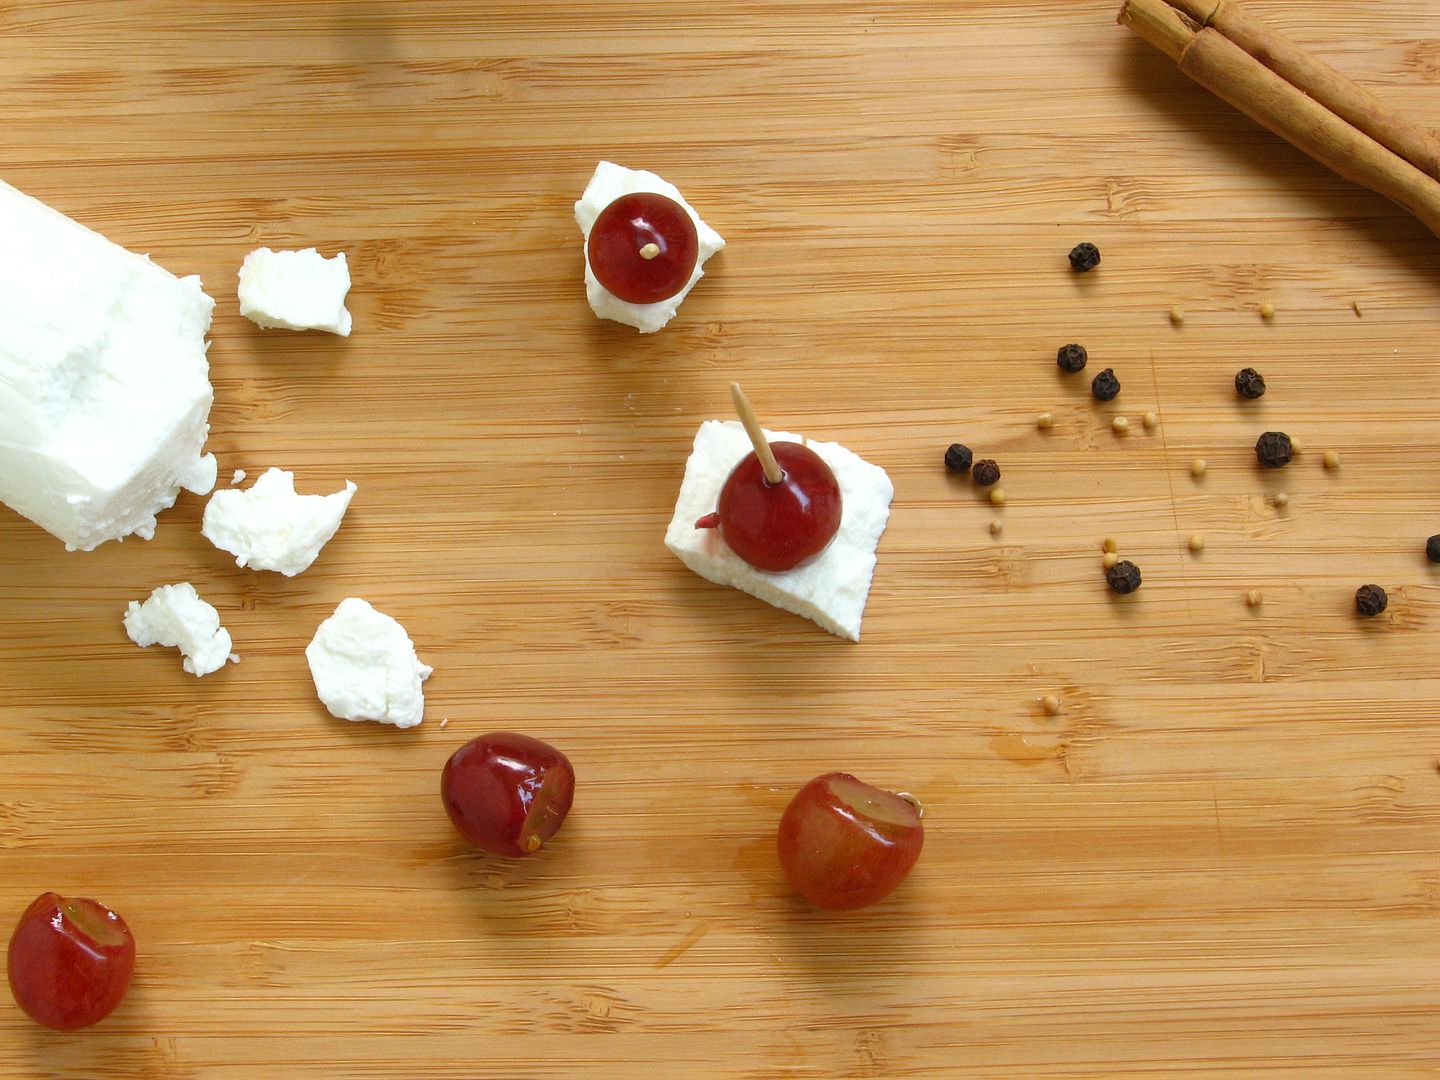
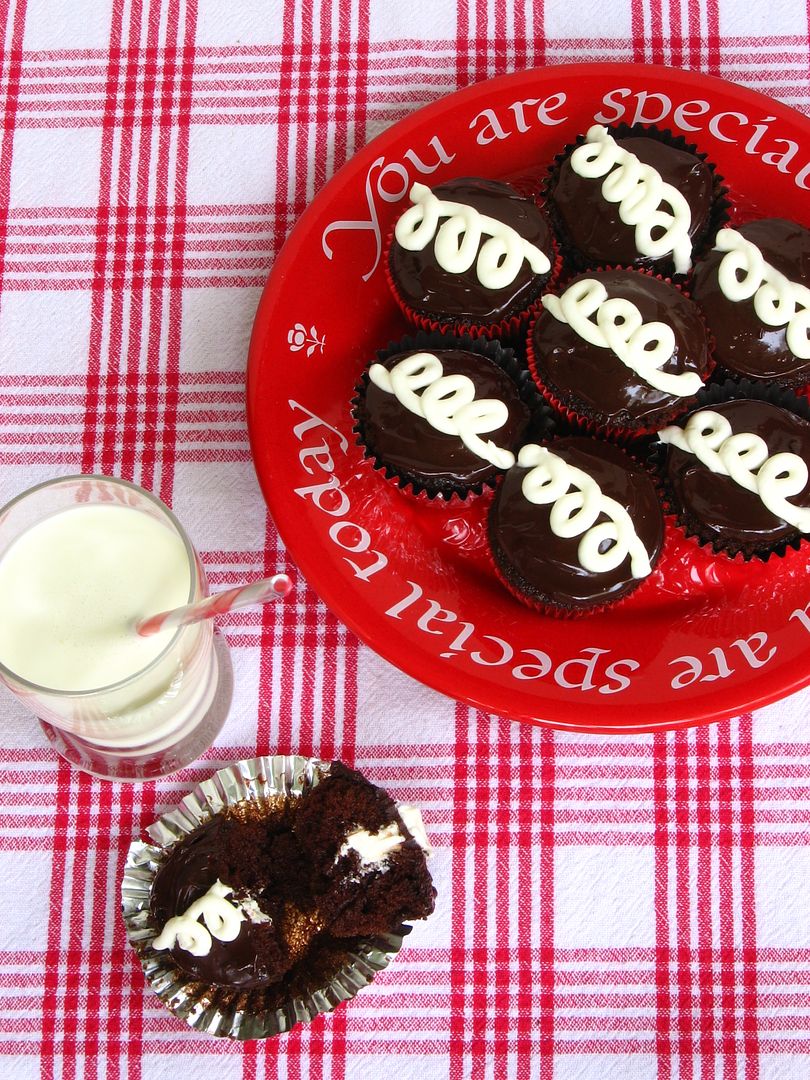
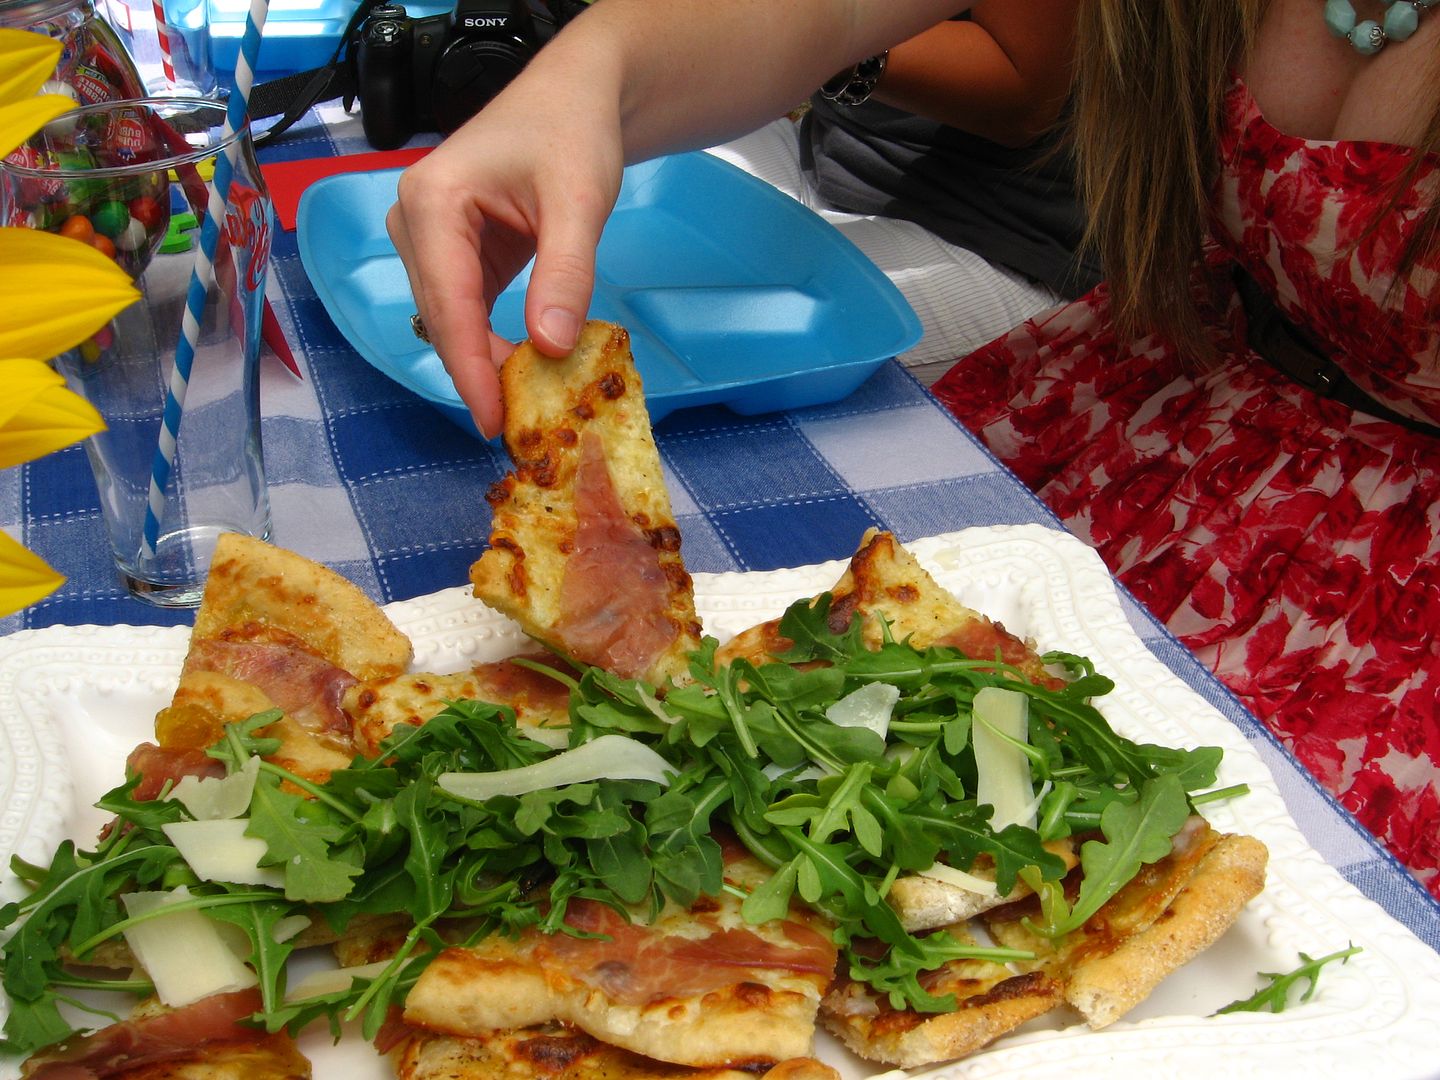
Cardboard-like, square lunchroom pizza became a homemade Fig and Prosciutto Pizza topped with fresh arugula and shaved Parmesan. Instead of a classic peanut butter and jelly sandwich, I made a bright Italian Pressed Sandwich. Baggies of grapes and potato chips morphed into Pickled Grapes with Goat Cheese and Savory Sour Cream and Fig Cookie Spirals, slathered with whipped cream cheese and fig jam. Fruit Roll-Ups and Hostess Cupcakes became homemade Straw-Raspberry Basil Fruit Leather and Fauxstess Cupcakes. We drank lemonade and root beer with our updated lunchroom fare.

During the picnic, we shared scores of memories. We talked about Terilyn Cunningham, our sweet friend who died from an asthma attack after elementary school. I remember her having an attack one day in gym class and the teacher asking me to walk with her to the classroom to get her inhaler. On the way, she explained what it felt like to be unable to breathe. In just a year or two, she was gone.

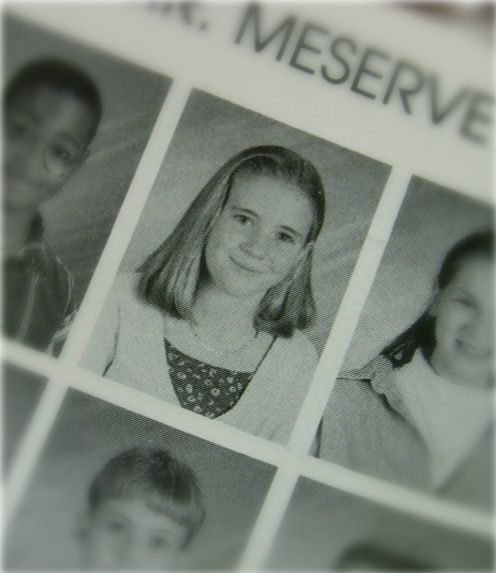
On happier notes, we laughed at our sixth grade newsletter, The Leopard’s Roar, written on an early 90s Word Processor with a big block font. Alisha recalled the field trip when I called out to Bobby Joe (and his dad, who was chaperoning) that she liked him. Oops. We remembered teachers and administrators — Mrs. Shaughnessy! Ms. Oatman! Mr. Meserve! Mrs. Foster! Mrs. Hildreth! Ms. Horne! Mrs. Borders! Mrs. Taylor! — as well as friends who’ve been flung far and wide over time.

The Inevitable Near-Disaster

Right smack in the middle of our meal, though, this happened:

Picnics and parties never seem to go off without a hitch, and this one was no exception. Though I’d made a point to check that the picnic area we were using hadn’t been reserved, turns out it had been! After all the work setting everything up, we had to quickly shuffle everything back into my car and relocate to another picnic table to finish up.

The girls didn’t miss a step before pitching in, and a helpful park employee assisted. In no time at all, we were laughing about the mess, eating, and picking up our conversation where we left off. The new picnic table might not have been decked out quite as nicely, but it was in the shade and turned out to be the perfect place to continue the festivities. All’s well that ends well, right?

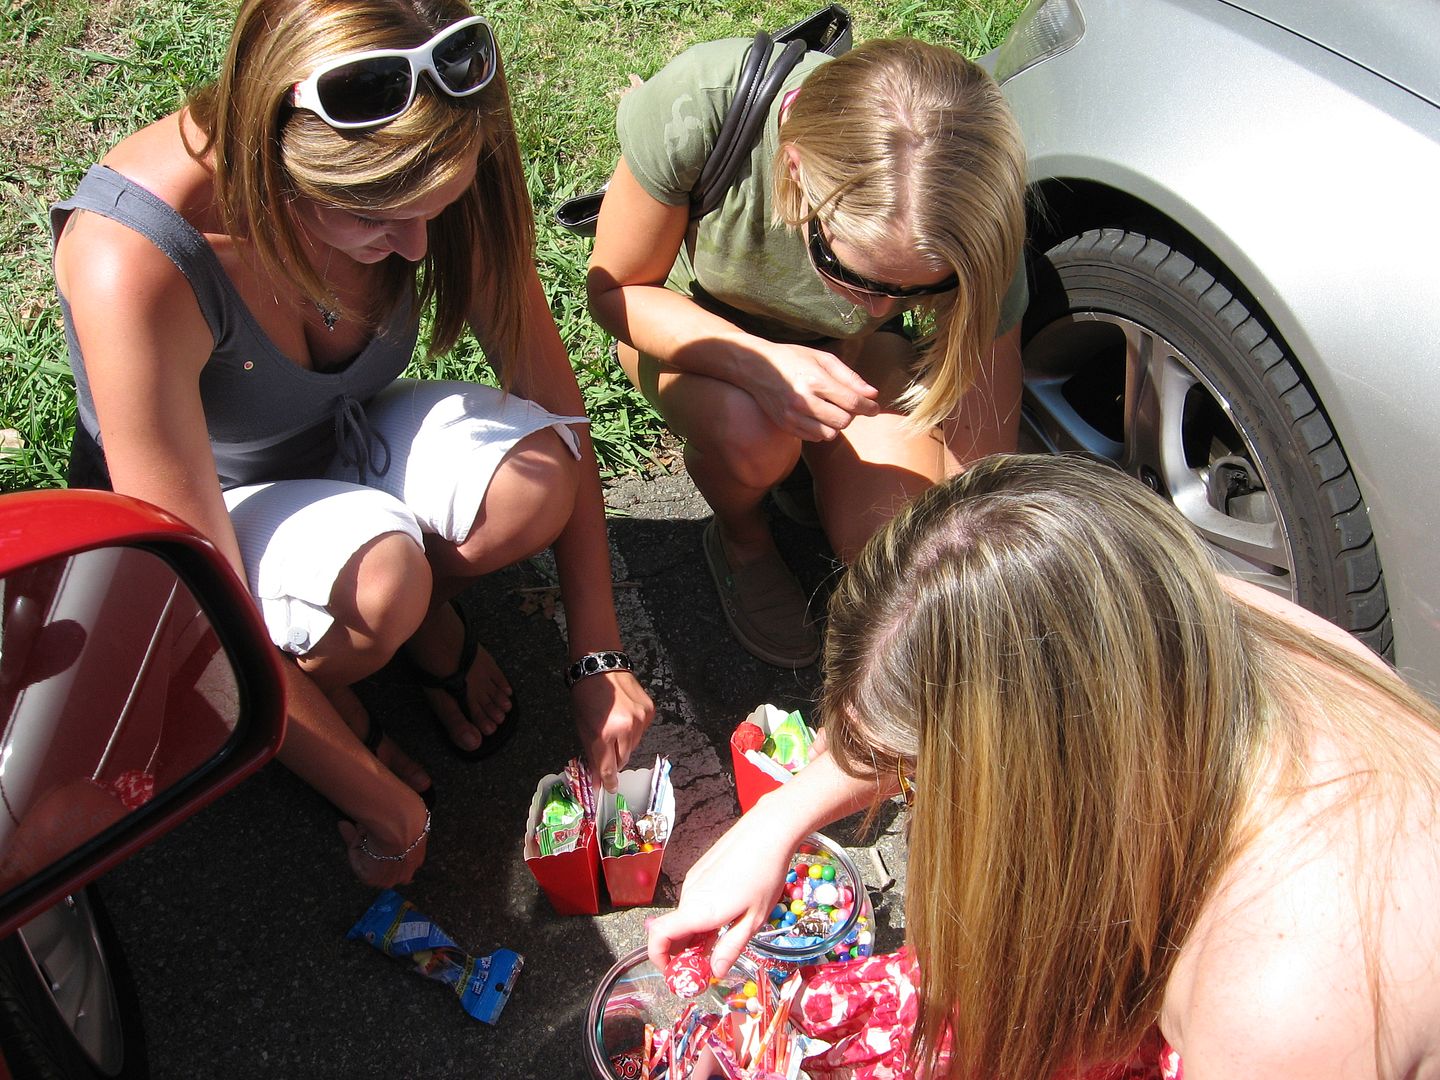
And things did end well! The huge candy jars I filled for table centerpieces doubled as party favors. At the end of the picnic, each of us grabbed a treat box to fill full of candy. It might have been easier to sort through the candy when it was sitting on a pretty picnic table, but at this point, we weren’t above scrounging through the jars in the parking lot. Not even a little bit.

I had so much fun with these interesting, successful, strong, lovely ladies, and I can’t wait to see them again soon! Despite a few obstacles, the elementary school throwback was a fantastic blast from the past, and worth every ounce of this:


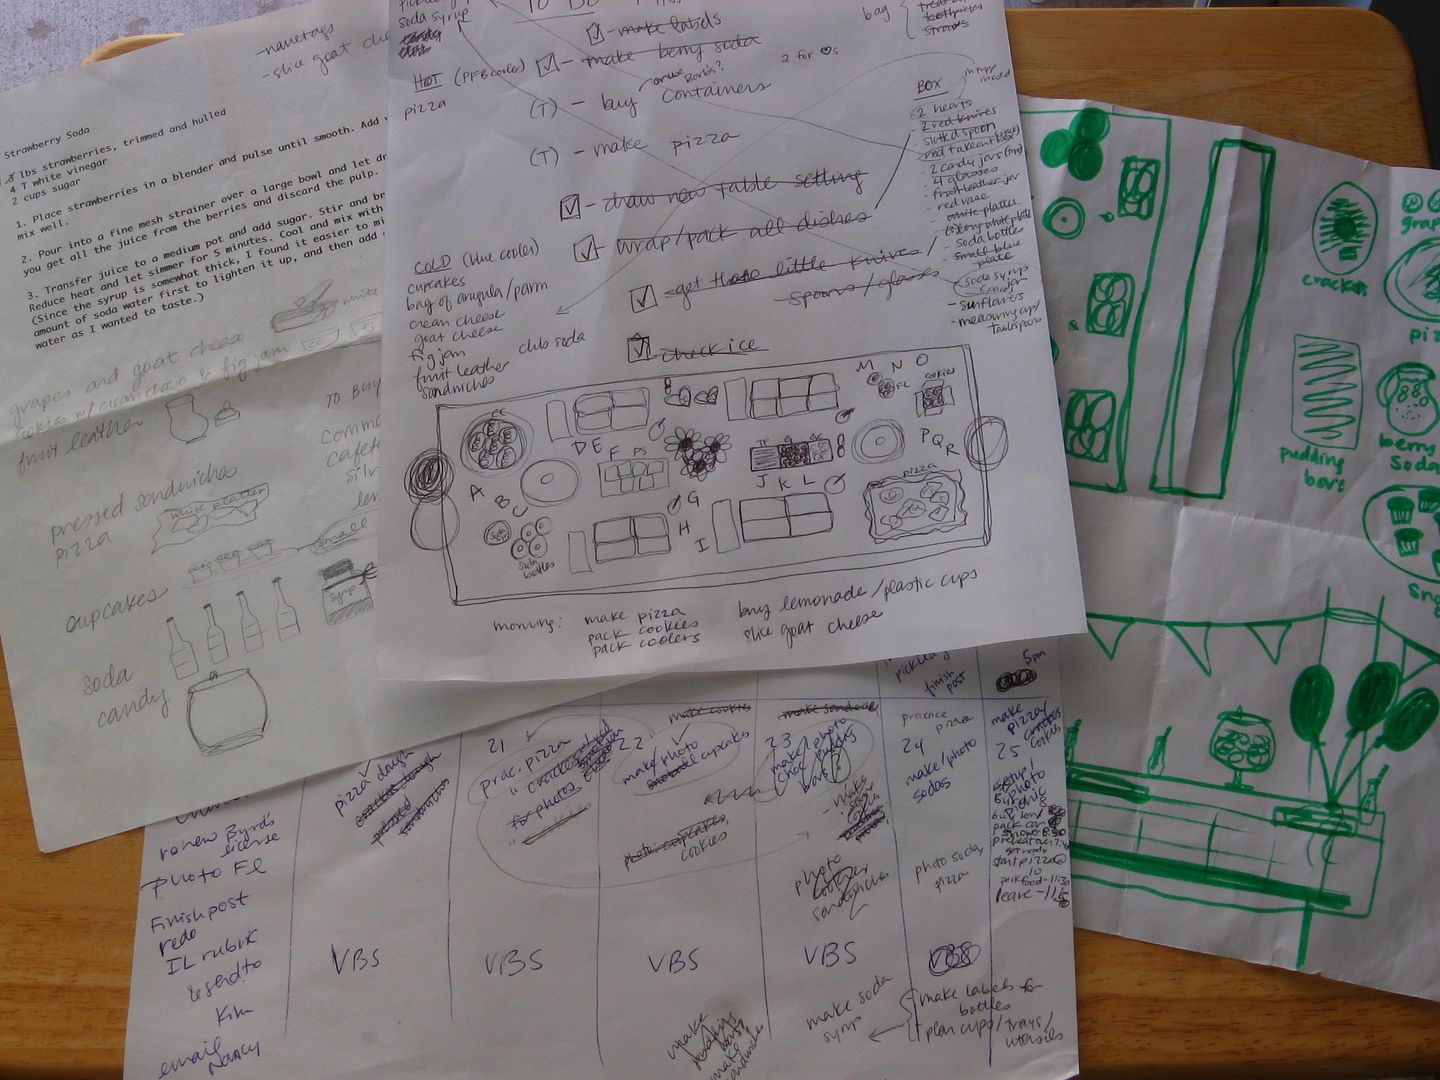
Tons of picnic planning.


Over the coming weeks, the following recipes and crafts will appear on Willow Bird Baking. I hope you enjoy these updated cafeteria classics as much as we did!

School’s IN for Summer:
Recipes and Crafts

  1. Homemade Red Berry Basil Fruit Leather
  2. Pickled Grapes with Goat Cheese
  3. Savory Sour Cream Fig Spiral Cookies
  4. Fig and Prosciutto Pizza
  5. Italian Pressed Sandwiches
  6. Fauxstess Cupcakes
  7. Easy Homemade Party Banner

P.S. A special thanks to Taylor Mathis for bringing his pretty blue tablecloth and gigantic diffuser to help me out!

What’s your favorite elementary school memory?

If you liked this post, please:
Subscribe to Willow Bird Baking
Follow Willow Bird Baking on Twitter
Follow Willow Bird Baking on Facebook
Give this post a thumbs up on StumbleUpon
Buzz this post up on Foodbuzz’s 24×24 site!


ShareOther ways to share this post with friends!

Strawberry Cheesecake Stuffed Amaretto Cake Pops (on Pretzel Sticks!)

Dear Rebecca Black,

For the record, I think you’re adorable and I want you to be in my 7th grade class. We talked about you a little bit when we were all having fun fun fun fun with your song, and about how mean some folks on the interwebz can be.

My students realized that you were their age (just 13!), and we all felt like if it’d been one of them taking the brunt of jokes and criticism, we’d be sad. So we want you to know that we’re sorry about the meanies, and we hope you’re enjoying all the good-spirited parodies of your song as much as we are.

Oh, but my 7th grade students told me about the “censored” parody of your song — don’t enjoy that one. Don’t even watch it. Cover your ears, young lady! I’ll redirect you to the Sunday school parody instead.

Anyway, your song has brightened up lots of my weekends! Sometimes I blast it at the beginning of class on Fridays and it never fails to produce smiles. And yeah, we break it down — everyone needs a 5 minute dance party now and then.

And you know what? I get it, girl. You so excited about Friday that you’re dropping verbs and everything else, and I want you to know that I understand.

In fact, I’m a little obsessed with your song right now. It just describes so perfectly how I feel about so many things. I’m going out to eat? I-I-I so excited! It’s only 4 weeks until summer vacation? I-I-I so excited! I’m making flippin’ Strawberry Cheesecake Stuffed Amaretto Cake Pops on flippin’ pretzel sticks?! I SO EXCITED!

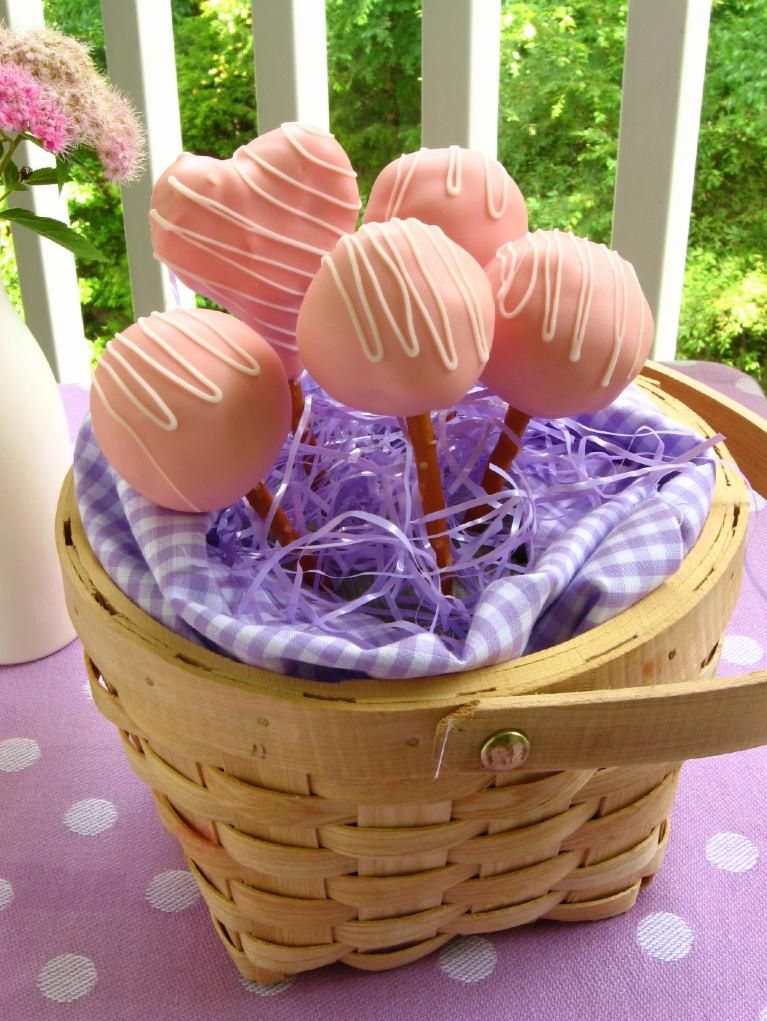
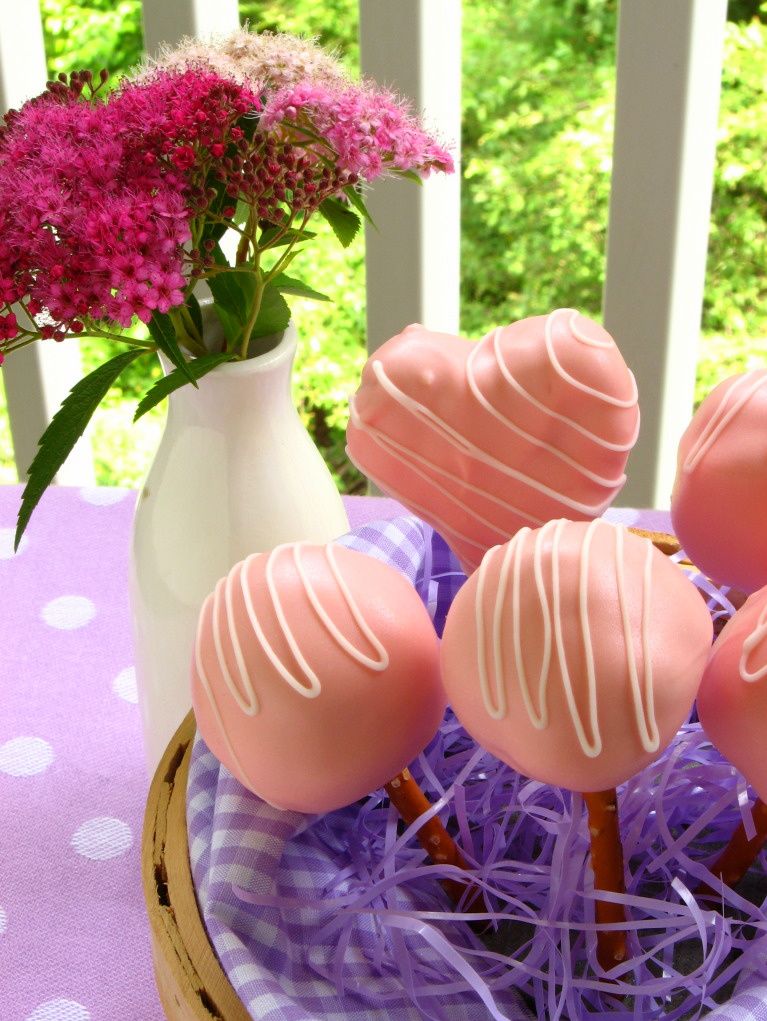
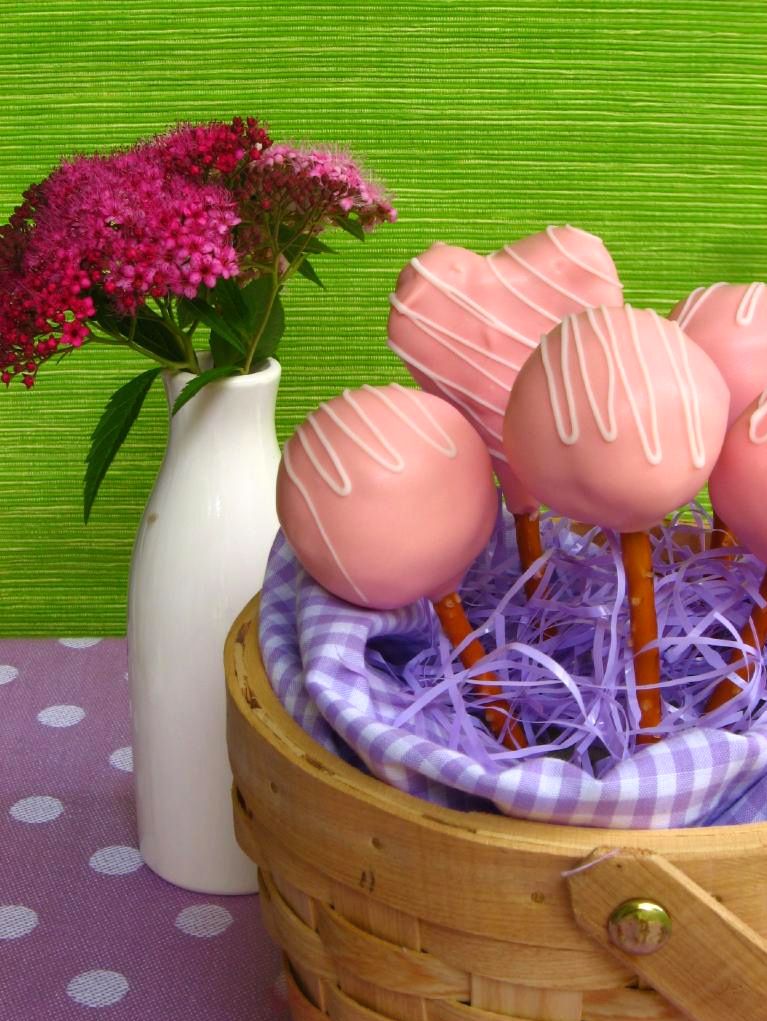
These cake pops started as a bright spark of inspiration from CakeSpy: pops on a pretzel stick! Using an edible, salty vehicle for a sweet treat struck me as absolutely bee’s-knees brilliant. I had to try it immediately.

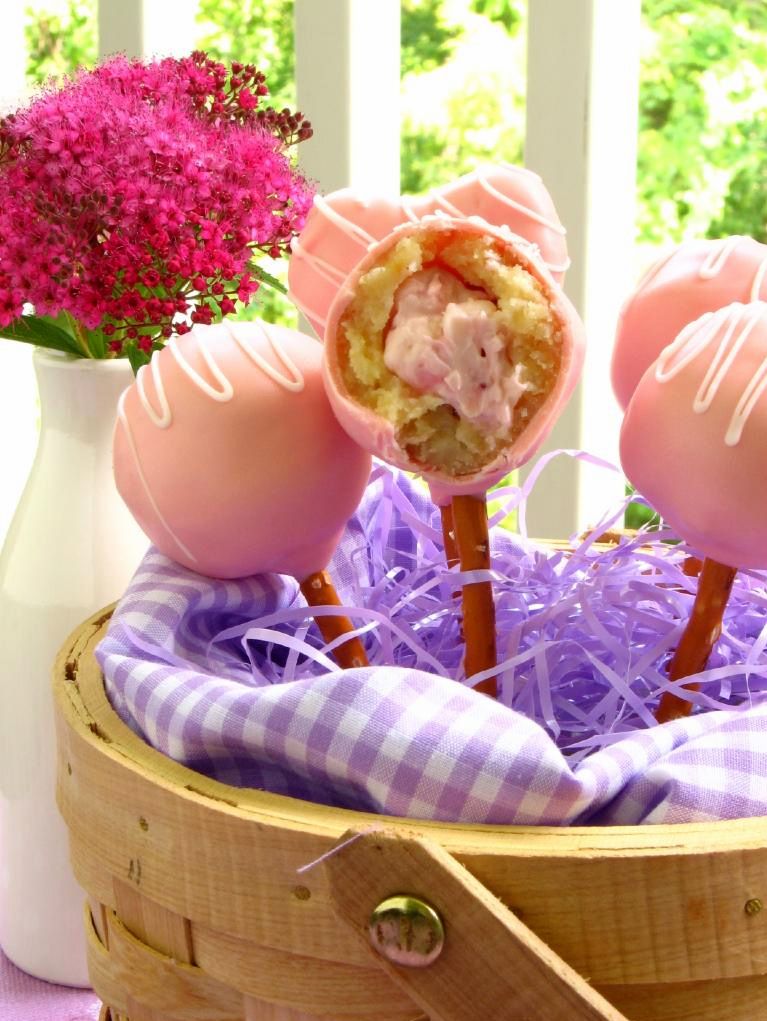
Then there was this other idea I’d been toying with, too: mixing up no-bake cheesecake filling, freezing it into little pearls, and hiding the pearls in the center of each cake ball. A cheesecake-stuffed cake ball on a pretzel stick? It couldn’t get any better — unless you used an amaretto-spiked version of the best pound cake in the world for your cake!

This cake pop endeavor turned out so easy and so fantastic. I made a video tutorial (located at the bottom of this post) so that you can follow along with the steps as you make them; it’ll show you how to pipe your cheesecake centers, form the cake balls around them, insert the pretzel sticks, and dip and decorate the pops.

But the cake pop tutorial isn’t the only video I made.

What can I say, Rebecca? These cake pops just made me wanna sing! So here’s my tone-deaf tribute to plucky middle schoolers, cake pops, and YOU. Thanks for the fun!

P.S. I have a newfound respect for you after trying to sing this song a billion times and realizing I was basically the worst singer on the planet.

Strawberry Cheesecake Stuffed Amaretto Cake Pops (on Pretzel Sticks!)


Recipe by: Willow Bird Baking
Yields: about 40 cake pops
Print this Recipe

Cream Cheese Pound Cake Ingredients:
3/4 cups butter, softened
4 ounces cream cheese, softened
1.5 cups sugar
3 large eggs
3/4 tsp vanilla
1/4 cup amaretto
1.5 cups flour
pinch salt

Strawberry “Cheesecake” Ingredients:
1 8-oz. package cream cheese, softened
2 tablespoons sugar
1/2 cup diced strawberries

Cream Cheese Frosting Ingredients:
4 oz. cream cheese, softened
1/4 cup (1/2 stick) of butter, softened
1/4 teaspoon vanilla extract
1 cup confectioners’ sugar, sifted

Other Ingredients:
2 pounds candy melts (I chose light pink)
about 40 pretzel sticks (I used Snyder’s because they were longer and sturdier than others)
white chocolate or candy melts for drizzling

Directions:
*NOTE: See the cake pop video tutorial below to see many of these steps being completed!

Make the pound cake: Preheat oven to 300 degrees F. Butter and flour a loaf pan. Beat butter and cream cheese at medium speed of an electric mixer 2 minutes or until creamy. Gradually add sugar and beat 5-7 minutes until light and fluffy. Add eggs, one at a time and beat only until yellow disappears. Stir in vanilla and amaretto.

Combine flour and salt and add to creamed mixture beating on low speed of electric mixture just until blended after each addition. Fill a 2-cup ovenproof dish with water and place in oven with cake (keeps it moist!). Bake at 300 degrees for about 1 hour and 20 minutes, or until a knife inserted into the middle comes out clean (check in several areas of the cake to be sure it’s completely done). You may need to cover cake with foil the last 20-30 minutes of baking if it looks like it’s getting too brown on top. Let cool on wire rack for 10 minutes then remove from the pan by inverting it into a bowl. Once cool enough to handle, crumble the cake in the bowl, removing any hard outer crust portions. Let cool completely.

Make the strawberry cheesecake middles: While the cake is baking, mix all the cheesecake ingredients together well. Fill a gallon sized plastic zip bag with the mixture and cut off the corner (big enough so that the diced strawberries won’t get stuck). Pipe the cheesecake mixture into small swirls on a silicone mat or wax paper (see video tutorial below to see this step). Freeze these until firm.

Make frosting: Mix all frosting ingredients together on medium-high speed until combined. When cake is cooled and crumbled, mix frosting into it until you reach a dough-like consistency. I used most of my frosting but not quite all of it.

Make cake balls: Once your cake mixture is ready and your cheesecake middles are frozen firm, you’re ready to assemble your cake balls! Take a frozen cheesecake middle and pack some cake around it. Roll it into a ball and place it on a silicone mat or wax paper. Continue until all cake balls are rolled. Chill these in the refrigerator overnight. I don’t freeze mine like some sites suggest, because I find chilling them in the fridge instead reduces cracking after I dip them.

Mount and dip cake balls: After cake balls have chilled overnight, melt your candy melts according to the package directions. I keep my bowl of candy melts situated in a bigger bowl of hot water to keep them warm and fluid, but be careful no water gets into the melts! To mount each cake ball, take a pretzel stick and dip the end in candy melts. Gently but firmly push the end of the pretzel stick into the cake ball. Put these back on their silicone mat or wax paper to chill. Repeat until all cake balls are mounted and chill for about 30 minutes.

After chilling, you’re ready to dip! Dip each cake ball into the candy melts, using a spoon to help coat them. After dipping, hold your cake ball over the bowl and gently bounce to drain the excess off. Turn the pop as you drain. When well-drained, gently place the pop in a foam block to continue drying. I placed mine in the fridge to reduce drying time.

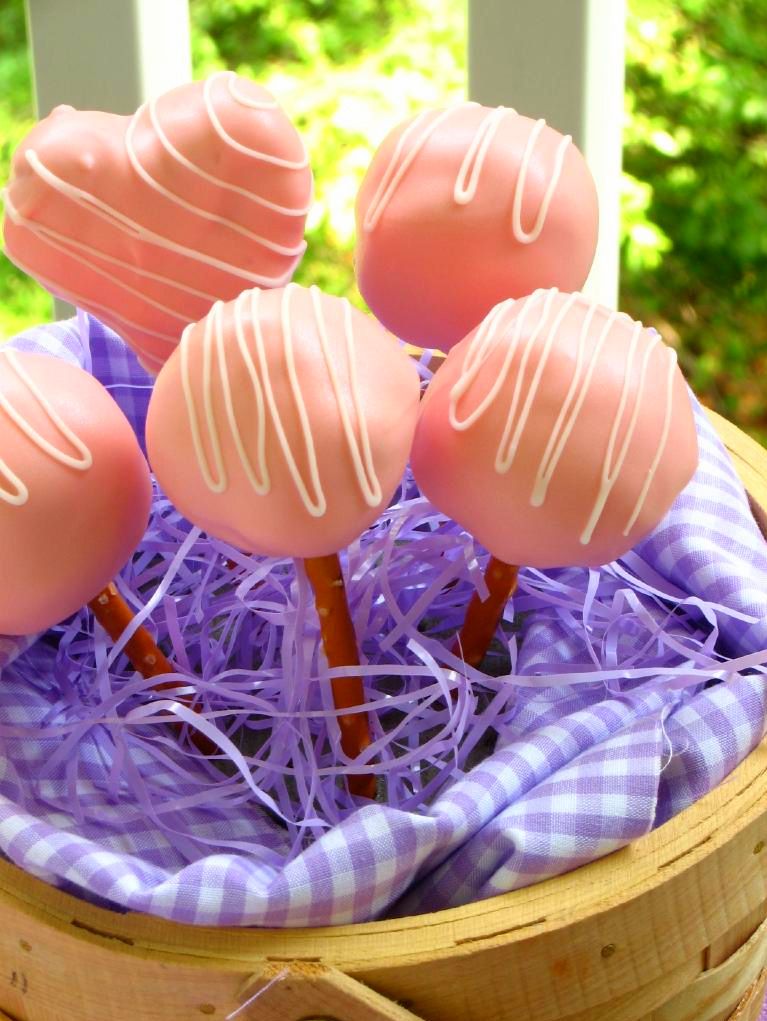
Decorate dried pops: Once your pops are dry, melt some white chocolate according to package directions. Let it cool slightly before spooning it into a small plastic zip bag with the tiniest bit of the corner cut off. With the pops standing in their foam block, quickly and confidently pipe a zigzag design over each one. Let these dry. Serve immediately or store in an airtight container in the refrigerator.

VARIATIONS:
-You can leave the cheesecake middles out of this recipe and roll the cake into a solid ball if you want traditional cake pops.
-You can use any flavor of cake (or even a cake mix) for your cake, but this one is absolutely the best I’ve ever had!
-You can leave the strawberries out of your no-bake cheesecake mixture or even add in other berries, chocolate, etc., to produce different flavors of cheesecake in the center.
-You can use lollipop sticks instead of pretzel sticks, or leave the sticks out altogether and make regular cake balls instead of cake pops.
-You can decorate with sprinkles instead of zigzags.

And just for my lovely Willow Bird Bakers, here’s a tutorial for how to make cheesecake stuffed cake pops. This video would also be useful for making regular cake pops. WBB is all about inspiring kitchen confidence in home cooks by encouraging them to tackle challenges — so if you’ve never made cake pops before, this is your double-triple-dog dare! Get in the kitchen and try it out! Don’t forget to snap some photos of your finished product for us to see!

If you liked this post, please:
Subscribe to Willow Bird Baking
Follow Willow Bird Baking on Twitter
Follow Willow Bird Baking on Facebook
Give this post a thumbs up on StumbleUpon

ShareOther ways to share this post with friends!

1 21 22 23 24 25 29