

In light of Willow Bird Baking’s Cooking Hard Stuff Challenge, I’ll be sharing some tips for tackling new or challenging recipes throughout the month of March. If you haven’t signed on for the challenge yet, make sure you read about it and join in the fun.
Cooking Hard Stuff Tip #2: Mise en place. (Pronounce that, roughly, “meez ohn plauce.” Apologies to France.)
Mise en place literally means “putting in place,” and it’s an important step in the cooking process that should take place after you read and visualize the steps in your recipe.
If you’ve ever seen a TV chef whisp through a recipe as simply and quickly as a hot knife through butter, you’ve probably witnessed the benefits of this strategy. Every now and again they might measure an ingredient in the middle of the recipe for effect, but in general, all of their ingredients are prepared and sitting next to their workspace, and all of the equipment they need is close at hand. That’s mise en place: measuring ingredients, prepping materials, and setting up your workspace before you begin to cook. Sometimes while I’m visualizing the steps of my recipe, I’ll even sketch out a plan of the mise en place I’ll prepare before I begin.
If you don’t already do a mise en place for your recipes, you might scoff at this advice. I can hear the faint echoes of your criticism across the interwebz: doesn’t that take too much time? Don’t you have to dirty up more dishes to measure everything out beforehand? First off, stop being so negative, Snarky McSnarkerson. Second off, nothing has changed the amount of joy I get out of Cooking Hard Stuff as much as my mise en place. So I’m going to sell you on this.
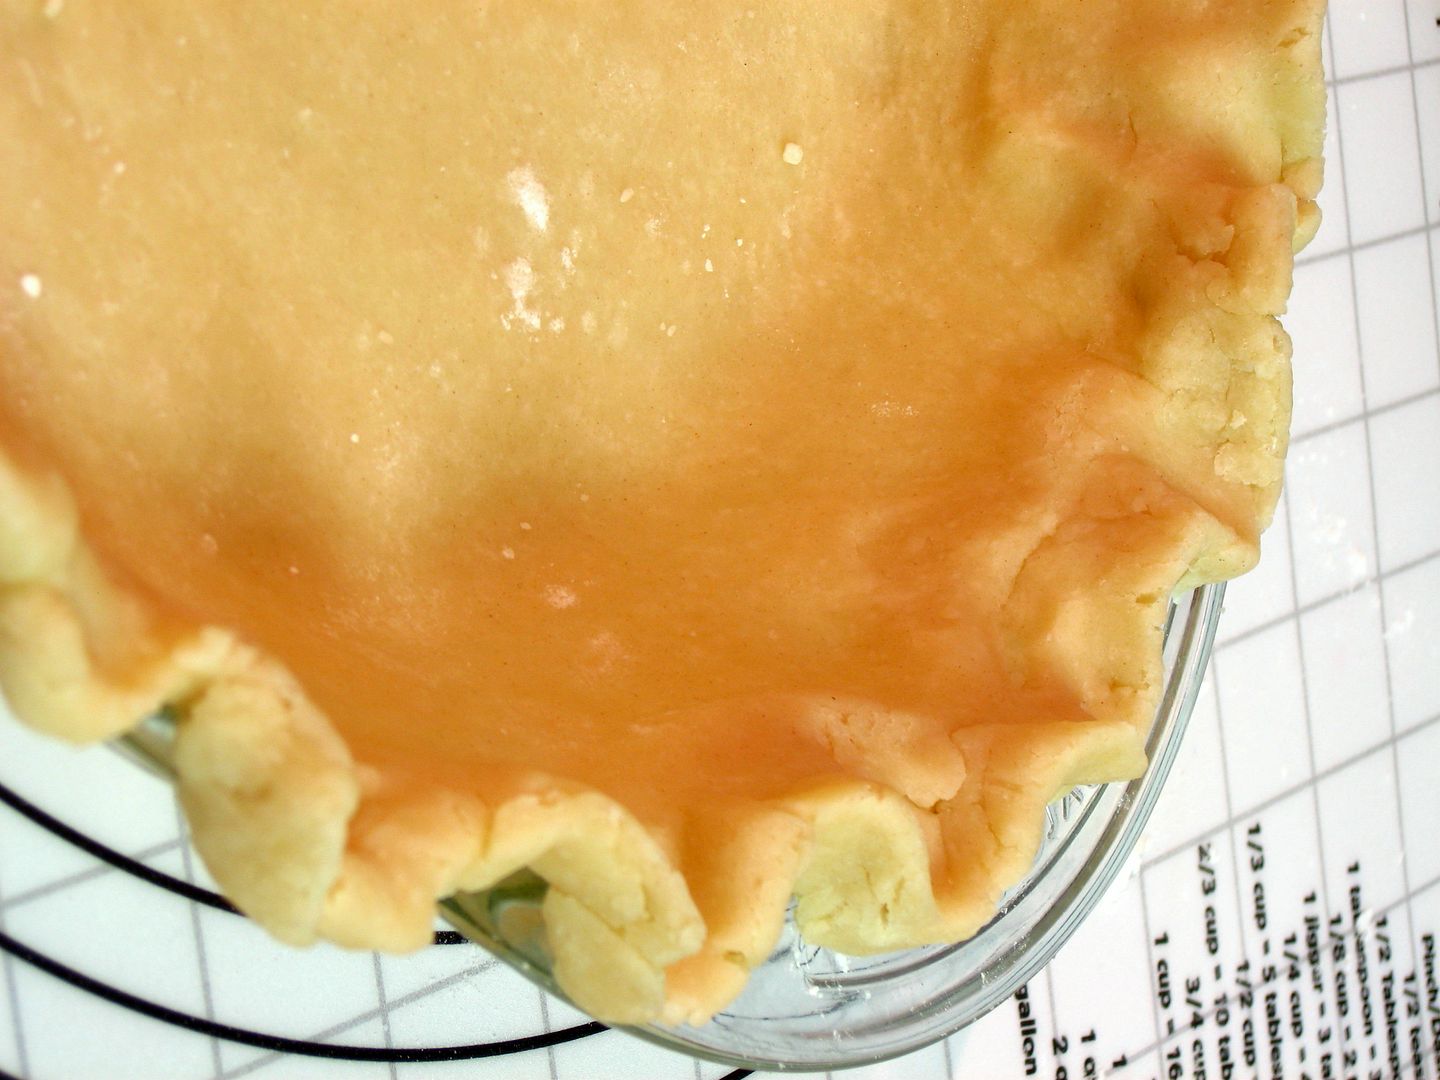
These photos were taken forever ago with my old camera, so they’re of
a different quality than you’ve hopefully gotten used to lately!
Here’s why you should mise your place:
1. Far from taking more time than measuring as you go, mise en place can save you time (and energy! and happiness!). Measuring out ingredients is probably my least favorite part of baking, but getting it out of the way in one fell swoop at the beginning allows me to enjoy the actual cooking process so much more. It’s streamlined, relaxed, and a lot faster, because everything I need is at my fingertips. Since I’m checking all of my supplies before I begin, I also avoid frustrating and time-consuming mid-recipe trips to the grocery store.
2. Mise en place can be done intelligently so that it doesn’t drastically increase your dish load. For instance, if you know you’ll be combining dry ingredients immediately, instead of measuring them out into separate prep bowls, measure them out altogether into your mixing bowl itself. Look at your recipe to see which ingredients can be measured out into the same bowls. Ingredients that you’ll use soon could even sit in the measuring cups themselves until you’re ready to add them. By the time you’re finished with your mise en place, ingredients will be laid out so logically that your recipe will almost make itself.
3. Prepping your materials and workspace ahead of time frees you up to clean as you go. Cleaning is the anticlimax after finishing a great recipe: all the fun’s over, and you still have a lot of work to do. If you prepare a mise en place, though, the breaks in a recipe (when something’s chilling, mixing, baking, or cooling, for instance) are freed up for cleaning. Instead of preparing for the next steps, you can rinse dishes and stick them in the dishwasher, put leftover ingredients away, and wipe down counters. This makes cooking a nicer experience, but more importantly, it means you’ll have much less cleanup once the cooking is finished.

If you’ve never tried preparing a mise en place before beginning a recipe, give it a shot. Think of it like this: you’re going to have to measure everything out one way or another, so why not do it all at once in an efficient manner instead of having to constantly pop in and out of the pantry, grab the measuring cups, level the flour, and so on and so forth? I think you’ll find that you’ll stress less and enjoy the process more with everything put in place. Still don’t believe me? Here’s an article I enjoyed and some great discussion on the topic.
Do you usually prepare a mise en place before beginning a recipe? If so, how do you do your mise en place?
Pie Crust Dough
Recipe by: Willow Bird Baking
Yield: pie crust for one 9-inch pie
Homemade pie crust is not hard at all, particularly after you make it a couple of times and get a feel for the dough. There are different schools of thought regarding what fat to use in pie crusts, but I’m a firm believer in going halfsies. All butter crusts can lack a tender, flaky texture, while all shortening crusts can lack flavor and create a waxy mouthfeel. This is the best of both worlds: buttery flavor and a flaky texture. I recommend using lard if you can get your hands on it, but shortening also works fine.
Ingredients:
2 cups flour
1 teaspoons salt
3/8 cup (6 tablespoons) cold lard or shortening (I recommend lard)
3/8 cup (6 tablespoons) cold butter, chopped
3-4 tablespoons cold water
1 egg and 1 teaspoon water, lightly beaten together, for egg wash
Directions:
Pulse flour and salt together to combine. Add the lard in hunks and pulse for about 10 seconds (literally stand there and count!) until it’s the texture of coarse sand. Add in the chunks of cold butter and pulse for about 10 pulses (count ’em!) until butter pieces are no larger than small peas. Add 3 tablespoons of ice cold water and turn food processor on low — the dough should form a dough ball in a few seconds. If the dough remains crumbly and doesn’t come together, add another tablespoon of water. Add as little water total as is required for the dough to form a ball. Scoop the dough onto a sheet of plastic wrap, form into a disk, and chill for at least 20-30 minutes.
Preheat oven to 450 degrees F (if you’re blind baking the crust without a filling in it; otherwise, preheat according to your recipe instructions). Roll the disk of dough out between two sheets of lightly floured parchment paper until it’s around 2 inches larger than your (9-inch) pie plate all around. Use the parchment to help you drape the dough over your rolling pin, and then use the rolling pin to gently transfer the dough to your pie plate. Situate it in the plate without stretching the dough (lift the edges and let it fall down into the corners of the dish). Fold the excess dough around the edges and crimp, trimming where necessary.
If you’re filling the crust prior to baking, fill it and bake according to your recipe. If you’re blind baking the crust to fill later, cover the dough with parchment paper and fill this with pie weights or dried beans, pressing to the edges. Bake for around 20 minutes at 450 degrees F. Remove weights and paper, brush the egg wash onto the crust, and bake 5-10 minutes more until golden brown (shield the edges with foil if they begin getting too dark). Let the crust cool completely. Fill according to your recipe.
TIPS:
– When preparing a mise en place for this recipe, chop your butter, measure out your shortening, and fill a jar with ice water first. Stick all of these ingredients into the fridge to get ice cold while you complete the rest of your mise en place.
– Your goal is to keep your fats and your crust dough cold as you prepare it, so don’t handle it too much. The cold hunks of fat in your dough are what will create the flaky layers in your crust as it bakes.
– I roll out my crust dough between two sheets of parchment paper with a little sprinkling of flour on either side. Periodically I’ll stop to lift the paper from the dough to be sure it’s not sticking and flip the dough to check the other side as well. The parchment allows me to use much less messy flour.
-For a double crust pie, double the recipe form into two disks to chill. Roll out each disk separately. Situate the first half of the dough in the pie plate as usual, fill it, and top with the second half. Trim and fold the edges of the top crust under the lip of the bottom crust, crimping the two together. Cut a vent in your pie.
See all the Cooking Hard Stuff Tips:
The Cooking Hard Stuff Challenge
Tip #1: Read and visualize the recipe.
Tip #2: Mise en place.
Tip #3: Make a schedule.
Tip #4: Try, try, try again — or share your success
If you liked this post, please:
–Subscribe to Willow Bird Baking
–Follow Willow Bird Baking on Twitter
–Follow Willow Bird Baking on Facebook
–Give this post a thumbs up on StumbleUpon
–Pin It
![]() other ways to share this post with friends
other ways to share this post with friends
Foodiewife
March 18, 2012 at 5:08 am (13 years ago)I sometimes call Mise En Place as “Mess in Place”. When I bake, I set up my mis en place and once I use the ingredient, I put the empty bowl to the other side…that way I don’t forget to use an ingredient.
Try grating frozen butter, sometime. I find that is much easier than using a pastry blender. Cook’s Illustrated got me into the habit of rolling my pie down, then to a quarter turn. Roll, turn, roll turn… I find that my dough never sticks. Love your mat. I have one like it that I’ve used for years.
Great post!
Julie @ Willow Bird Baking
March 18, 2012 at 5:18 am (13 years ago)Great tips! And I LOVE “mess in place.” Totally stealing that. LOL!
Thanks!
Amanda @ Once Upon a Recipe
March 18, 2012 at 2:06 pm (13 years ago)What a great idea! I bet this strategy is also helpful in avoiding making mistakes in recipes, because you’ve taken that extra read through the recipe when preparing your ingredients. I’m especially prone to making mistakes when an ingredient is divided into two parts – for example, if you add half of the sugar immediately, but then the rest at a later time…when I’m rushed, I will often accidently add in all the sugar at once, and then realize my mistake as I continue on. Great motivation to be a bit more organized in the kitchen!
Julie @ Willow Bird Baking
March 18, 2012 at 2:14 pm (13 years ago)I do that too, Amanda! Makes me think the recipe should be written out differently, almost!
Thanks 🙂
Jennifer
March 18, 2012 at 3:40 pm (13 years ago)I’ve always been really intimidated by the pie crust-making process, so I really appreciate the tips. Maybe next time I won’t use the frozen food section version 🙂
Julie @ Willow Bird Baking
March 18, 2012 at 3:48 pm (13 years ago)I hope you’ll try it, Jennifer! I just used a premade pie crust for something and was pretty surprised by how different it was than homemade (but it might’ve also been the brand I used). That homemade crust becomes the best part of the pie!
Thanks 🙂
Natalie
March 18, 2012 at 10:44 pm (13 years ago)Thanks so much for posting this recipe! I have tried a lot of pie crust recipes and cannot for the life of me make one that lives up to my (admittedly high) expectations. This one looks great, though, and I love how detailed your instructions are. There is definitely an apple pie in my future!
Julie @ Willow Bird Baking
March 19, 2012 at 12:18 am (13 years ago)I’ve tried others and ALWAYS come back to this one! I hope you love it! For apple pie, sprinkle on a cinnamon/sugar mixture after you egg wash the top crust. Yum!
Joanne
March 19, 2012 at 12:05 am (13 years ago)I sometimes do a mise en place and sometimes don’t, but whenever I do, I’m amazed at how much more smoothly everything goes! It really is key!
Julie @ Willow Bird Baking
March 19, 2012 at 12:18 am (13 years ago)I’ll admit I sometimes skip it too for quick things, but at least half the time I end up regretting it. LOL.
Thanks, Joanne 🙂
ifjuly
March 19, 2012 at 1:26 am (13 years ago)this might be a silly question but where did you get that awesome pie measuring thing? i could so use something like that…
Julie @ Willow Bird Baking
March 19, 2012 at 1:36 am (13 years ago)Not silly at all! My roomie got it for me, so I’m not positive, but I’m PRETTY sure it came from Target 🙂
Karly
March 19, 2012 at 4:43 pm (13 years ago)I usually get everything out and onto the counterops, but I don’t generally pre-measure or anything. I just sorta go halfway with it. 🙂
Julie @ Willow Bird Baking
March 19, 2012 at 10:29 pm (13 years ago)I do that sometimes too! I just love it when I take the time to get the measuring out of the way, though — I like to condense that decidedly un-fun job 😉
Deanna
March 20, 2012 at 12:27 am (13 years ago)I like to do my savory mise en place on my giant cutting board. And since I don’t measure spices, I just get them all out and eyeball it.
Julie @ Willow Bird Baking
March 20, 2012 at 2:39 am (13 years ago)I love a giant cutting board as well — but mine seems to always be in the dishwasher. LOL. Good tip!
Sophia Spach
March 23, 2012 at 9:33 pm (13 years ago)Looks absolutely fantastic!! Yum
Julie @ Willow Bird Baking
March 24, 2012 at 1:59 pm (13 years ago)Thanks, Sophia! You’re a pro at making this pie dough, I know 😉
Jane
March 24, 2012 at 1:19 pm (13 years ago)Over the last couple of years, I’ve started rolling my pie dough out on a pastry cloth–which can be a thick piece of smooth canvas cloth specially designed for doing this, or can be simply a sturdy piece of any plain, white, 100% cotton cloth that’s very smooth. You generously flour the cloth (the bigger the better for the cloth, if you ask me), kind of rubbing some of the flour into it, and you flour your piece of chilled dough before rolling it out (doing the quarter turns as someone mentioned above), and you’re on your way. It’s the best and easiest way I know of to prevent the egregious and oh-so-frustrating sticking problem. This is definitely an old fashioned method to roll out dough–using a cloth–but it’s also what I learned to do from a great teacher in the baking and pastry-arts program in which I’m still enrolled. He taught us to routinely do this when rolling out dough for dozens of pie shells at a time. In fact, we use nice, white, linen-type tablecloths that we borrow from our culinary school’s “fine-dining” restaurant. (P.S. I love all your posts, but really loved your most recent one about the mean teacher you had! Oh my gosh!! And all the comments readers left with stories of other bad teachers–holy toledo! Some teachers really used to think they could get away with anything in the old days. This sure brings back childhood memories! )
Julie @ Willow Bird Baking
March 24, 2012 at 2:01 pm (13 years ago)I love the cloth tip! I’ll have to try it sometime! Sounds like a similar principle to the parchment, but with less waste.
I know — I can’t believe some of those stories!! My teacher seems downright angelic in comparison 😉 Makes me thankful for all the wonderful teachers out there.
Natalie
May 14, 2012 at 1:46 pm (13 years ago)I finally made a pie with this crust! Something went wrong with the shortening in the top crust, but the whole thing was so flaky that I’m satisfied with it anyway. (Blog post here, if you’re curious.)
Julie @ Willow Bird Baking
May 14, 2012 at 4:37 pm (13 years ago)Hooray, Natalie!! It came out beautiful and I’m so glad to hear you had a pretty manageable time of it! I wish I could have a slice!
KJ
December 10, 2012 at 7:16 pm (12 years ago)I’ve got a couple of questions for ya:
1. When you double the recipe does it all fit in the food processor? I just tried it myself and it didn’t seem to come together in the processor very well.
2. Just double checking that the recipe indeed calls for salt AND salted butter. It sounded a bit salty so just wanted to check 🙂
Julie @ Willow Bird Baking
December 10, 2012 at 7:19 pm (12 years ago)Yes, but maybe you have a smaller processor bowl — feel free to make it in two batches! I always use unsalted butter in recipes unless otherwise noted.
Hope you love the crust! 🙂
Heather
April 9, 2013 at 3:21 am (12 years ago)Quick question. .. what food processor do you have and/or recommend? I only have the very small one but I’m looking for abigger one so I can make this crust! Lol I’ve never made my own before so I’m abit intimidated by it. Thanks!
Julie Ruble
April 9, 2013 at 12:11 pm (12 years ago)I have a big Black & Decker one and I can definitely recommend it — it’s been fantastic! I think it’s one of my favorite kitchen appliances 🙂