What sort of recipe starts off with a grocery list that includes plastic gloves, balloons, and turtle food? Okay, the turtle food is actually just something I picked up for my precious chelonian friend, so I guess we can ignore that. But I promise plastic gloves and balloons are both important tools when making this adorably fancy dessert.
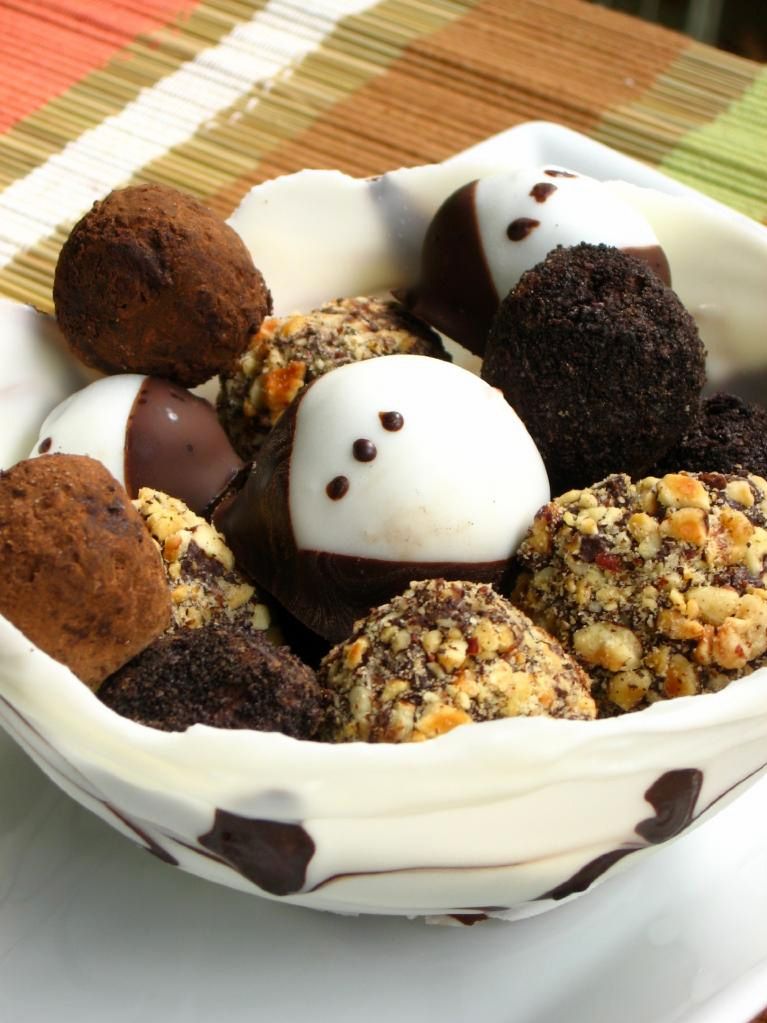
I had leftover ganache from this indulgent dessert / monstrosity and considered tossing it. I’m so glad I didn’t! I stumbled across a discussion of using leftover ganache to make truffles and suddenly had a plan: I’d make a batch of simple truffles myself! As usual, my plan grew . . . and grew. Before long, my elaborate menu included four varieties of truffle, and, oh yes, wouldn’t it be sweet to serve them in a bowl made of chocolate? Marbled chocolate, even? Oh, yes.
Call me harebrained. I don’t mind; I like bunnies (well, except that louse of a pet rabbit my little brother owns . . . his name is Pilfer, and he frequently reminds me what a pity it is that I haven’t yet tried rabbit stew. But I digress.)
My ideas do get a little “hare-y,” but this time it worked out into a sweet little plan — and one that would be perfect for a simple but sophisticated Mothers’ Day gift!

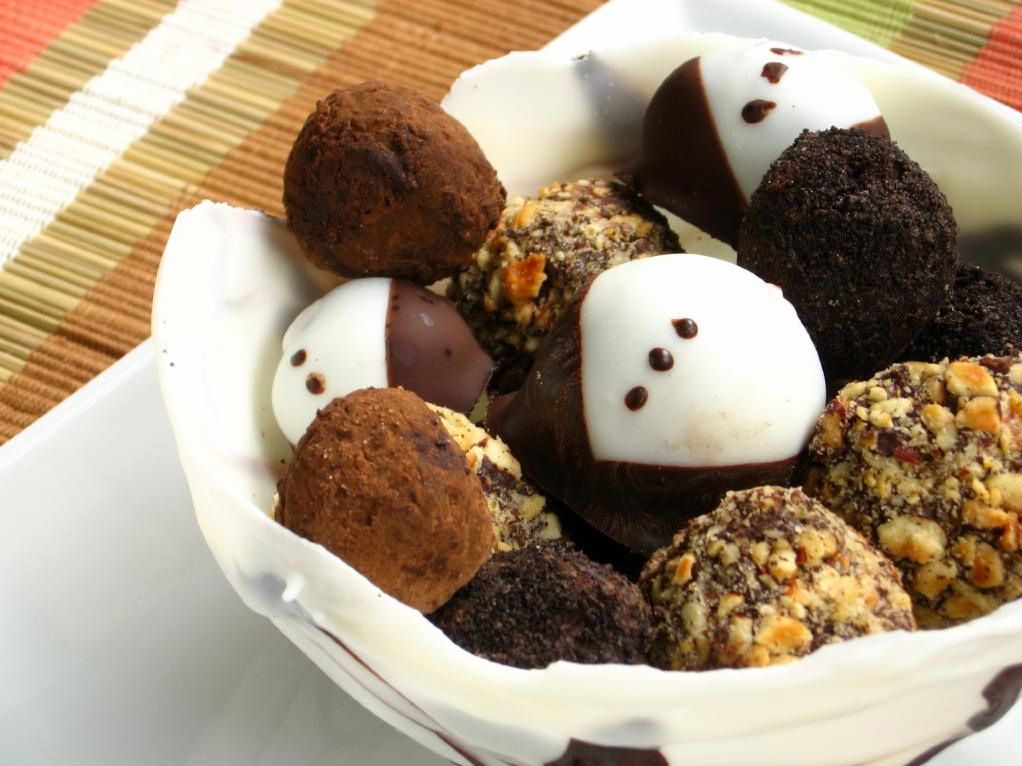
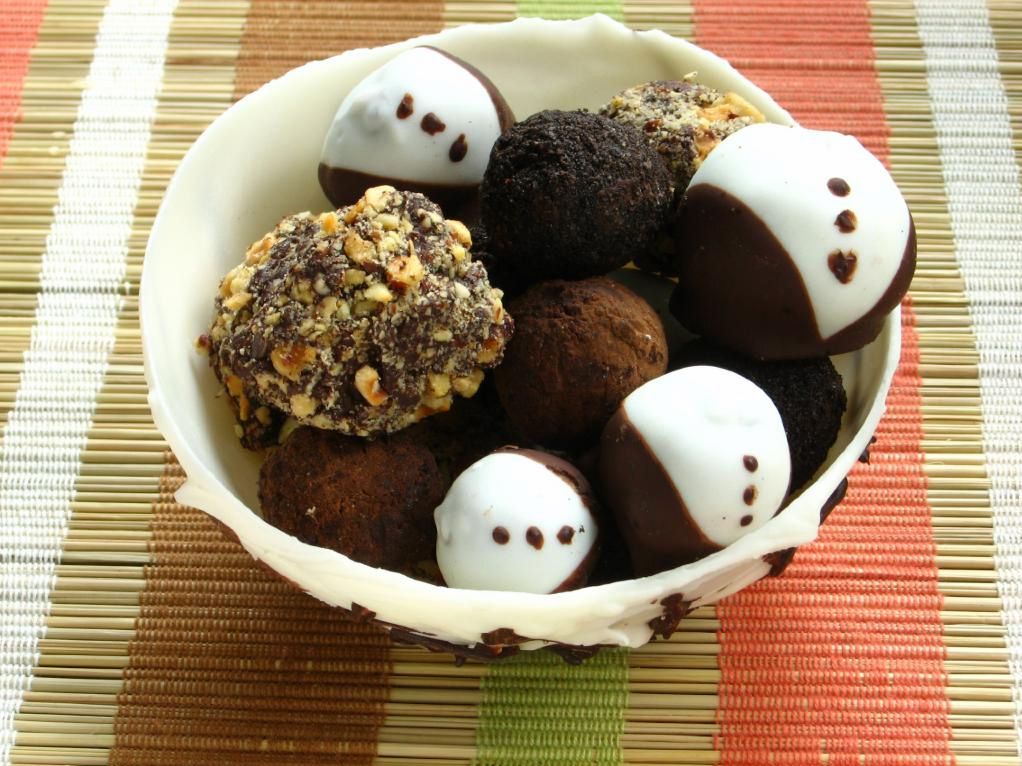
My four truffle varieties all begin with the same base: a ball of rich, thick ganache. Mine had been stored in the fridge since I made it and was lovely to work with. After rolling the ganache into a ball, it got one of four treatments:
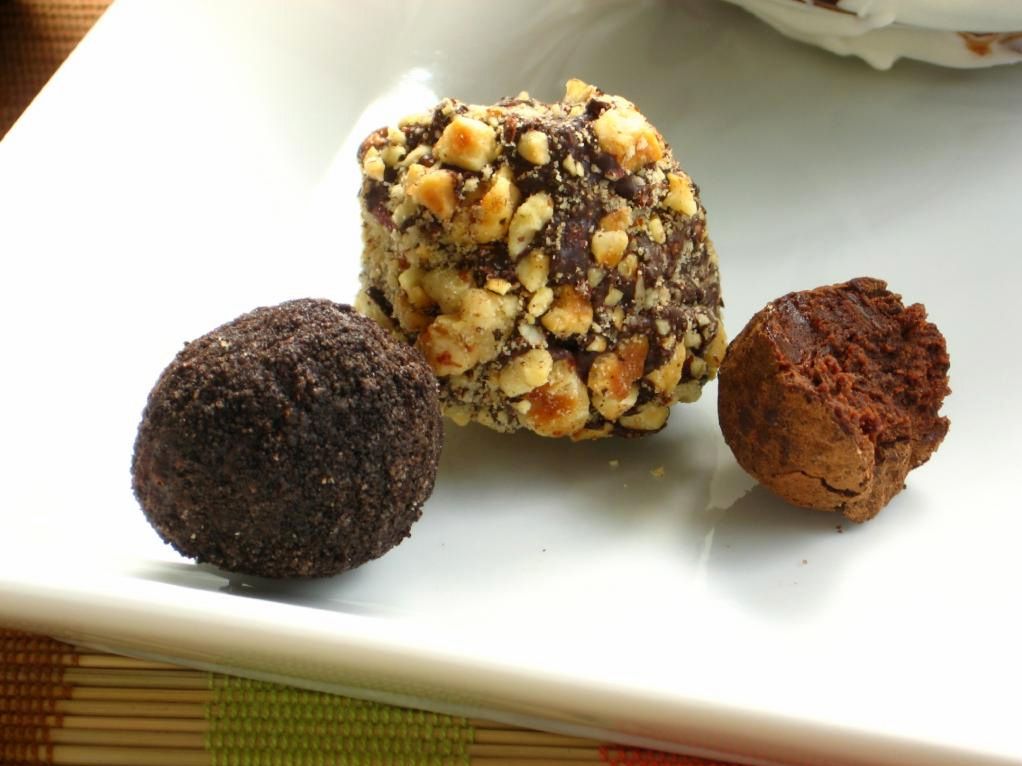
- Plain truffles: ganache coated in melted chocolate and rolled in cocoa.
- Oreo coated truffles: ganache coated in melted chocolate and rolled in pulverized oreos.
- Hazelnut truffles: ganache with a toasted hazelnut in the center, coated in nutella and rolled in chopped hazelnuts and melted chocolate.
- Tuxedo truffles: ganache coated in melted chocolate and then dipped in vanilla and chocolate candy coating.
Deb of Smitten Kitchen explained a truffle-making technique that I employed. In fact, the instructions below are really more of a method than a recipe. One of the most important things to note is that you should do some mise-en-place before starting! It’s no fun retrieving something you forgot with sticky, chocolatey hands.
My setup was relatively simple: bowl of ganache, bowl of melted chocolate, bowls of my multiple coatings (chopped nuts, cocoa, crushed oreos, vanilla candy coating), a sieve for shaking off excess coating, and finally, a big strip of waxed paper for drying. The truffle-making process is where those rubber gloves come in, by the way! To coat each ball of ganache in melted chocolate, you smear the chocolate on your glove and roll the chilled ganache therein.
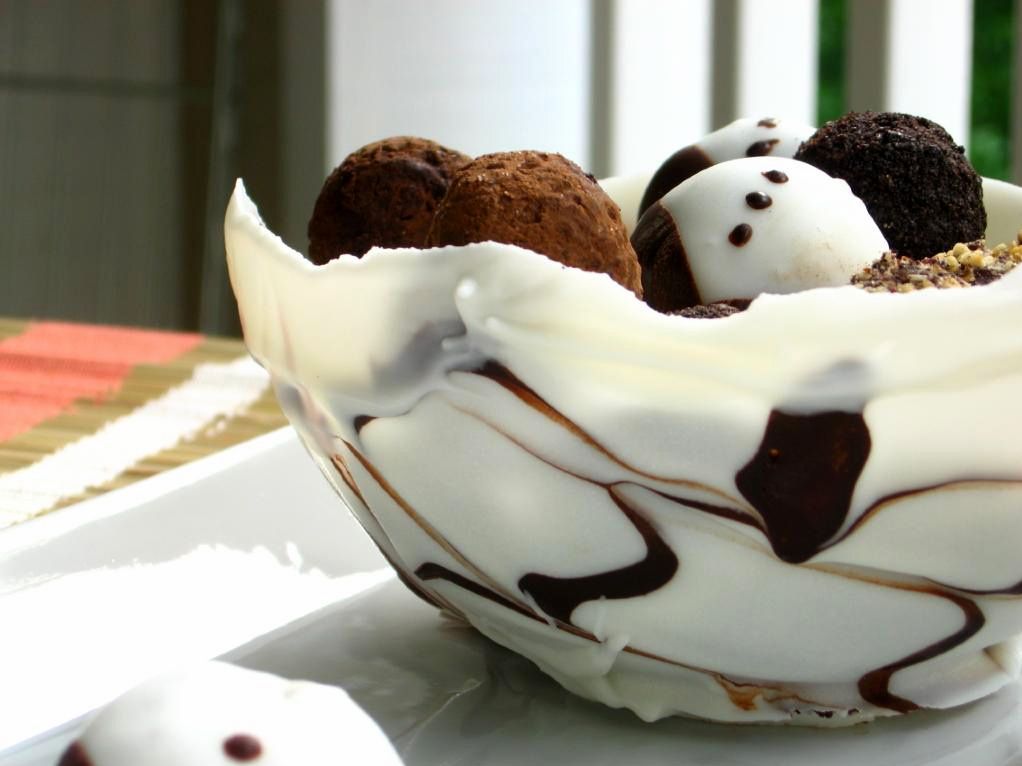
And what about the balloons? Ah, yes. Those were for the chocolate bowls which looked so easy when I read about them, and turned out to involve a lot of trial and error! Out of 5 or 6 tries, I managed to obtain 3 reasonable-looking bowls. Not too shabby. Lessons I learned include blowing your balloon up small, using candy coating instead of regular melted chocolate that takes longer to dry, and double coating where possible. And just expect to shatter a few bowls — it seems almost inevitable. Take heart that with each bowl that collapsed, I had a better idea of what to do differently on my next try.
Chocolate Bowls
Recipe by: Technique found here
Yields: Depends on how much chocolate you melt!
Ingredients/equipment:
one package chocolate and/or vanilla candy coating (I use CandiQuik)
toothpicks if you plan on trying to marble your bowl
balloons
Directions:
Melt candy coating according to package directions and then pour into shallow container to let it cool slightly and get slightly less viscous. You want it to be a consistency where you can sort of “paint” it onto the balloon with a spoon and it won’t immediately pour right off — though it will slowly drain. When it’s cooled for a minute, carefully paint it onto the bottom of your balloon with a spoon, placing each balloon on wax paper to dry*. After they’ve dried for a few minutes, the candy coating should be starting to harden. If your first coating seems thin, paint another coat on and let it dry as well.
After letting the candy coating cool thoroughly, snip the top of the balloon with a pair of scissors, letting the air out slowly. The balloon will pull away from the bowl. When it stops, very gently continue pulling it away until your chocolate bowl stands alone!
*Note: If you’d like to try marbling your bowls, pipe thin lines of chocolate in a contrasting color on the still-wet chocolate after coating the bottom of the balloon. Use toothpicks to very carefully drag through the piped lines, creating a marbling effect. Let balloon dry.
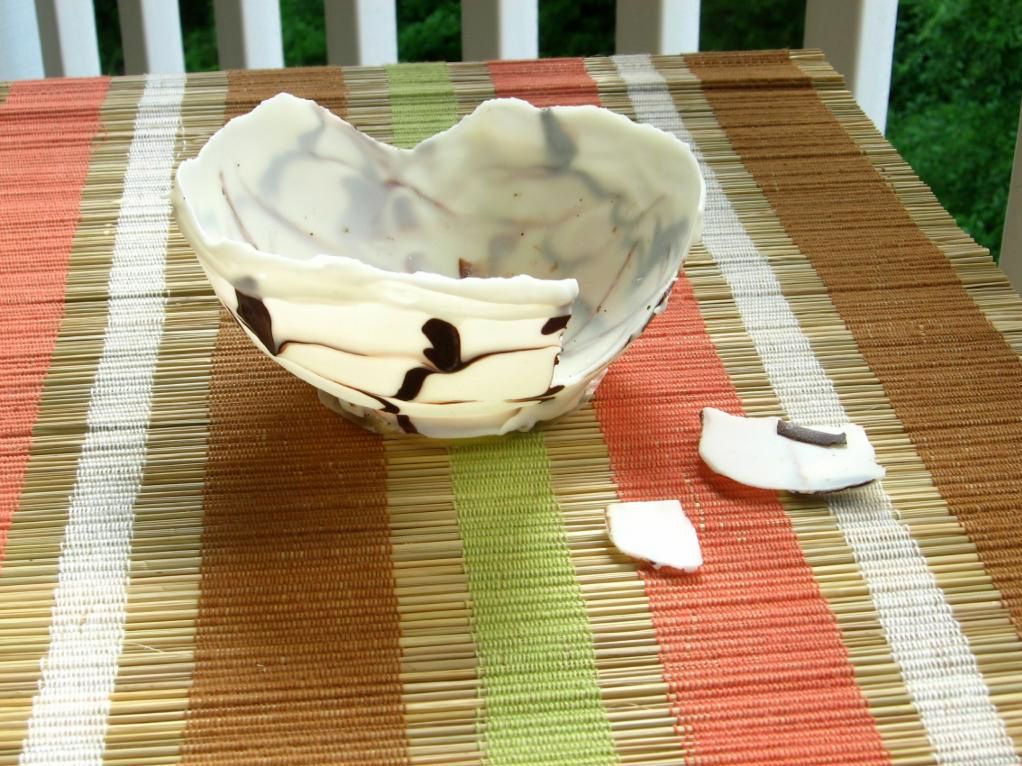
Speaking of how fragile these bowls are (or at least, how fragile mine were), the above photo shows what happened in the midst of my photoshoot. It was almost dessert disaster, but when life hands you shards of chocolate bowls (life is strange), why not make an ice cream sundae? Yep, even broken bowls make for pretty desserts.
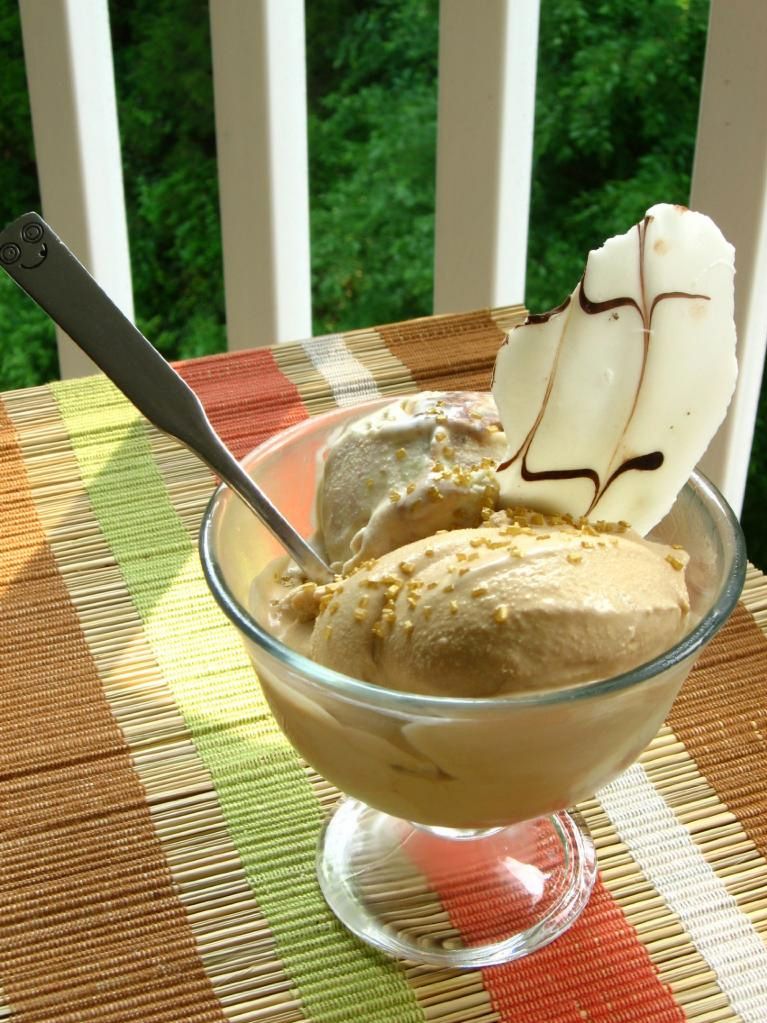
If you’re not that into edible bowls (weirdo), the truffles would also look adorable in a cellophane bag with a ribbon, or any sweet little container you have lying around — maybe even a heart-shaped box? If you love the bowls but aren’t that into truffles (weirdo), you could use these chocolate bowls for serving ice cream or even individual French silk pies (I want to give Dr. GG a hug for that brilliant idea)! Or follow in my bunny-brained footsteps and make both bowls and truffles for a fancy schmancy dessert.
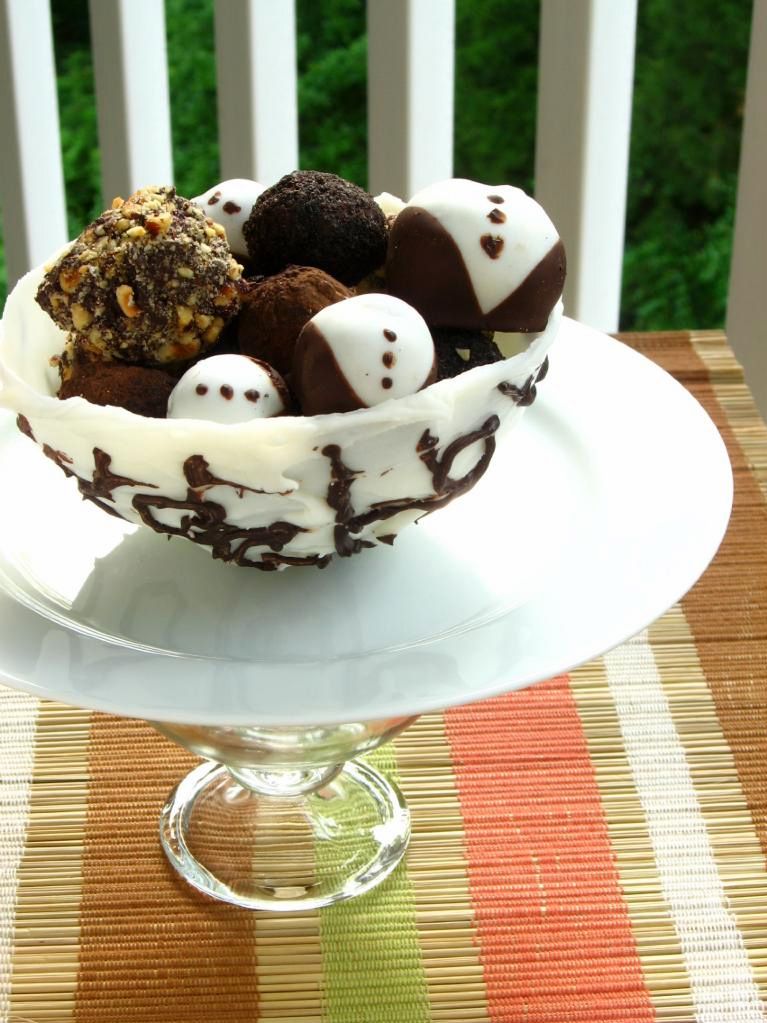
Assorted Truffles
Recipe by: Bon Appétit (ganache) and Robert Linxe (method)
Yields: Perhaps around 30-40 truffles?*
Ganache Ingredients:
3/4 cups whipping cream
10 ounces bittersweet or semisweet chocolate, chopped (I use a combination)
Optional ingredients for Hazelnut Truffles:
whole hazelnuts
melted semisweet chocolate
Nutella
Optional Indredients for Oreo Coated Truffles:
7 pulverized oreo cookies
melted semisweet chocolate
Optional Ingredients for Plain Truffles:
cocoa powder
melted semisweet chocolate
Optional Ingredients for Tuxedo Truffles:
vanilla candy coating (I use CandiQuik)
chocolate candy coating (I use CandiQuik)
melted semisweet chocolate
Directions:
First, set up your work area to minimize the amount of chocolate you have on random kitchen surfaces when you finish. Then, for all truffle types, make ganache. Bring whipping cream to simmer in large saucepan. Remove from heat; add chocolate. Whisk until chocolate is melted and ganache is smooth. Let sit at room temperature for about 30 minutes before transferring it to the refrigerator.
Plain truffles: Roll chilled ganache into a ball of desired size. Don cute plastic gloves. Smear melted (and slightly cooled) chocolate on one glove and gently roll the ganache ball in the smear until coated. Toss into a bowl of cocoa powder and toss to coat with a fork. Transfer the truffle to a sieve and shake off excess cocoa powder. Store truffles in sealed container in the refrigerator.
Oreo truffles: Repeat plain truffle procedure, but instead of coating in cocoa powder, coat in oreo crumbs. Store truffles in sealed container in the refrigerator.
Tuxedo Truffles: Repeat plain truffle procedure, but instead of coating in cocoa powder, place chocolate-coated ganache ball on a plate and freeze for at least 10 minutes. When hard, use a toothpick to dip each ball into melted vanilla candy coating, wiggling the ball off onto wax paper to dry. You may have to double-dip if the white doesn’t fully cover. When dry, dip the sides of each white truffle into chocolate candy coating to form “lapels.” Use a toothpick to dab on chocolate candy coating “buttons,” forming a tuxedo design. Store truffles in sealed container in the refrigerator.
Hazelnut Truffles: Toast hazelnuts on a cookie sheet at 350 degrees F for about 5-7 minutes, checking and shaking the pan periodically. Save some of the hazelnuts whole to form the center of truffles. Chop the rest of the toasted hazelnuts up very finely and let cool. Place cooled, chopped hazelnuts in a bowl. Prepare another bowl of melted chocolate.
Roll chilled ganache into ball of desired size and poke a whole, toasted hazelnut into its center. Don cute plastic gloves. Smear nutella on one glove and gently roll ganache ball in the nutella until coated. Drop coated ball into bowl of chopped hazelnuts and toss with a fork to coat. Drop coated ball into the melted chocolate to coat. Finally, coat the ball in chopped hazelnuts one last time. Set on wax paper to dry. Store truffles in sealed container in the refrigerator.
*Note: Since I made this with leftover ganache, I used a different amount, and can’t say exactly how many this recipe will make; however 30-40 is my best estimate.
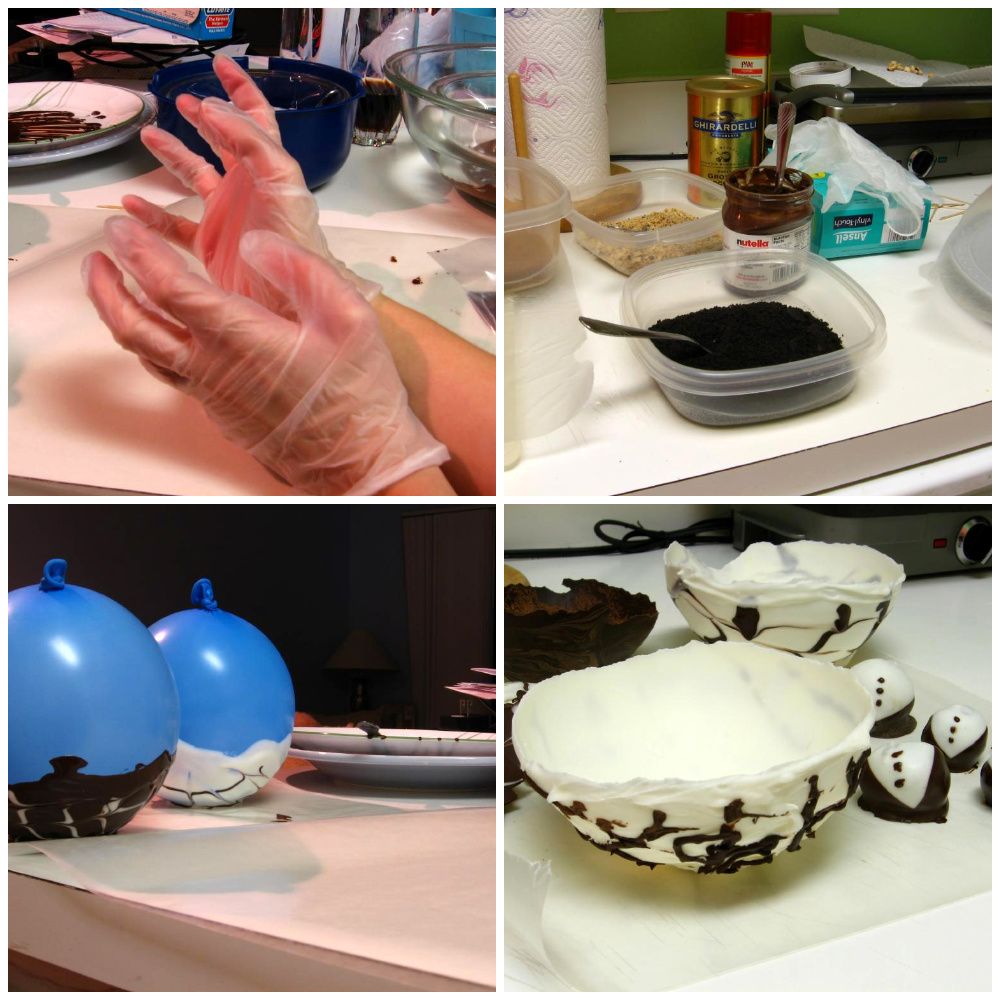
The messy process. By the way, do as I say and not as I do: those balloons are blown up too big!
Enjoy!

Megan
May 3, 2010 at 8:36 pm (15 years ago)I love the chocolate bowls and the truffles! The tuxedos are adorable. I really liked reading your tips and tricks for the chocolate bowls. Now if I try them myself, I’ll know exactly what to do and what not to do. They’re beautiful, and the marbled chocolate is so sophisticated!
Julie
May 3, 2010 at 8:43 pm (15 years ago)Thanks, Megan!!
Maranda
May 3, 2010 at 8:40 pm (15 years ago)Wow these look amazing! We all have our trial and error periods but good for you for persevering and conquering that big bowl! It’s funny you post this today because Bakerella posted about these chocolate bowls today too. Great job and thanks for sharing!!
Julie
May 3, 2010 at 8:42 pm (15 years ago)Thanks Maranda! I actually saw them on her blog this morning and joked that I’d gotten “scooped” — but the truth is, these showed up on Tastespotting (or was it Foodgawker — or both?) a few days ago and I think everyone’s been on the chocolate-bowl-kick since seeing them. At least, that’s my hypothesis! Who knows?!
youngwifey
May 3, 2010 at 9:41 pm (15 years ago)Beautiful presentation!
Julie
May 3, 2010 at 11:38 pm (15 years ago)Thank you 🙂
Joanne
May 3, 2010 at 10:44 pm (15 years ago)You are too much…these are just seriously amazing. I am in awe. A chocolate bowl?!?!? Genius.
Julie
May 3, 2010 at 11:39 pm (15 years ago)Aw, thanks, Joanne!
Lorraine @ Not Quite Nigella
May 3, 2010 at 11:19 pm (15 years ago)What a clever idea Julie and not harebrained at all. You had me chuckling when you mentioned turtle food though! Hehe I’m curious about the bunny Pilfer-is it a naughty bunny?
Julie
May 3, 2010 at 11:40 pm (15 years ago)Oh, a very naughty bunny! That fat rabbit eats two large (handmade by my parents, of course) salads a day, hops about like he owns the place, and for some reason, loves everyone but me! He hates me, which periodically results in him batting at me when I get close. Like I said, a prime candidate for a good stew!
Thanks, Lorraine!
Memoria
May 4, 2010 at 2:14 am (15 years ago)Good job on everything! What kind of ice cream is that?
thepastrykook
May 4, 2010 at 5:09 am (15 years ago)oh my gosh your tuxedo truffles are too cute! i love them (:
Sarah at Candiquik
May 5, 2010 at 11:40 am (15 years ago)These look awesome! And yea…experimented with the chocolate bowls as well, they have to be pretty small in order to work! Haha. But your’s look gorgeous with the chocolate swirled in. Great job. And the truffles – wow, I want one right now.
Julie
May 5, 2010 at 12:24 pm (15 years ago)Thanks Sarah! Yes, I realized that after a couple of mishaps. Next time I’ll go even smaller 🙂
terry
April 11, 2013 at 8:39 pm (13 years ago)I couldn’t believe you actually thought of throwing away that beautiful ganache! I made a dessert once that left me facing a bowlful so I looked around then spotted pistachios and dried sweetened raisins…I began make balls, to stuff them, & roll them as you did…the restaurant owners to whom I served them raved…if only they knew how simple they were to make.