Have you ever pulled something out of the oven and felt like a rock star? Felt giddy and awed at the first bite? Been so incredibly proud of a recipe you were inexplicably able to complete that you thought about framing the resulting photos for your desk at work? Okay, okay, maybe that’s a little much. But all silliness aside, there are turning points in my life as a baker where I feel like I “level up,” or gain a skill or technique that previously seemed too daunting for me to contemplate. This past Daring Bakers challenge was one of those turning points.
The September 2009 Daring Bakers’ challenge was hosted by Steph of A Whisk and a Spoon. She chose the French treat, Vols-au-Vent based on the Puff Pastry recipe by Michel Richard from the cookbook Baking With Julia by Dorie Greenspan.
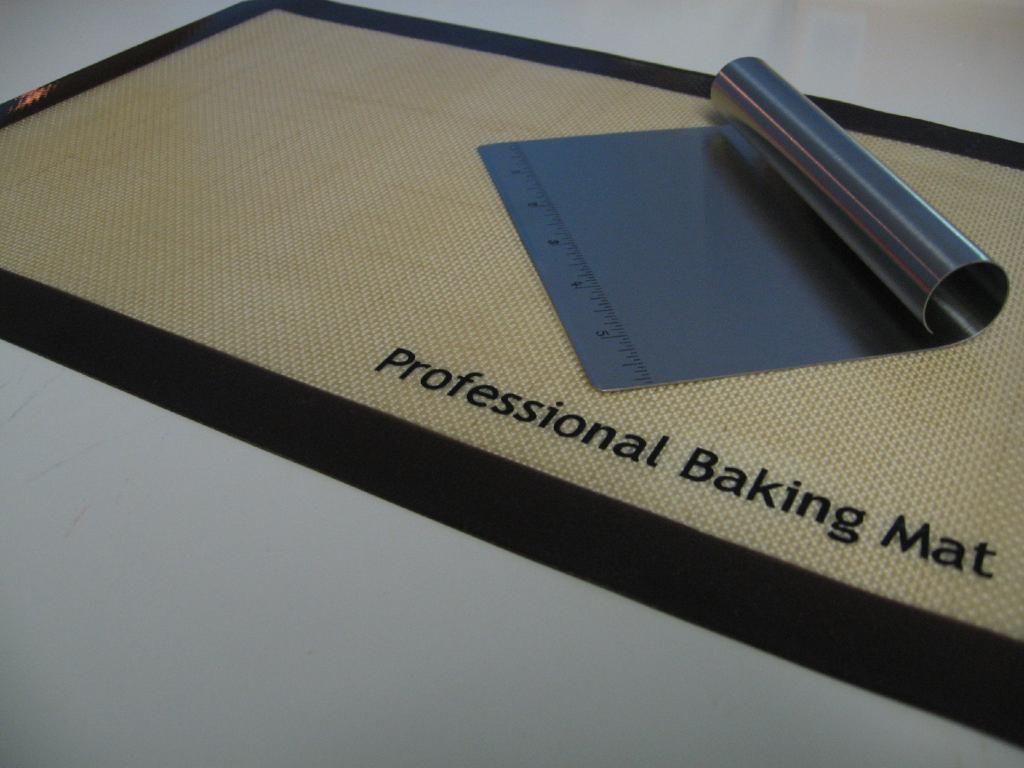
New baking supplies for the challenge.
Vol-au vents are simply cups of puff pastry stuffed with delicious savory or sweet fillings. That part sounds easy. But homemade puff pastry? I have to admit, I was very nervous. The recipe looked especially daunting considering my love-hate relationship with my rolling pin. I think we’ve smoothed things out, but every now and then I still feel like giving him a good whomp against the counter to adjust his attitude. And even apart from rolling pin troubles, puff pastry is just a fickle, time consuming creation. It’s made by enveloping an entire pound of butter (Heyyy, Paula Deen!) in the dough (called a détrempe). Once the butter is wrapped up like a present, you make a series of six “turns” (tri-folds) in the dough, rolling it out between each (and refrigerating often to maintain workability). This website has a useful pictorial of the turning process, but I bet you’d love to see Julia Child and Michel Richard making it in real-time, wouldn’t you? Your wish is my command! Here’s the fun part: once you have all those lovely layers of butter and dough in the oven, the water content of the butter turns into steam, inflating your pastry. If all goes well, you end up with a fluffy, buttery bit of heaven.
After watching the video above several times over, I dragged my load of doubts and worries into the kitchen and set to work with a furrowed brow. My dough seemed too sticky, my butter pounding scared little Byrd to death, and my envelope kept threatening to break and expose my butter. Nevertheless, I trudged on, hoping that somehow, my little pastries would puff their hearts out in the oven. And guess what?
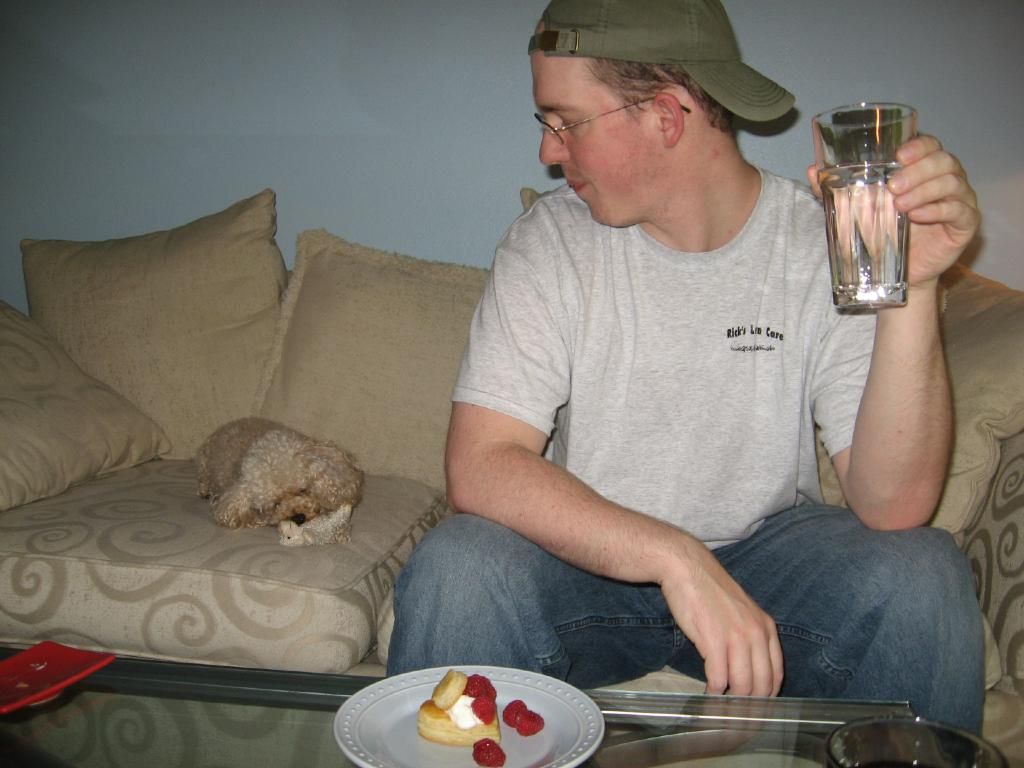
It worked! It worked! It worked! It’s unfortunate (or maybe not, since Mike’s eardrums are probably sore) that you couldn’t hear me shouting those two little words as I leapt around my apartment after taking these out of the oven. It was like magic! Little disks of dough turning into lovely, sophisticated pastries via unseen processes within their layers. And not only were the pastries puffy, they were out of this world delicious. I burned each one of my little fingertips to bits (not to mention my tongue) eating them straight out of the oven. Mike liked them too! Byrd was indifferent.
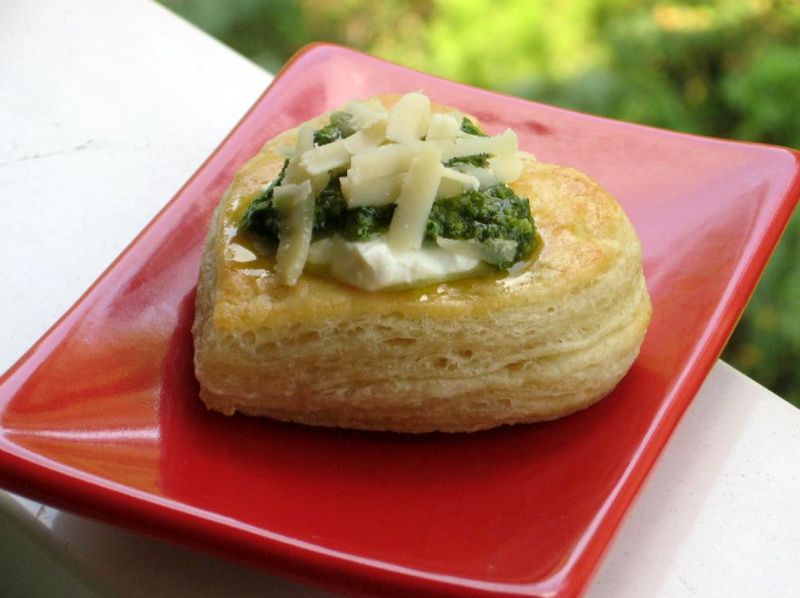
I chose to stuff my vol-au-vents with both savory and sweet fillings. My savory vol-au-vent was filled with smooth goat cheese mousse with a drizzle of fresh, homemade pesto on top. The pesto was gorgeous — made with toasted pine nuts, extra virgin olive oil, and fresh basil (including some huge sprigs from the garden beside my classroom — did I mention that I love my school?) The tangy goat cheese and rich pesto were such a delicious combination.
Goat Cheese Mousse and Basil Pesto
Recipe By:
–Shirl on RecipeZaar (goat cheese mousse)
–Elise on Simply Recipes
Yields: About 1/2 cup mousse and 1/2 cup pesto
Goat Cheese Mousse Ingredients:
8 ounces fresh goat cheese
3/4 cup heavy whipping cream, lightly whipped
Basil Pesto Ingredients:
1 cups fresh basil leaves, packed
1/4 cup freshly grated Parmesan-Reggiano or Romano cheese
1/4 cup extra virgin olive oil
1/6 cup pine nuts, toasted
1.5 medium-sized garlic cloves, minced
Salt and freshly ground black pepper to taste
Directions:
To make the mousse, process the goat cheese in a clean food processor until smooth. Add the whipped cream and blend just until incorporated.
To make the pesto, combine the basil and pine nuts in a food processor. Pulse a few times. Add the garlic, pulse a few times more. Slowly add the olive oil in a constant stream while the food processor is on low (if storing, reserve half the oil — see note below). Stop to scrape down the sides of the food processor with a rubber spatula. Add the grated cheese and pulse again until blended. Add a pinch of salt and freshly ground black pepper to taste. Note: If storing and not using immediately, reserve half the oil. Place pesto in airtight container and drizzle reserved oil over top. Freeze or refrigerate.
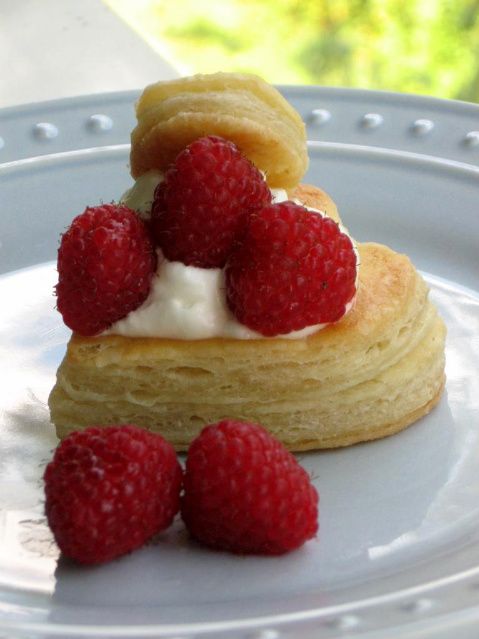
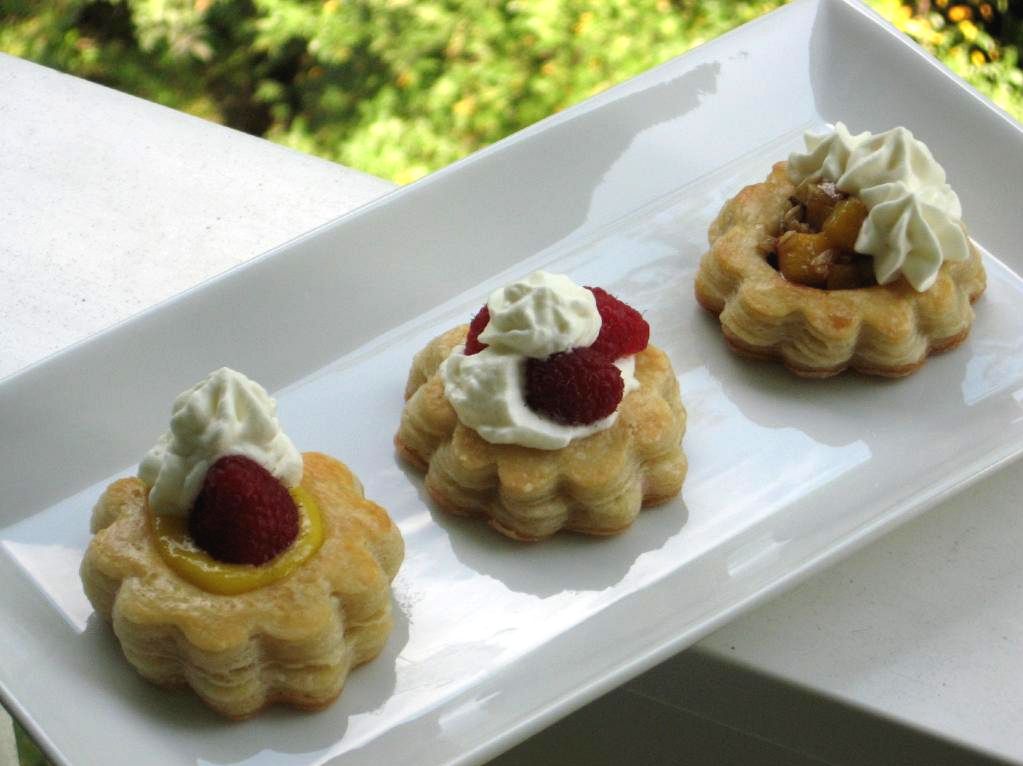
My dessert plate was designed as a walk through the seasons. Spring was represented by Smitten Kitchen’s tangy mango curd, a sweet raspberry, and a dollop of homemade whipped cream. Summer was simple: homemade whipped cream and berries.
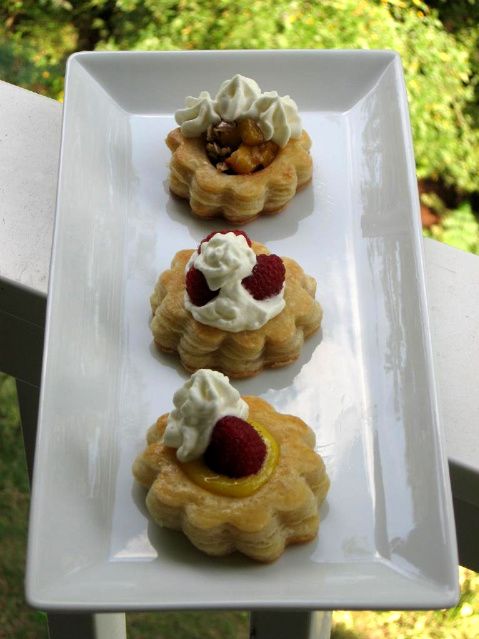
Finally, autumn was one of my favorites (in fact, you’ve seen it a few times here recently!): baked peach crisp. I baked some peaches, brown sugar, white sugar, oats, and toasted pecans in a dish before spooning the hot mixture into my puff pastry and (you know what’s coming, right?) topped it with a dollop of whipped cream! Next time I think I’ll add the toasted pecans over top of the peach mixture at the end. All of these dessert vol-au-vents were incredible in their buttery pastry cups, but our favorite by far was the Mango Curd Raspberry Vol-au-vent!

Peach Crisp Vol-au-vent

Raspberries and Cream Vol-au-vent
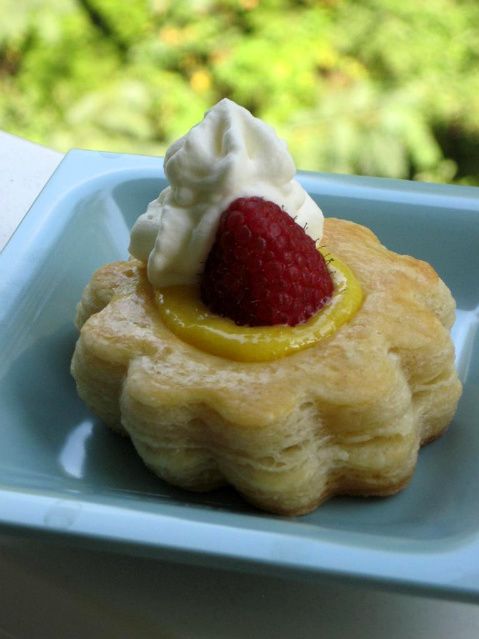
Mango Curd Raspberry Vol-au-vent
Mango Curd
Recipe By: Smitten Kitchen (mango curd)
Yields: About 1 to 1.5 cups
Ingredients:
1 15-ounce ripe mango, peeled, pitted, cut into 1/2-inch pieces
1/2 cup sugar (might reduce this to 1/3 cup next time, to keep the curd more tart)
3 tablespoons fresh lime juice
Pinch of salt
4 large egg yolks
1/4 cup (1/2 stick) unsalted butter, cut into small pieces
Directions:
Puree mango, sugar, lime juice and salt in processor, scraping down sides of work bowl occasionally. Add yolks; puree 15 seconds longer. Strain through sieve set over large metal bowl, pressing on solids with back of spatula to release as much puree as possible. Discard solids in sieve.
Set metal bowl over saucepan of simmering water (do not allow bottom of bowl to touch water); whisk puree until thickened and thermometer registers 170°F., about 10 minutes. Remove from over water. Whisk in butter 1 piece at a time. Cover (place plastic wrap on surface of curd to prevent a skin from forming) and refrigerate overnight. Can freeze for up to 2 months.
I’m grateful for the Daring Bakers for many reasons: the exciting recipes shared, the fantastic friendships made, the gorgeous blogs to visit. For this challenge, though, I especially want to thank Steph and the Daring Bakers for a huge confidence boost! I hope you’ll decide to give puff pastry a try. It’s a manageable beast, and the resulting dough freezes well to use for months to come. Even besides those practicalities, though, it feels like such a satisfying kitchen accomplishment!
Puff Pastry and Vol-au-vents
Recipe By: Baking with Julia by Dorie Greenspan
Yields: Using 1/3 of the dough yields about 9 2-inch vol-au-vents
Ingredients:
2-1/2 cups (12.2 oz/ 354 g) unbleached all-purpose flour
1-1/4 cups (5.0 oz/ 142 g) cake flour
1 tbsp. salt (you can cut this by half for a less salty dough or for sweet preparations)
1-1/4 cups (10 fl oz/ 300 ml) ice water
1 pound (16 oz/ 454 g) very cold unsalted butter
plus extra flour for dusting work surface
Directions:
Mixing the Dough:
Check the capacity of your food processor before you start. If it cannot hold the full quantity of ingredients, make the dough into two batches and combine them.
Put the all-purpose flour, cake flour, and salt in the work bowl of a food processor fitted with a metal blade and pulse a couple of times just to mix. Add the water all at once, pulsing until the dough forms a ball on the blade. The dough will be very moist and pliable and will hold together when squeezed between your fingers. (Actually, it will feel like Play-Doh.)
Remove the dough from the machine, form it into a ball, with a small sharp knife, slash the top in a tic-tac-toe pattern. Wrap the dough in a damp towel and refrigerate for about 5 minutes.
Meanwhile, place the butter between 2 sheets of plastic wrap and beat it with a rolling pin until it flattens into a square that’s about 1″ thick. Take care that the butter remains cool and firm: if it has softened or become oily, chill it before continuing.
Incorporating the Butter:
Unwrap the dough and place it on a work surface dusted with all-purpose flour (A cool piece of marble is the ideal surface for puff pastry) with your rolling pin (preferably a French rolling pin without handles), press on the dough to flatten it and then roll it into a 10″ square. Keep the top and bottom of the dough well floured to prevent sticking and lift the dough and move it around frequently. Starting from the center of the square, roll out over each corner to create a thick center pad with “ears,” or flaps.
Place the cold butter in the middle of the dough and fold the ears over the butter, stretching them as needed so that they overlap slightly and encase the butter completely. (If you have to stretch the dough, stretch it from all over; don’t just pull the ends) you should now have a package that is 8″ square.
To make great puff pastry, it is important to keep the dough cold at all times. There are specified times for chilling the dough, but if your room is warm, or you work slowly, or you find that for no particular reason the butter starts to ooze out of the pastry, cover the dough with plastic wrap and refrigerate it . You can stop at any point in the process and continue at your convenience or when the dough is properly chilled.
Making the Turns:
Gently but firmly press the rolling pin against the top and bottom edges of the square (this will help keep it square). Then, keeping the work surface and the top of the dough well floured to prevent sticking, roll the dough into a rectangle that is three times as long as the square you started with, about 24″ (don’t worry about the width of the rectangle: if you get the 24″, everything else will work itself out.) With this first roll, it is particularly important that the butter be rolled evenly along the length and width of the rectangle; check when you start rolling that the butter is moving along well, and roll a bit harder or more evenly, if necessary, to get a smooth, even dough-butter sandwich (use your arm-strength!).
With a pastry brush, brush off the excess flour from the top of the dough, and fold the rectangle up from the bottom and down from the top in thirds, like a business letter, brushing off the excess flour. You have completed one turn.
Rotate the dough so that the closed fold is to your left, like the spine of a book. Repeat the rolling and folding process, rolling the dough to a length of 24″ and then folding it in thirds. This is the second turn.
Chilling the Dough:
If the dough is still cool and no butter is oozing out, you can give the dough another two turns now. If the condition of the dough is iffy, wrap it in plastic wrap and refrigerate it for at least 30 minutes. Each time you refrigerate the dough, mark the number of turns you’ve completed by indenting the dough with your fingertips. It is best to refrigerate the dough for 30 to 60 minutes between each set of two turns.
The total number of turns needed is six. If you prefer, you can give the dough just four turns now, chill it overnight, and do the last two turns the next day. Puff pastry is extremely flexible in this regard. However, no matter how you arrange your schedule, you should plan to chill the dough for at least an hour before cutting or shaping it.
Steph’s extra tips:
- While this is not included in the original recipe we are using (and I did not do this in my own trials), many puff pastry recipes use a teaspoon or two of white vinegar or lemon juice, added to the ice water, in the détrempe dough. This adds acidity, which relaxes the gluten in the dough by breaking down the proteins, making rolling easier. You are welcome to try this if you wish.
- Keep things cool by using the refrigerator as your friend! If you see any butter starting to leak through the dough during the turning process, rub a little flour on the exposed dough and chill straight away. Although you should certainly chill the dough for 30 to 60 minutes between each set of two turns, if you feel the dough getting to soft or hard to work with at any point, pop in the fridge for a rest.
- Not to sound contradictory, but if you chill your paton longer than the recommended time between turns, the butter can firm up too much. If this seems to be the case, I advise letting it sit at room temperature for 5-10 minutes to give it a chance to soften before proceeding to roll. You don’t want the hard butter to separate into chuncks or break through the dough…you want it to roll evenly, in a continuous layer.
- Roll the puff pastry gently but firmly, and don’t roll your pin over the edges, which will prevent them from rising properly. Don’t roll your puff thinner than about about 1/8 to 1/4-inch (3-6 mm) thick, or you will not get the rise you are looking for.
- Try to keep “neat” edges and corners during the rolling and turning process, so the layers are properly aligned. Give the edges of the paton a scooch with your rolling pin or a bench scraper to keep straight edges and 90-degree corners.
- Brush off excess flour before turning dough and after rolling.
- Make clean cuts. Don’t drag your knife through the puff or twist your cutters too much, which can inhibit rise.
- When egg washing puff pastry, try not to let extra egg wash drip down the cut edges, which can also inhibit rise.
- Extra puff pastry dough freezes beautifully. It’s best to roll it into a sheet about 1/8 to 1/4-inch thick (similar to store-bought puff) and freeze firm on a lined baking sheet. Then you can easily wrap the sheet in plastic, then foil (and if you have a sealable plastic bag big enough, place the wrapped dough inside) and return to the freezer for up to a few months. Defrost in the refrigerator when ready to use.
- You can also freeze well-wrapped, unbaked cut and shaped puff pastry (i.e., unbaked vols-au-vent shells). Bake from frozen, without thawing first.
- Homemade puff pastry is precious stuff, so save any clean scraps. Stack or overlap them, rather than balling them up, to help keep the integrity of the layers. Then give them a singe “turn” and gently re-roll. Scrap puff can be used for applications where a super-high rise is not necessary (such as palmiers, cheese straws, napoleons, or even the bottom bases for your vols-au-vent).
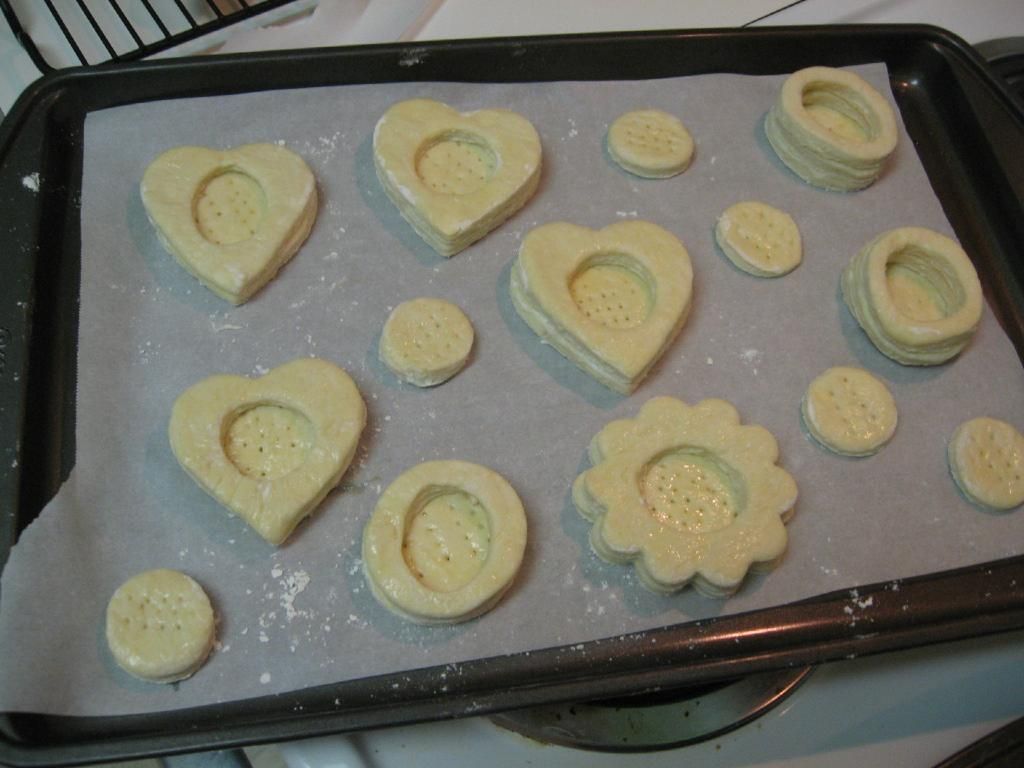
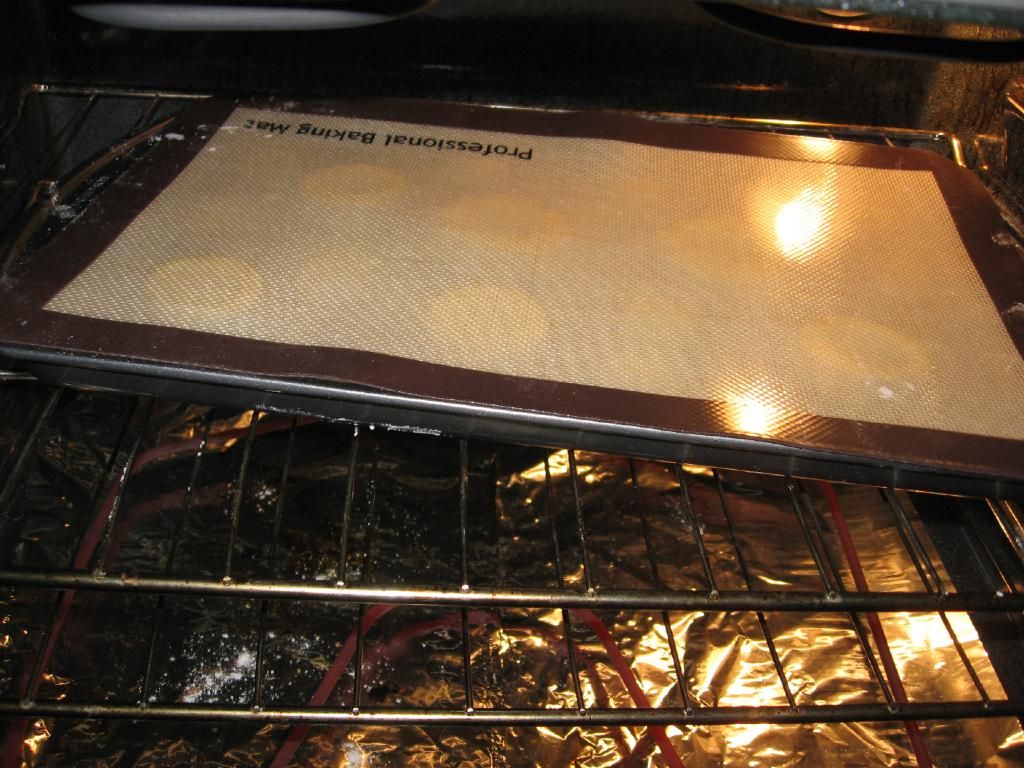
Vol-au-vents ready to go into the oven, and then baking under a silicon mat.
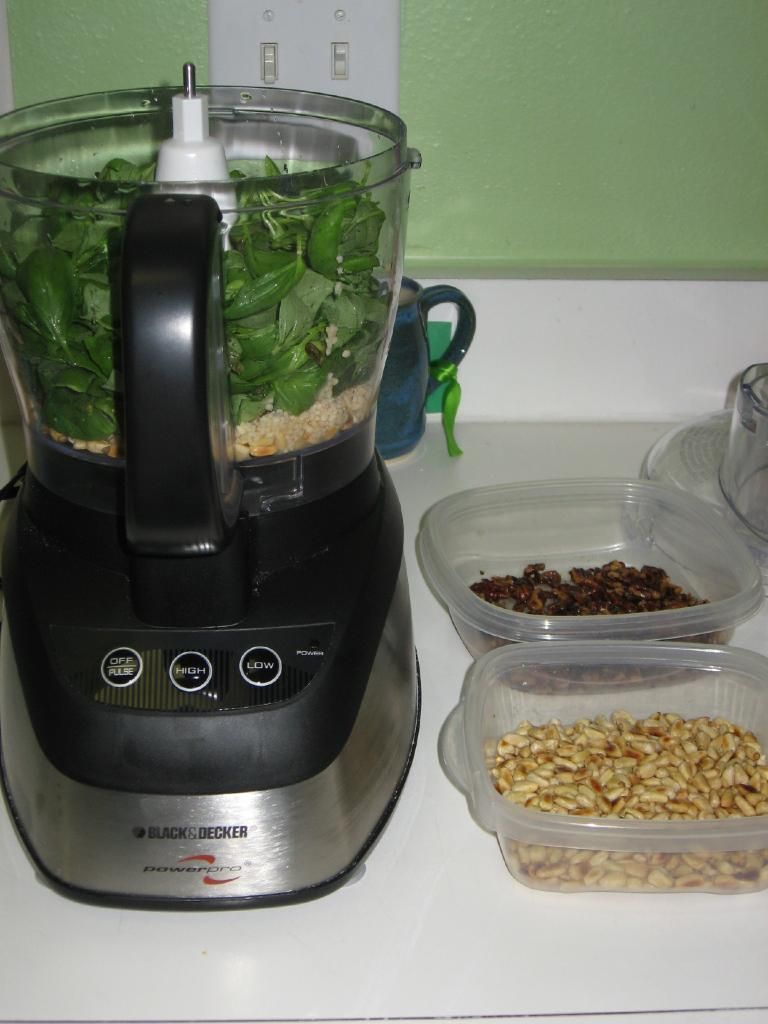
Pesto fixings.
Don’t forget to cruise the Daring Bakers blogroll to see all of the creative vol-au-vents fillings other chefs chose.
Now I want to hear from you: what was your proudest culinary achievement?