
Feet.
It occurred to me, lying in corpse pose and trying to slow the hamster wheel of my thoughts, that my yoga teacher probably touches hundreds of feet each week. Every breath in and breath out, I heard her move to the next mat and take up the next pair of feet.
Before long, the creak of the floorboards that joined with sound of my rhythmic breathing was in front of my own mat. I felt my own feet lifted, gently squeezed, swayed from side to side to loosen my tense hips, pulled into alignment, and set down again. I smiled, like I always do, and wondered if she knew this was my favorite part of her class. Probably. It’s probably everyone’s favorite part.
But is it hers? Touching all those feet, sweaty from practice, rough with callouses? I wondered, like I often do, if she had hand sanitizer waiting in her purse to apply as soon as the last person left, taking with them the last risk of offending anyone. But something about the way she sincerely thanked us for practicing with her made me think that serving us in this way was something she counted as an honor.
That’s when I started thinking about Jesus.
Jesus also knelt to nurture someone’s feet. The night before He knew He would be killed, He took a moment to wash His disciples’ feet. This has always seemed to me a very tender and sacrificial act of love. The man who was fully king of all the world was also fully servant of all the world — by choice.
Jesus later reveals His mindset to the disciples, saying, “Do you know what I have done to you? You call Me Teacher and Lord; and you are right, for so I am. If I then, the Lord and the Teacher, washed your feet, you also ought to wash one another’s feet.”
I want to be like Jesus. So far, though, I’ve always been like Peter. When Jesus knelt to wash Peter’s feet, Peter tried to demonstrate his love for Christ by refusing to let Him do so, perhaps thinking he was protecting Jesus from an act of debasement. But Jesus corrected him, saying, “If I do not wash you, you have no part with Me.”
Peter wasn’t a bad person; he was just trying to worship. I get it. In fact, I see myself in him so clearly. Just like Peter trying to serve or honor Jesus in a misguided way, sometimes I try to serve by controlling, organizing, and managing. I take charge of my acts of service so that they fulfill my own expectations instead of humbly listening to what God’s expectations are for me.
I still remember once in college when, to model service, a small group of Christians met together to wash each others’ feet. I had it all planned in my head: whose feet I wanted to wash, how I wanted to serve. Before the event even really started, I was on my knees getting ready to dip my washcloth in the water. But it turns out the organizers had an agenda for the event and by taking charge of how I wanted it to look, I was jumping the gun. Typical.

I wasn’t trying to be more holy than anyone else, and I wasn’t putting on a show — I was just trying to worship, like Peter. I just went about it the wrong way. Some people might need to step up to serve, but I sometimes need to sit back, let go, and listen. I can’t count how many times in my live I’ve been ready to take charge when God was telling me to surrender, to rest.
That humility is what washing feet — or even my post-yoga foot massage — is all about. Subordinating your impulses and desires to someone who, for that time, you’re putting ahead of yourself. Subordinating yourself so much, in fact, that you will take one of basest parts of their body, their lowly feet, in your hands.
I bet my yoga teacher touches hundreds of feet each week. I also think she probably treasures every pair.
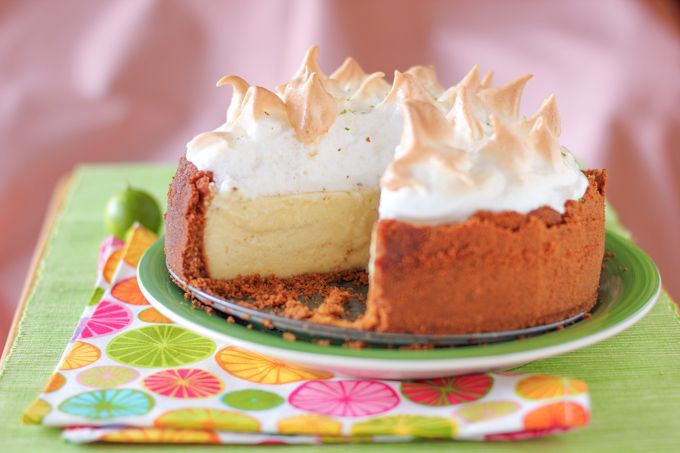
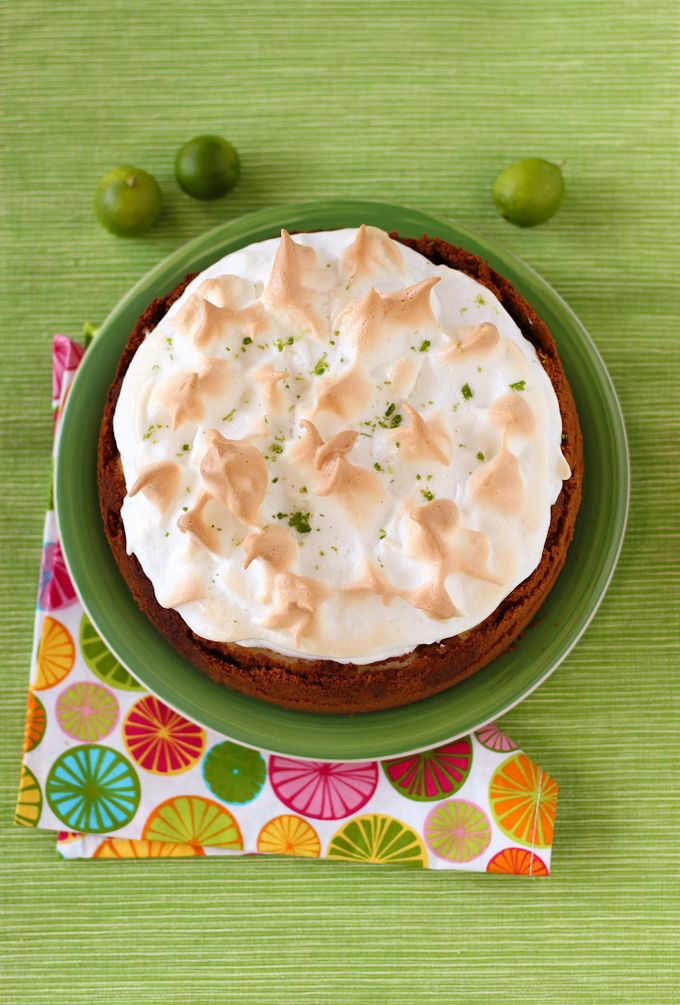
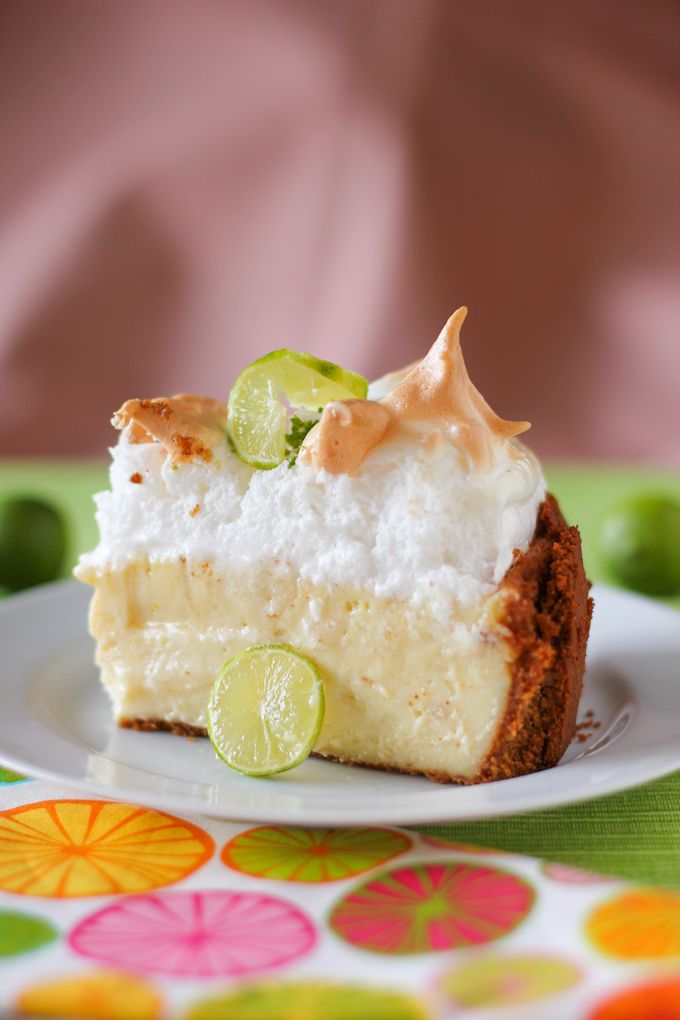
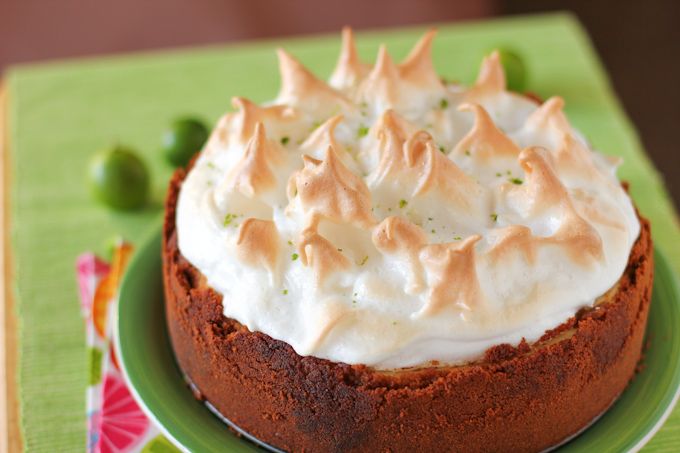
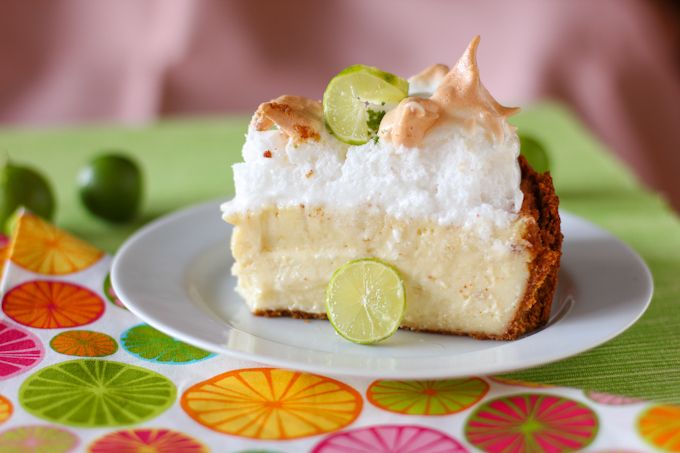
One way I was excited to get to serve some awesome friends of mine recently is by making them this Key Lime Pie Cheesecake. My friend Steven loves key lime, so I made a creamy, plain cheesecake with a tangy, traditional key lime pie custard on top. The whole thing sits in a graham cracker crust and is topped with a huge traditional meringue. I had to prove I could do a meringue after, ahem, previous mishaps. This Key Lime Pie Cheesecake is definitely on the tangy side, so you may want to cut down on the key lime juice if you like a sweeter pie, but it struck the perfect note to me. I hope you have someone in mind to serve it to.
How have you served recently? How could you serve someone soon?
One year ago: Poppy Seed Ham & Swiss Slider Melts
Two years ago: Quick Rosemary, Fig, and Goat Cheese Tarts
Three years ago: Clementine Cake
Key Lime Pie Cheesecake with Sky-High Meringue
Recipe by: Willow Bird Baking, using Nellie & Joe’s Key Lime Pie filling recipe and this meringue.
Yield: 10 servings
Do you like cheesecakey or custardy key lime pie? No matter what your answer is, this recipe will satisfy your craving — because it combines both textures! A creamy cheesecake is topped with a tangy layer of key lime custard and then a traditional meringue. If you don’t want to make a meringue (or if you’re making this on a humid day, when meringues typically don’t fare well), feel free to top this pretty cheesecake with freshly whipped cream.
Cheesecake Ingredients:
2 1/2 cups graham cracker crumbs
7 tablespoons unsalted butter
3 (8 ounce) packages cream cheese, at room temperature
1 cup granulated sugar
1 1/2 tablespoons all-purpose flour
2 teaspoons vanilla extract
3 large eggs
Key Lime Pie Ingredients:
1 (14-ounce) can sweetened condensed milk
3 egg yolks (save the whites for the meringue)
1/2 cup of key lime juice (about 20 key limes)
1 tablespoon grated lime zest (for decorating)
lime slices (for decorating)
Meringue Ingredients:
1/2 cup water
2 tablespoons white sugar
1 tablespoon cornstarch
3 egg whites
1/4 teaspoon cream of tartar
1 pinch salt
1/2 teaspoon vanilla extract
6 tablespoons white sugar
Directions:
Notes: Cheesecakes are simple and super customizable. New to cheesecake making? Watch my 6 minute Cheesecake Video Tutorial for visual assistance! This recipe can be divided up over several days — you can make the cheesecake one day, the key lime layer the next, and the meringue on the day you’re ready to serve. Try to start a few days early, because the key lime layer’s flavor is perfect after chilling for a couple of days.
Make the cheesecake: Preheat the oven to 350 degrees F. Lightly grease a springform cheesecake pan. Combine the graham cracker crumbs and melted butter in a small bowl. Toss with a fork to moisten all of the crumbs. Using a flat-sided glass, press into an even layer covering the bottom and sides of your cheesecake pan (you want it to be tall —- try to get to about 2.5 inches high — and thin). Freeze the crust until the filling is ready.
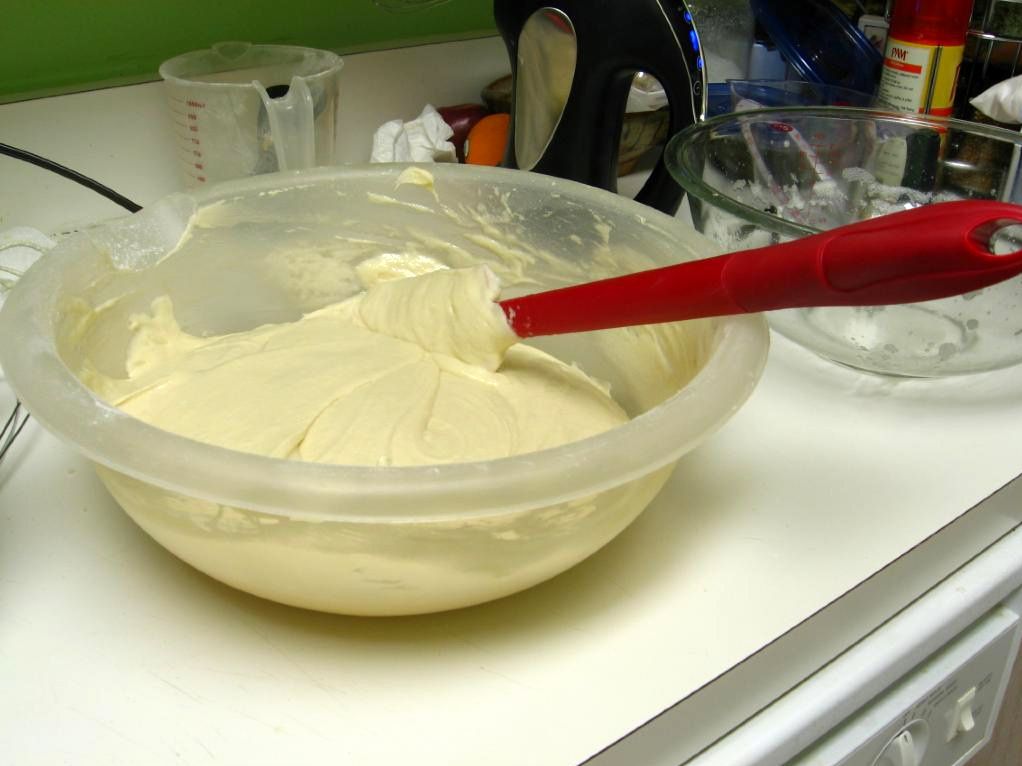
In a large bowl, beat the cream cheese and sugar on medium-high speed until well blended. Beat in the flour. Add in the vanilla and beat until well incorporated, scraping down the sides of the bowl as needed. Beat in the eggs one at a time, scraping down the bowl between each addition. Pour the filling into your crust very carefully, smoothing the top out.
Bake until the center moves only very slightly when the pan is lightly shaken (about 45 minutes). Check while baking periodically and put a pie shield (or strips of foil) around the top of your pan to protect the crust edges if they’re getting too dark. Just don’t let the shield/foil touch the crust — it’s delicate and might crumble. When you pull the cheesecake out, you can use a sharp knife to score a circle around the top of the cheesecake about an inch inside the crust so that as it cools and chills/sinks, it won’t pull the crust in too much. Don’t worry if it’s pretty, because you won’t be able to see it in the finished product! Let cheesecake cool on a wire rack while you prepare key lime filling. Keep oven preheated.
To make the key lime pie filling: Blend together the milk, egg yolks, and lime juice until smooth before pouring the filling onto your cheesecake. Bake at 350 degrees F for about 15 minutes, keeping the crust shielded with foil. Let cool for about 10 minutes before chilling the cheesecake overnight — or two if you have the time; the flavor really matures and mellows with time. I left mine tented with foil instead of covered tightly with plastic wrap to avoid condensation that would affect the meringue.
Make meringue topping: Preheat oven to 350 degrees F. Stir water, 2 tablespoons sugar, and cornstarch over low heat in a saucepan for around 10 minutes, stirring constantly. Remove from the heat and set aside.
In the very clean bowl of an electric stand mixer (I honestly wouldn’t attempt a meringue with a hand mixer), combine egg whites, cream of tartar, and salt. Whisk until mixture is foamy. Add vanilla and then gradually add the 6 tablespoons of sugar while whisking on medium-high speed. When the egg whites have soft peaks, very gradually drizzle in the cornstarch mixture (while still beating). Turn the mixer to high and beat the meringue to stiff peaks. The meringue should hold clear, firm peaks when you lift it with a spoon or with the whisk.
Very gently pile it onto your cheesecake, spreading it to the sides to seal it to the crust. Take a big glob of meringue and touch it to the top of the meringue on your cheesecake and pull away to form a “spike.” Continue doing this all around the top of the cake. Brown the meringue in the preheated oven. Sprinkle the cake with lime zest. You can also use thin slices of lime to garnish the cake. Serve the day you make the meringue for best results, or store tented in the fridge for no more than 1-2 days (the meringue will fall slightly with each day, but mine held up quite well!)


 Want to help Haiti relief efforts? Want to learn some fantastic new recipes? Do both at once by purchasing the
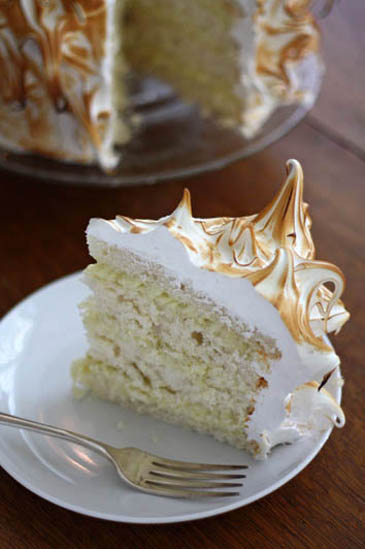