fruit

Itsy Bitsy Berry Cream Pies

It happens every year. Early in the springtime, the Sunday comes when I find a neon card tucked inside of my church bulletin, scrounge around in my purse for a pen, and scrawl out some contact information. I drop the card in the jar in the lobby on my way out. I wait for the email telling me where to come for training, inevitably miss training, go to the makeup training. Finally, it’s the first night of Vacation Bible School. I try to find some fun earrings to wear (for some reason, fun earrings have always struck me as a key tool in childcare), and head over to the church.

Last year there was a ranch theme, so every night was spent air-lassoing imaginary animals, tipping our imaginary cowperson hats, conducting chili tastings (I couldn’t make this stuff up), playing with ranch paraphernalia foreign to many of those city kids, and hearing stories about Jesus.

I took great delight in dancing and singing wholeheartedly during worship while all of my third grade charges stared, trying to decide whether I was cool or embarrassing. No comment on their verdict. But we all had a lot of fun.

One of the boys last year (I’ll call him John) stood out to me from the first night. He was subdued, and his freckled face wore the same blank expression no matter what the activity. He seemed guarded, like he had already reached the stage where he wasn’t sure if it was still cool to have fun.

In music class, though, he was different. The music teacher (I’ll call him Mr. Maestro) had a wry sense of humor that John responded to right away. As a result, John would chirrup witty responses to Mr. Maestro’s questions and call out periodically in class. The interruptions were sometimes too frequent, and I could tell by the edge in Mr. Maestro’s voice that he thought John was a bit of a troublemaker. I knew John was actually very sweet, but I wasn’t concerned, since Mr. Maestro was never unfair, just firm.

As an aside, trying not to peg students as “the troublemaker” or “the clown” or “the slacker” is a constant, noble effort of good teachers everywhere. Kids are so dynamic, and most of them truly want to please the adults around them; for this reason, it’s vital to continually give them a fresh slate and the opportunity to remake themselves. That doesn’t mean it’s not a struggle.

On the very last day in music class, Mr. Maestro made a lovely point about helping others. In response, John began enthusiastically, “I sometimes help my mom!” Before he could continue, Mr. Maestro responded, “Oh, do you? That’s nice,” to cut him off at the pass and get on with the lesson. Something turned over in my heart as I watched John disappointedly release the breath with which he had hoped to tell his story.

Before you judge Mr. Maestro too harshly, please think back to a time when you’ve been interrupted repeatedly by a child eager to tell a story. It can be taxing. Some days in my own class, I feel like 75% of my job is shutting down off-topic story telling. Some of those stories were about So-and-so’s sister who ate half a gluestick, but some of them were probably truly charming, edifying additions to our class. We just don’t always have the time. I just don’t always have the energy. We’re all human.

Nevertheless that night, seeing John’s crestfallen face and remembering the emphasis in VBS training on listening to every child, I was determined to do something.

Back downstairs at worship at the end of the night, I was worried John would have long since forgotten his story. I screamed over the din of about a bajillion hyper children and the ecstatic worship music, “John, what was that you were saying about helping your mom?”

The way his face immediately lit up touched my heart; sure enough, this was a special story to him. He explained that his mom was sick and very tired, and so he sometimes swept the floor or did the dishes. With childlike sincerity, he revealed that he was glad he got to serve her.

I could tell he was thankful to share his story, but I was beyond thankful to hear it. It was a moment when God reminded me again (He does so often) that my job is to love Him with all of my heart, mind, and soul, and to love others just as much as I love myself.

Vacation Bible School started up again this week, and while John isn’t in my class this year, I do have more than 20 fourth graders to lead. And you’d better believe I’m doing a ton of listening! So far I’ve heard about video games, making homemade ice cream, a dying grandfather, a new baby sister, and baseball. What serious, funny, sad, crazy, and important things they have to say!

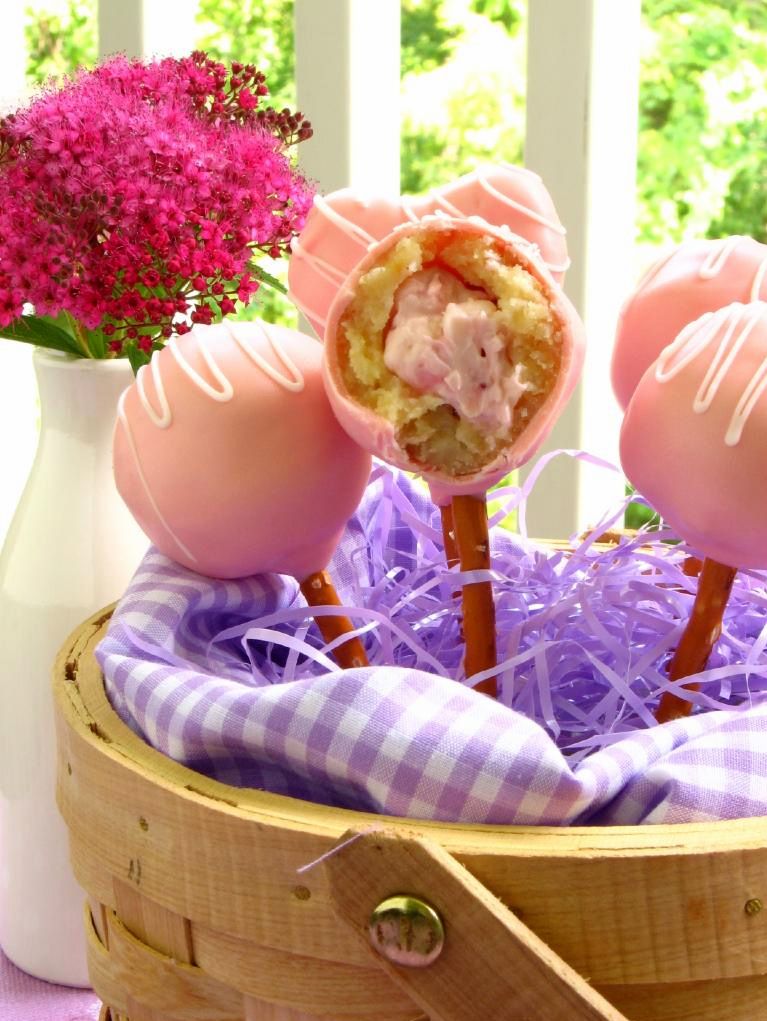
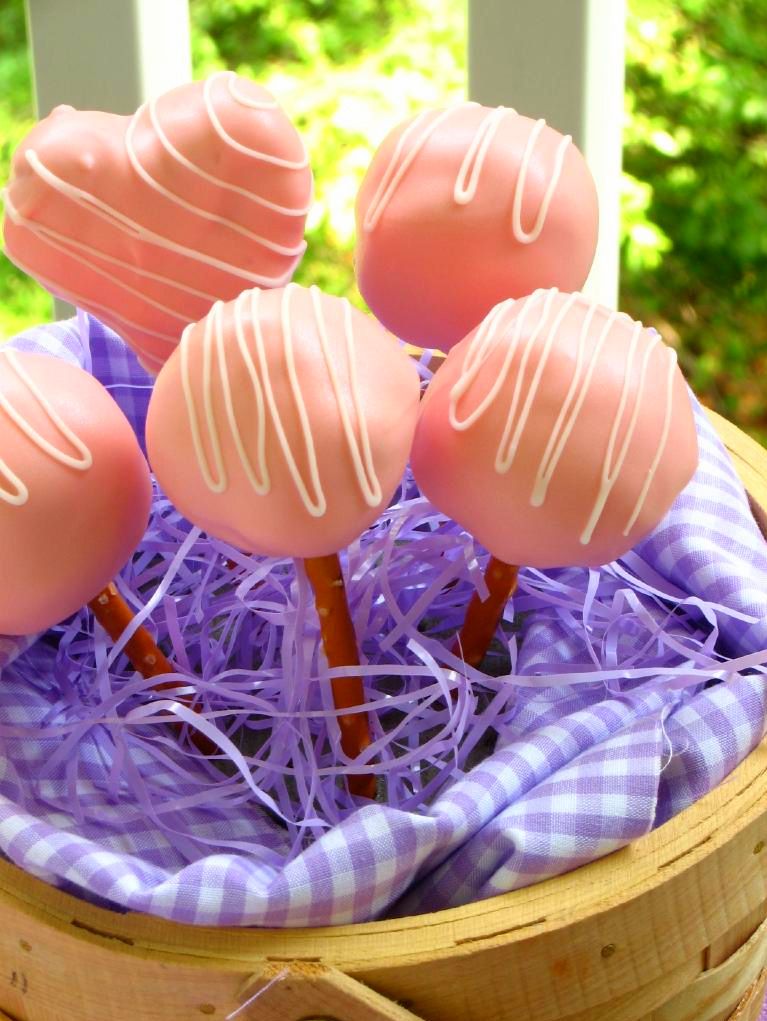
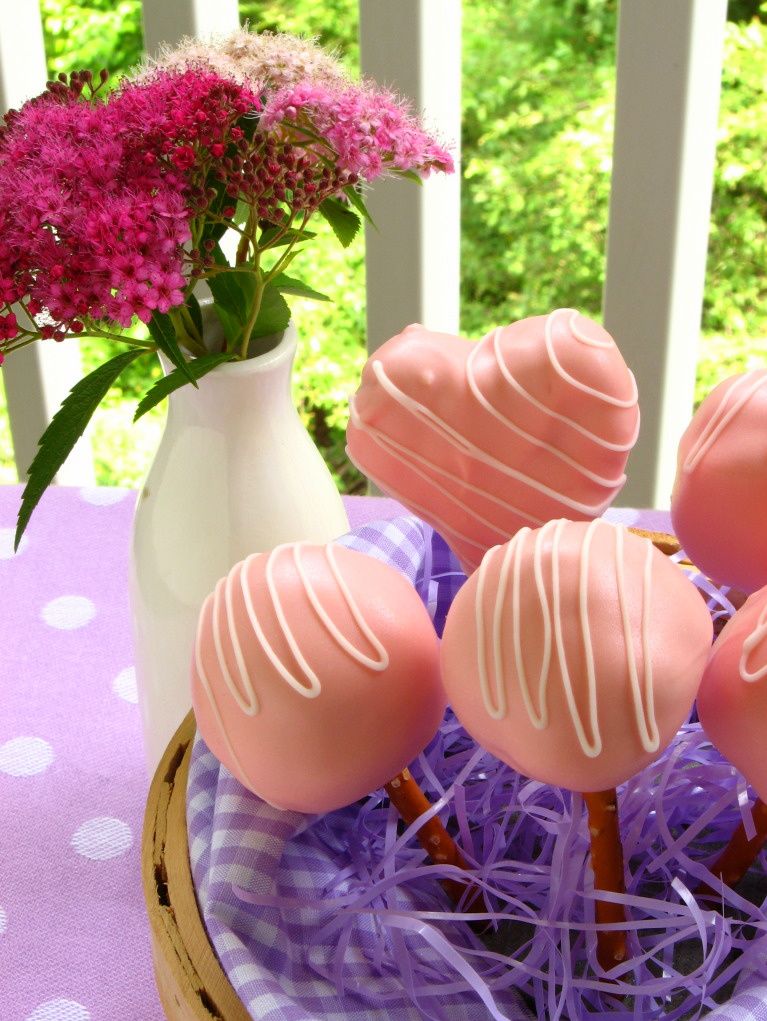
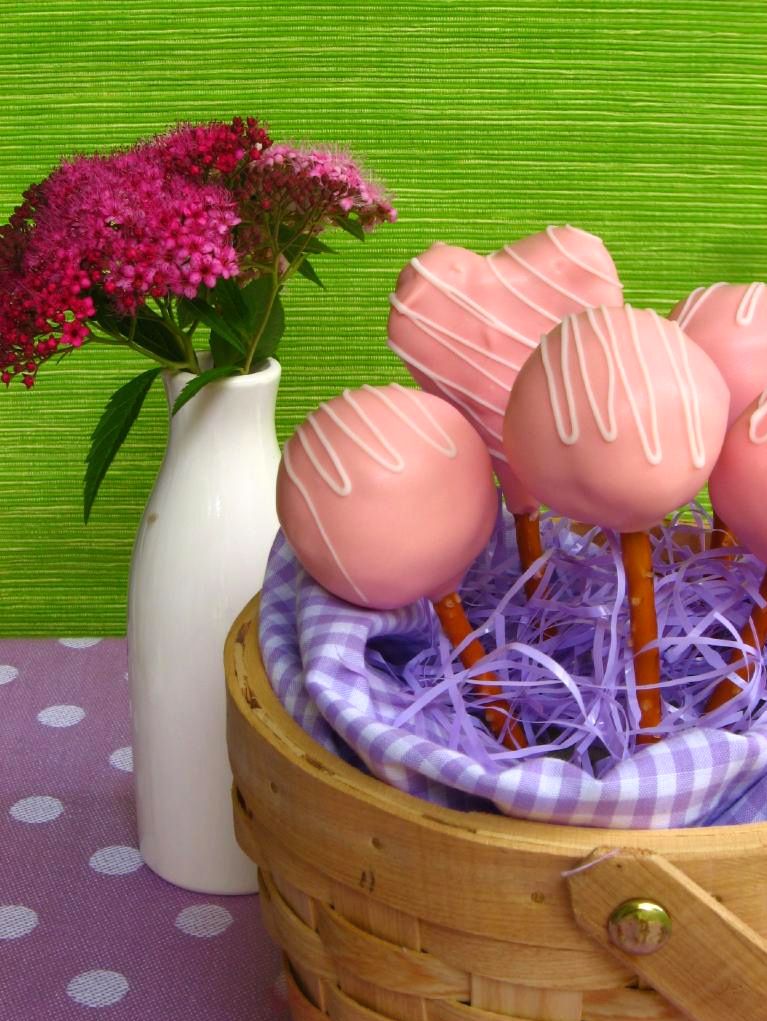
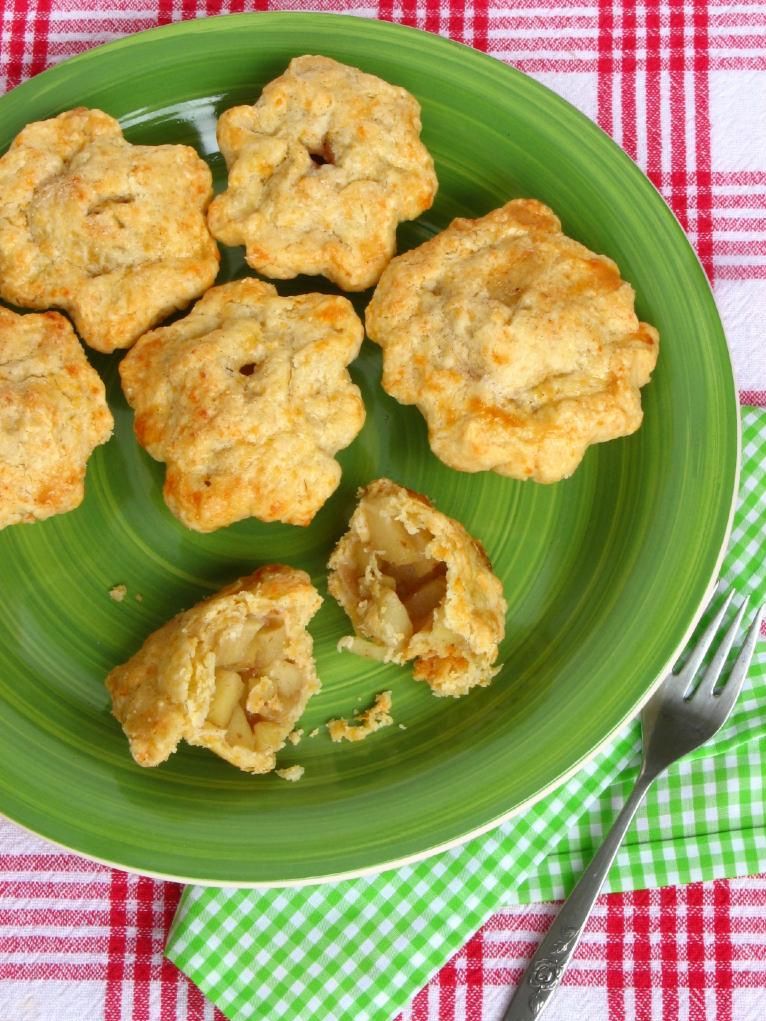
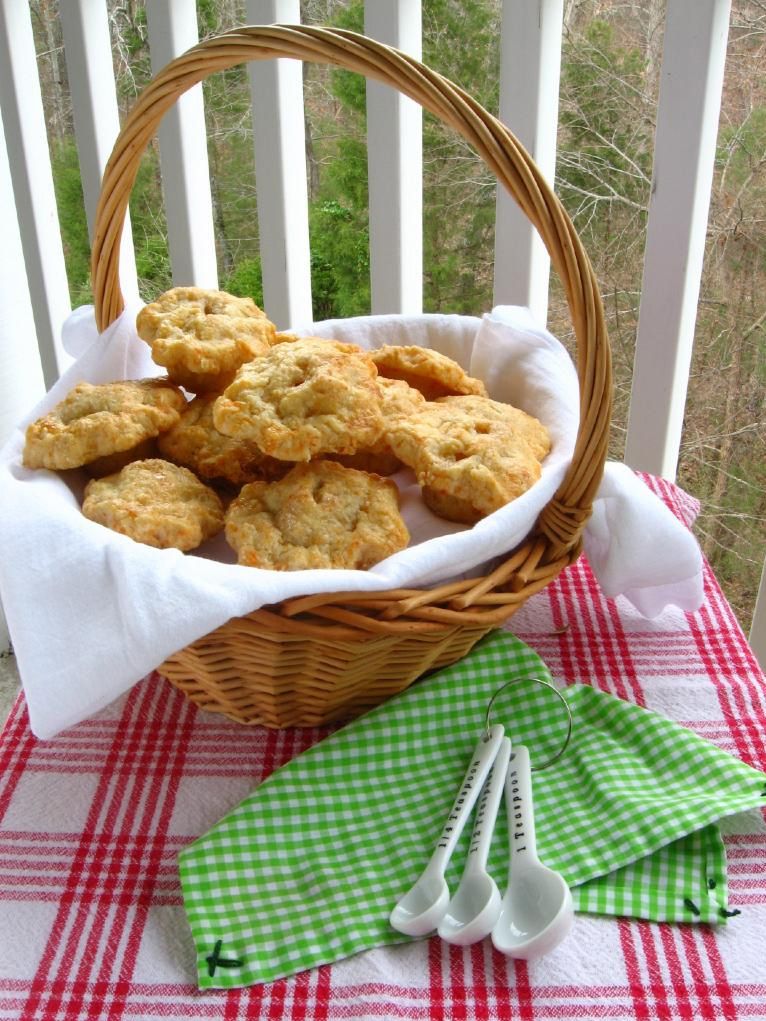
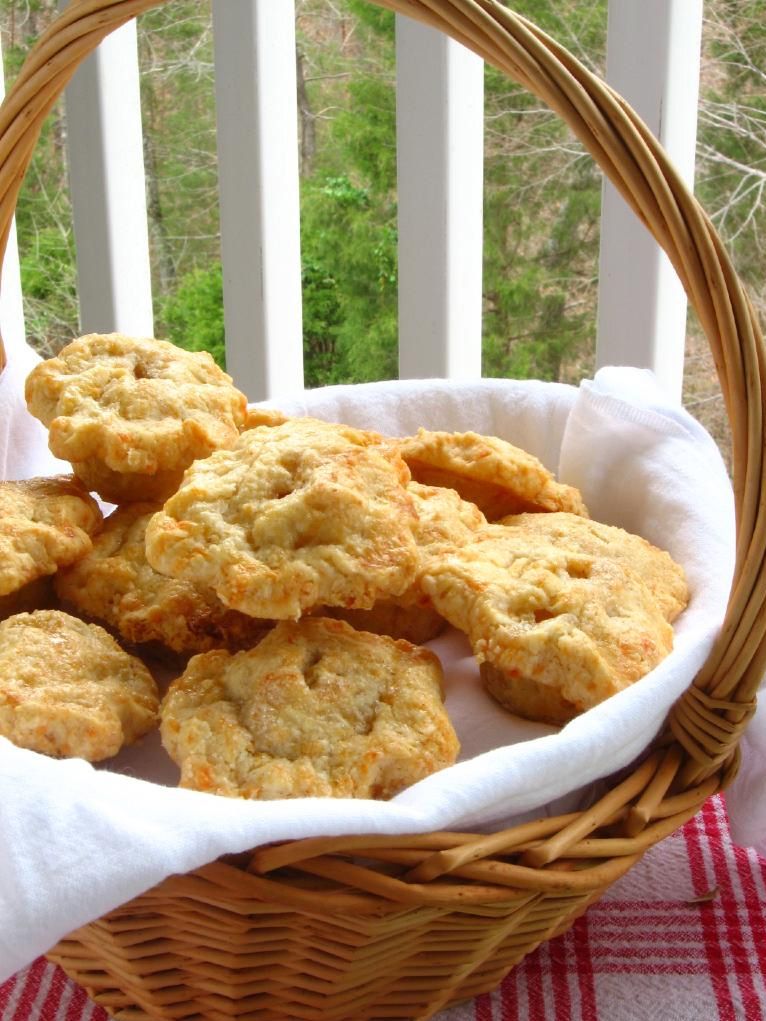
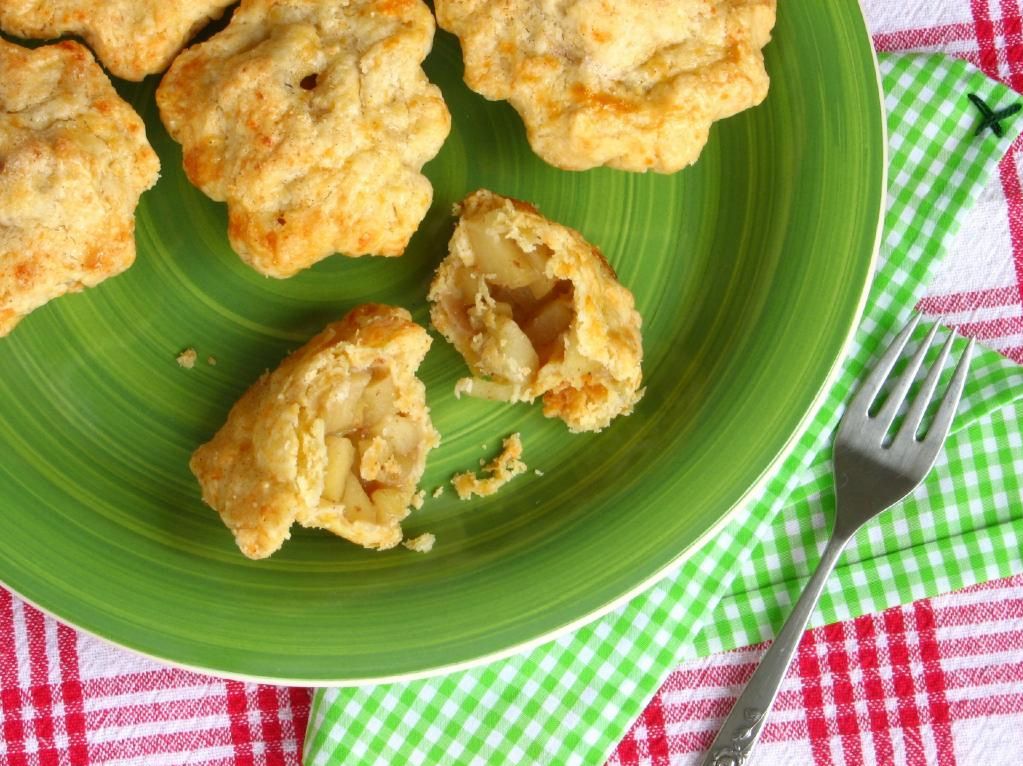
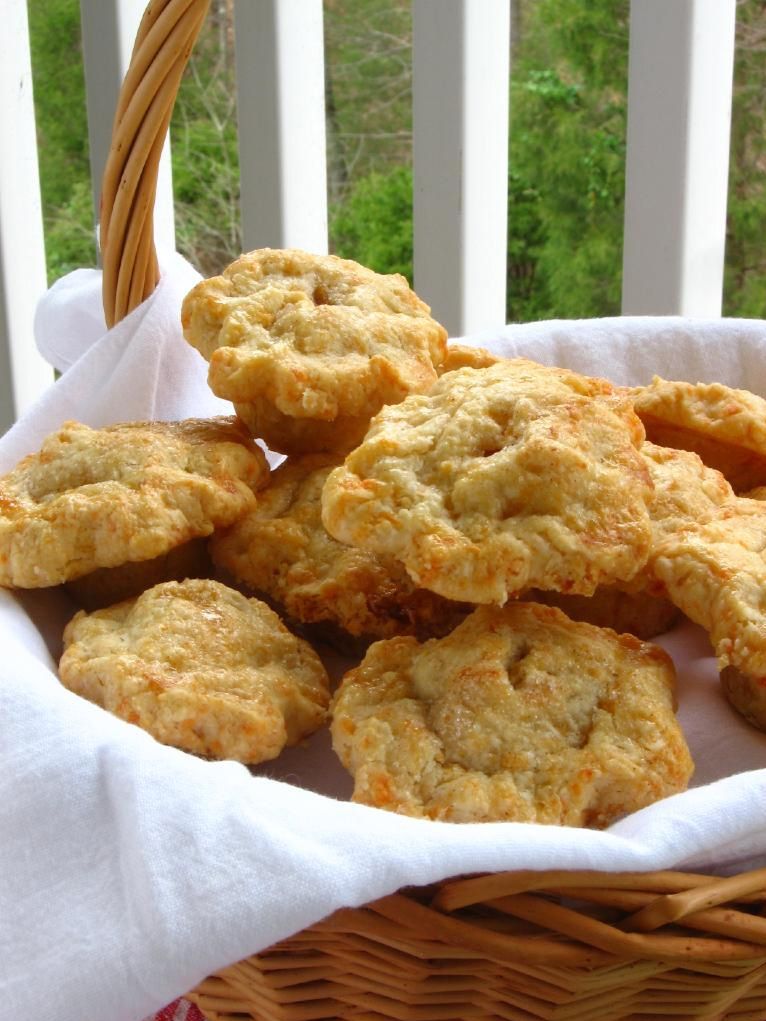
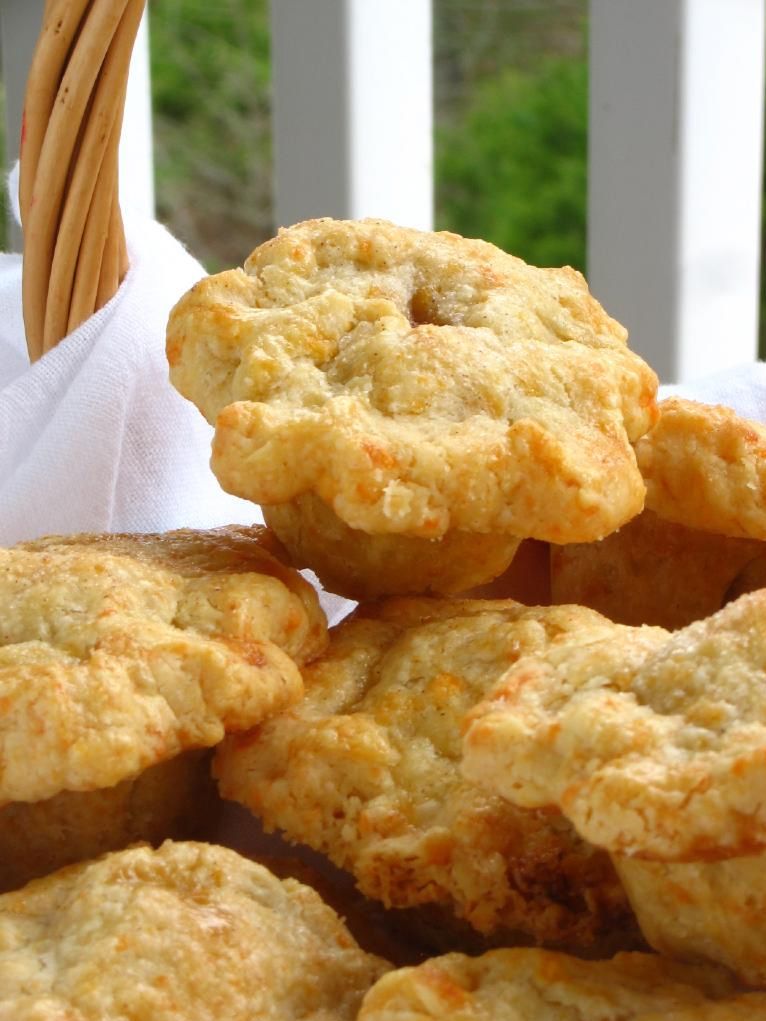
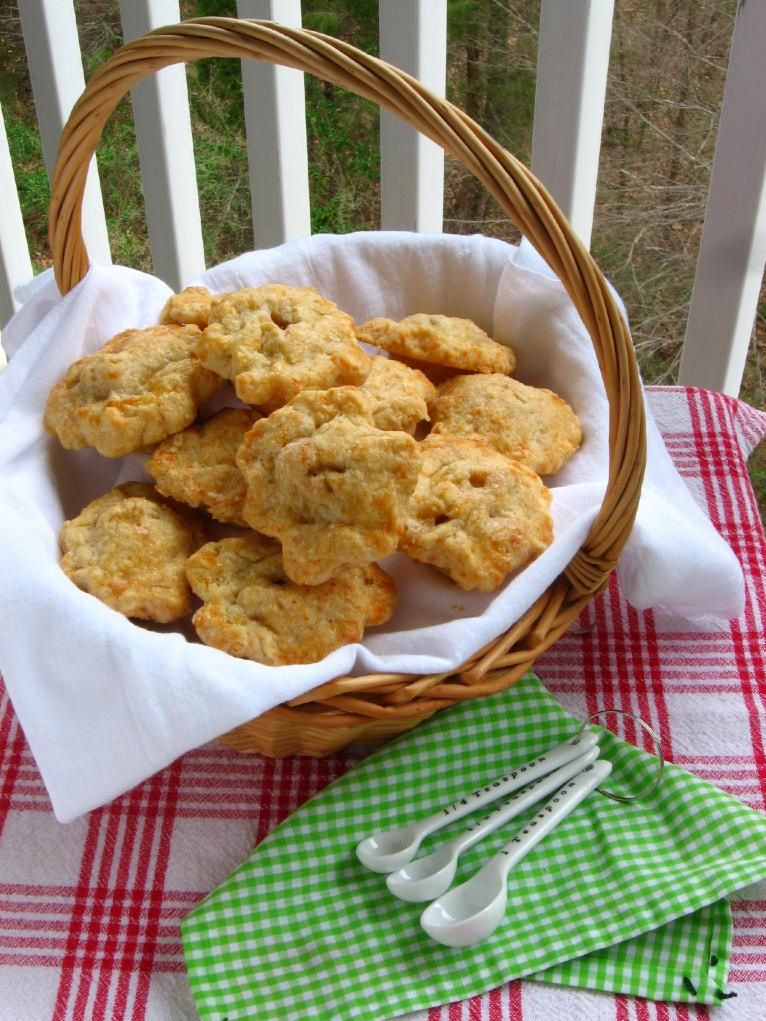
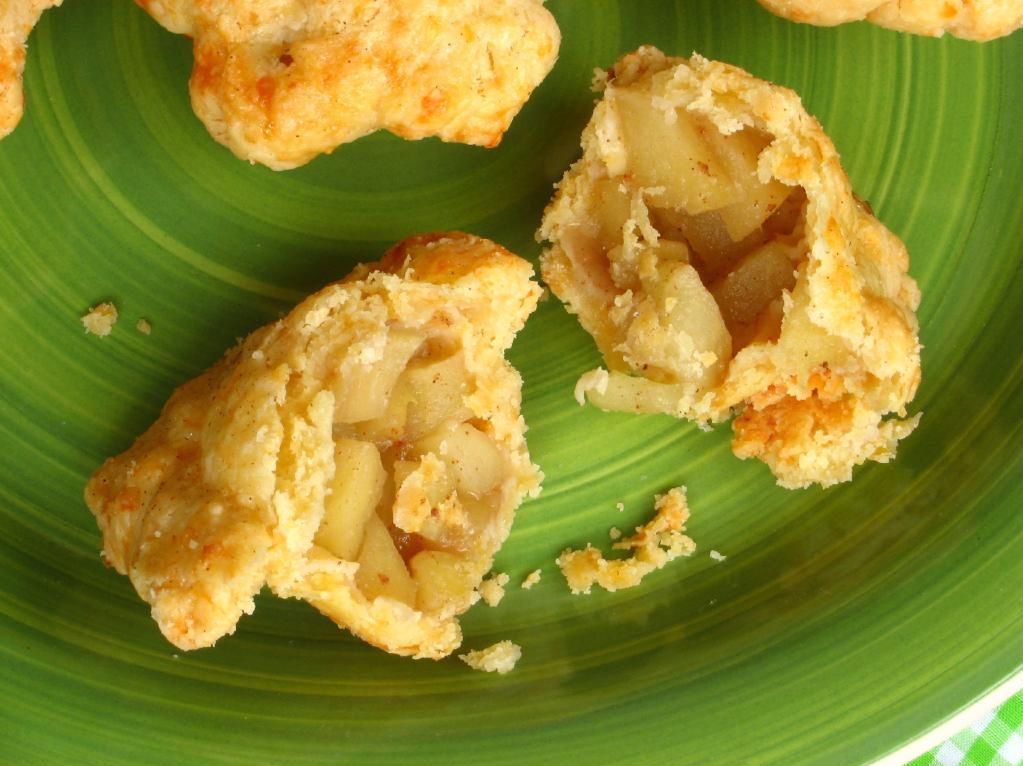
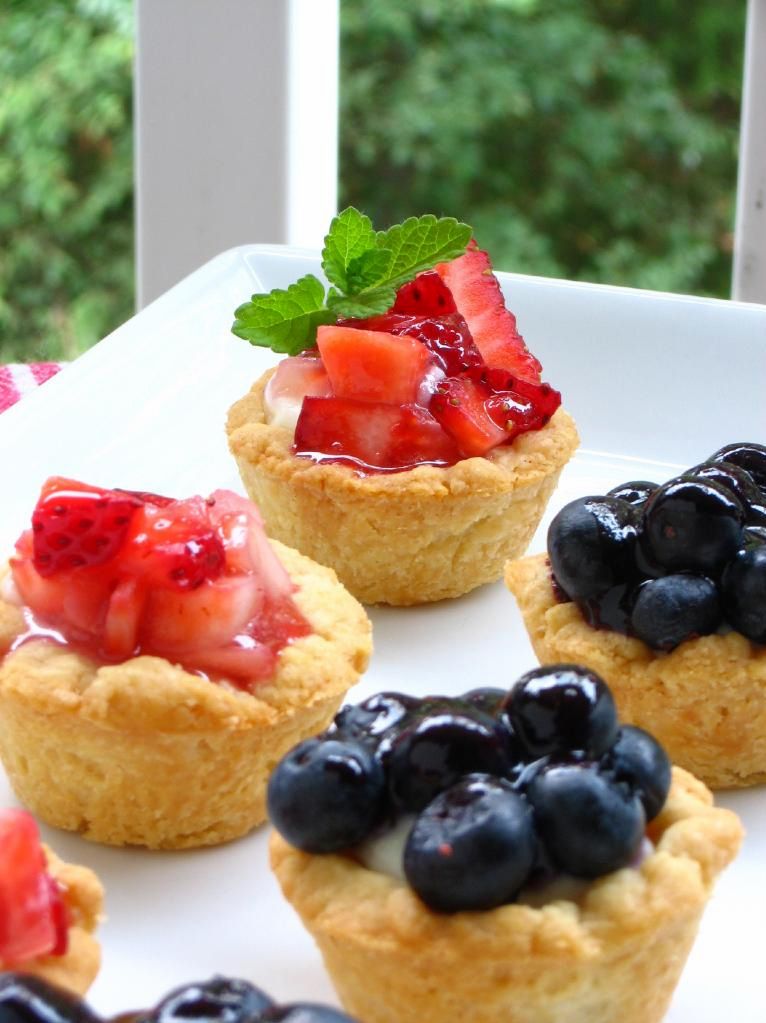
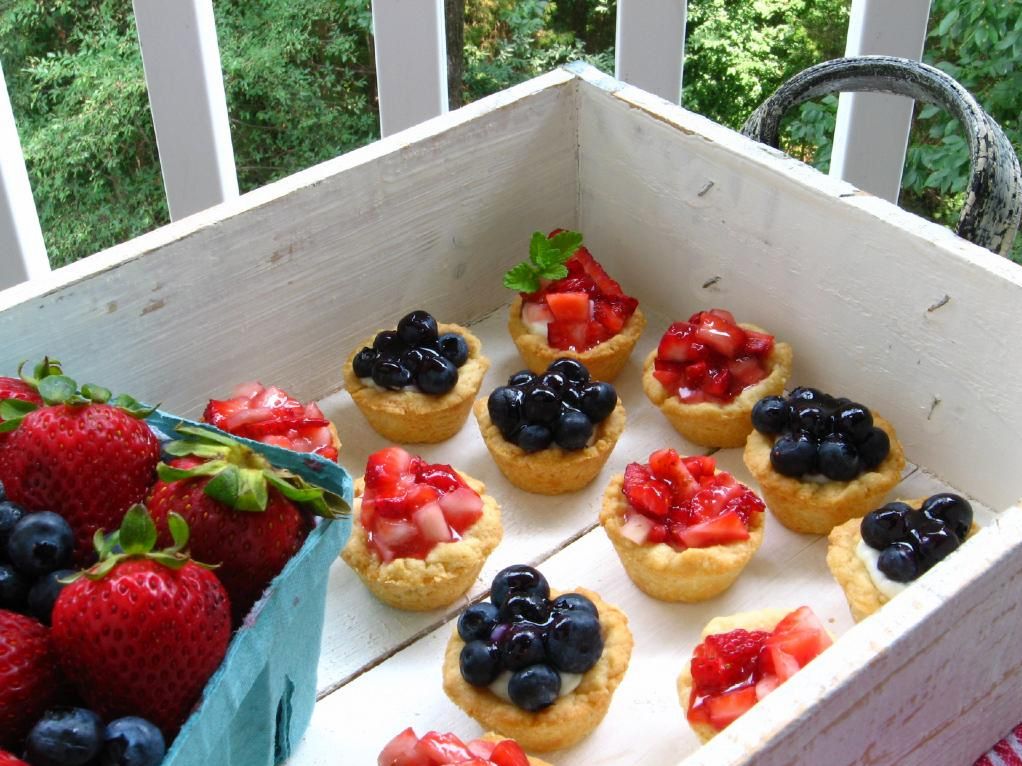
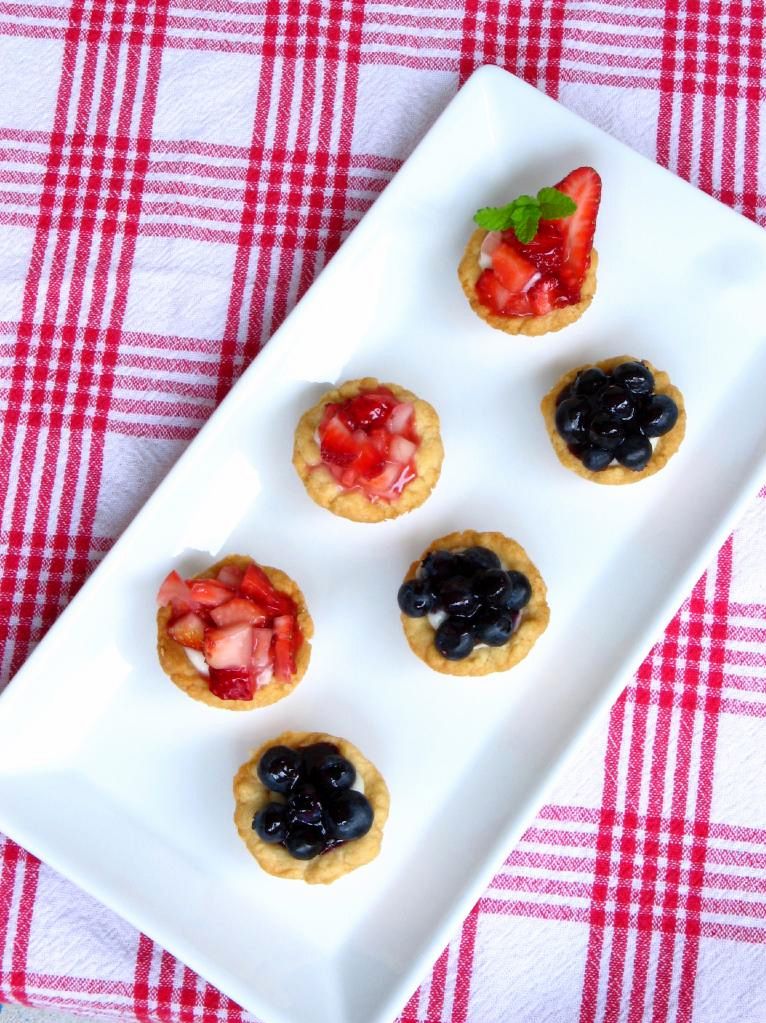
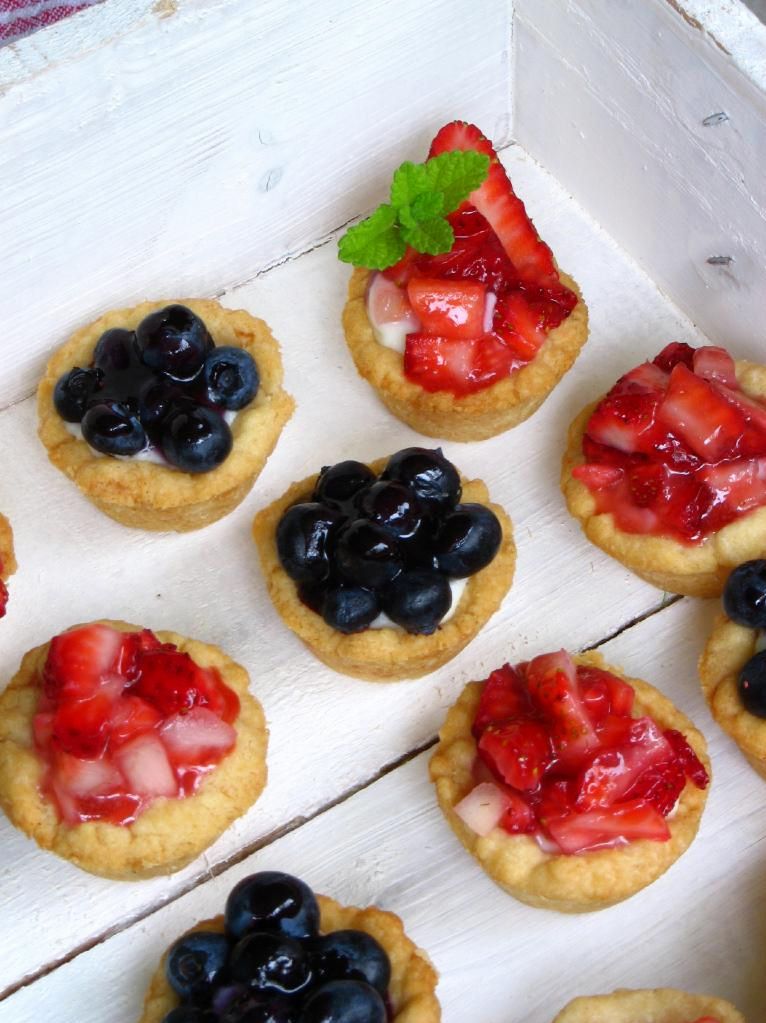
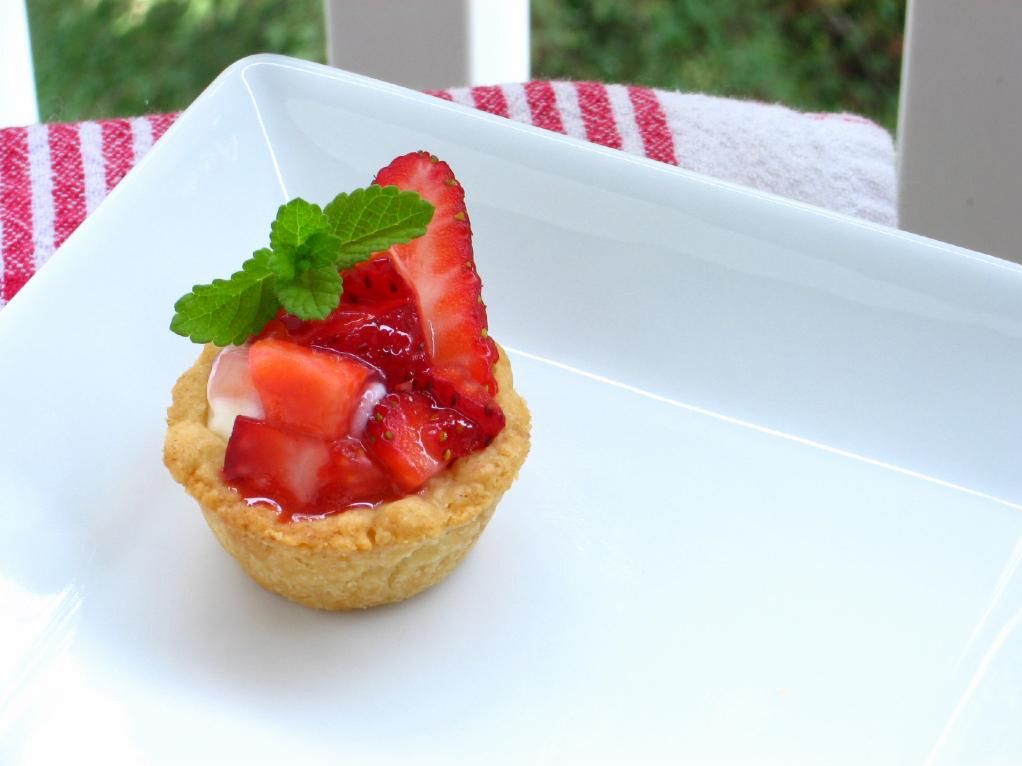
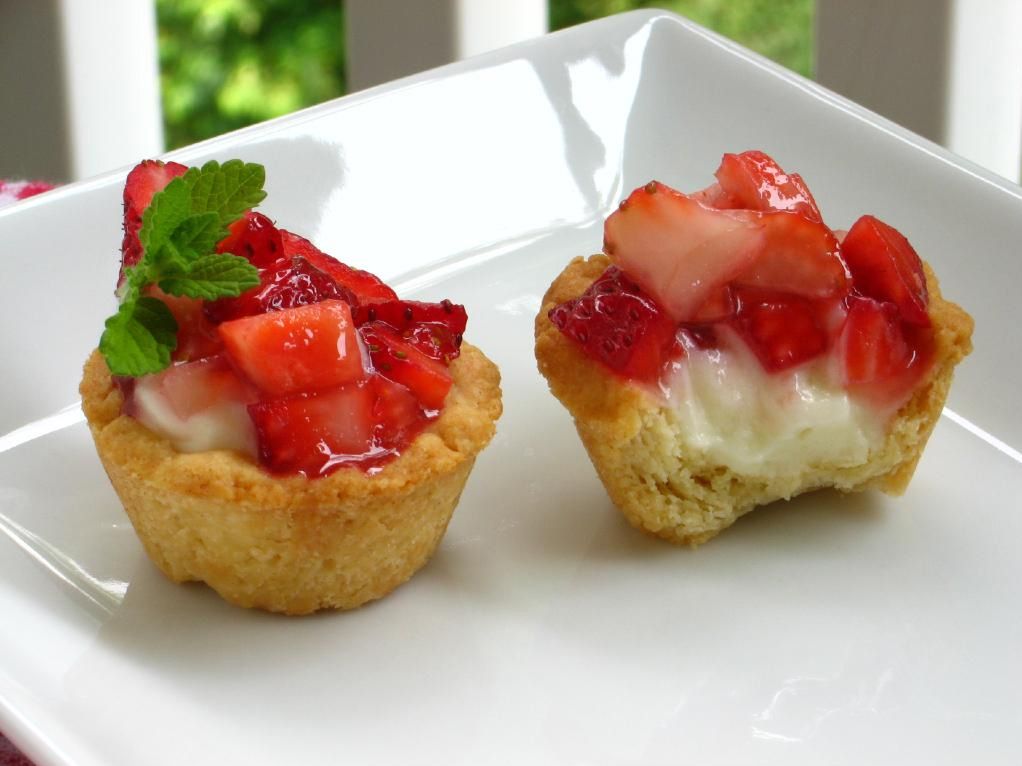
So, in honor of all of those sweet little ones, here are some sweet little pies! I loved my Aunt Pat’s Strawberry Cream Pie so much that I decided to make it in miniature — and in blueberry! These little pies are bright, fresh, and creamy in addition to being adorable finger foods. They’re an especially great first step for a home cook who’s nervous about rolling out a pie crust, since there’s no rolling involved. Happy summer!

Itsy Bitsy Berry Cream Pies


Recipe by: Adapted from my Aunt Pat’s Strawberry Cream Pie recipe
Yields: about 56 mini pies

Crust Ingredients:
4 cups flour
2 teaspoons salt
3/4 cup cold shortening or lard
3/4 cup cold butter, chopped
6-8 tablespoons cold water

Cream Filling Ingredients:
1/2 cup sugar
3 tablespoons cornstarch
3 tablespoons flour
1/2 teaspoon salt
2 cups milk
1 egg, slightly beaten
1/2 cup whipping cream
1 teaspoon vanilla extract
1.5 cups of diced fresh strawberries (or about 1.5 cups blueberries)

Glaze Ingredients:
1 cup fresh strawberries (or blueberries)
1 cup water
1/2 cup sugar
4 teaspoons cornstarch

Directions:
Note on timing: To make the preparation of these mini pies even more manageable, I prepared and baked the pie shells a day in advance. I then made the cream filling, diced the berries, and made my glaze on the day I was planning to serve them. They really benefit from at least a few hours in the fridge before serving.

Make the crust dough: Pulse flour and salt together to combine. Add scoops of lard and pulse into the mixture has the texture of coarse sand, about 10 seconds. Add in chunks of butter and pulse until butter pieces are no larger than small peas, about 10 pulses. Add minimum amount of water and pulse on low. If dough remains crumbly and doesn’t come together, add another 2 tablespoons of water. Add as little as is required to enable the dough to be rolled into a ball. Form the dough into a disk, wrap in plastic, and refrigerate for 20-30 minutes.

After the dough has chilled, preheat the oven to 450 degrees F. Take about 1/4 of the dough out of the fridge at a time. Pinch off walnut-sized balls. Place a ball in each well of an ungreased mini-muffin pan. Using your fingers, work the dough up the sides of each well. Use a fork to “dock” the bottom and sides of the dough –poke holes in it so that it doesn’t puff up too much as it bakes. Bake for 12-15 minutes or until lightly browned. Cool the mini pie shells in the pan for 5 minutes or so before gently removing them (you can use a table knife to help you lever them out) to a cooling rack to cool completely.

Make cream filling: While the crust bakes, prepare your cream filling. Prepare an ice water bath in a bowl big enough to accommodate your saucepan. Mix sugar, cornstarch, flour, and salt in a saucepan over medium-high heat. Stir in the milk and bring to a boil, stirring constantly. Reduce heat and cook until thickened, still stirring constantly. Spoon out about 1/4 cup of your hot mixture and gradually drizzle it into your beaten egg, whisking constantly. This will temper the egg so that when you add it back into the hot mixture, it won’t cook. Add the egg into the hot mixture, continuing to stir constantly. Bring this just to boiling.

Set the saucepan in the ice water bath and stir it periodically as it cools. Once cool enough, chill the mixture in the refrigerator. During this time, whip the cream and vanilla together to stiff peaks. Take the chilled mixture from the fridge and beat it to break it up. Stir in about 1/3 of the cream to lighten it, and then gently fold in the rest of the cream until well combined. Chill until ready to use.

Assemble the pies: Using a piping bag (or a ziplock with the corner cut off), pipe cream into each pie shell. Top with diced strawberries or blueberries. Chill these while you make your glaze.

Make the glaze: Crush 1 cup of strawberries (or blueberries) and cook with water in a saucepan over medium-high heat for two minutes. Strain through a fine mesh sieve and discard the pulp. Add the juice back to the saucepan over medium-high heat and gradually stir in sugar and cornstarch. Cook until thickened. If you want, you can tint this glaze with food coloring to desired hue, but mine was plenty bright enough! Cool the glaze slightly, and then spoon over the top of your mini pies. Chill pies for at least a few hours for best results.

If you liked this post, please:
Subscribe to Willow Bird Baking
Follow Willow Bird Baking on Twitter
Follow Willow Bird Baking on Facebook
Give this post a thumbs up on StumbleUpon


ShareOther ways to share this post with friends!

Strawberry Cheesecake Stuffed Amaretto Cake Pops (on Pretzel Sticks!)

Dear Rebecca Black,

For the record, I think you’re adorable and I want you to be in my 7th grade class. We talked about you a little bit when we were all having fun fun fun fun with your song, and about how mean some folks on the interwebz can be.

My students realized that you were their age (just 13!), and we all felt like if it’d been one of them taking the brunt of jokes and criticism, we’d be sad. So we want you to know that we’re sorry about the meanies, and we hope you’re enjoying all the good-spirited parodies of your song as much as we are.

Oh, but my 7th grade students told me about the “censored” parody of your song — don’t enjoy that one. Don’t even watch it. Cover your ears, young lady! I’ll redirect you to the Sunday school parody instead.

Anyway, your song has brightened up lots of my weekends! Sometimes I blast it at the beginning of class on Fridays and it never fails to produce smiles. And yeah, we break it down — everyone needs a 5 minute dance party now and then.

And you know what? I get it, girl. You so excited about Friday that you’re dropping verbs and everything else, and I want you to know that I understand.

In fact, I’m a little obsessed with your song right now. It just describes so perfectly how I feel about so many things. I’m going out to eat? I-I-I so excited! It’s only 4 weeks until summer vacation? I-I-I so excited! I’m making flippin’ Strawberry Cheesecake Stuffed Amaretto Cake Pops on flippin’ pretzel sticks?! I SO EXCITED!

These cake pops started as a bright spark of inspiration from CakeSpy: pops on a pretzel stick! Using an edible, salty vehicle for a sweet treat struck me as absolutely bee’s-knees brilliant. I had to try it immediately.

Then there was this other idea I’d been toying with, too: mixing up no-bake cheesecake filling, freezing it into little pearls, and hiding the pearls in the center of each cake ball. A cheesecake-stuffed cake ball on a pretzel stick? It couldn’t get any better — unless you used an amaretto-spiked version of the best pound cake in the world for your cake!

This cake pop endeavor turned out so easy and so fantastic. I made a video tutorial (located at the bottom of this post) so that you can follow along with the steps as you make them; it’ll show you how to pipe your cheesecake centers, form the cake balls around them, insert the pretzel sticks, and dip and decorate the pops.

But the cake pop tutorial isn’t the only video I made.

What can I say, Rebecca? These cake pops just made me wanna sing! So here’s my tone-deaf tribute to plucky middle schoolers, cake pops, and YOU. Thanks for the fun!

P.S. I have a newfound respect for you after trying to sing this song a billion times and realizing I was basically the worst singer on the planet.

Strawberry Cheesecake Stuffed Amaretto Cake Pops (on Pretzel Sticks!)


Recipe by: Willow Bird Baking
Yields: about 40 cake pops
Print this Recipe

Cream Cheese Pound Cake Ingredients:
3/4 cups butter, softened
4 ounces cream cheese, softened
1.5 cups sugar
3 large eggs
3/4 tsp vanilla
1/4 cup amaretto
1.5 cups flour
pinch salt

Strawberry “Cheesecake” Ingredients:
1 8-oz. package cream cheese, softened
2 tablespoons sugar
1/2 cup diced strawberries

Cream Cheese Frosting Ingredients:
4 oz. cream cheese, softened
1/4 cup (1/2 stick) of butter, softened
1/4 teaspoon vanilla extract
1 cup confectioners’ sugar, sifted

Other Ingredients:
2 pounds candy melts (I chose light pink)
about 40 pretzel sticks (I used Snyder’s because they were longer and sturdier than others)
white chocolate or candy melts for drizzling

Directions:
*NOTE: See the cake pop video tutorial below to see many of these steps being completed!

Make the pound cake: Preheat oven to 300 degrees F. Butter and flour a loaf pan. Beat butter and cream cheese at medium speed of an electric mixer 2 minutes or until creamy. Gradually add sugar and beat 5-7 minutes until light and fluffy. Add eggs, one at a time and beat only until yellow disappears. Stir in vanilla and amaretto.

Combine flour and salt and add to creamed mixture beating on low speed of electric mixture just until blended after each addition. Fill a 2-cup ovenproof dish with water and place in oven with cake (keeps it moist!). Bake at 300 degrees for about 1 hour and 20 minutes, or until a knife inserted into the middle comes out clean (check in several areas of the cake to be sure it’s completely done). You may need to cover cake with foil the last 20-30 minutes of baking if it looks like it’s getting too brown on top. Let cool on wire rack for 10 minutes then remove from the pan by inverting it into a bowl. Once cool enough to handle, crumble the cake in the bowl, removing any hard outer crust portions. Let cool completely.

Make the strawberry cheesecake middles: While the cake is baking, mix all the cheesecake ingredients together well. Fill a gallon sized plastic zip bag with the mixture and cut off the corner (big enough so that the diced strawberries won’t get stuck). Pipe the cheesecake mixture into small swirls on a silicone mat or wax paper (see video tutorial below to see this step). Freeze these until firm.

Make frosting: Mix all frosting ingredients together on medium-high speed until combined. When cake is cooled and crumbled, mix frosting into it until you reach a dough-like consistency. I used most of my frosting but not quite all of it.

Make cake balls: Once your cake mixture is ready and your cheesecake middles are frozen firm, you’re ready to assemble your cake balls! Take a frozen cheesecake middle and pack some cake around it. Roll it into a ball and place it on a silicone mat or wax paper. Continue until all cake balls are rolled. Chill these in the refrigerator overnight. I don’t freeze mine like some sites suggest, because I find chilling them in the fridge instead reduces cracking after I dip them.

Mount and dip cake balls: After cake balls have chilled overnight, melt your candy melts according to the package directions. I keep my bowl of candy melts situated in a bigger bowl of hot water to keep them warm and fluid, but be careful no water gets into the melts! To mount each cake ball, take a pretzel stick and dip the end in candy melts. Gently but firmly push the end of the pretzel stick into the cake ball. Put these back on their silicone mat or wax paper to chill. Repeat until all cake balls are mounted and chill for about 30 minutes.

After chilling, you’re ready to dip! Dip each cake ball into the candy melts, using a spoon to help coat them. After dipping, hold your cake ball over the bowl and gently bounce to drain the excess off. Turn the pop as you drain. When well-drained, gently place the pop in a foam block to continue drying. I placed mine in the fridge to reduce drying time.

Decorate dried pops: Once your pops are dry, melt some white chocolate according to package directions. Let it cool slightly before spooning it into a small plastic zip bag with the tiniest bit of the corner cut off. With the pops standing in their foam block, quickly and confidently pipe a zigzag design over each one. Let these dry. Serve immediately or store in an airtight container in the refrigerator.

VARIATIONS:
-You can leave the cheesecake middles out of this recipe and roll the cake into a solid ball if you want traditional cake pops.
-You can use any flavor of cake (or even a cake mix) for your cake, but this one is absolutely the best I’ve ever had!
-You can leave the strawberries out of your no-bake cheesecake mixture or even add in other berries, chocolate, etc., to produce different flavors of cheesecake in the center.
-You can use lollipop sticks instead of pretzel sticks, or leave the sticks out altogether and make regular cake balls instead of cake pops.
-You can decorate with sprinkles instead of zigzags.

And just for my lovely Willow Bird Bakers, here’s a tutorial for how to make cheesecake stuffed cake pops. This video would also be useful for making regular cake pops. WBB is all about inspiring kitchen confidence in home cooks by encouraging them to tackle challenges — so if you’ve never made cake pops before, this is your double-triple-dog dare! Get in the kitchen and try it out! Don’t forget to snap some photos of your finished product for us to see!

If you liked this post, please:
Subscribe to Willow Bird Baking
Follow Willow Bird Baking on Twitter
Follow Willow Bird Baking on Facebook
Give this post a thumbs up on StumbleUpon


ShareOther ways to share this post with friends!

Mini Apple Pies with Cheddar Crusts

On car trips when I was younger, one of my favorite things to do was to torment my little brother. He would be tucked safely into his car seat minding his own business when I would attack. There was no tickling or hitting or poking involved — that’s just not my style. Instead, I launched a calculated verbal and psychological assault.

Despite the fact that we were usually in Tennessee or Kentucky at the time, I’d point out the window and scream, “HEY, look, it’s Disney World!” His hopeful little face would whip around to see the happiest place on earth, only to be confronted with cornfields and the occasional disinterested cow. “Oh, you just missed it,” I’d say, consoling him with a pat on the arm.

After he’d missed a few more Disney Worlds and a Sea World or two, he was about as frustrated as a hornet in a mason jar. His spluttering protests were met with one of those smug-big-sister shrugs on my part. “What?” I’d say, “I can’t help it if you’re turning around too slow.”

Okay, so I was kind of a punk. In my defense, I was little. And he was usually a pill, I promise.

Anyway, huge counterexample aside, I’m actually a pretty trustworthy person. I don’t know if Alex will ever trust me again, but you can.

One thing you should certainly trust me about is the fact that apple pies and cheddar cheese were made for each other. Some folks — especially in my part of the world, it seems — have never heard of this combo. People can be downright skeptical when you mention it.

I first heard about pairing apple pie and cheddar cheese only a few years ago. I was shocked to find out that this odd couple was an established and beloved tradition in some places. How had I missed out on this my entire life? I promptly ran to the grocery store, bought a mini apple pie and a block of sharp cheddar, and gave it a try. Turns out all those crazy New Englanders (love you guys!) weren’t wrong: the sweet filling with the sharp cheese was a perfect match.

So what would be better than a slice of apple pie with a slice of cheddar cheese on top? How about a pie that fully integrates the apply and cheddary goodness? I created these mini apple pies with cheddar crusts to do just that. The cheddar crust is phenomenal — I think I ate more of it raw than I used in the pies — and I chose a sweet apple filling to balance it out. The result is a buttery, sweet-and-salty piece of heaven.

If this is the first time you’ve heard of the apple pie and cheddar combo, trust me — all Disney Worlds and Sea Worlds aside — when I say you have to try it. And if you’ve enjoyed a slice of apple pie with a hunk of cheddar on top, back me up: tell us how much you love it.

P.S.: Some folks have apparently been known to say, “An apple pie without the cheese is like a hug without the squeeze.”

P.S. 2: Happy Pi Day — only one day late. These little guys are worth the wait.

Mini Apple Pies with Cheddar Crusts


Recipe by: Adapted from my own pie crust and Betty Crocker’s filling
Yield: 4 cupcake-sized apple pies and 10-12 mini apple-pies

Crust Ingredients:
4 cups flour
1 teaspoon salt
10 ounces extra-sharp cheddar, grated
3/4 cup cold lard (non-hydrogenated if available)*
3/4 cup cold butter, chopped
6-8 tablespoons cold water
1 egg beaten with 1 tablespoon water for egg wash
1/4 cup white sugar mixed with 1 teaspoon cinnamon for sprinkling
*you can substitute vegetable shortening here if you wish, but I highly recommend the lard!

Filling Ingredients:
1/4 cup sugar
1/8 cup all-purpose flour
1/2 teaspoon ground cinnamon
1/2 teaspoon ground nutmeg
pinch salt
4 cups mixed apples, peeled and chopped (4 medium — I used Gala, Fuji, Granny Smith, and Golden Delicious)
1 tablespoon butter

Directions: Pulse flour and salt together to combine. Add scoops of lard and pulse into the mixture has the texture of coarse sand, about 10 seconds. Add in chunks of butter and cheese and pulse until butter pieces are no larger than small peas, about 10 pulses. Add minimum amount of water and pulse on low. If dough remains crumbly and doesn’t come together, add another 2 tablespoons of water. Add as little as is required to enable the dough to be rolled into a ball. Form the dough into 2 disks, wrap in plastic, and refrigerate for 20-30 minutes while preparing your filling.

Prepare filling: Mix all ingredients together except for butter.

Preheat your oven to 400 degrees F. Use cupcake pans, mini-cupcake pans or both for your pies, as desired. After crust has chilled, roll it out between two sheets of parchment paper until it’s relatively thin — a little thinner than 1/4 inch. Pull the parchment paper off the dough every now and then (flipping to do this on both sides) to ensure your dough isn’t sticking. Use a big round cookie cutter or a knife to cut out a piece of dough about 2 inches larger around than your cupcake wells (or about 1 inch larger around than your mini-cupcake wells). Fit this dough down into a well as a bottom crust. Fill it with filling, top it with a few bits of butter, and use another circle of dough to form the top crust. Crimp the edges (careful not to make your crimping too elaborate — if your edge is too big, your pies can be top-heavy and pull apart. You may just want to use a fork to create decorative edges instead of traditional “crimping.”) Repeat this process until all of your mini pies are ready for the oven. Brush them all with egg wash and sprinkle cinnamon and sugar mixture over the top.

Bake mini pies at 400 degrees for 15 minutes (for cupcake-sized) or 10 minutes (for mini-cupcake sized). Turn temperature down to 375 degrees F, open the oven to rotate your pans and cool it off for a few seconds, and turn temperature down to 375 degrees F. Bake cupcake-size pies for 7-9 minutes longer, and mini-cupcake sized pies for 6-7 minutes longer. Remove from the oven and let pies cool completely in the pan — then gently “twist” the pies in their wells to be sure they aren’t sticking and pull them out. Serve immediately or store in an air-tight container in the refrigerator.

P.S. Don’t forget about the Cheesecake Challenge! Choose any one of 9 cheesecake recipes to prepare within the next month. Email a photo to me by 4/5/2011 to be featured on Willow Bird Baking! Get more details about the challenge here.

If you liked this post, please:
Subscribe to Willow Bird Baking
Follow Willow Bird Baking on Twitter
Follow Willow Bird Baking on Facebook
Give this post a thumbs up on StumbleUpon


ShareOther ways to share this post with friends!

Bright, Fun Blackberry Trifle

I made a trifle! Otherwise known as a big bucket o’ fun!

Okay, no one calls them that except me. But they should! Look at this thing! Bright, fluffy, moist layers of cake, custardy cream, splushy berries, crunchy toasted almonds, and to top it all off, a smattering of sprinklessss!

Joyce served individual versions of this trifle after a delicious lunch of Cream of Mushroom Soup a couple of weeks ago, and as soon as I took a bite, I felt a little more jolly. I found myself craving the trifle’s cool, creamy brightness in the days following, and finally whipped one up for myself.

One of the things I loved most about Joyce’s trifle is that she used a Funfetti Cake. Do you remember Funfetti Cake? The boxed cake mix so many of us loved as a kid? My favorite was always the Funfetti Frosting, with inexplicably colorful beads of goodness mixed throughout. What were those things? Do I even want to know?!

Whatever they were, I loved them. And Food Blogger Confession #84: I kind of want to go to the store in my PJs right this minute, buy a tub of that frosting, and eat the entire thing with a spoon. In one sitting. While watching Supernanny.

But I digress — it’s easy to get distracted by trashy midnight snack fantasies. Can I dip Twinkies into my tub o’ Funfetti Frosting? Okay, I’ll stop. Ahem.

The story behind Joyce’s cake choice actually involves her son. When he was growing up, she’d always made him a homemade cake from scratch. One day, however, he visited a friend of hers and came home raving about an amazing cake he’d eaten. She decided to make it for his birthday that year and called up her friend to ask about it — only to find out it was a regular ol’ Funfetti Cake from a box! Since then, needless to say, she hasn’t bothered with a homemade cake when his birthday rolls around!

It just so happened my lunch date with Joyce was the day before her son’s birthday this year. She’d already been doing birthday baking, so she had Funfetti cake leftover to use in the trifle. If you have a favorite homemade cake you love, you can use it (a clementine cake, coconut cake, or lemon cake would be so good!), but I loved the blast from the past so much that I used a Funfetti cake in my trifle as well. Every polka dot of color made me happy.

Regardless of your cake choice, a trifle is a simple way to inject some fun into dessert. If you’re looking for something both casual and indulgent to welcome the coming spring, grab a cake and your favorite berries and start layering.

What food item is a “blast from the past” for you?

Bright, Fun Blackberry Trifle


Recipe by: Adapted from Phyllis Hoffman’s Celebrate Magazine
Yields: 8 servings

Ingredients:
4 cups berries of your choice (Joyce and I used blackberries)
1 tablespoon sugar
2 tablespoons orange juice
1 teaspoon vanilla
2 layers of Funfetti or other cake, prepared and cooled
1/2 cup chopped toasted almonds
1 teaspoon lime zest (optional)
2 cups ricotta cheese
2 cups plain Greek yogurt
2 cups confectioners’ sugar

Whipped Cream Ingredients:
2 cups heavy whipping cream
3-4 tablespoons confectioners’ sugar (to taste)

Directions:
Combine washed berries, sugar, orange juice, and lime zest. Set aside. In a separate bowl, mix ricotta cheese, yogurt, confectioners’ sugar, and vanilla until well combined. In a trifle dish, layer torn pieces of cake, cheese mixture, and berries. Repeat layers. Cover and chill overnight.

When ready to serve, whip cream and confectioners’ sugar together until you have soft peaks. Pile whipped cream on top of trifle and top with almonds. Serve with leftover whipped cream for topping individual portions.

If you liked this post, please:
Subscribe to Willow Bird Baking
Follow Willow Bird Baking on Twitter
Follow Willow Bird Baking on Facebook
Give this post a thumbs up on StumbleUpon


ShareOther ways to share this post with friends!

Quick Rosemary, Fig, and Goat Cheese Tarts

I’m a simple girl. I like complicated poetry and intricate novels and things like that, don’t get me wrong. But for the most part, I’m the sort of girl that puts my hair up so I don’t have to fiddle with it, forgets to wear earrings, and floats about in flip-flops whenever possible. (By the way, not to brag, but we’ve almost made it to flip-flop weather in North Carolina lately!)

I love a cute high heel every now and then, but for the most part (besides middle school dances), they sit in my closet.

But one day I bought these shoes. I cannot explain it.

These shoes were unlike anything I’d ever owned (or ever wanted to own). First off, they were bright flippin’ gold. And they were pointy-toed. And they had 4-inch heels. And, um, they might have been faux snakeskin.

Any one of these characteristics on its own (well, except maybe the snakeskin) might have worked for me. But all together?

What was I thinking?

Well, I know what I was thinking. I was thinking of how hot they’d look on, say, Cindy Crawford. And then my brain went off to the food court for FroYo while my imagination thought, “Hey, maybe they’d make you look like Cindy Crawford!” So I shelled out way more cash than appropriate on my then-college-student budget, and ta-da, they were mine.

Can you guess what happened next?

If you guessed that those hot gold faux-snakeskin pointy heels sat in my closet until I finally tried to sell them online, you would be correct. If you guessed that no one bought them because everyone else has prohibited their brains from frolicking off to the food court, you would be correct.

If you guessed that I do not look like Cindy Crawford, you would be correct.

Why do I ever forget that simpler is usually better? In honor of simplicity, here’s a fantastic and fantastically simple tart to serve with your next meal (I ate it with Cream of Mushroom Soup!)

This recipe originally called for just rosemary and goat cheese, but the reviews said it needed more flavor. I added a generous layer of fig jam and that really knocked it right out of the park! It’s a sweet and savory, buttery-but-light combination that will complement many meals and be ready in 20 minutes flat. If you’re feeling a little rebellious, though, feel free to make your own homemade puff pastry — and perhaps go buy some faux snakeskin heels?

What’s the silliest thing you’ve bought in recent years?

Quick Rosemary, Fig, and Goat Cheese Tarts


Recipe by: Adapted from Fine Cooking
Yields: about 8-9 servings

Ingredients:
3 ounces Bûcheron goat cheese (or fresh goat cheese)
4-5 tablespoons fig jam
3 tablespoons heavy cream
1 sheet frozen puff pastry, thawed (or use homemade puff pastry!)
flour, for dusting
1 lemon
3 tablespoons fresh rosemary leaves, only very roughly chopped
Freshly ground black pepper

Directions: Preheat the oven to 450 degrees F. In a small bowl, mash the goat cheese (crumbled) and cream with a fork together until combined.

On a lightly floured surface, roll the puff pastry sheet out into a 12 x 17-inch rectangle. Using a pizza cutter (and a ruler for a straight edge, if desired), cut the pastry in half lengthwise to form two rectangles. Measure off a 3/4-inch strip on each side of each rectangle and use a straight edge to cut each strip off. Use a pastry brush to brush water around the edges of the rectangles that will act like a “glue” to hold a border on. Now stack each 3/4-inch wide strip onto the damp area of the dough, creating the raised border.

Spoon the fig jam inside the border of each rectangle and spread it. Then spoon and gently spread the cheese mixture inside the border, over the fig jam. This is a little hard to spread, but it’s okay if some areas have more cheese than others. Remember, it’s supposed to be rustic, y’all. Then evenly grate lemon zest over the cheese, scatter the rosemary leaves on top, and grind some pepper evenly over everything else. Bake until the tarts are puffed and deep golden brown, rotating the pan about halfway through baking. The original recipe said this would take around 17 minutes, but they were a tad overdone around 15 minutes, so keep an eye on them! Cut the tart into pieces and serve while hot.

If you liked this post, please:
Subscribe to Willow Bird Baking
Follow Willow Bird Baking on Twitter
Follow Willow Bird Baking on Facebook
Give this post a thumbs up on StumbleUpon


ShareOther ways to share this post with friends!

1 27 28 29 30 31 35