Every year around this time, I get the urge to build a mailbox.
Don’t look at me like that. I blame my elementary school teachers. At the beginning of almost every February, my teachers would pull out construction paper, glue, stickers, markers, and paint, and we’d all set to work constructing mailboxes. Sure it wasn’t the most glamorous construction job I’ve ever been a part of, but I was very serious about it nonetheless, because this wasn’t just any mailbox — this was a Valentine’s Day mailbox.
On February 14, we’d all bring in our packets of valentines and circulate about the classroom uncomfortably, dropping one in each of the waiting mailboxes. We tried not to pause too long at anyone’s desk or — heaven forbid — make any accidental eye contact, lest it be misinterpreted during this socially charged process.
Secretly, though, I’d probably spent the night before carefully selecting the perfect Strawberry Shortcake Valentine for the boy I liked. One that could be interpreted as being totally casual — plausible deniability in case he had no interest in me whatsoever — but was also slightly on the mushy side, in case he was just waiting for a sign of my interest. If I was appending candy to my valentines that year, I probably spent another eternity choosing the candy heart or chocolate that I thought he’d like the very best.
(Yes, I now realize that the boy I liked, in contrast, had probably spent the night before Valentine’s Day being hounded by his mother to at least write his classmates’ names somewhere on the valentines she’d bought for him, eating most of his valentine candy before it got attached to anyone’s card, and playing a Teenage Mutant Ninja Turtles video game until bed.)
Anyway, when every valentine was passed out and the time had finally come to sit down and empty our mailboxes, I was always breathless with suspense. Imagine the possibilities! Forget bills and junk mail — these mailboxes were carefully crafted to hold L-O-V-E. Every year I fully expected to receive a long letter handwritten by the boy I liked (actually, any boy would’ve done. Or a secret admirer? Yes, please!) detailing the many, MANY reasons he was smitten with me. He might even include a phone number. Maybe a special conversation heart. Maybe an engagement ring! You never know.
Reality was a little disappointing. I’d dump out all the valentines and quickly shuffle through the boring ones — Scooby Doo holding a bunch of flowers and saying, “Rees are for Roo, Valentine!” or Power Rangers crying, “It’s Morphin’ Time, Valentine!” My eagle eyes were looking for two things: candy and handwritten messages. Candy because it would sustain me on my arduous journey toward discovering the love of my life, and handwritten messages from said love.
Was his heartfelt letter to me in this envelope? Nope, a smurf card. How about this one? Nope, an I Love Lucy valentine — you can tell Mom picked those out. How about the envelope with a heart drawn on the front? Nope, that was from my BFF. Thanks a lot for getting my hopes up, girl. Slowly but surely, my stack dwindled. One after another, the valentines were slapped down onto my “read” pile with barely more than a glance. Finally, the fateful moment came when I’d read and dismissed the very last card.
No proposal. No secret admirer. Not even a lousy paragraph about my eyes being like the sun or something. Nothin’. At this point I’d probably look at my crush across the classroom and sigh, appreciating the suave way in which he used his lollipop as a sword to launch attacks against his friend’s ear.

Childhood is rough. Adulthood is a lot better. Yes, there are bills and junk mail in my mailbox now. And unfortunately, I didn’t get to MAKE my mailbox. And, okay, I’m not going to get a pile of colorful valentines, some of which are boasting candy.
But here’s why adulthood rocks. This year, when Christof Van Snufterplucken (names changed to protect the innocent — or lame) doesn’t turn off his video game long enough to write me a love letter about how awesome I am, I can remedy my disappointment in a mature, adult way: by making and eating a ridiculous amount of cheesecake. Red Velvet Cheesecake, to be exact.
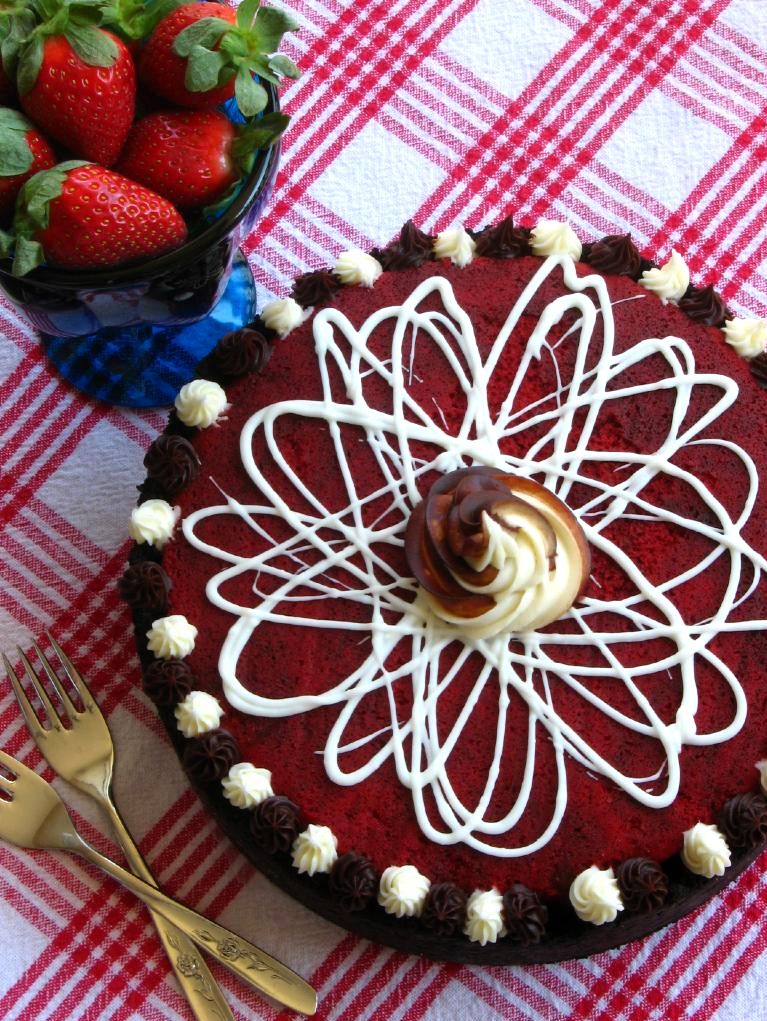
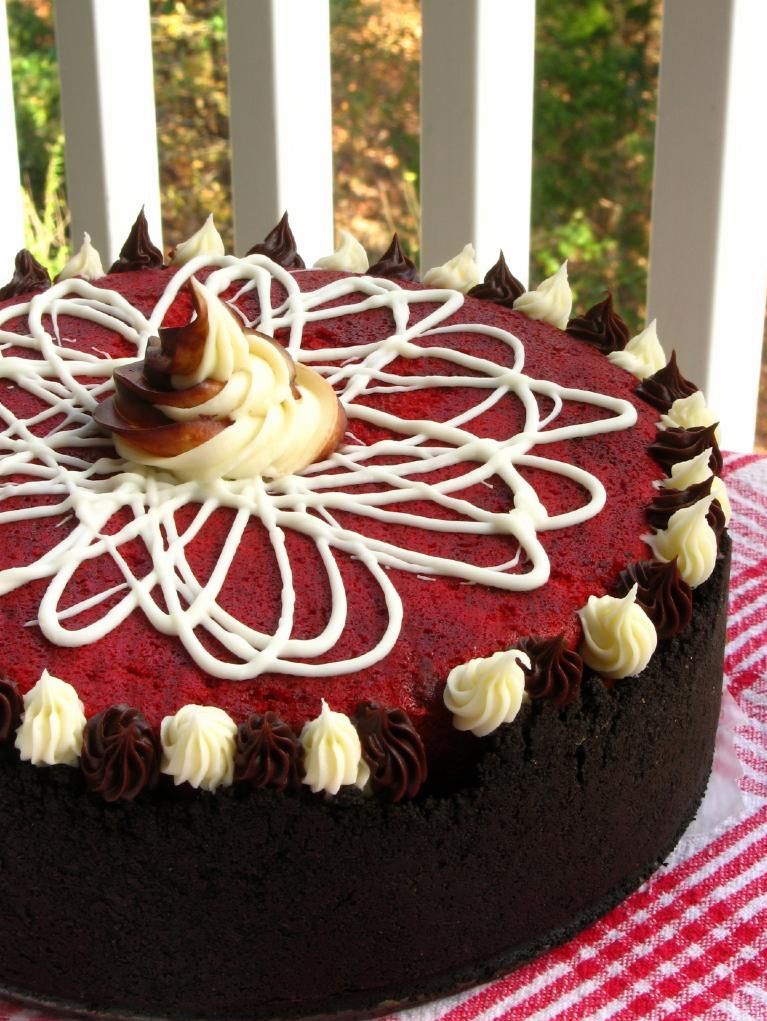
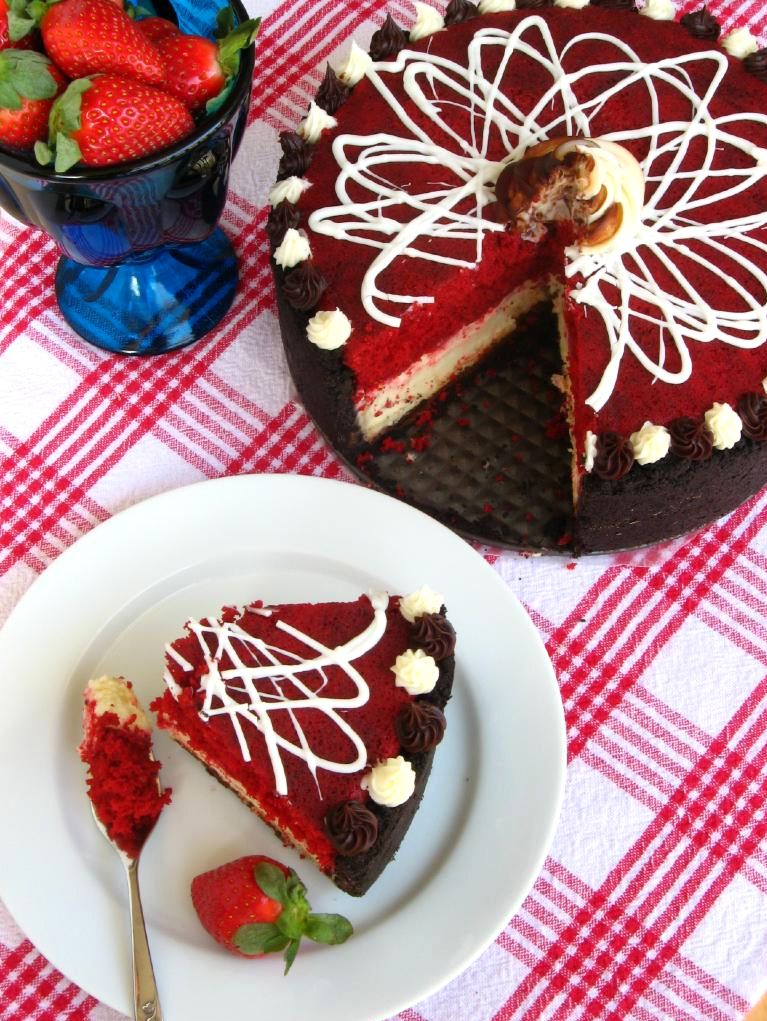
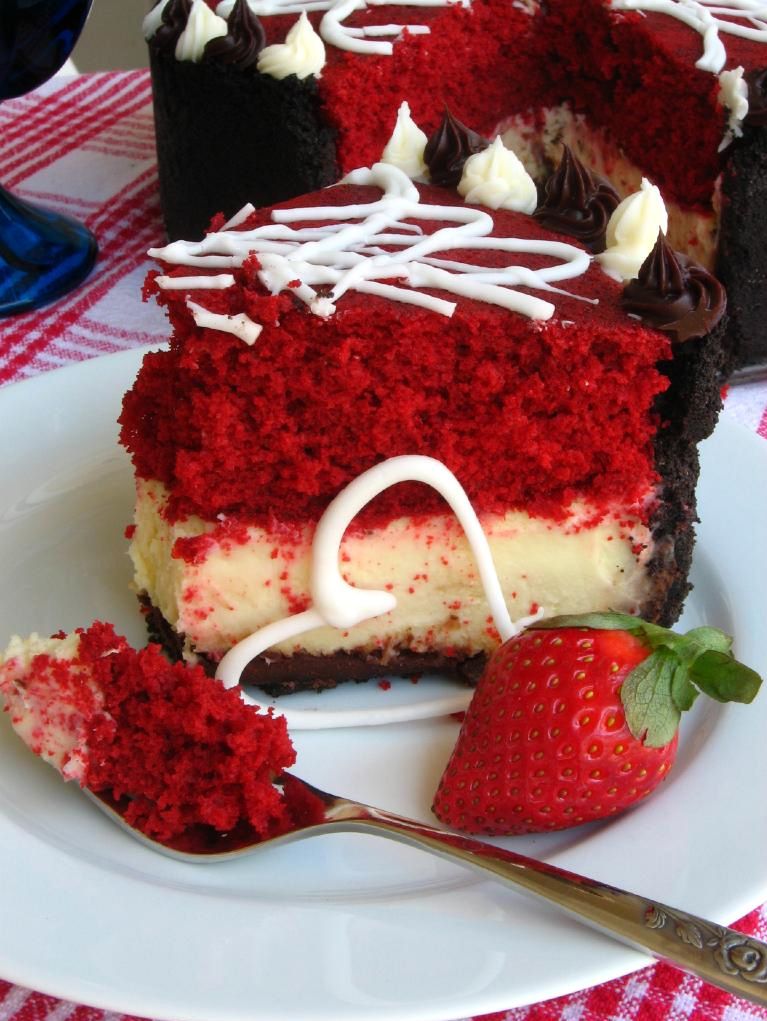
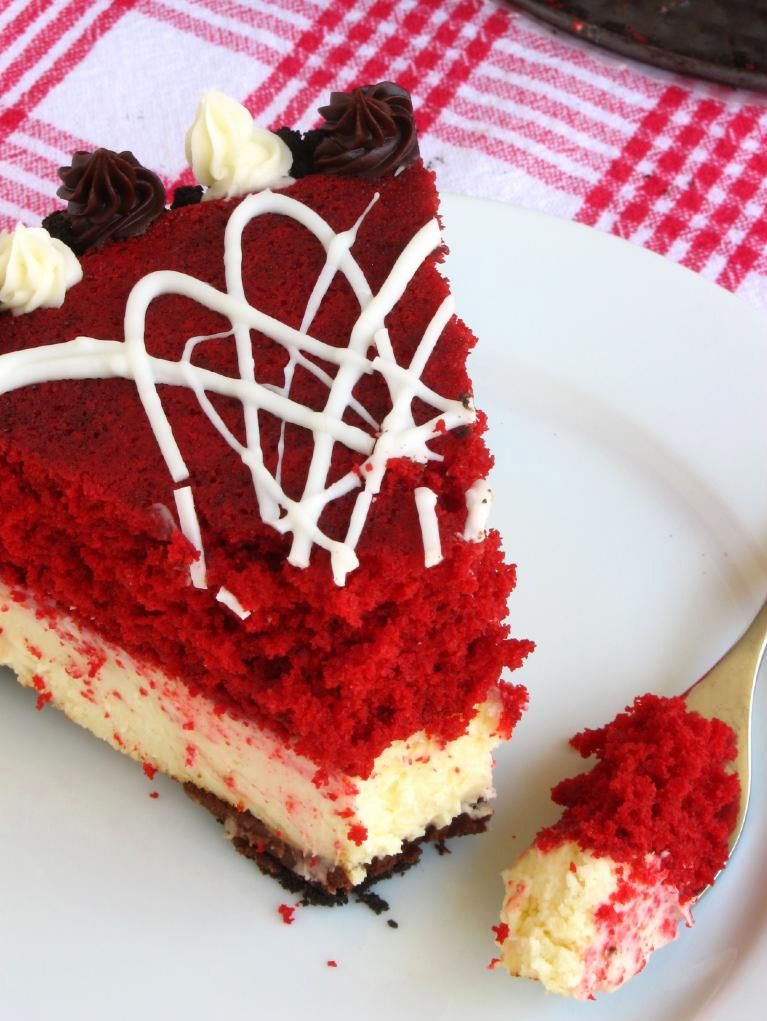
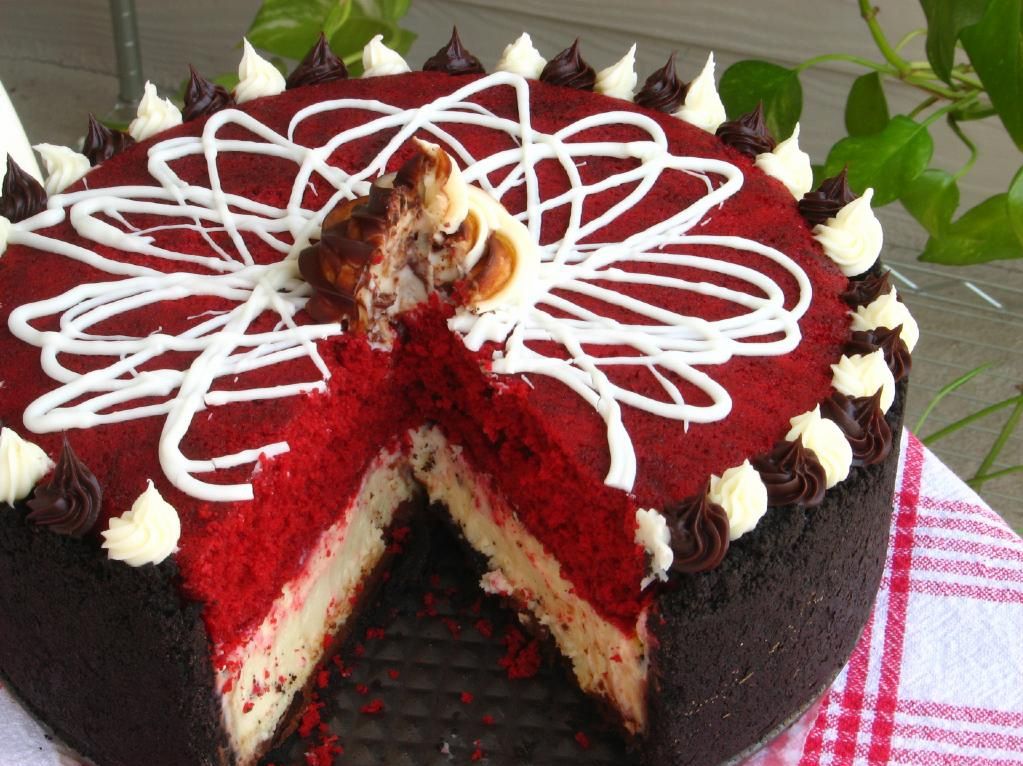
Reader Victoria first gave me the idea for a Red Velvet Cheesecake back in November and I thought it sounded fantastic! She made a beautiful layer-cake-like version, and I went the cheesecake-like route. This ultimate Valentine’s dessert includes an oreo crust filled with layers of ganache, creamy cheesecake, and moist red velvet cake decorated with ganache and cream cheese frosting. Perhaps this is obvious, but apart from being pretty (especially when served with chocolate-covered strawberries and white chocolate hearts), this thing is delicious, indulgent, and yes, romantic. So even if your crush loves radioactive reptilian ninjas more than you, you can have your own little slice o’ love.
Tell me about one of your elementary school crushes. Did you ever receive a fantastic valentine in school?
- 32 chocolate sandwich cookies, finely processed into crumbs (cream and all – it’ll disappear when you crush them up!)
- 5 1/3 tablespoons unsalted butter, melted and cooled
- pinch of salt
- 3/4 cups heavy cream
- 10 ounces bittersweet or semisweet chocolate, finely chopped (I used half semisweet and half bittersweet chocolate chips)
- 1/4 cup vegetable shortening
- 1 egg
- 1 tablespoon cocoa
- 1/4 teaspoon salt
- 3/4 cups sugar
- 1/2 teaspoon vanilla extract
- 1/2 cup buttermilk
- 1 1/4 cups flour
- 1/2 teaspoon baking soda
- 1/2 tablespoon white vinegar
- 1 ounce red food coloring
- 3 (8-ounce) packages cream cheese, at room temperature
- 1 cup sugar
- 1½ tablespoons all-purpose flour
- 2 teaspoons vanilla extract
- 3 large eggs
- 2 ounces cream cheese, at room temperature
- 2 tablespoons butter, at room temperature
- 1 cup powdered sugar, sifted
- white chocolate for drizzling
- strawberries
- Make the cake: Preheat oven to 350 degrees F. Line the bottom and the sides of an 9-inch round cake pan with parchment paper, leaving an overhang on two opposite sides to make it easier to lift the cake out of the pan when it’s done. Cream shortening, sugar, and eggs. Make a paste of the cocoa and coloring and add to the shortening mixture. Add salt and vanilla. Add buttermilk alternately with the flour, beginning and ending with flour. Mix vinegar and soda right before using and add to mixture by folding in. Pour batter into the cake pan and bake at 350 degrees for 20-25 minutes, or until a toothpick inserted into the center of the cake comes out clean. Cool completely, cover in wax paper, and freeze for 30 minutes or until firm.
- Make the cheesecake: To make the crust, preheat the oven to 350˚ F. Butter a 9-inch springform pan and place it on a baking sheet. Combine the chocolate cookie crumbs, melted butter and salt in a small bowl. Toss with a fork to moisten all of the crumbs. Press into a thin layer covering the bottom and sides of the springform pan (at least 3 inches up the sides).
- Bring the cream to a simmer in a medium saucepan. Place the chocolate in a medium bowl. Once the cream reaches a simmer, pour the cream over the chocolate and let stand 1-2 minutes. Whisk in small circles until a smooth ganache has formed. Pour 1 – 1.5 cups of the ganache over the bottom of the crust. Freeze until the ganache layer is firm, about 30 minutes. Reserve the remaining ganache; cover and let stand at room temperature for later decorating.
- Preheat the oven to 350˚ F and position a rack in the middle of the oven. In the bowl of an electric mixer fitted with the paddle attachment, beat the cream cheese and sugar on medium-high speed until well blended. Beat in the flour. Add in the vanilla and beat until well incorporated, scraping down the sides of the bowl as needed. Beat in the eggs one at a time, scraping down the bowl between each addition.
- Pour the filling over the cold ganache in the crust. Place the springform pan on a rimmed baking sheet. Bake until the top is lightly browned, puffed and cracked at the edges, and the center moves only very slightly when the pan is lightly shaken, about 1 hour. Transfer to a wire cooling rack. Cool at room temperature for at least 30 minutes. Transfer to the refrigerator and let cool at least 3 hours, until completely chilled and set (it’ll sink as it cools).
- Assemble topping: Whip room temperature ganache to create a fluffy texture perfect for piping. In a separate bowl, mix together cream cheese, butter, and powdered sugar to make a small amount of cream cheese frosting for decorating.
- Assemble the cheesecake: Wrap a warm towel around the outside of the springform pan to help loosen the crust from the sides. Carefully remove the springform. Transfer the cake to a serving platter. Here, you can schmear some ganache on the cheesecake to help the red velvet cake adhere. I didn’t, but it’s a good idea. Then place your red velvet cake layer on top of cheesecake (right side up). If for some reason you seem that your cake layer will stick up beyond your crust, you can use a long serrated knife to reduce its width (freezing it first makes it easier to cut). Decorate top of cake with drizzled white chocolate, piped cream cheese frosting, whipped ganache, and strawberries.
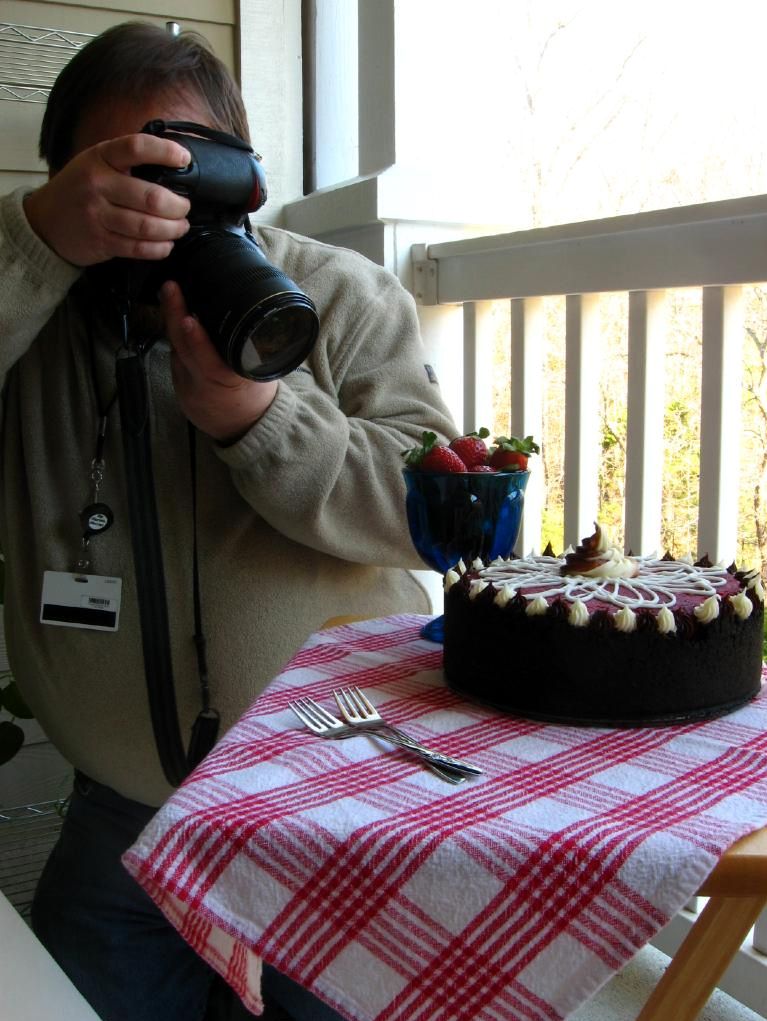
P.S. Who could this photographer be shooting my cheesecake? Find out this coming Wednesday!
